
Behind the Scenes: Air BNB 3070
INTRODUCTION
Hi, my name is Riley Ryan and I am a U.S. based 3D artist. I’ve been using Blender for 7 years without any formal training, learning primarily through a mix of YouTube videos and my own multitude of projects and experiments.
INTRODUCTION
I created this artwork for CG Boost’s ‘City in the Sky’ challenge. It was their first challenge after a long hiatus to restructure behind the scenes and return with a new challenge format and new prizes. CG Boost’s monthly community challenges are a great way to find inspiration to learn and grow alongside hundreds of other community members! I’ve been occasionally participating in these challenges for over two years, which has led to some of my most unique and interesting projects. I highly recommend anyone interested in 3D art to go and check them out! CG Boost has always had a lot of resources to aid beginners, but the new challenge format is especially welcoming to those just starting out.
VOLUMETRICS
This artwork was a highly experimental endeavor for one main reason: CLOUDS. Volumetric clouds aren’t easy to make, but I wanted to try creating a new system myself. I’ve tinkered with clouds for years, but was always held back by hardware limitations and inexperience with procedural workflows.
However, this time I really wanted to challenge myself to dive in and invent my own method to suit my needs. I wanted to create a system capable of building a full cloudscape with in-depth artistic controls, all in one cohesive unit. But I didn’t know how to do it.
I started with a fairly conventional approach, creating simple fluffy clouds using layered noise. Aesthetically, I was aiming for semi-realistic cloud forms but with stylized lighting and pastel colors like something out of a Disney animated movie. On a small scale, I was somewhat successful, but I very quickly discovered my method would not be viable for building full cloudscapes. As soon as I tried to construct forms with several instances, the volumes became mired with ugly artifacts and the render time increased rapidly.
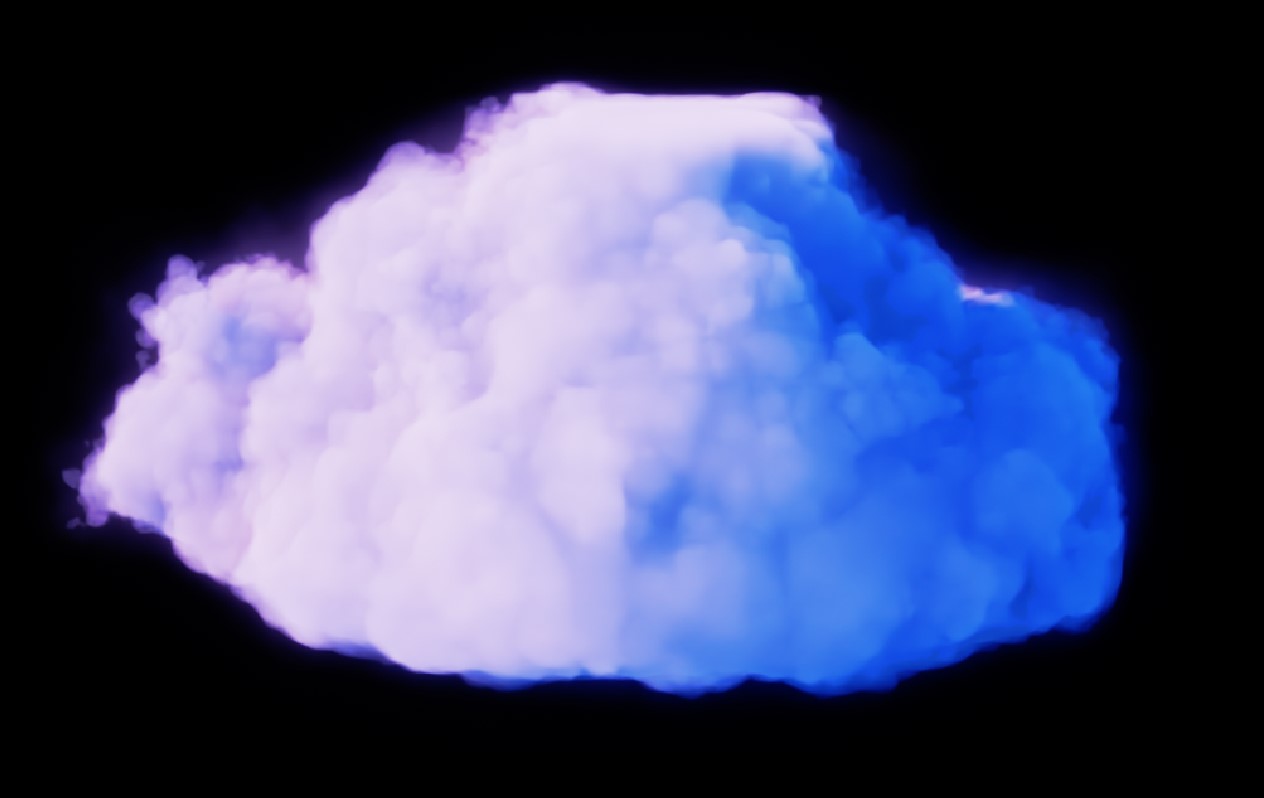
My next fallback (which honestly should have been my go-to since I knew it had potential from the start) was perhaps the most under-appreciated procedural noise in Blender’s procedural toolkit: Musgrave. Musgrave noise looks quite uninteresting on most combinations of settings but when configured correctly, it can generate intricate fractal details that’s wonderfully useful for volumetrics. Just one musgrave node can generate better clouds than several layers of noise or voronoi. I had attempted to do this two years ago, but I found that using high detail musgrave to control volumetrics in cycles was too demanding for my old computer and would instantly crash Blender. That’s why I was amazed to find it not only looked great but rendered more efficiently than layers of perlin and voronoi!
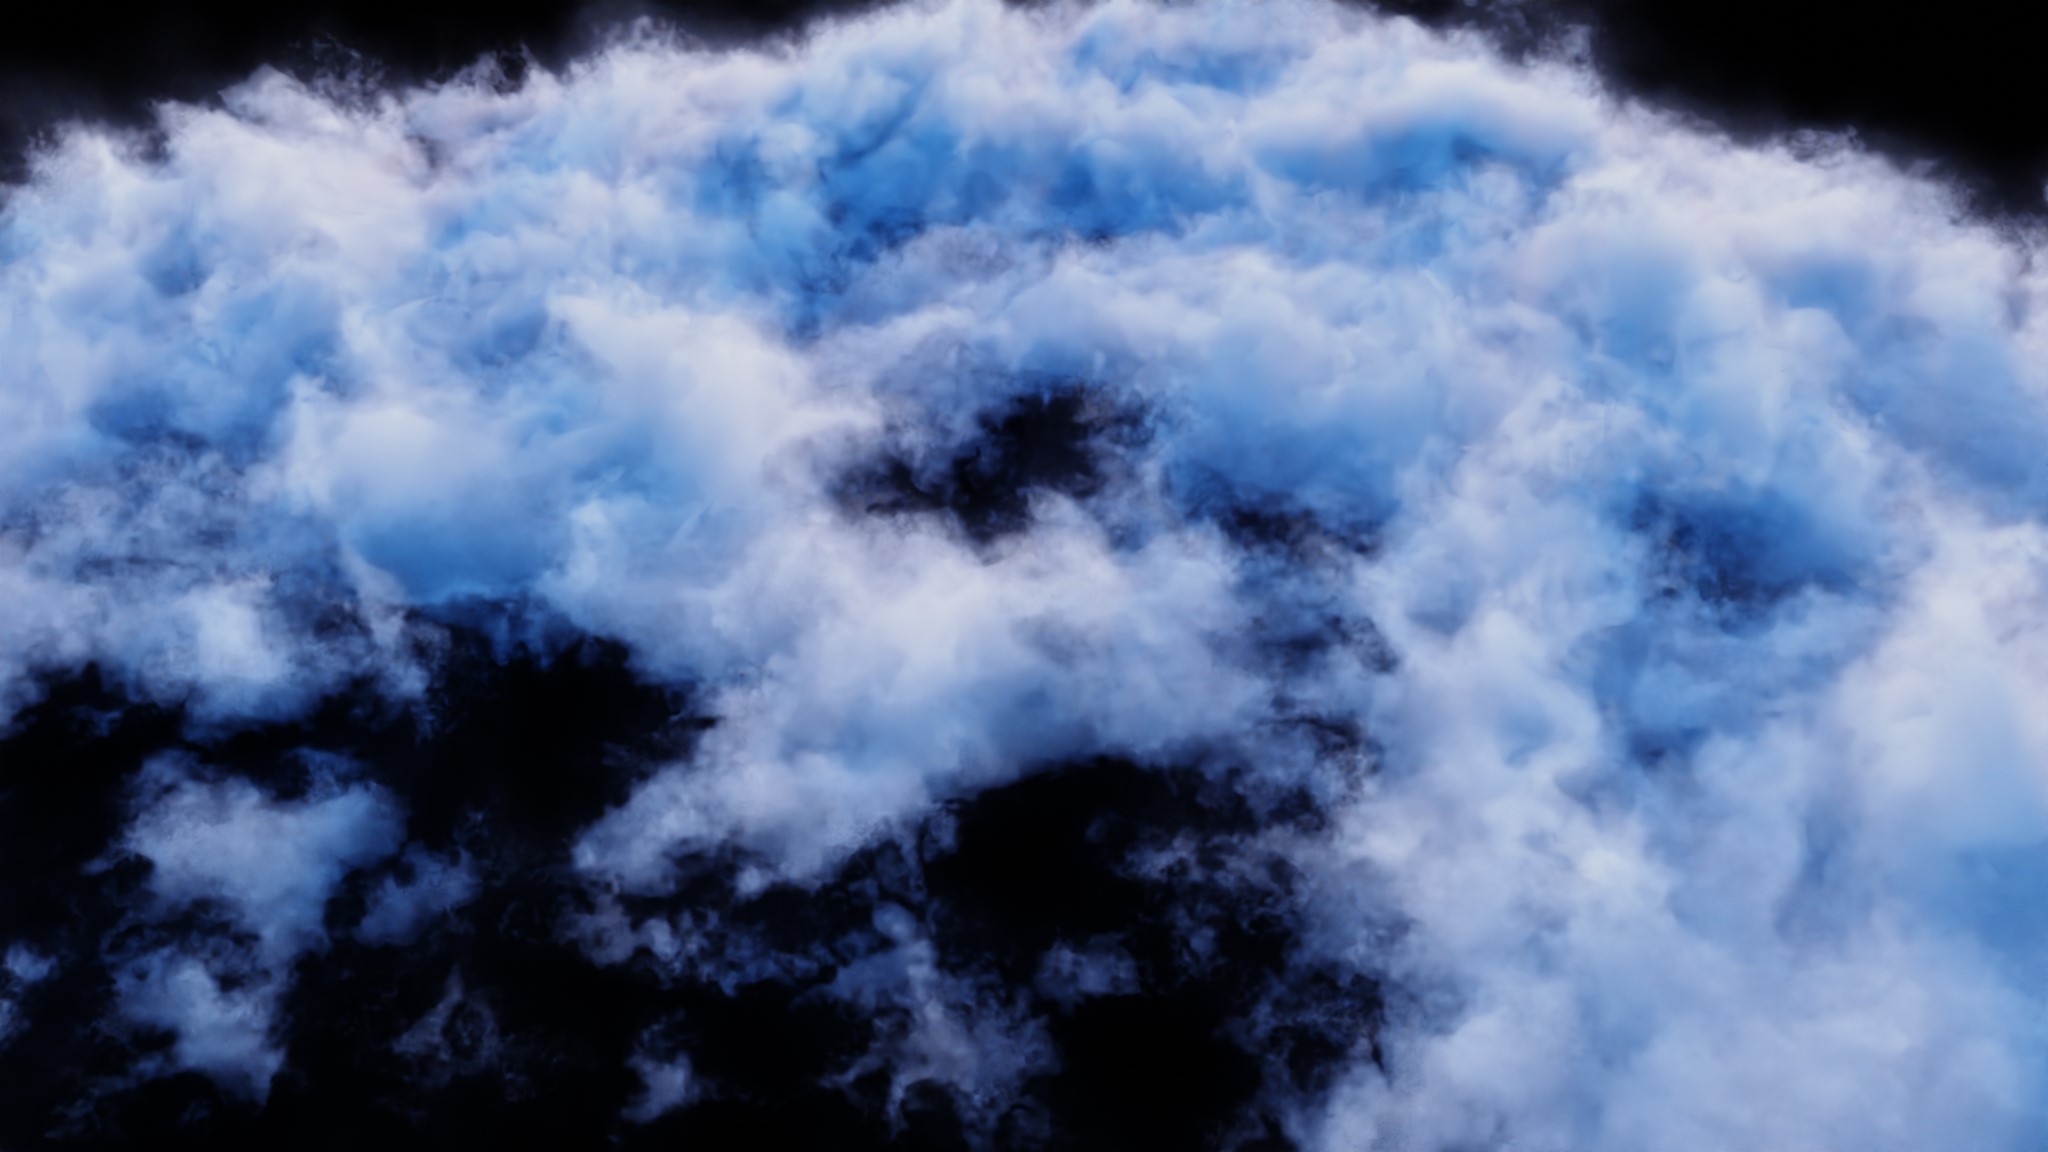
But it would take more than a new noise texture to create the clouds I wanted, so I needed a better way to control them. Eventually, I realized I could divide the clouds into two layers at the top and bottom of a single box and then control the thickness of each layer using a hand-painted texture, which was just what I needed to construct the custom cloudscape for my scene.
This means I can build a whole cloudscape in a big box with just one shader! I affectionately call my new cloud maker, Uber Floof.
I have since improved Uber Floof drastically, but it’s still very much a work-in-progress. Initially, I had a timeline in mind to release a tutorial just a few weeks after this project but for a variety of reasons, I’ve thrown out my past projections and I’ll hold off on announcing a new schedule until I’m further along in the development process.
If you’d like to learn more about this project and follow along as I work on it, I’ve started a WIP thread on BlenderArtists to document my progress and explain plans for an eventual tutorial here: Uber Floof Devlog. Here’s a more recent demo of what Uber Floof is capable of.
Recently, I’ve taken a break from working on it, but I’ll return to the project in the coming weeks and post updates regularly.
MODELING
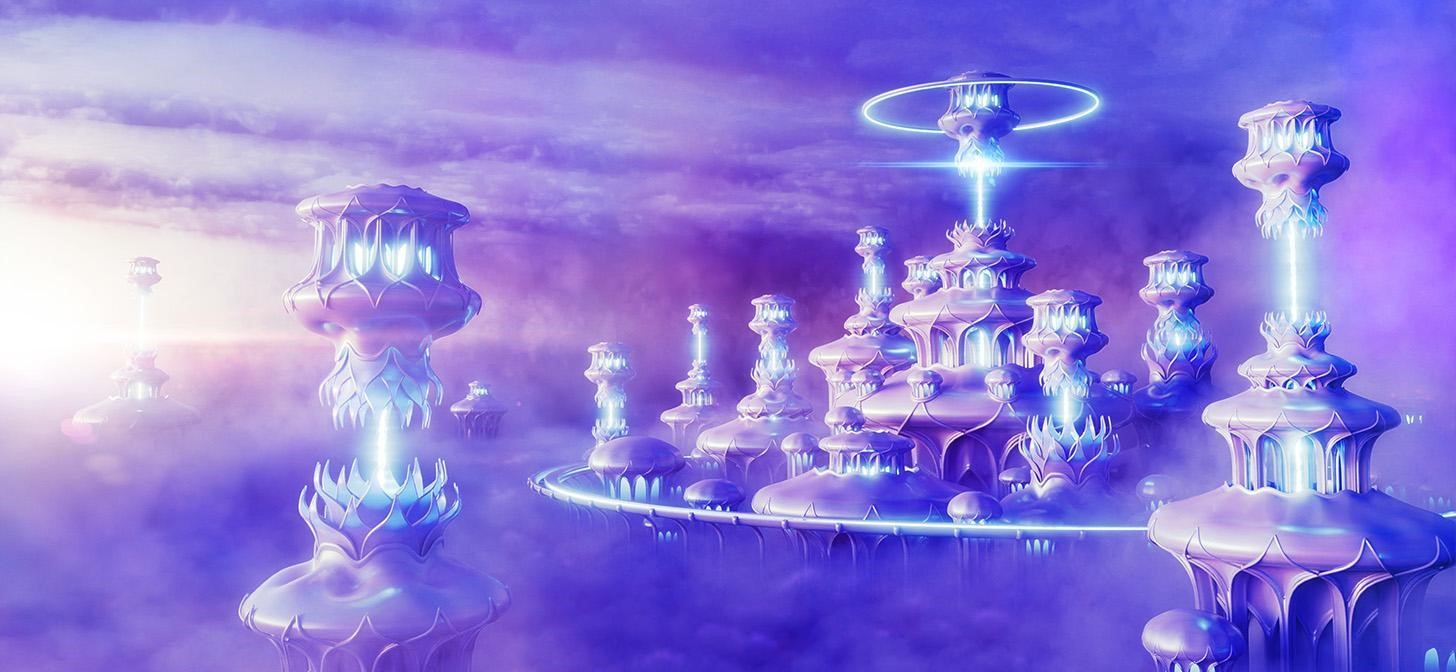
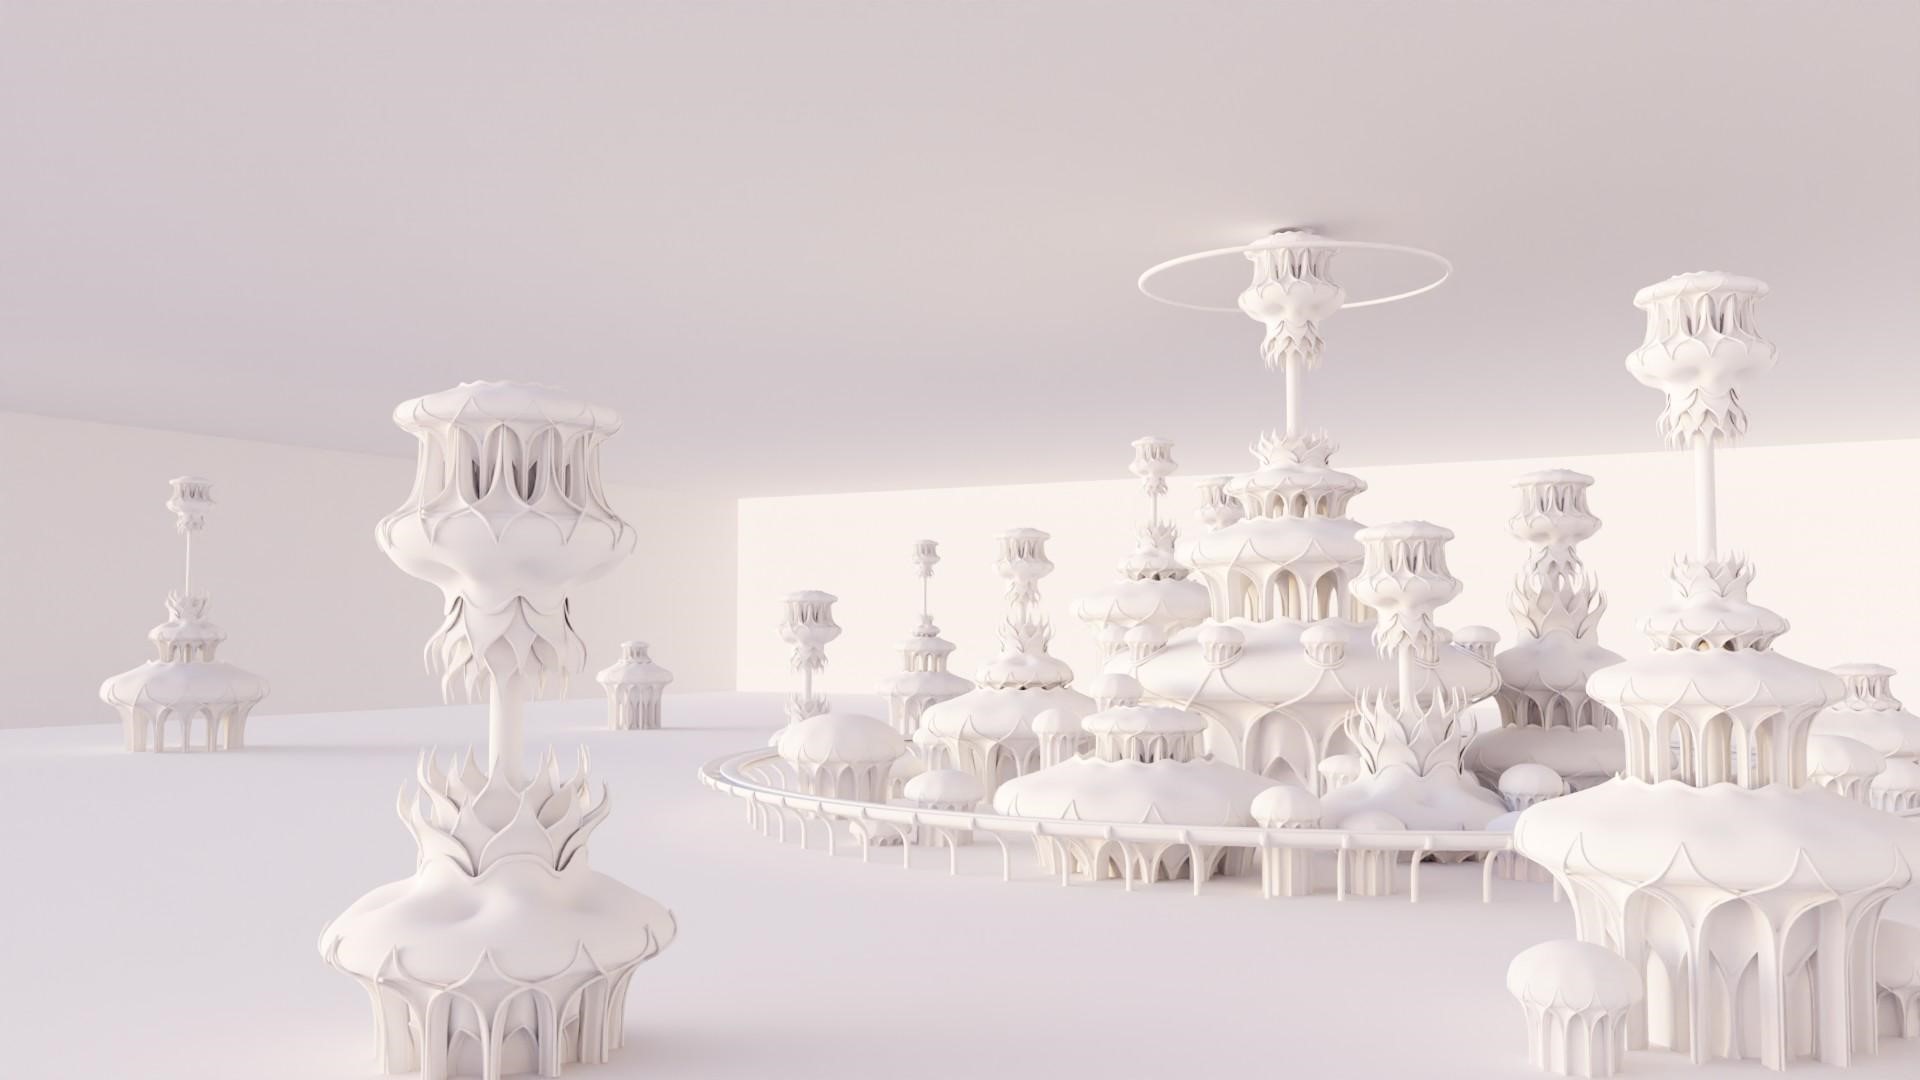
I did all the 3D work in Blender 3.2 with only color grading and a few overlays added in Photoshop. When I started this project, I’d planned to create a city made of white marble and gleaming gold ornaments with a sci-fi, gothic architectural aesthetic. But since it took me so long to create the clouds alone, I had to improvise to get the project done on time.
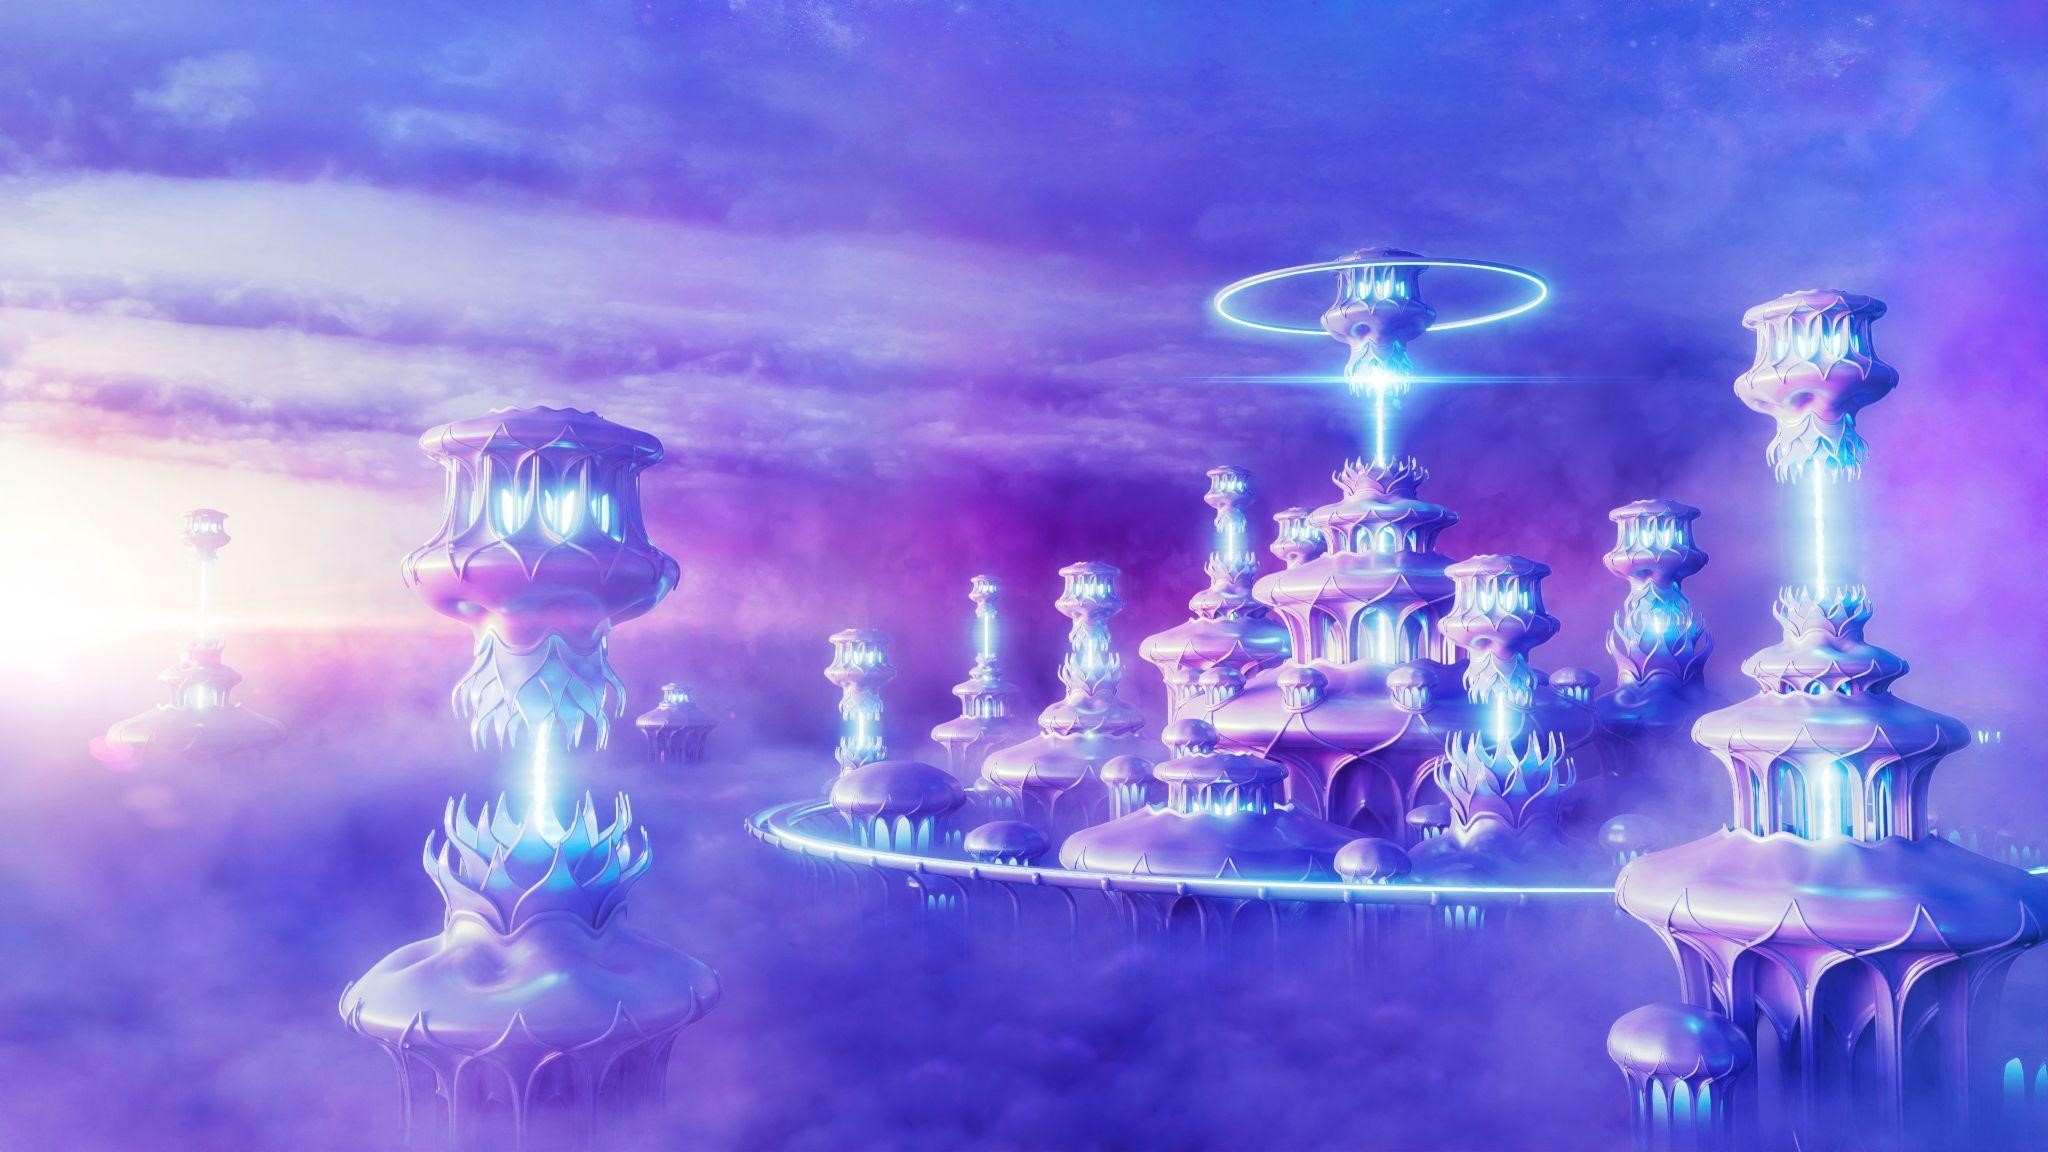
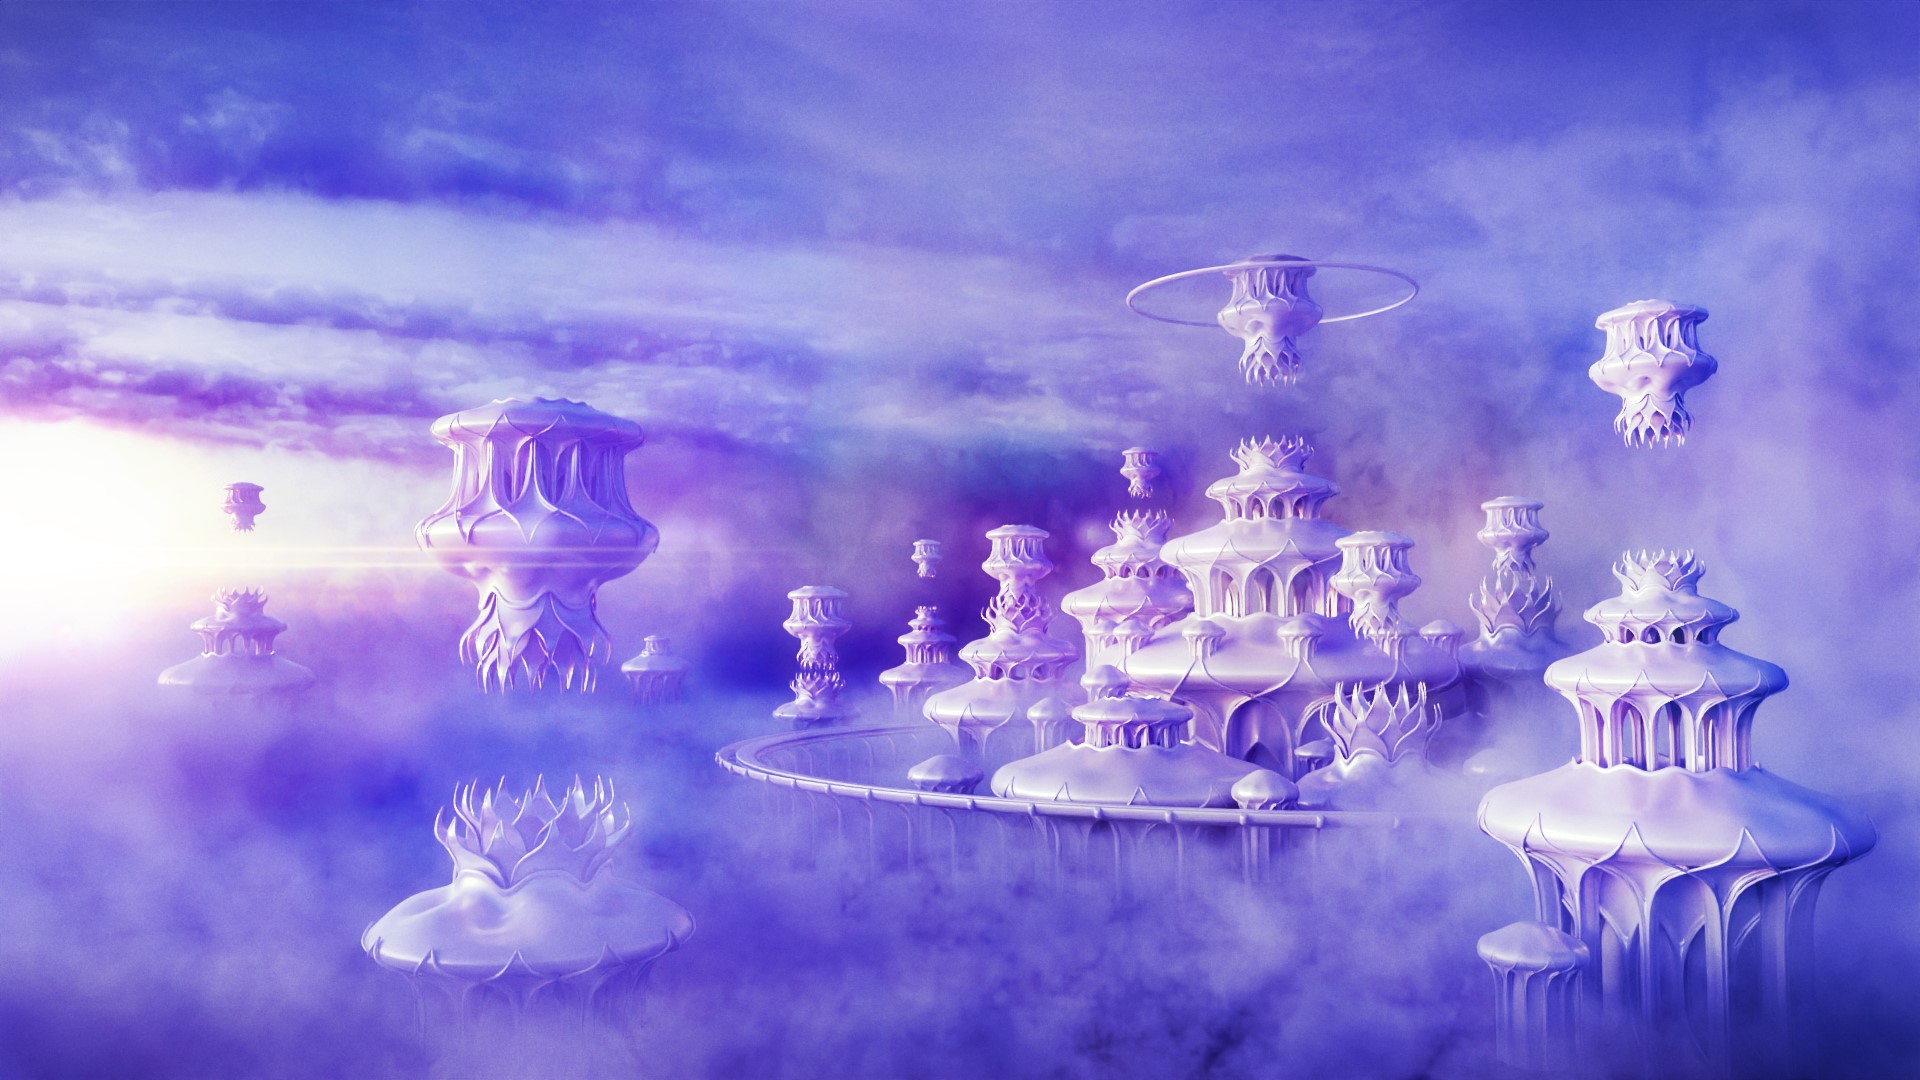
I quickly modeled some abstract sci-fi modules using radial symmetry and subsurf workflows in Blender, and utilized them to assemble a radiant citadel. I had no time for texturing, so I fumbled around with a simple shader until I settled on pearlescent chrome. As with many of my projects, I’d gone off in a very different direction from what I had originally imagined!
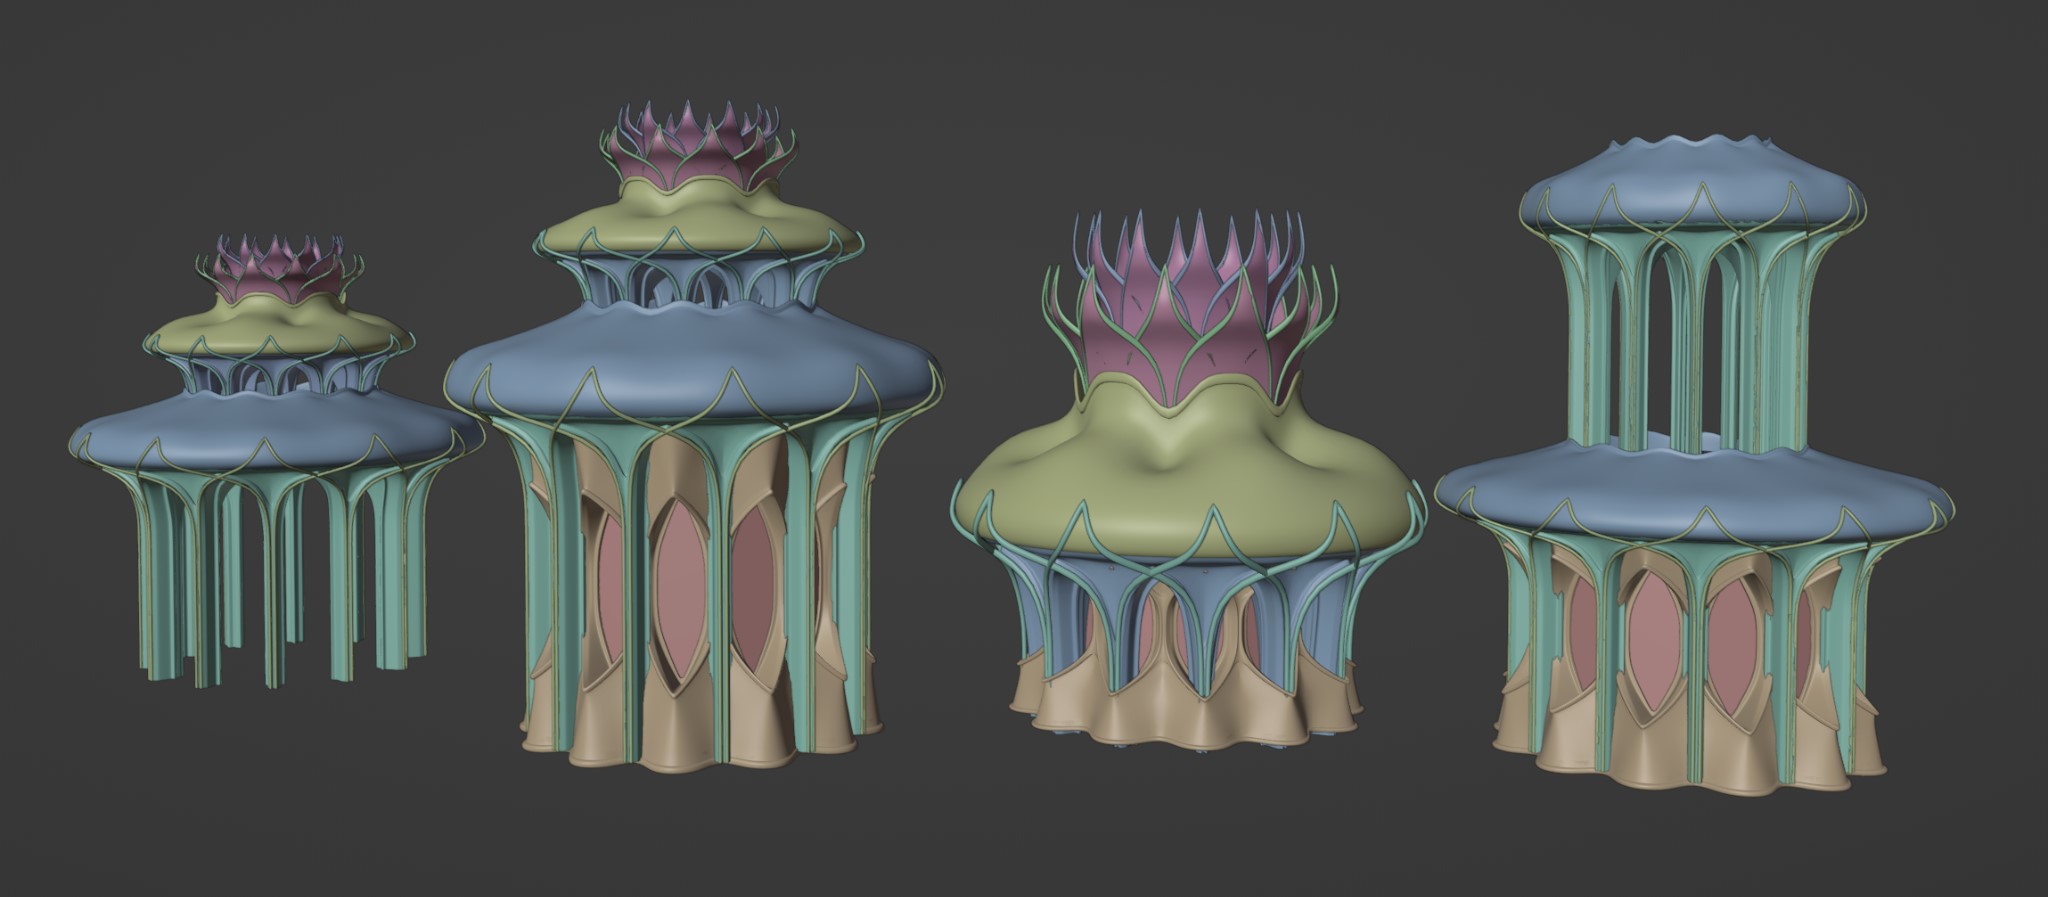
The assets were all quite simple and since I was in such a rush, I didn’t take the time to organize anything. Instead I just modeled and implemented my assets in parallel. If I ever do decide to return to this aesthetic and flesh out these assets as a proper kit, half the battle would be sorting out the mess I left myself.
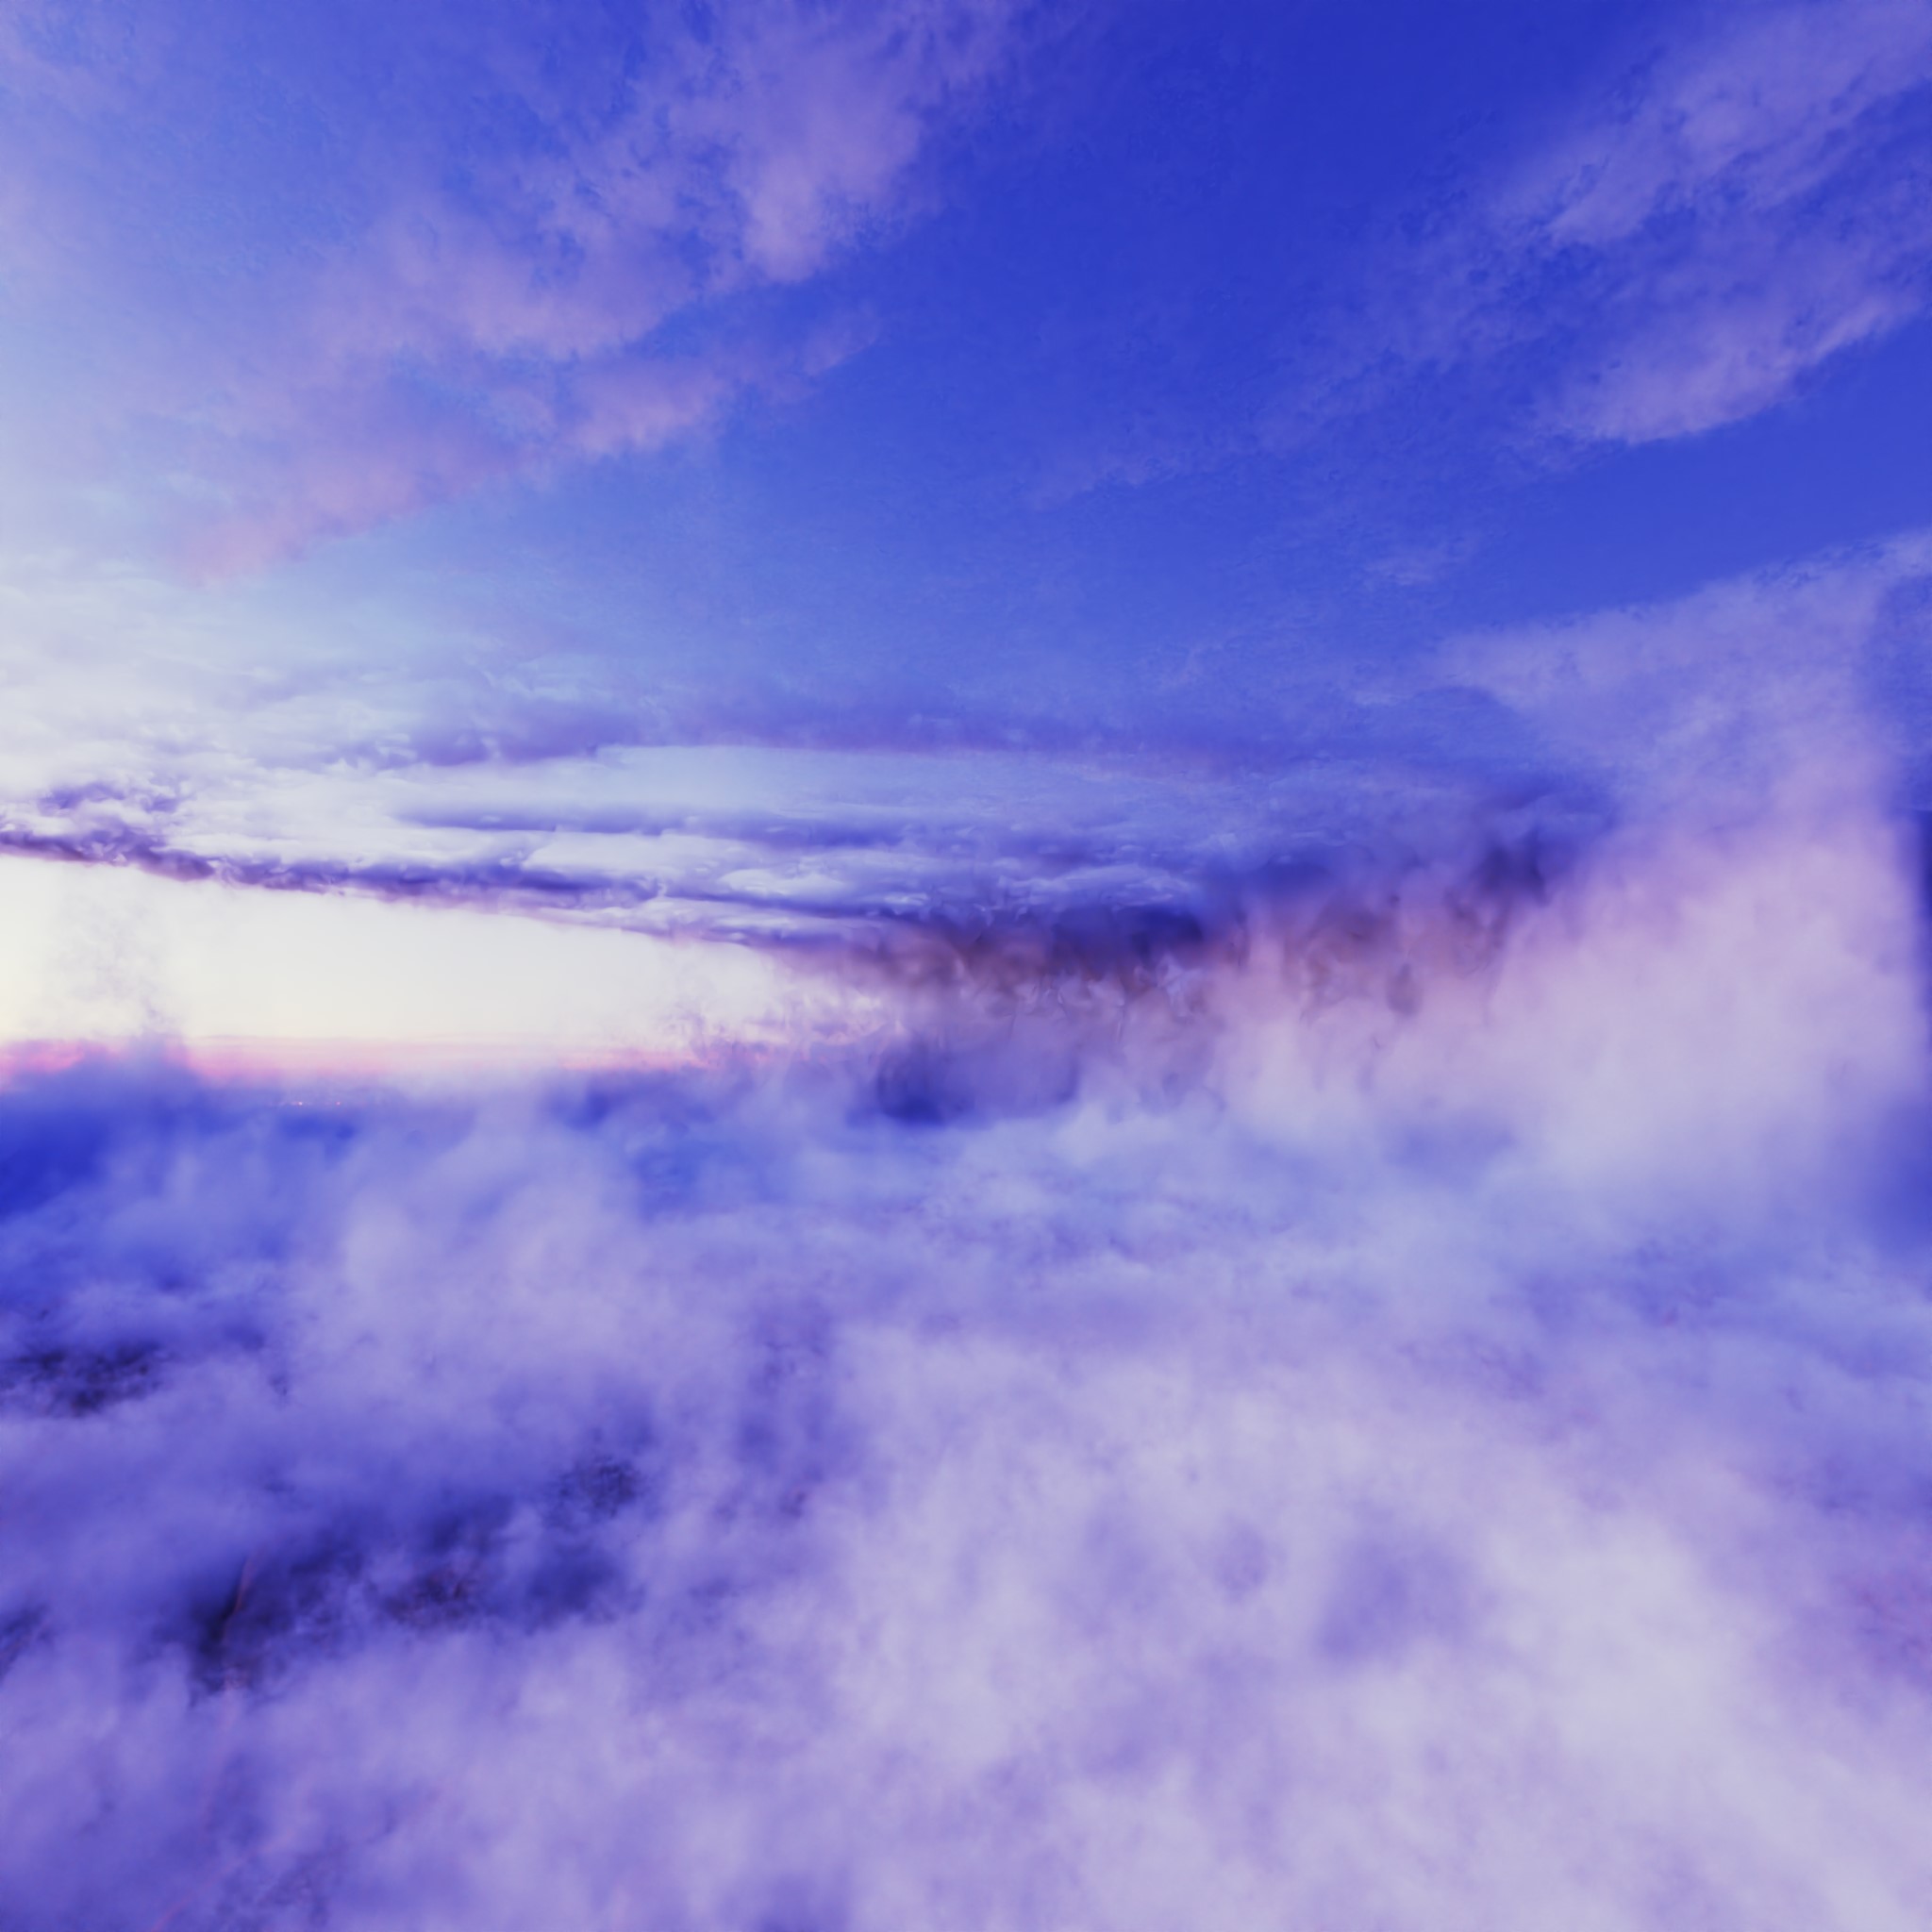
Initially, I struggled to find an arrangement for the structures that I liked, so I spent at least two hours moving things around until I found a pleasing composition. I’m not accustomed to working on scenes of this scale, but Uber Floof was doing a good job creating a sense of scale with atmospheric depth. I’m particularly fond of the backlit haze on the left side of the image around the sunflare.
LIGHTING
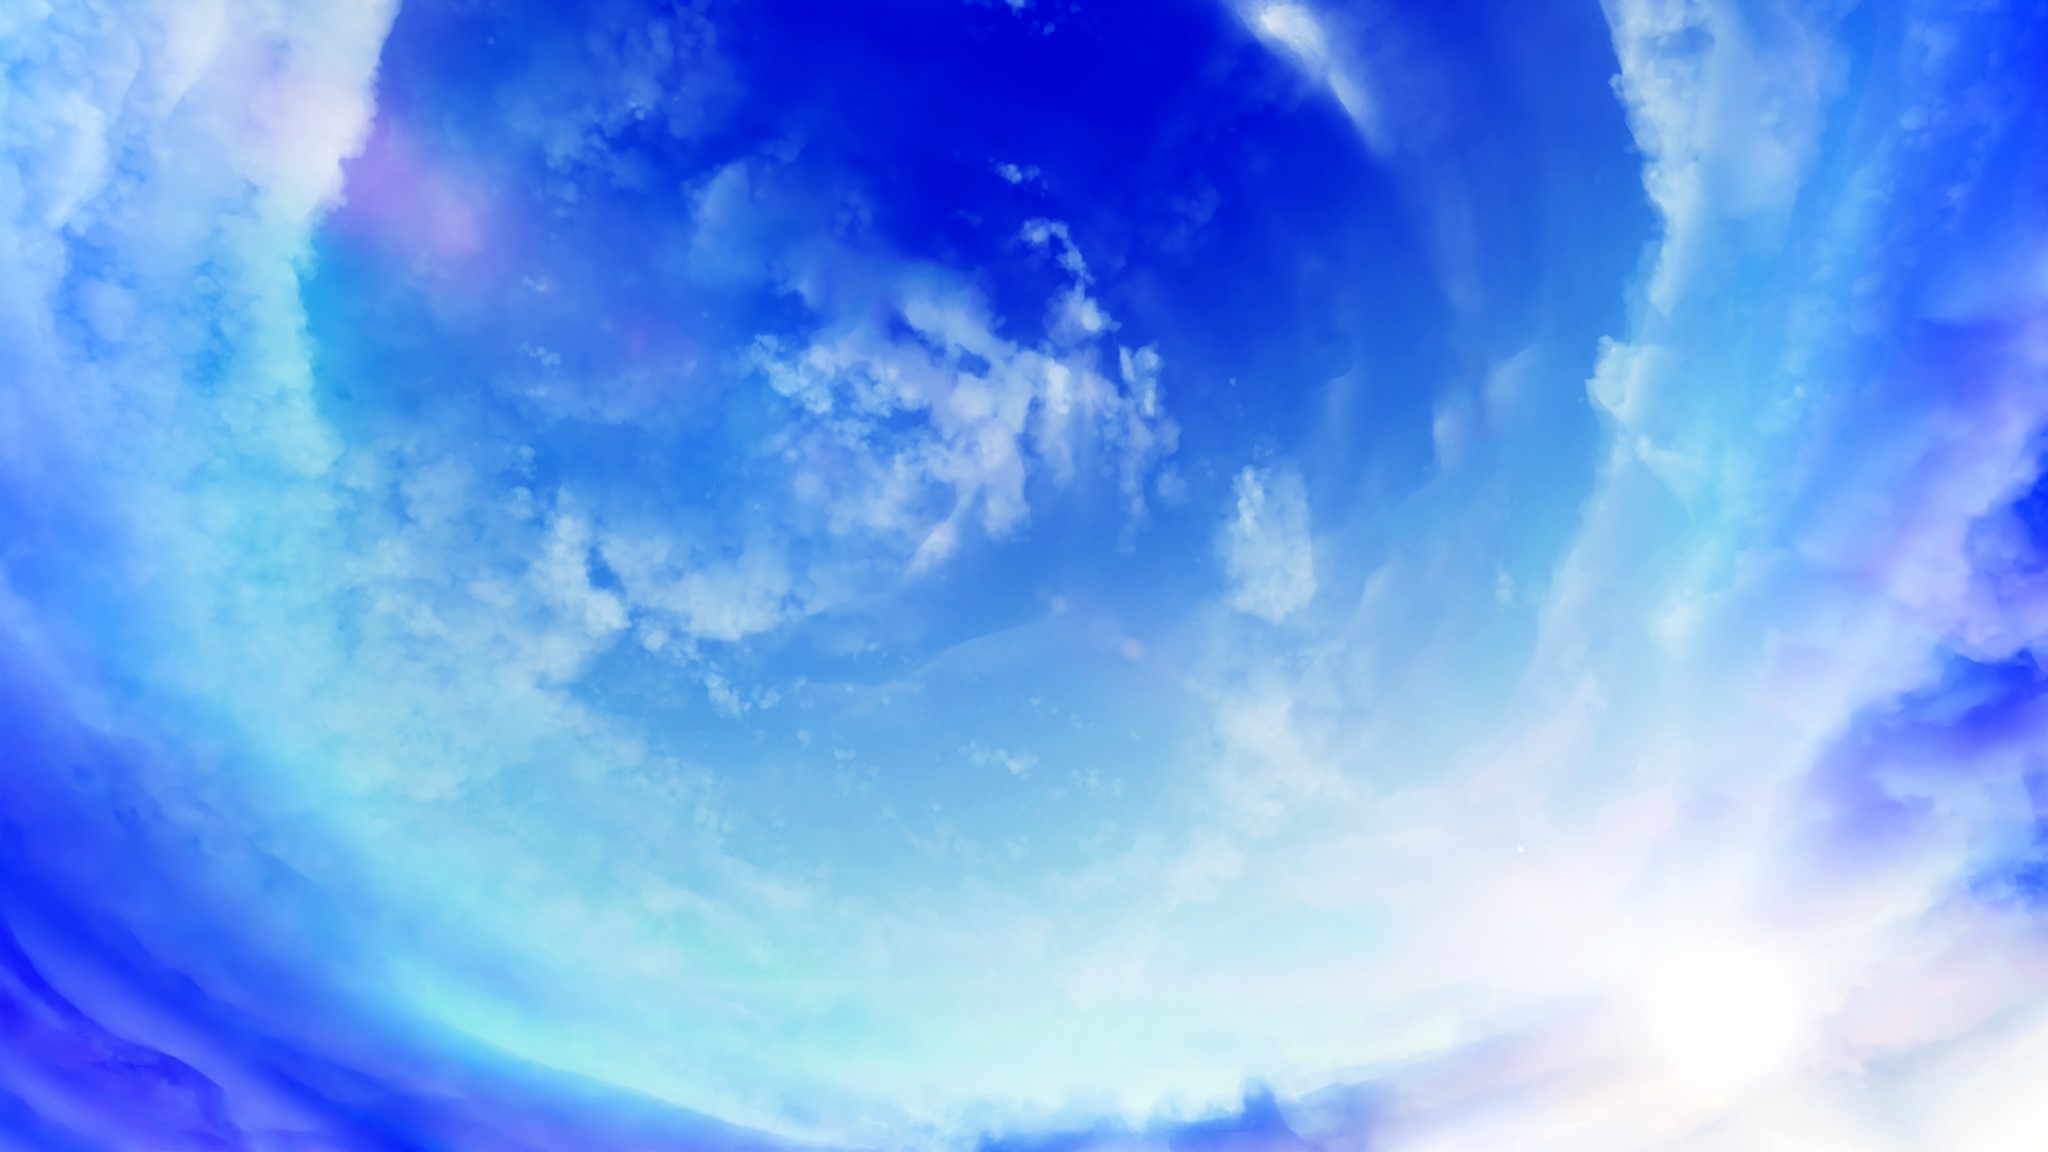
All the lighting comes from a free HDRI from Polyhaven. I boosted the brightness and contrast using the world nodes. Volumetrics are INCREDIBLY sensitive to lighting, to the point it was quite annoying to work around.
I was still very much in the early phase of learning how to light my clouds at the time, but there was a trick I found helpful. I could separately balance the brightness and contrast of the visible HDRI background and the HDRI that was casting light into the scene by combining them using a mix shader node controlled by the “In Camera Ray” output of the Light Path node. Learning to light Uber Floof is one of the main challenges I’m still working through so I can save others the struggle of figuring it out themselves.
AIR BNB 3070
Thank you for reading, I hope you enjoyed this article. Have a nice day!
About the Artist

Riley Ryan, a 3D artist originally from New Hampshire. He is currently a hobbyist 3D generalist working towards becoming a professional in the field.


