

Introduction
Hi, my name is Jason Battersby. I’m a Canadian automotive exterior designer, currently working for Audi Design in Ingolstadt, Germany. I have always been passionate about automotive design, as well as anything 3D related. Ever since my first 3D courses in college—Solidworks & Alias Studio Tools at the time—I have been drawn towards using 3D modeling as an effective design tool in my professional life, as well as for my own personal projects such as this one.
Inspiration
Since learning Blender in 2016, I’ve spent quite a bit of time making Star Wars fan art with the software. Up until this past year, they were always just static images, either existing ships or the ones I had designed myself. The idea of animating my own story has always been the goal, but with Cycles render time and my basic animation skills, I just never felt confident I could pull it off. Fast forward to 2021, having already practiced quite a bit with Eevee with great results and the discovery of Adobe’s Mixamo, I felt like I might finally have the right tools to bring my ideas to life.
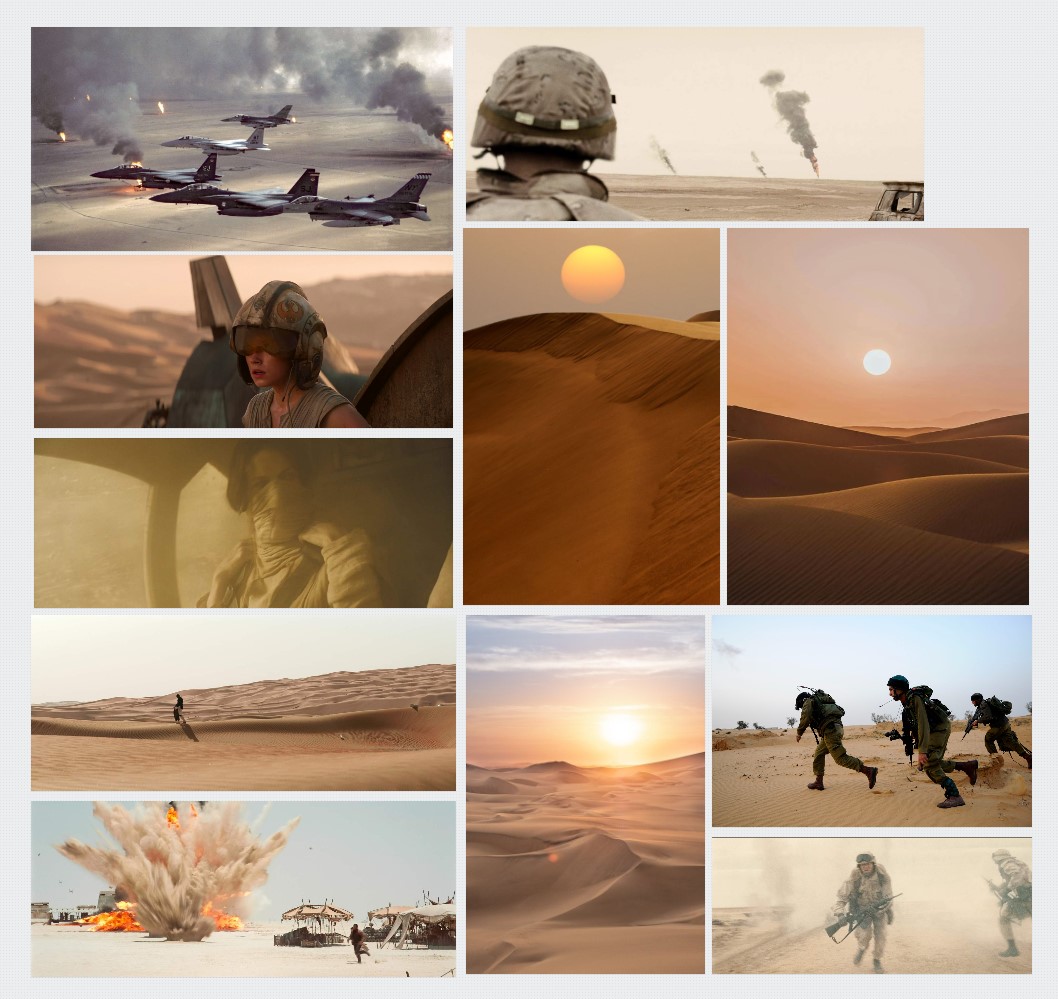
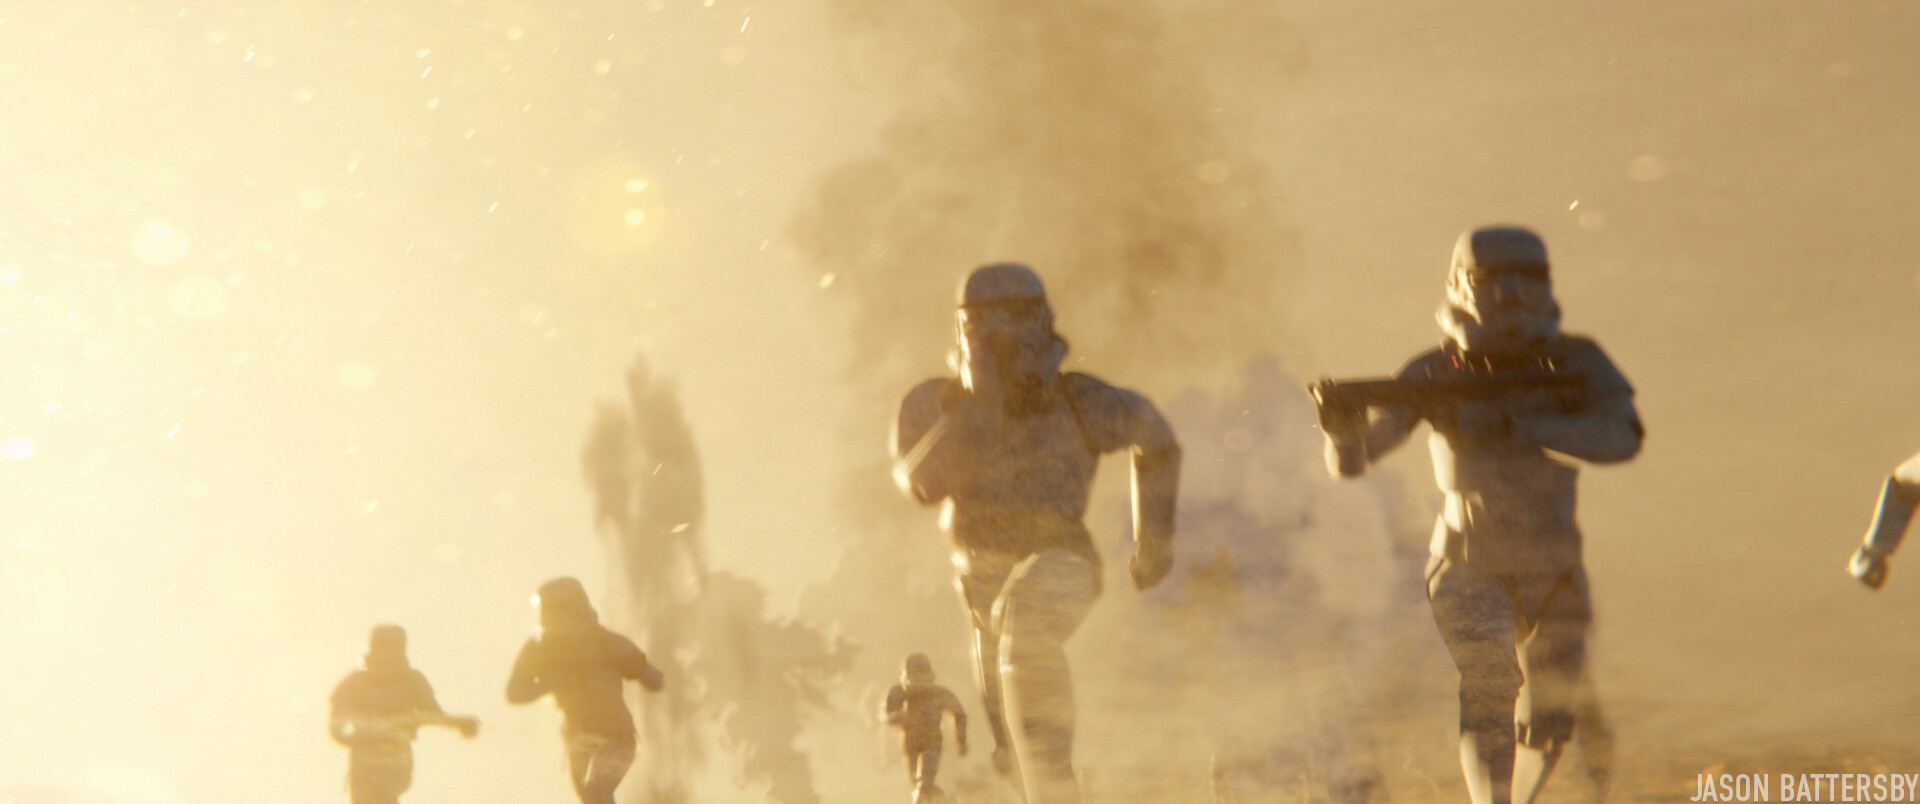
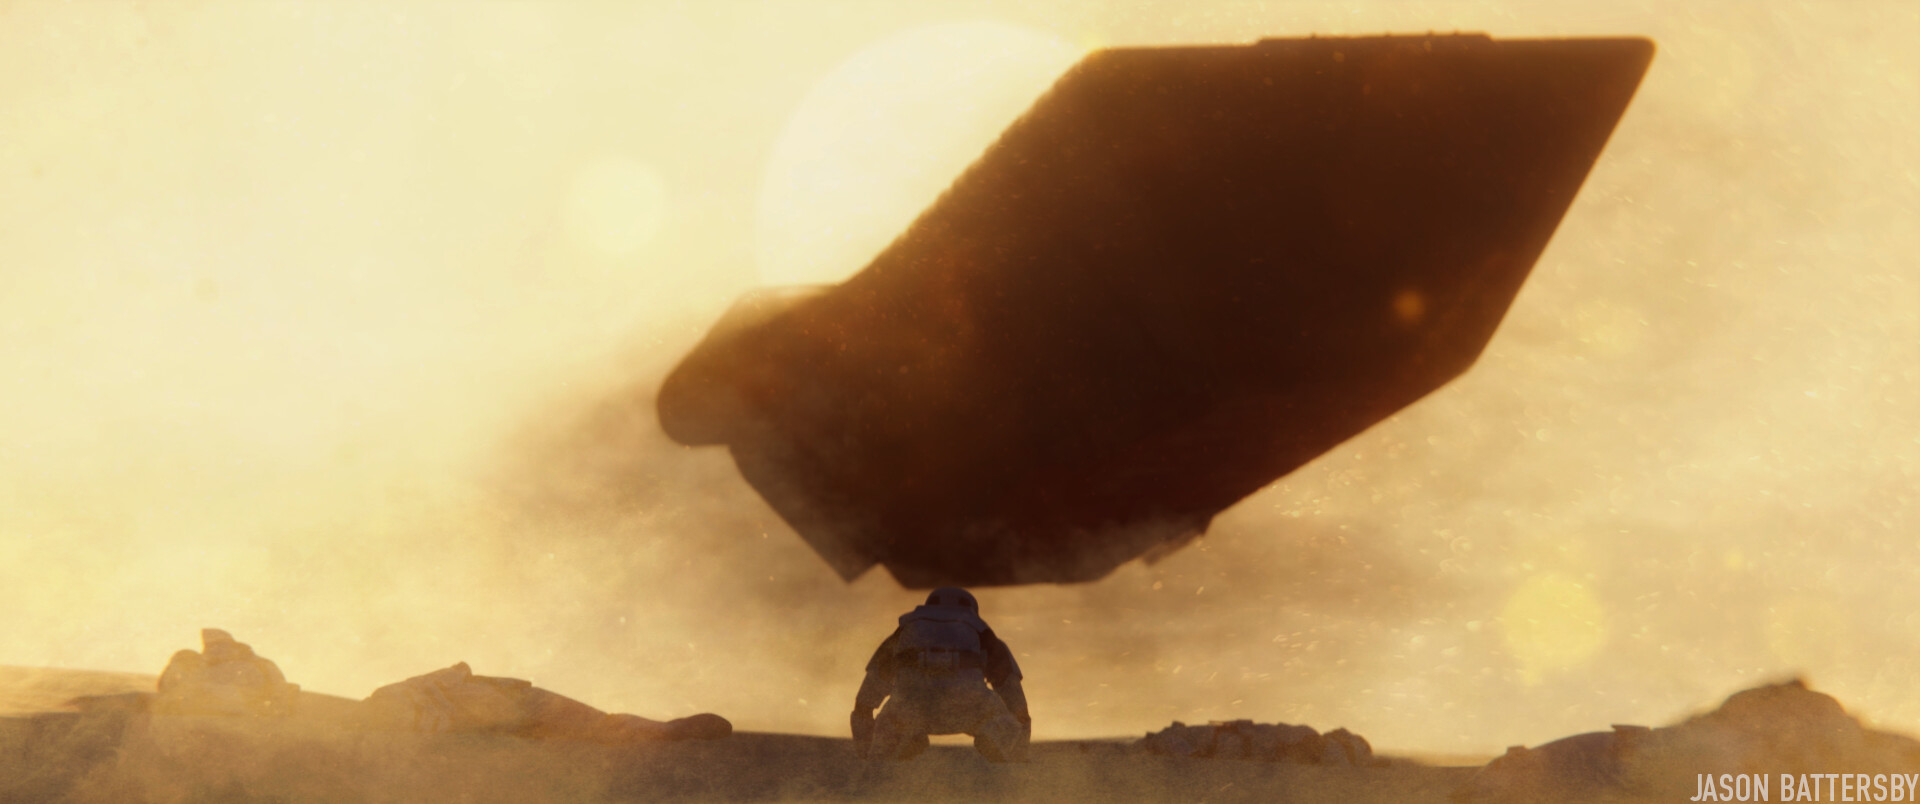
The idea for The Last Trooper was literally born out of just importing one Stormtrooper running into Blender. Why was he running? What was he running from? What planet was he on and why? These questions were what drove both the simplicity of the story, the location, and ultimately, the scale of the event. One Stormtrooper would turn into 30, and everything escalated from there. Once I had defined Tatooine as the location for its simplicity (Modeling forests, or any other type of landscape would have been a whole other challenge), I created a moodboard for the images I had in my head, while drawing inspiration from Operation Desert Storm, movies like Jarhead, 1917, Dune and various Star Wars films.
Character Breakdown
As mentioned, before discovering Mixamo’s library of stock character motions, I would have never been able to pull off animating my own character, let alone apply a rig. The beauty of Mixamo is that you can load in your character mesh, rig it using their own simplified system, and then the character is rigged with correct bones and fully keyframed for you. All you have to do is download the FBX file and import it into Blender.

Using Adobe Mixamo’s library of character actions, each action also has some characteristics you can tune to your liking on the right panel.
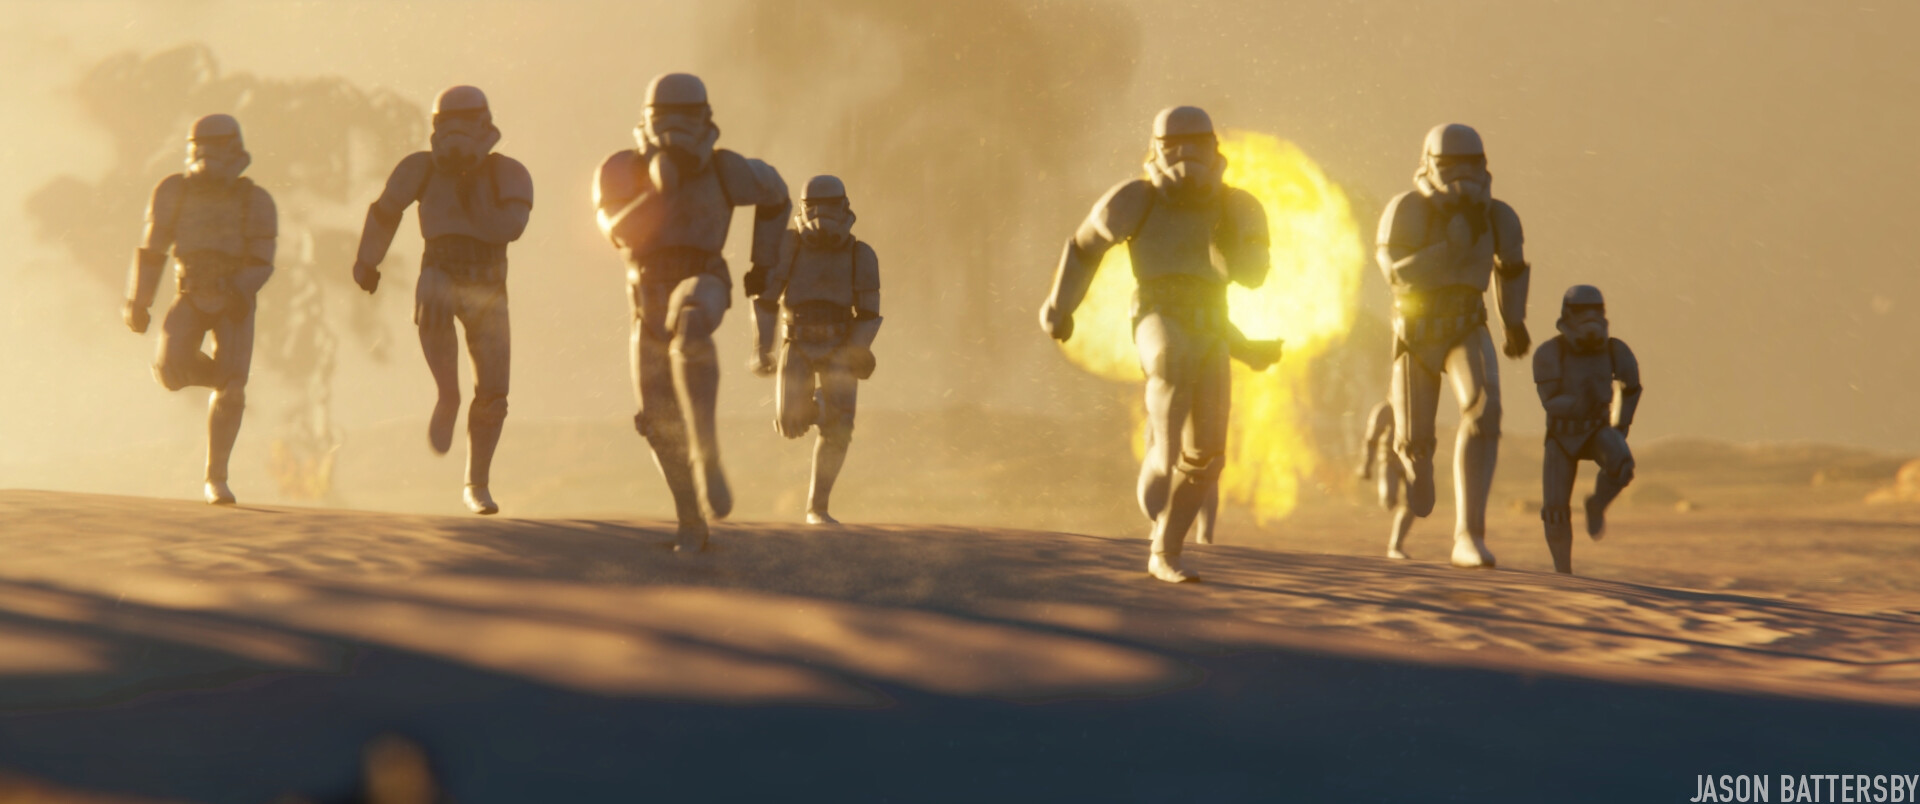
This was the first test I did with duplicating the Stormtrooper, and the shot that convinced me a short animation would be possible. Any added detail and effects I could add would just be a bonus at this point.
Story-Boarding
Then I made some very rough storyboard sketches.  As I started to build up the actual scene in Blender, I would swap out my sketches for screenshots of the actual scene, or sometimes just placeholder images found online.
First Terrain & Lighting Setup
The terrain was created using Blender’s built-in Landscape add-on.

I just played with some of the presets, especially the dune preset to get the right level of realism to match the existing shots of Tatooine.

I used a mix of those landscapes created with the addon to make a patchwork of terrain, dunes and rocky mountains in the background. The landscapes furthest from the camera were reduced in polygon size using the decimate modifier. I also used a particle system on the terrain closest to the camera to scatter various rocks and “space garbage,” all of which were loaded into a collection.
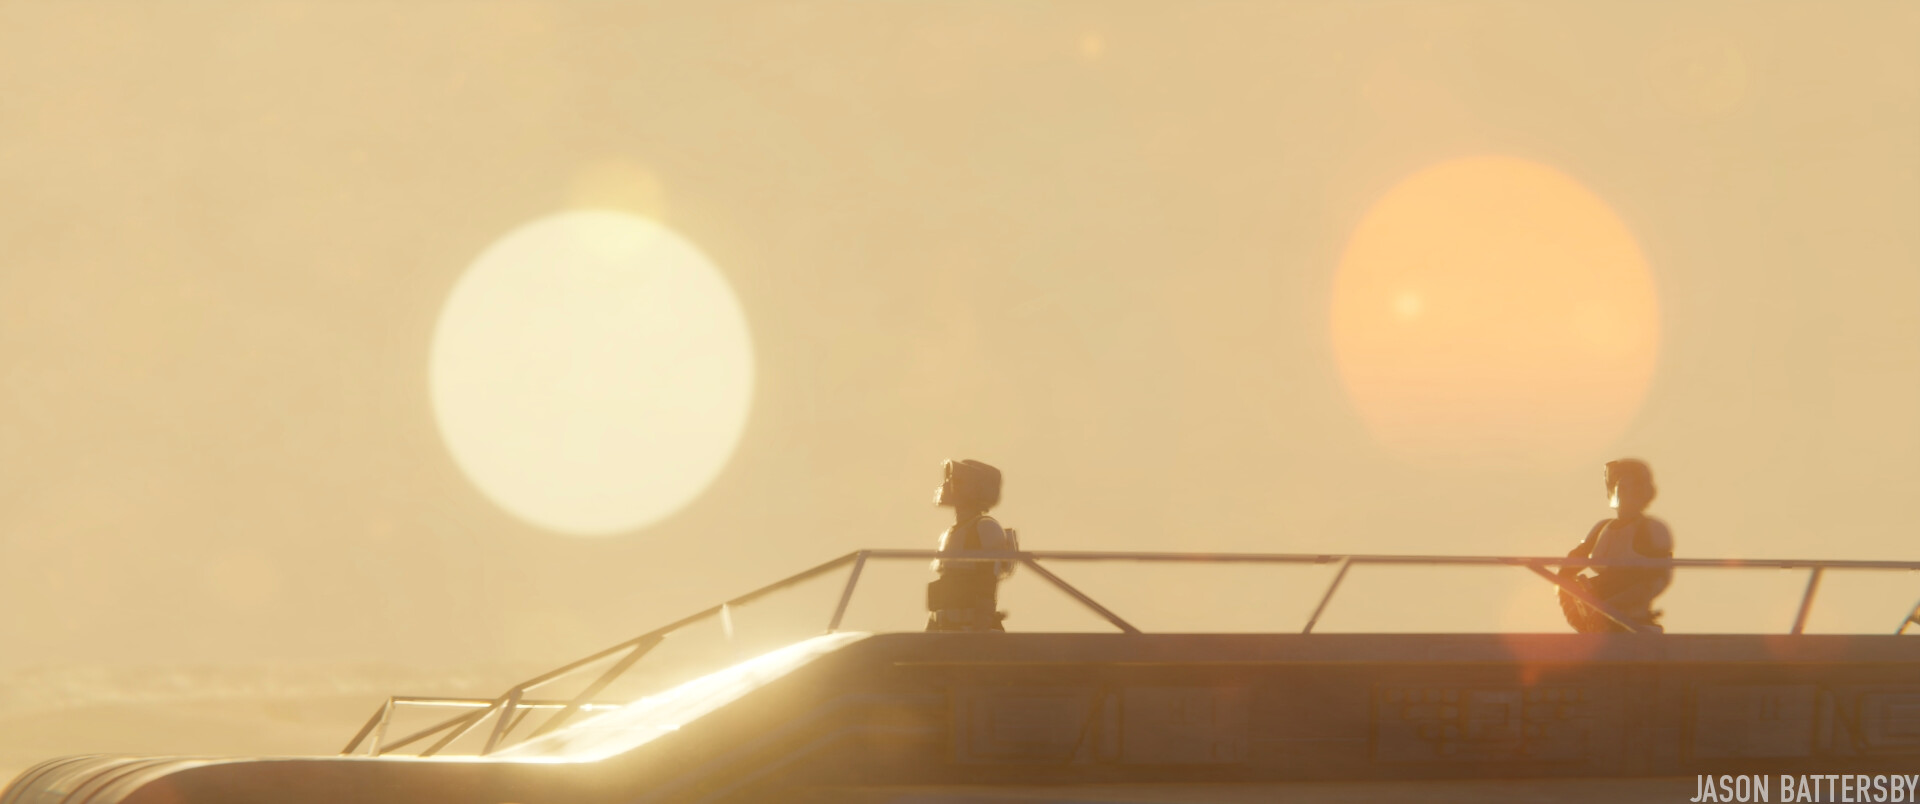
As for lighting, I wanted it to feel as natural as possible, which meant using only one light source for the sun. I found the Pure-Sky Pro add-on to be the most effective way of achieving this result. It has all of the options you would need to set time of day, and have a realistic sunset and atmosphere. I highly recommend this add-on for anyone working on outdoor scenes in Eevee.
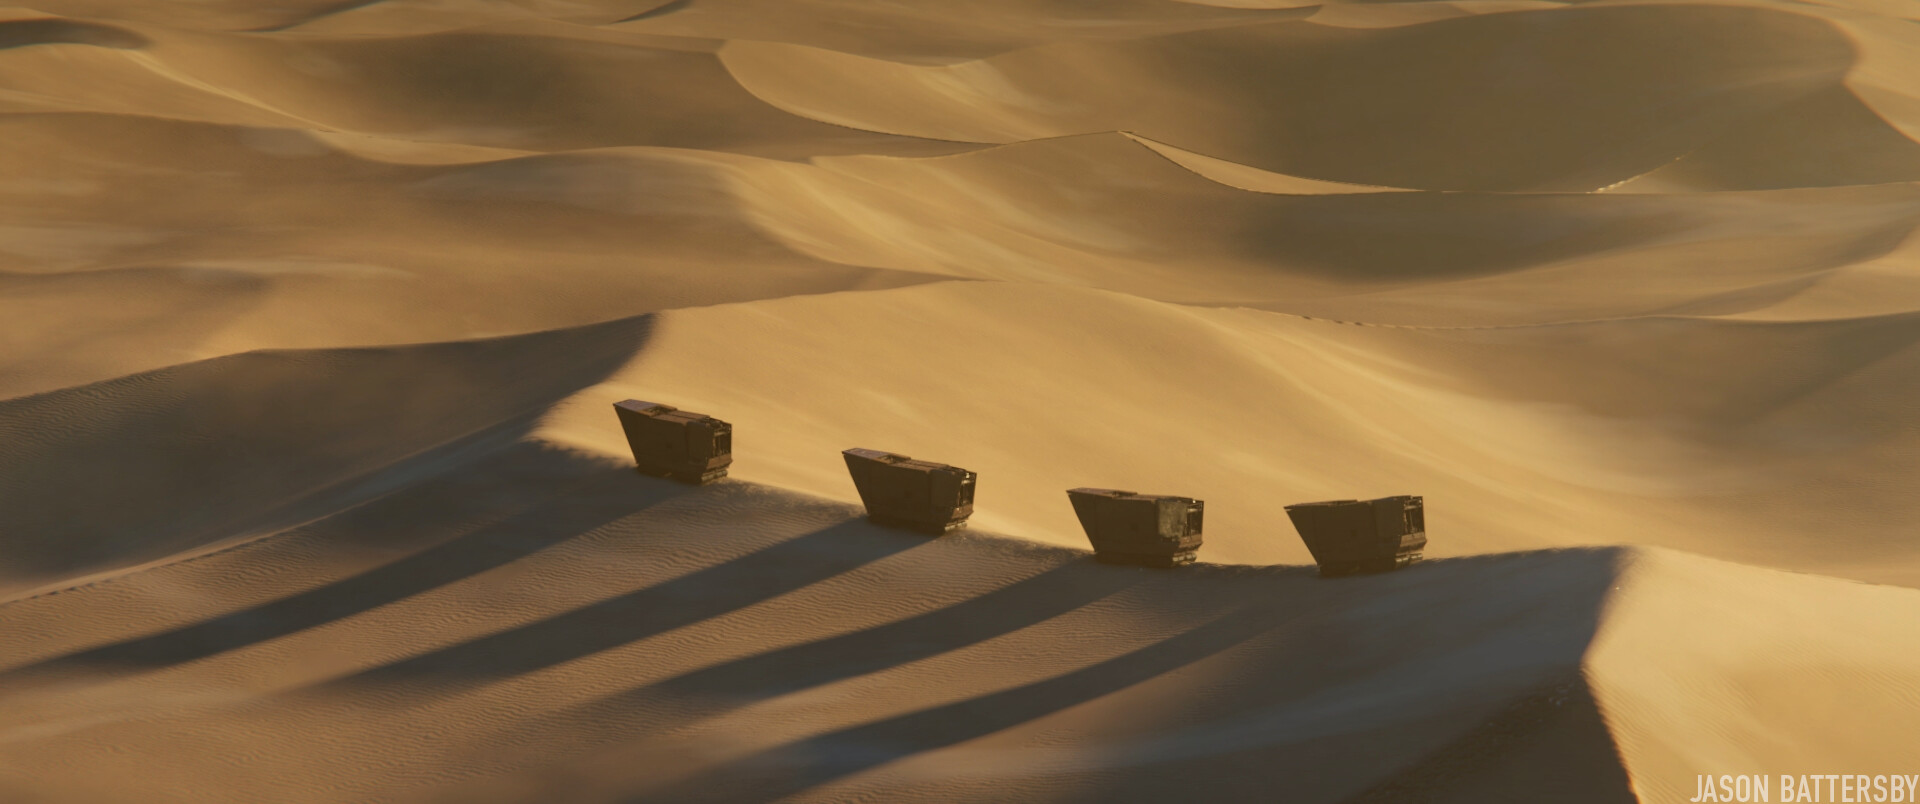
Imperial Transport Ship
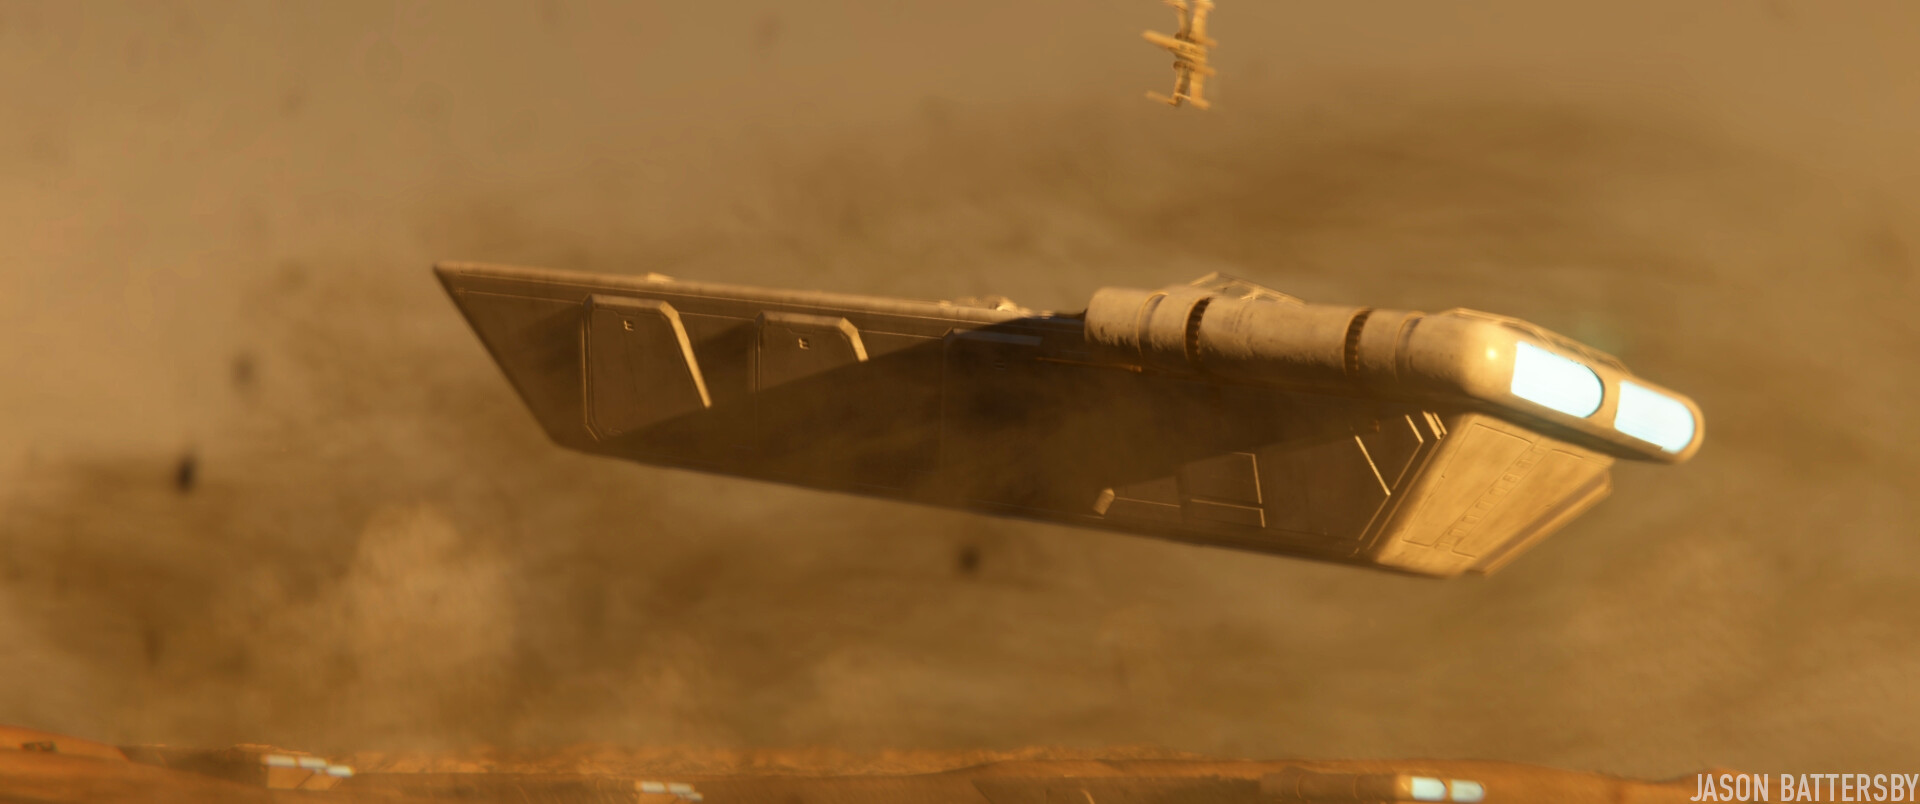
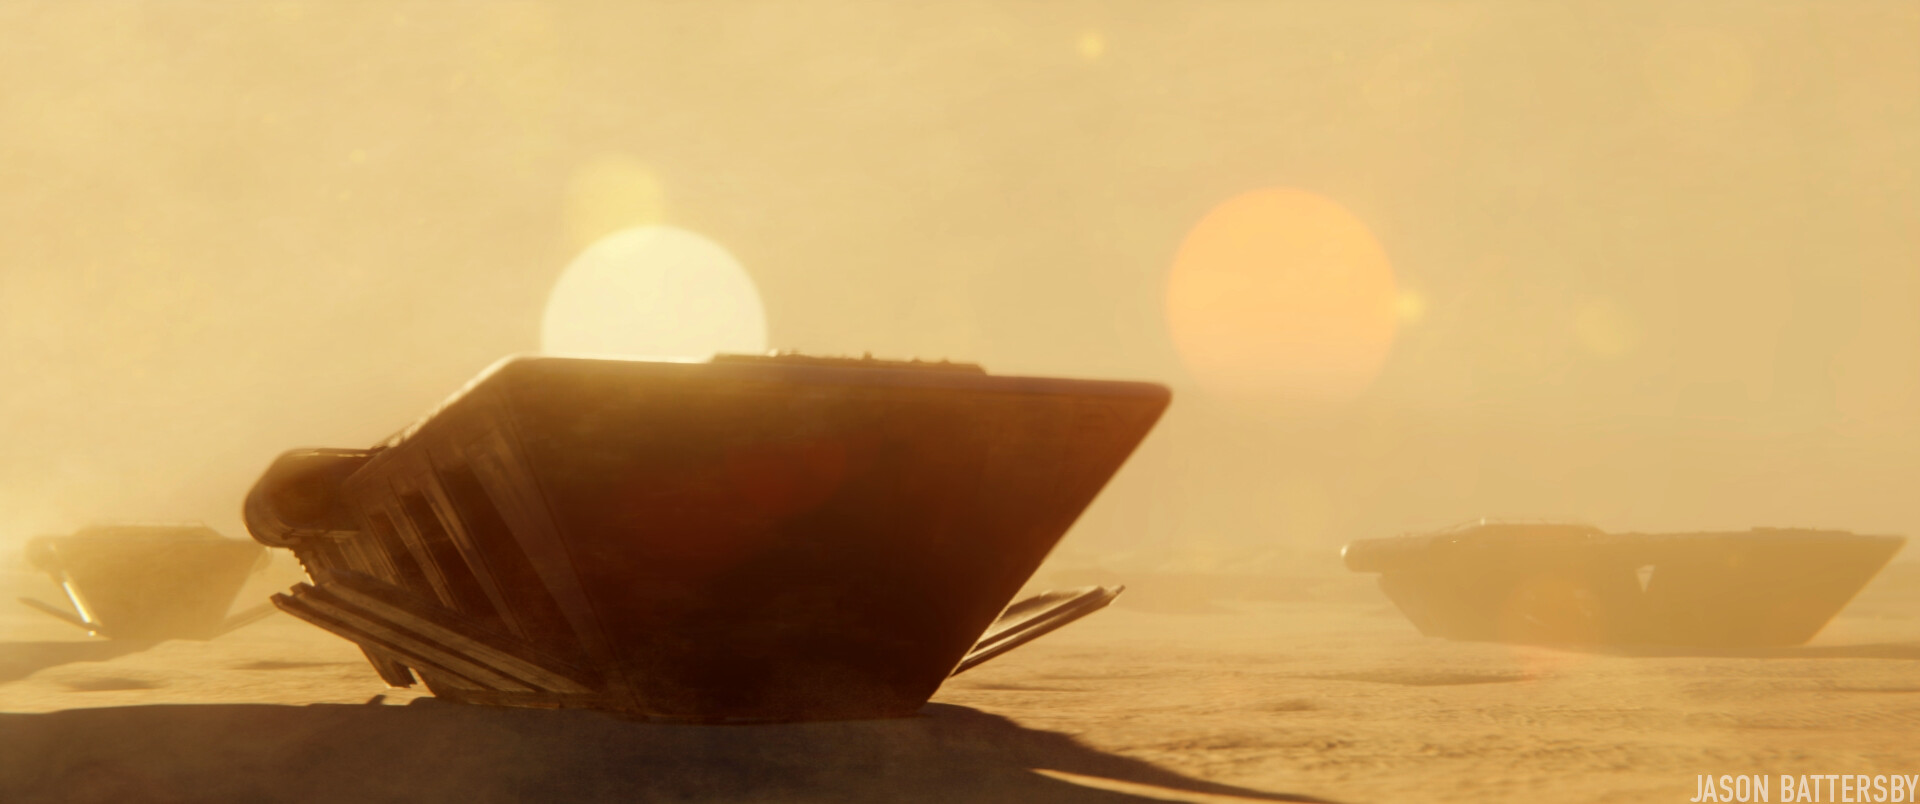
While developing the main scene, I also worked on the transport ship. The transport ship was created as a separate Blender file and was linked into the main animation scene. This allowed me to constantly improve the ship’s design and add detail, while always having it as a part of the evolving animation.

The ship was designed to feel a bit more submarine-like; one large iconic shape but with a bit slightly rounded edges. I also took a lot of inspiration from the existing Imperial Shuttle design so that it would fit in the Star Wars universe.

Camera Moves & Shot Planning
In order to achieve realistic camera moves, Eevee’s viewport and the “Walk Navigation” allowed me to find natural shots as if I was there on location.
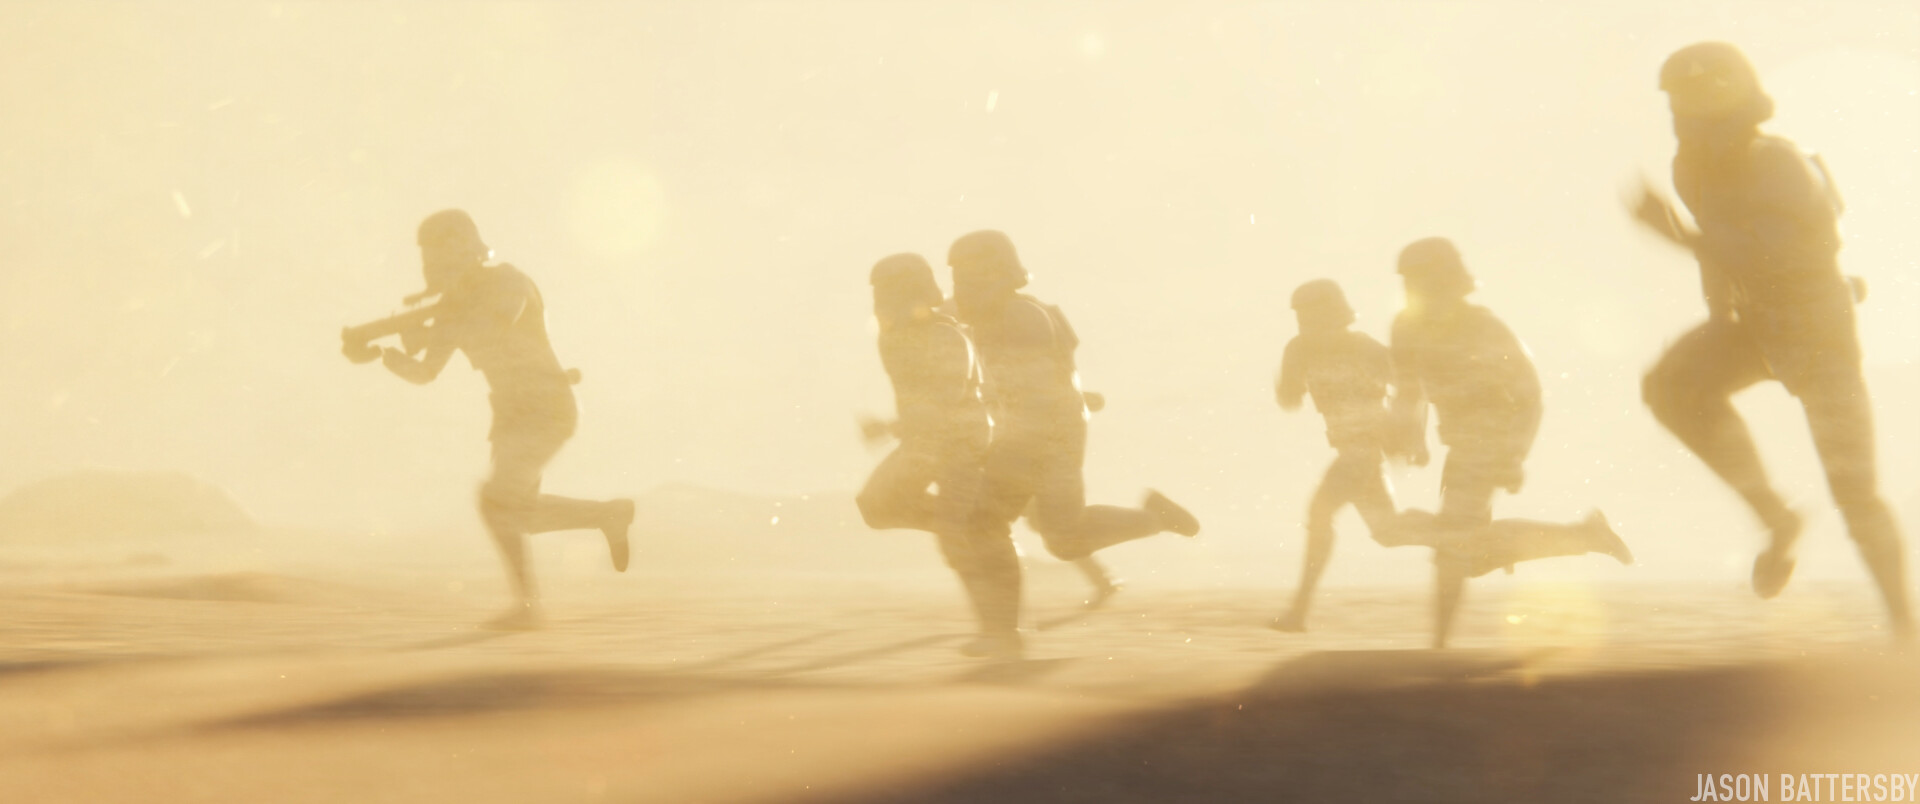
Using reference images from movies helped me to find what focal length and compositions would make my shots feel more cinematic.
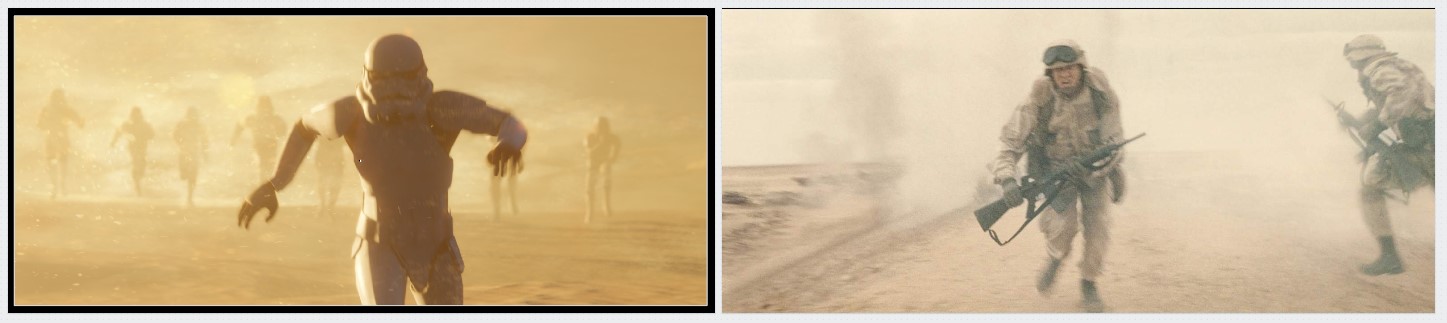
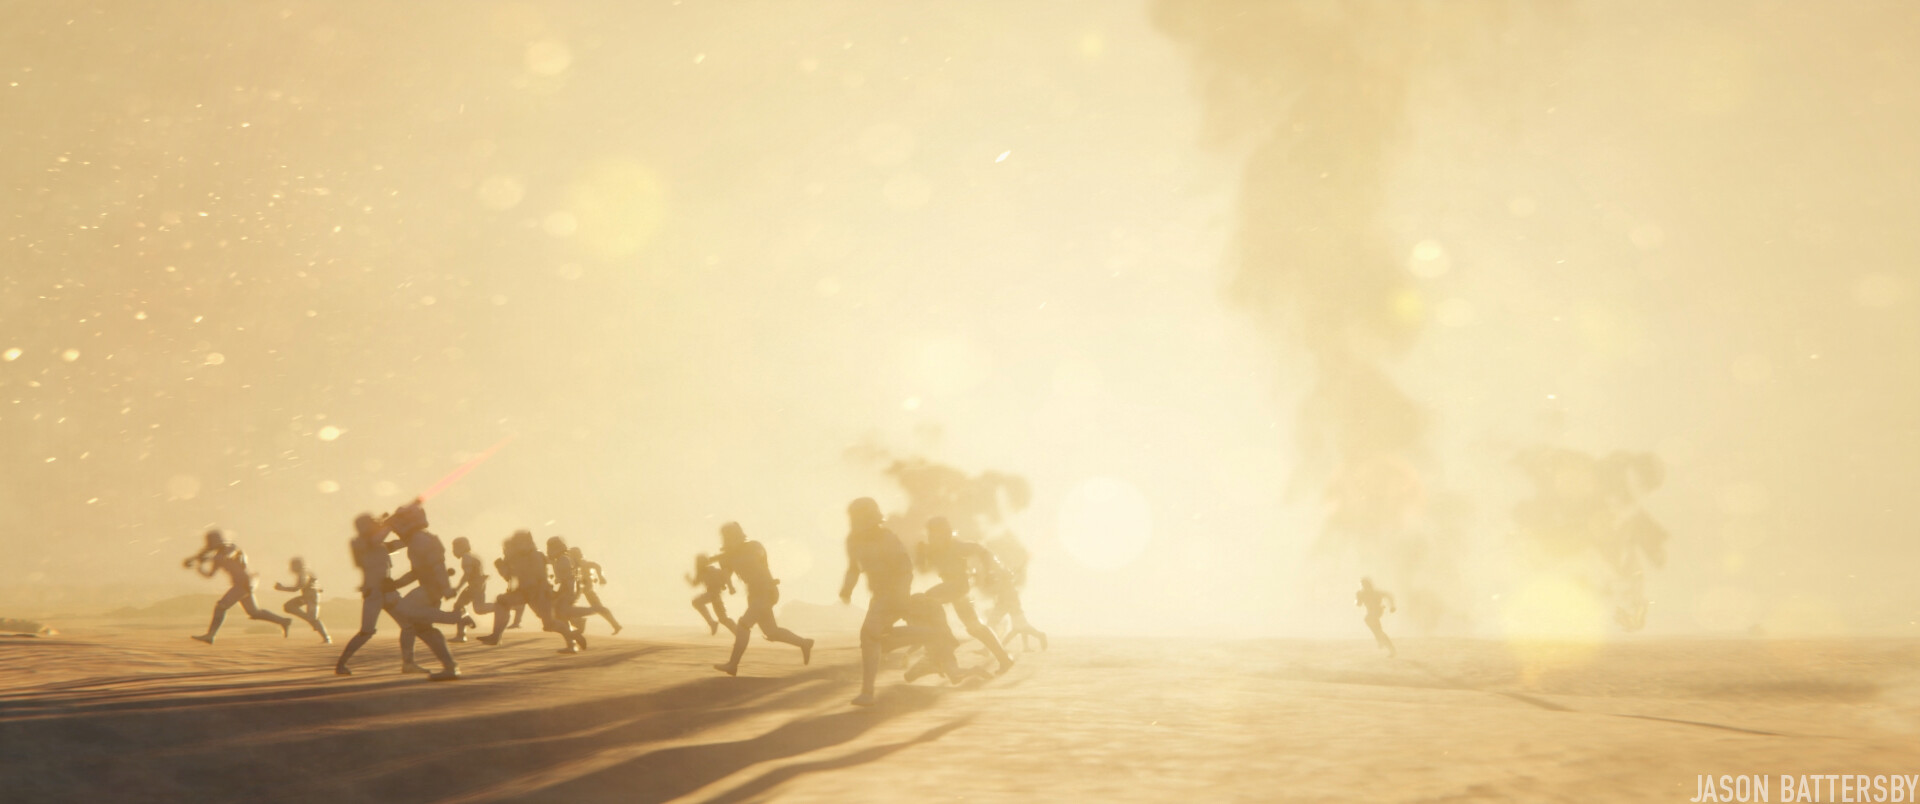
War films such as Jarhead helped shape how I should capture the chaos of the Stormtrooper’s running.
For example, on the right I’ve highlighted Camera_Shot_22 in the outliner. This shot utilized a 50mm focal length and traveled alongside the troopers. In the top viewport, you can see the amount of cameras, some of which didn’t make the final cut. Again, being able to see everything rendered in the viewport allowed for plenty of experimentation with different shots, similar to Unreal engine. The difference here, from modeling to the final animation, is that I never once had to leave Blender.
VFX & Stock Footage
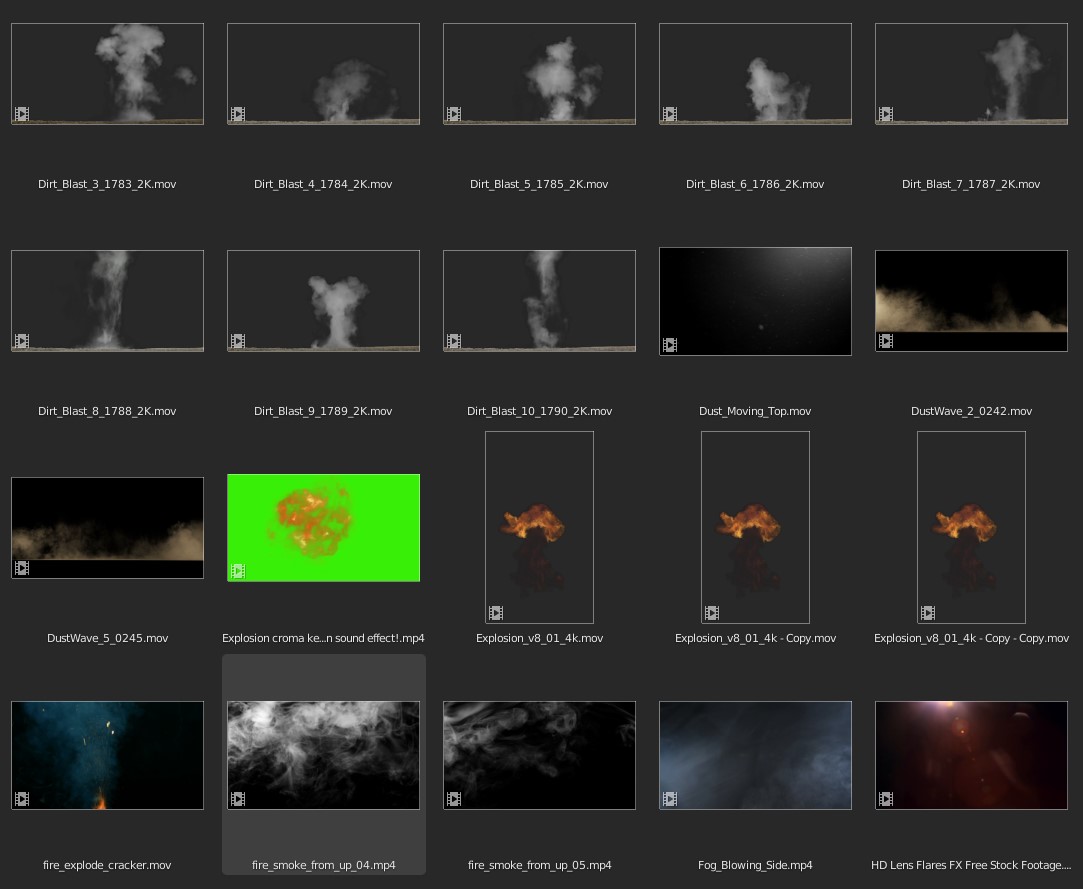
During a real attack such as this, you would definitely experience explosions of sand, dust, etc. The idea of doing everything with smoke simulations and stock VDB animations just would not work, as they were all too heavy when imported or too time consuming to create a realistic effect. Instead, I used stock video footage of smoke, dust, dirt, all imported as planes or “cards” using the “Import image as plane” add-on.
My library of free and purchased stock footage of real smoke and dust effects.
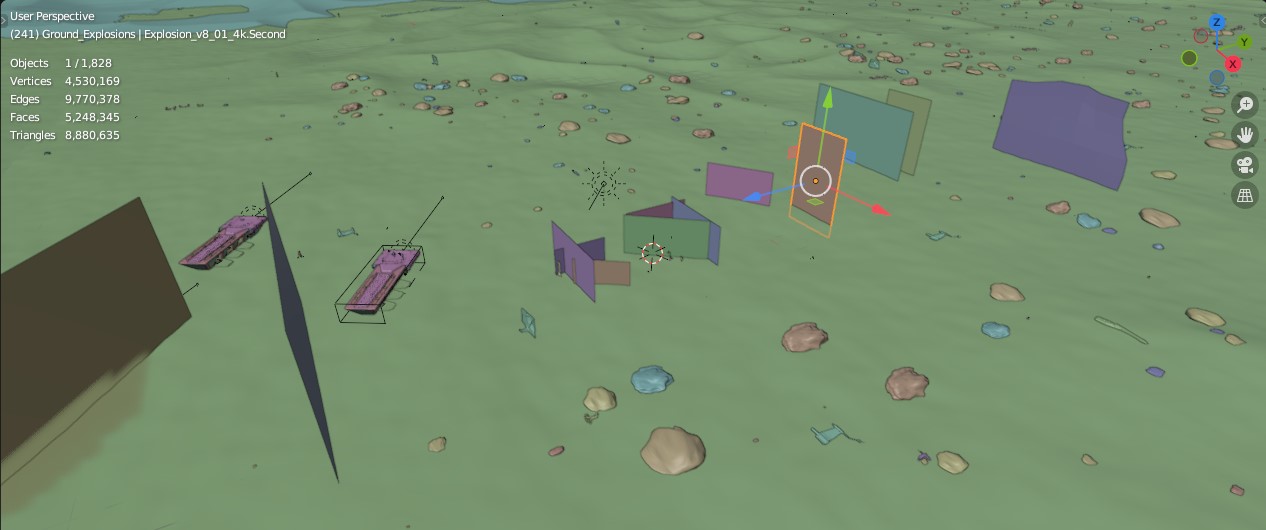
Here’s an example of how those stock videos were placed, depending on the desired effect from the camera’s perspective.
For some added detail, I also plugged the color of the smoke into a Bump node and then to the normals. This added some light to pick up some highlights on the dust and feel more natural as if it was part of the environment. These video cards were also playable in the viewport which helped to visualize the scene and curate the action.
An overview of how the dust and explosion “cards” were placed in the scene.
Shot-by-shot Improvements using the Storyboard
This was my final “shot list” for the animation on my Milanote board. It was an excellent way of having an overview of each shot’s composition and color continuity. It was a working document, in which every time I updated a shot because of mistakes or general improvements, I would swap out the image on the board.
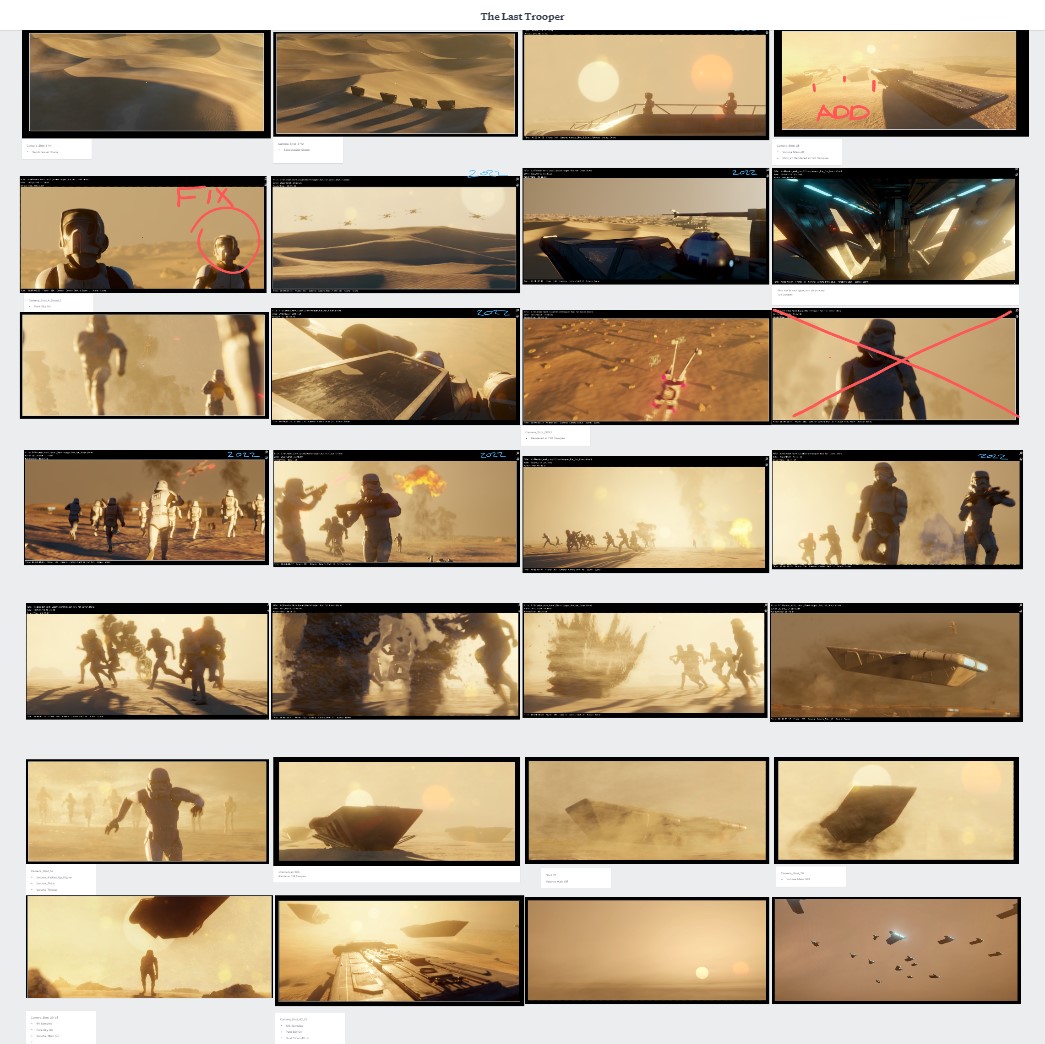
Because of Eevee’s rendering speed, I could render a shot almost every night, and just be constantly updating this board to see a day-to-day progression of the film. The beauty about the Milanote board was also the ability to draw right on top of the images, and keep notes below.
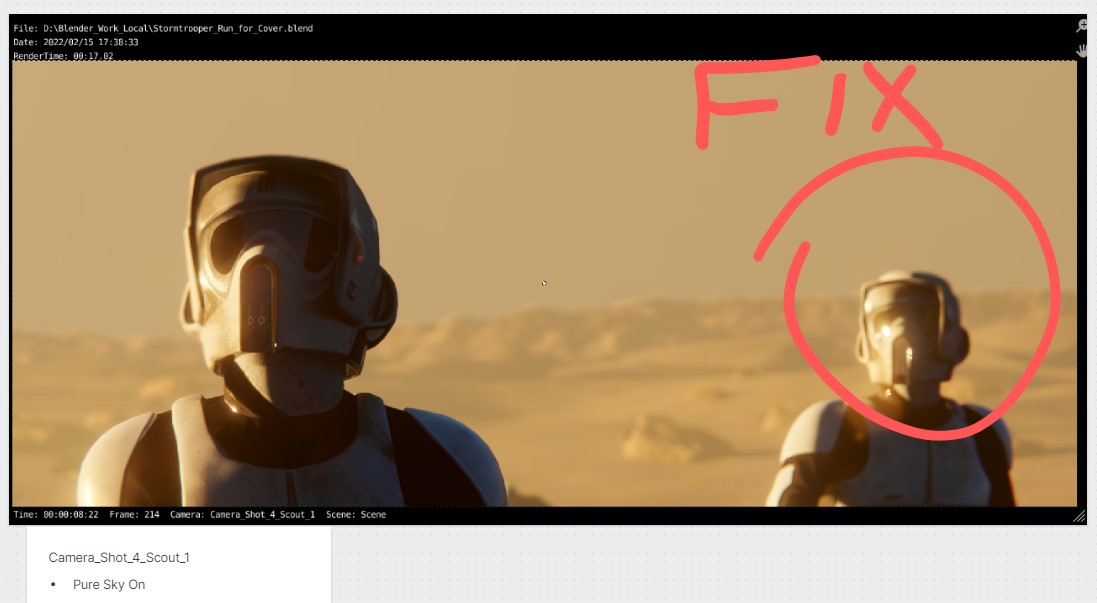
Again, having this active board was invaluable for spotting problems and writing down Blender settings that might have been specific to each shot. In some cases, I didn’t work on the film for 4-5 weeks at a time, so having those notes for each shot made it much easier to return to the project without feeling overwhelmed with where I left off.
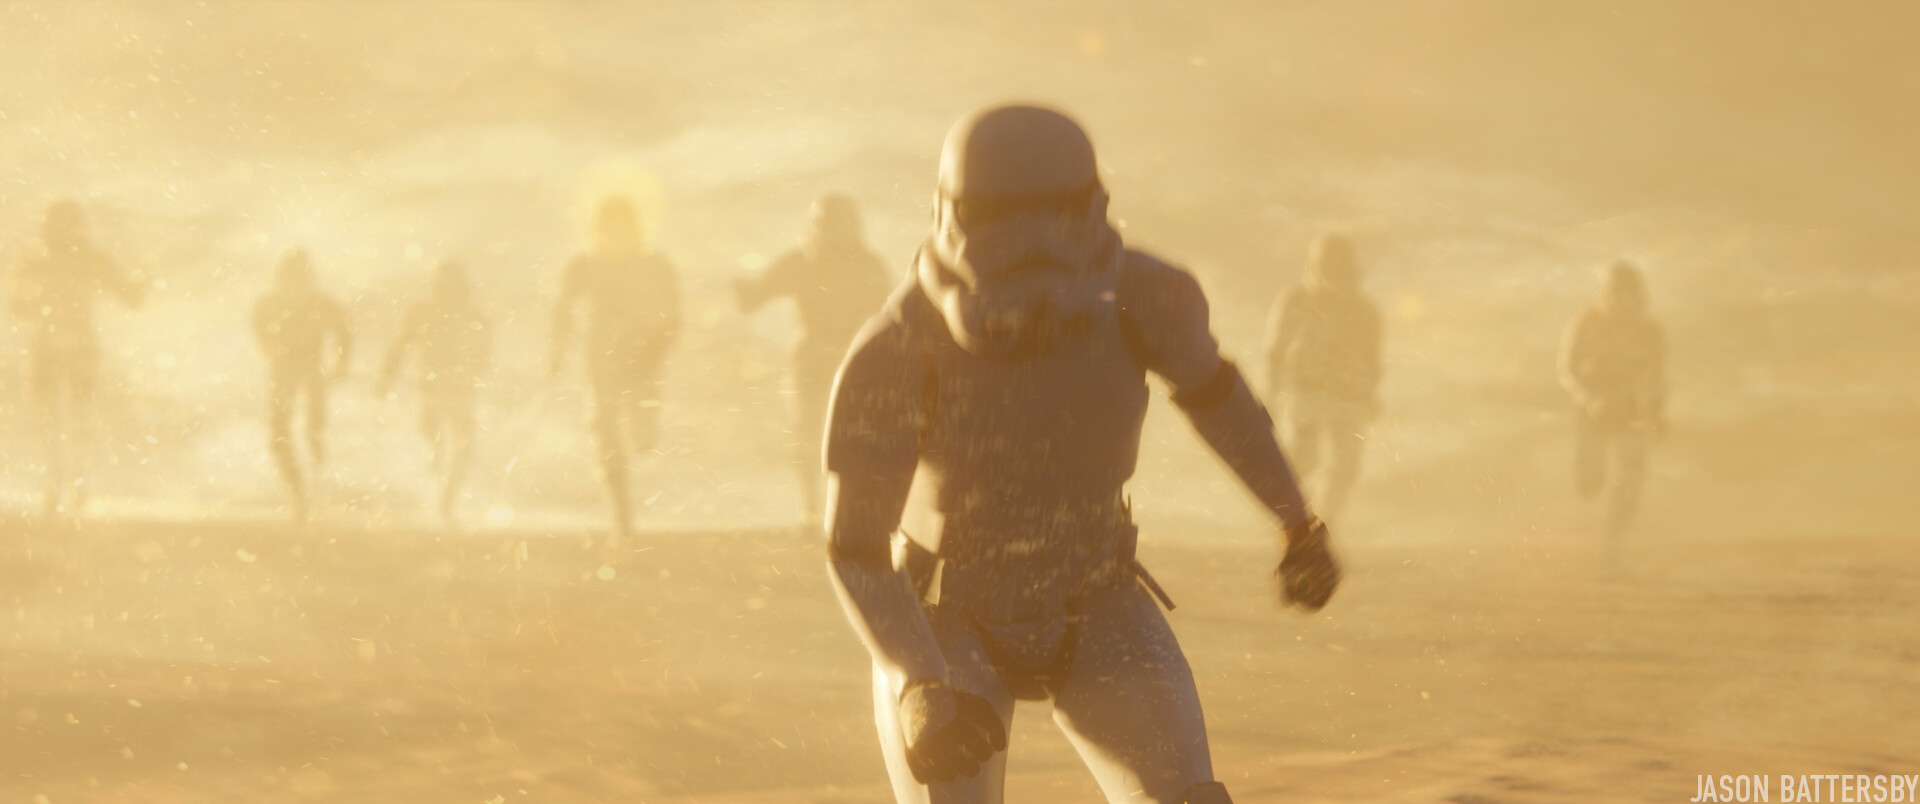
A large part of increasing the quality, realism and cinematic feel of the final frames was done with Blender’s compositor. There, I added lens distortion, enhanced color, contrast, and added lens’ dirt effects and scratches. Along with the motion blur from Eevee, the final frame is much more alive than the viewport render.
A look at my final compositor node setup.

Final Edit
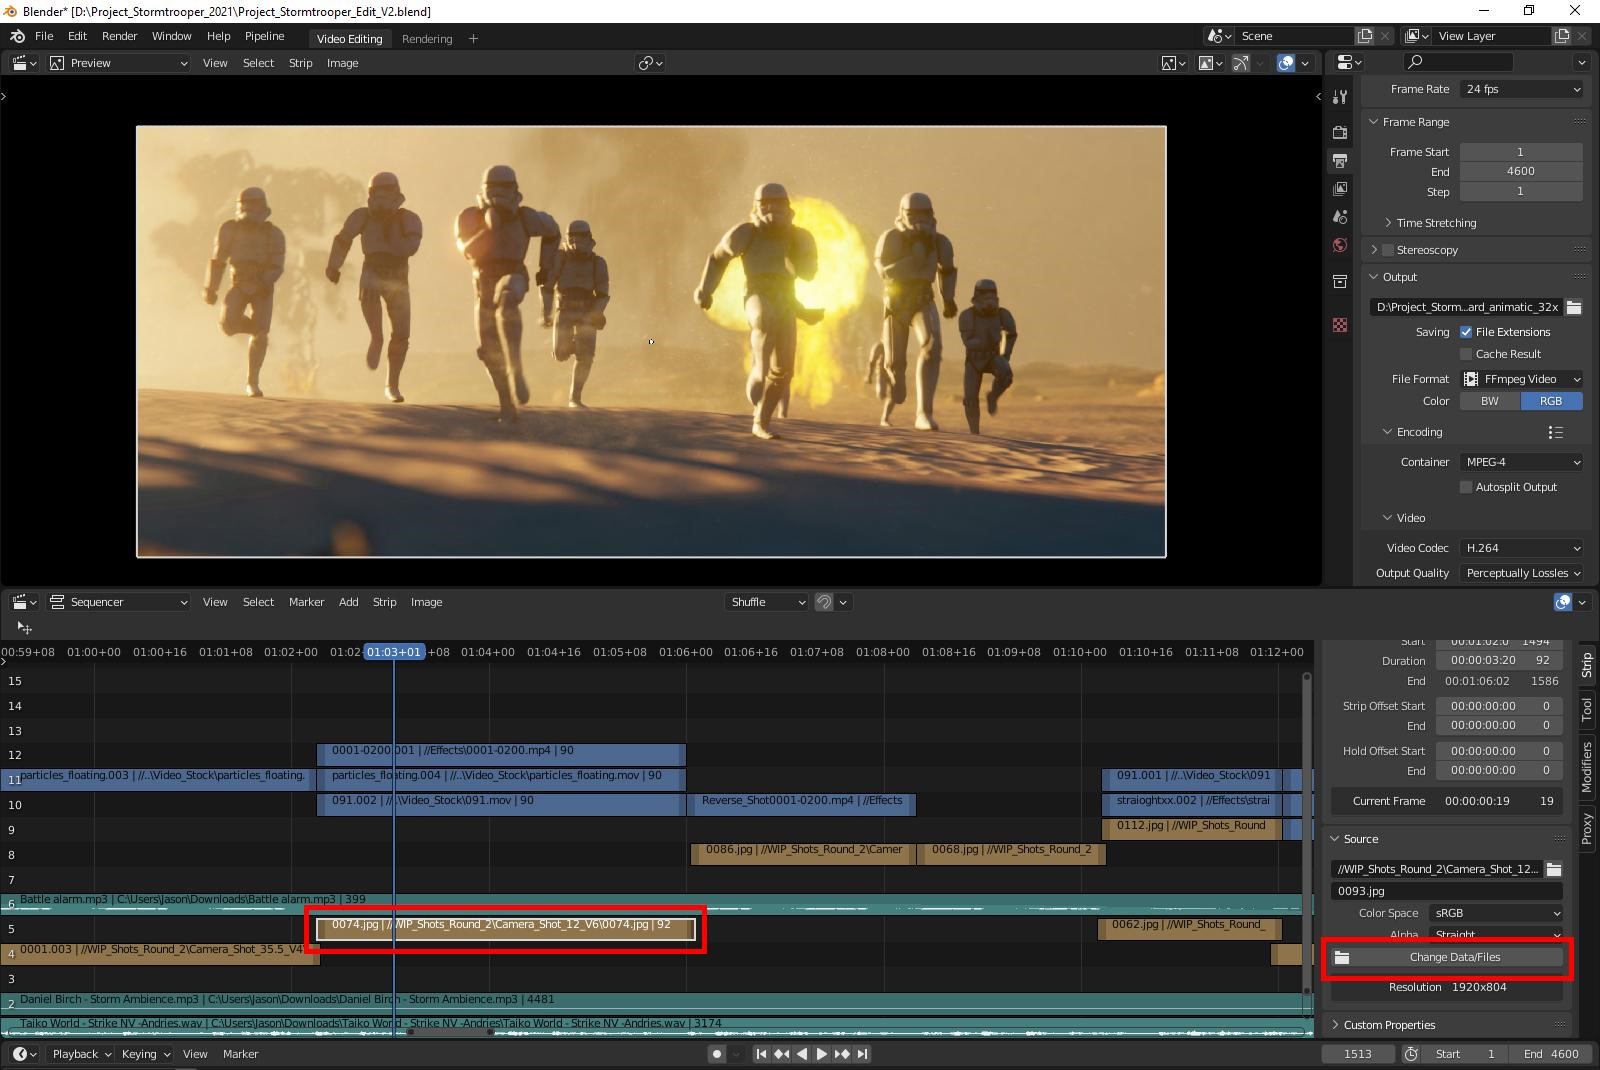
The animation was also edited completely in Blender. The Beige clips are the shots that I rendered out as 16 Bit PNG image sequences. The blue clips are additional sand and lens flare overlays which added another layer of grit and life to each shot.
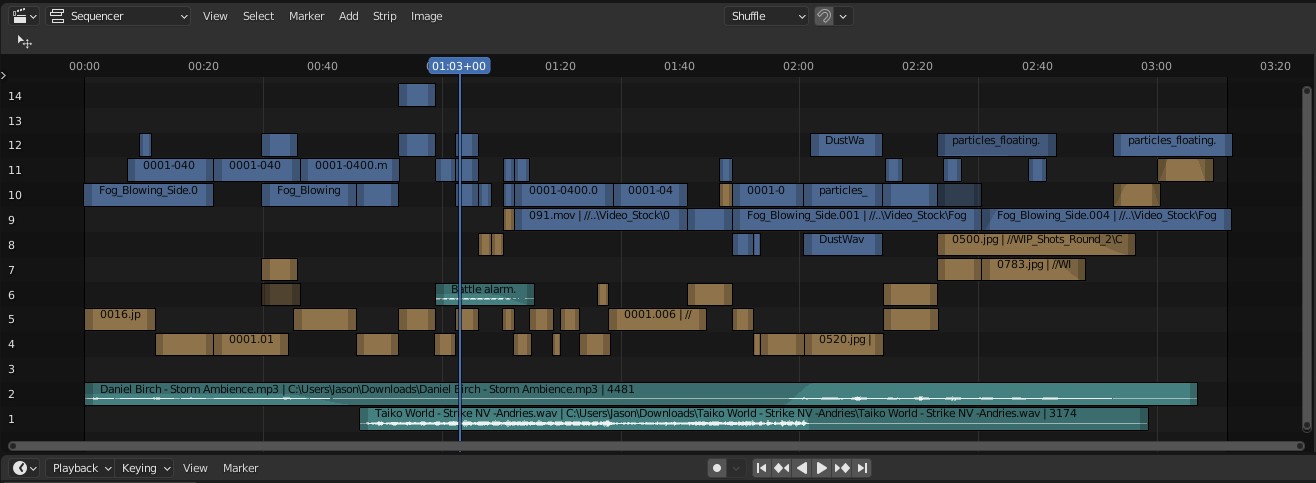
The benefit of this method was that I could update each shot using the Change Data button for each strip in the timeline, and not disturb the edit and the added effects on top.
The Last Trooper


Thank you for reading my article, and I hope it helps you in some way.
If you have any questions please write them in the comments below, have a great day!
About the Artist
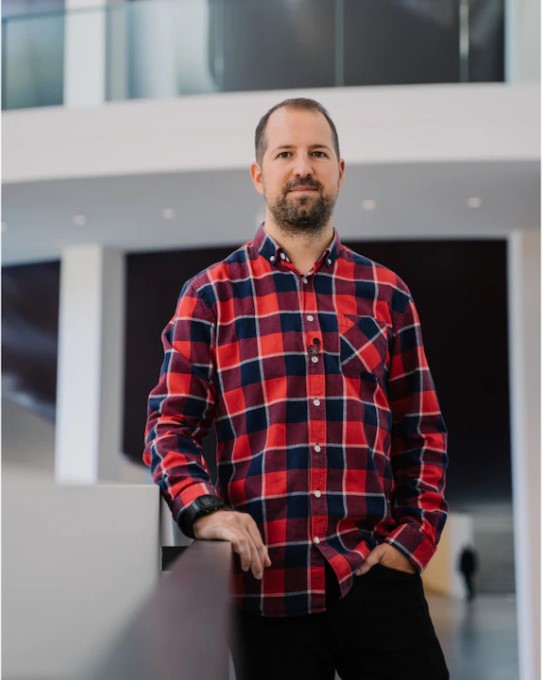
Jason Battersby, a Automotive Exterior Designer, currently working for Audi Design in Germany.
5 Comments
Incredible visuals, you really get the sense of dread of being left behind. Great music, and I like the creative choice not to use extra sound effects. Animation is top notch, feels very organic. Great work all around.
The breakdown is fantastic, such a good read. I love the detail that you put into it and going through your process, how you refined your shots. Your storyboard art is impressive in itself. I'm really going to try to recreate some of your lens effects as you are absolutely correct, they made it feel so much more visceral.
I'm working on my own short film, and this is inspiring me to try to switch some of my shots over to Eevee, as it really shines in your film.
All around fantastic job, so proud to see this was all done in Blender. Keep up the amazing work Jason!
Thanks for your comments, I really appreciate them. You're also the first person who recognized not putting sound effects was a creative choice, cheers for that! I'm looking forward to seeing your work, please comment where I might be able to find it. Cheers!
I appreciate you asking. Here is the intro to our short film:
https://youtu.be/CqQEb3yQTks
And an animation of the Yoda model I made:
https://youtu.be/yLi4DFj6fko
Jaw dropping. Seriously amazing.
Thank you very much!