Behind the Scenes: Early Morning Fog
Introduction
Hi all! My name is Thijs de Bruin and I’m a 3D artist from Rotterdam, The Netherlands. Currently, I’m working full-time at an architectural visualization company called De Beeldenfabriek in Rotterdam. Besides my full-time job, I’m working as a freelance 3D artist for my own company Bureaubruin.
My main focus at the moment is Architectural Visualization, but I also like to work on Product- and Landscape visualizations.
Inspiration
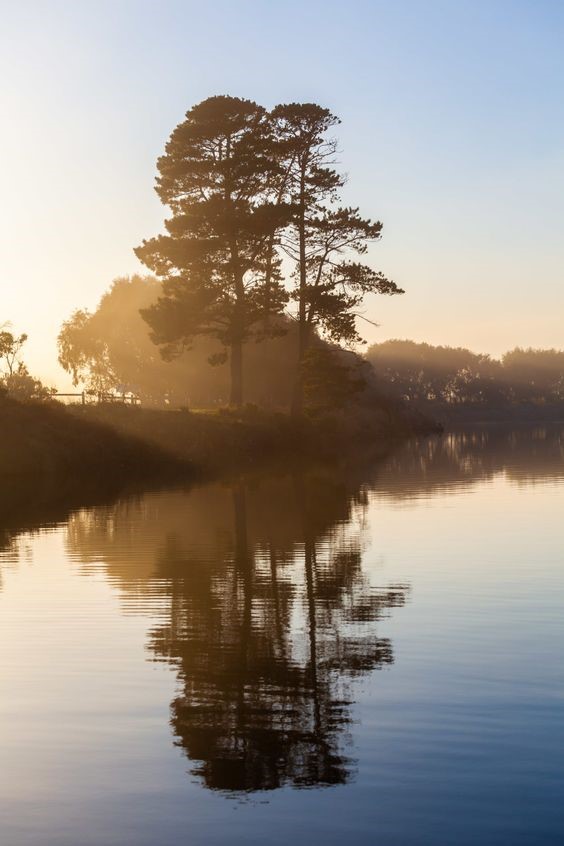
I always find my inspiration over on websites like Pinterest, Instagram and Behance. For this particular project, I found an interesting Photograph on Pinterest. I really liked the composition and the overall atmosphere in this photo so I decided to recreate it the best way I could within Blender.
Recreating photographs has always helped me to grow as an 3D artist as it forces me to look deeply into every small aspect of a picture, and forces me to expand my knowledge of different aspects of 3D. The knowledge that I gain in these recreation exercises will take my personal and client work to new levels.
Trees
For the trees, I decided to use The Grove addon. This add-on is wonderful for Blender to generate your own trees. It might be a bit expensive, but in my opinion, this is cheaper than buying high-quality tree models for each project. And The Grove gives me full control over the shape and sizes of the trees, and I like to have full control over my image.
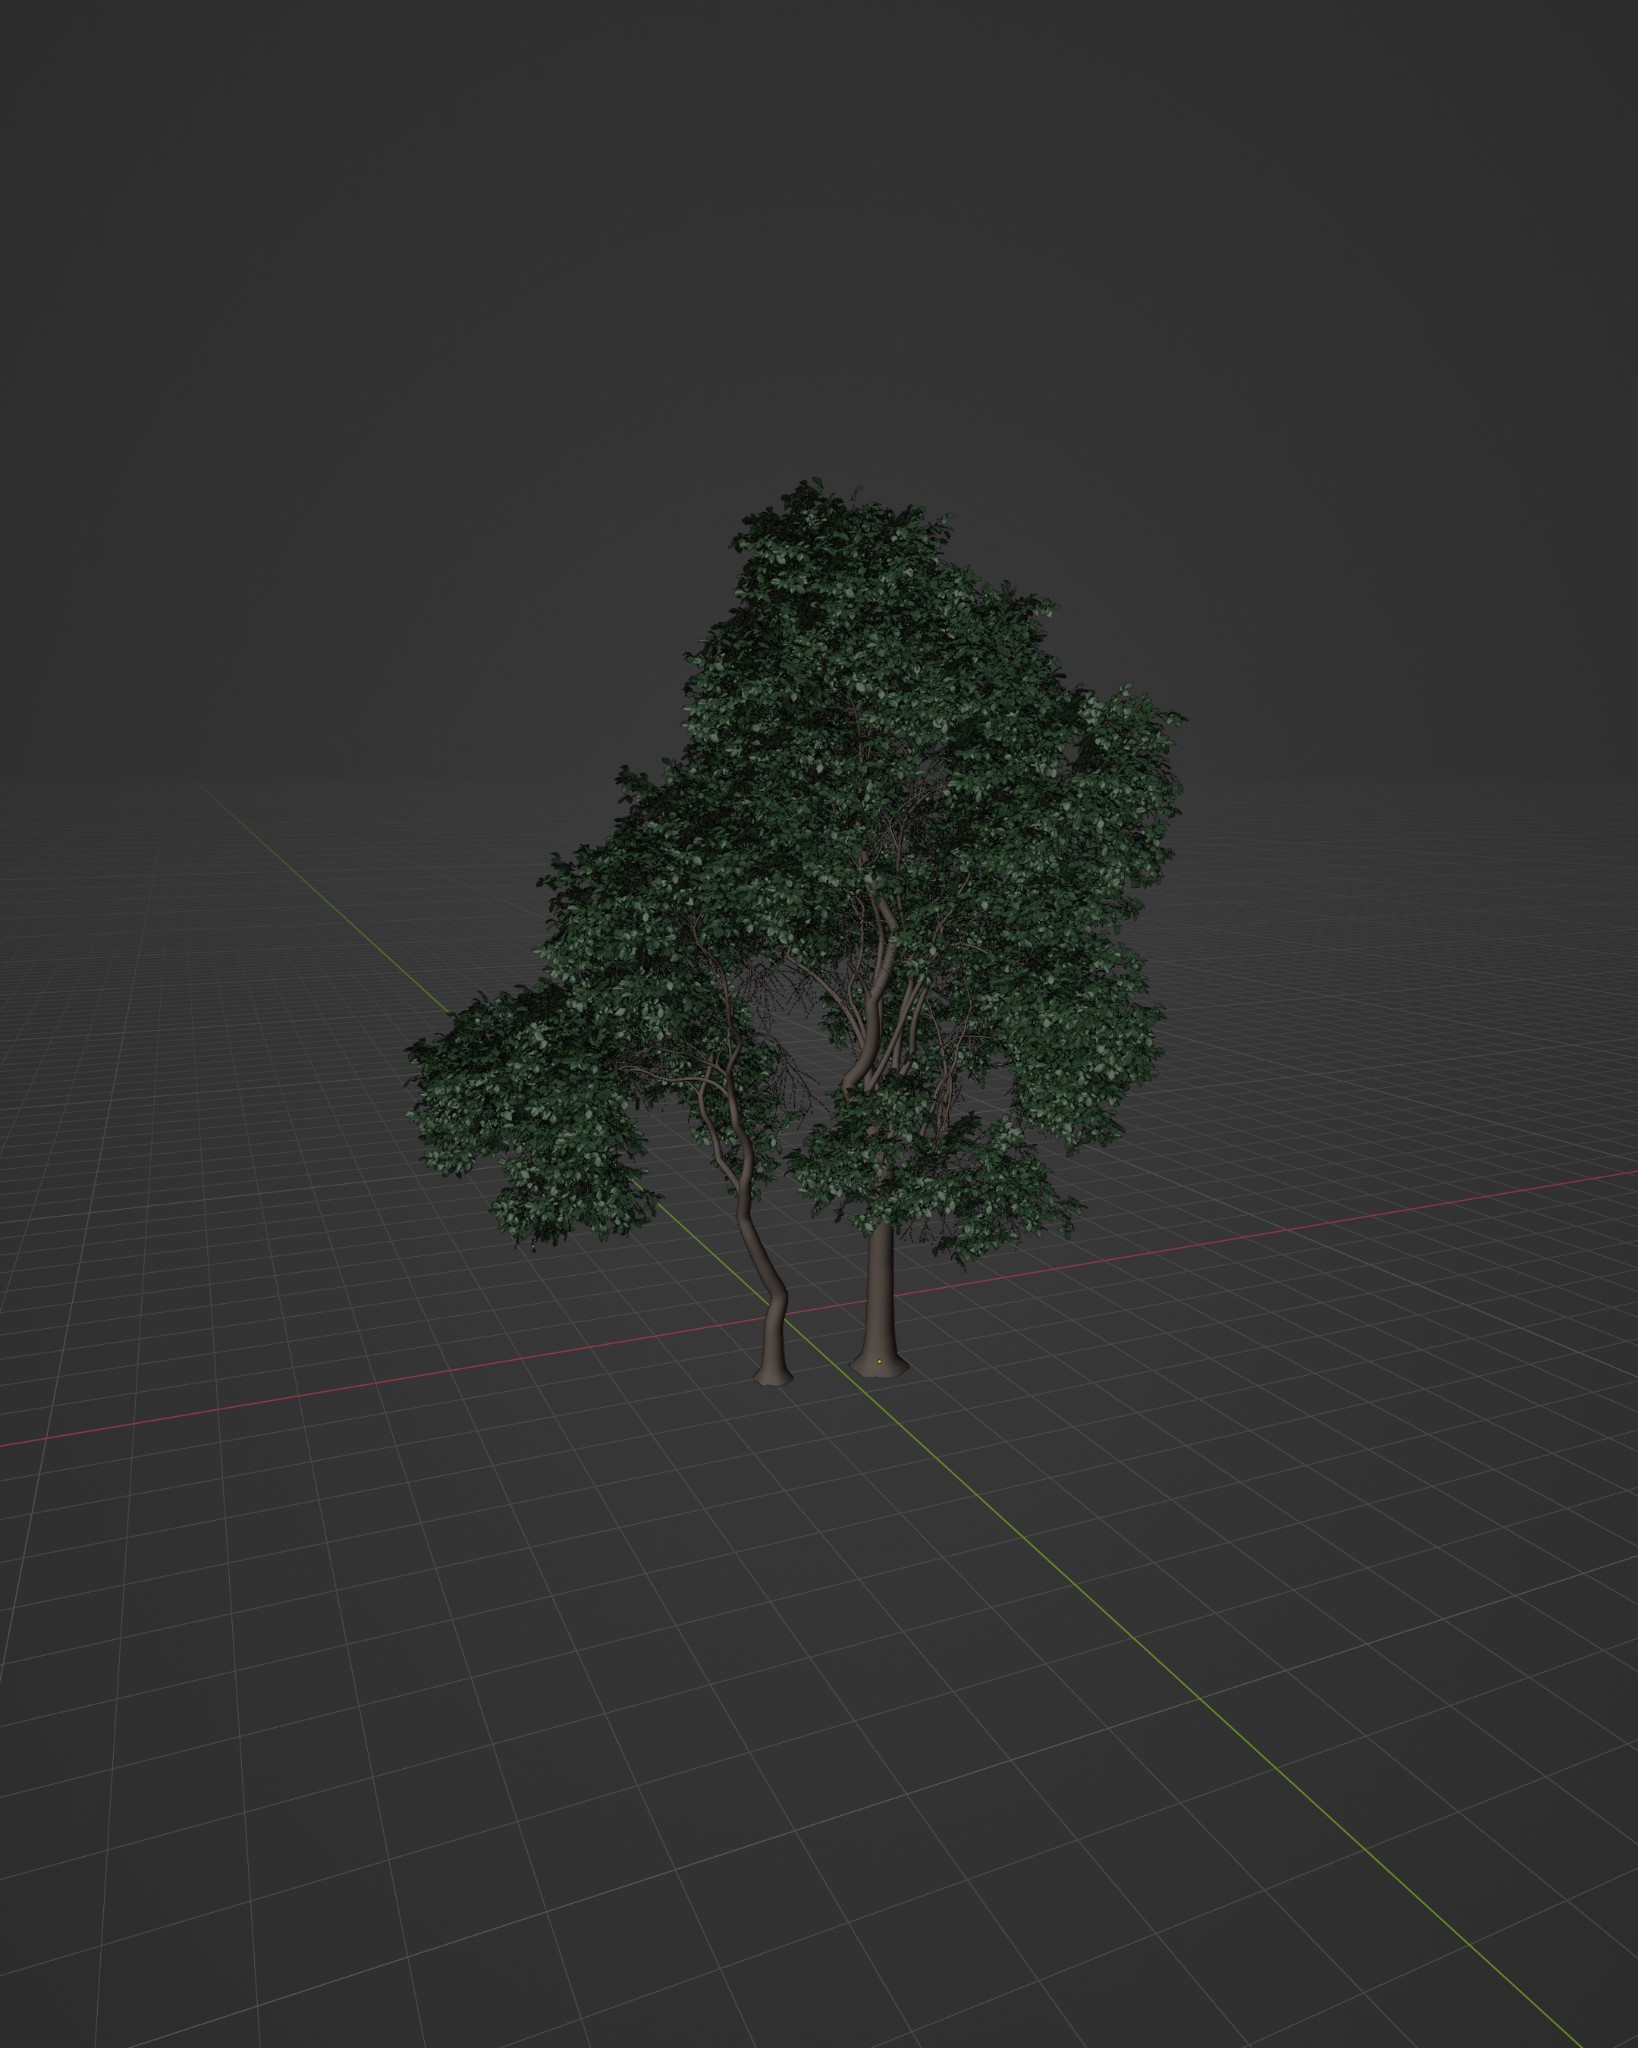
The trees in the front are the main subject of the image, so I spent quite some time generating the trees. The wonderful thing about this add-on is that you can grow multiple trees together and they will grow in relation to each other. This will give highly realistic results in comparison to placing two premade trees next to each other.
The trees in the back are from the free Maxtree pack. I highly recommend downloading these as they are free to use and are of a high level of detail.
Water
For the water I used the True Terrain Add-on. Again, this is a paid add-on, but it helped me out on creating complex terrains and it comes with multiple high-quality water shaders. After I posted this image online, I got some feedback regarding the look of the water. People felt like it had a bit of an icy texture to it. And after looking back at the original photo, I agree with them. My water is a bit rough, so I would change this in future projects.
Fog
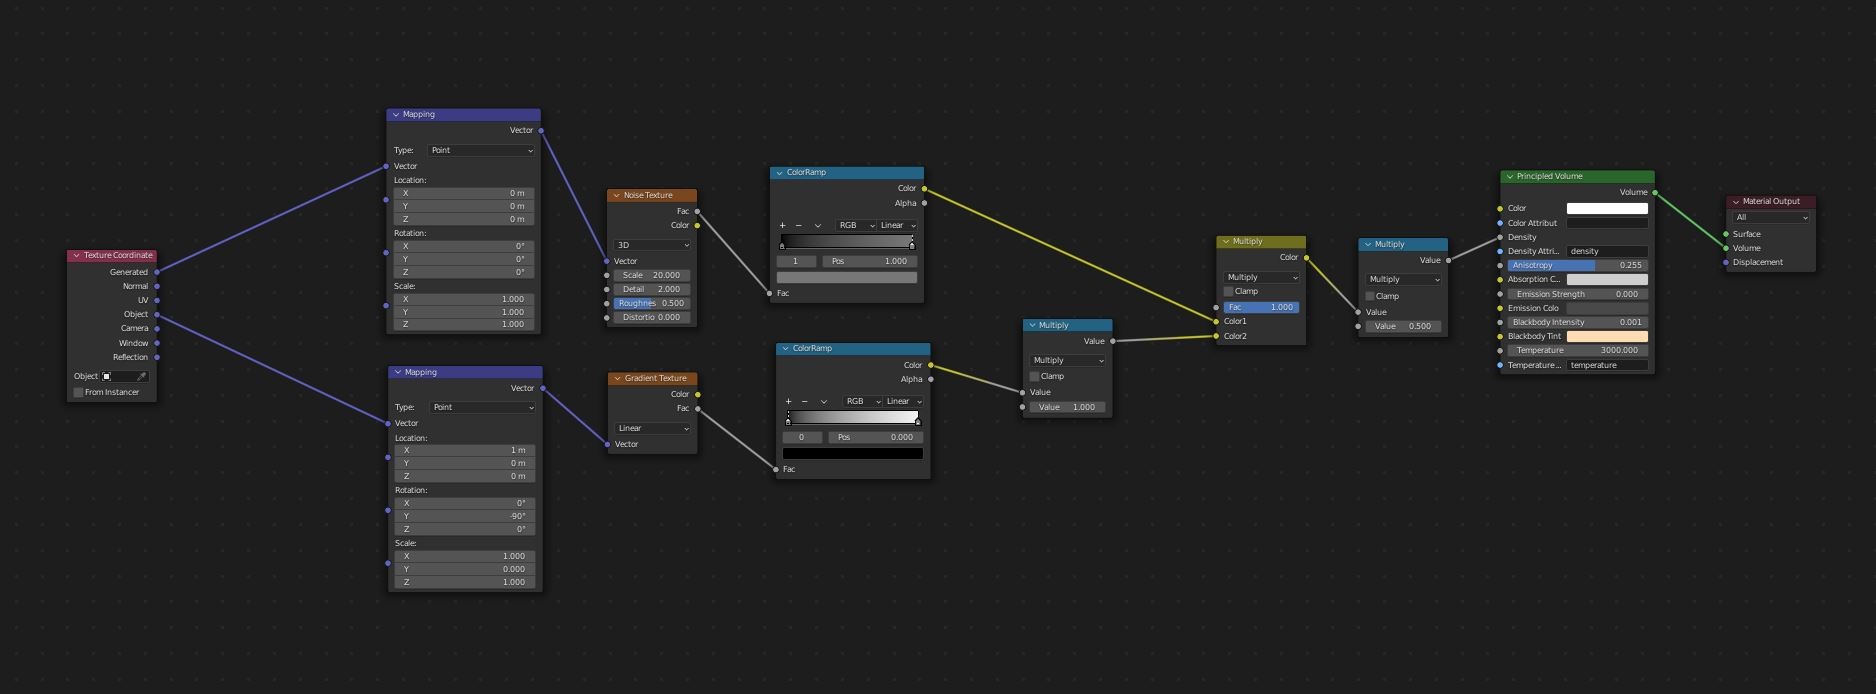
The fog was really important for me to get right, as it gives the scene a calm and natural atmosphere. I used a principled volume shader and controlled the density of the volume by a noise texture in combination with gradient texture. The noise texture gives a bit of randomness to the density of the fog, and the gradient texture makes sure that the fog will slowly fade at the top. These two density controls were essential to recreate a realistic feeling. I played a long time with the settings, and I would probably have to play around with the settings again when I use this shader in another lighting scenario.
This is the fog density preview.

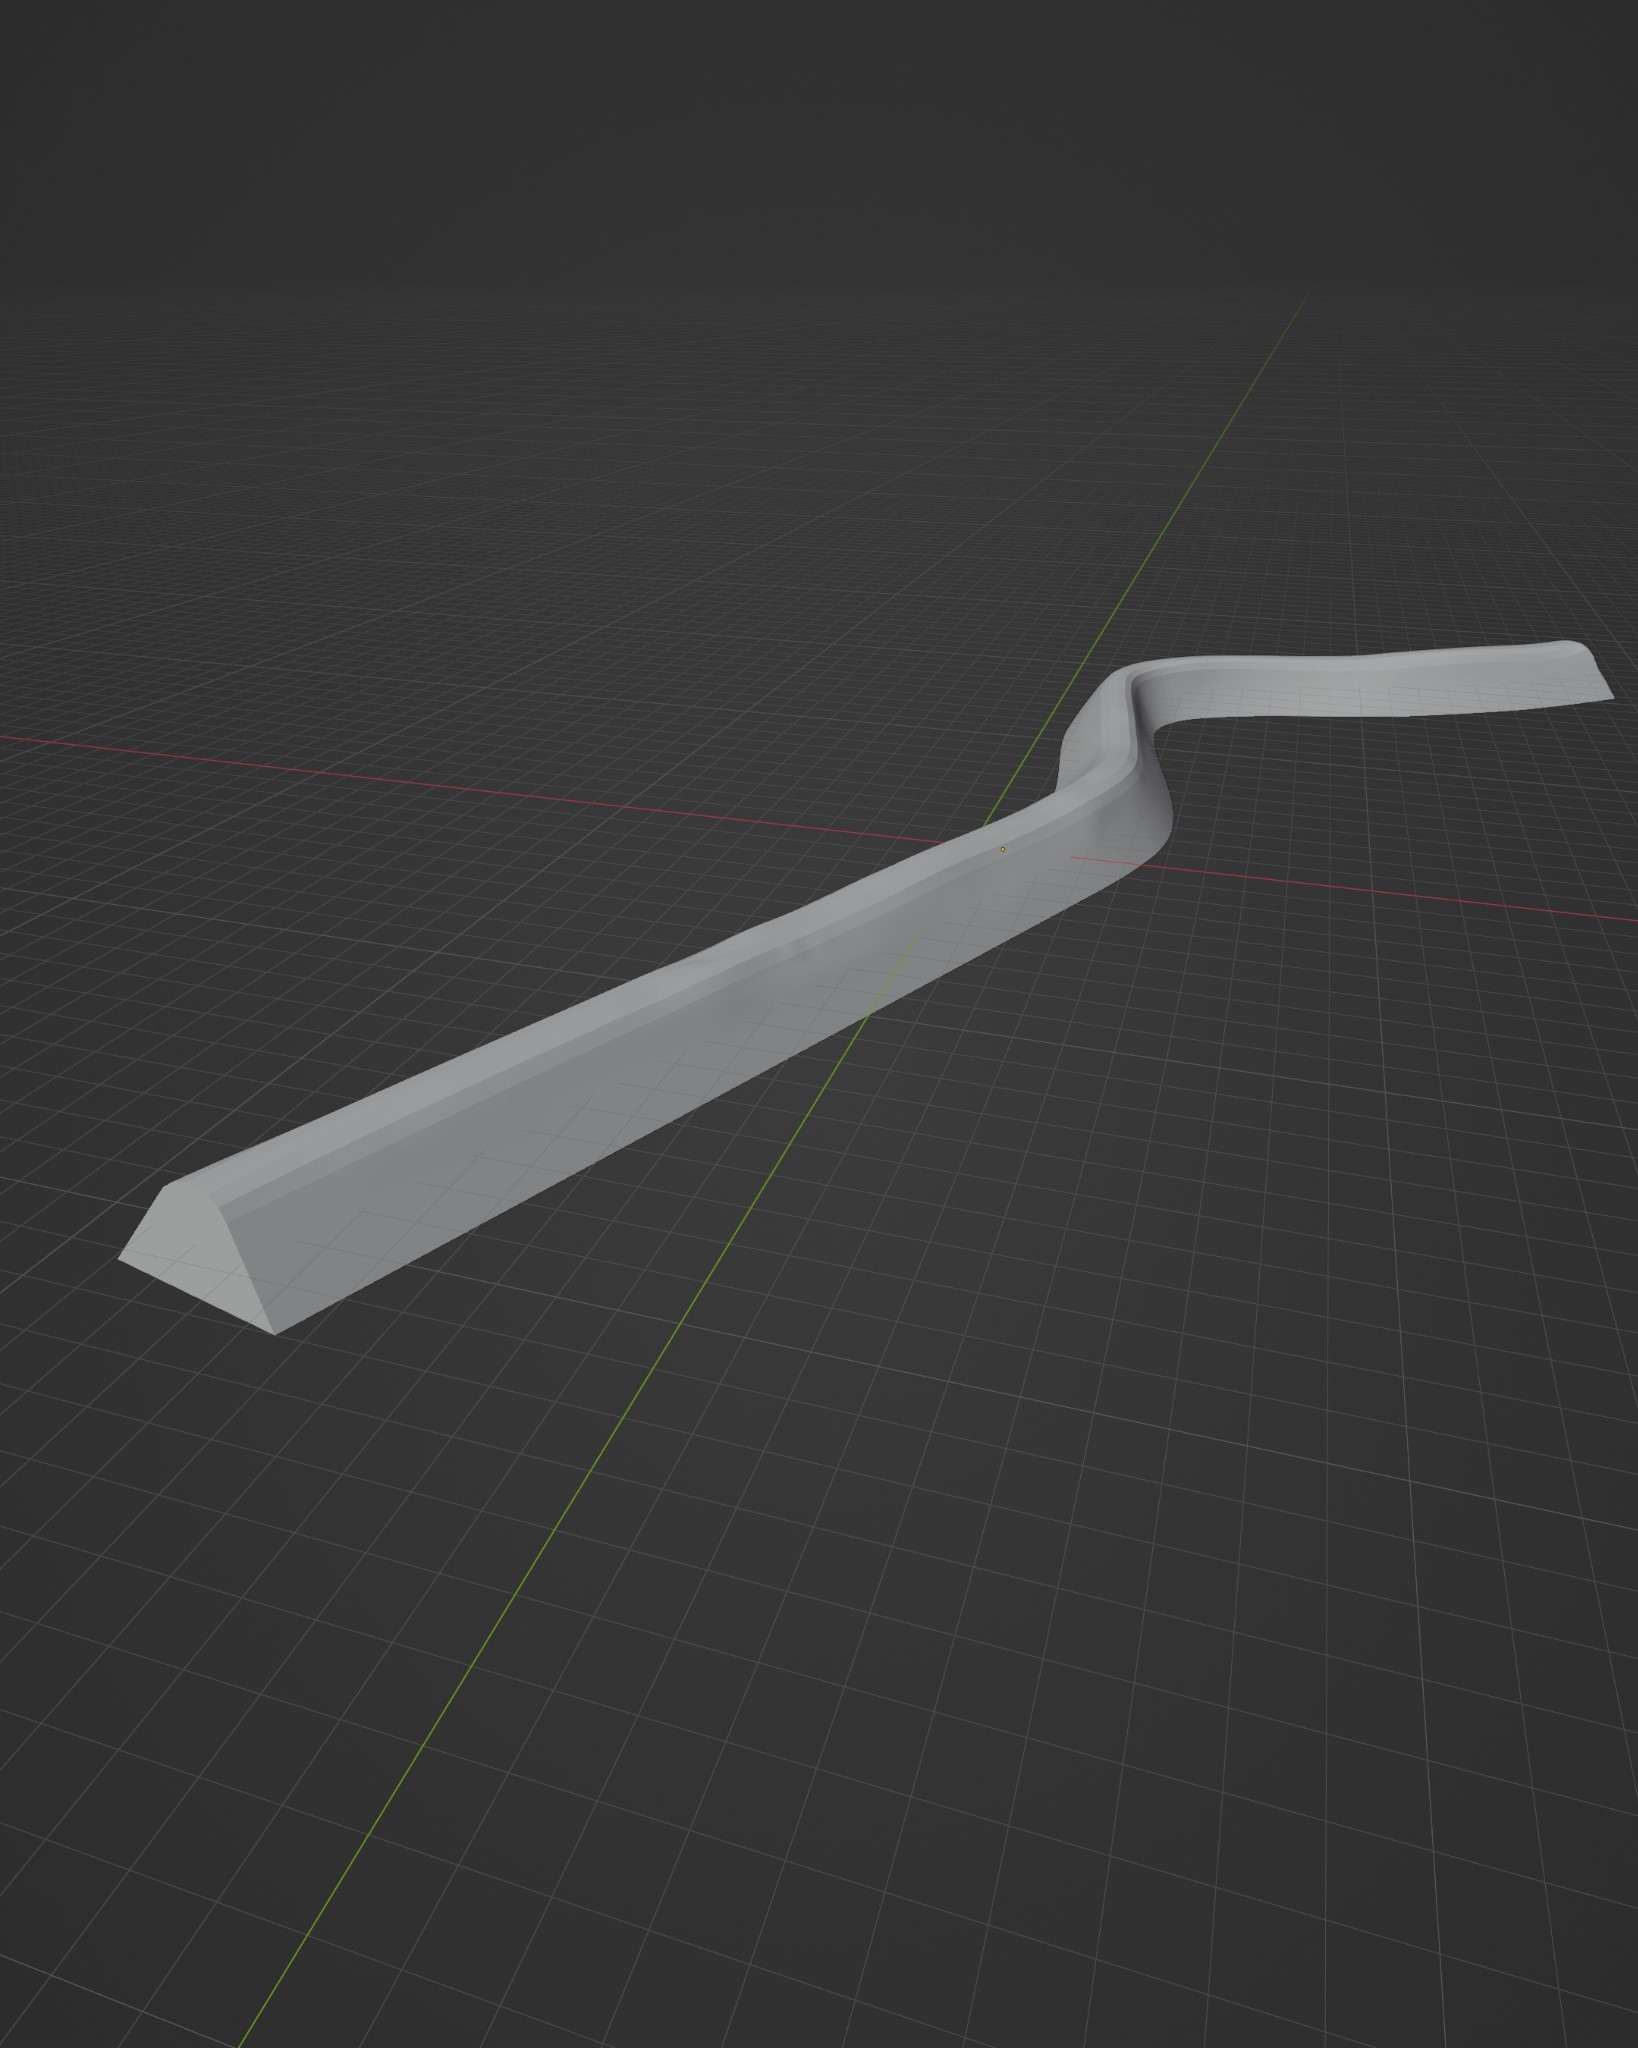
The Dike
The dike was modeled by creating a base shape out of a simple box with some bevels and extruding it into different directions. Afterwards, I subdivided the shape and used some sculpting to create some imperfections in the shape.
The grass on top of the dike is made with the standard grass preset that comes along with the Scatter 5 add-on. Again, a paid add-on, but it helped me out countless times in creating realistic-looking vegetation fast.
Lighting
Blender does come with the Nishita Sky texture, but I felt that it didn’t give the desired realistic results so I decided to buy the Physical Starlight and Atmosphere add-on after watching some YouTube tutorials that recommended this add-on. I really love the results, especially with the early morning or night situations, it just gives the render that extra level of realism and atmosphere in comparison with the default Nishita Sky texture.
Final touches in 3D
After all the key components were sorted out, I played around with the focal length and position of the camera to get the framing right and added the small fence that was also there in the reference image.

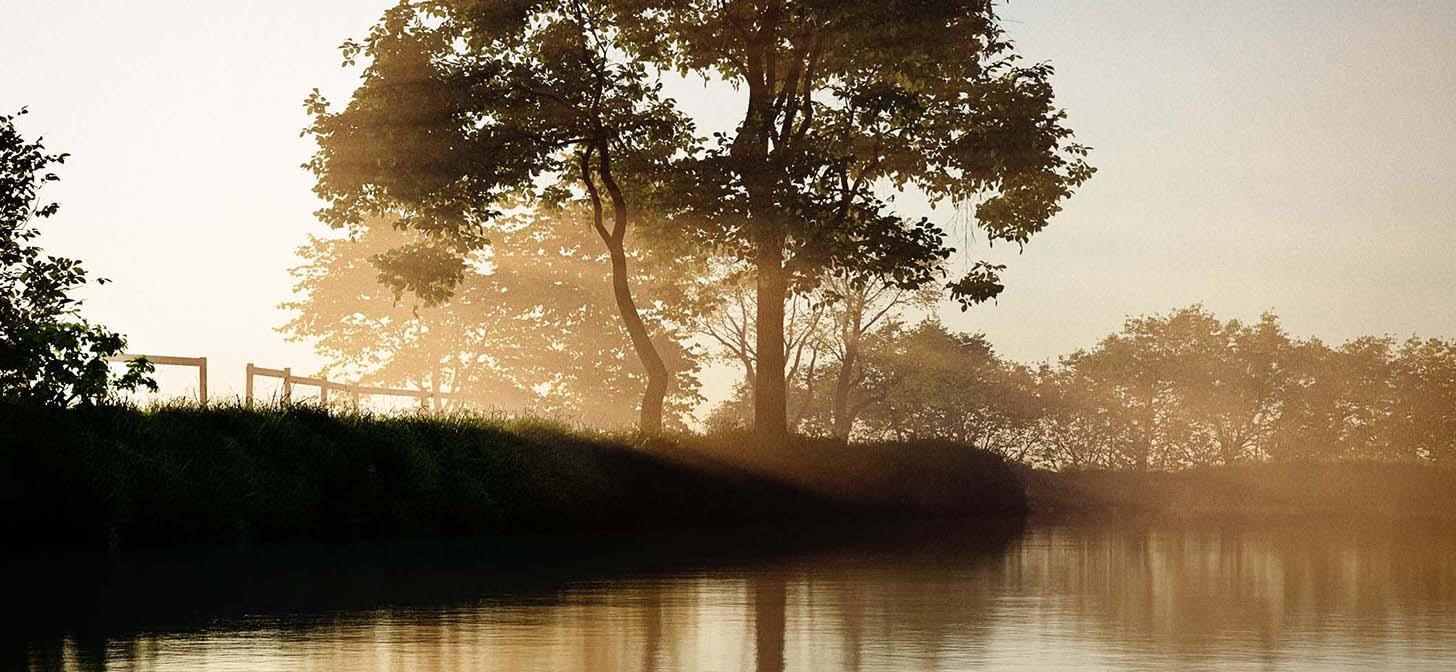
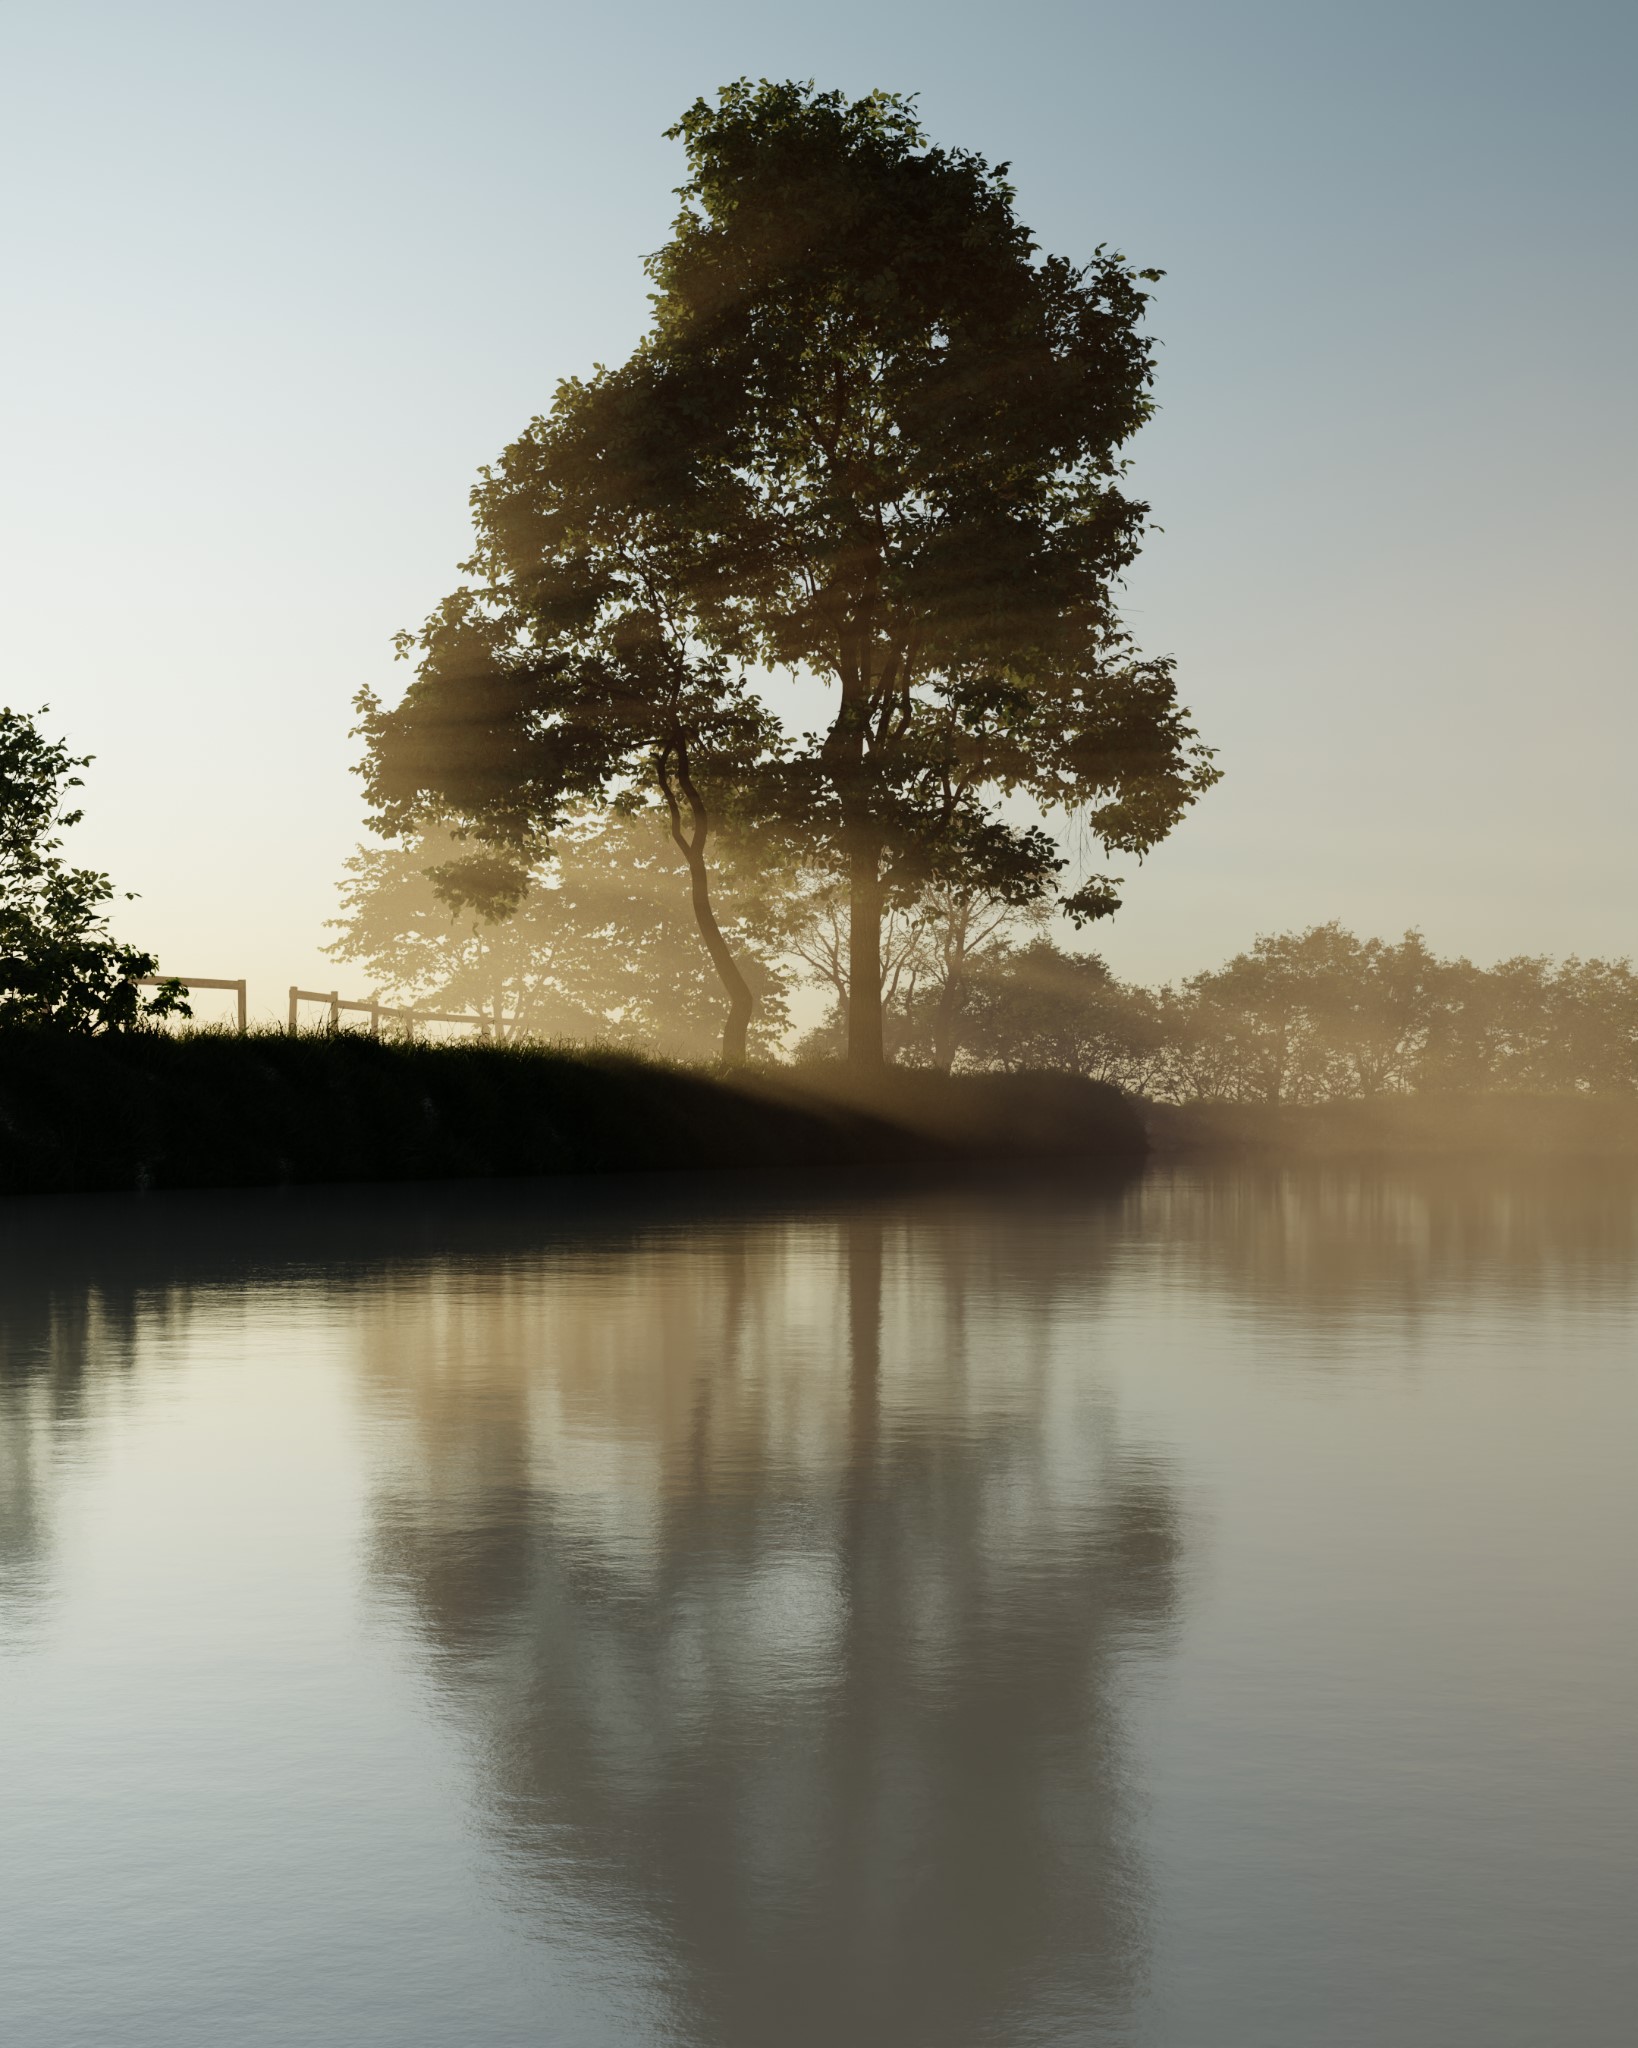
This is the raw render straight out of Blender.
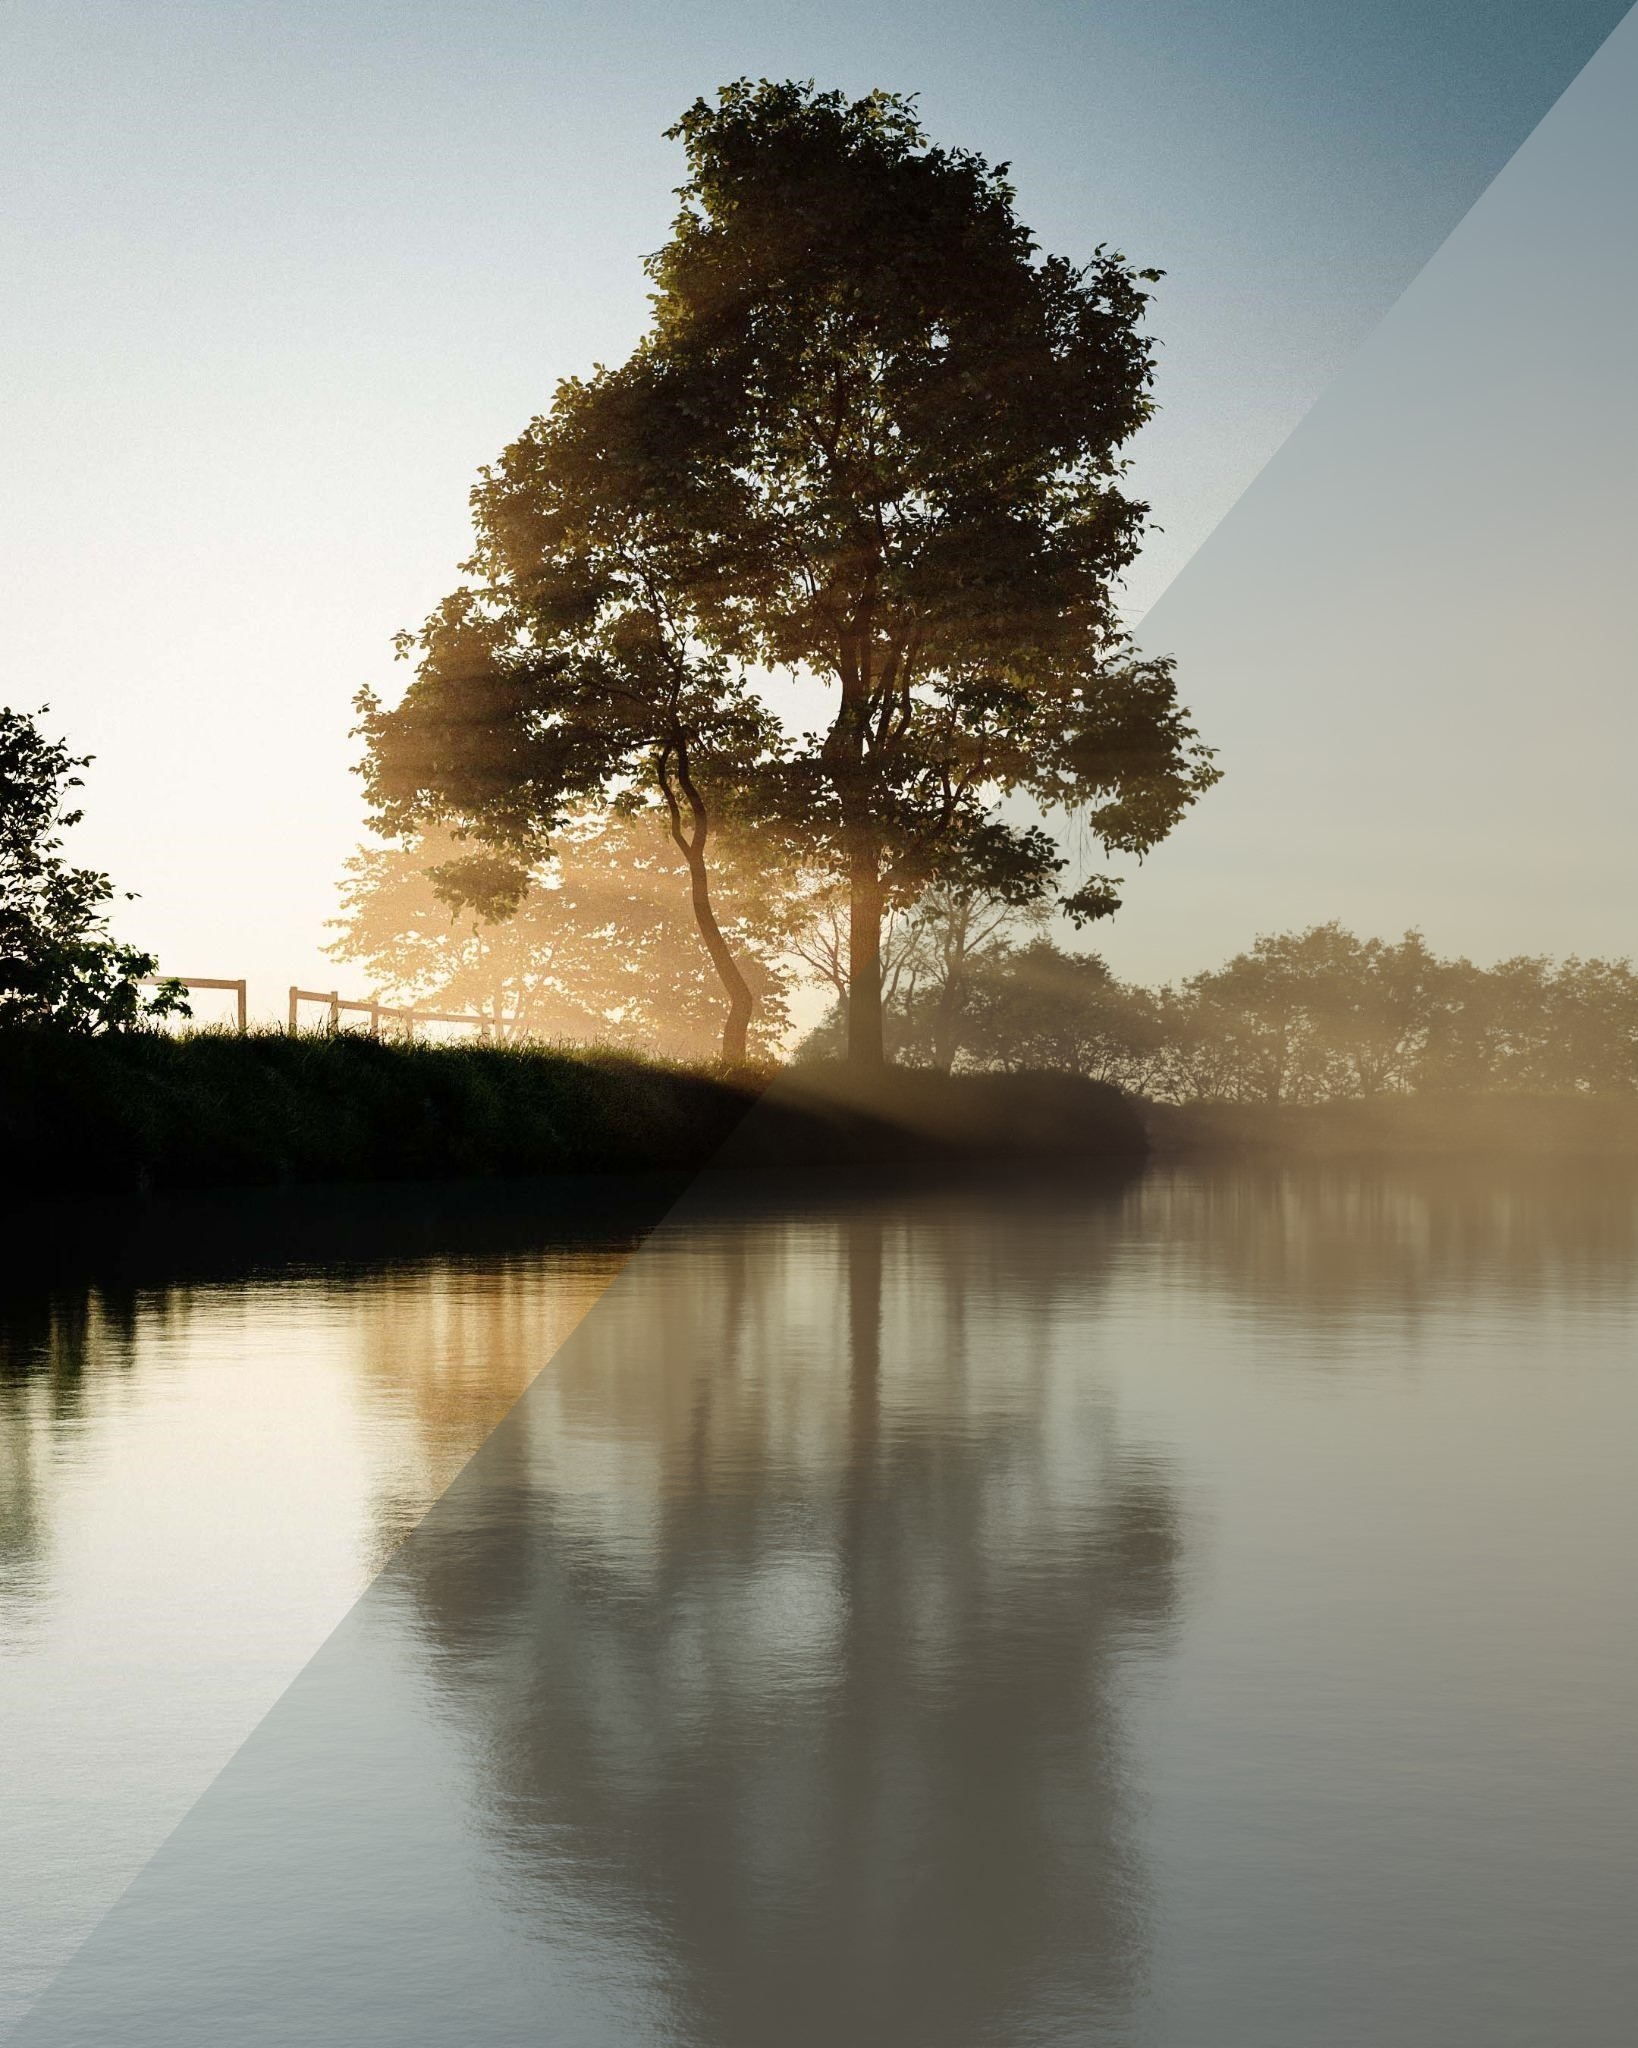
Postproduction
That was the 3D part of this image. I always use post-production in Photoshop to give that final touch to the image. So I rendered the image in a 16-bit TIFF (to conserve all the color data in the render) and used photoshop to increase the contrasts and the colors of the image.
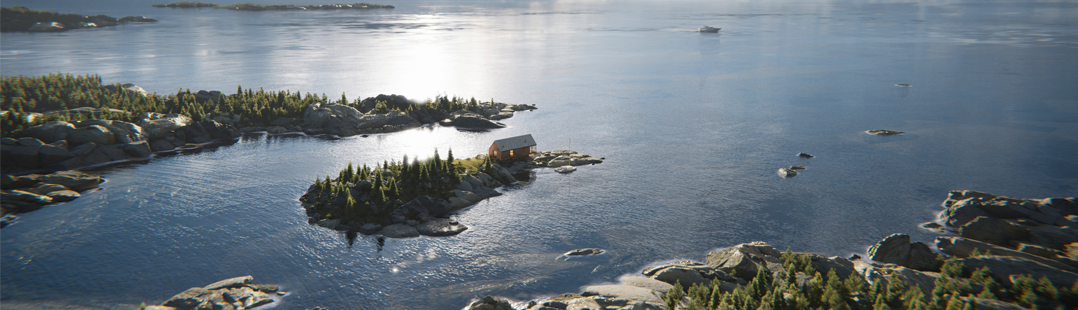
Early Morning Fog
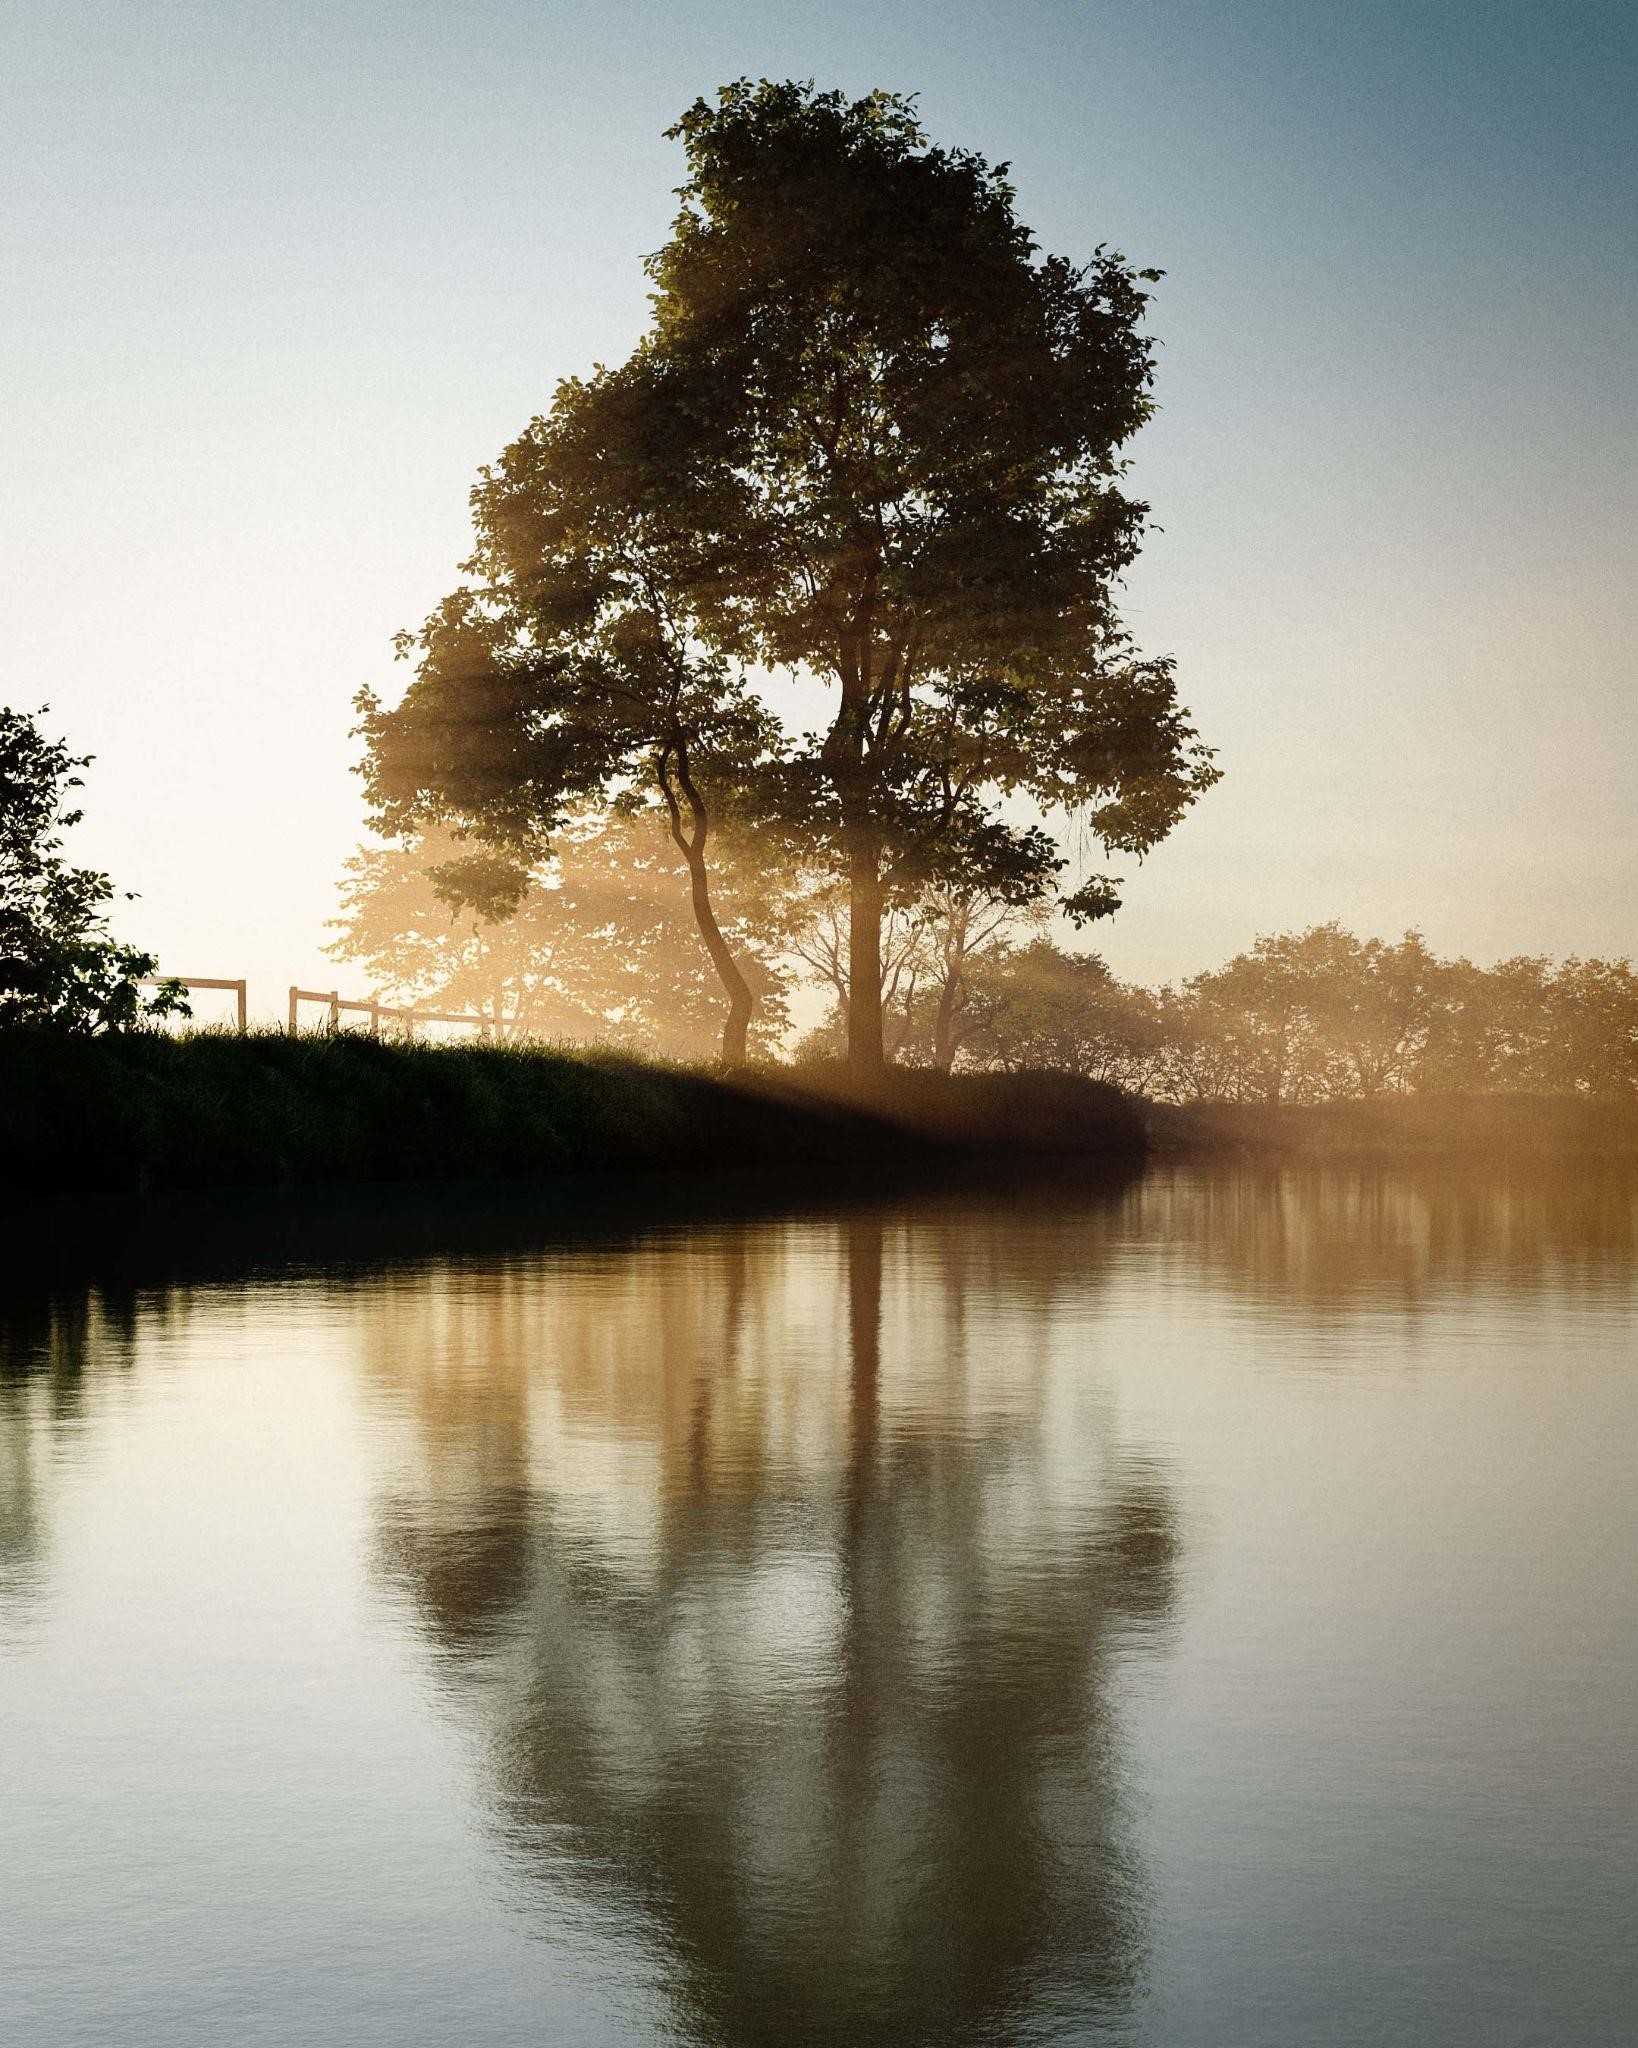
That was the quick breakdown of this scene. I use a lot of paid add-ons, which might feel a bit like cheating for some of you but for me, it helps me to create the artwork that I like, with an open-source 3D software package. As I use Blender for professional purposes, it feels like a good investment as it reduces my production times, and increases the quality of my images.
If you are interested in more of my work, check out my Instagram page and don’t hesitate to reach out, I always like to help others and share my gained knowledge in Blender!
Cheers, Thijs
About the Artist

Thijs de Bruin, is a 3D artist from Rotterdam, The Netherlands. He is currently working at De Beeldenfabriek and also is a freelancer for his own company Bureaubruin.


Absolutely gorgeous! And thanks for showing the node tree for your fog setup – adding the gradient is an excellent touch.
So inspiring!! I like your thought on using add-ons as they really make the work stand out and look so professional.
It looks amazing. I like the look and vibe of the scene, but there is something “the sun rays and the reflection does not match “. The reflection of trees should be opposite of where the sun rays come from
sorry my bad there is nothing wrong with the scene I apologize for the comment i posted earlier
I just love fog renders