Flat 2 apartment – interior visualization in blender

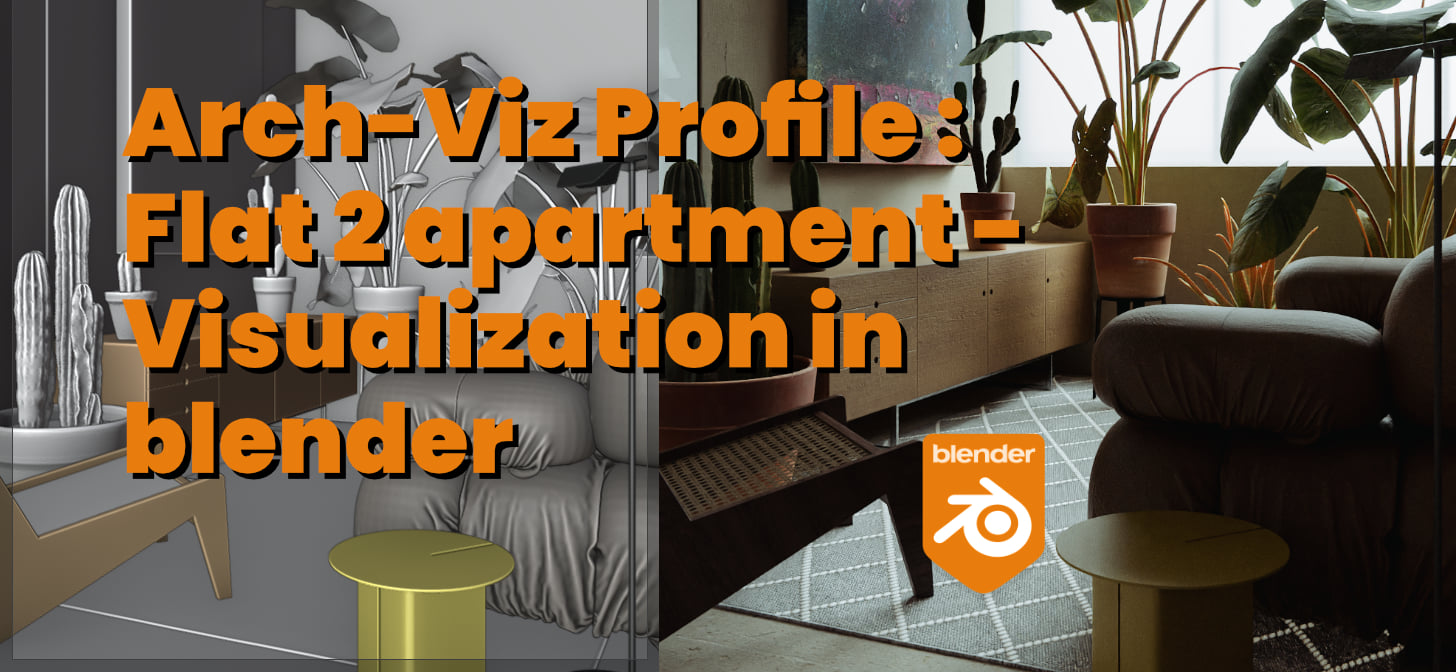
Mohamed Beniane shares his process for creating interior designs in Blender. He includes many quick tips and checklists.

The purpose of this project is to be a tutorial series on my YouTube channel and provide high-quality scene workflow in blender, starting from the first step and gathering references to the final step which is Post-production.
Also, it’s not commercial work, just a personal project.
I do in this project just the CGI, and the interior is from an interior design studio named Unnamed Studio. The project Called Flat 2 you can find in the project here.
1- References
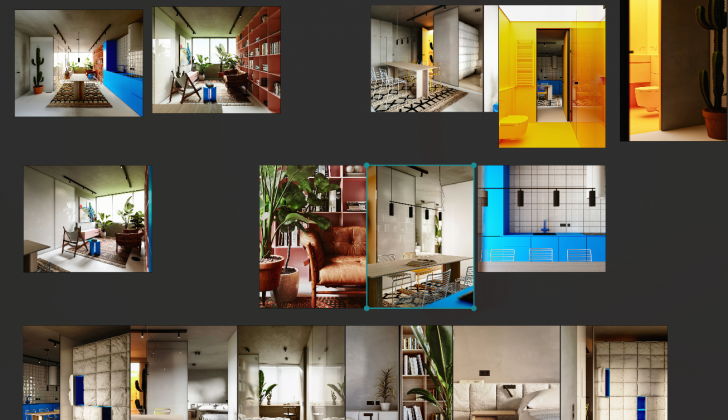
For this step, I use software called PureRef, and I think the majority know it already, so I drag and drop directly from the previous link
2- Modeling
For the modelling process, i try to model everything that i can model easily, like kitchen, book shelves, cloth cabinet and so on, for the other models, I use my FREE CC0 models, you can get them on my Gumroad. Also, I use Chocofur assets, thanks lech for this big library. And for the plants of course i use Quixel megascans combining between pots and photo scanned plants in the library,
I use the live link plugin to link Bridge with Blender, i made a tutorial about it, you can watch it on YouTube.
3- texturing
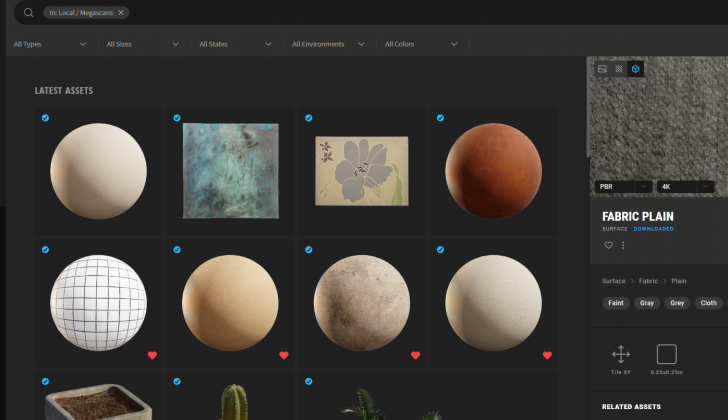
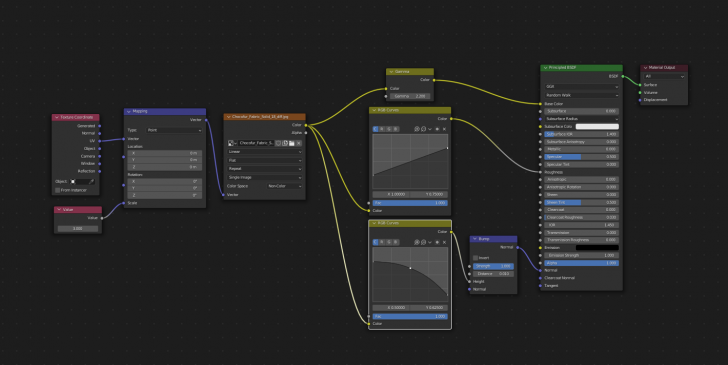
for the texturing, i use also textures from quixel megascans for the wall and the floor of the living room, for the floor of the bedroom, I use a Free Wood texture from poliigon. Also, I use another technic to use a single texture map to extract other maps for the cloth cabinet in the bedroom,
Just make a black & white map and play around the levels with an RGB node, then plug it into his socket as shown in the image.
4- Lighting & Composition
For the lighting and composition of this project
1- I focused on getting better composition using the rule of thirds, to enable this guide composition in Blender go to:
- select the camera
- Go to camera properties
- viewport display
- composition guides
- select Thirds
You can choose the other composition rule like golden ratio or diagonal
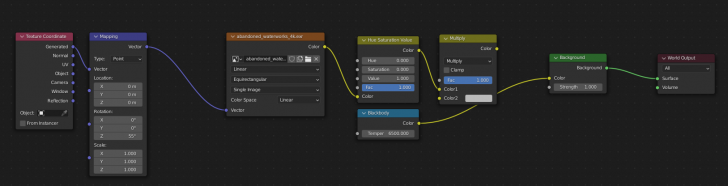
2 – I use HDRI lighting using any Overcast HDRI with 12 EV(exposure value) to 24 EV
For example, I use an HDRI from Polyhaven called abandoned waterworks( i use it a lot). Then I use a node setup for the world editor(you’ll find it in the image down below) to get the lighting from the Hdri and use a colour temperature that I want for this scene using some colour correction node (Hue saturation value node + mix RGB + blackbody node)
Set the strength to 5 and try to play around the exposure and gamma. I settled on Gamma: 1.000; Exposure: 1.500. This is everything for this lighting setup.
 5- Render setting
 5- Render setting
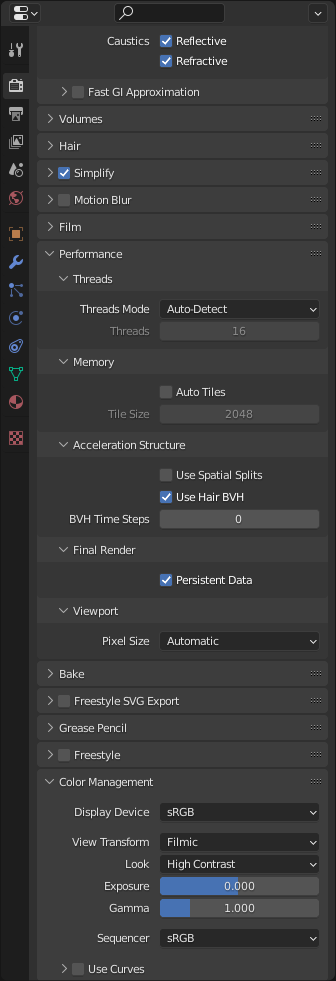
In this step I don’t focus a lot on Settings rather than focus on art (lighting and composition);
I say always “Focus on the art, not in settings”, and Cycles offers you that, you can use the default settings, or you can focus on some settings:
- Settings for realism: Light Paths: use Full global illumination (if you have a Good PC)
- Settings for quality: Sampling: you can use more than 1024 samples for clean images and don’t overdo it.
- Color management: Use always Filmic, with a look from medium-high contrast to high contrast
Or you can test the settings that i used for this scene, you’ll find it in the image down below;

6- Post-production
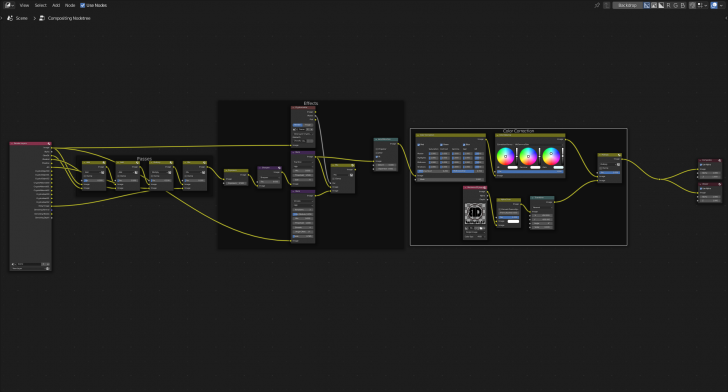
After enabling some passes: Denoising Data, Glossy Direct and indirect, shadows and AO
I hit render and go to Blender compositor to post-produce my image, using passes and applying some effects and finally colour correction
You can find my compositor node setup in the image down below.
7- Tips and Tricks
– Use High-quality assets
– Detailed modelling
– PBR materials
– Physical light direction & colour
– Use references
– Post-produce your images
– Focus on the art, not on settings
Finally, I hope you like this small profile, and if you want to see my tutorials, read future profiles about arch-viz, see my work and download my assets, visit me here – you can find all these links there (Social media, portfolio … etc)
Best regards,
Mohamed BENIANE – Benianus 3d
Architect | 3D Artist


Very good! Great tips!
thanks bro
Using the mix of adaptive sampling with 0 min samples and Denoise, is asking for trouble IMHO
Thanks a lot for your great tutorial !
However just a little thing.. your compositor node image is too small in order to see anything.. :(
Can you please put it in high res ?
It will be really usefull…thanks a lot !
you can get it here: https://drive.google.com/file/d/192Vg_pSUX6FQiZ-8-AVk2CAm4a4IuZi5/view?usp=sharing
Thanks a lot.. !
you’re welcome