Behind the Scenes: Lack of Creativity
Hello, my name is Murad, I’m 28 years old and a 3D artist from Yerevan, Armenia. My first steps toward 3D art were only in very recent years. I studied applied mathematics and informatics in university, and only after returning from the army in 2015 did I decide to try my hand at art. My first software was 3ds Max, then I switched to Maya, and got my first full time job as a 3D animator in a small studio in Yerevan. My career started growing, but I had never done any personal projects, which I would really enjoy and do with passion.
In the middle of 2020, I heard everyone talking about how fantastically Blender, which I’ve never used before, was growing. This made me dive into it deeply and get acquainted closely with Blender, to see what it could offer me. And I believe that decision has really changed my life.
After 4 or 5 years of using Maya for my professional career, nowadays I have completely switched to Blender. I can definitely say that with Blender I work 4 times faster and am more productive. And finally, I started to create my own art with Blender; I want to share one of those creative processes with you—“Lack Of Creativity”.
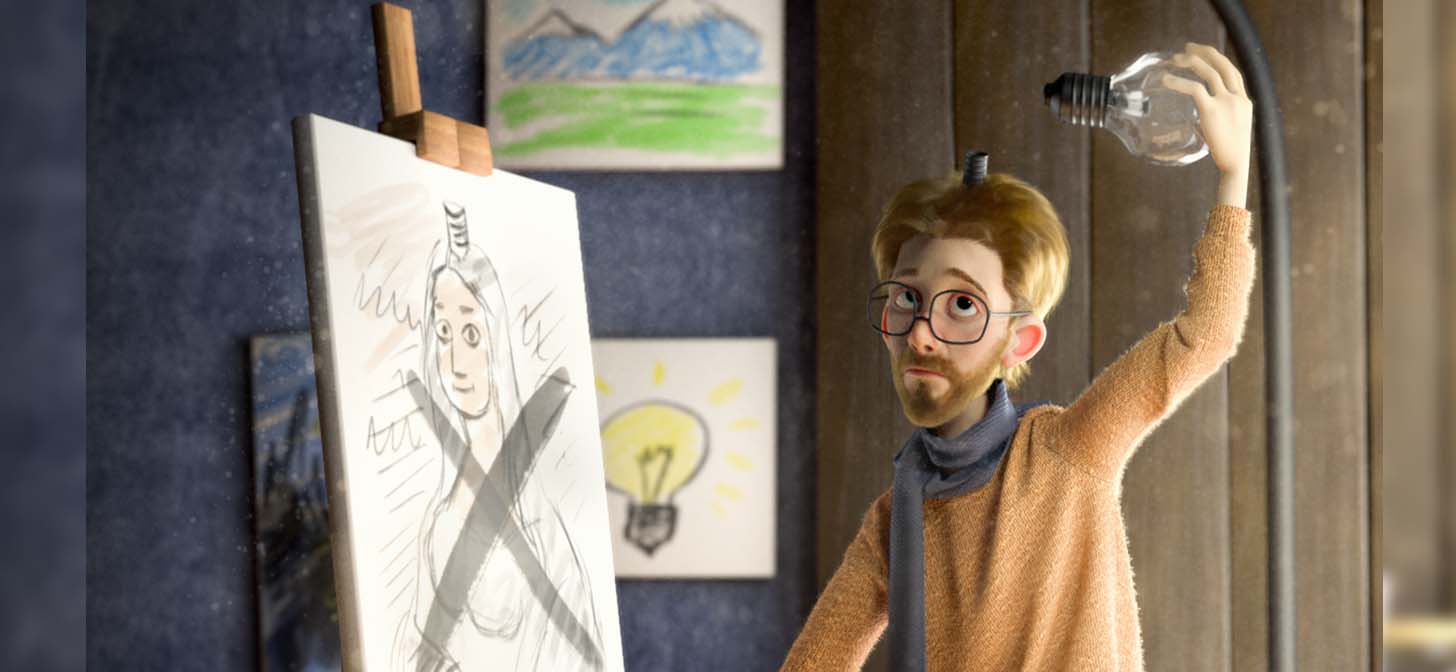
The main idea was to create a storytelling image to show how we all struggle sometimes with a lack of creativity.

Character creation
I sculpted the character from zero in Blender. For references, I searched for and watched a lot of images on Pinterest of real artists, especially painters, to see how they look, what they like to wear, their studios, etc.
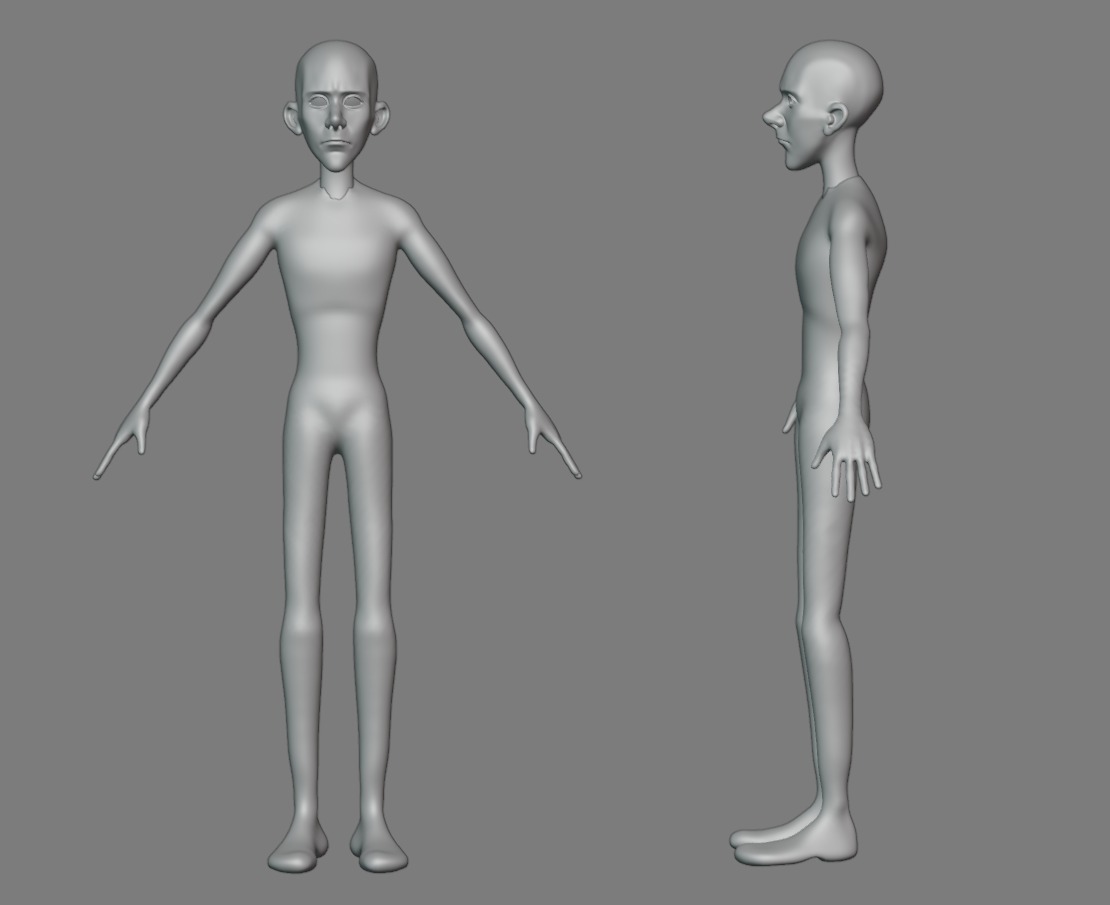
Because I had decided that this would be a static render and for the sake of saving time, I didn’t do manual retopology. Instead, I used a great add-on called Quad Remesher, with which I was familiar when working with Maya. I think the result was pretty nice for a 2-second retopo tool.

You can see that the head and the body are not connected to each other, but I knew that my character would wear a scarf, so that area would not be visible in the final render. After UV unwrapping (nothing special here, just a regular unwrap with seams), I started to sculpt the skin details with a multires modifier and with some skin brushes from Sculptors Toolbox, which I found on Blender Market.

Then I baked that in a normal map, painted colors, SSS, and all the other stuff, and got the result:

Hair
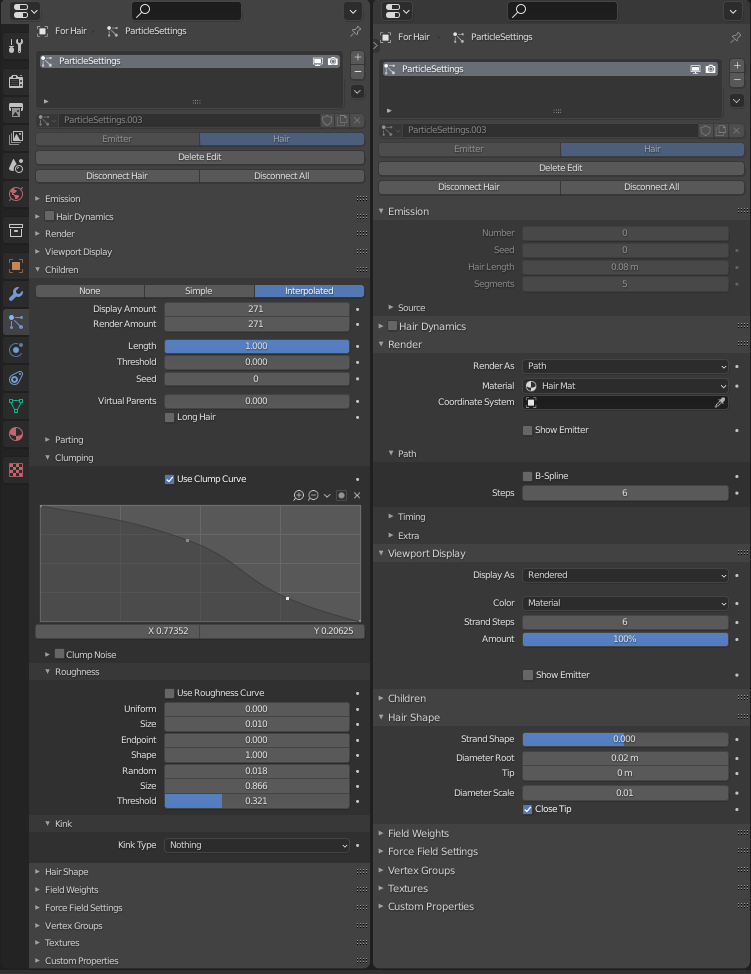
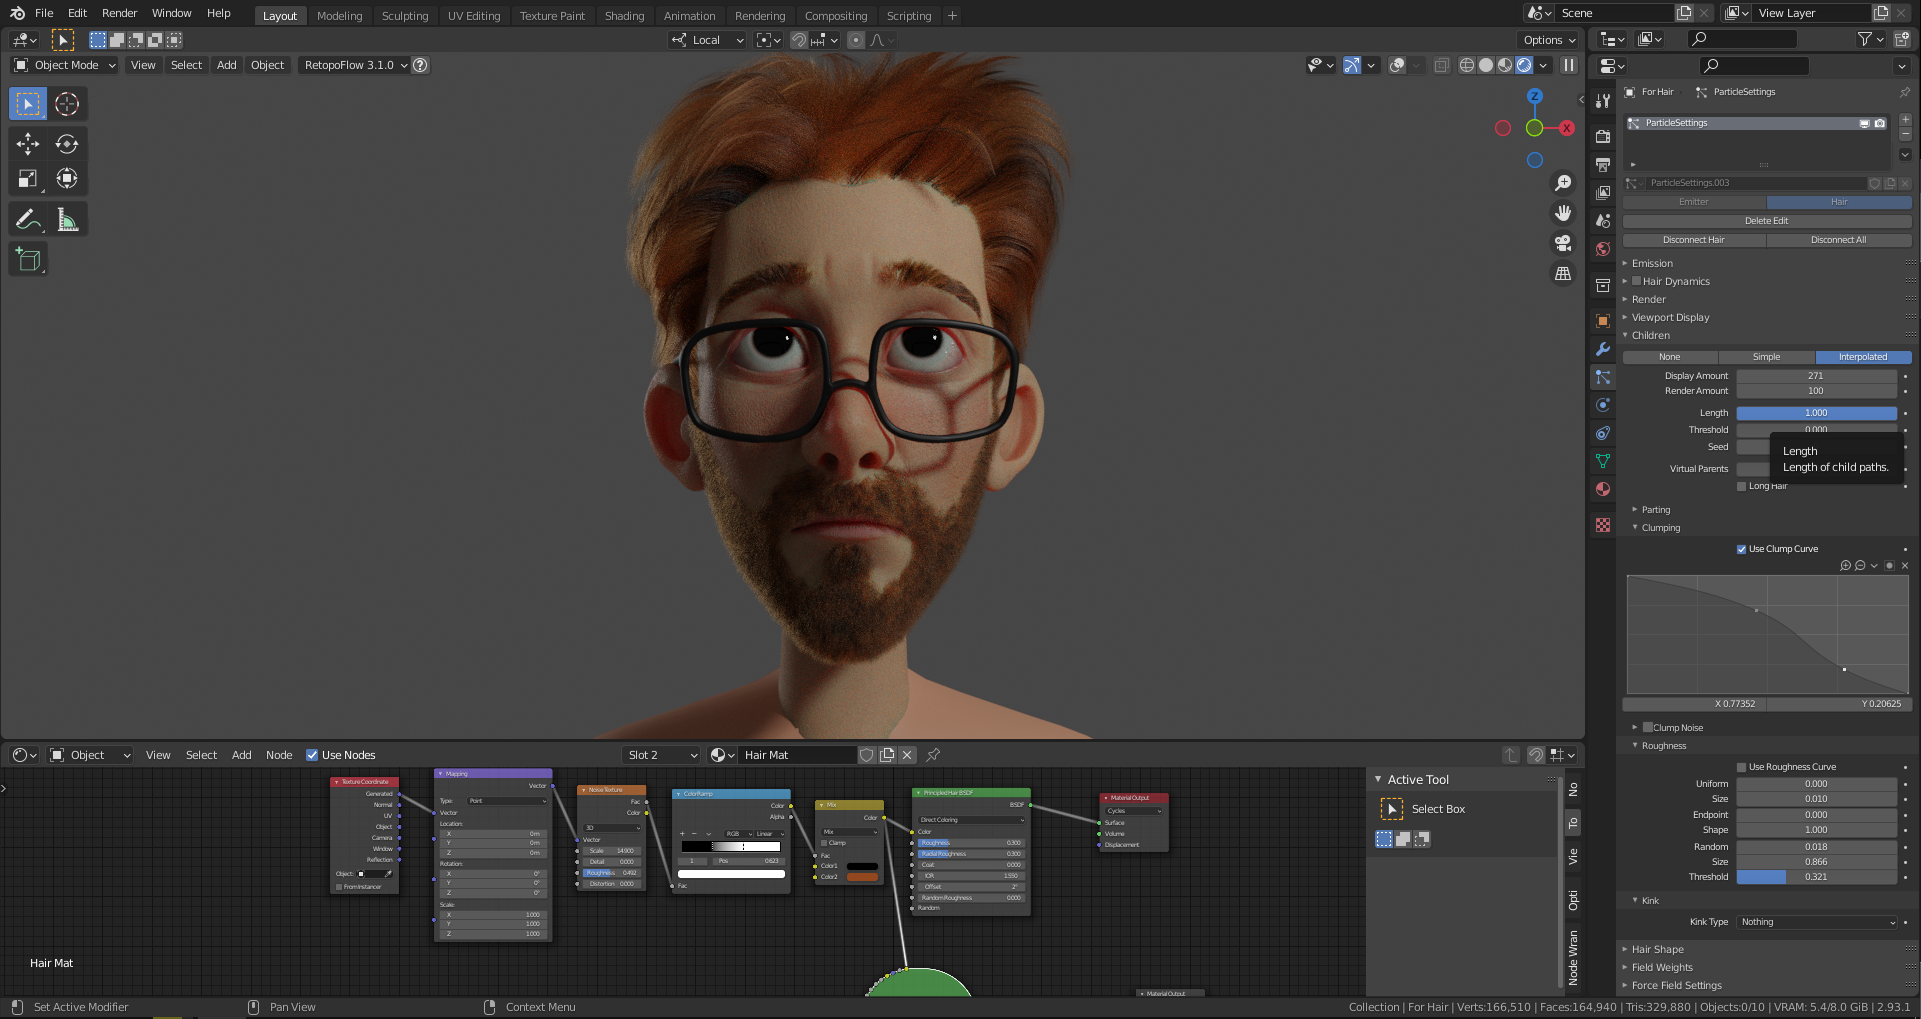
I created hair, brows, and a beard with a standard hair particle system. Each of the areas uses only one particle setting.
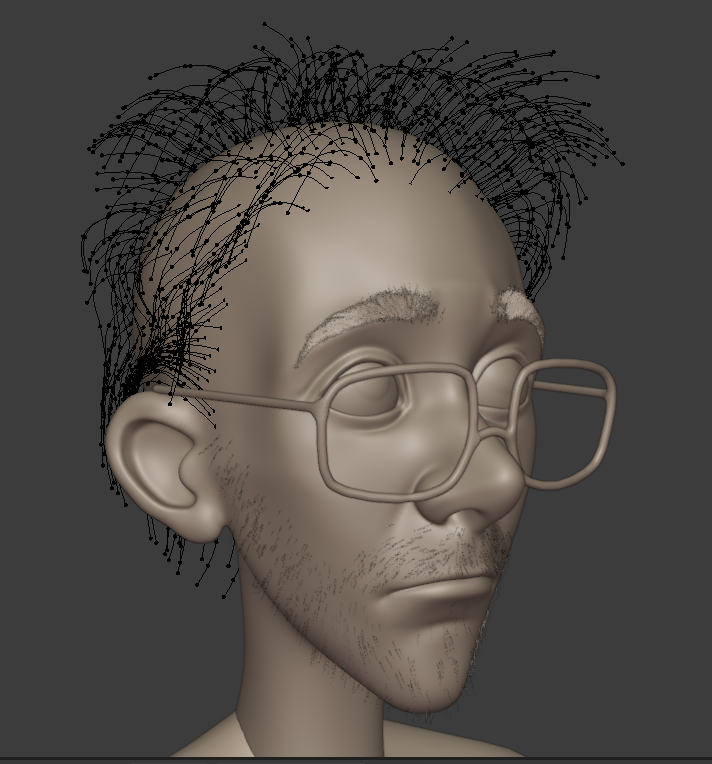
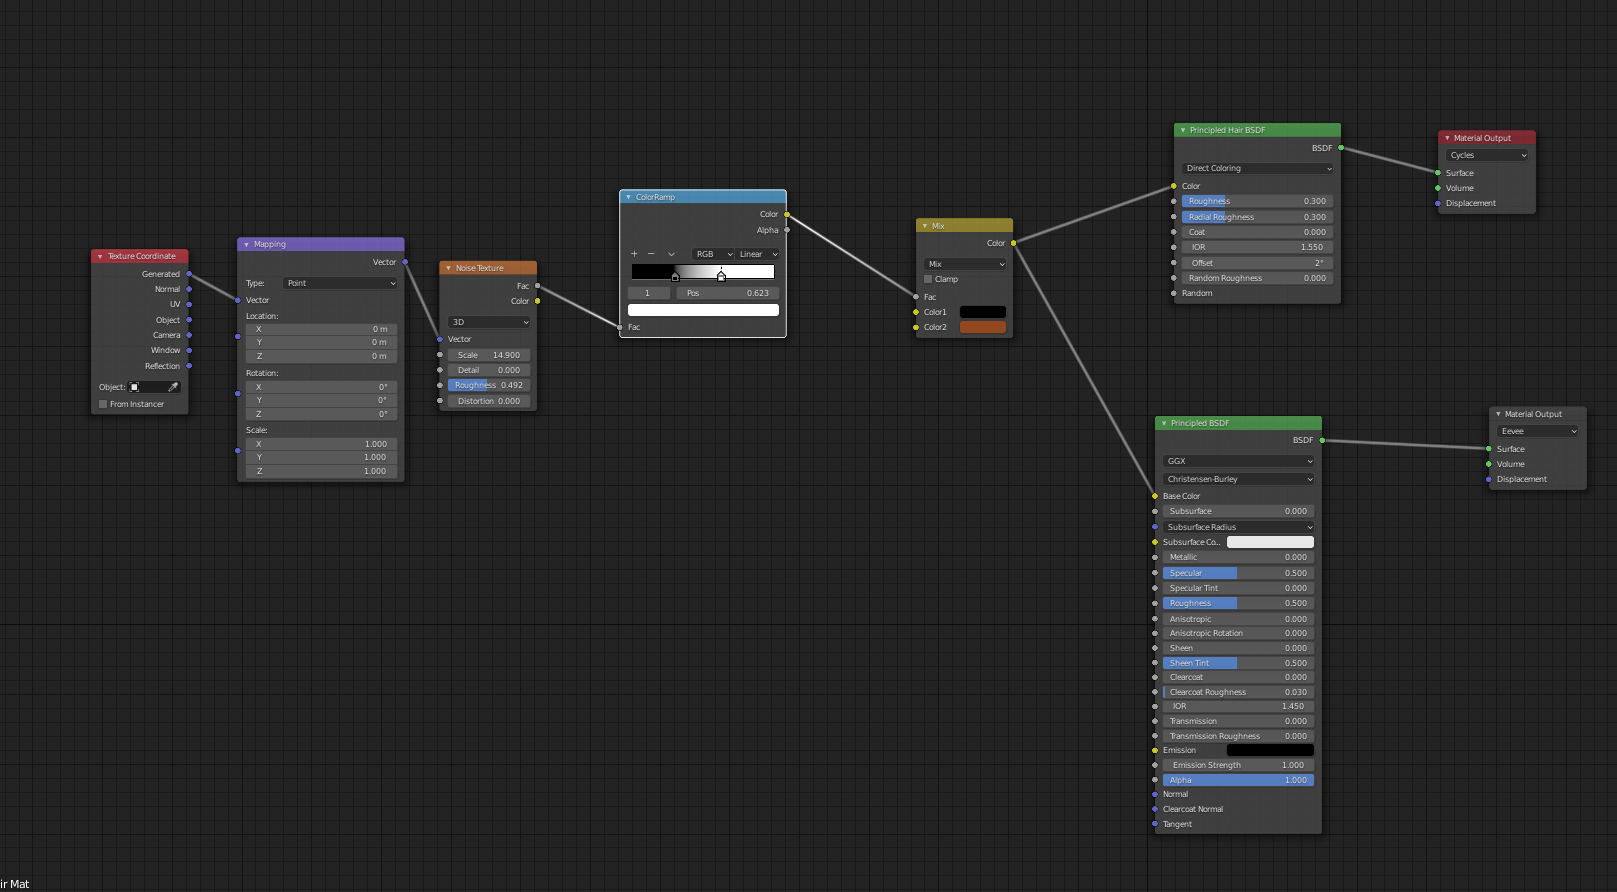
Here are the settings and the shader nodes of the hair.
Clothing
For modeling the clothing, Marvelous Designer was a huge help. After a quick rig with Rigify, I did a simple animation, from A-pose to the pose that I decided my character would be in, and then exported it in Alembic. Then I imported the Alembic file into Marvelous, modeled the cloth in A-pose, played the animation, and…that’s it, my character has clothes!
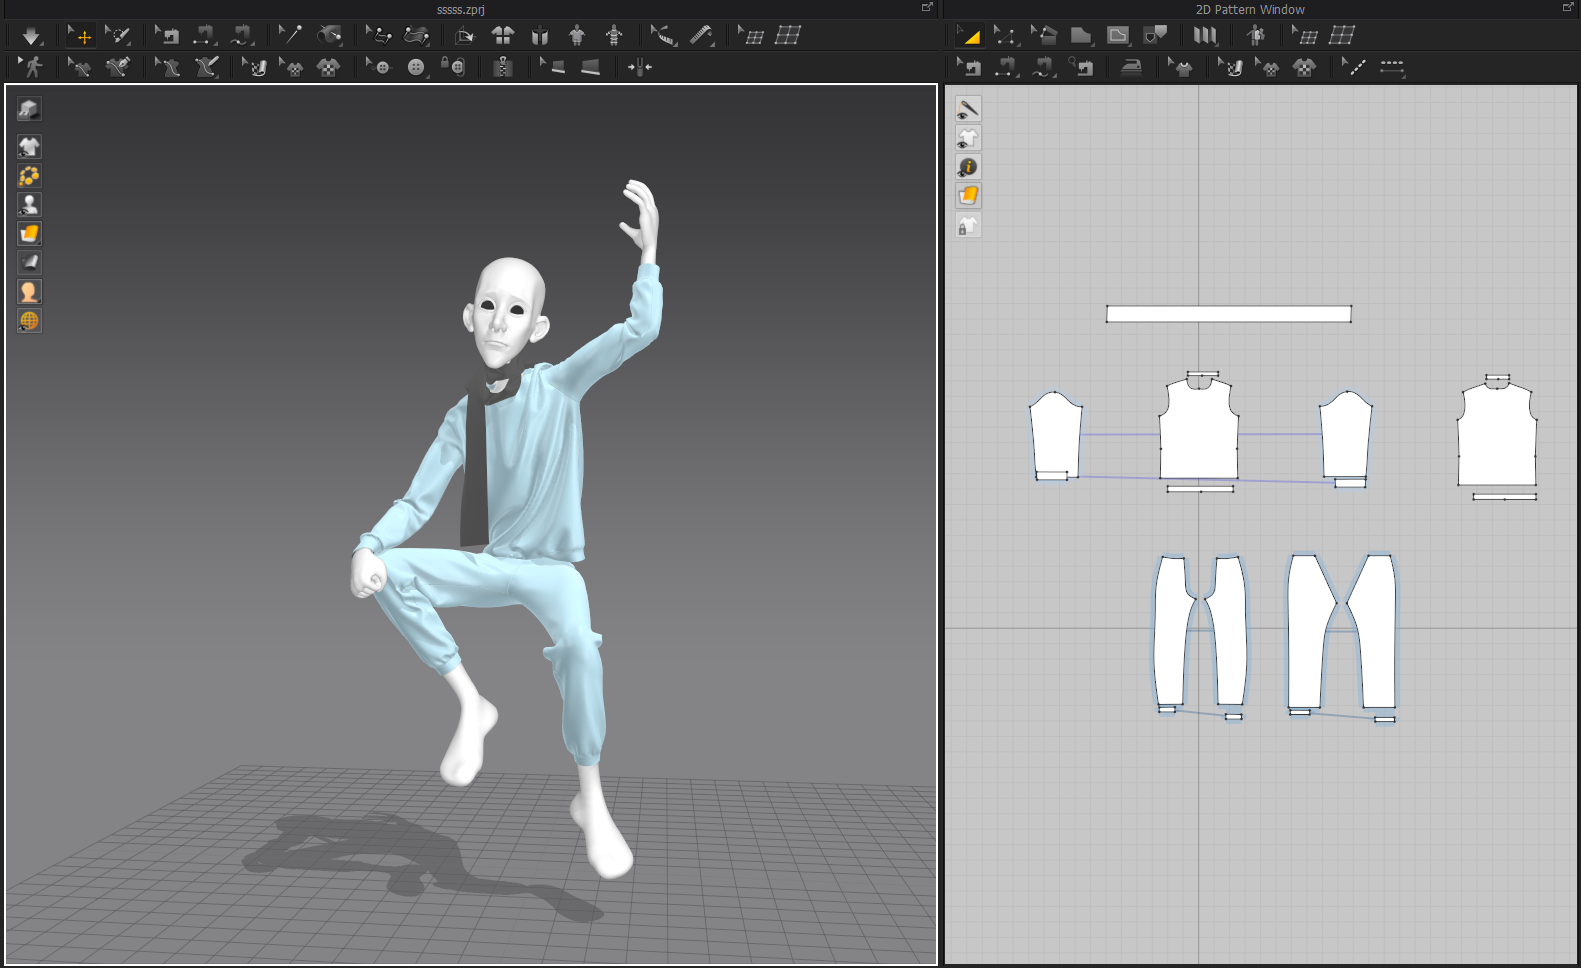
The beautiful thing about Marvelous Designer is that it gives you perfect UVs, just as clothes have seams in real life. And also, it has its built-in retopo tools. For this project I used automatic retopo, which is not good for animation, but for this kind of static render it does a great job.
Environment
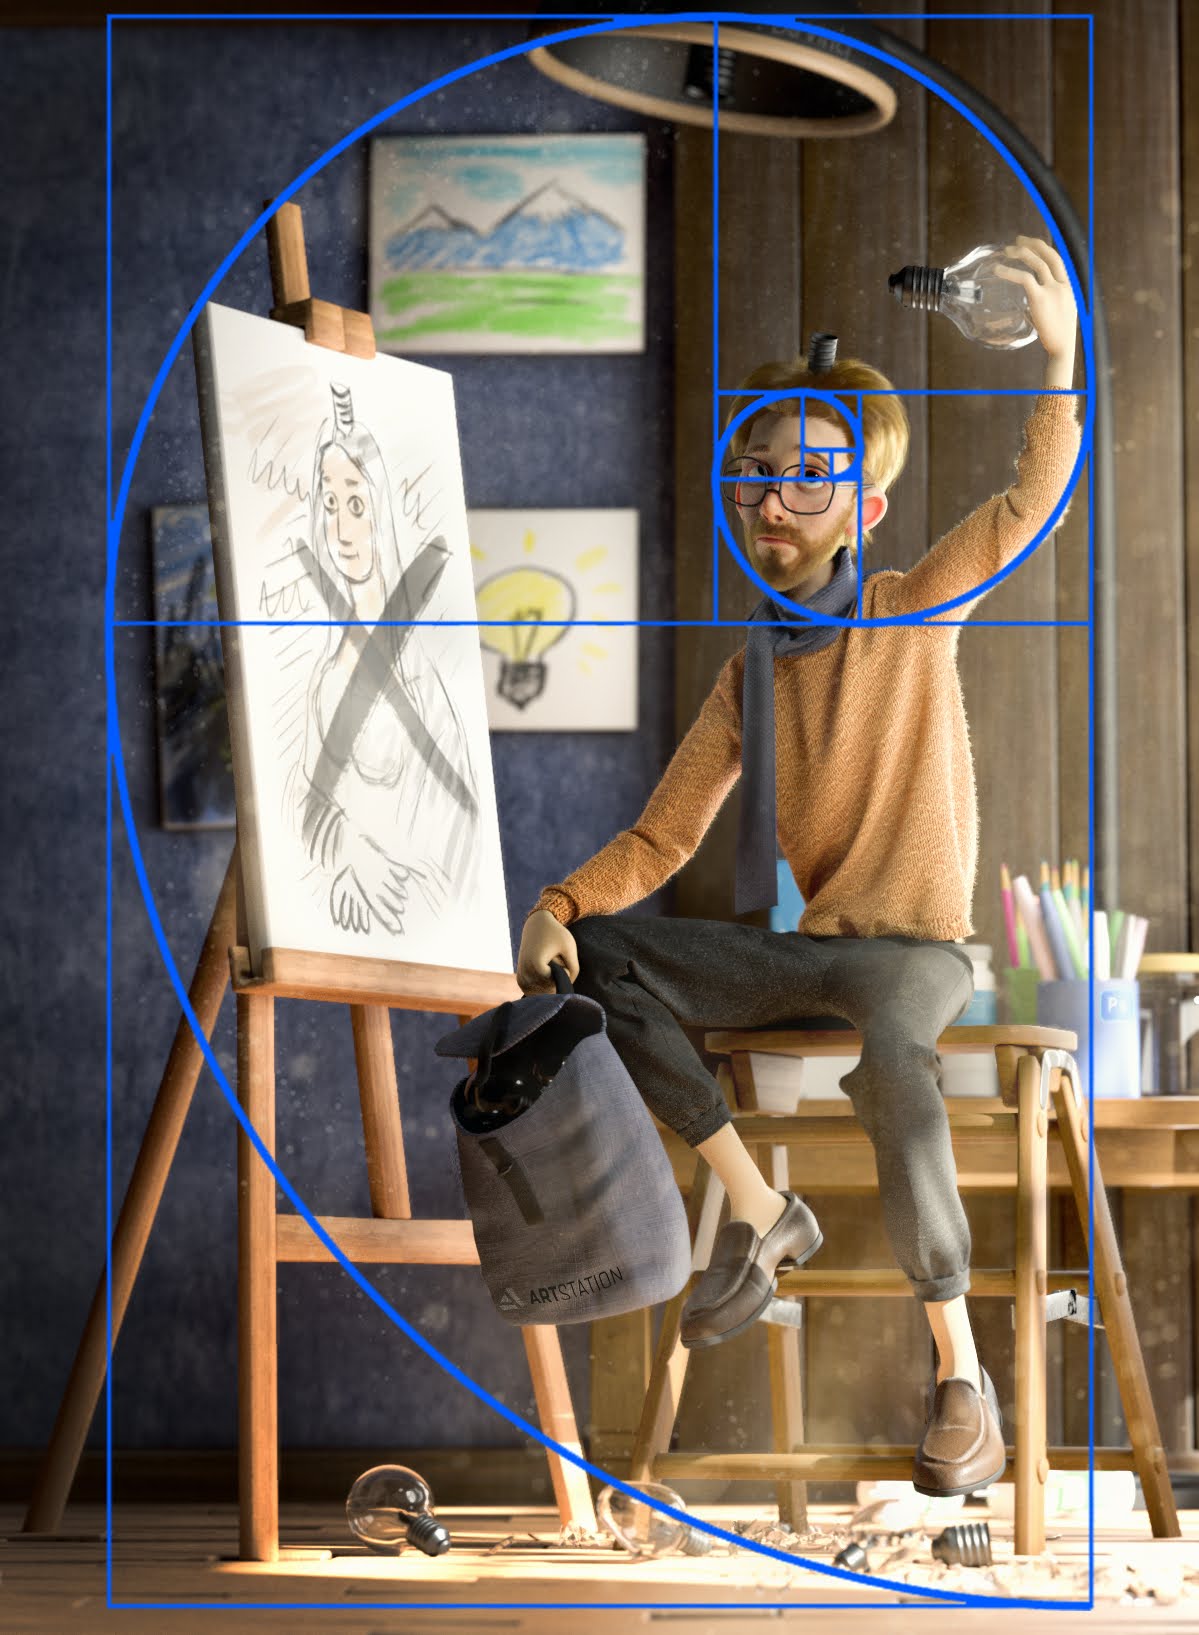
Modeling the environment was pretty standard—just box modeling random stuff that I saw in artists’ studios, and filling the scene. At the beginning, I filled the scene randomly, which didn’t look nice, so I tried a composition method using Fibonacci’s ratio. For that, I modeled the ratio with curves, made it a child of the camera, and fit it to my render resolution. This way, whenever I moved the camera the ratio was always in the right place. In Blender it looks like this.

And the final scene:
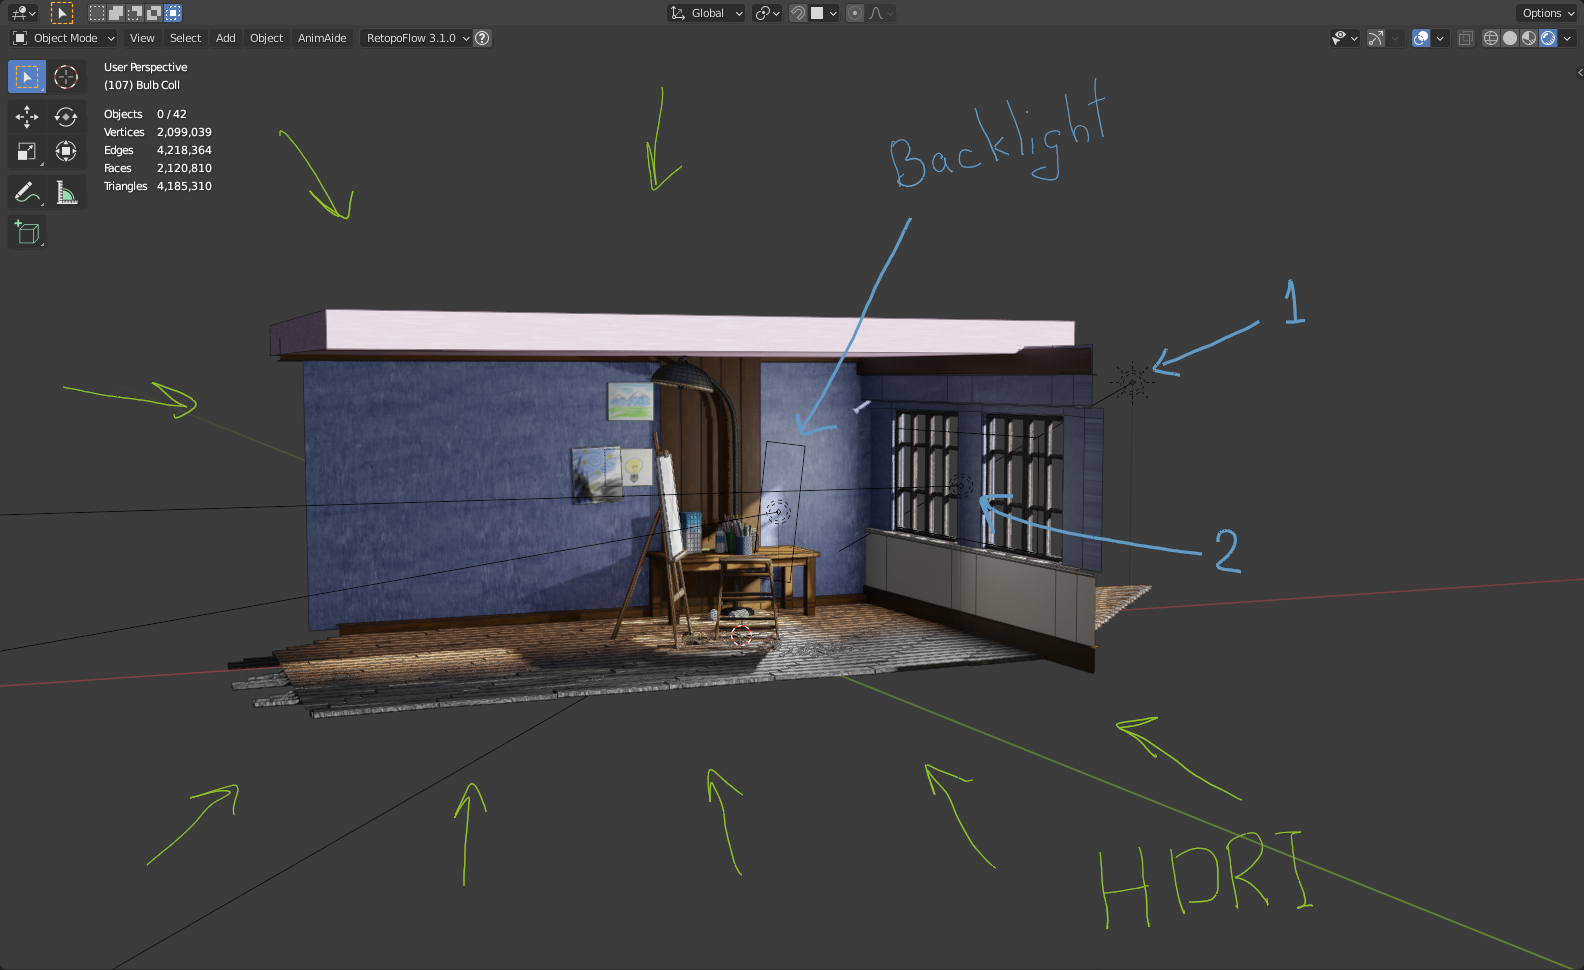
The lighting setup is very simple, just two lights coming from the window, one backlight, and an HDRI.
Rendered in Cycles in 2000 samples, about 30 minutes on my I7-8700, 16GB RAM, GTX 1070 TI video card. After rendering, I did a tiny bit of post-processing in Photoshop.
And here is the final result:
Easter eggs
The fun part of the project was when I tried to storytell something in little details. For example, the lamp that he was trying to put on his head is from the lamp stand behind him, which is called Da Vinci. So the biggest lamp represents the creativity of Da Vinci, and the artist trying to achieve the same creativity.

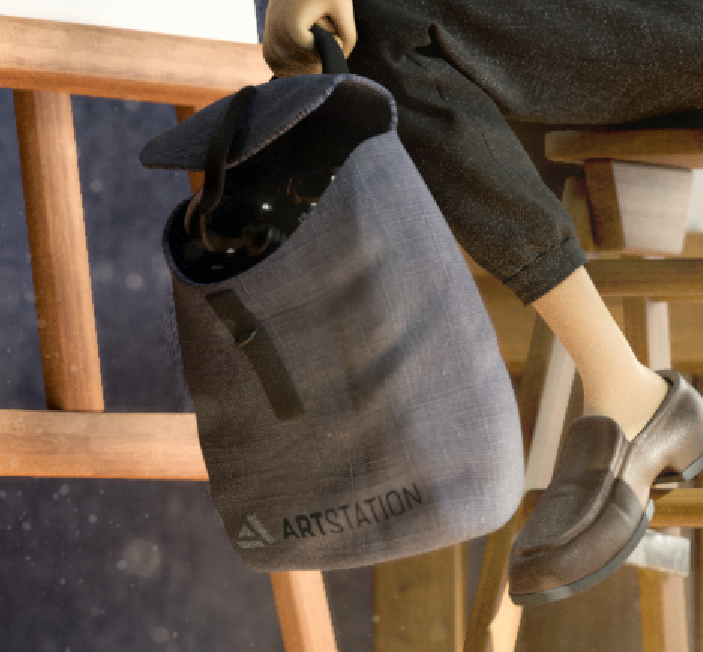
The ArtStation bag represents a place of inspiration, full of creative ideas.
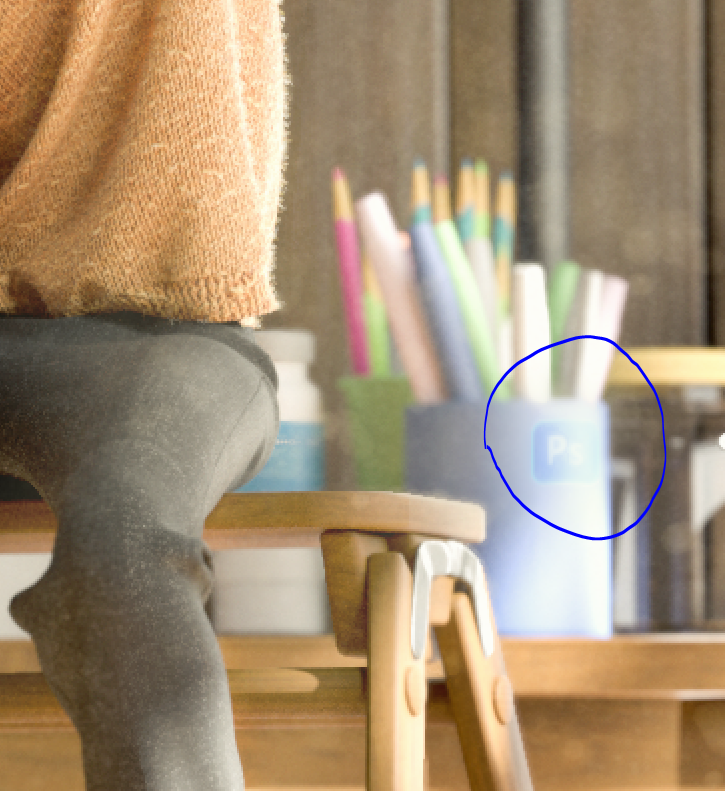
And the Photoshop icon indicates the common tool for creating art in 21st century.
That’s it! :)
Take your idea, add a drop of creative solution, mix it with Blender, and the masterpiece is ready!
About the author
 Murad Rama (Tshntshghukyan), 3D Generalist


Hey, Murad–I love the image. I just want to disagree with you on some of your terminology.
“For references, I searched for and watched a lot of images on Pinterest of real artists, especially painters, to see how they look, what they like to wear, their studios, etc.”
I just want to say, you ARE a real artist.
thanks for sharing this with us. you are so inspiring man.