
Behind the Scenes: The Greenhouse
About me
Hey everyone! My name’s Laura, and I’m a 3D hobbyist living in the UK. I was born in the States and moved to England when I was little. After school, I studied Psychology before deciding to go into medicine. After a few more years at medical school and 3 years working as a doctor in an East London hospital, I’ve now started my specialist training as an eye surgeon.
My path to becoming an eye surgeon was a bit serendipitous, and I think my discovery of Blender as a medical student had a big influence on my choice of specialty—I love that vision and art go hand-in-hand, but also that you can use 3D and virtual reality in a healthcare setting in very cool and innovative ways.
Background in 3D
I used to think of myself as a self-taught 3D artist, but then I heard Andrew Price in one of his Blender Guru videos mention figuring things out in Blender before YouTube, and I was like, …oh! The resources that the Blender community has built up to help teach everyone are actually incredible, and I definitely couldn’t have made the things I have without them all! I learnt everything I know about 3D and Blender from passionate souls on the internet—some of the most helpful instructors for me have been Julien Deville, Rob Tuytel, Andrew Price, and the CG Cookie team, but there are also a lot of other people who I subscribe to on YouTube, or follow on Instagram or ArtStation.
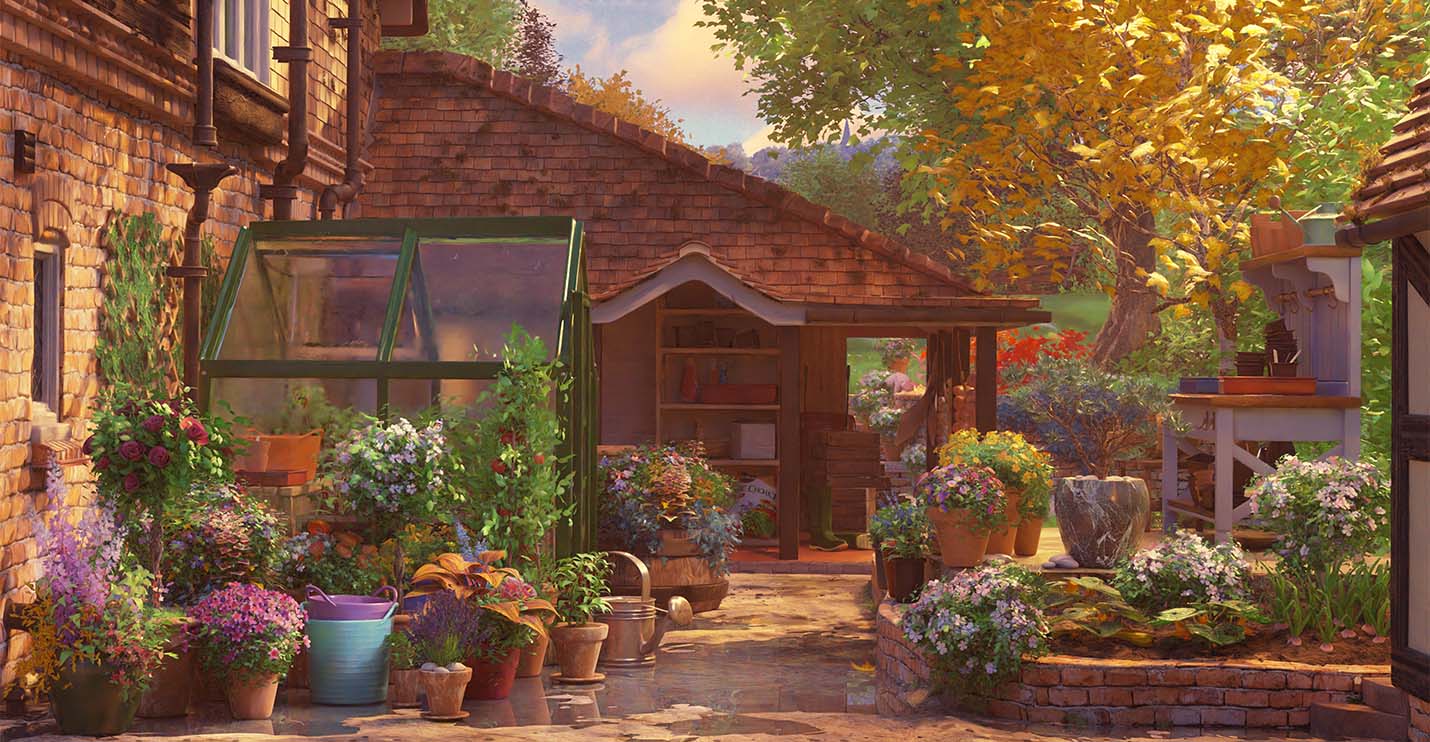
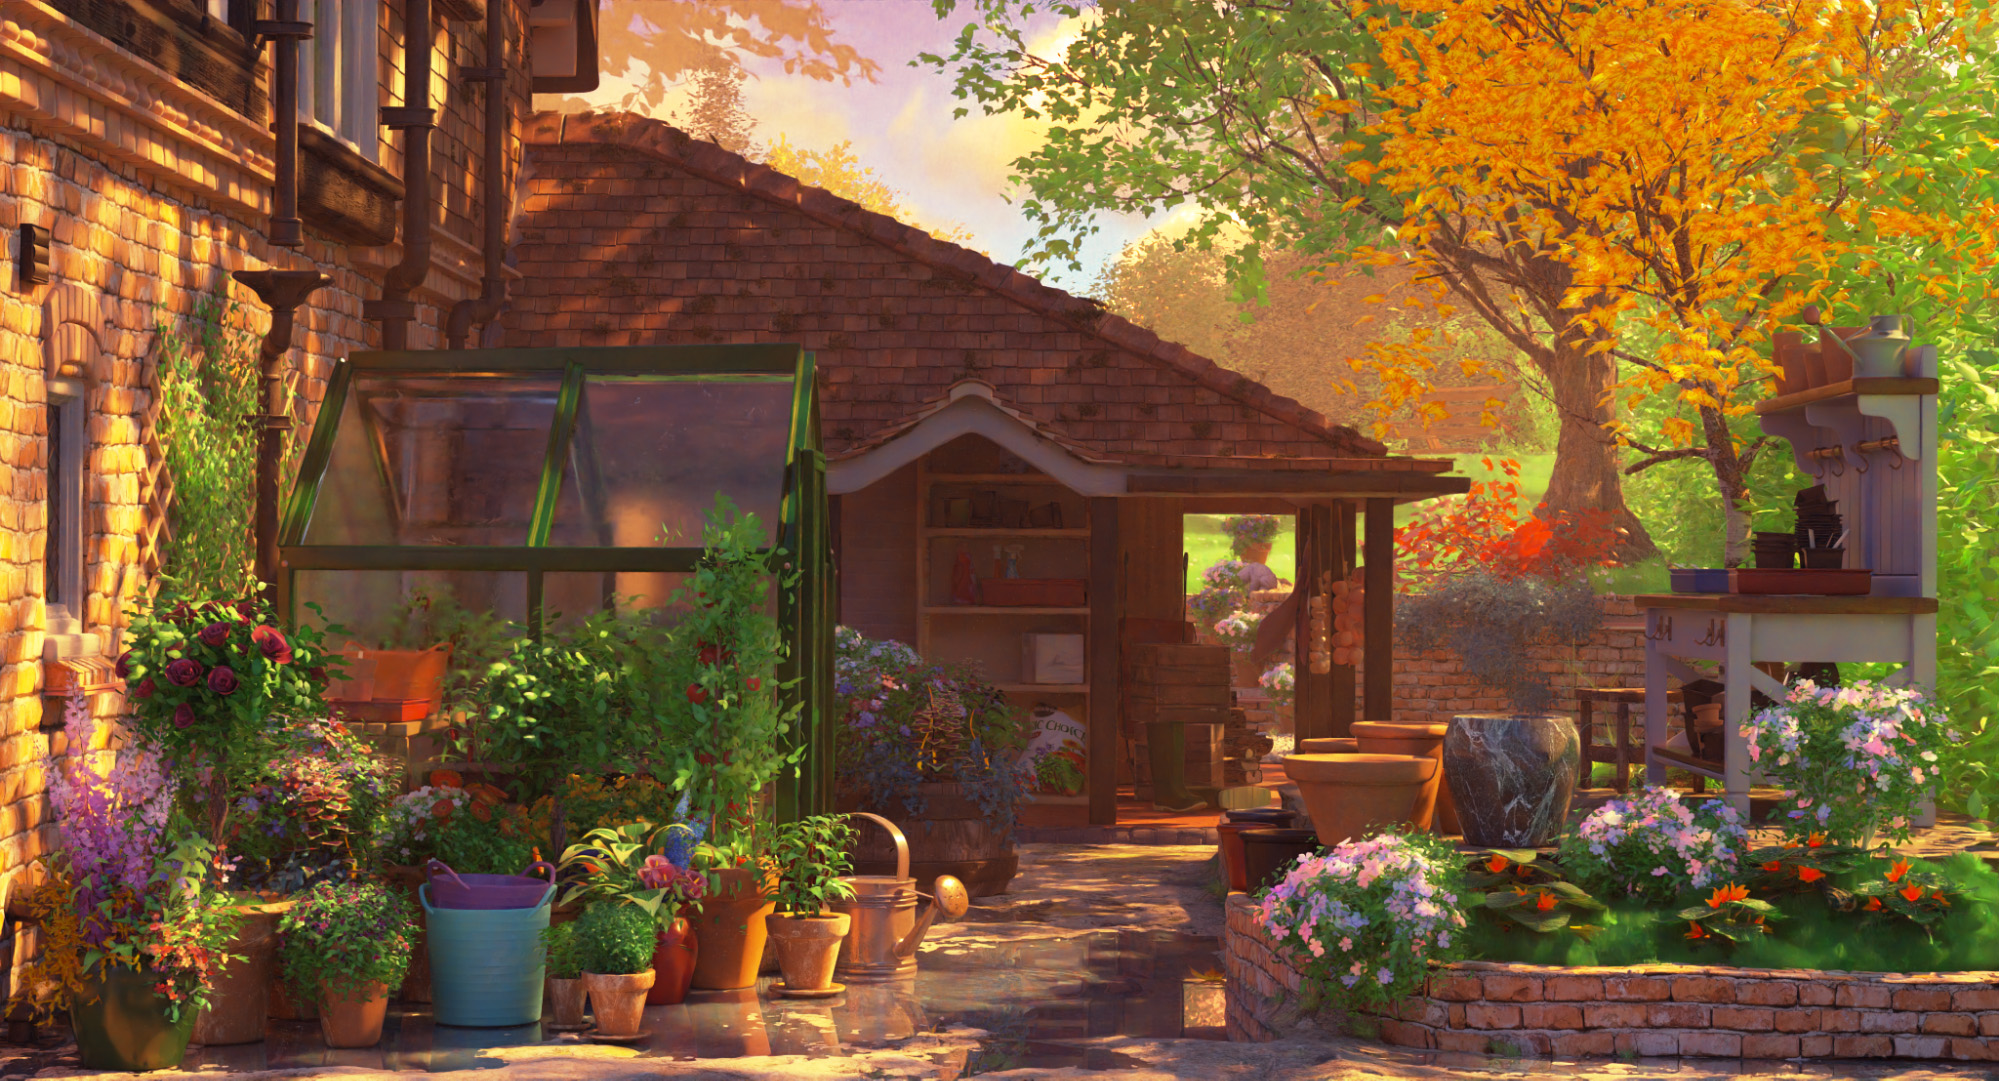
The Greenhouse
I feel very lucky that my parents had the patience to wrangle their rascal kids into learning how to weed and water. This render was inspired by my mom’s greenhouse and the summer afternoons we spent gardening together. It was supposed to be a gift for Mother’s Day (around May in the UK) but it ended up taking me 5 months to finish, so it was more of a ‘yay August bank holiday’ kind of vibe.
Concept
I had a pretty clear idea of what I wanted the basic composition to be, and I made a quick pencil sketch before opening Blender. Stunning sketching skills aside, I find it helpful getting my ideas down on paper so I can refer back to my original concept. I use it to consider how to fill blank spaces in the composition, and to get an idea of the camera position and general scope of the project.
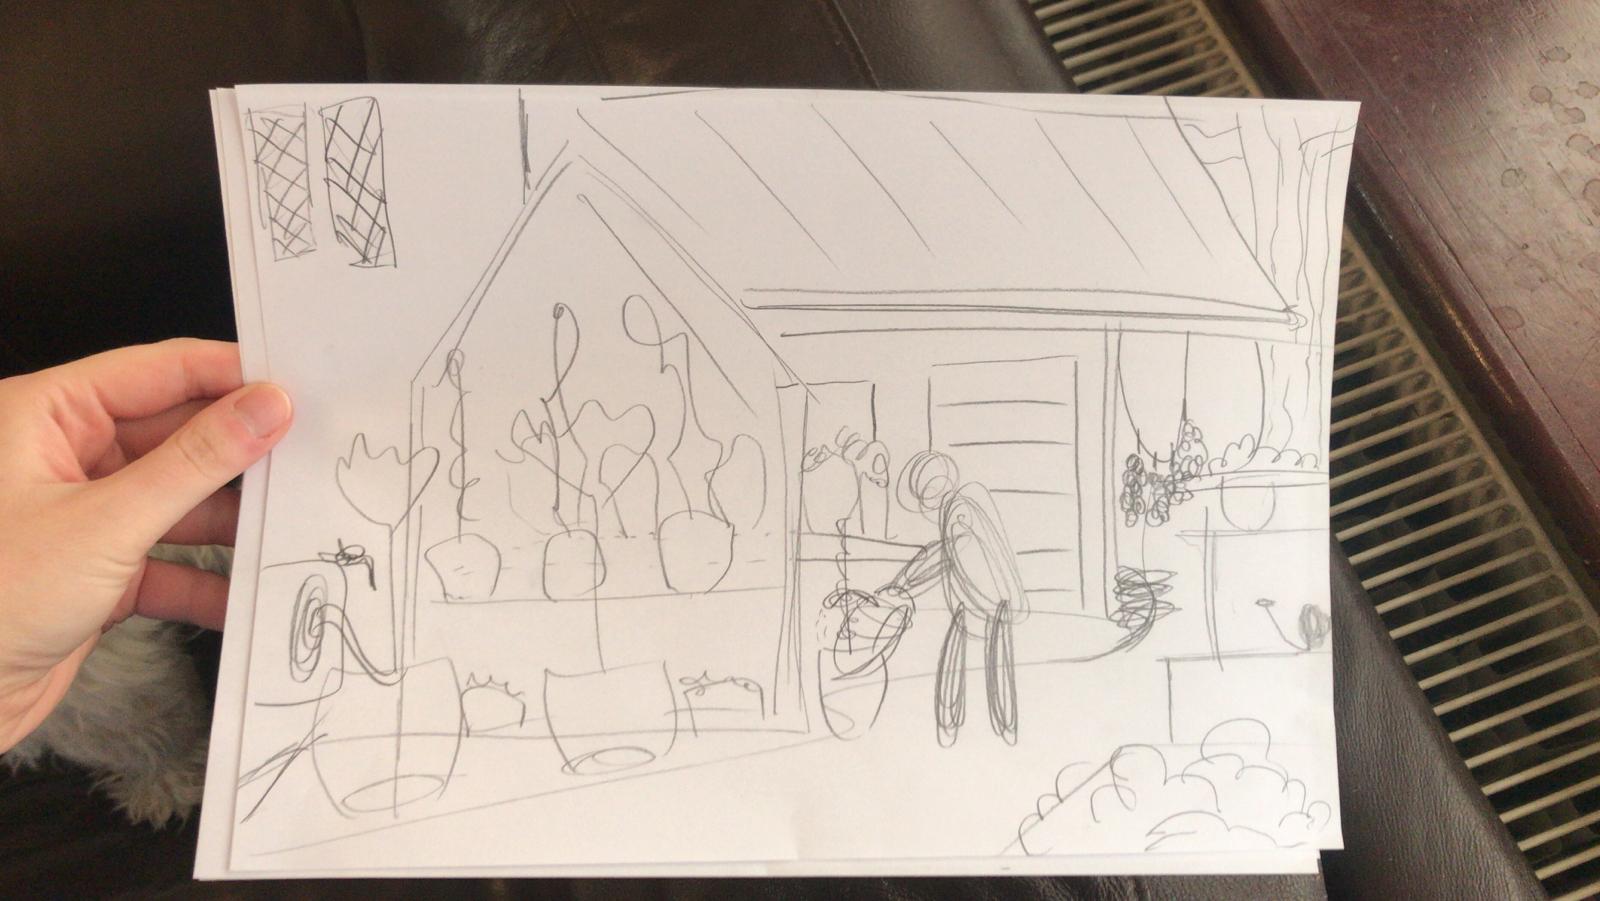
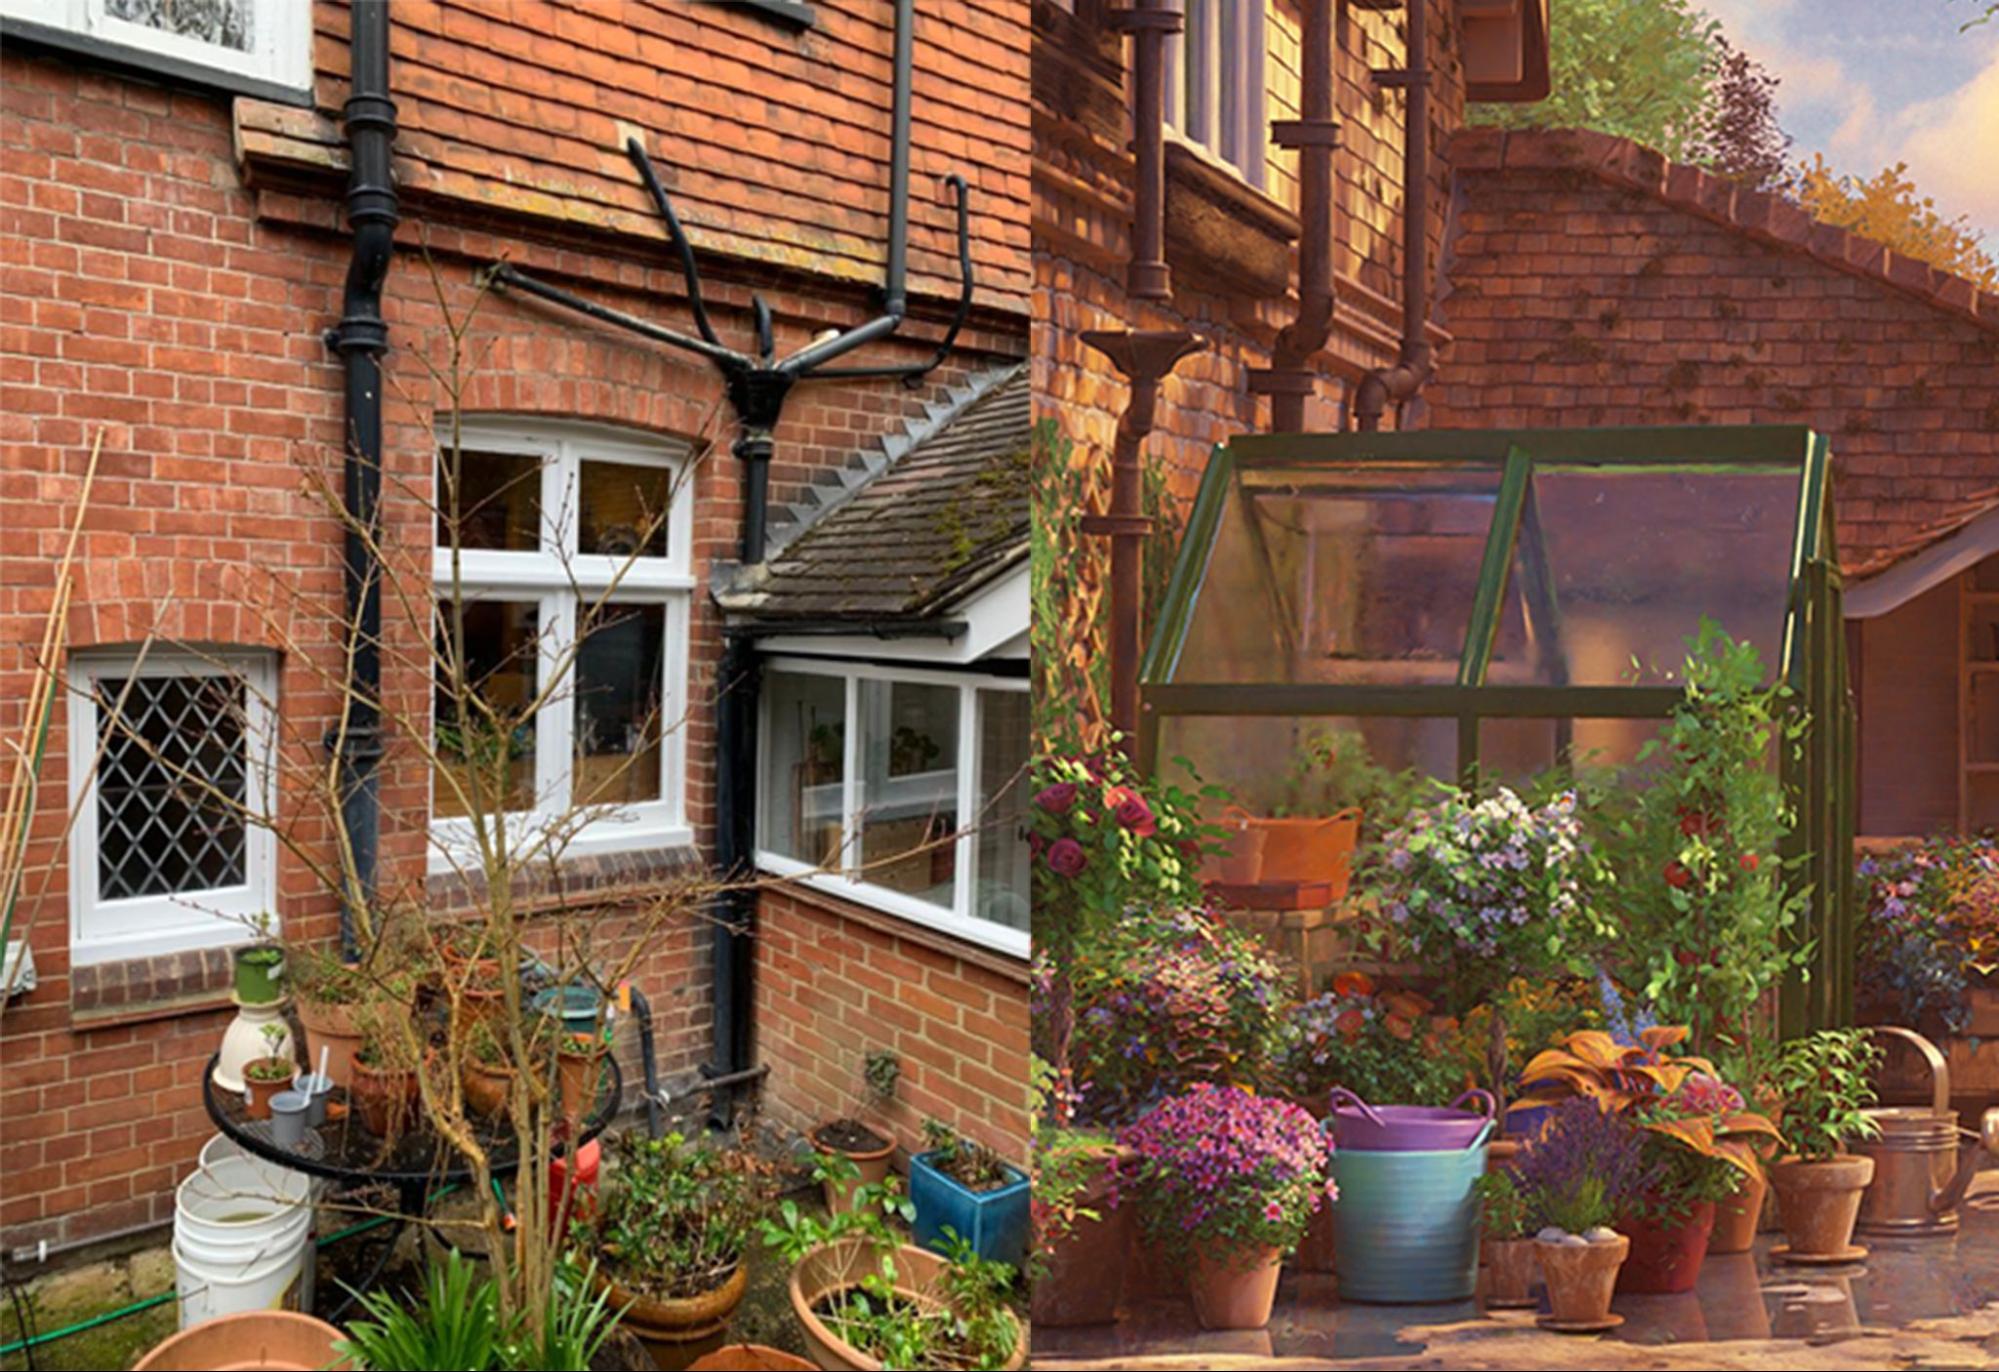
I sent my dad a photo of the sketch and asked him to send me some reference photos of things around the garden. Even though the final scene is a pretty exaggerated version of our garden, working in features from the references, like the details of the building, gutters, and roofing, really helps the realism of the scene while keeping total freedom for stylisation.
Modelling
I started by blocking out the scene and getting a sense of the lighting, seeing especially if it would be possible to get the dappled-sunlight-through-the-trees look I was picturing.
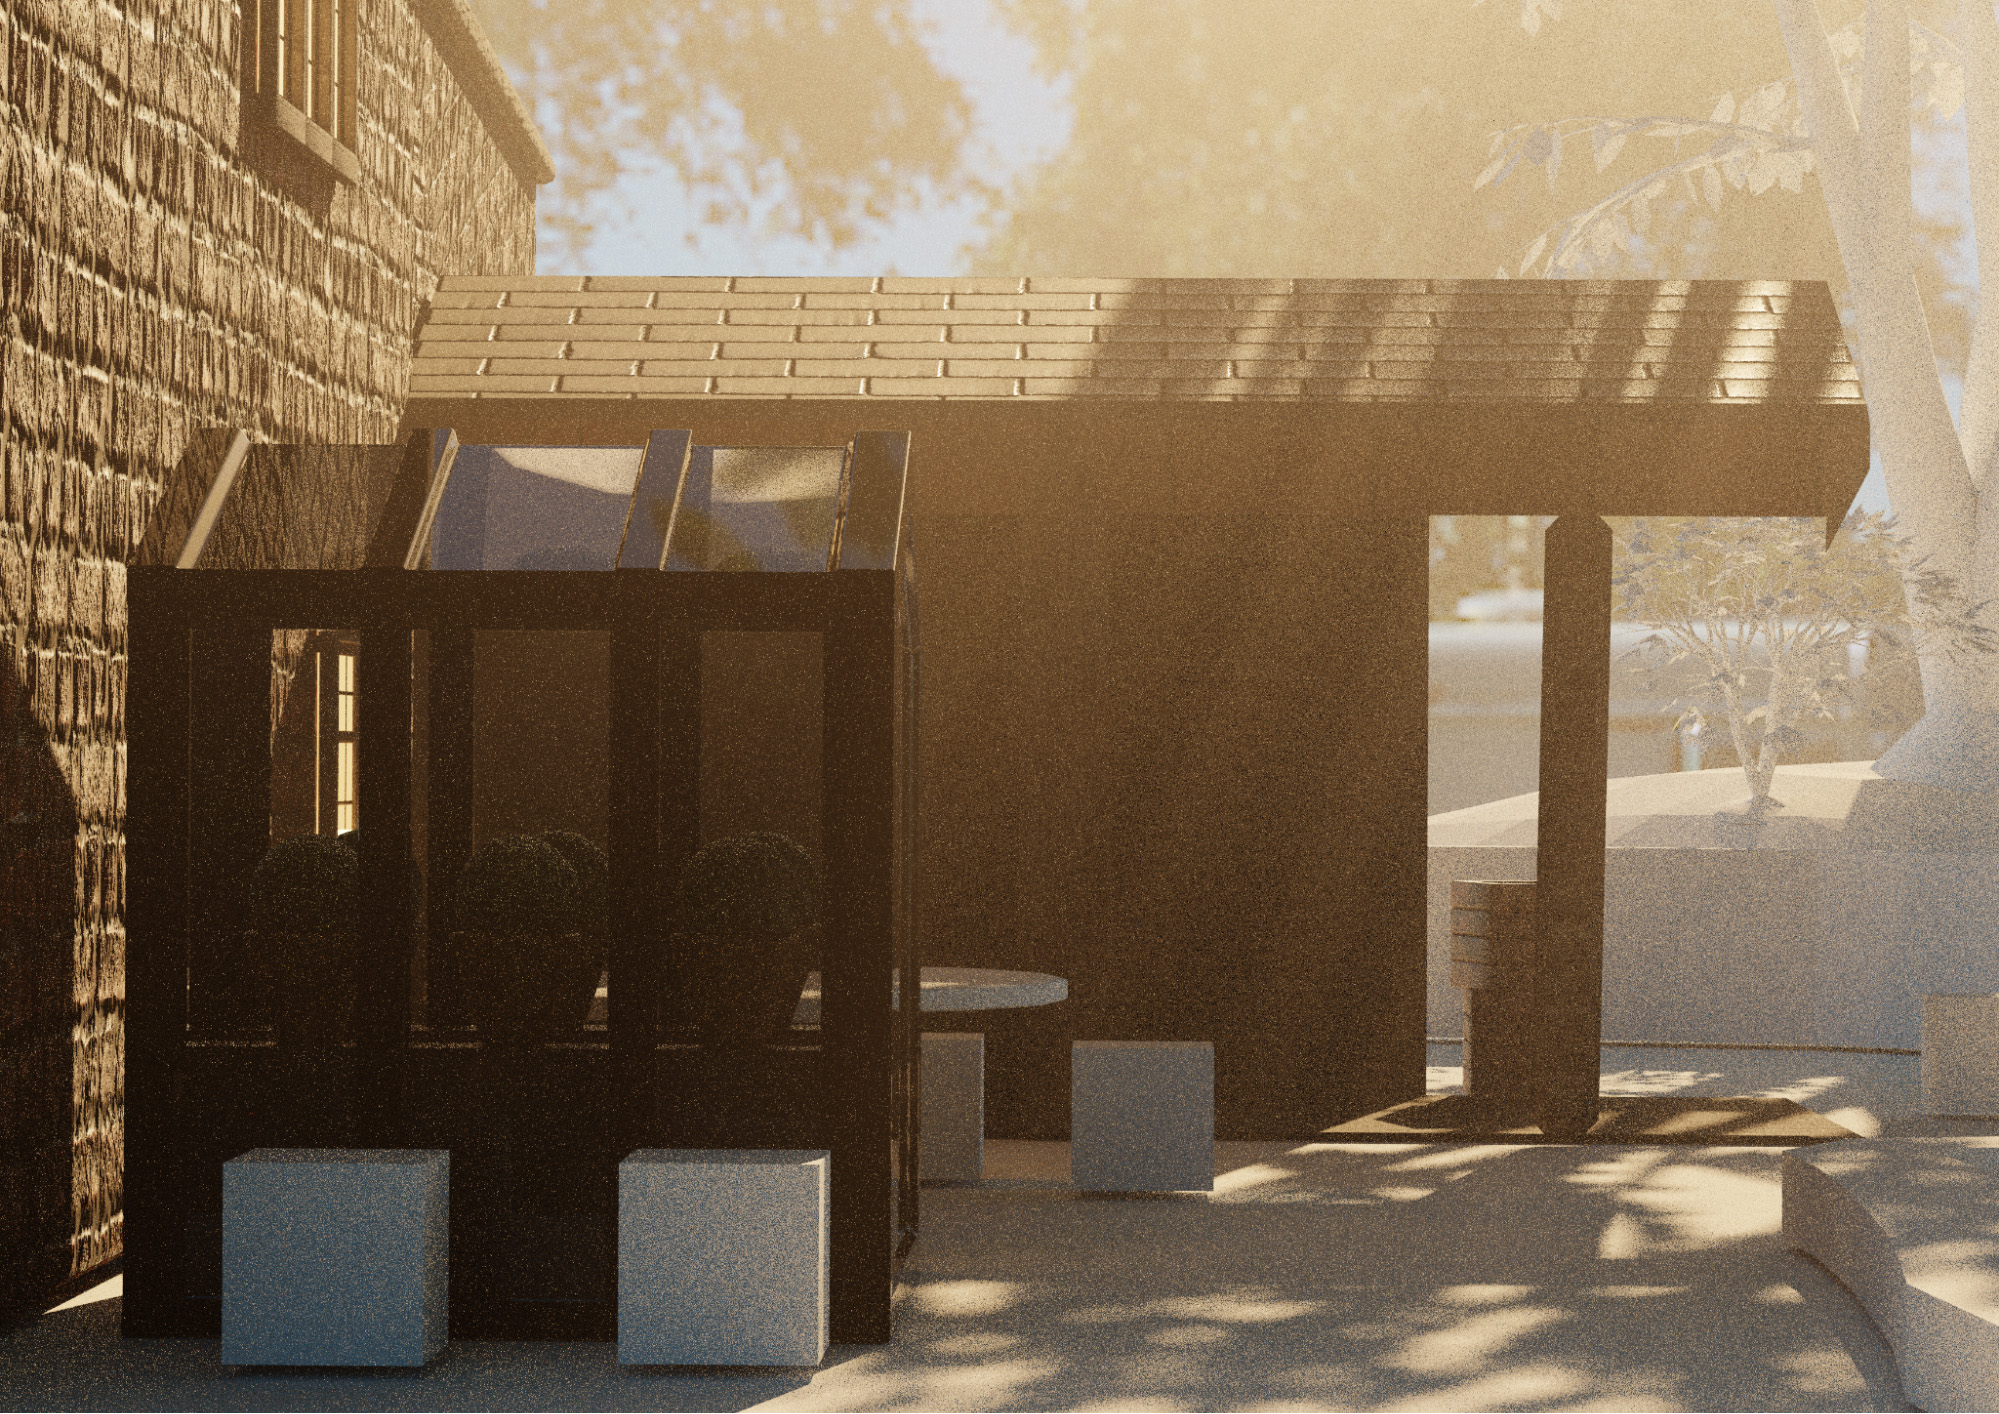
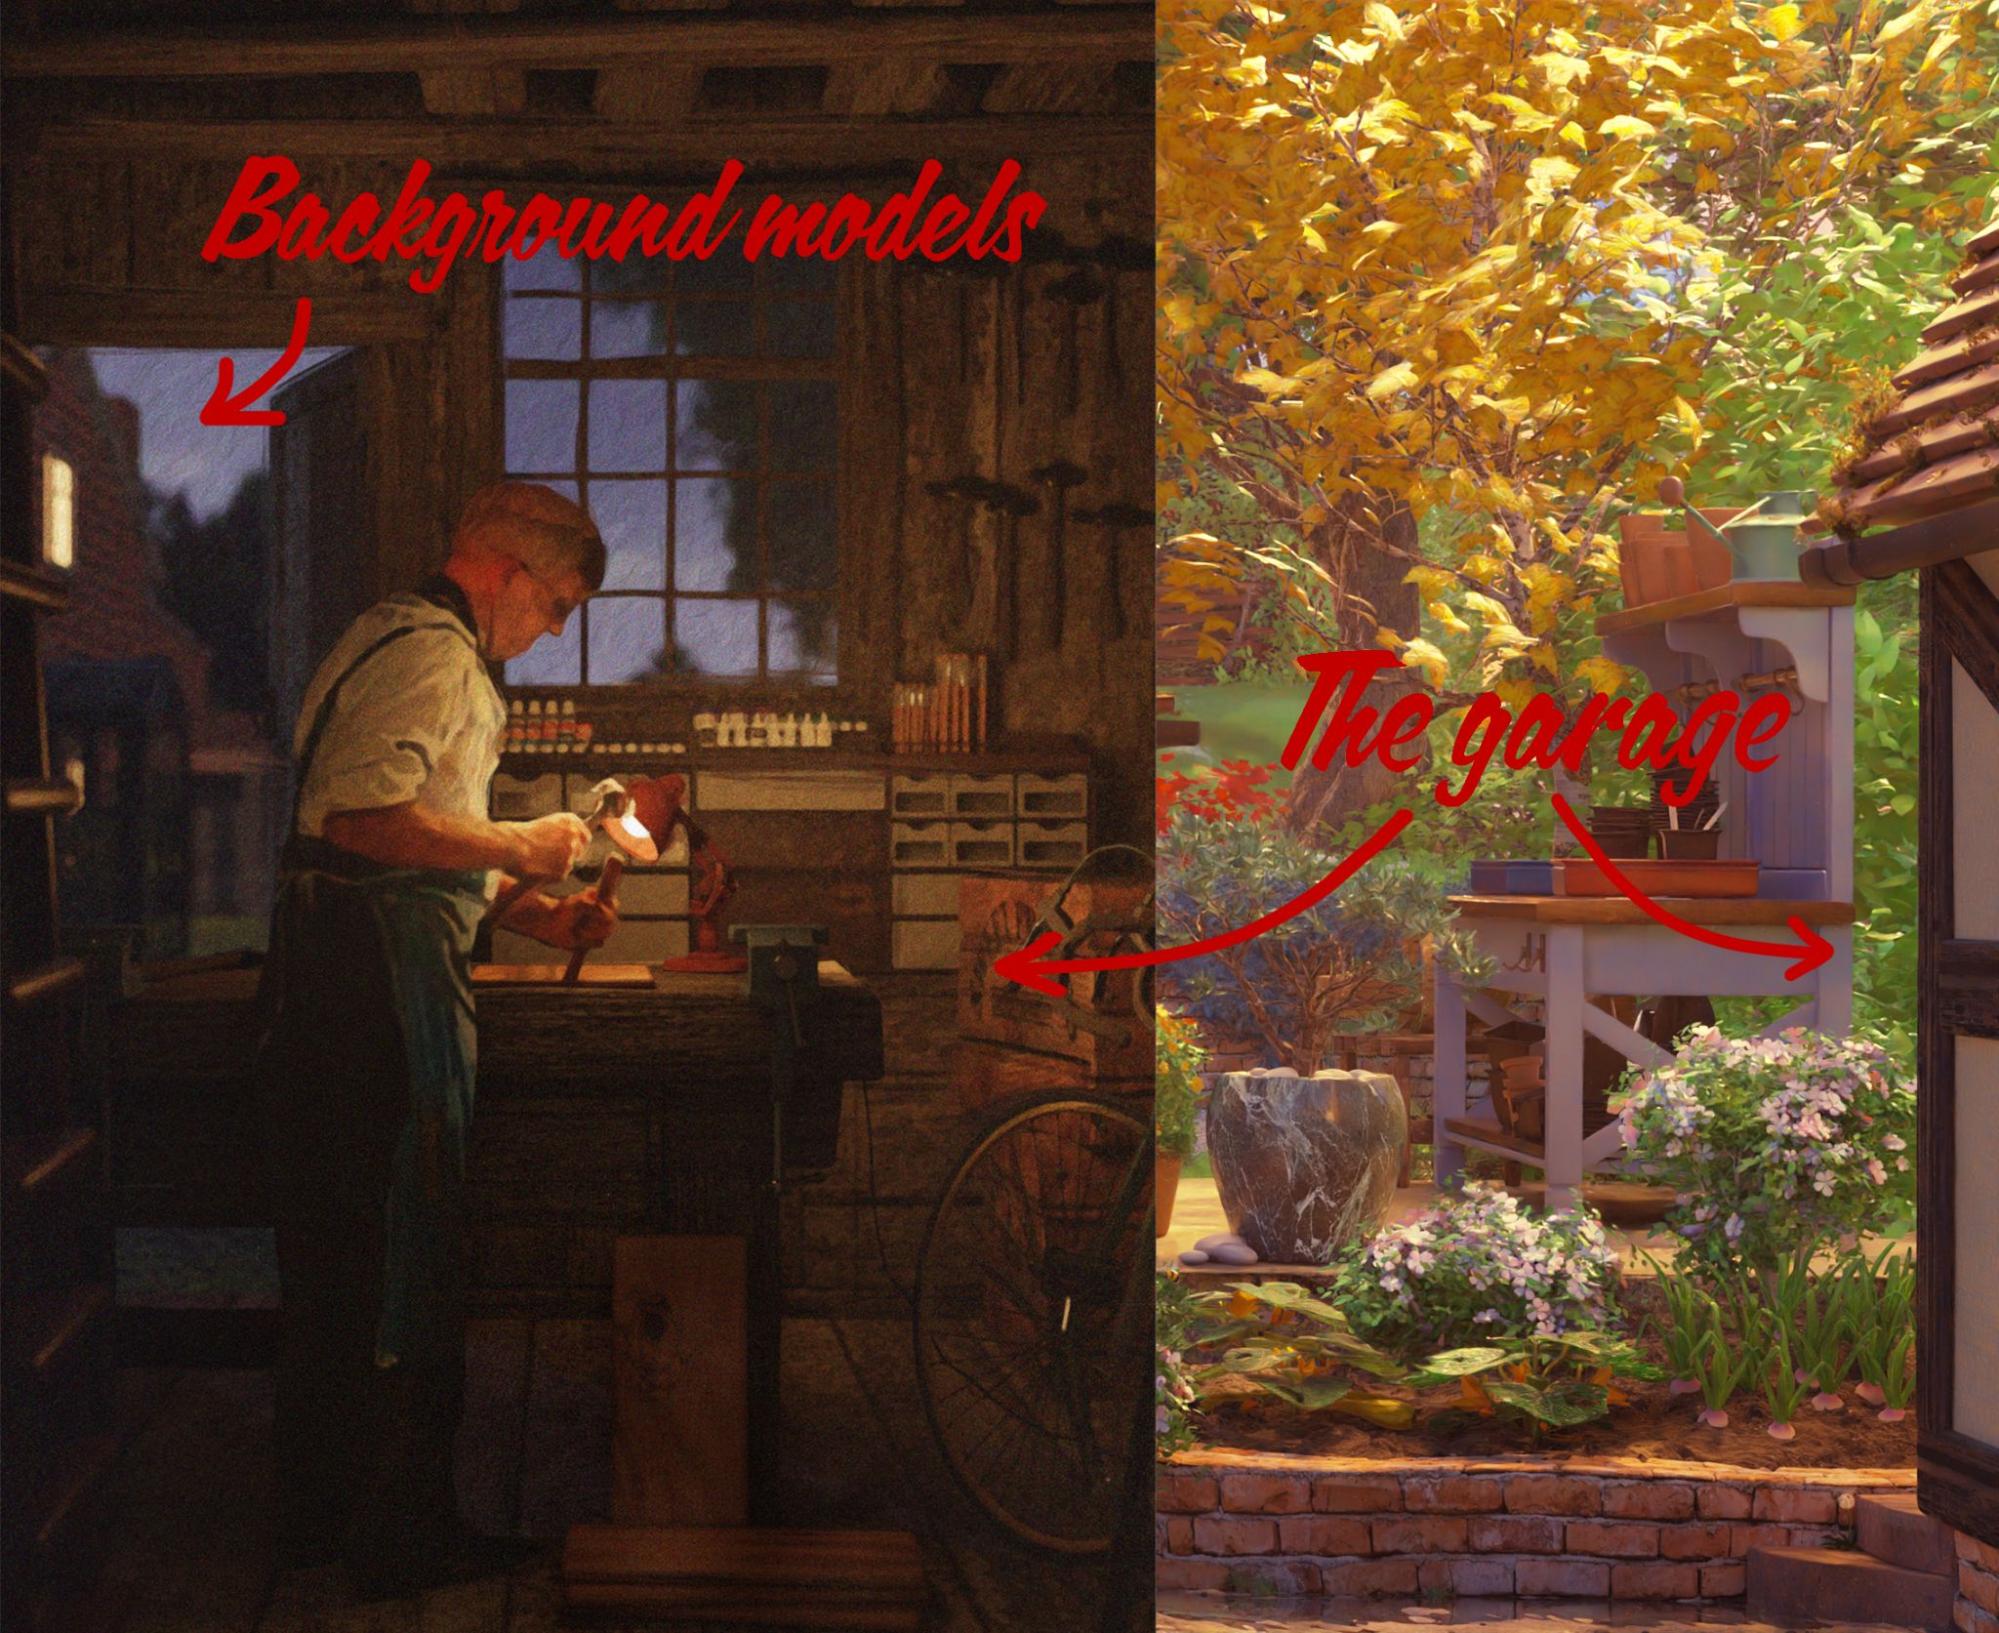
For the initial block out, I pulled across some models that I had made for the background of an old render of my dad in the garage. It’s a pretty similar view of the garden, so I figured the vague proportions and layout would be a helpful starting point.
I try to remind myself that it’s ok for the render to be ugly and not quite right, sometimes until pretty late in the process! I keep chipping away and refining things—I’ve gradually gotten better at being less attached to things I’ve spent a long time on. If a model, texture, or lighting set-up really doesn’t seem to be working, no matter how much time I’ve spent on it, I try to go back and get it right, even if most of the time that means starting over again! Getting into that habit took me a long time but I think it’s worth the commitment.
One perk of being a hobbyist is that when I get time to come back to a project after a little while, it often feels like I’m looking at it from a new perspective—things that seemed perfect before suddenly stand out as being so obviously off, like the scale of a brick texture or the size of a particular pot. I would definitely recommend taking a step back from projects (especially big ones that you invest a lot of time in) and seeing what jumps out at you when you come back.
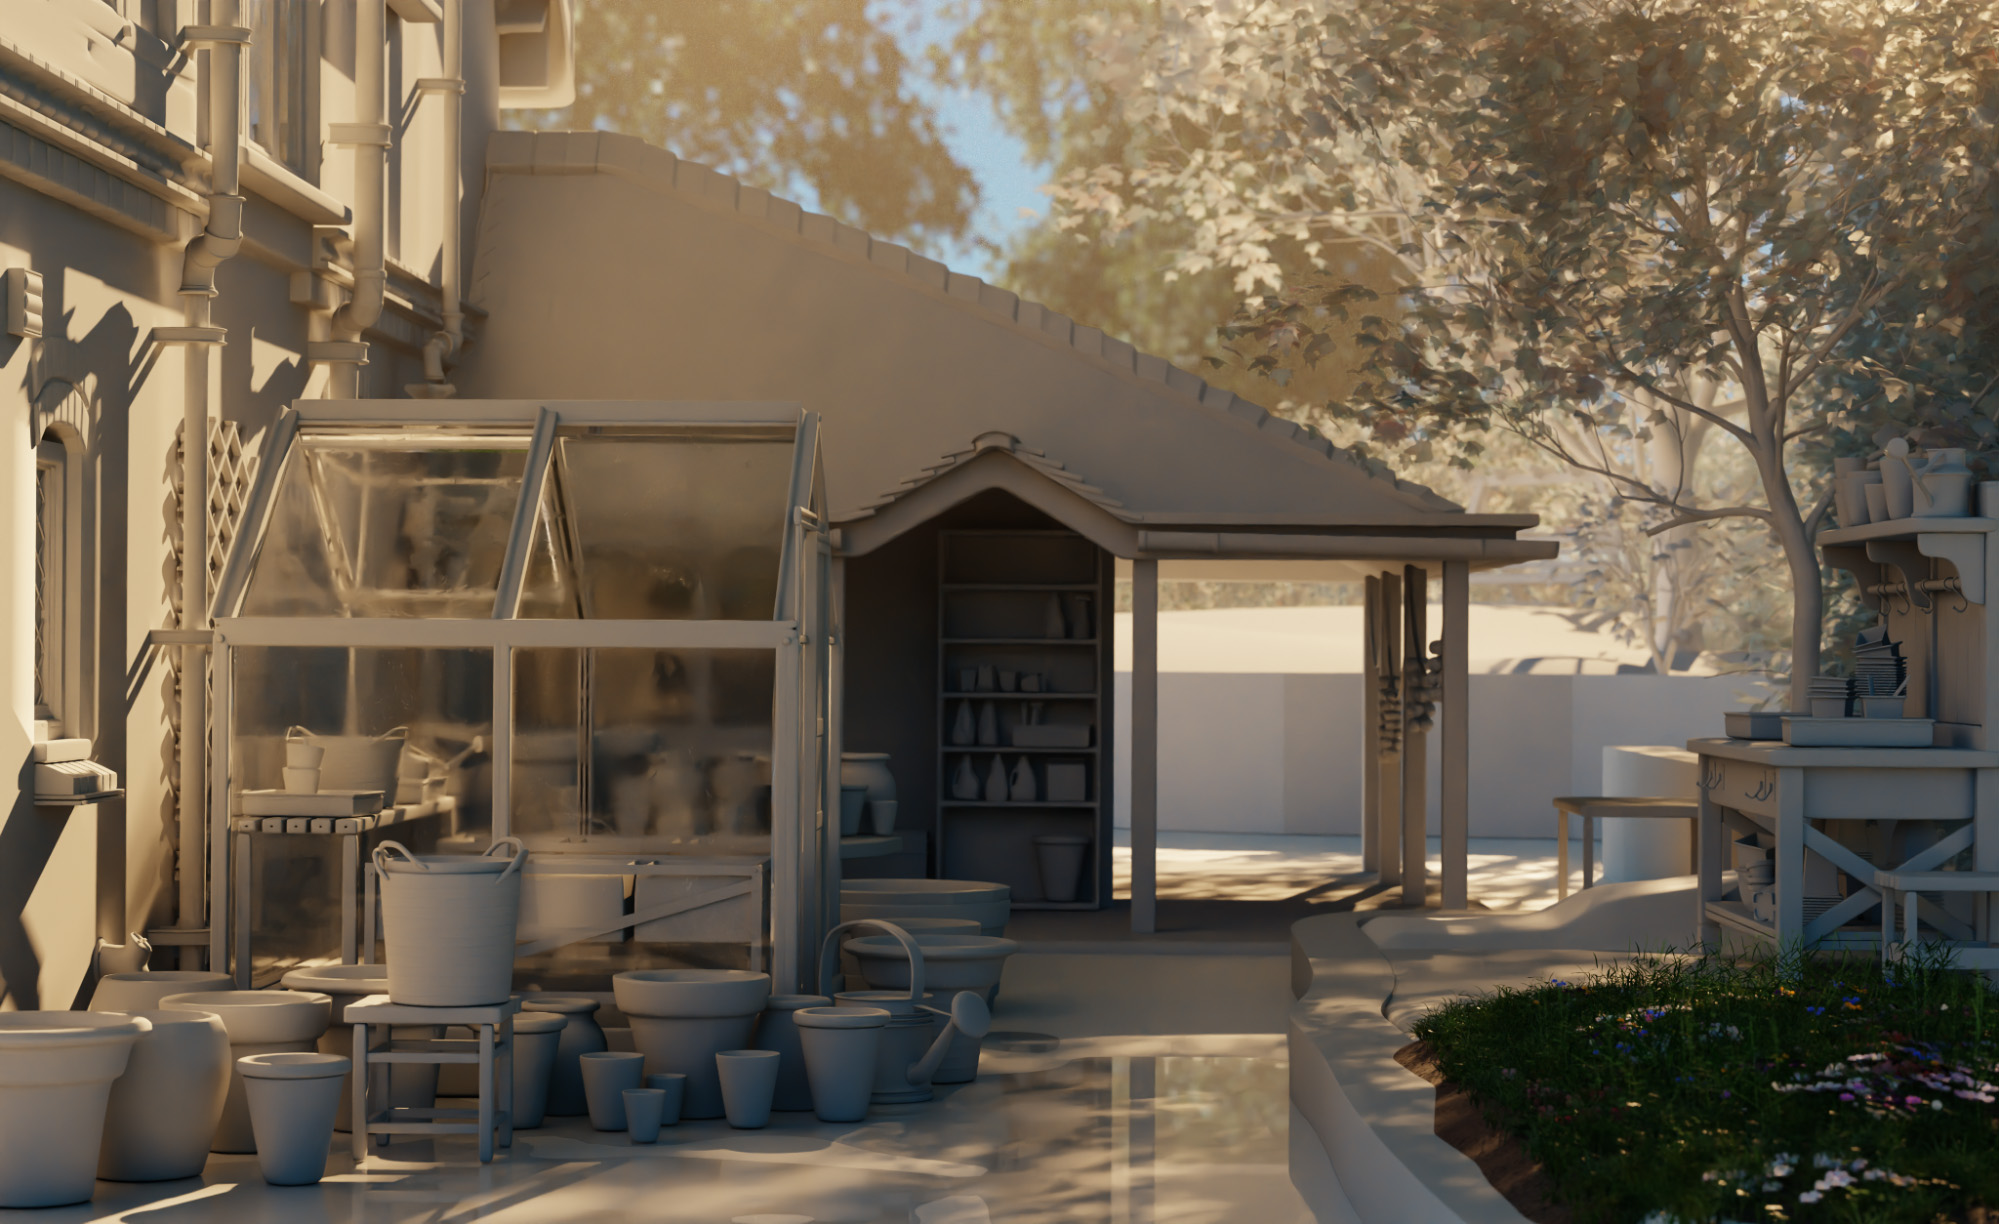
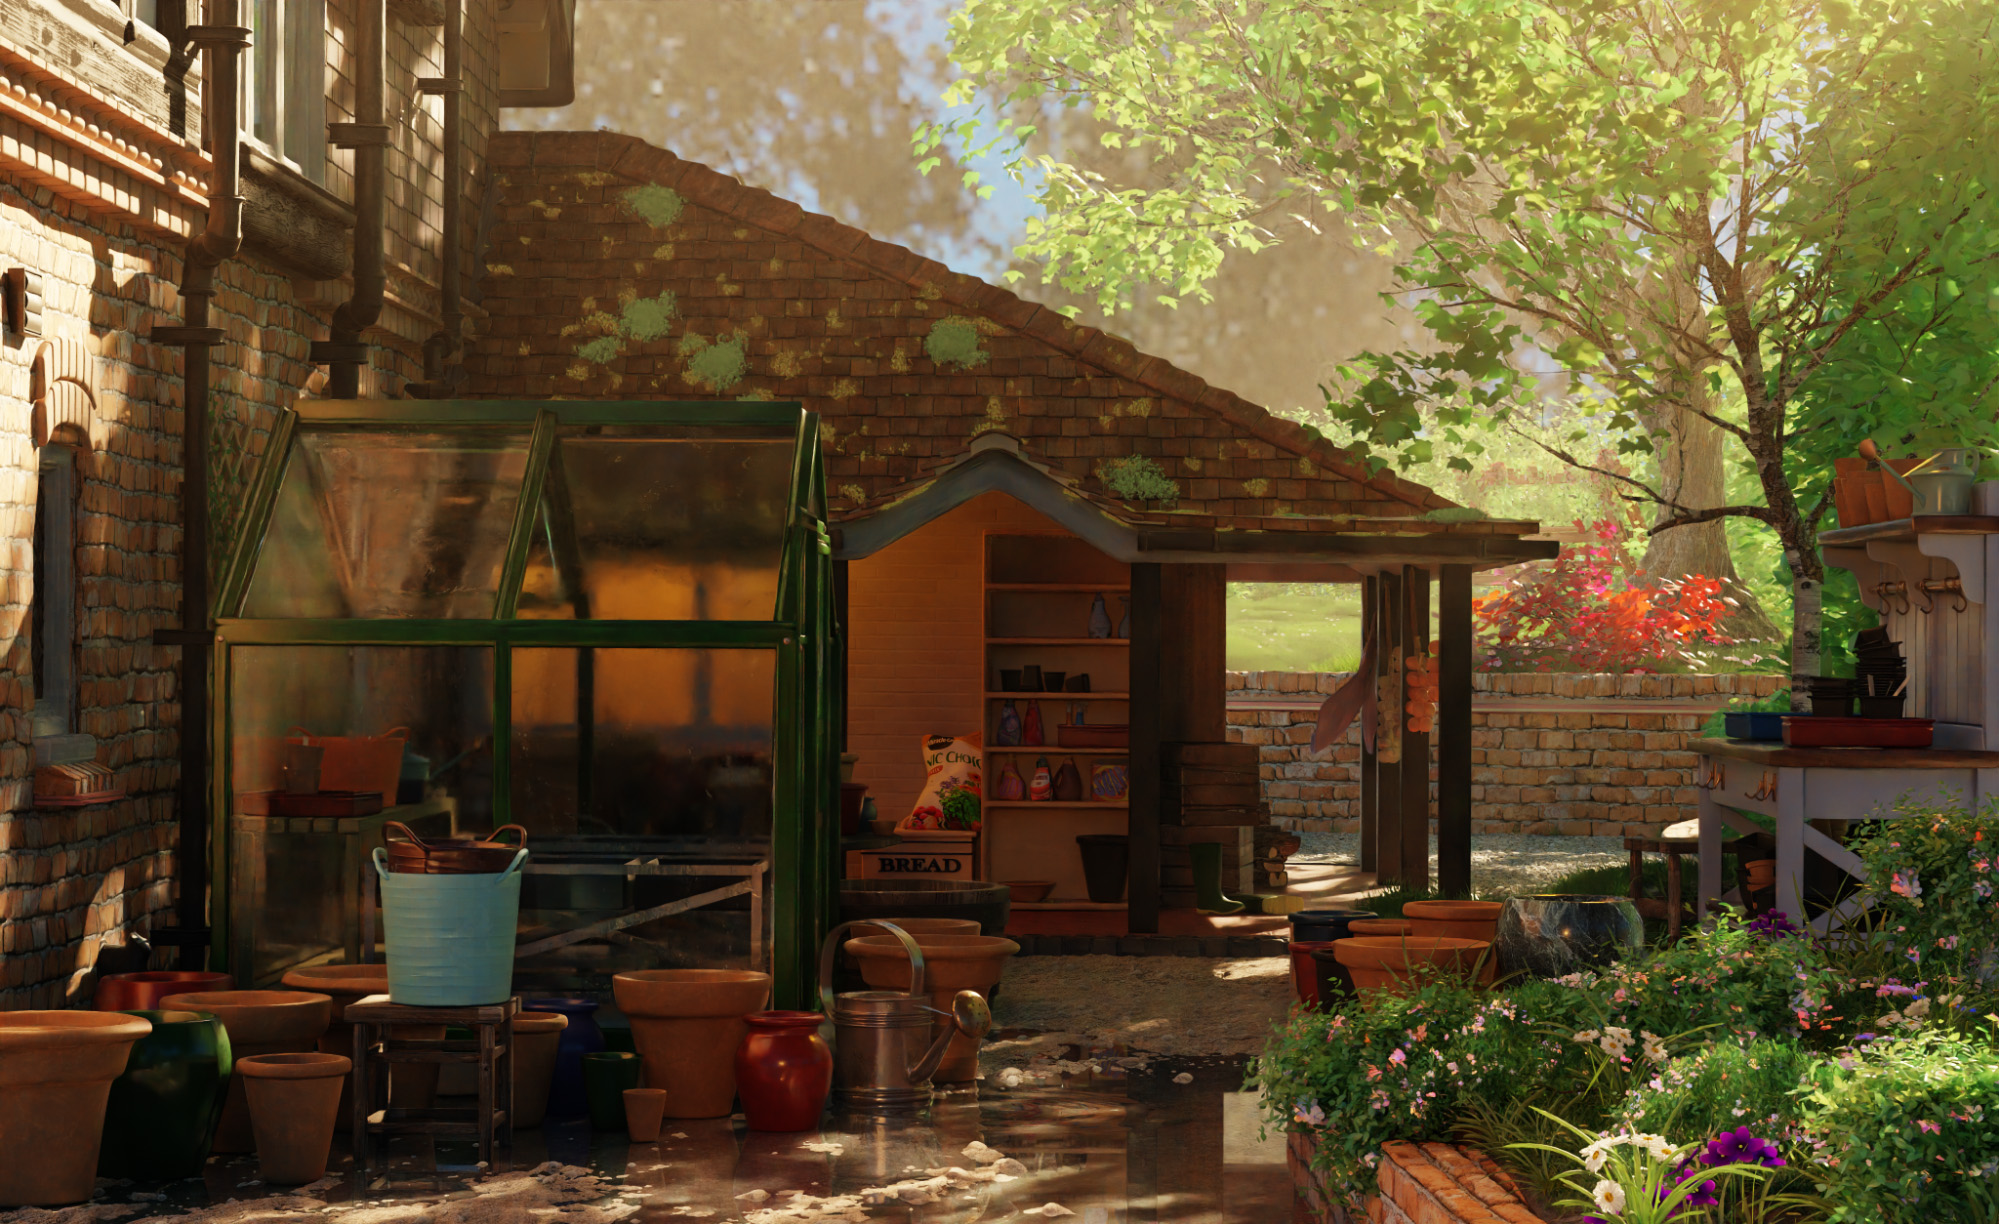
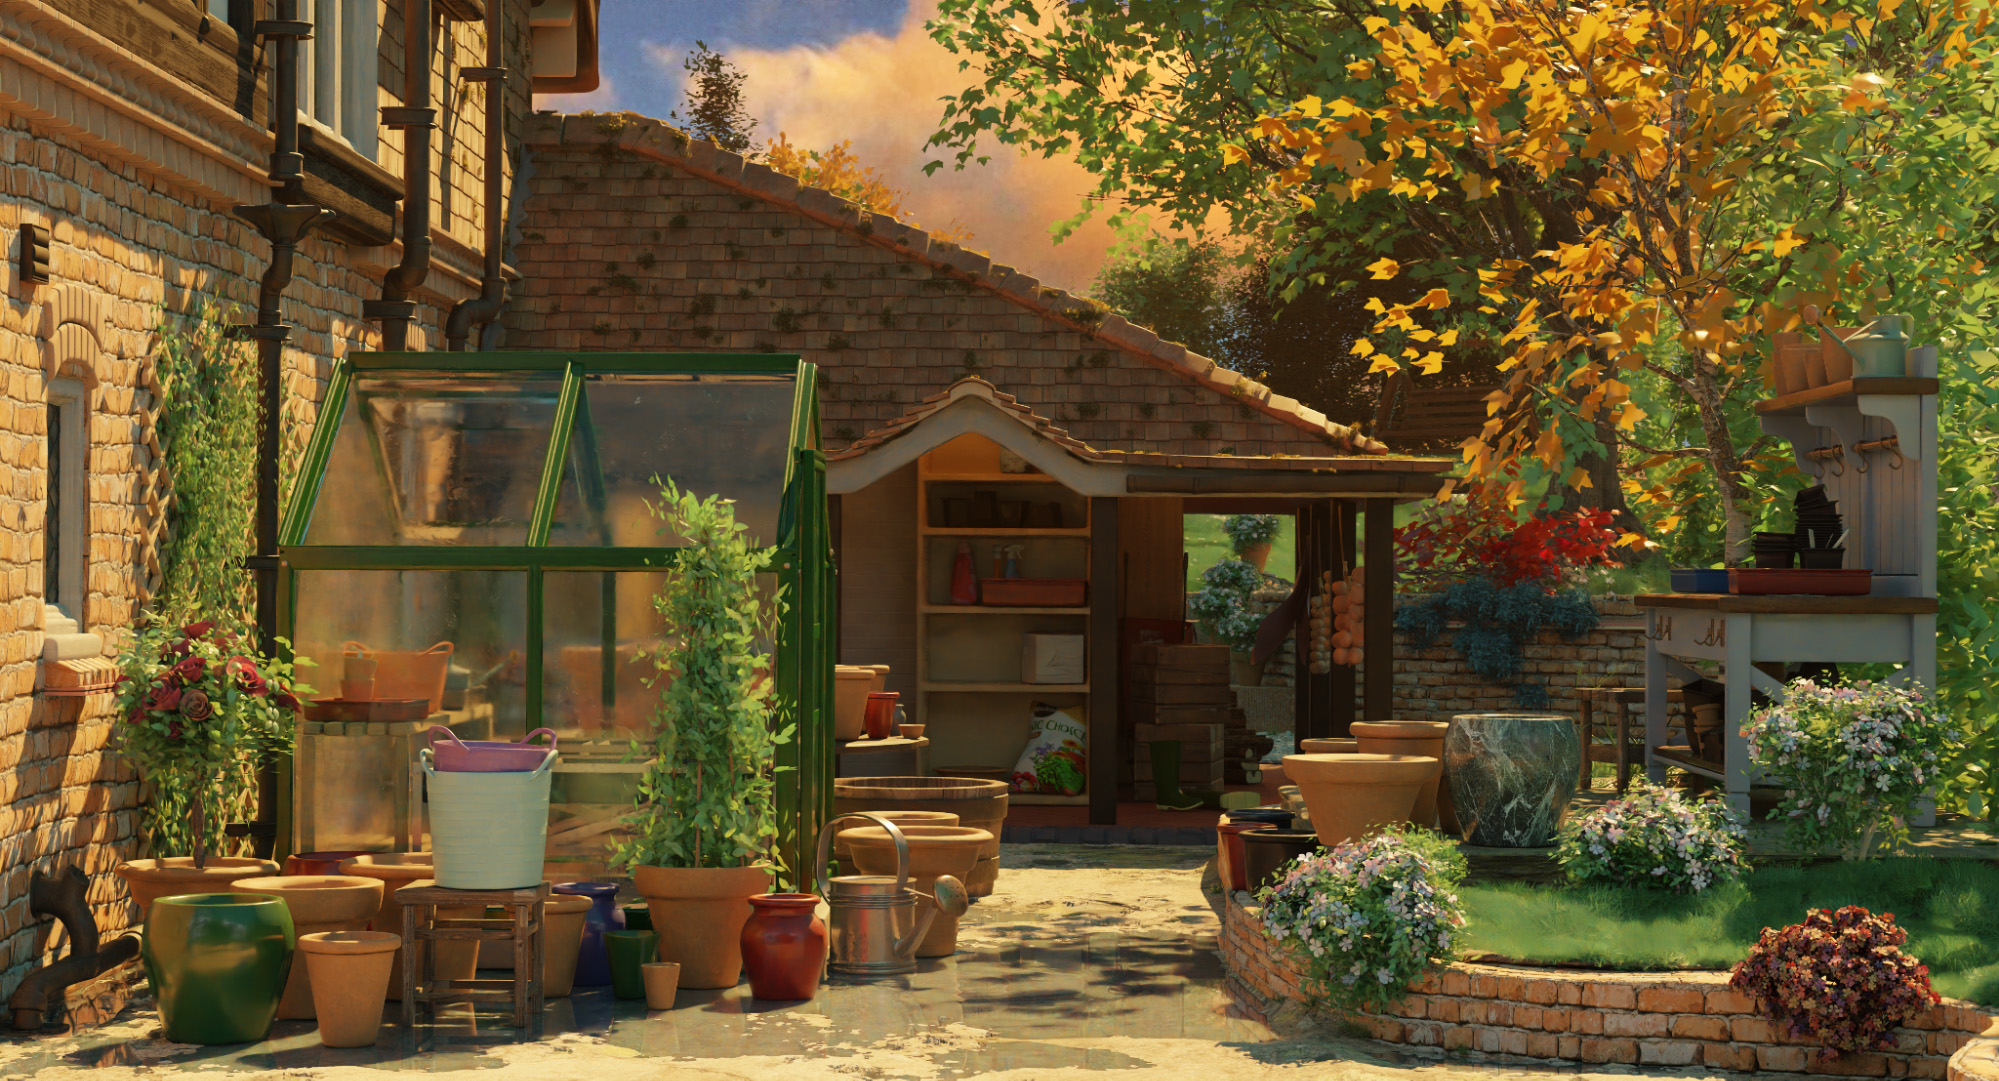
Those are only 4 of the 278 renders it took to get to the final image, but I think they give a sense of that gradual refinement.
Plants
I crashed Blender so many times working on the trees, hedges, and flowers—a good reminder to save frequently! For the trees, I used The Grove add-on to get a basic trunk and then added a multi-res modifier and sculpted details like roots and twists in the bark. I modelled little sets of leaves (I don’t include the twigs because I find it’s just unnecessary geometry and doesn’t add much) that I distributed using particle systems with assigned vertex groups for where the leaves should emit from. I modelled two sets of leaves—serrate leaves and palmate leaves—and reused them, with different scales, colours, and materials, for everything in the scene.
The hedges are just cuboids with a subdivision surface modifier emitting light green serrate leaf particles. (I disable the mesh emitter from the render in the particle system settings so that I get some lighting coming through the leaves from behind.)
For most of the flowers, I used alpha textures from Poliigon.com on a simple subdivided plane and varied the colours by passing the base image texture through a Hue, Saturation, and Value or MixRGB node.
For the foxgloves, I modelled one open bell and one closed bud, and used the geometry node system in Blender 2.93, plus Erindale’s phyllotaxis node, to create the whole plant. I followed Erindale’s tutorial on his Blender splash screen scene to figure out how to build the plant and have the closed buds distributed at the top and the bells at the bottom. I ended up hand-modelling the roses, but I think with some effort they could also be made really nicely with geonodes.

Organization
Because the scene was getting more and more polygon-heavy, having a good system to keep the scene organised was really important. Each separate area—like the greenhouse, the main house, the potting platform—was in its own collection. Within each collection were smaller subcollections; for the house, for example, the windows, gutters, and basic foundation were all in separate subcollections.
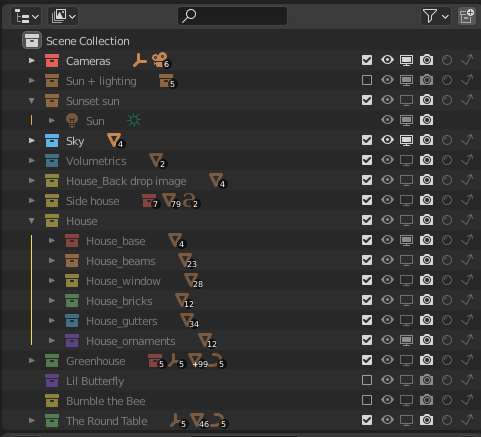
This scene organisation becomes really helpful for optimising your viewport and keeping your machine running quickly and smoothly, because you only work with the polygons you need to at any one time. For lighting, I find the subgroups especially helpful, because you can turn off smaller details and get quicker, less noisy viewport renders to efficiently adjust your lighting.
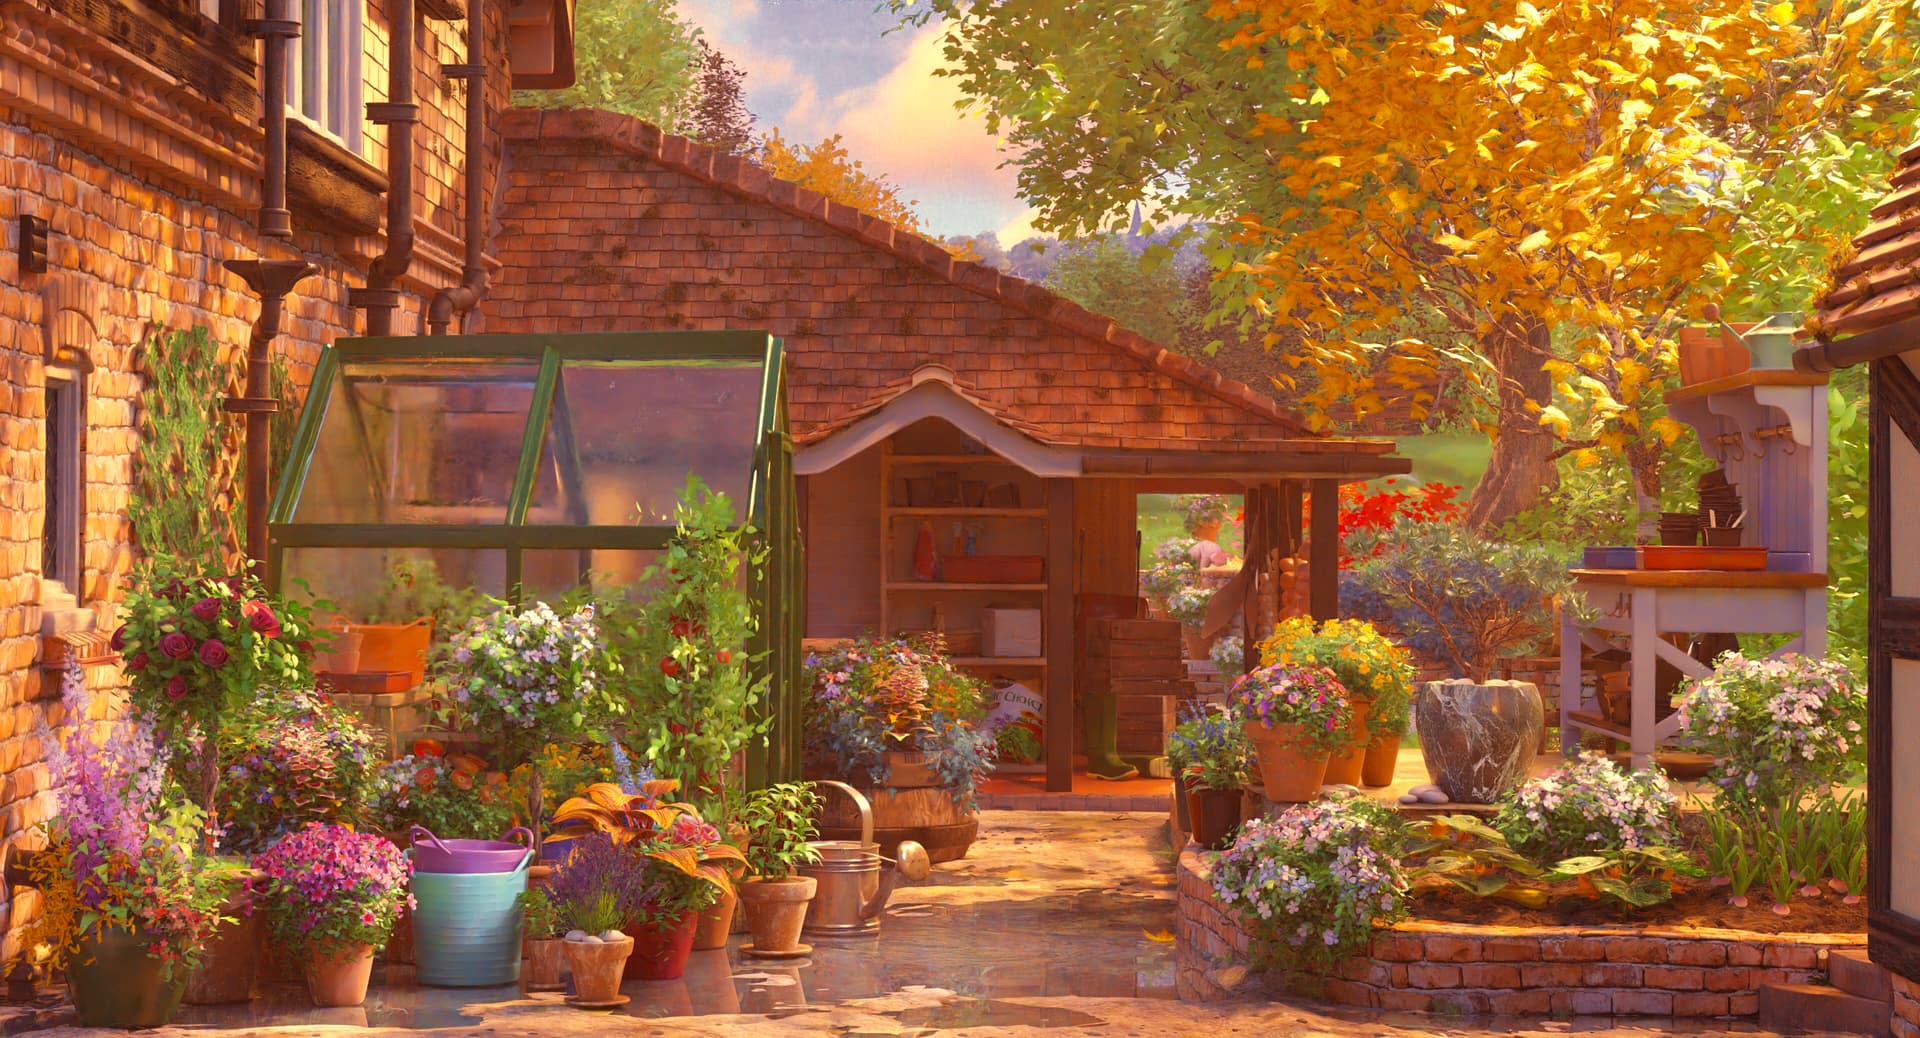
Finishing touches
There are two main things working in tandem to achieve the final stylised look in the render: Blender’s OpenImageDenoise option on a low sample count, and the scene volumetrics. I always include volumetrics in every scene to give the atmosphere some weight. It also adds noise to the final render, which usually isn’t a great thing, but I’ve found that in combination with Blender’s OpenImageDenoise, it helps soften all the edges and transitions, giving it a more stylised, painterly look. By keeping the sample count low (the final image here is only 16 samples!), it maximises that softening effect.
For this scene, I also finally got to grips with the basics of the compositor! Because I was rendering so many draft versions, doing final adjustments of the colour balance and brightness, etc. in Photoshop quickly became too taxing and inconsistent. So I built a basic compositing node setup, which meant these post-effects were applied to every render. This was just the render output run through Exposure, Brightness/contrast, RGB curves, Colour balance, and Glare nodes. I used it to bring out the reds, oranges, blues, and purples in the image, and to dampen the green, to really make the colours pop out and keep the scene looking warm and cosy.
If there’s anything else you’d like to know about the scene or how it was made, please feel free to message me on Instagram or ArtStation!
About the author
 Laura Ganis, NHS surgeon and 3D hobbyist using Blender for the last 5 years. You can find her on Instagram and ArtStation.


