
Meet the Artist: Daniel Chong
About
Hi, my name is Daniel Chong, I am a concept artist based in Malaysia with some past experience in architectural visualisation.
My interest in digital art really came in the final year of architecture school when I took an elective module called 3D and Animated Design, which gave me a small insight into the process of creating a 30-second animated short. The class taught us Maya and it was my first experience really delving into the 3D pipeline; by the end, I was completely into image making.
Once out of architecture school, I decided to find a job in architectural visualisation at a studio called Multiply Studio in Malaysia, which is where I built a solid foundation in 3D. I learned how to use 3ds Max and Corona Renderer, but more importantly, my mentors taught me the principles of 3D and composing a classy image.
Over time, I developed a larger interest in concept art and I found myself really missing design, which is something I did not get to do much at my job. So I began looking into the concept art industry and its tools. This was when I came across Blender; it was shortly after the 2.82 update, so I was hearing about the software almost everywhere. I started doing the odd Blender tutorial here and there after work, mostly from the infamous BlenderGuru! And I was just really impressed that a free software could be so good and versatile—I even tried a few Ghibli-style renders early on! But overall the transition from 3ds Max was fairly seamless, especially with the modifiers.
Inspiration
Since beginning this journey into concept art, I have looked to movies for most of my inspiration. Admittedly, while I was in architecture school I wasn’t watching many movies, but it was around the time that I took the 3D and animated design course that I watched Into the Spiderverse, Ralph Breaks the Internet, and Guardians of the Galaxy 2 in a short span of time. The art direction and worlds they were able to build really blew me away, especially Ralph Breaks the Internet’s imagining of a digital/arcade world. That really sparked my interest in the entertainment industry and since then I have grown a strong interest in and passion for cinematography, and now I find myself watching films with a much more critical eye and a deep appreciation for incredibly cinematic shots.
Now, when it comes to my Blender journey specifically, my biggest inspiration has undoubtedly been Ian Hubert. The way that he is able to efficiently create a scene that looks so cinematic and real never ceases to amaze me. I’m also a sucker for sci-fi/cyberpunk worlds, and there is so much character and detail in what he creates that I fell in love with it right away. Another huge inspiration is the concept art from The Last of Us: Part II; the artwork captured me in the same way that Ian Hubert’s work did. I think there comes a point in art when you go beyond simply imitating reality to heightening the feeling of reality. That is something I find in Ian Hubert and the artwork from The Last of Us: Part II and it is something I hope to achieve and understand someday.
Photo Textures
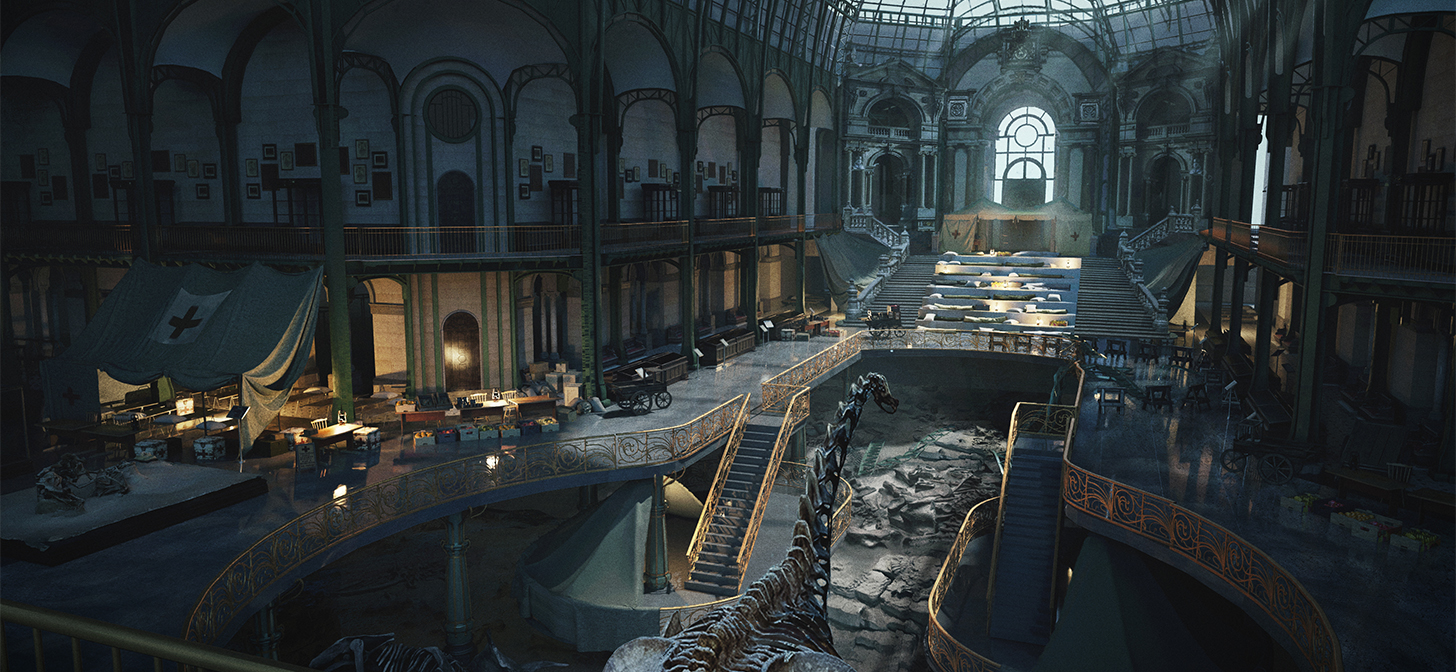
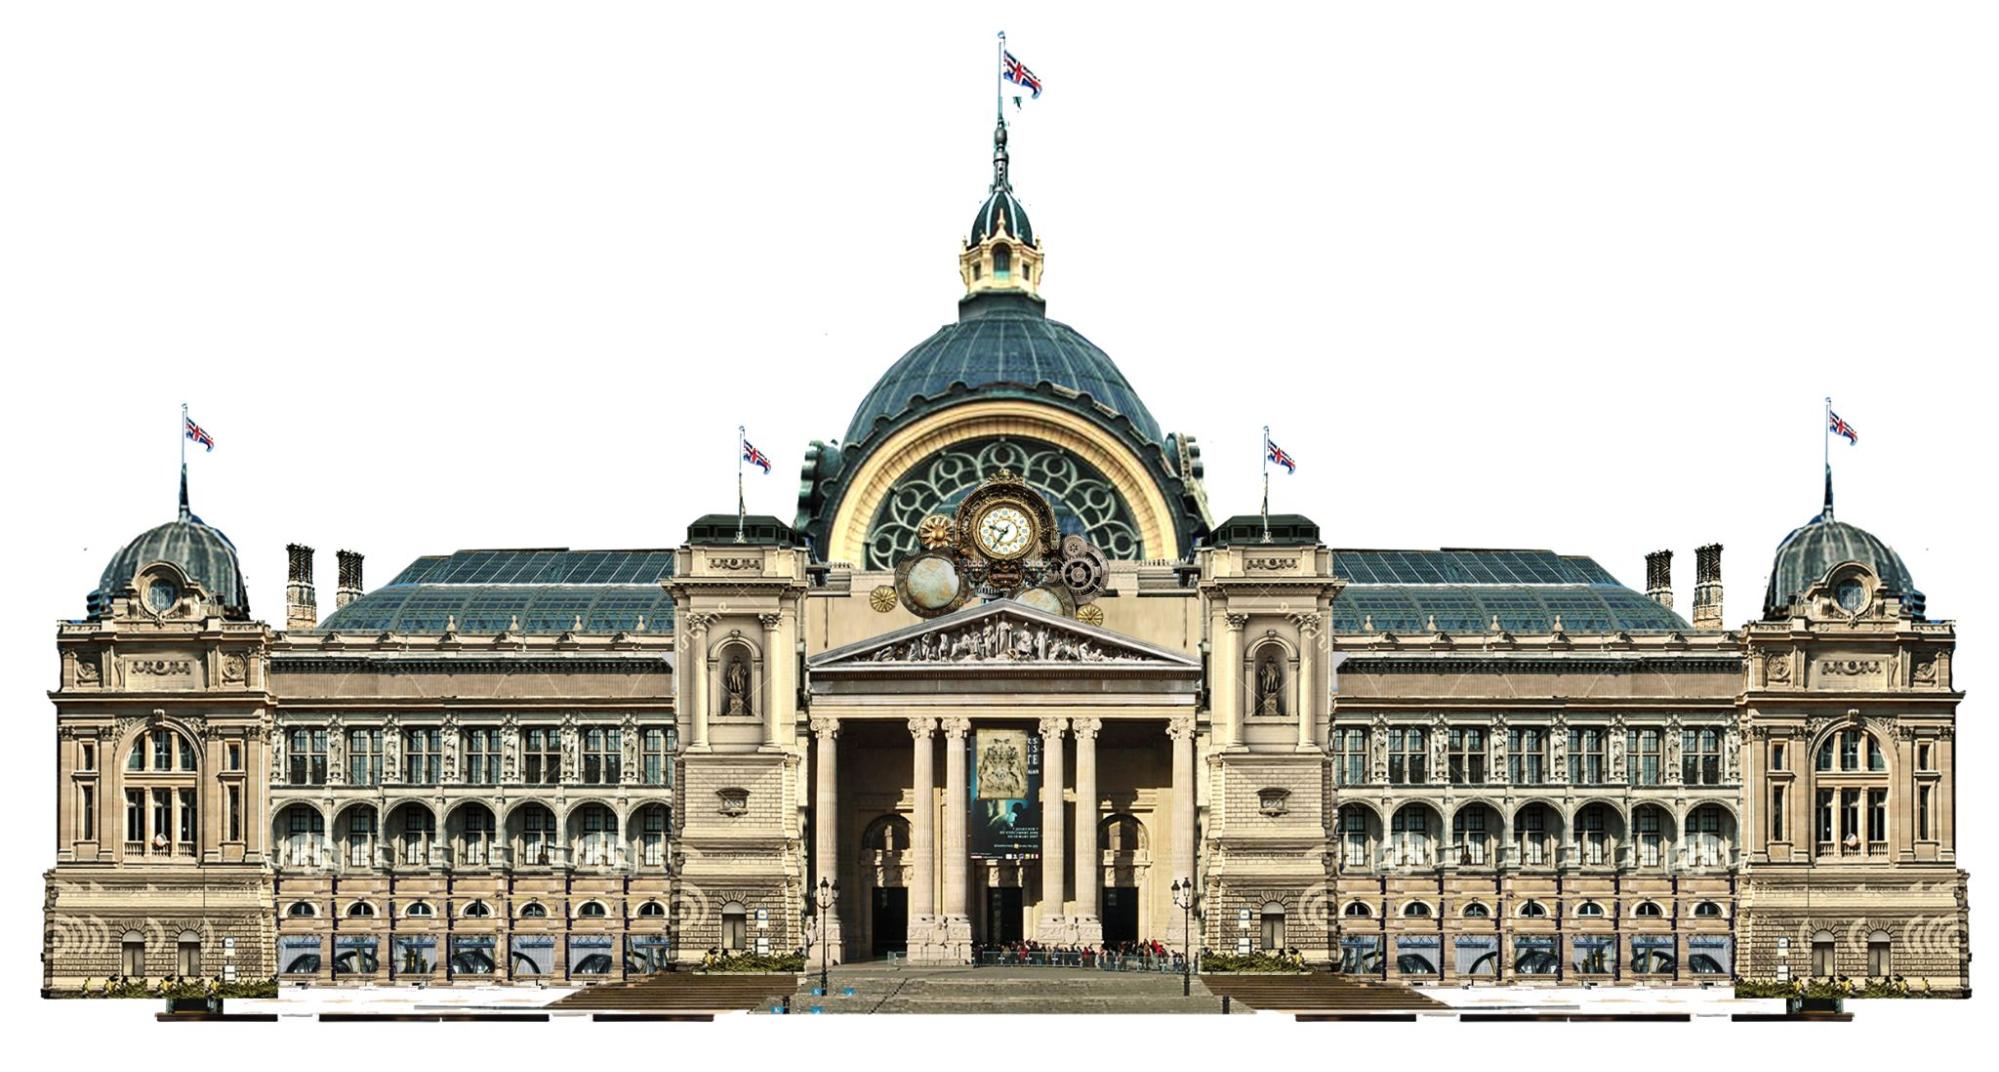
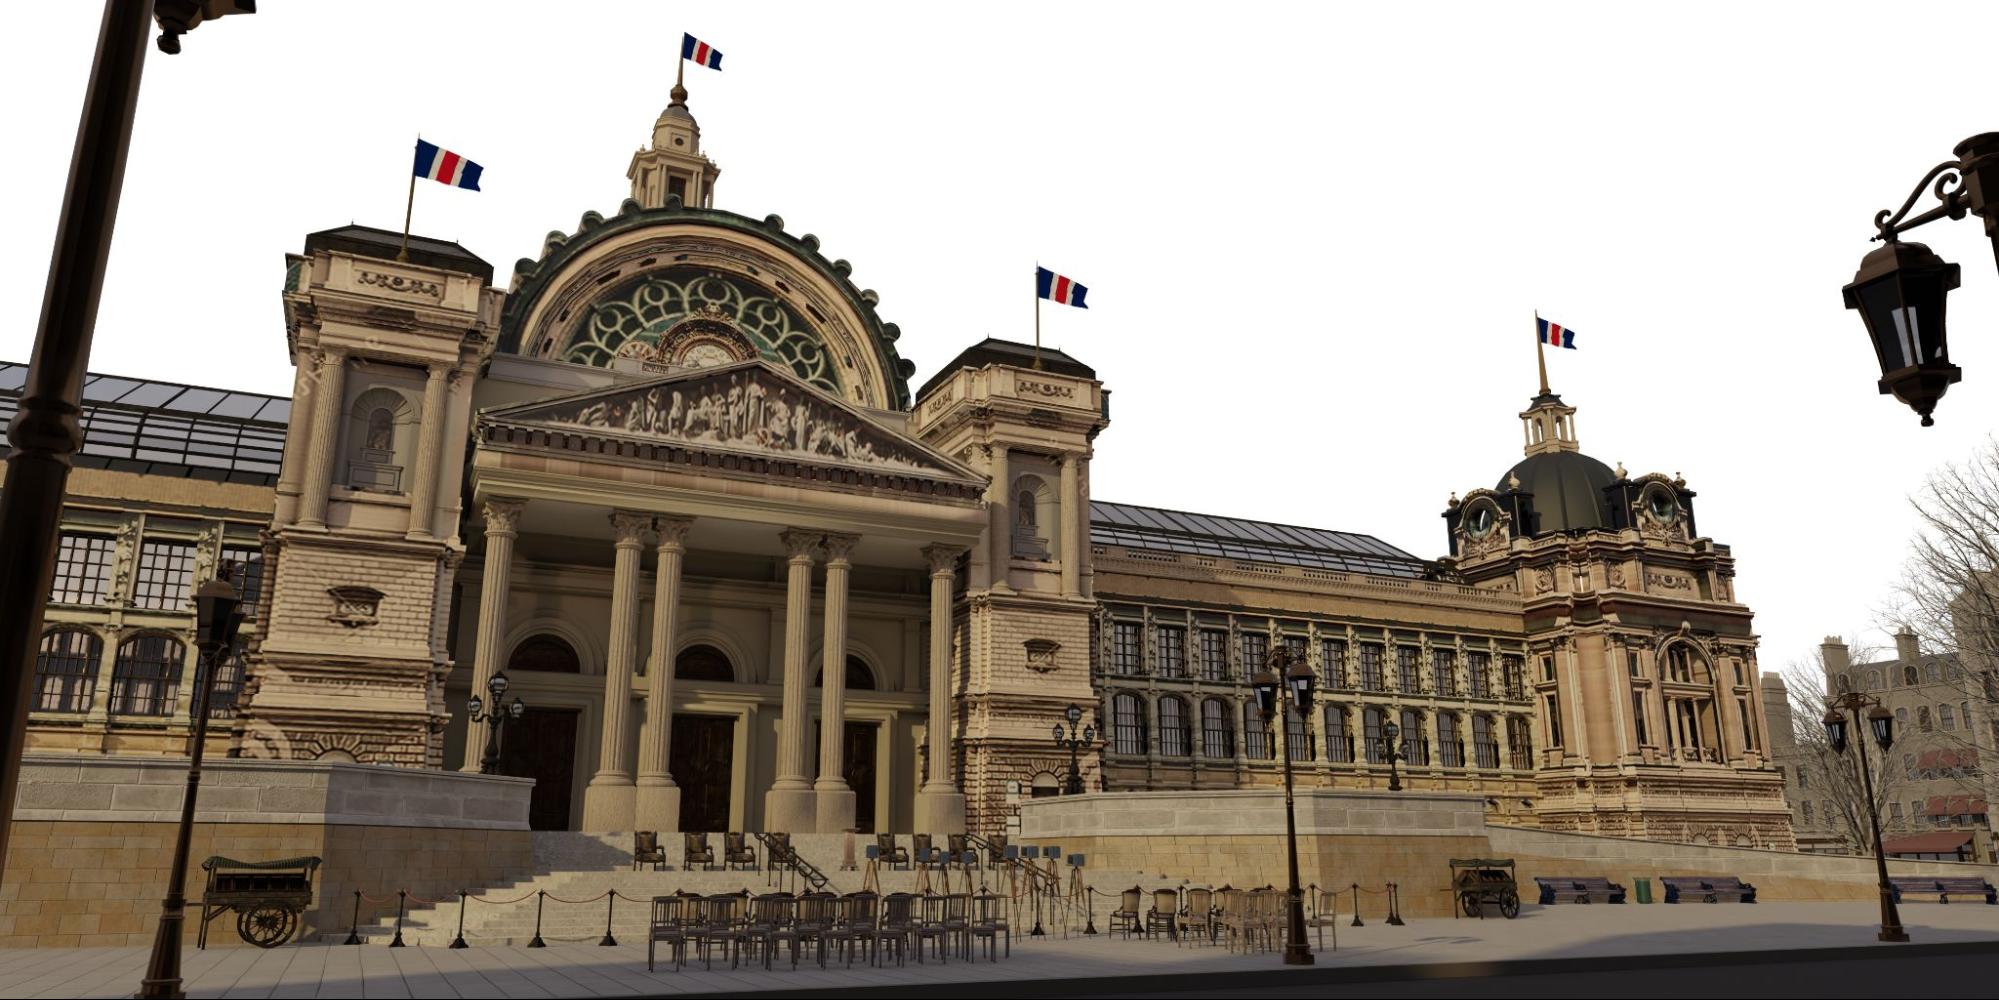
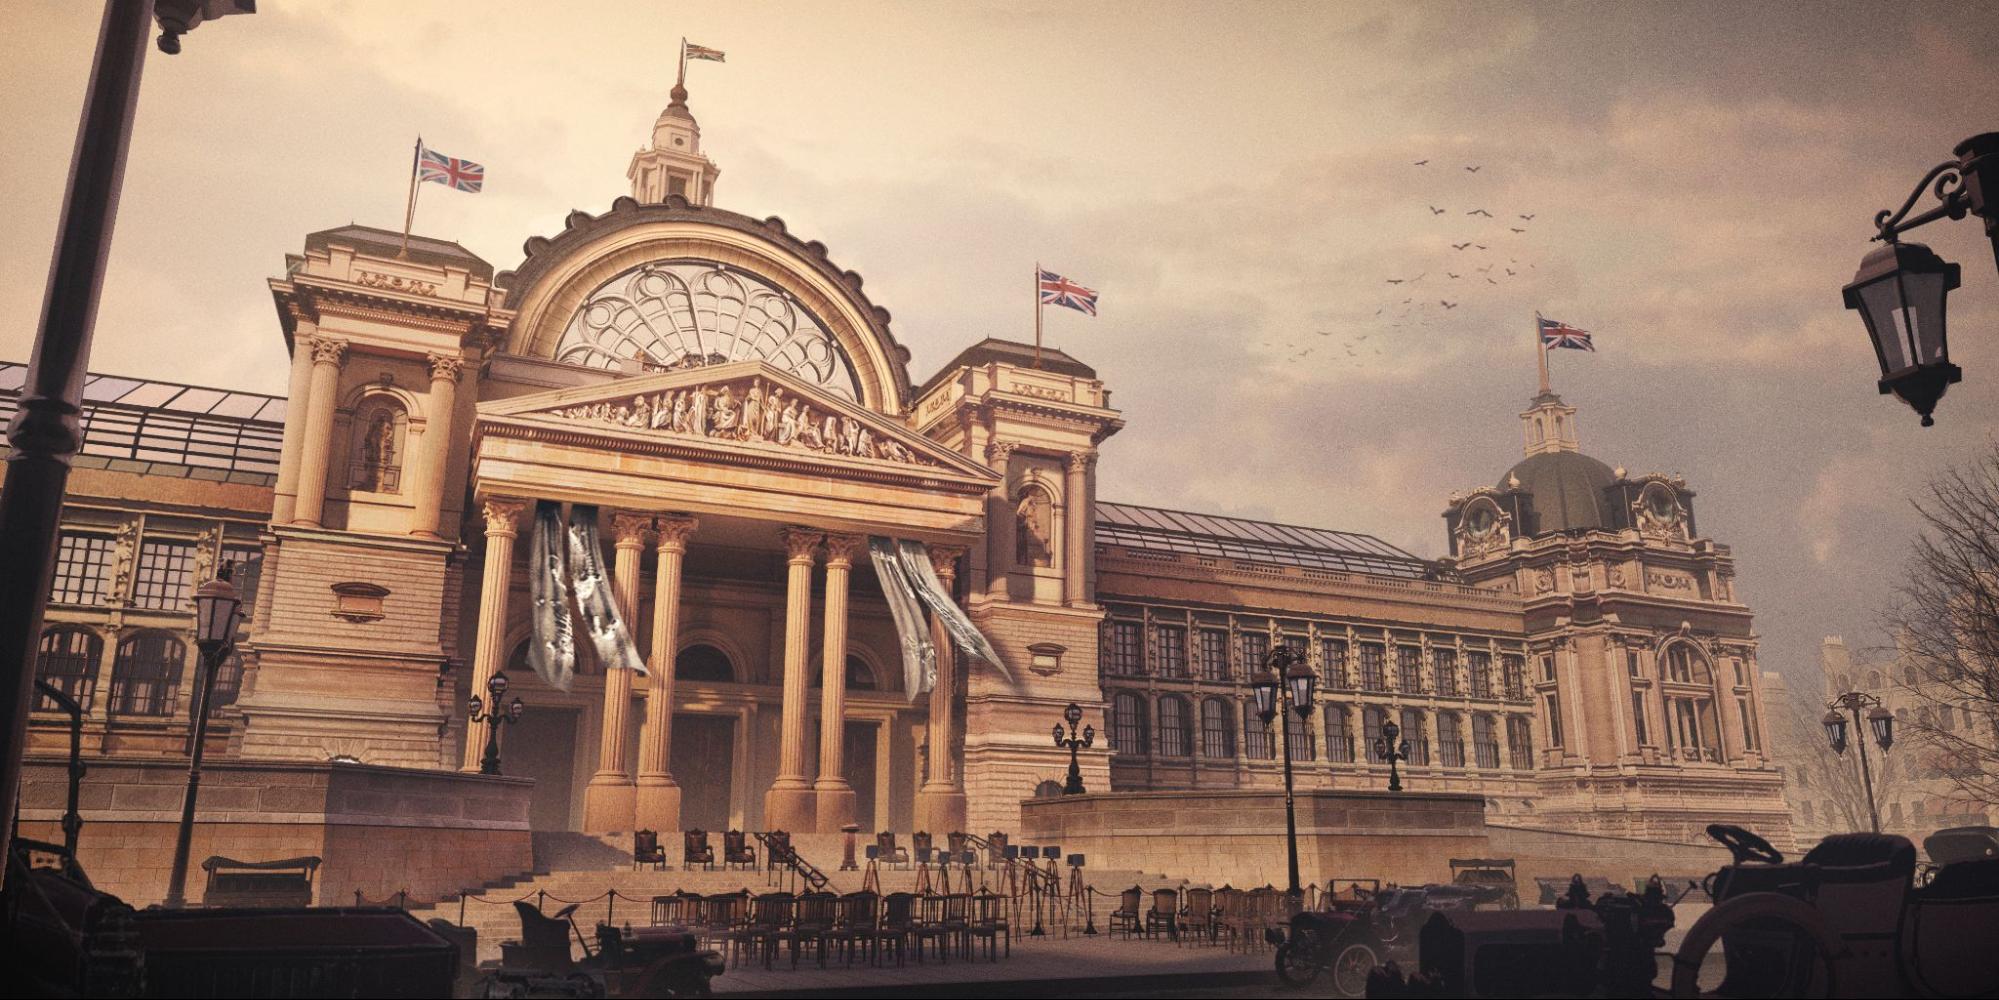
Since discovering and studying their work, I have tried to emulate a similar process to achieve the same standard of work. A major breaking point for me was watching Ian Hubert model using photo textures. Previously, the only way I knew how to create 3D models was to model from a reference photo(s) and then apply textures afterward. But learning from how Ian Hubert models directly from the photo texture has not only sped up my workflow but pushed what I am able to produce in 3D. I definitely would not have been able to produce my Palace of Paleontology exterior shot without this method. I photosketched the building’s facade as a flat orthographic, modeled basic geometry, and projected the orthographic onto my geometry. And using resources like Sketchfab and Quixel Bridge, I am able to quickly populate my scene with set dressing details. The shot was done for my project, The Difference Engine, where I took the book of the same name, and produced visual concepts for various locations described in the book.
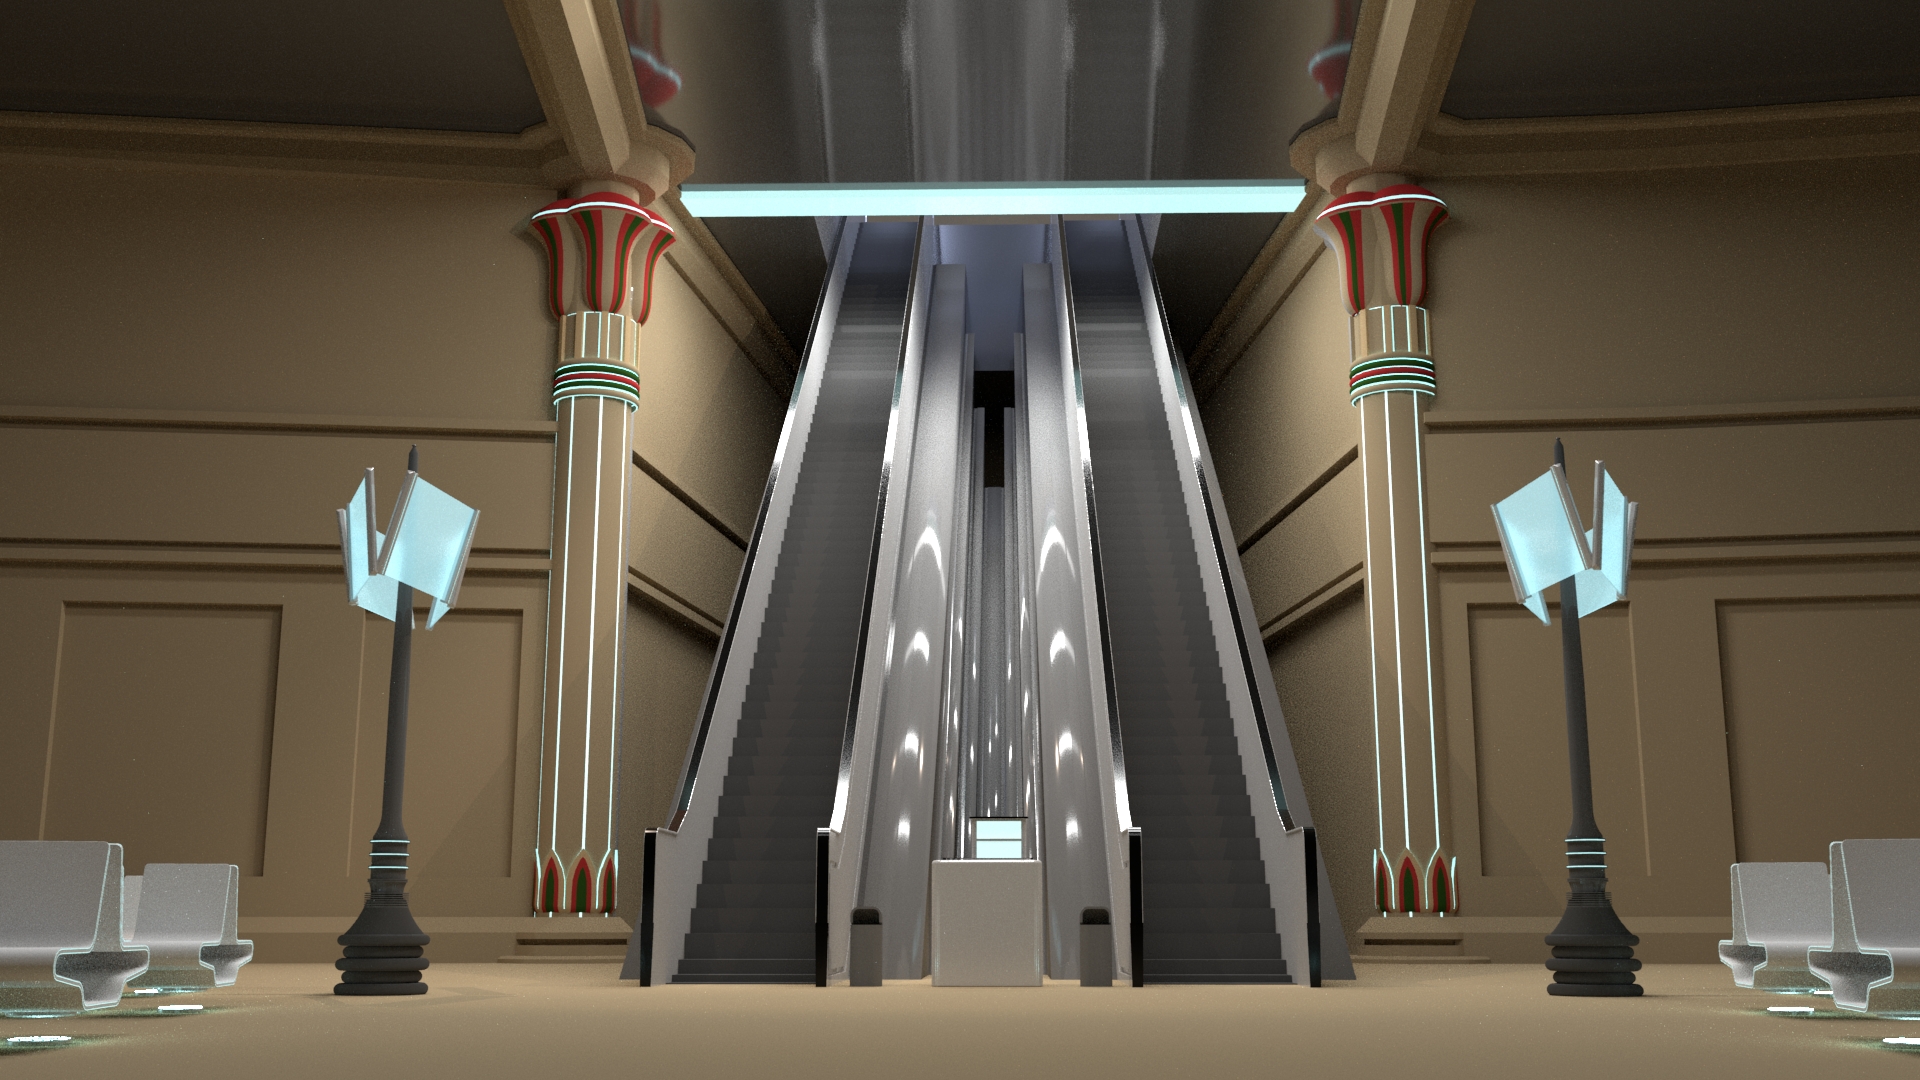
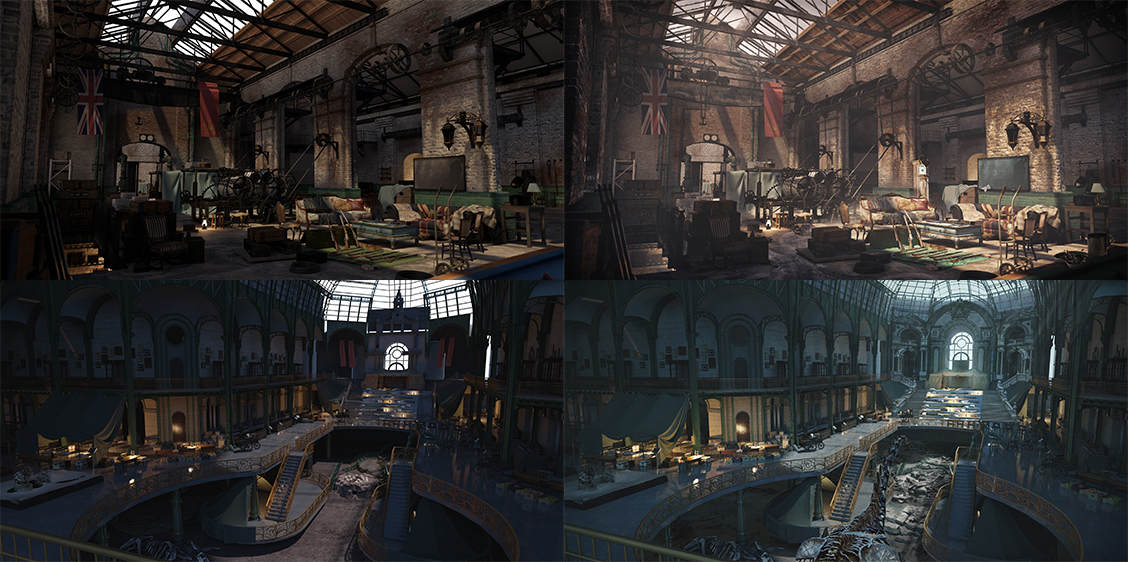
Here are a few more images from the same project, with the raw 3D render on the left and the final image on the right. These scenes were much heavier than the first shot, and I used a lot of object/collection instancing to make sure the scene stayed manageable.
Latest project
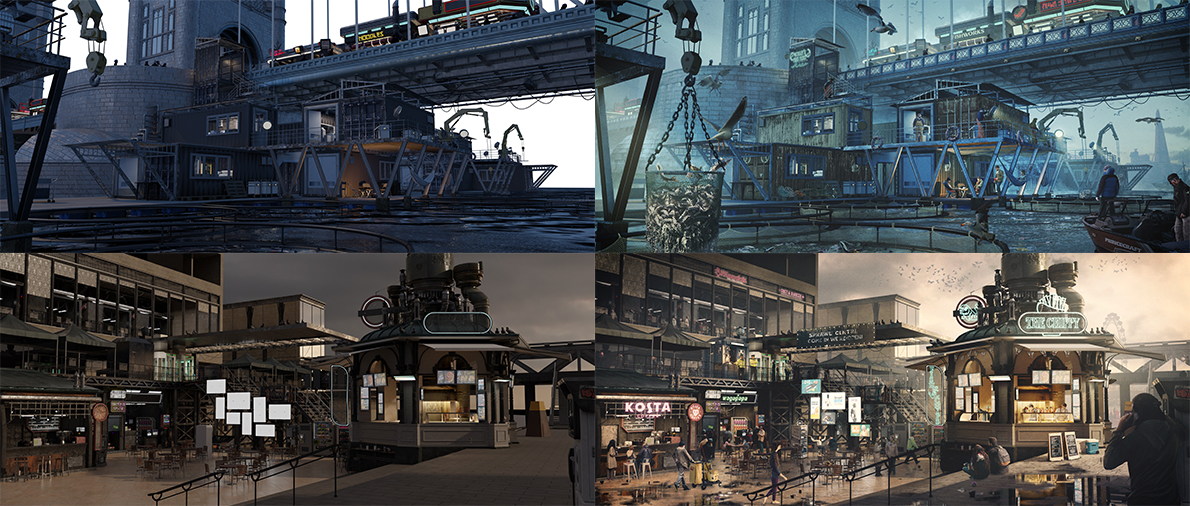
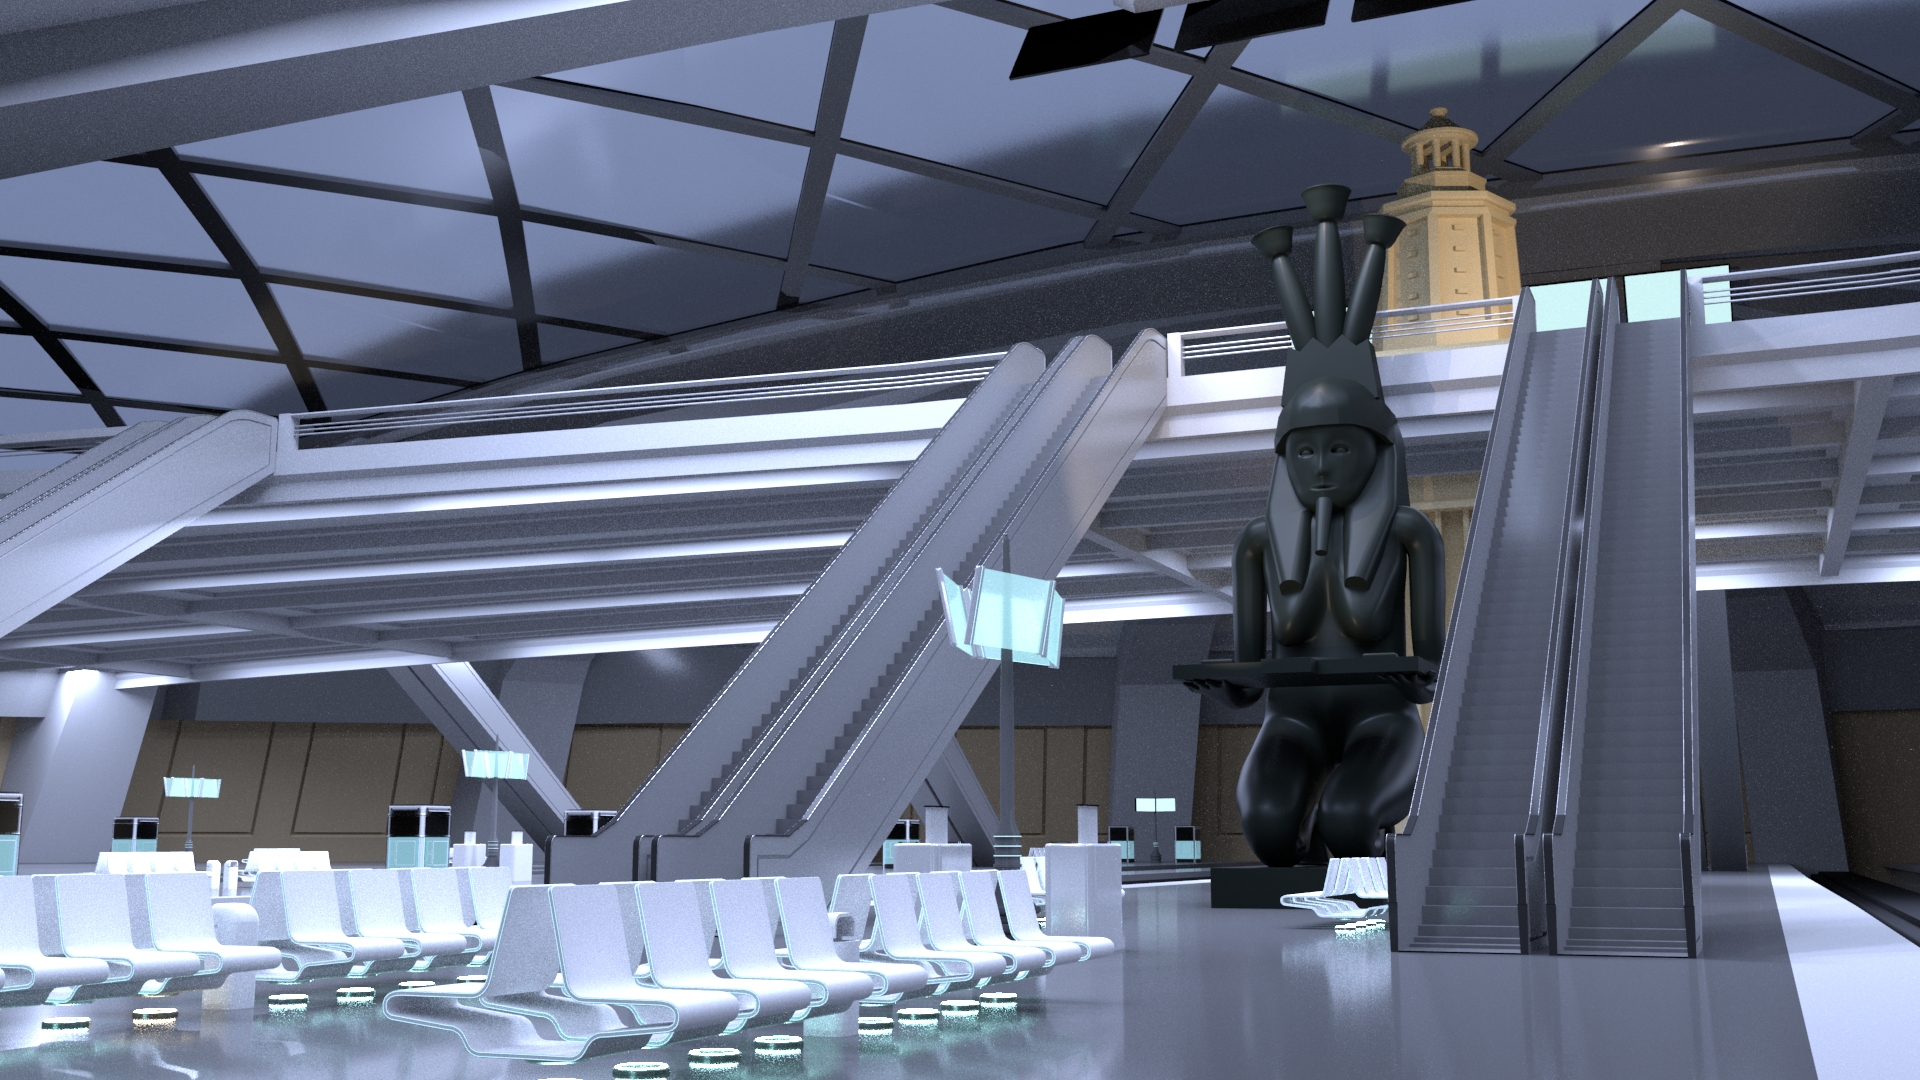
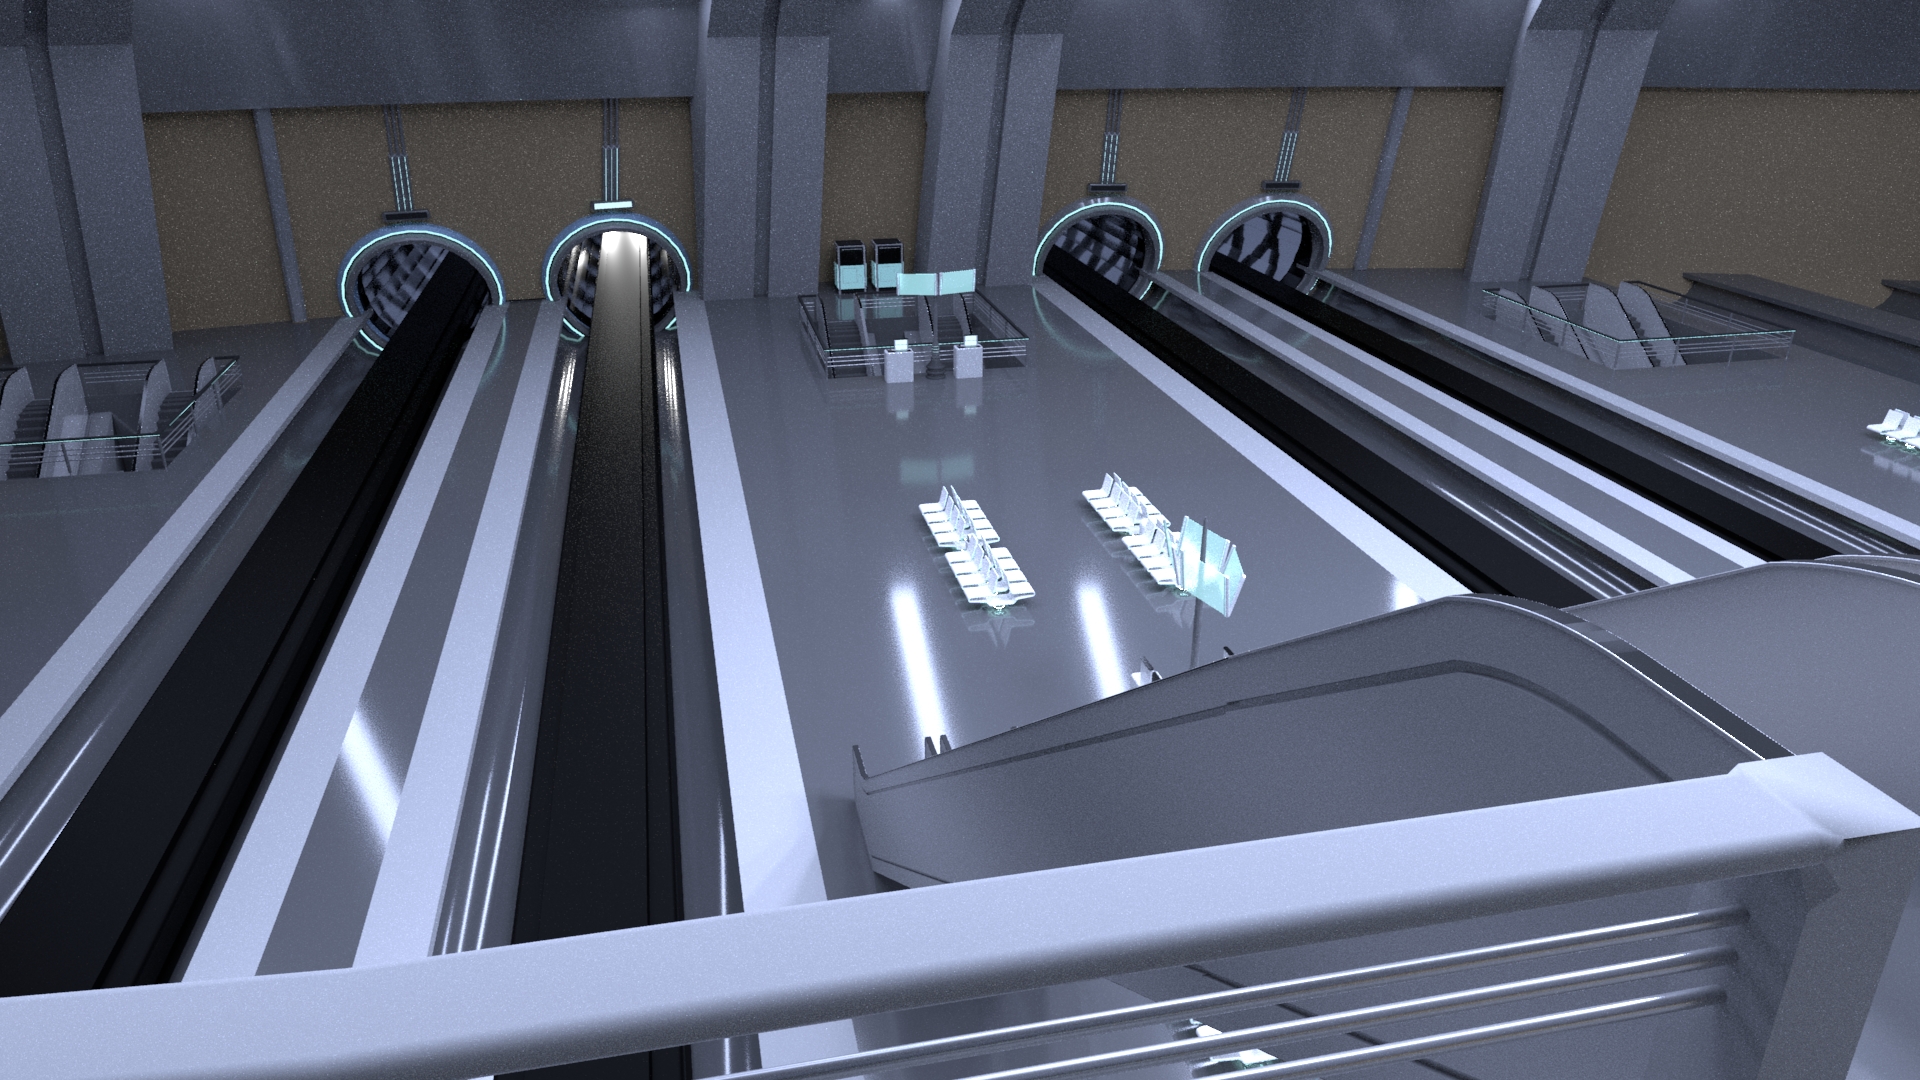
These are images from my most recently completed project, Mona Lisa Overdrive, based on a book of the same name. They were my first experiments into using Blender’s particle systems to populate my scene with people, although most of the people in the mid/foreground ended up being photos, as the photoscan human models I had don’t hold up too close to the camera. These were great exercises in some kitbashing techniques and is a workflow I am trying to understand better, not just in combining pre-existing models, but learning quick and creative ways to adapt those models to come up with my own design solutions, as this has also helped me greatly increase my work efficiency.
At the moment, I definitely rely on a lot of asset packs and kitbash sets from various sources to help fill out my scenes. Typically only the ‘hero prop’ or the main design I am trying to sell in my image would be modeled by me. Additionally, as a concept artist, I do a lot of photobashing and painting over my 3D render in Photoshop, as my 3D does not hold up on its own. However, with continual refinement of my workflow with Blender and further development of my skills in general, I hope to improve my 3D skills to where I can build out more of the scene myself in a timely manner, and have my 3D hold up as the final image to reach the heights of those who inspire me!
About the author
 Daniel Chong, I’m a concept artist and 3D enthusiast with a growing passion for cinematic storytelling and lighting design.