
Behind the Scenes: Concrete House
Hola! My name is Juan Patricio Calvelo, everyone calls me Pato. I’m an architect from Argentina. Based in Prague (Czech Republic), I graduated from architectural school back in 2005 and I did a post-grad Design specialization on Urbanism and architecture. I’ve been doing CGI or Architectural Visualization professionally since 2001. I have always worked with 3ds Max (with its Brazil render engine at the very beginning), then V-Ray, and lately Corona Renderer. More than 12 years ago, I started the process of learning Blender. I like and enjoy using it (I fell in love with it, of course :)) and use it to do my personal projects and those outside my formal work.
Currently, I’m working as an Art Director at a Sweden-based architectural visualization company.
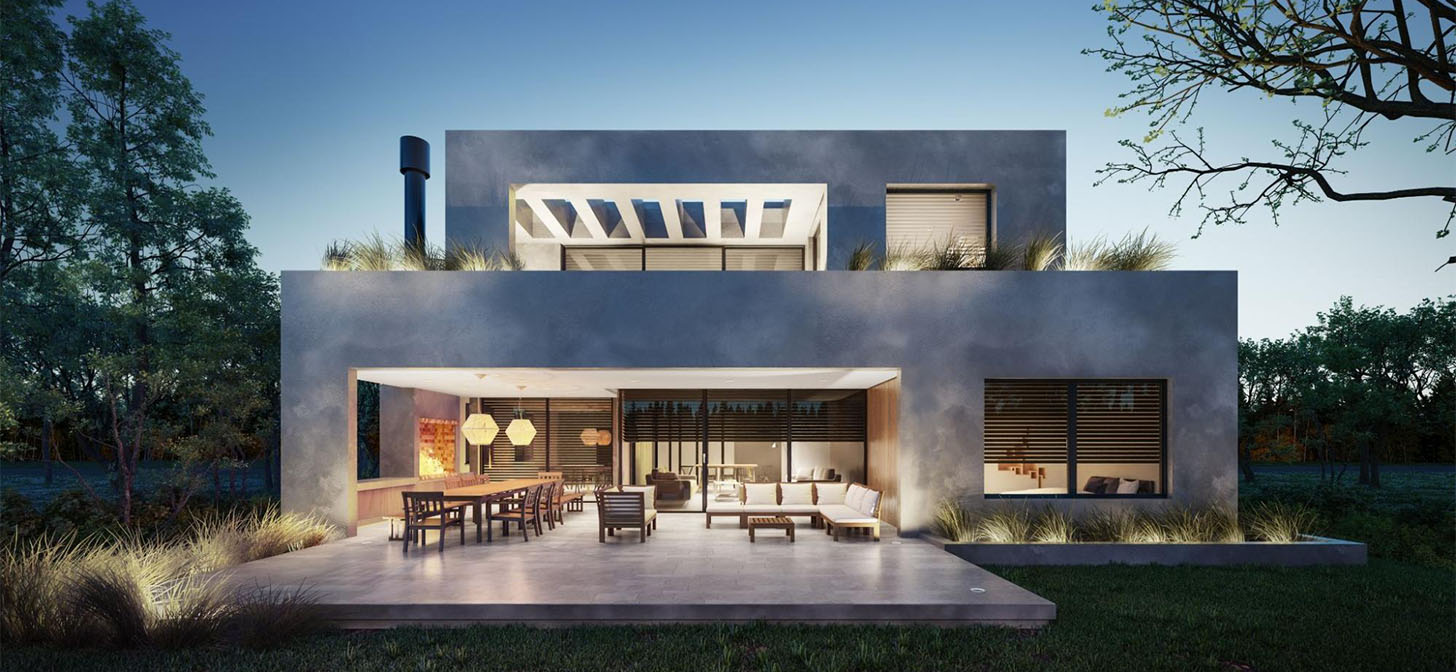
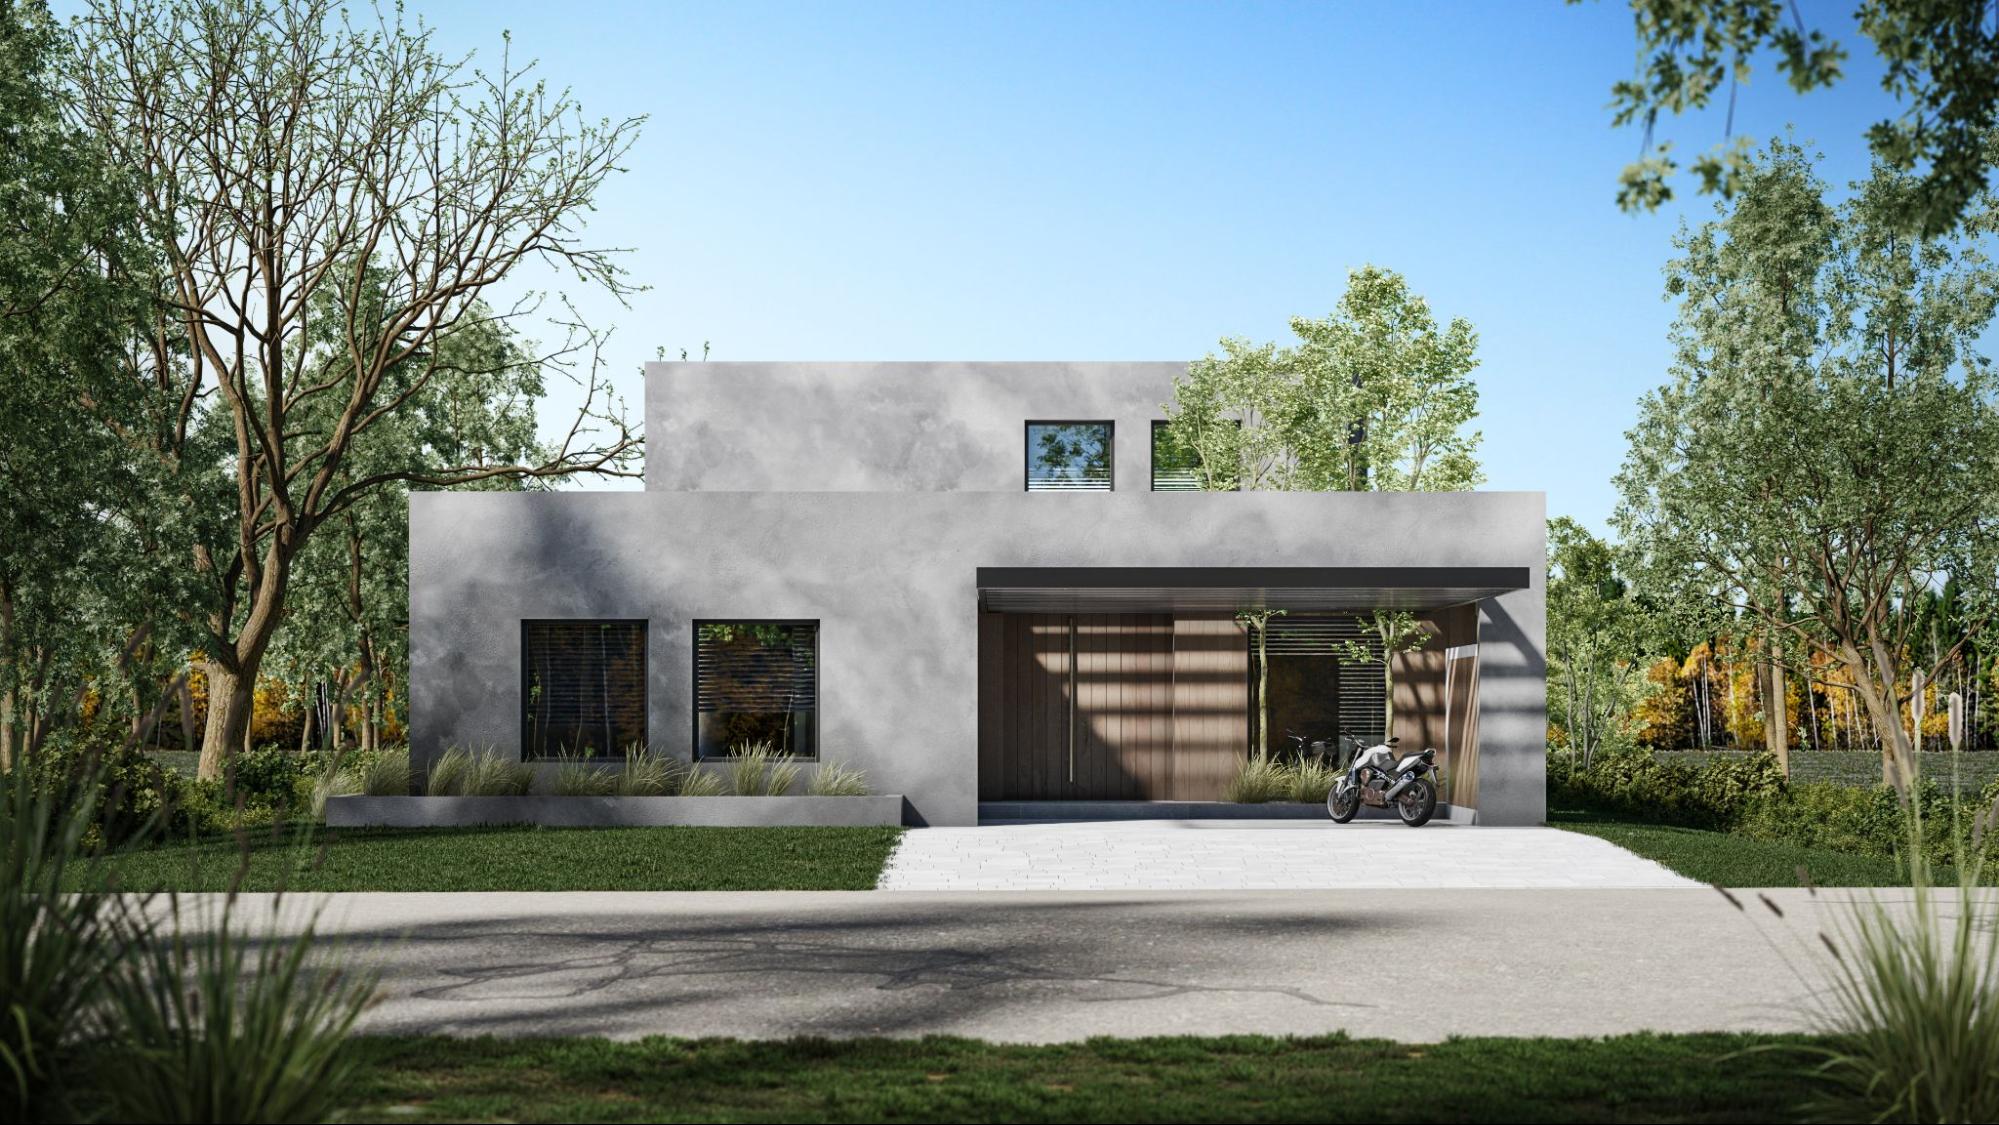
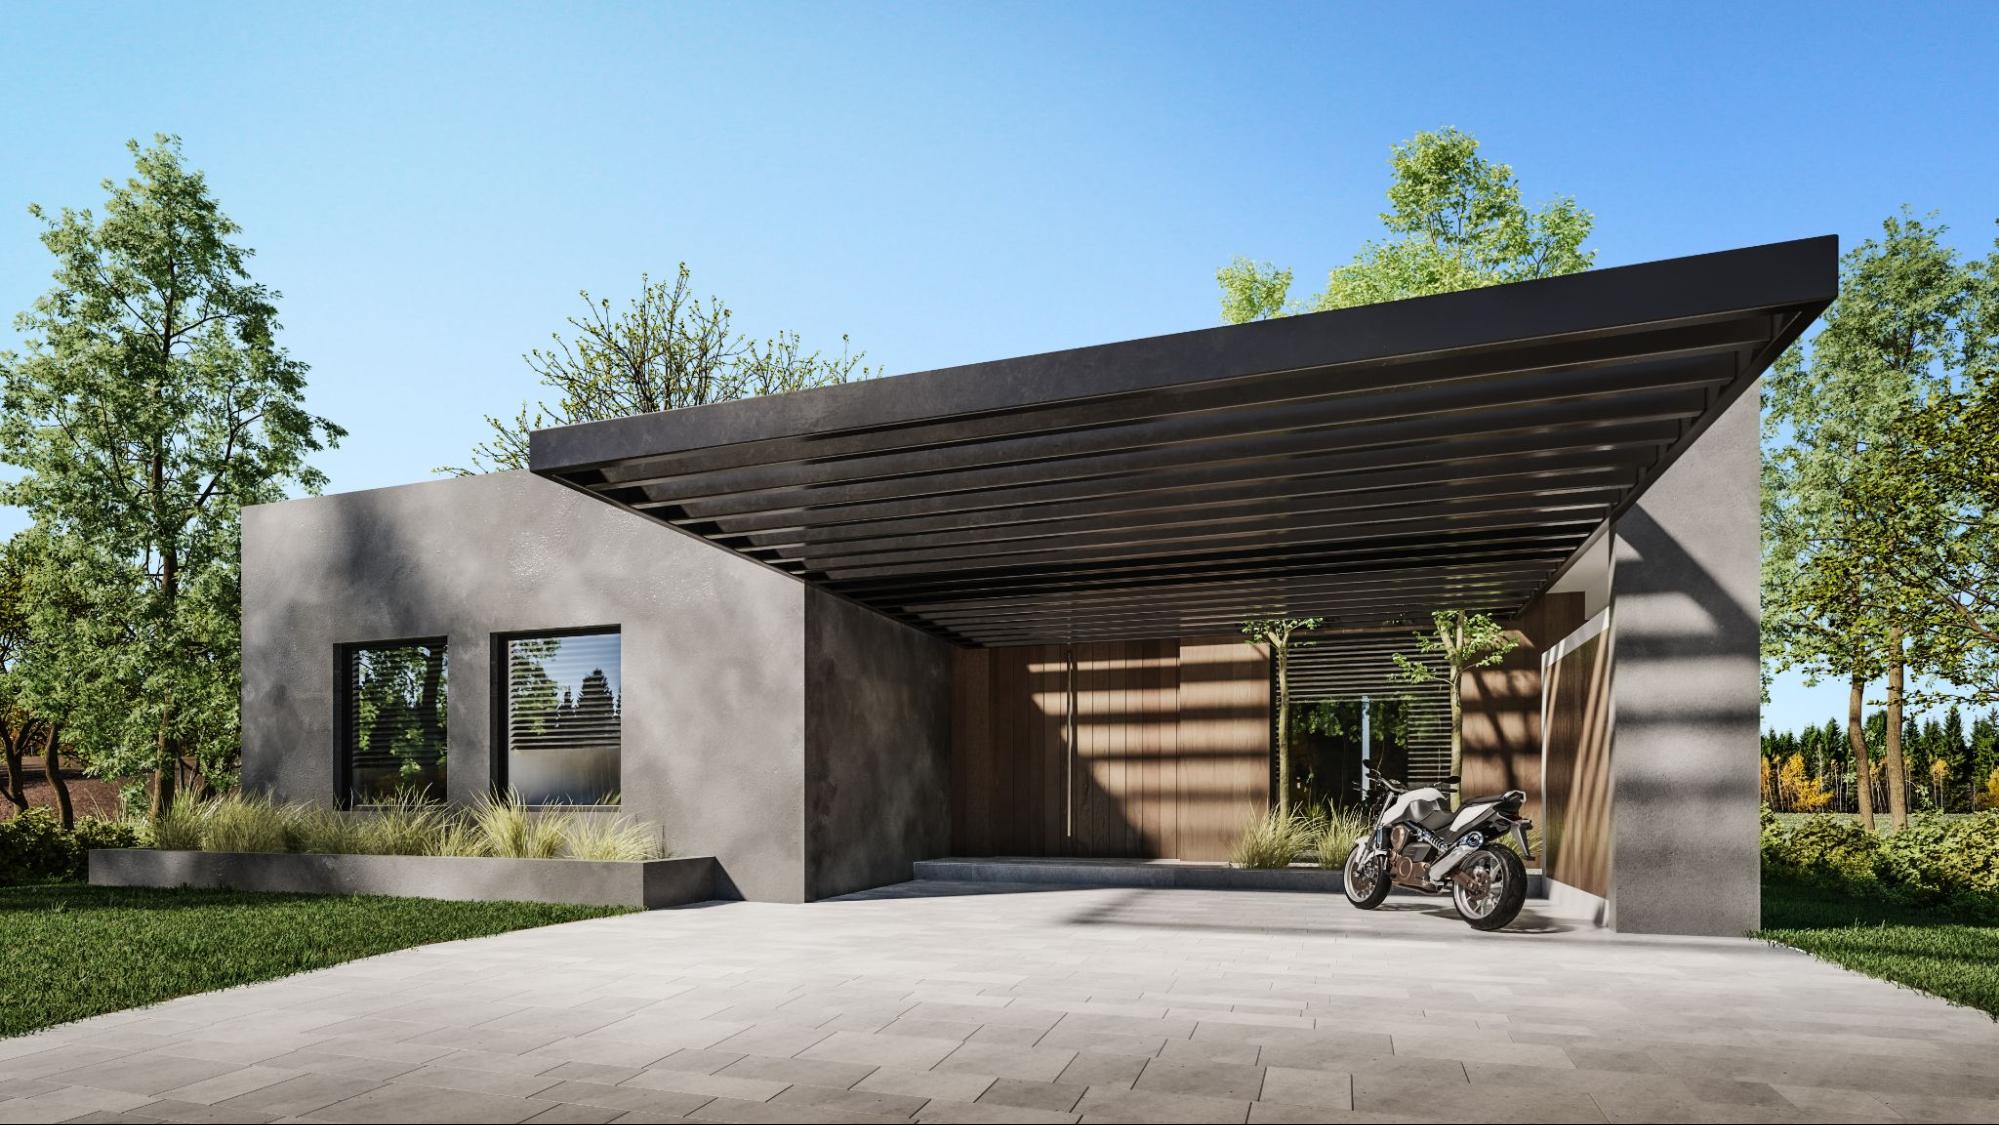
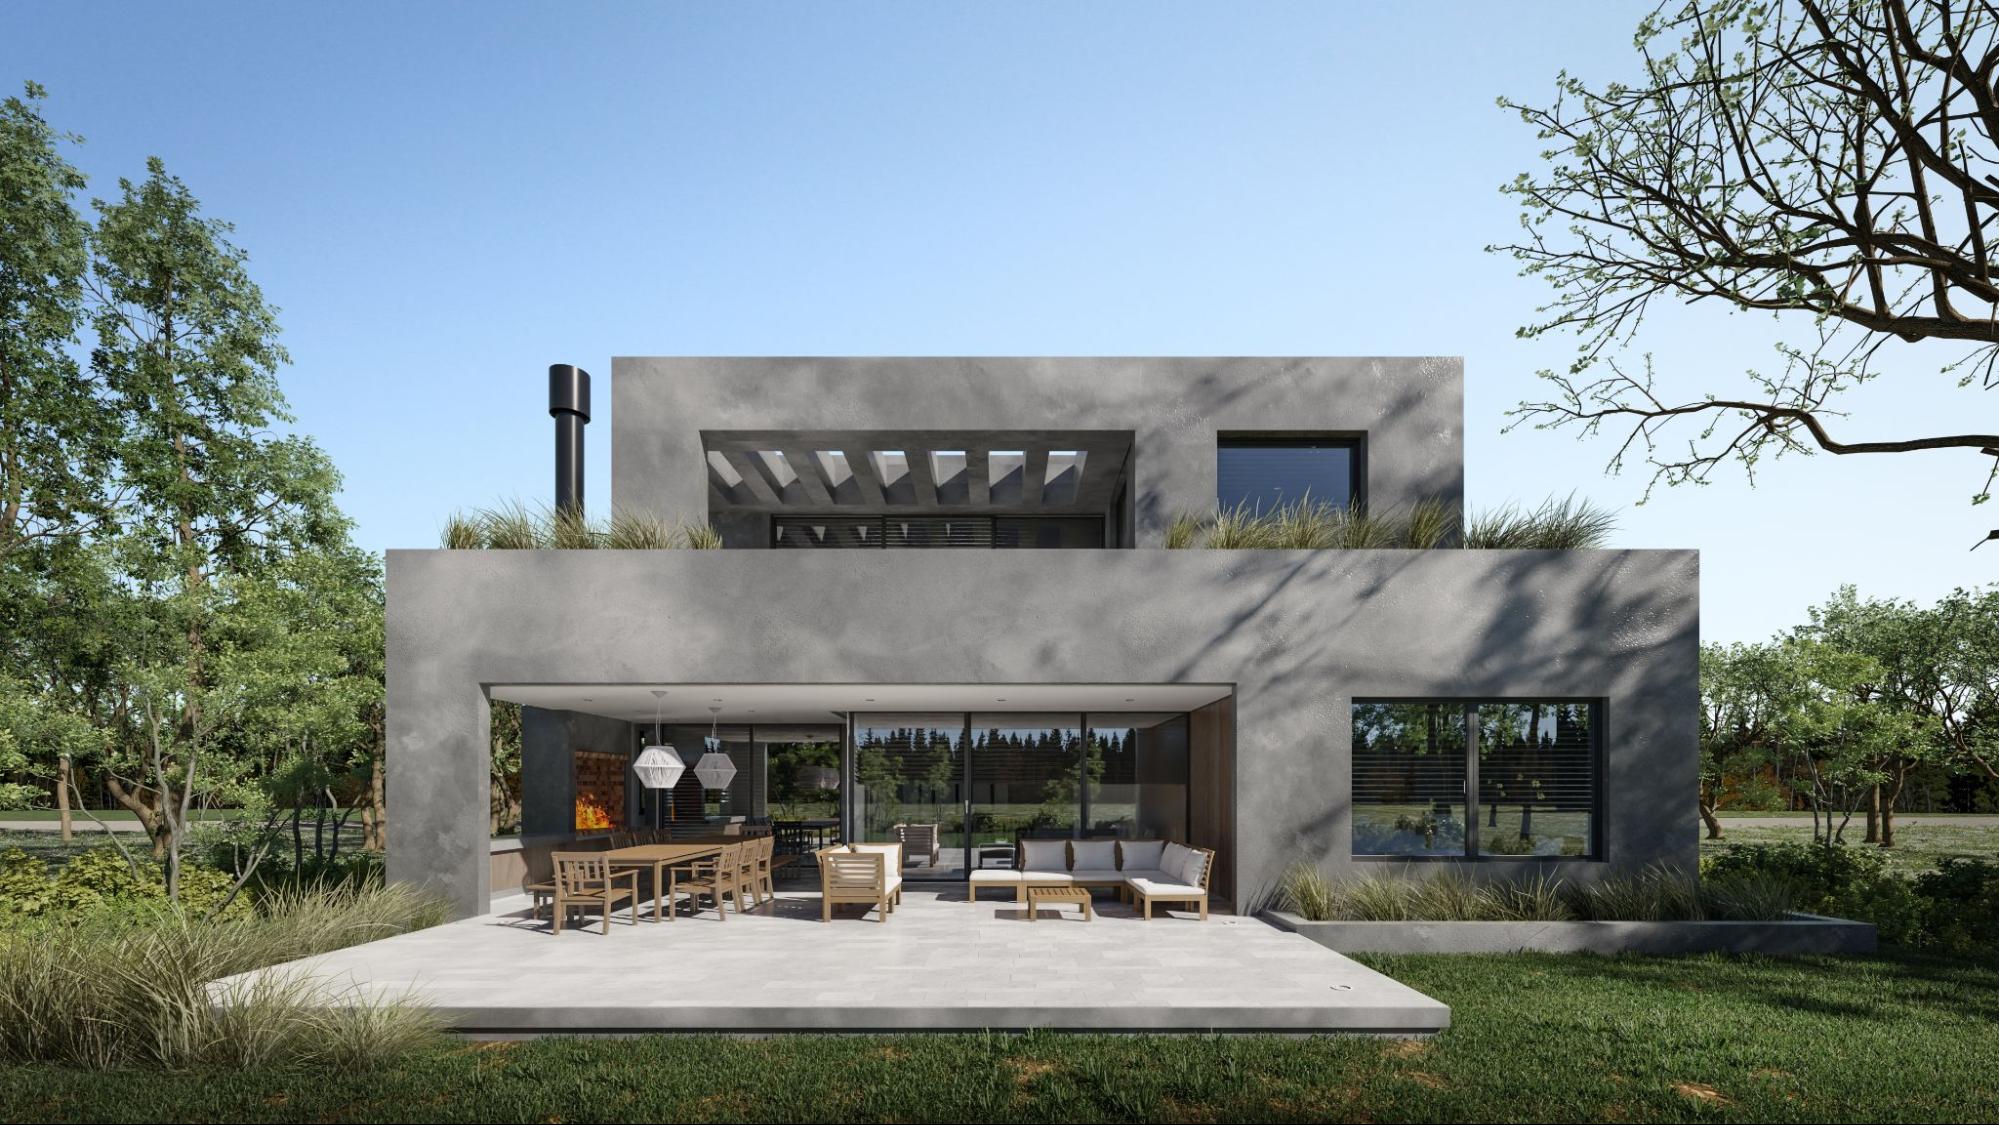
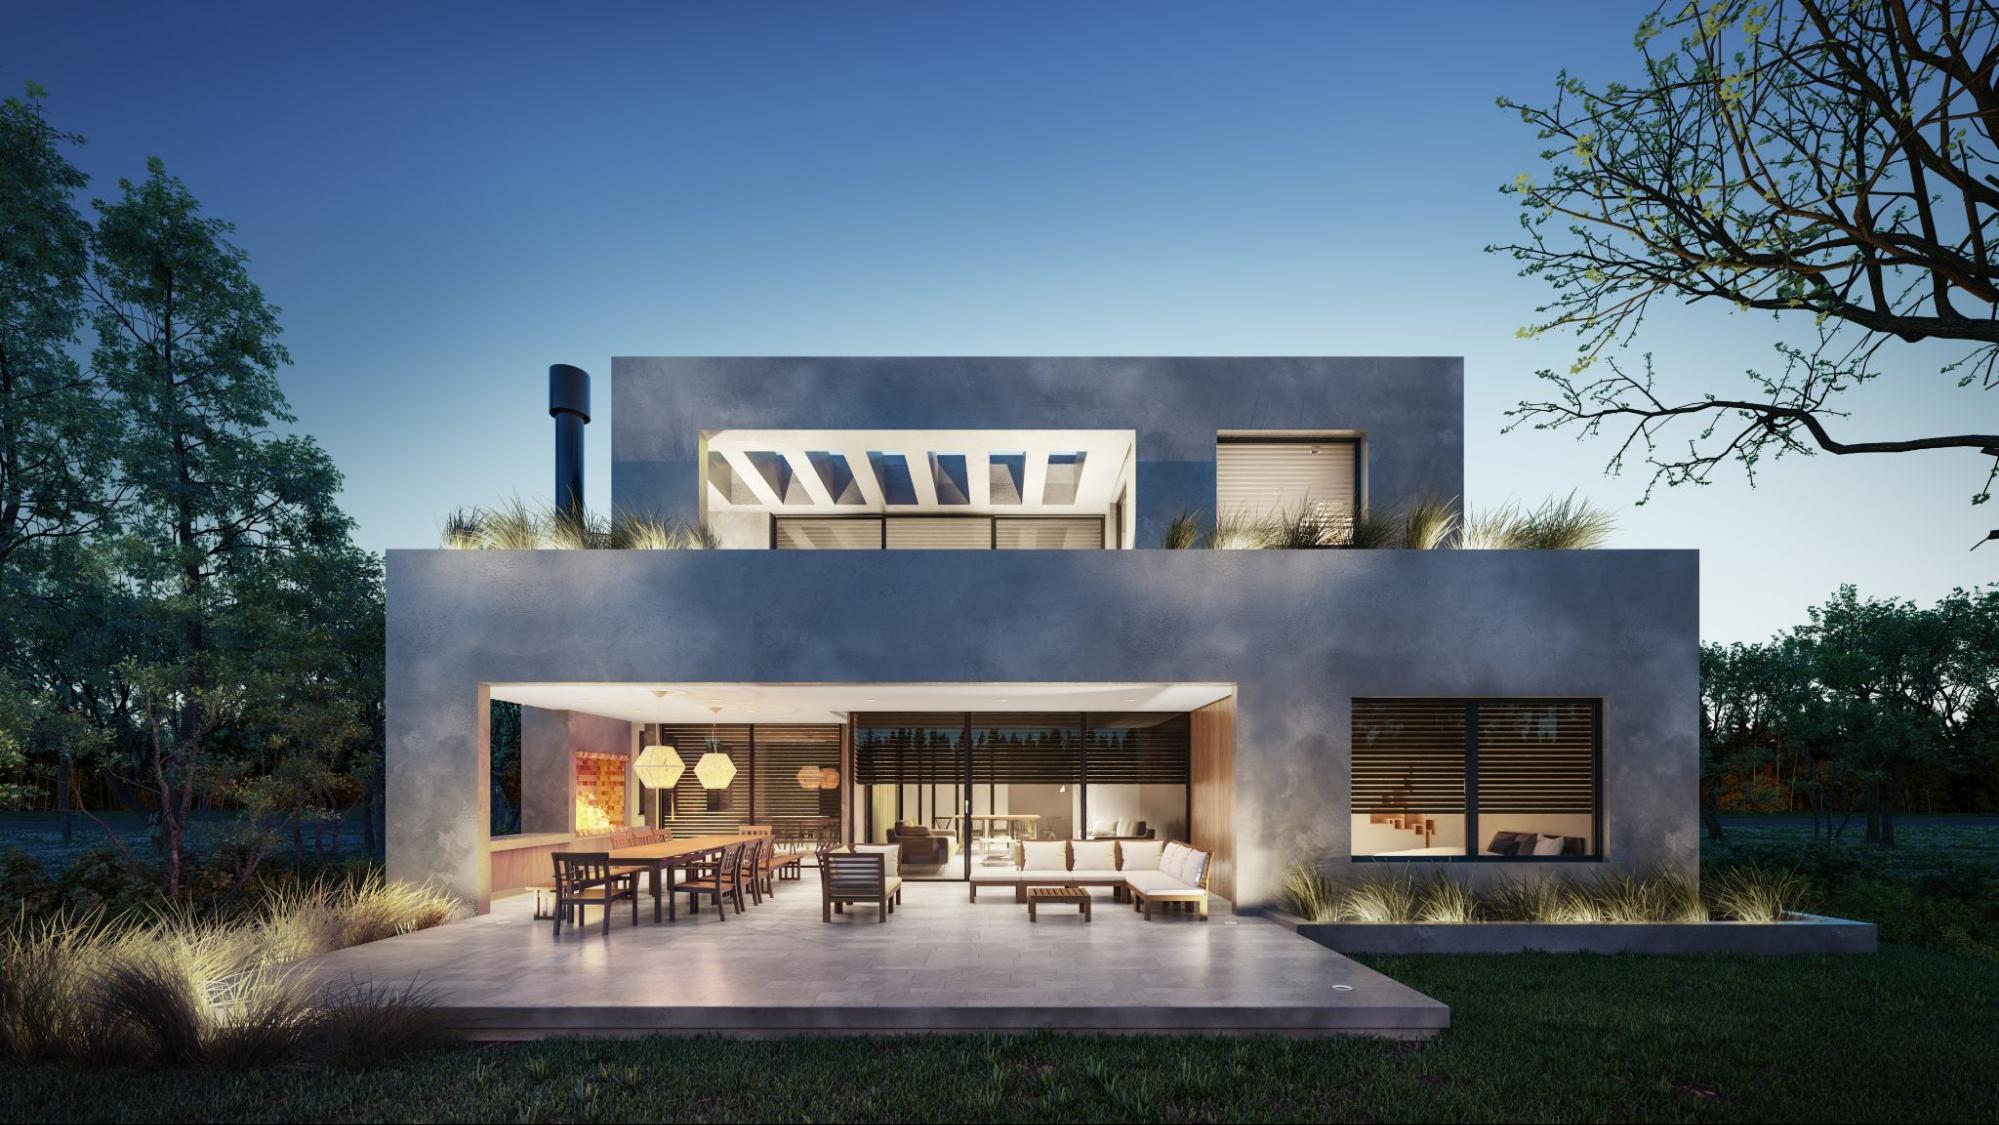
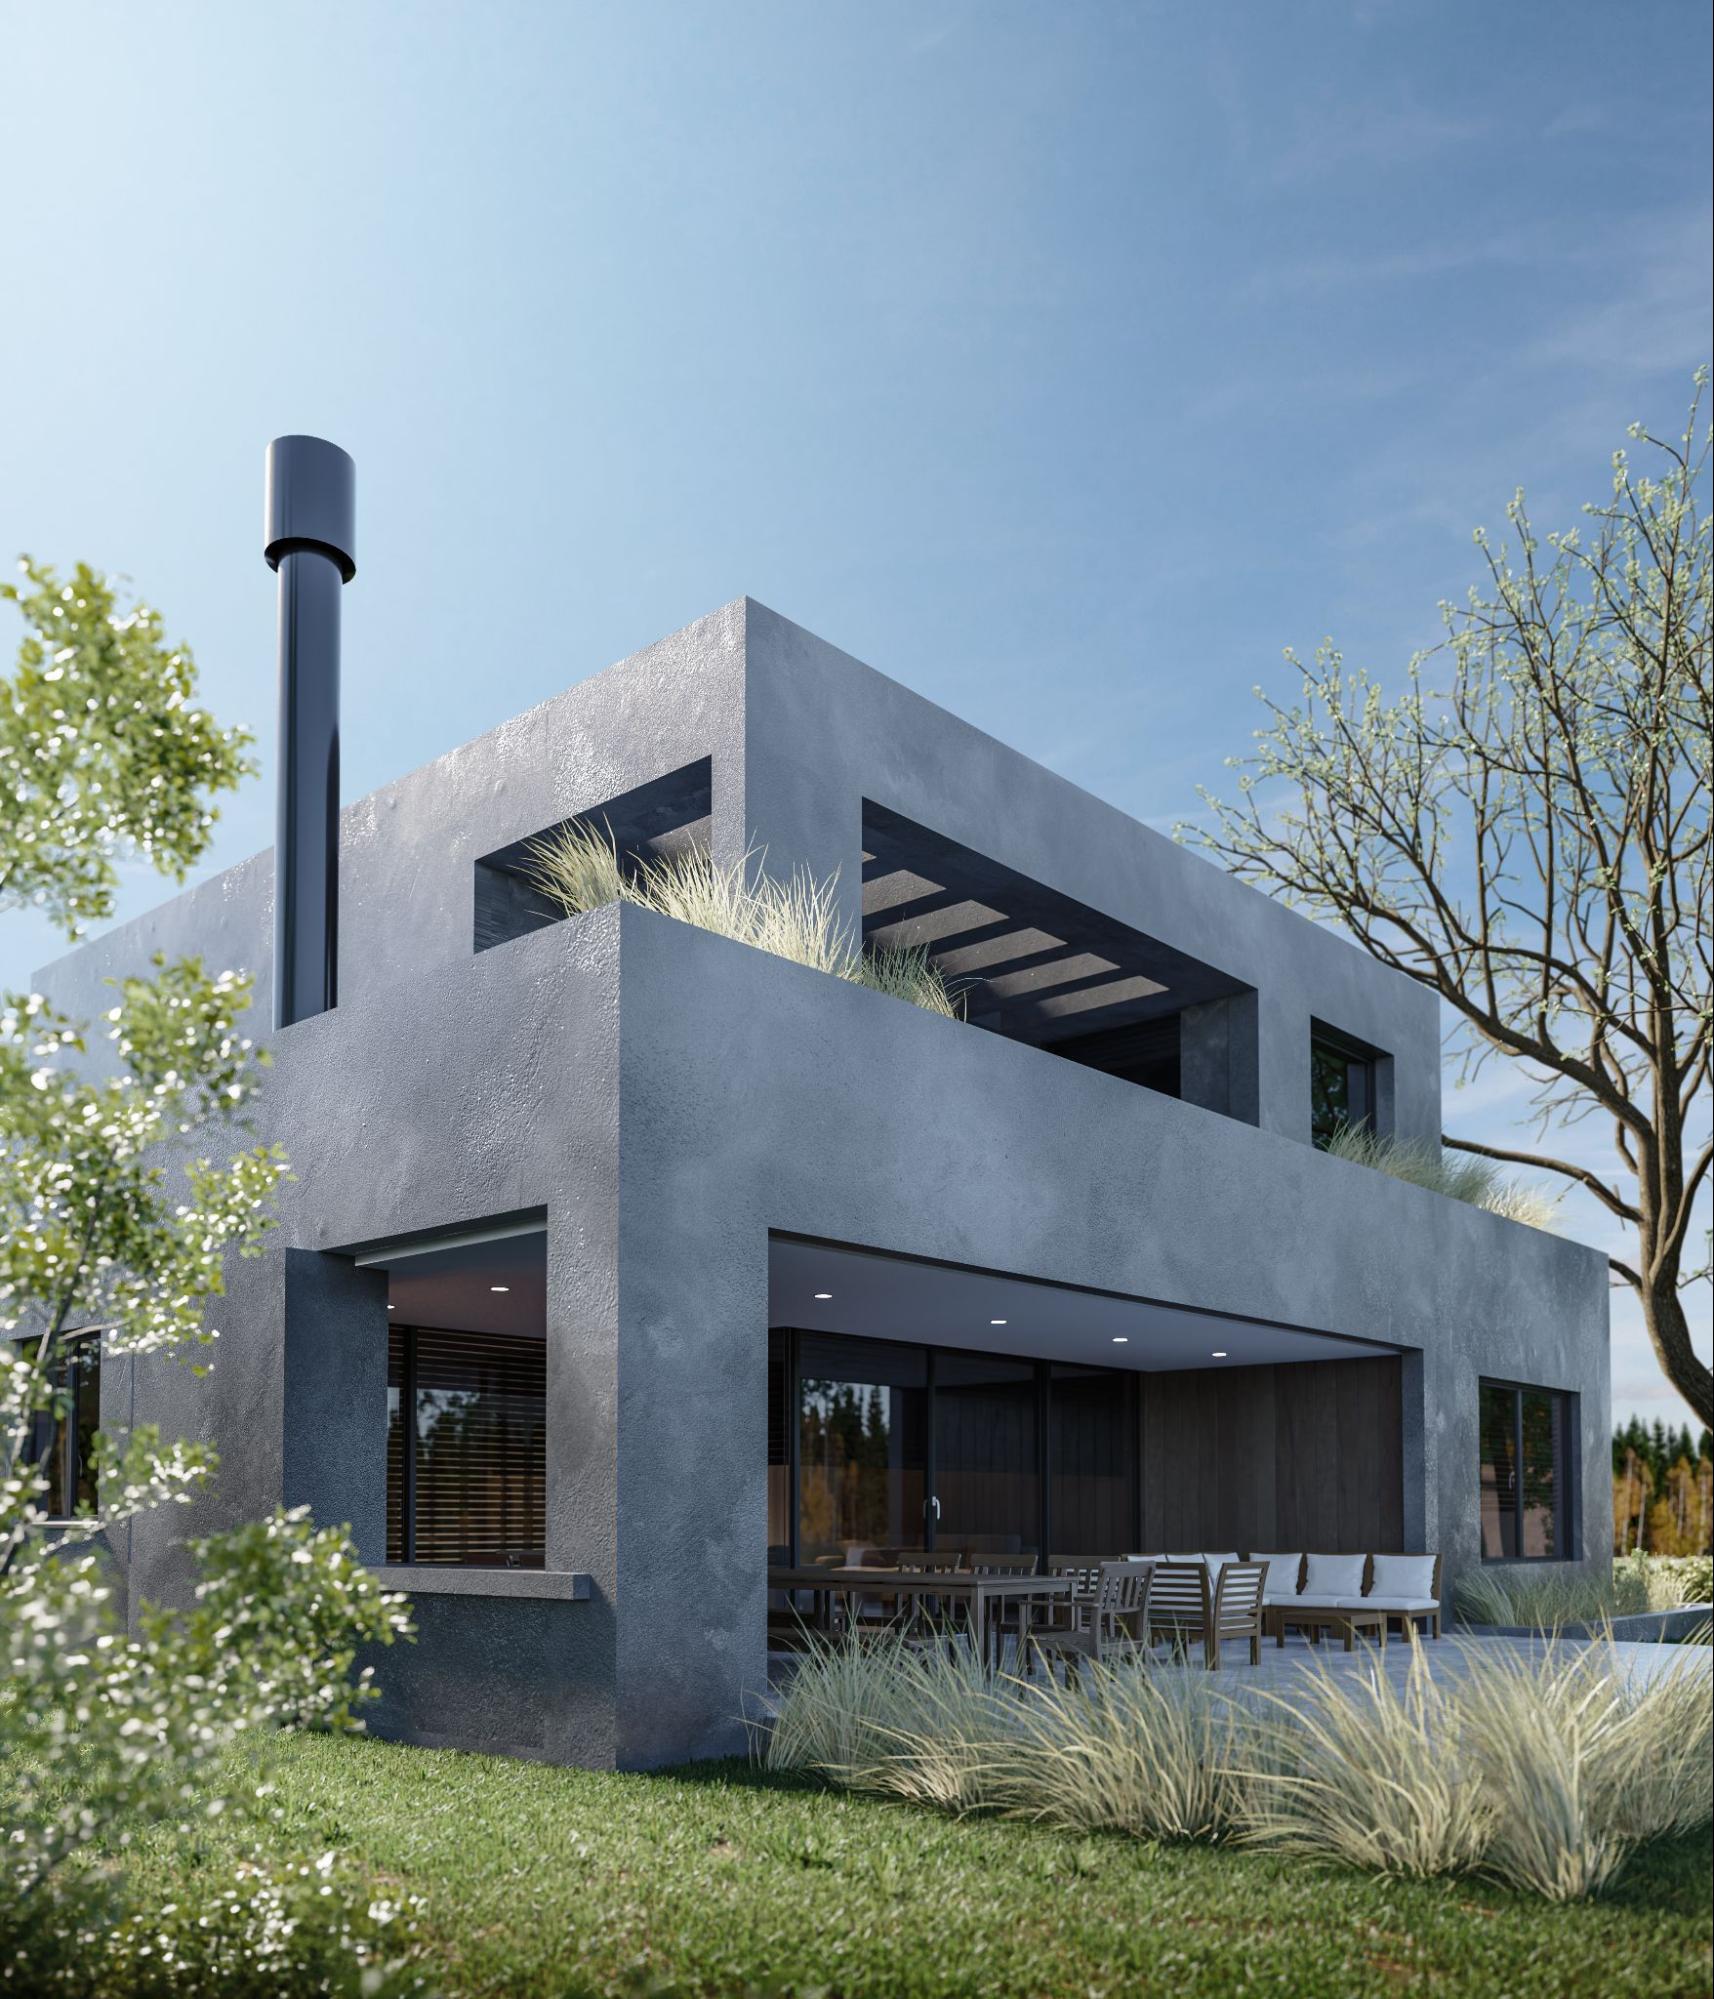
This particular work, “CONCRETE HOUSE”, about which I will share some of my process, is a commissioned work from an Argentinian architectural studio called A+H architects.
The main idea was to show the house from the front and back, with different lighting moods; the final renders would be shown to the architect’s client.
As always, before starting it is really good to have a good relationship and communication with your client to try to determine the best approach and what the aim of the image should be. If those details are set correctly from the beginning, the process will become much easier.
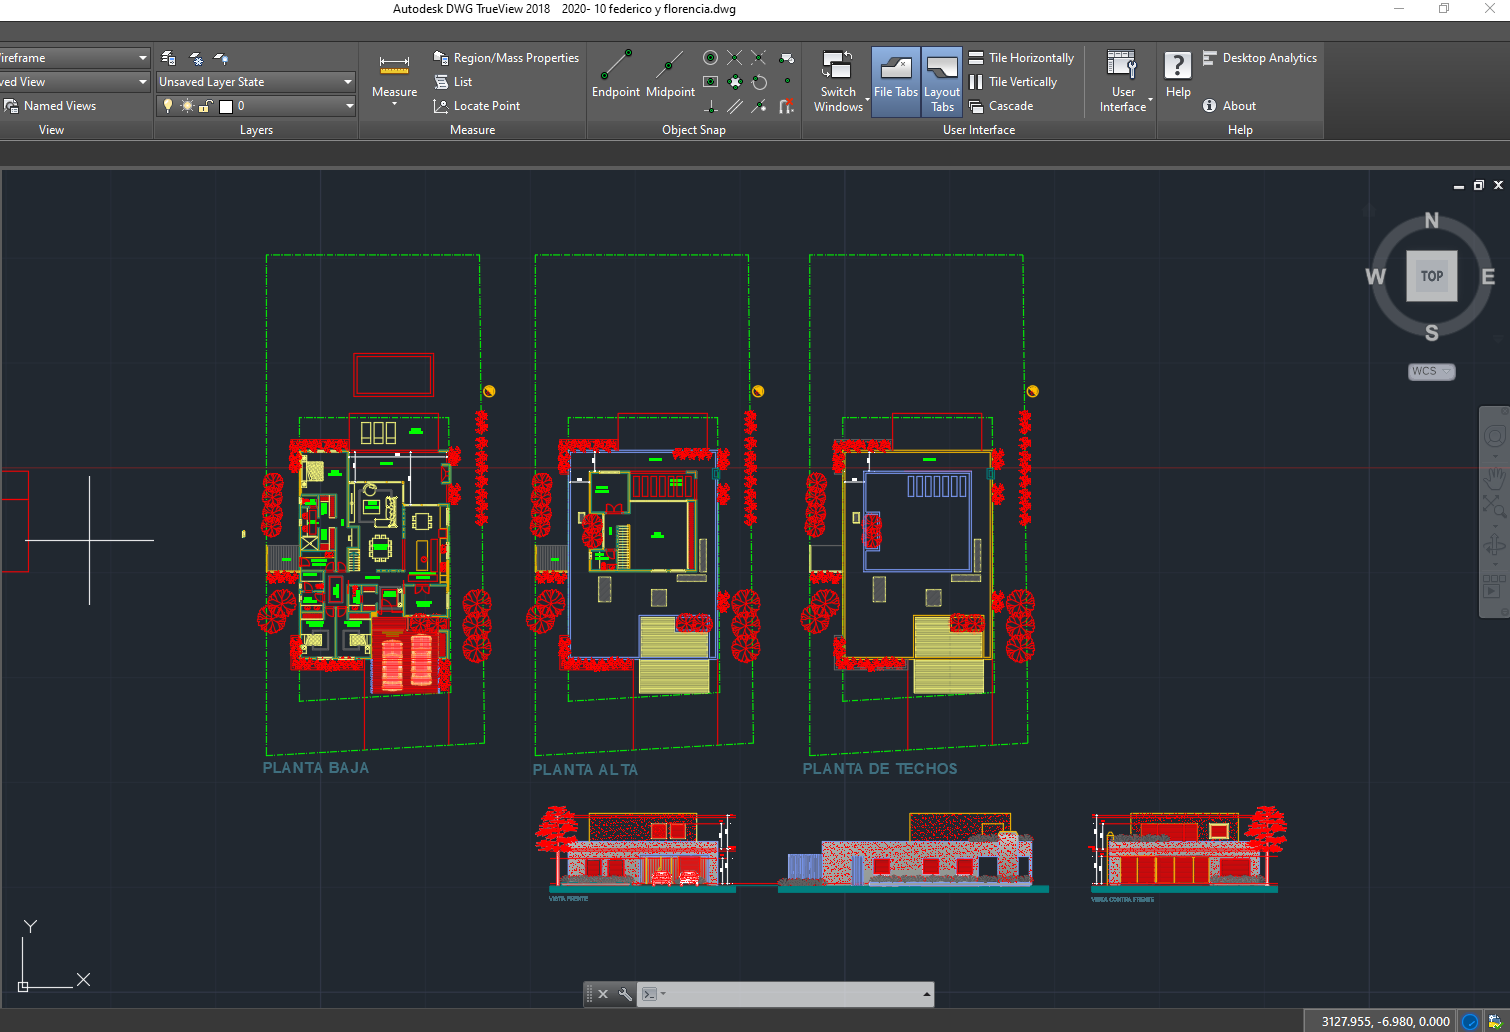
Client documentation
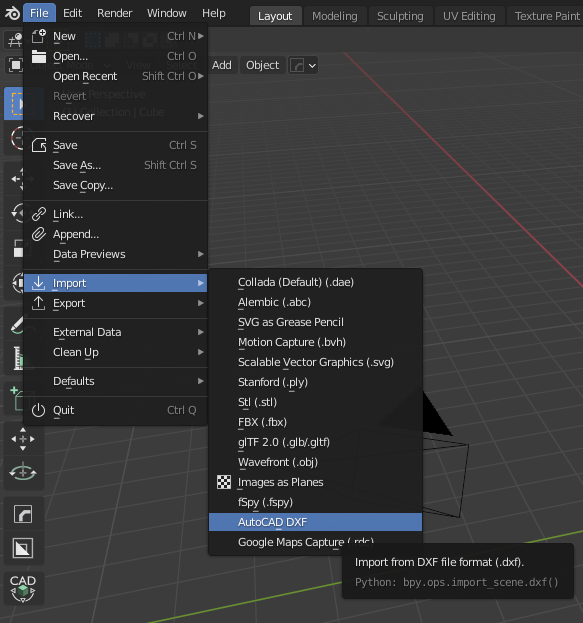
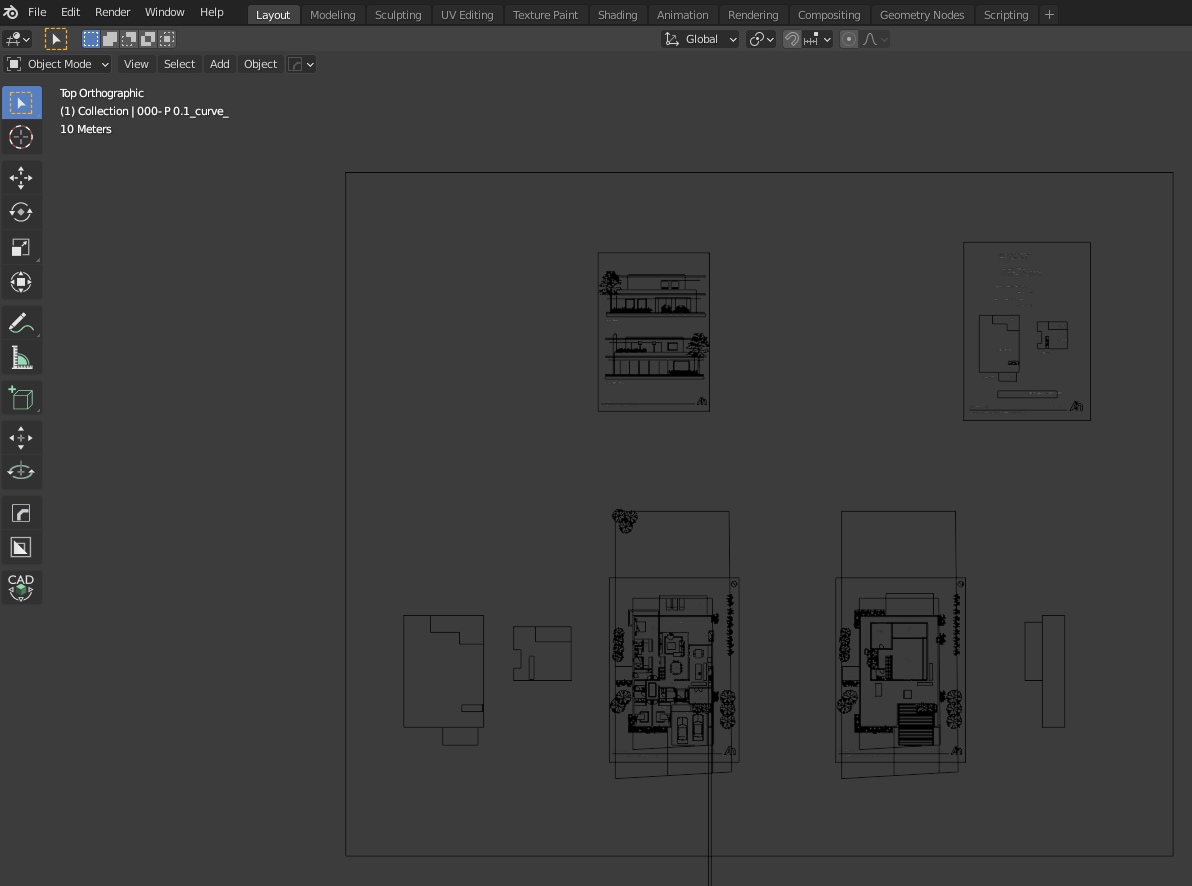
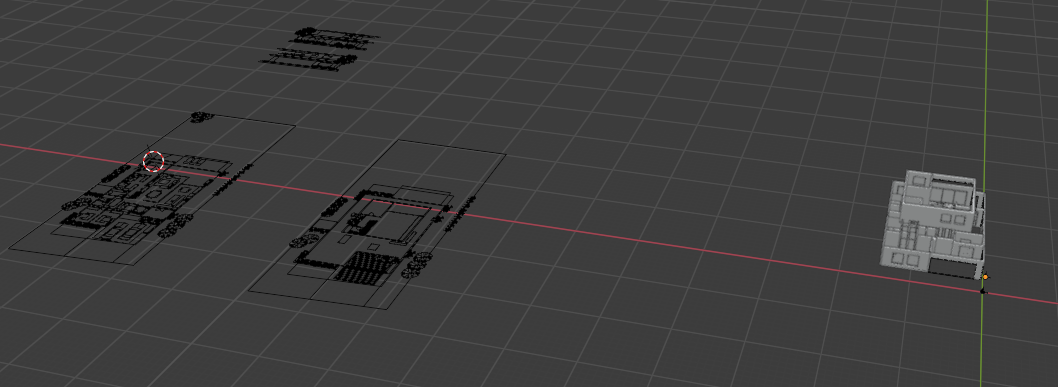
At this stage, I had received CAD drawings of the project in DWG format, as well as some material specifications. There is a CAD viewer from Autodesk that I used to inspect and see the drawings, but in order to import them into Blender I needed the drawings in DXF format. So I used an online converter to get the DXF file so that I could import it into Blender.

Modeling
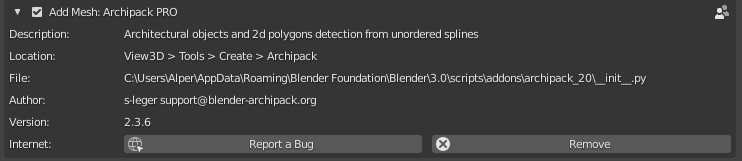
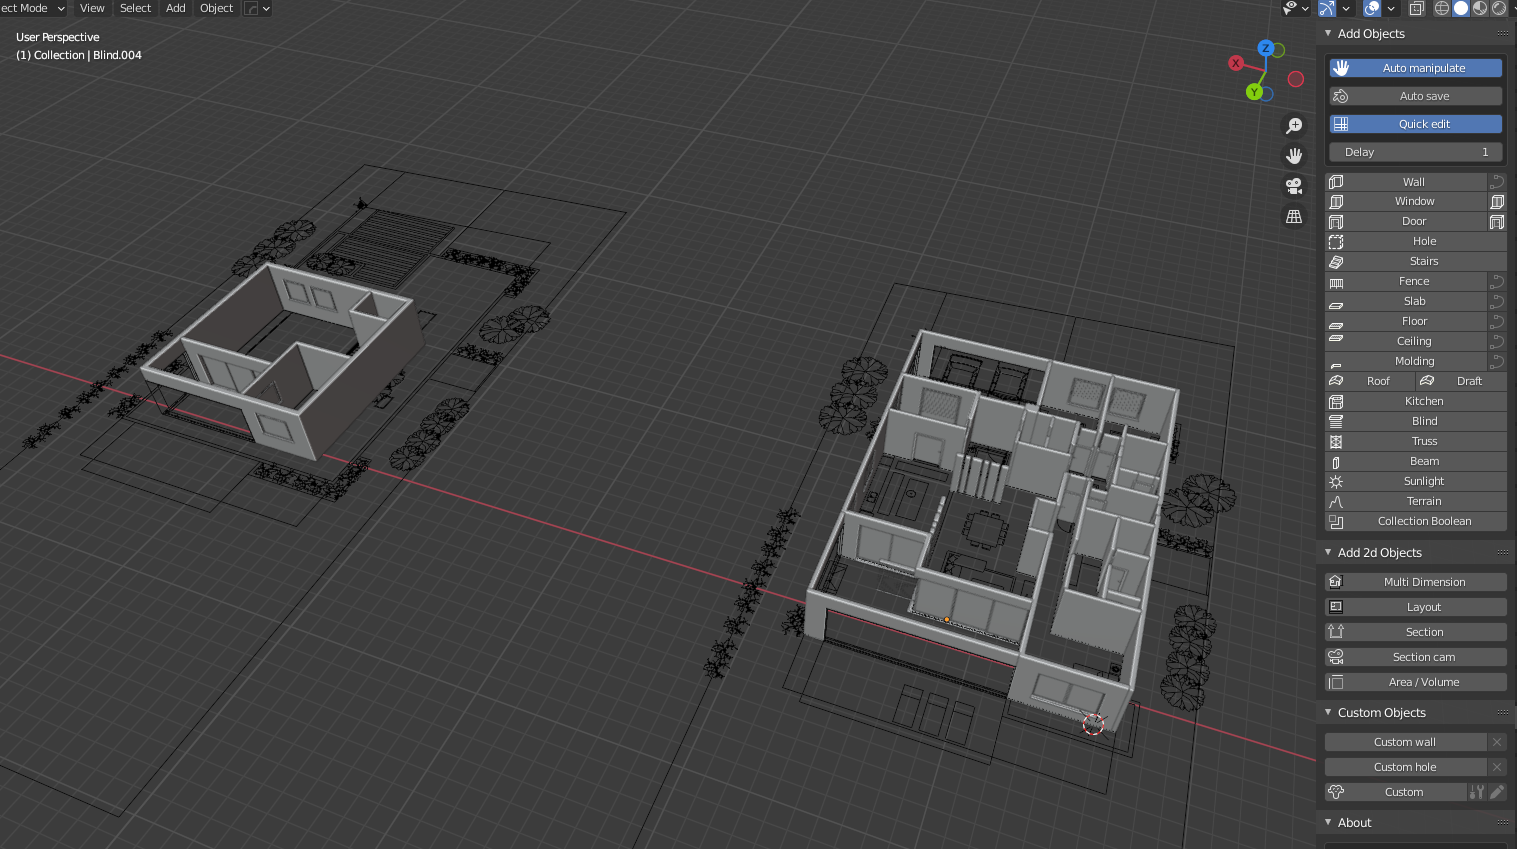
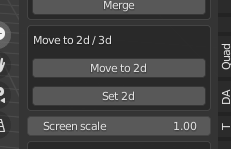
For modeling, besides the basic tools, I use Archipack, an awesome architecture-oriented add-on developed by Stephen Leger. I totally recommend it for architectural modeling and documentation. It helps a lot with the process of constructing the model. You draw walls and windows, you automatically have boolean operations, creation of louvers, slabs, etc. It’s SUPER USEFUL!
Texturing
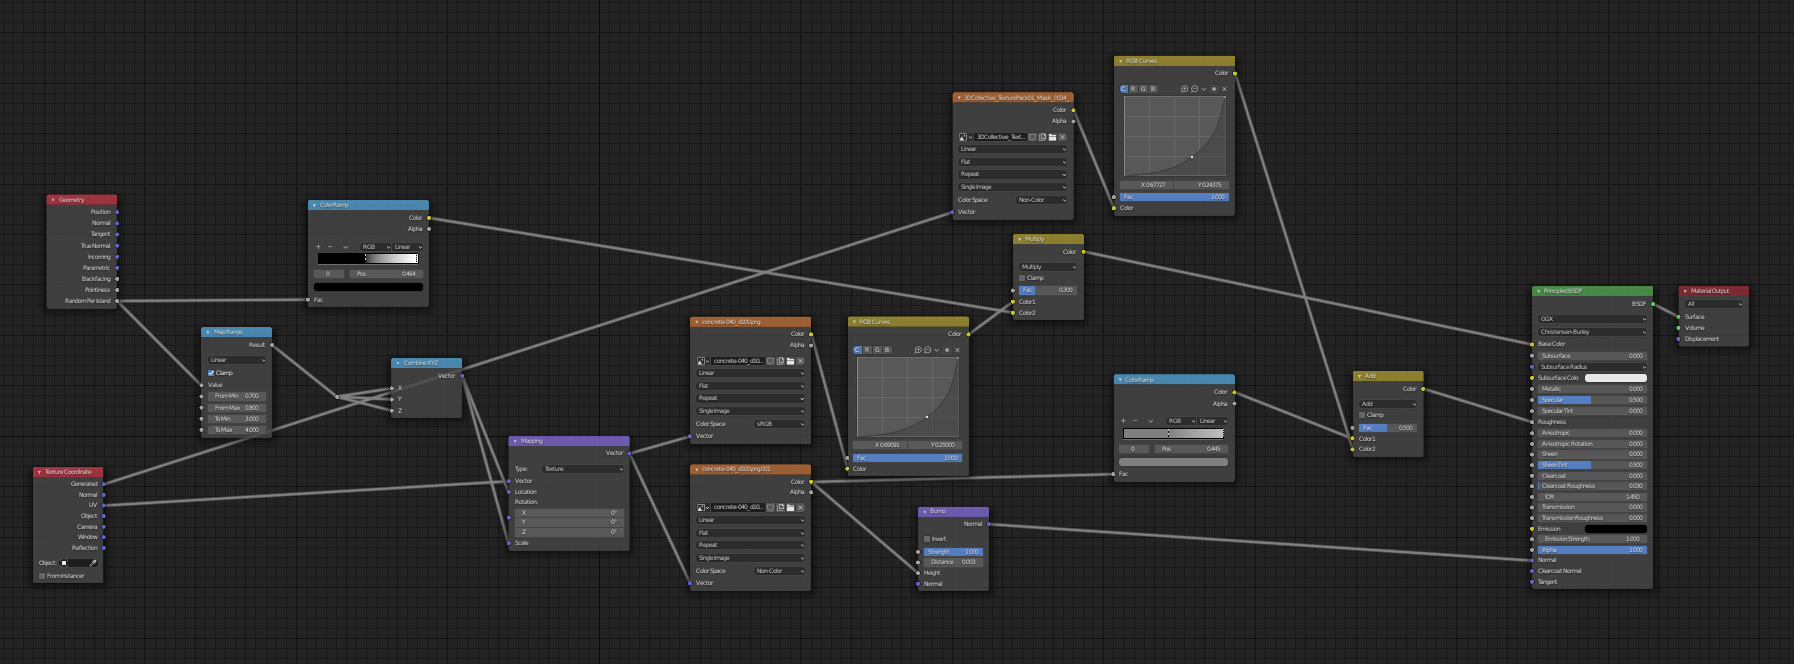
I usually do this process at the same time as modeling. Archipack, the add-on mentioned in the last section, has some preset materials, but I use different sources a lot, too. For example, Poly Haven, Quixel Bridge, or ambientCG, all of which are super useful and allow me to create custom materials.
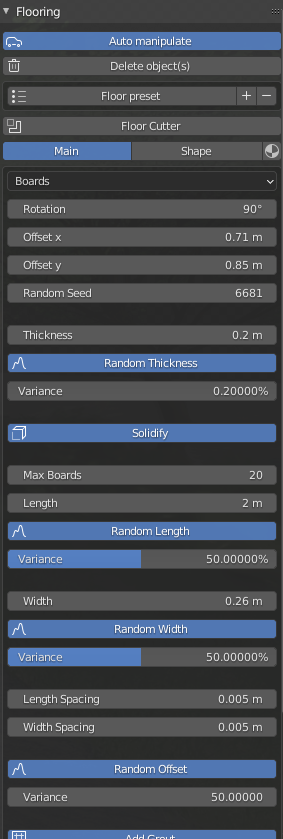
For the floor, I have used the floor generator from Archipack and randomized a texture.
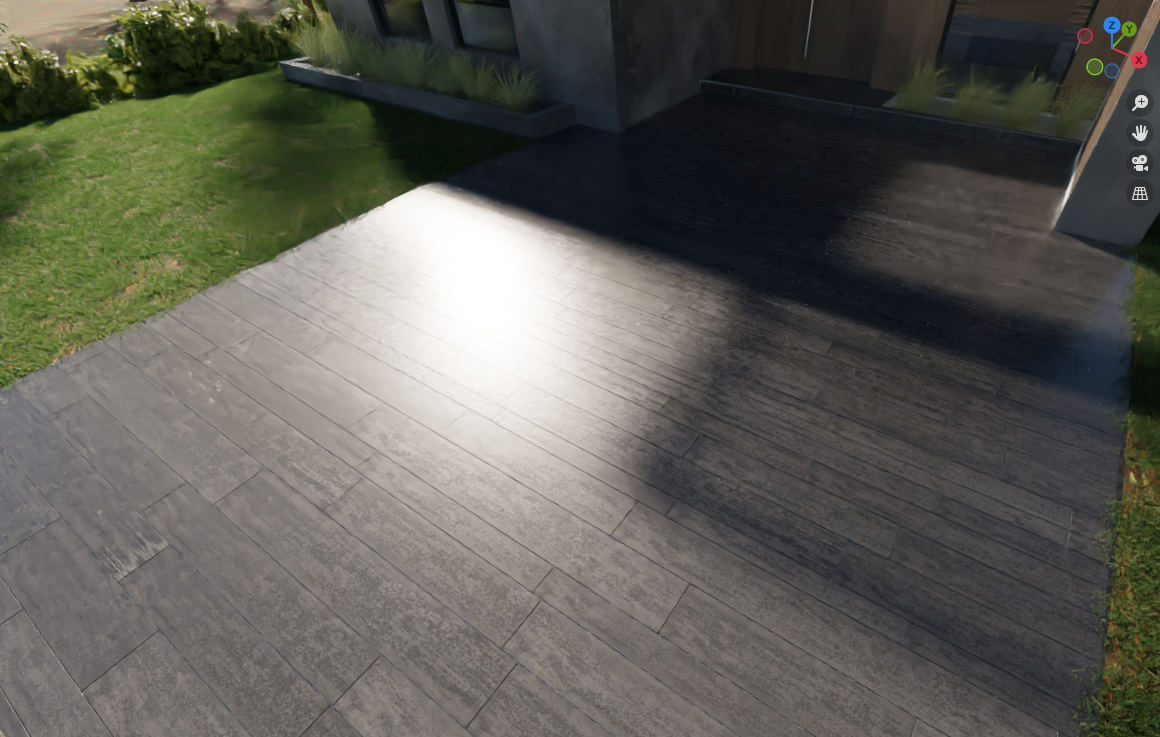
I did the same thing for the wood at the entrance: wood planks from Archipack with texture variation.

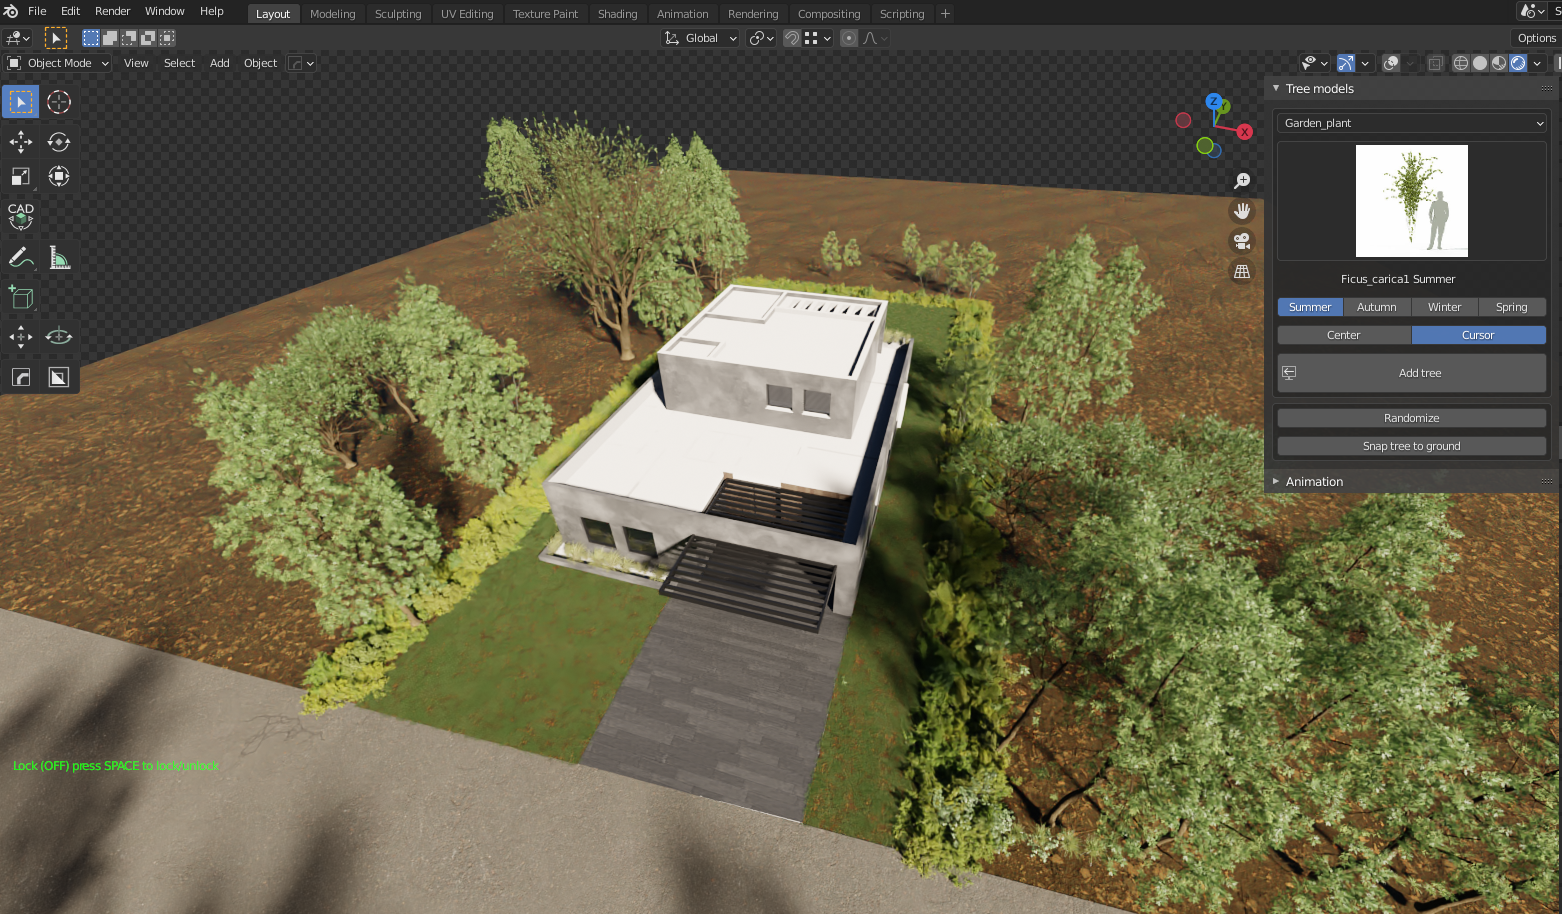
Vegetation
For the vegetation, mainly I have used 4 plugins.
- Scatter 4.0 add-on for grass distribution. Much needed and really useful for scattering objects.
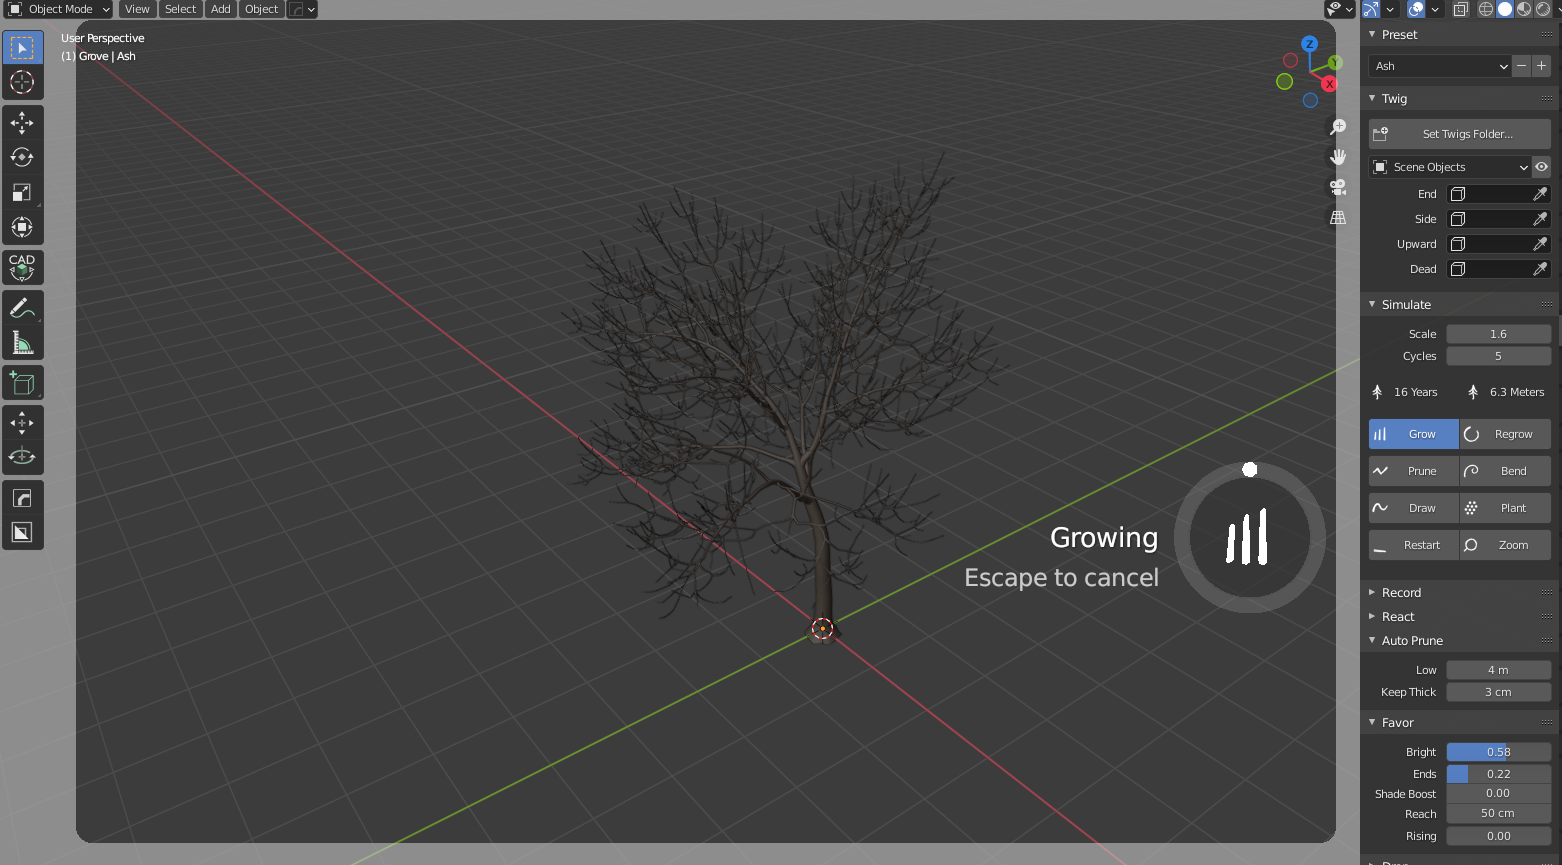
- The Grove for creating some 3D models. Amazing tool to create trees!


- Vegetation add-on! Awesome collection.
- Botaniq is another awesome collection!
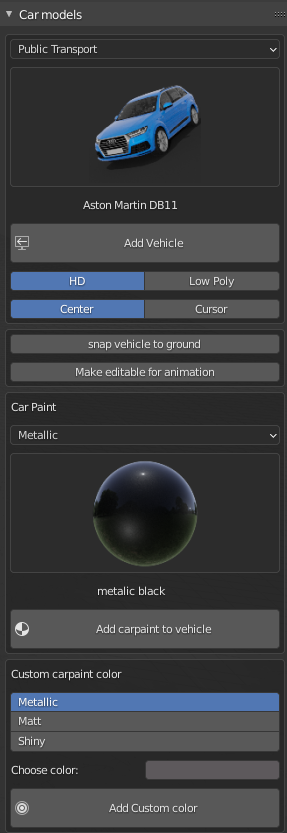
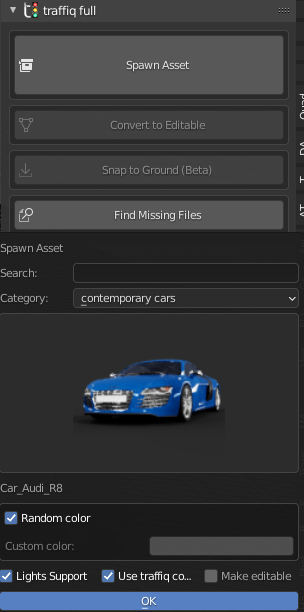
Cars and vehicles
For cars, I mainly use two add-ons: Transportation and Traffiq full.
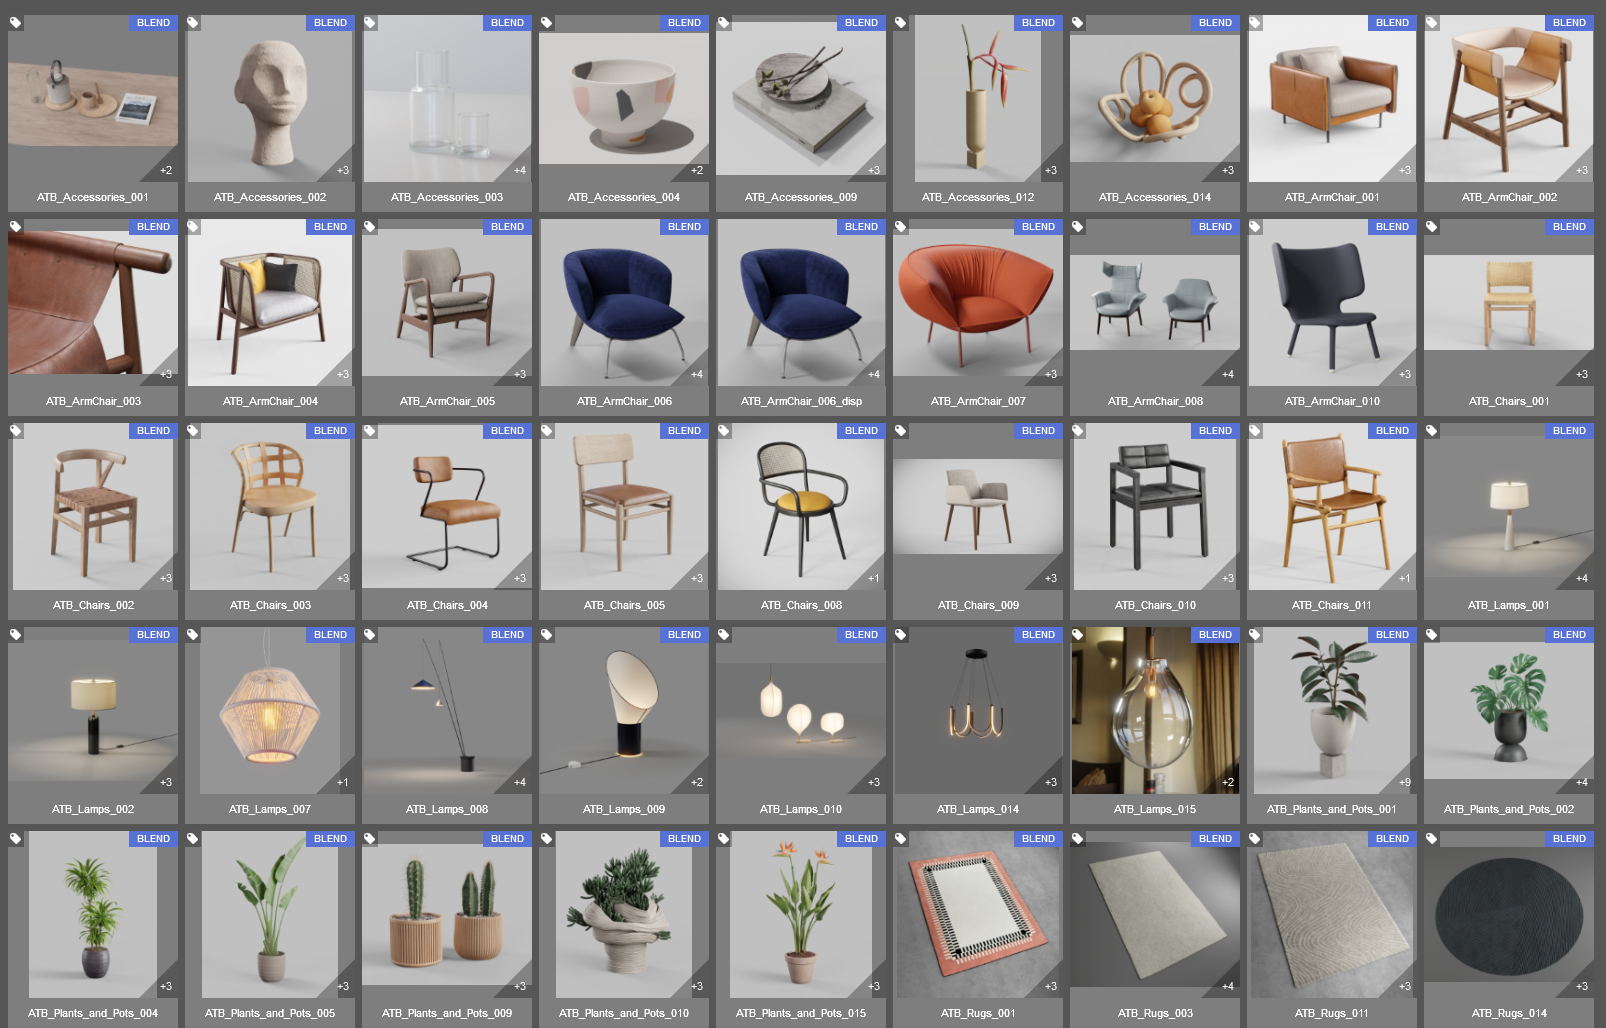
Props
For props, I use several collections acquired over the years.
But, as I have always had trouble finding very good quality and design-like props, I have decided to create a collection that I will release at a very low price. The idea is to begin with 250 models and build up to 1000. Those who purchase it at the moment of the release will receive the initial 250 models as well as all future models for the starting price. Those who purchase it later will be subject to a higher price that depends on the number of models in the collection at the time of purchase.
You can find more information on Blender Artists, Instagram, and Twitter.
If you have any questions about the idea, please drop them on Blender Artists. :)
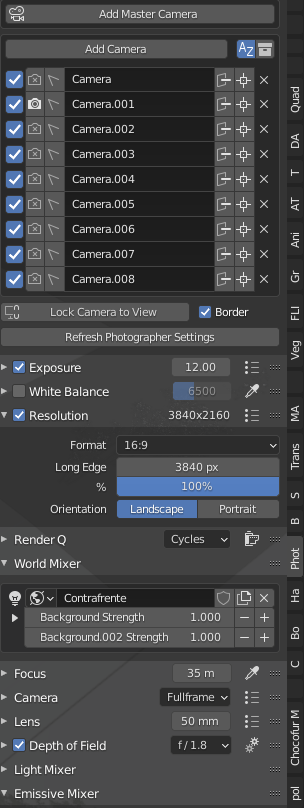
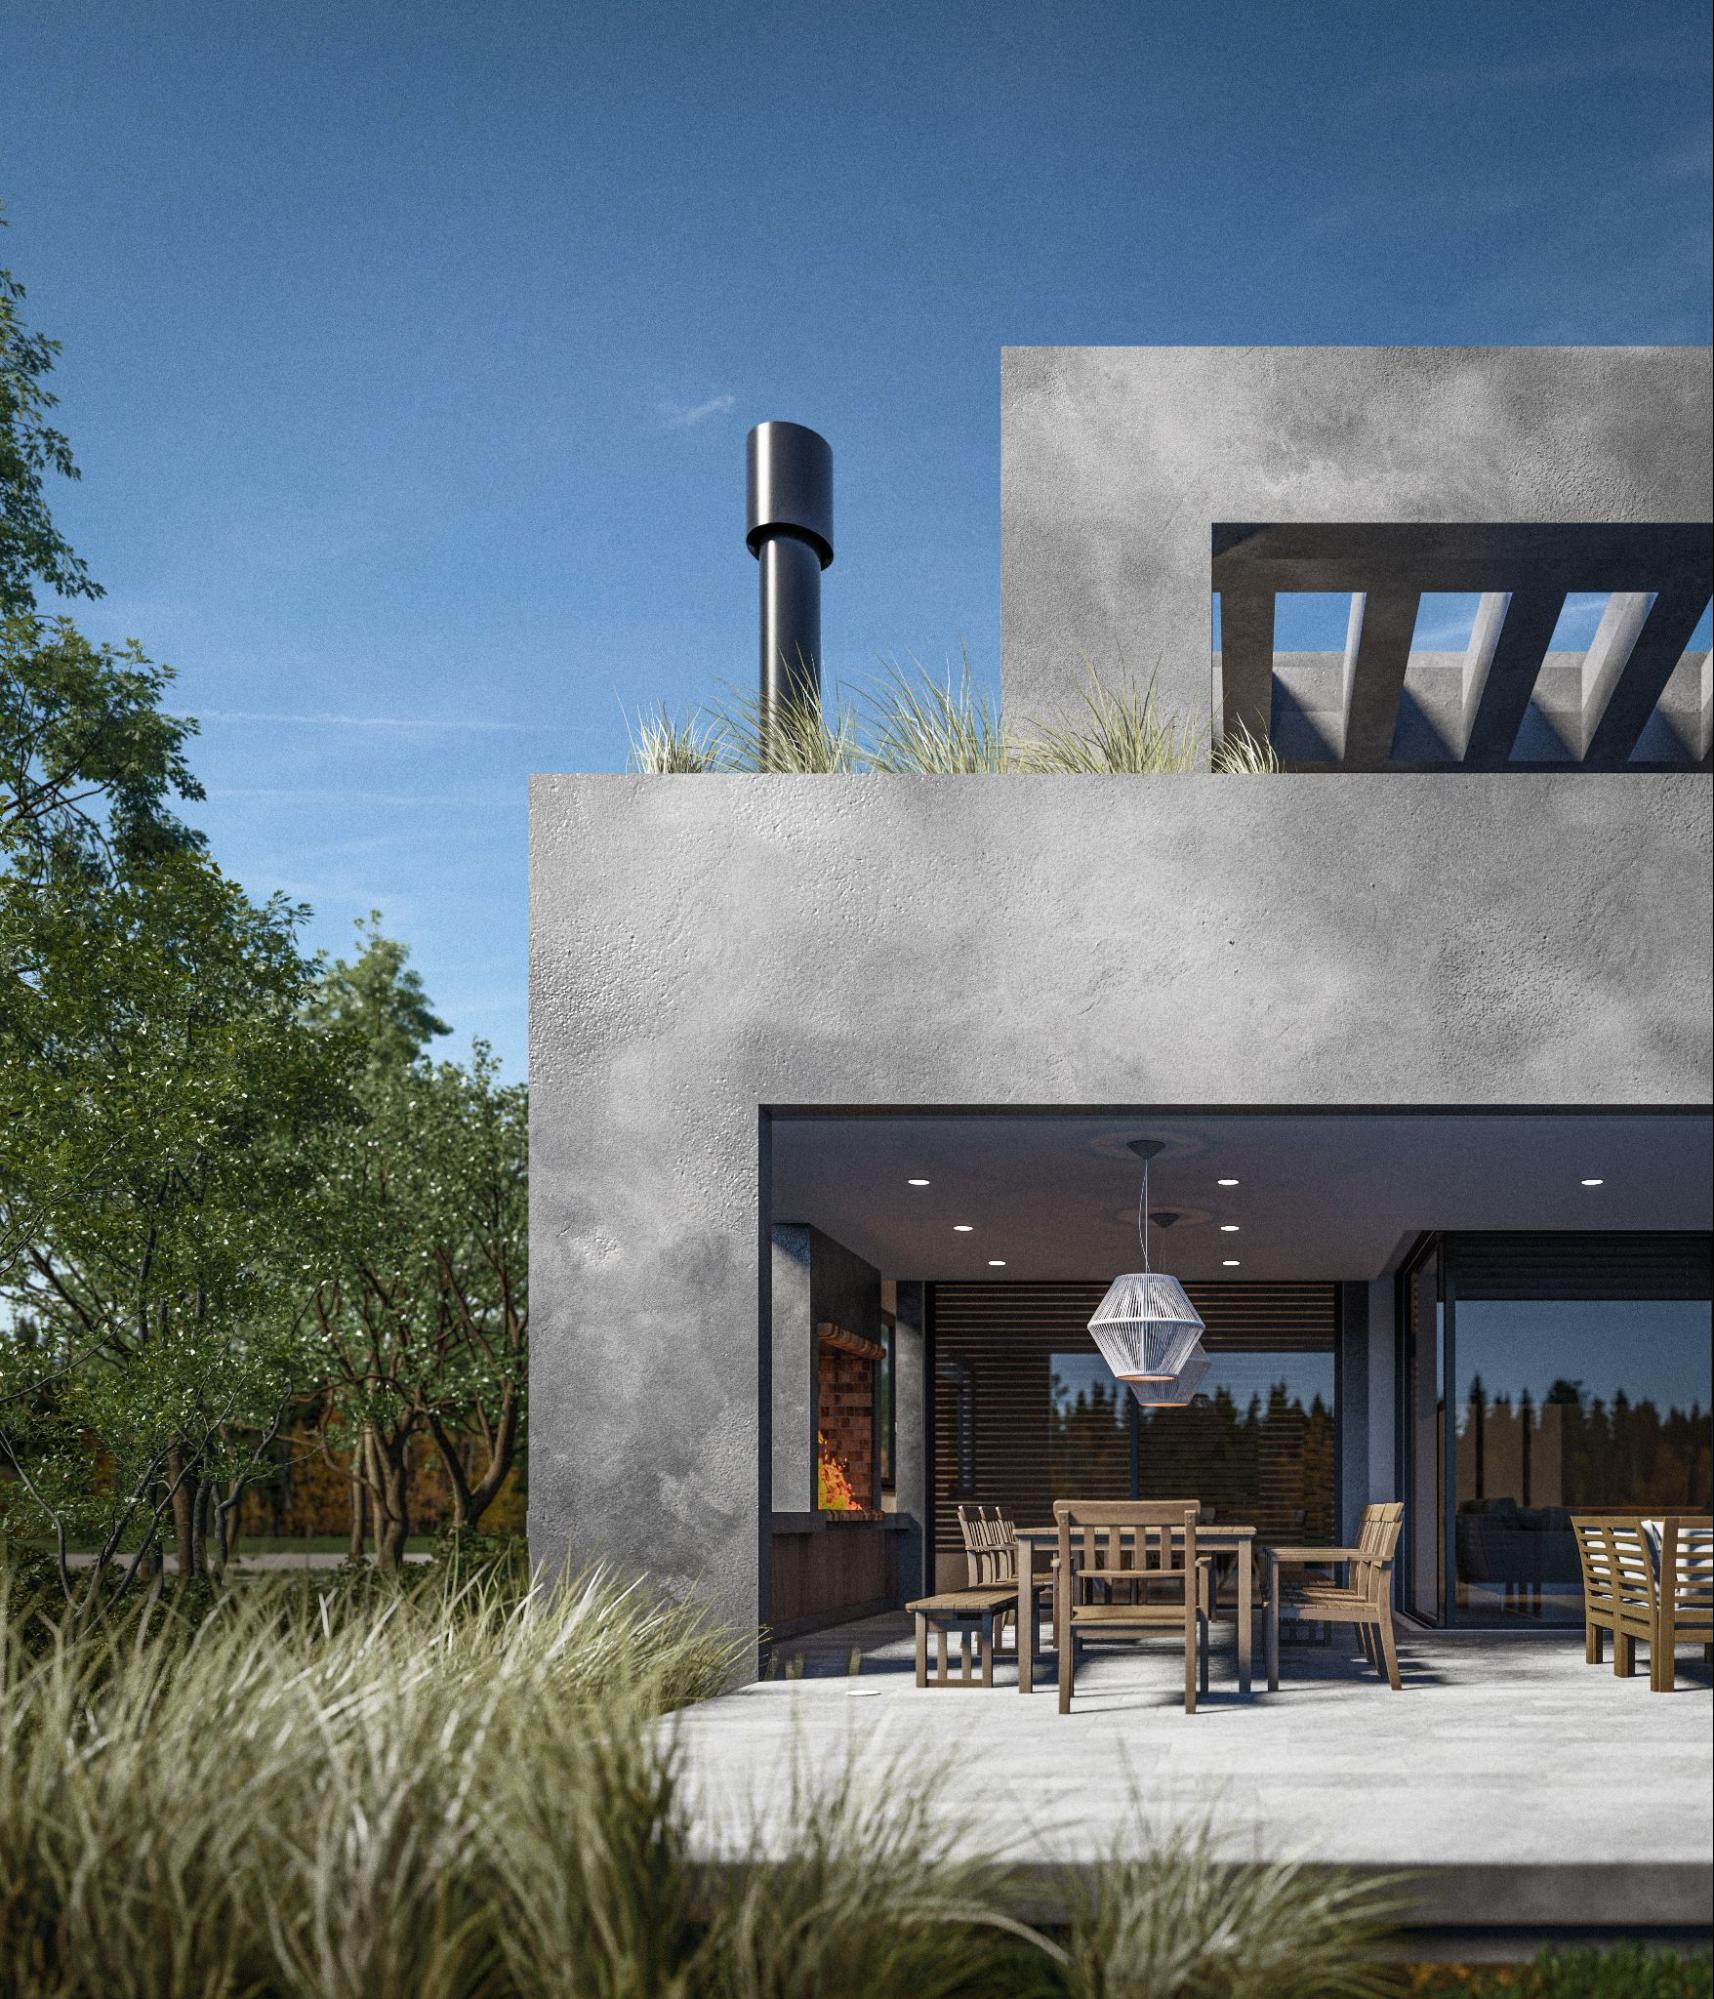
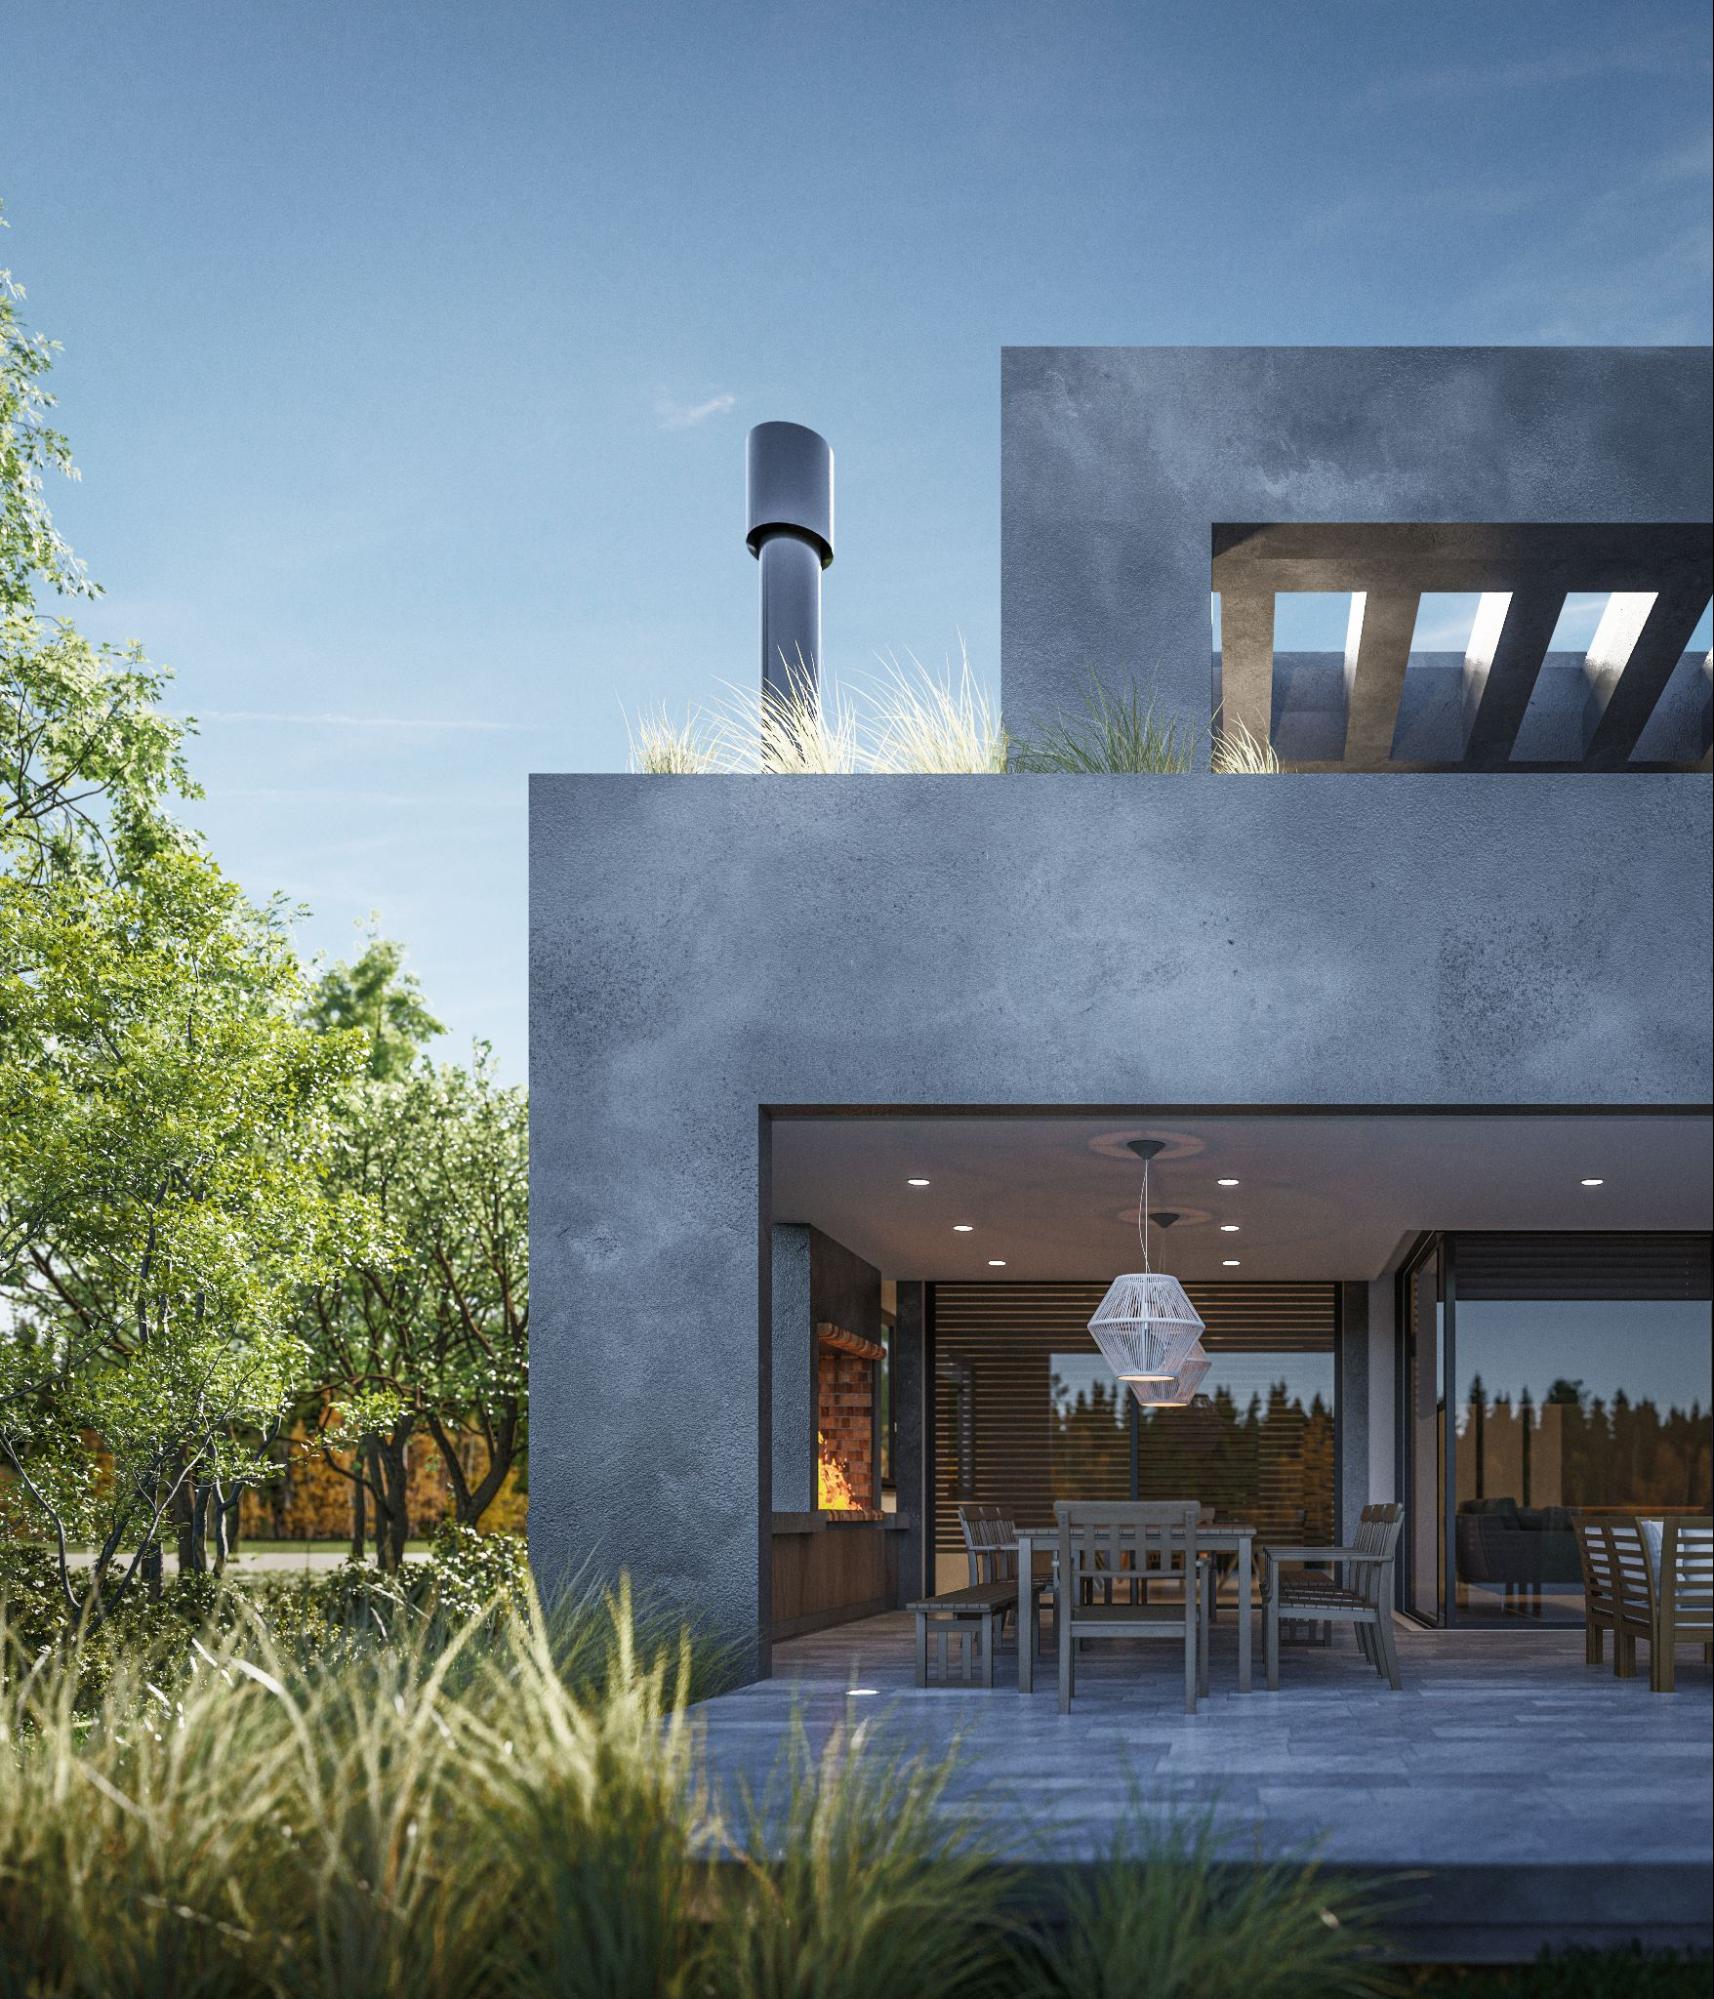
Camera angles and composition
For camera angles and composition, I use a really useful addon created by Fabien @chafouin.
It’s a really useful game-changer in terms of camera control and exposure, DOF, etc.
Lighting
For lighting, I have used quite a simple setup. Usually, I use Greg Zaal’s Gaffer add-on for quick previews. Greg’s other project Poly Haven (and formerly HDRI Haven) is a great site for HDRIs, textures, and models. Gaffer is super useful to quickly test different lighting conditions.
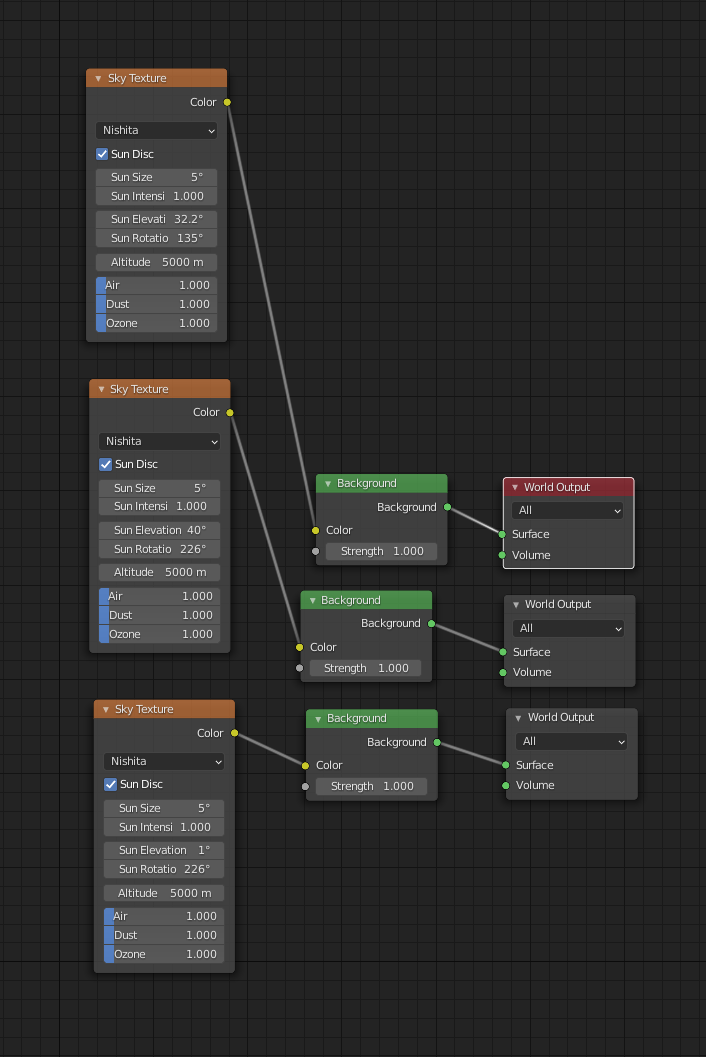
But in this case, I have used a Nikita Sky in the environment. I restrict different outputs to different lighting situations on the cameras, for example for the front and the back, day and dusk.
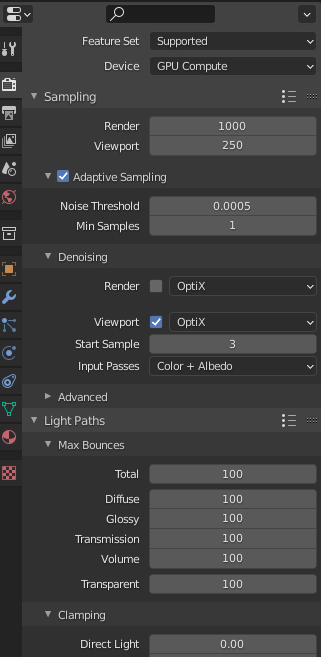
Rendering
I used Cycles to render. Nothing unsual—at that moment I have rendered with an GTX 1080ti.
Post-production
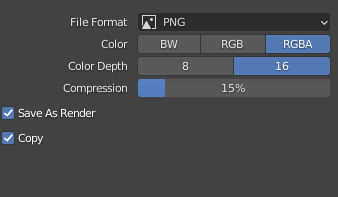
Post-production was done in Photoshop. I saved a 16-bit PNG and an EXR MultiLayer.
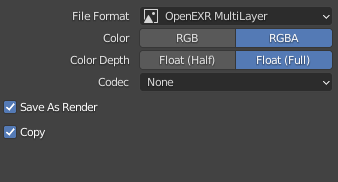
Then I imported the MultiLayer EXR into Photoshop with the EXR-IO plugin—super helpful!
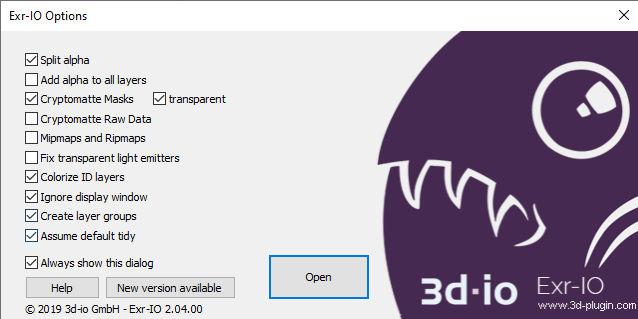
The plugin lets you use multilayers and more awesome CRYPTOMATTE masks!
So basically having this functionality you can right-click on any pixel on the image, and if you have saved the object and material cryptomatte passes, you can select the object or the material that pixel belongs to. Then it’s a matter of selecting the layer, material, or object and using CTRL+Click to select the contour of that layer and then simply create a mask.
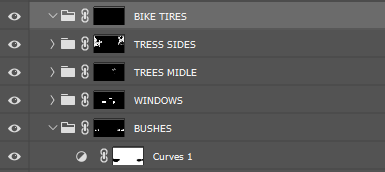
Then it was time for the usual camera RAW filter and adjustment layers like curves, vibrance, etc.
Final Result
About the author
 Juan Patricio Calvelo, Architect specialized in Architectural visualization / Art Director


