
Behind the Scenes: Cube Rooms

About
I’m Paco Barruguer, from Burriana, Castellón, Spain. I’ve been a 3D and Blender user since 2017.
For the last two years I combined two jobs—I worked at a ceramic tile company called PORCELANOSA as a 3D artist and I was a freelancer, but two weeks ago I left the company and now I’m freelance only.
When I discovered Blender, I began my 3D experience. I loved Blender from the first moment and I began to study 3D with it. My passion and obsession with 3D led me to study every day since then. I took hard surface modeling and Cycles courses and specialized in archviz because it was the only way to integrate 3D into my work as a graphic designer. Finally, two years later my chieftains decided to promote me to a 3D artist.
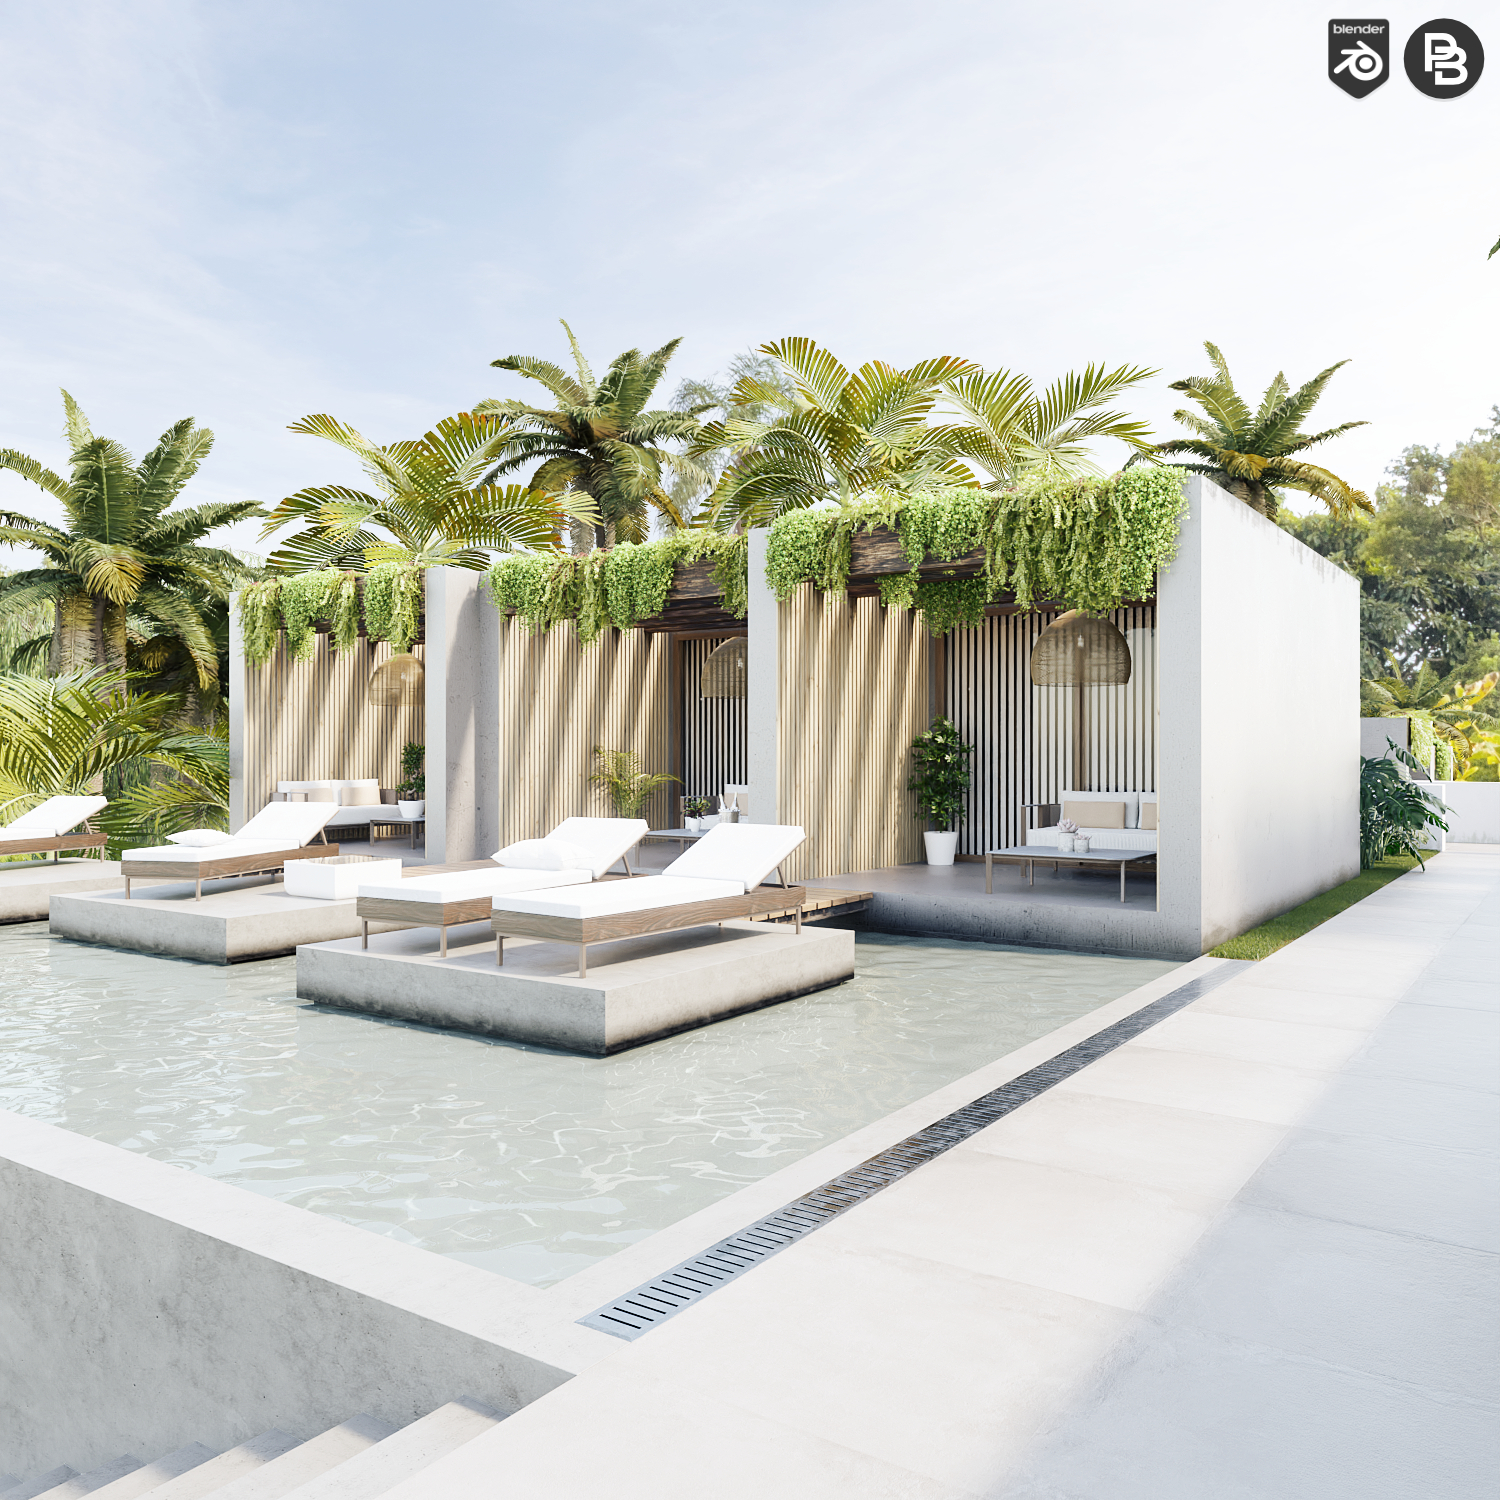
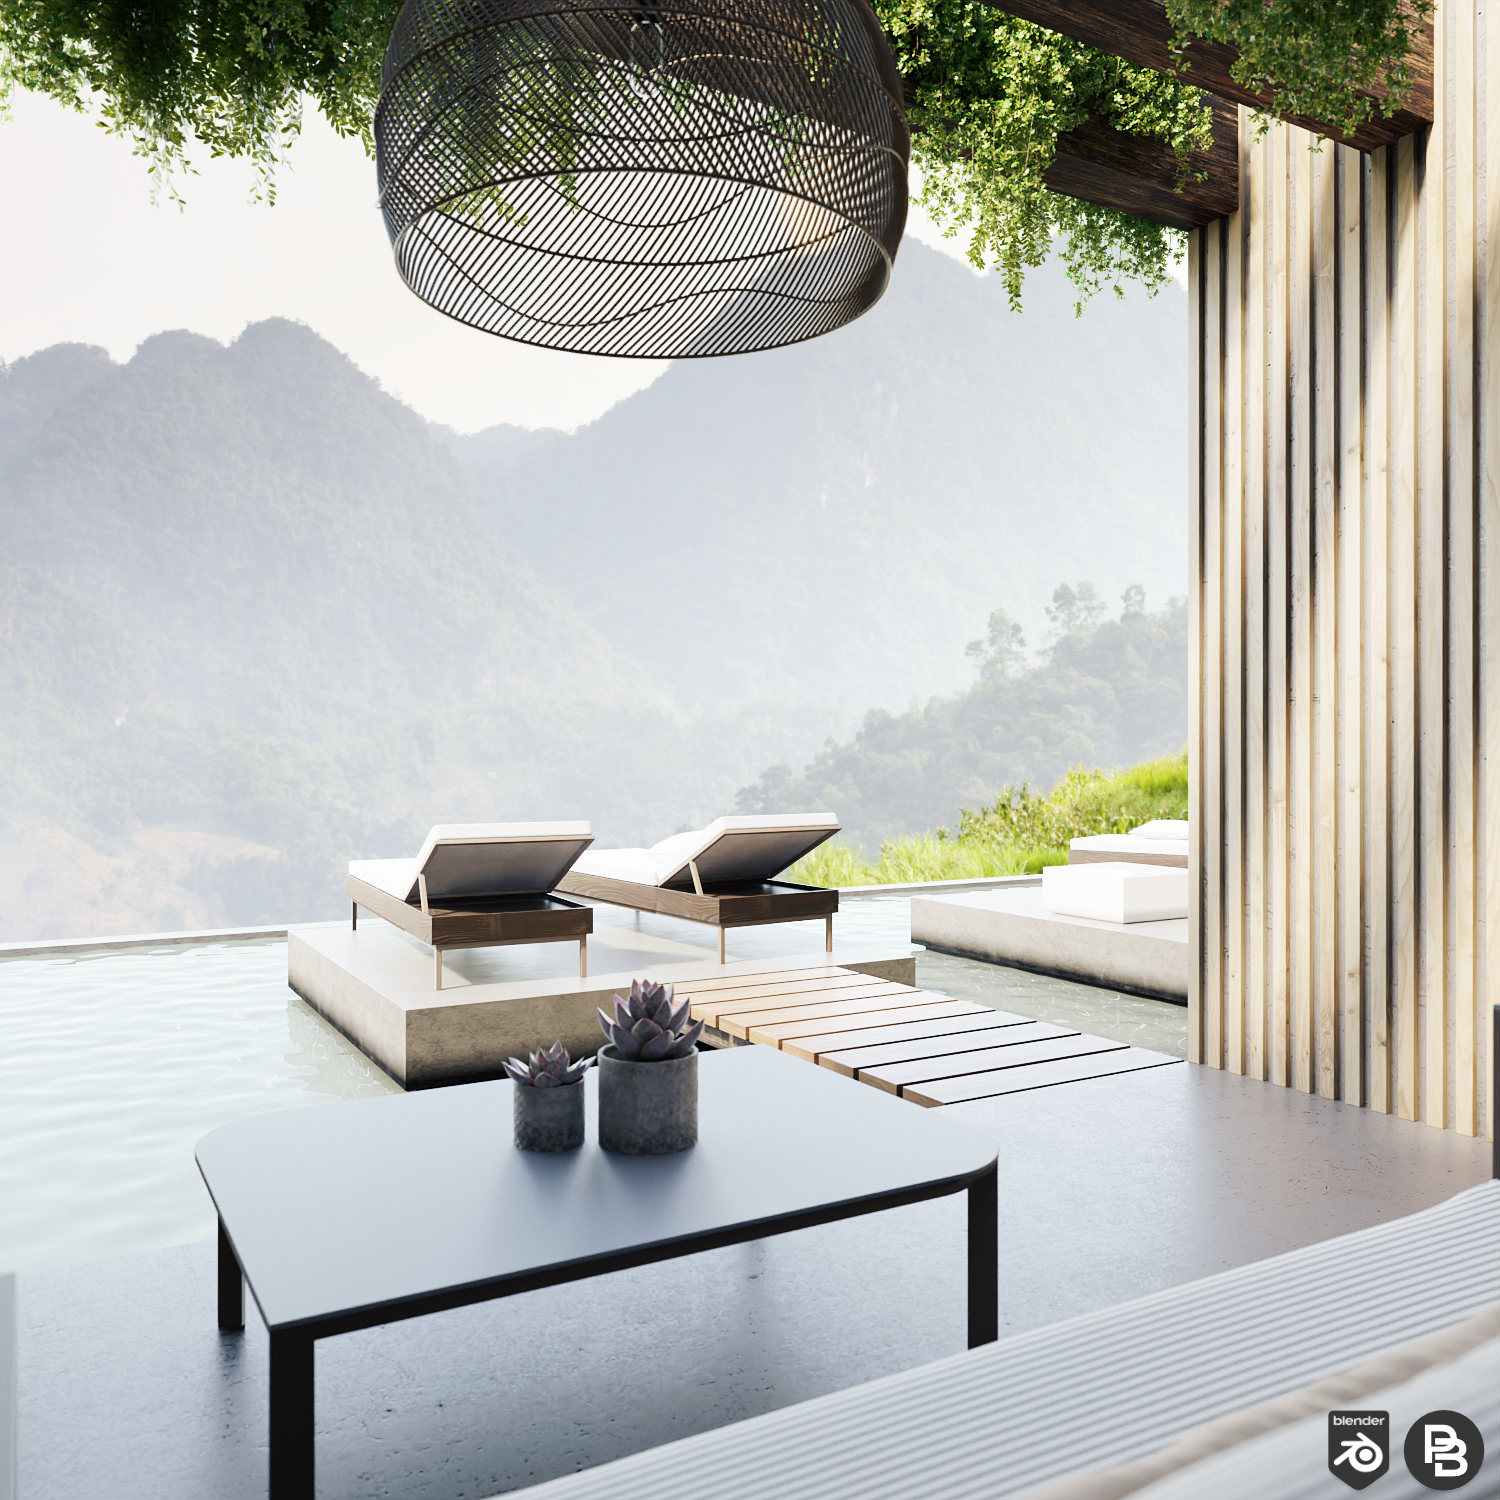
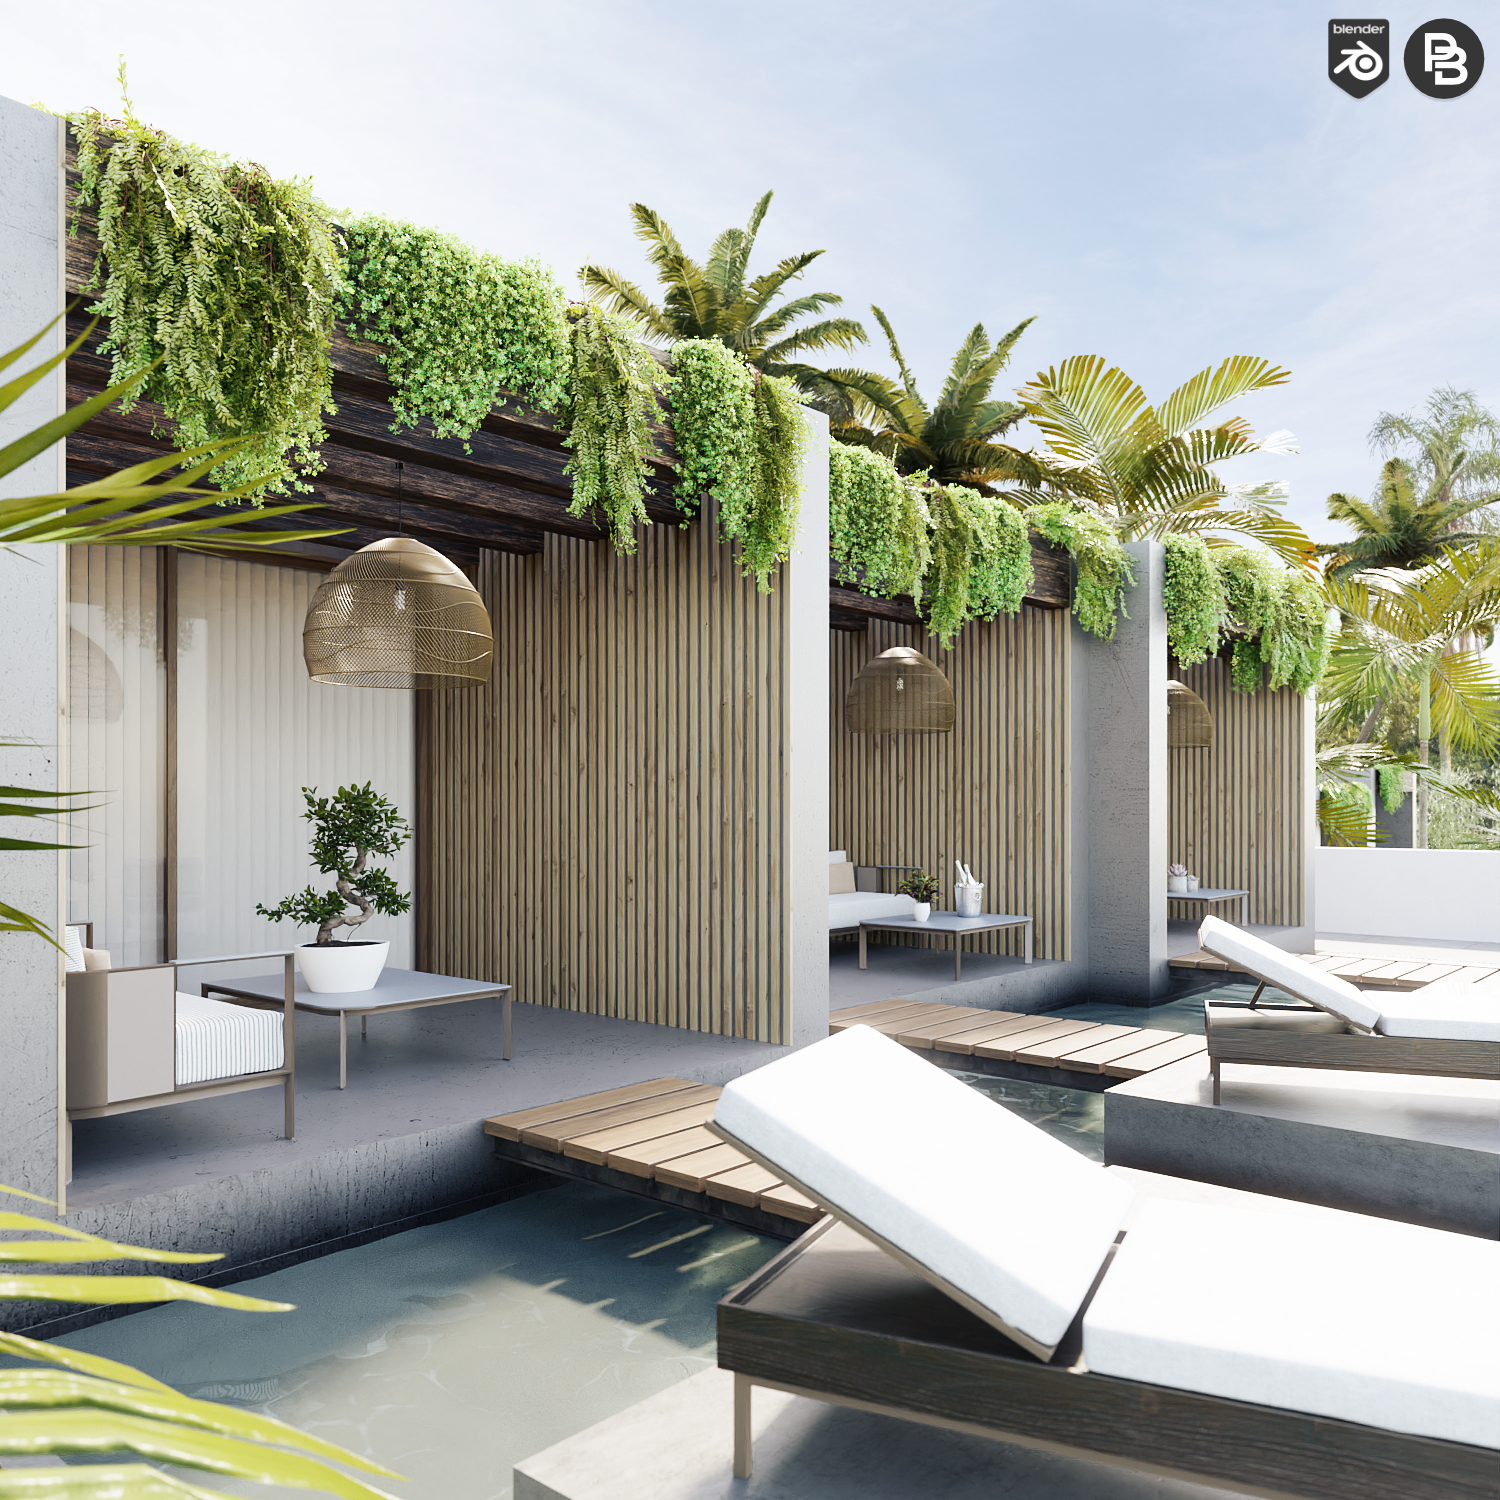
Cube Rooms
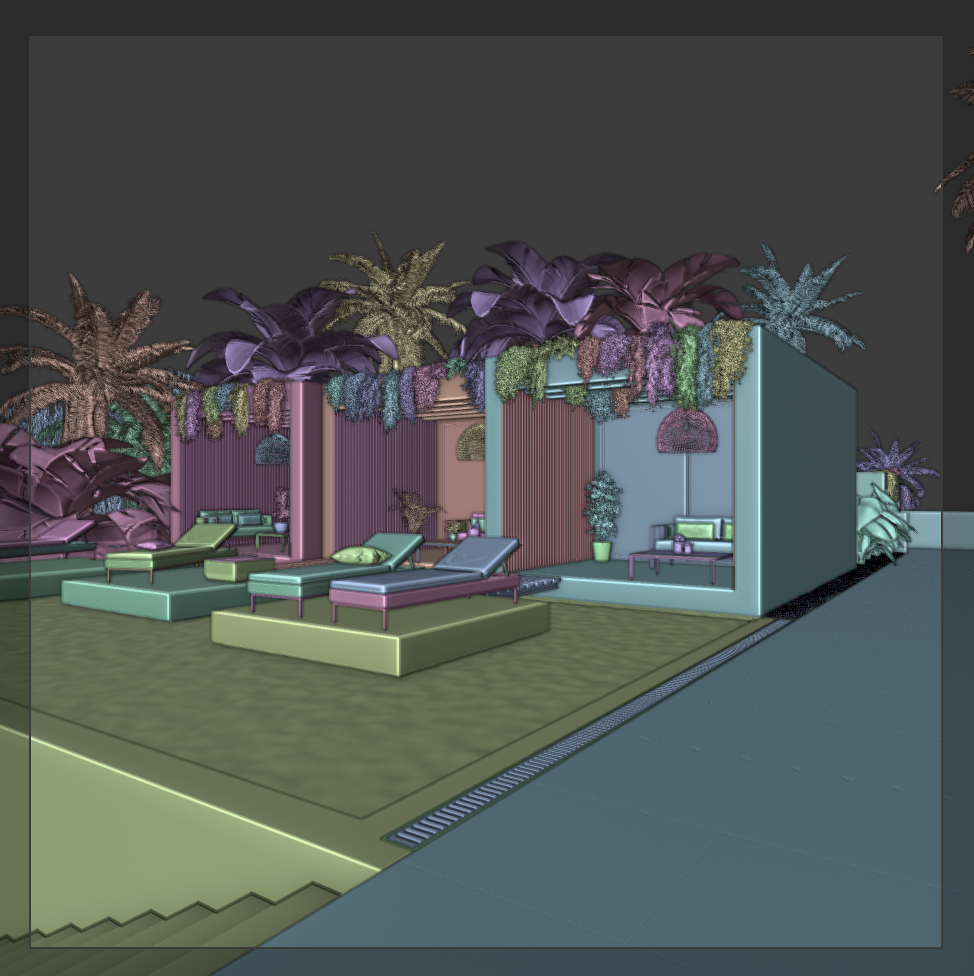
I made this particular scene because I had made another similar scene before and my followers on social media liked it a lot. It was a pool scene in a jungle environment.
I’m always inspired by real images that I’ve seen on the internet, Pinterest, Instagram, etc. I pick details of each image I like and finally I mix all ideas into one unique scene.
Process
I made the scene from my mind without references.

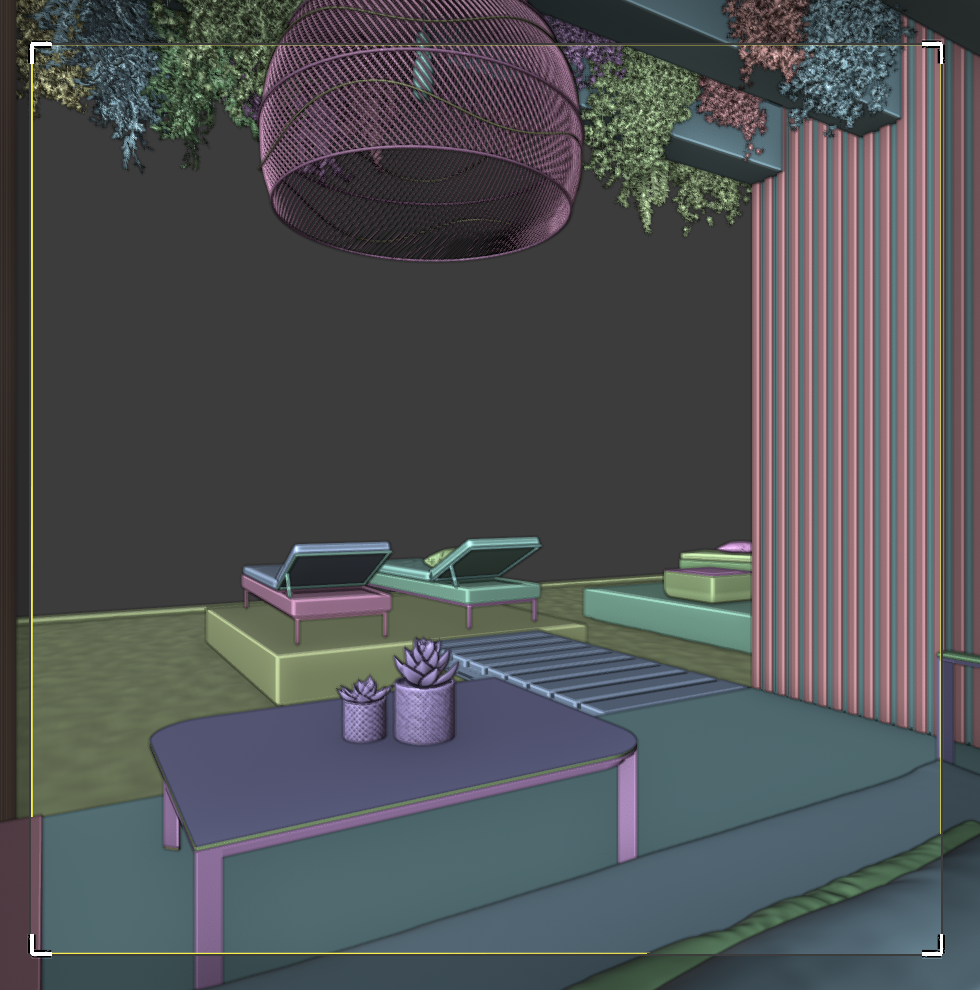
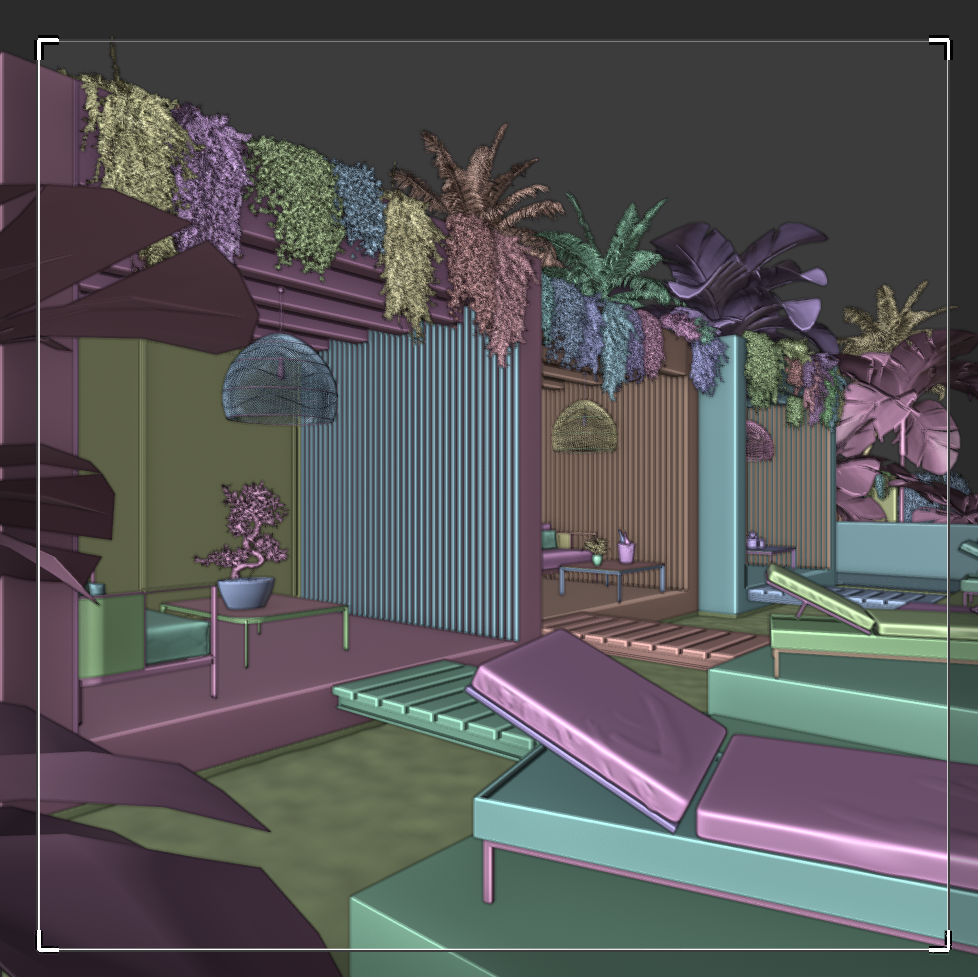
In this case, the modeling part was very easy. I used library objects for all plants and furniture, then I modeled the scene structure only. In my personal asset library, I have all types of models, either purchased or made by me. The same is the case for the materials. Whenever I make a material, I save it in my library. This way, my workflow is faster each time. Obviously, to manage all these assets and materials it is necessary to have an asset manager.
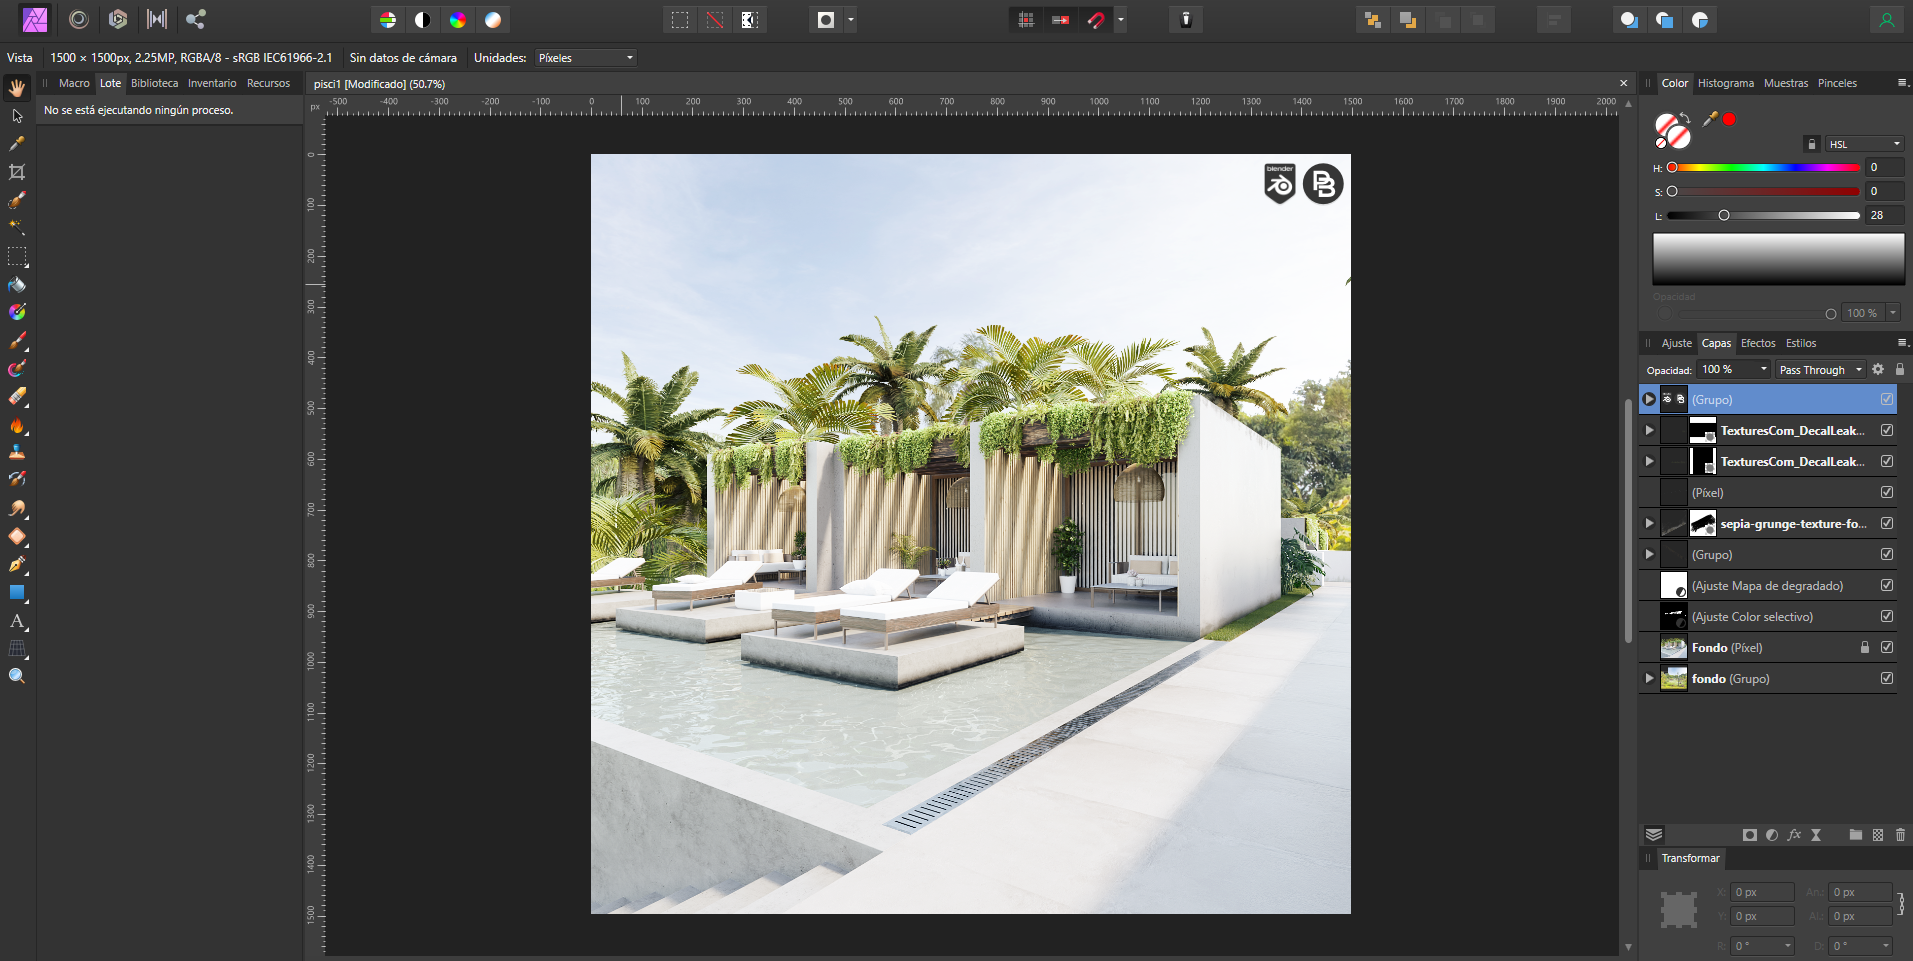
In my workflow, I use two softwares only: Blender (Cycles) and Affinity Photo. I rendered the scene without a background and I added it in post-production. I think post-production is a very important step in the workflow. You can achieve a lot of things, like smoke, light rays, dust particles, etc., very easily in post that would be very costly to achieve in 3D. Also, this last process in image production is the process that gives the image life.
That said, I have a very powerful computer with a RTX 3090 and it’s easy to work with trees and plants. When I start to add plants I do not have to think about the memory I’m using.
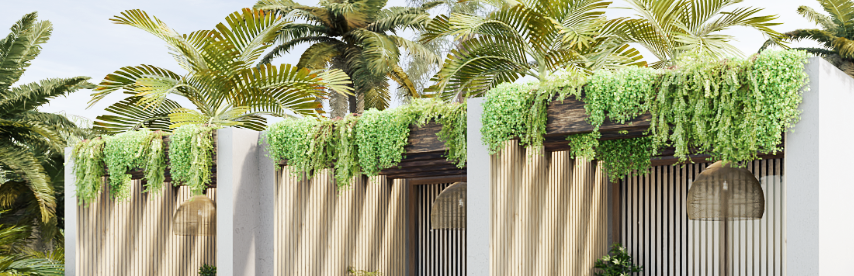
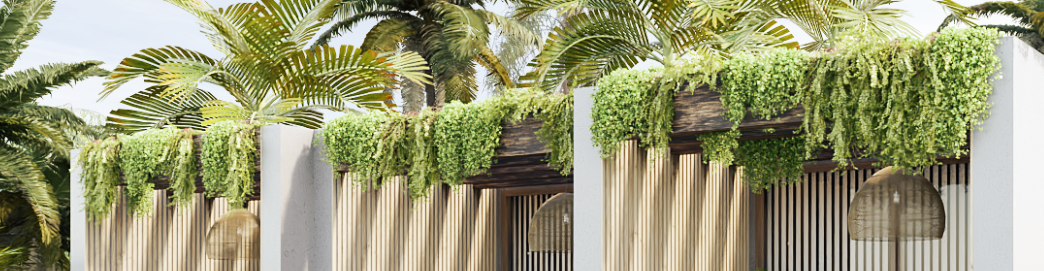
Adjusting the plants
A lot of times I make a plant mask so that I can change the color in post-processing. I make it using the Cryptomatte compositing node.
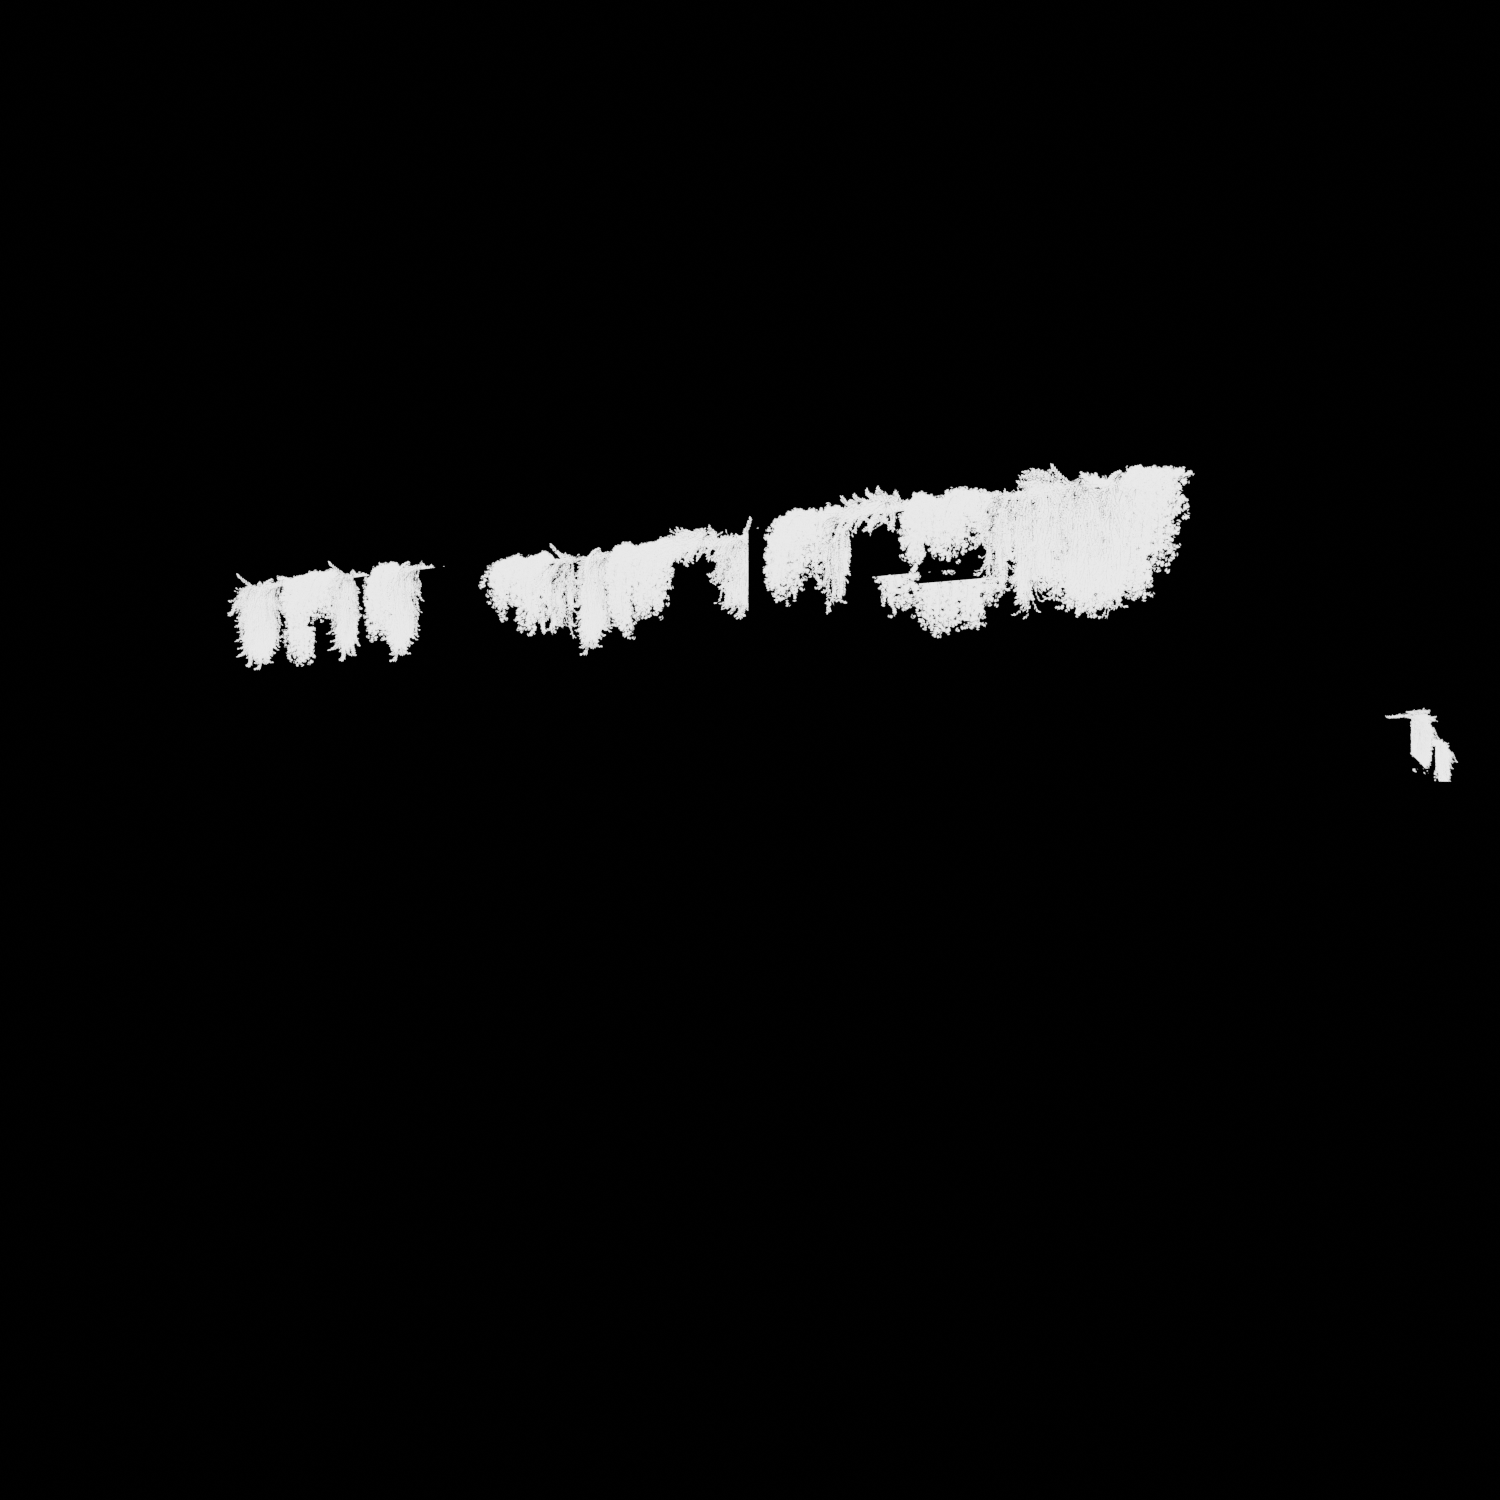
After rendering the scene, I saw that the creepers had an unrealistic green tone and I decided to change it in post. A 2-minutes process in post (including the cryptomatte settings) lets me easily change the color in the nodes and render the scene again.
Final Renders
About the Author
 Paco Barruguer, 3D Artist


