Behind the Scenes: Désir de Contemplation

Hello! My name is César Luton and I am a fourth-year animation student at MoPA, a french CG school. I stumbled upon Blender when I was fourteen, and I’ve been loving it ever since!
During the second half of my third year in school, we had to make a one-minute short film by ourselves. The goal of the exercise was to make sure that every student has a good grasp on all of the aspects of CG animation before we specialize during our fourth and fifth years. We learn 3ds Max and Maya in school, but I decided to go with Blender for this project, as it is by far my favorite of the bunch.
One of the biggest challenges of this project was to tell a compelling story in just one minute. I opted to do only the most important scenes, and leave the rest for people to figure out.
Here is the technical breakdown.
The characters

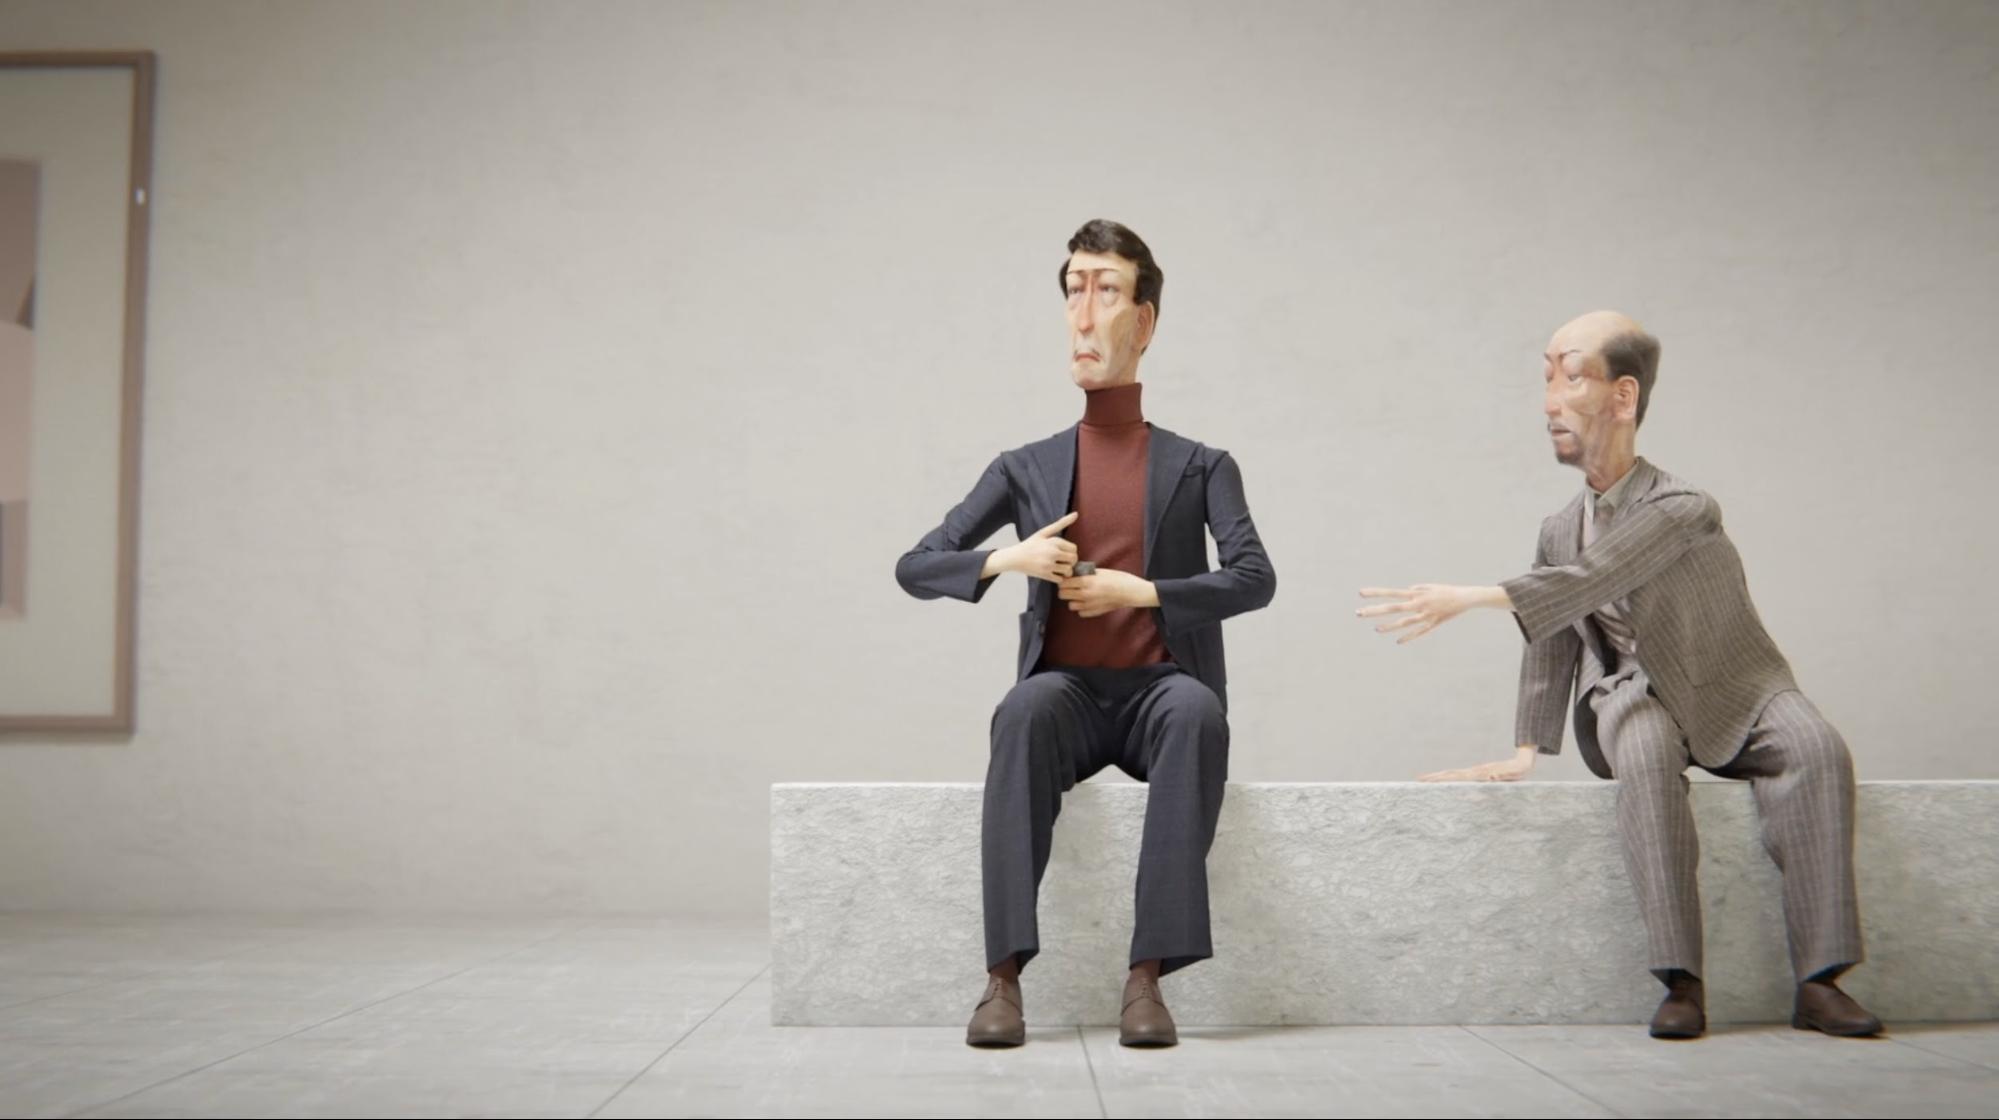
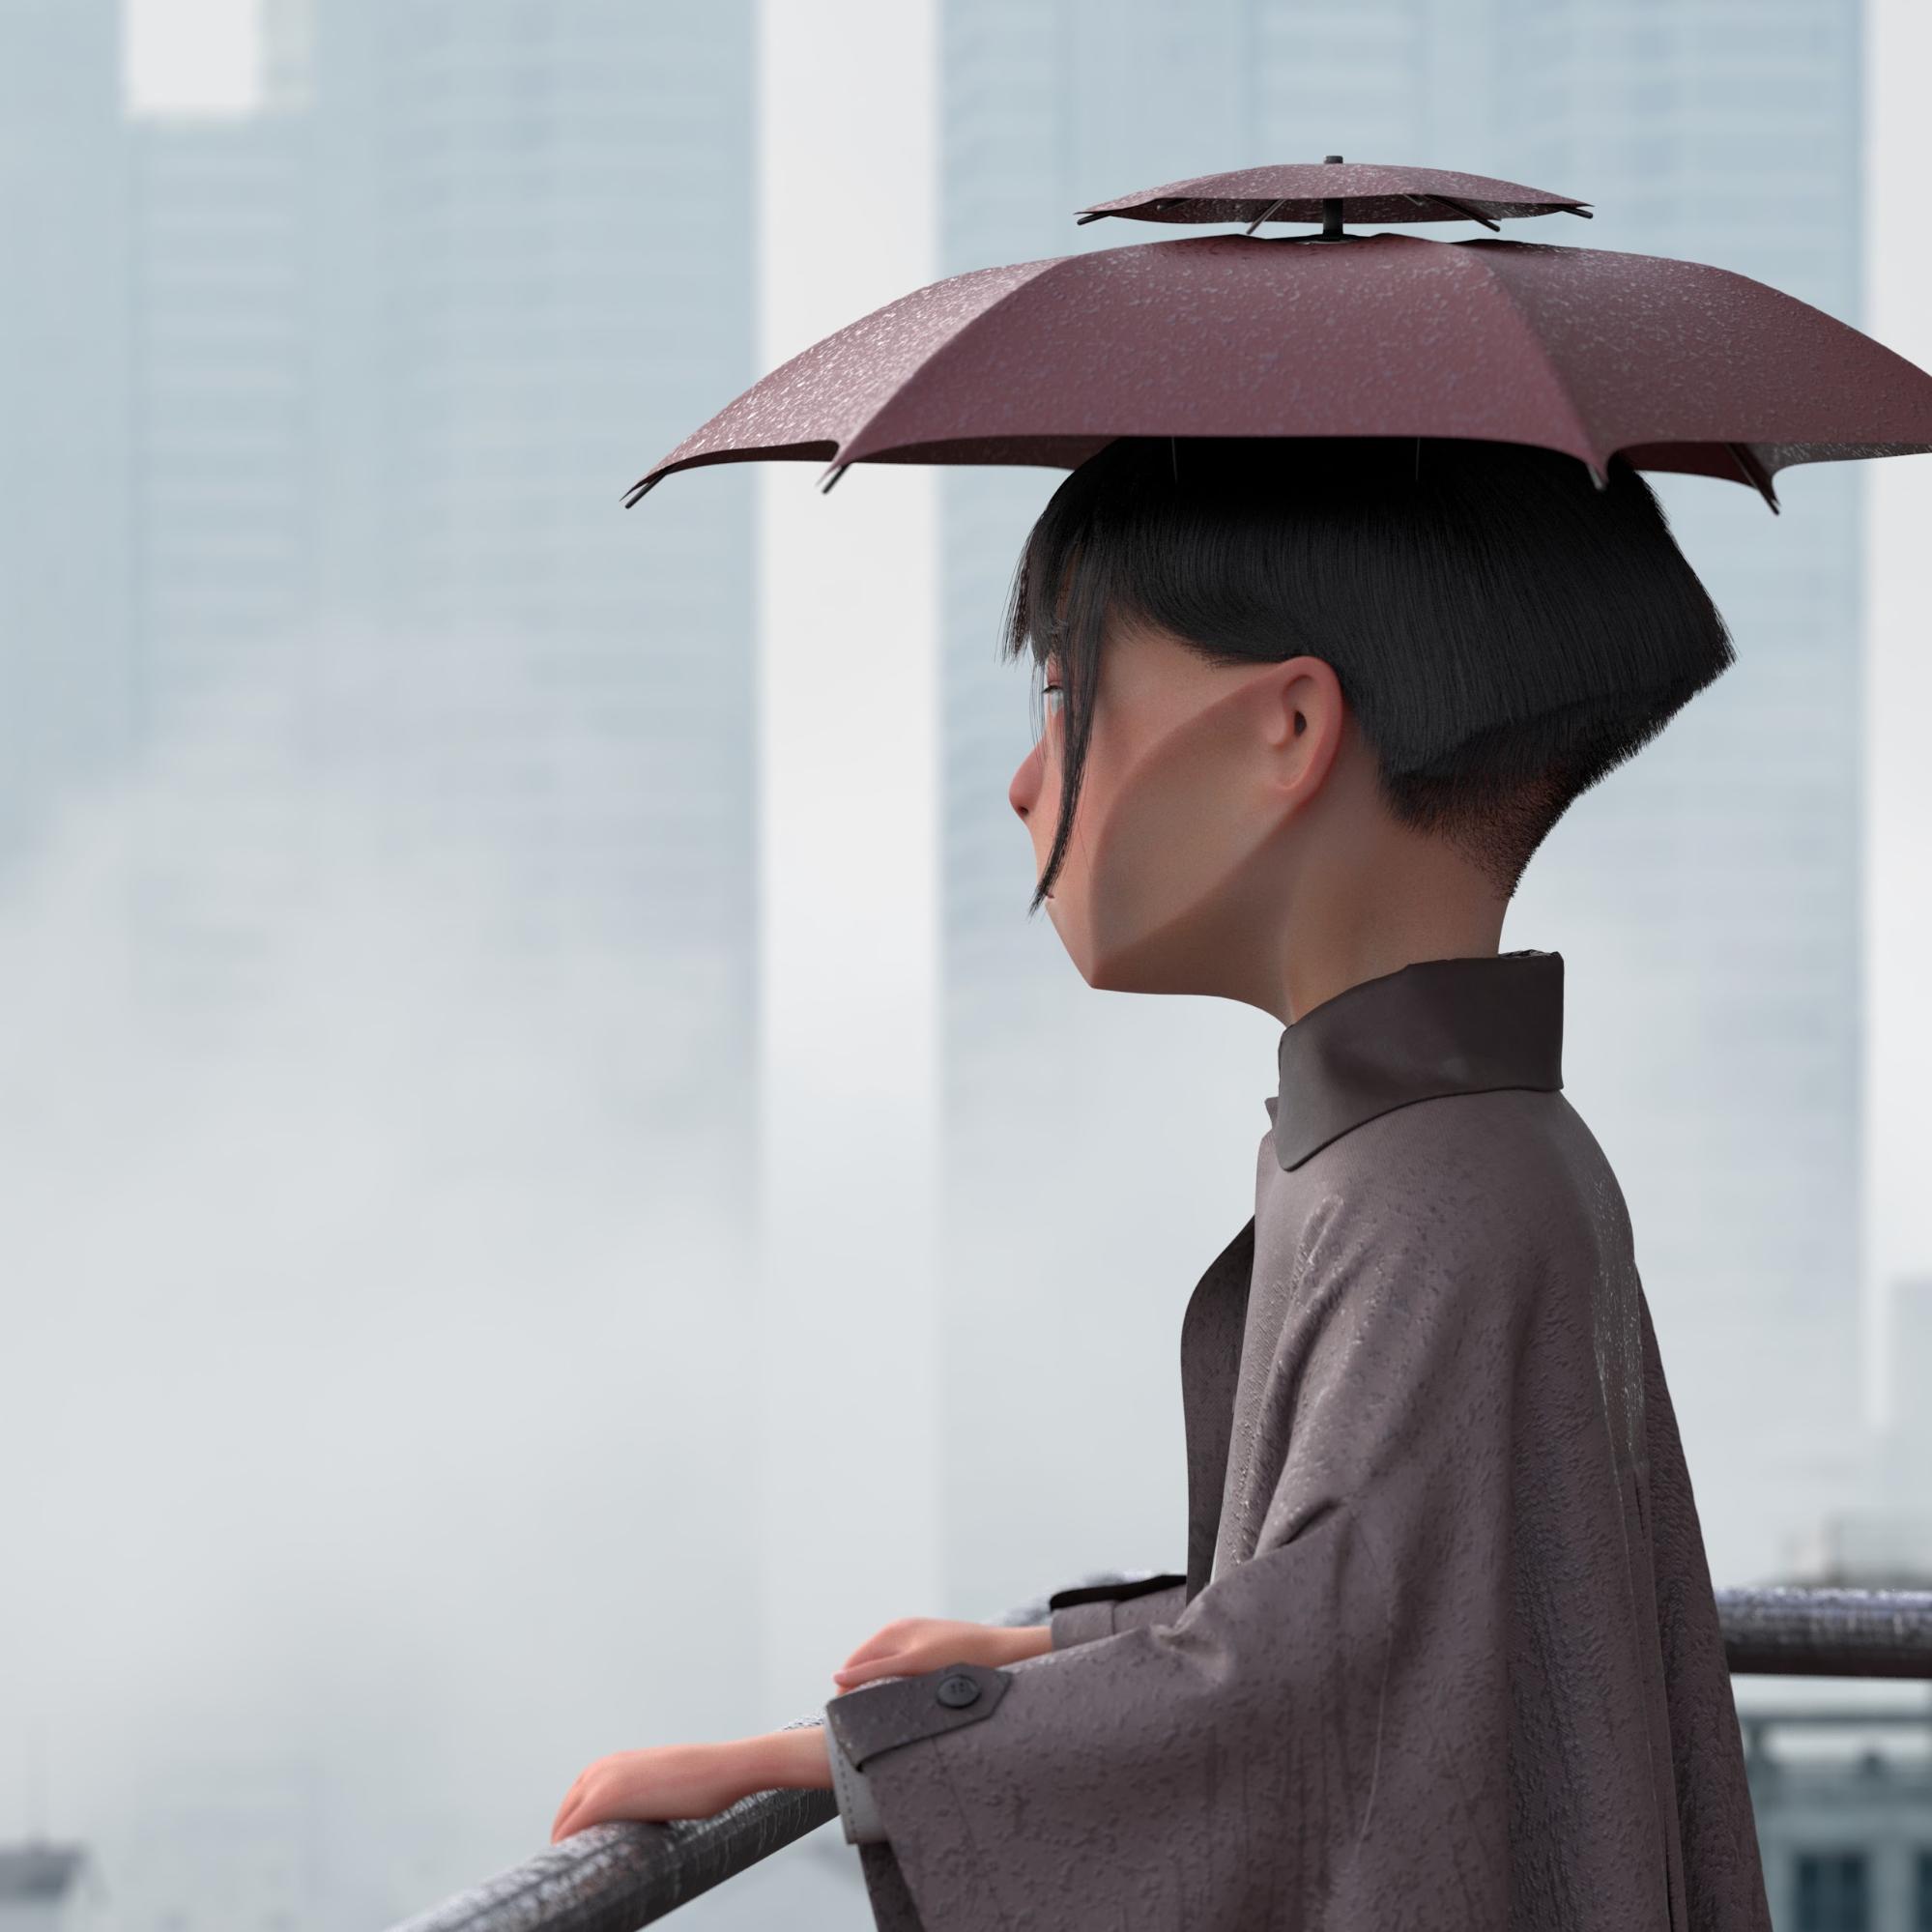
I wanted to give the characters an elegant but menacing look, hence their angular design.
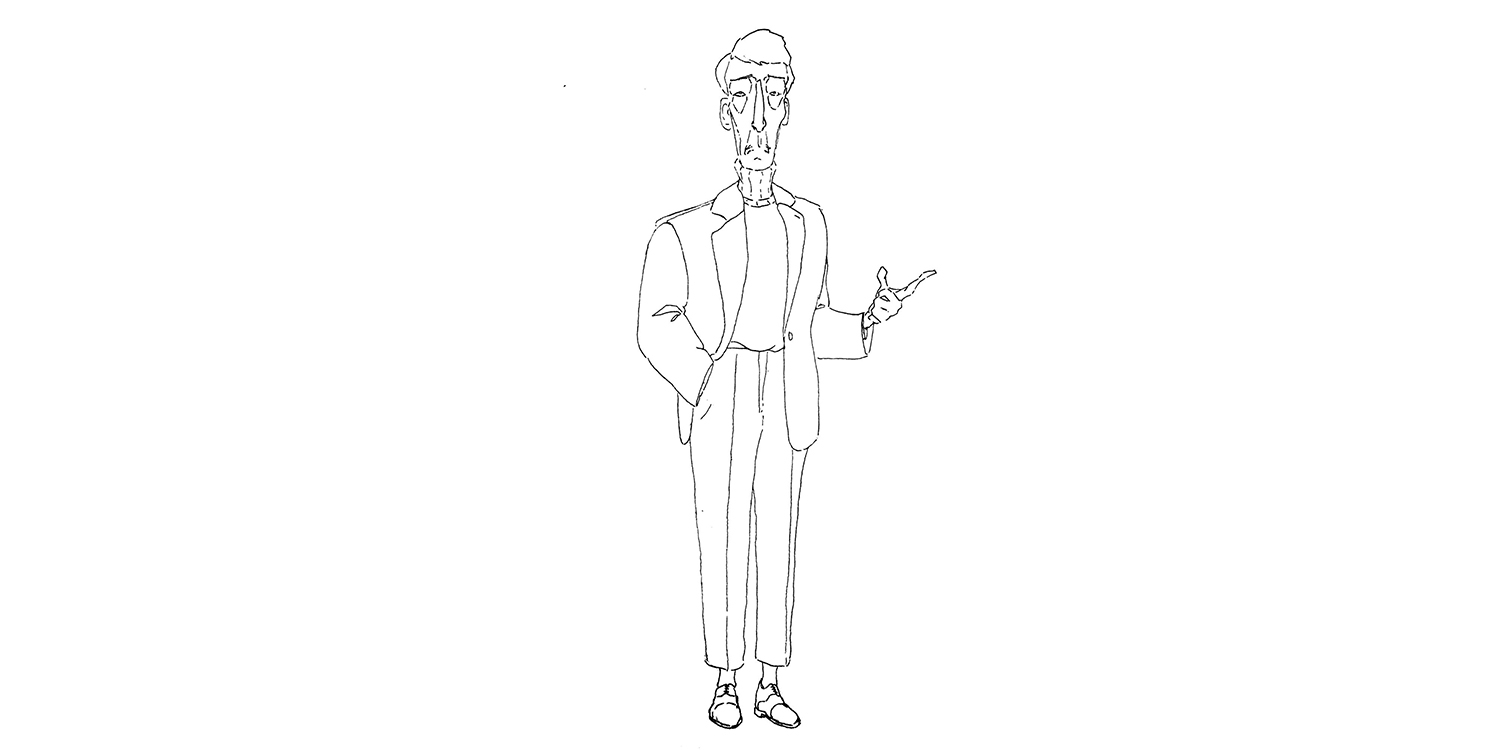
I start with ink sketches, as it is a lot faster and easier to find more unique design than while sculpting. It also helps to give a “drawn” look to them, as if you could still see where the original lines were.
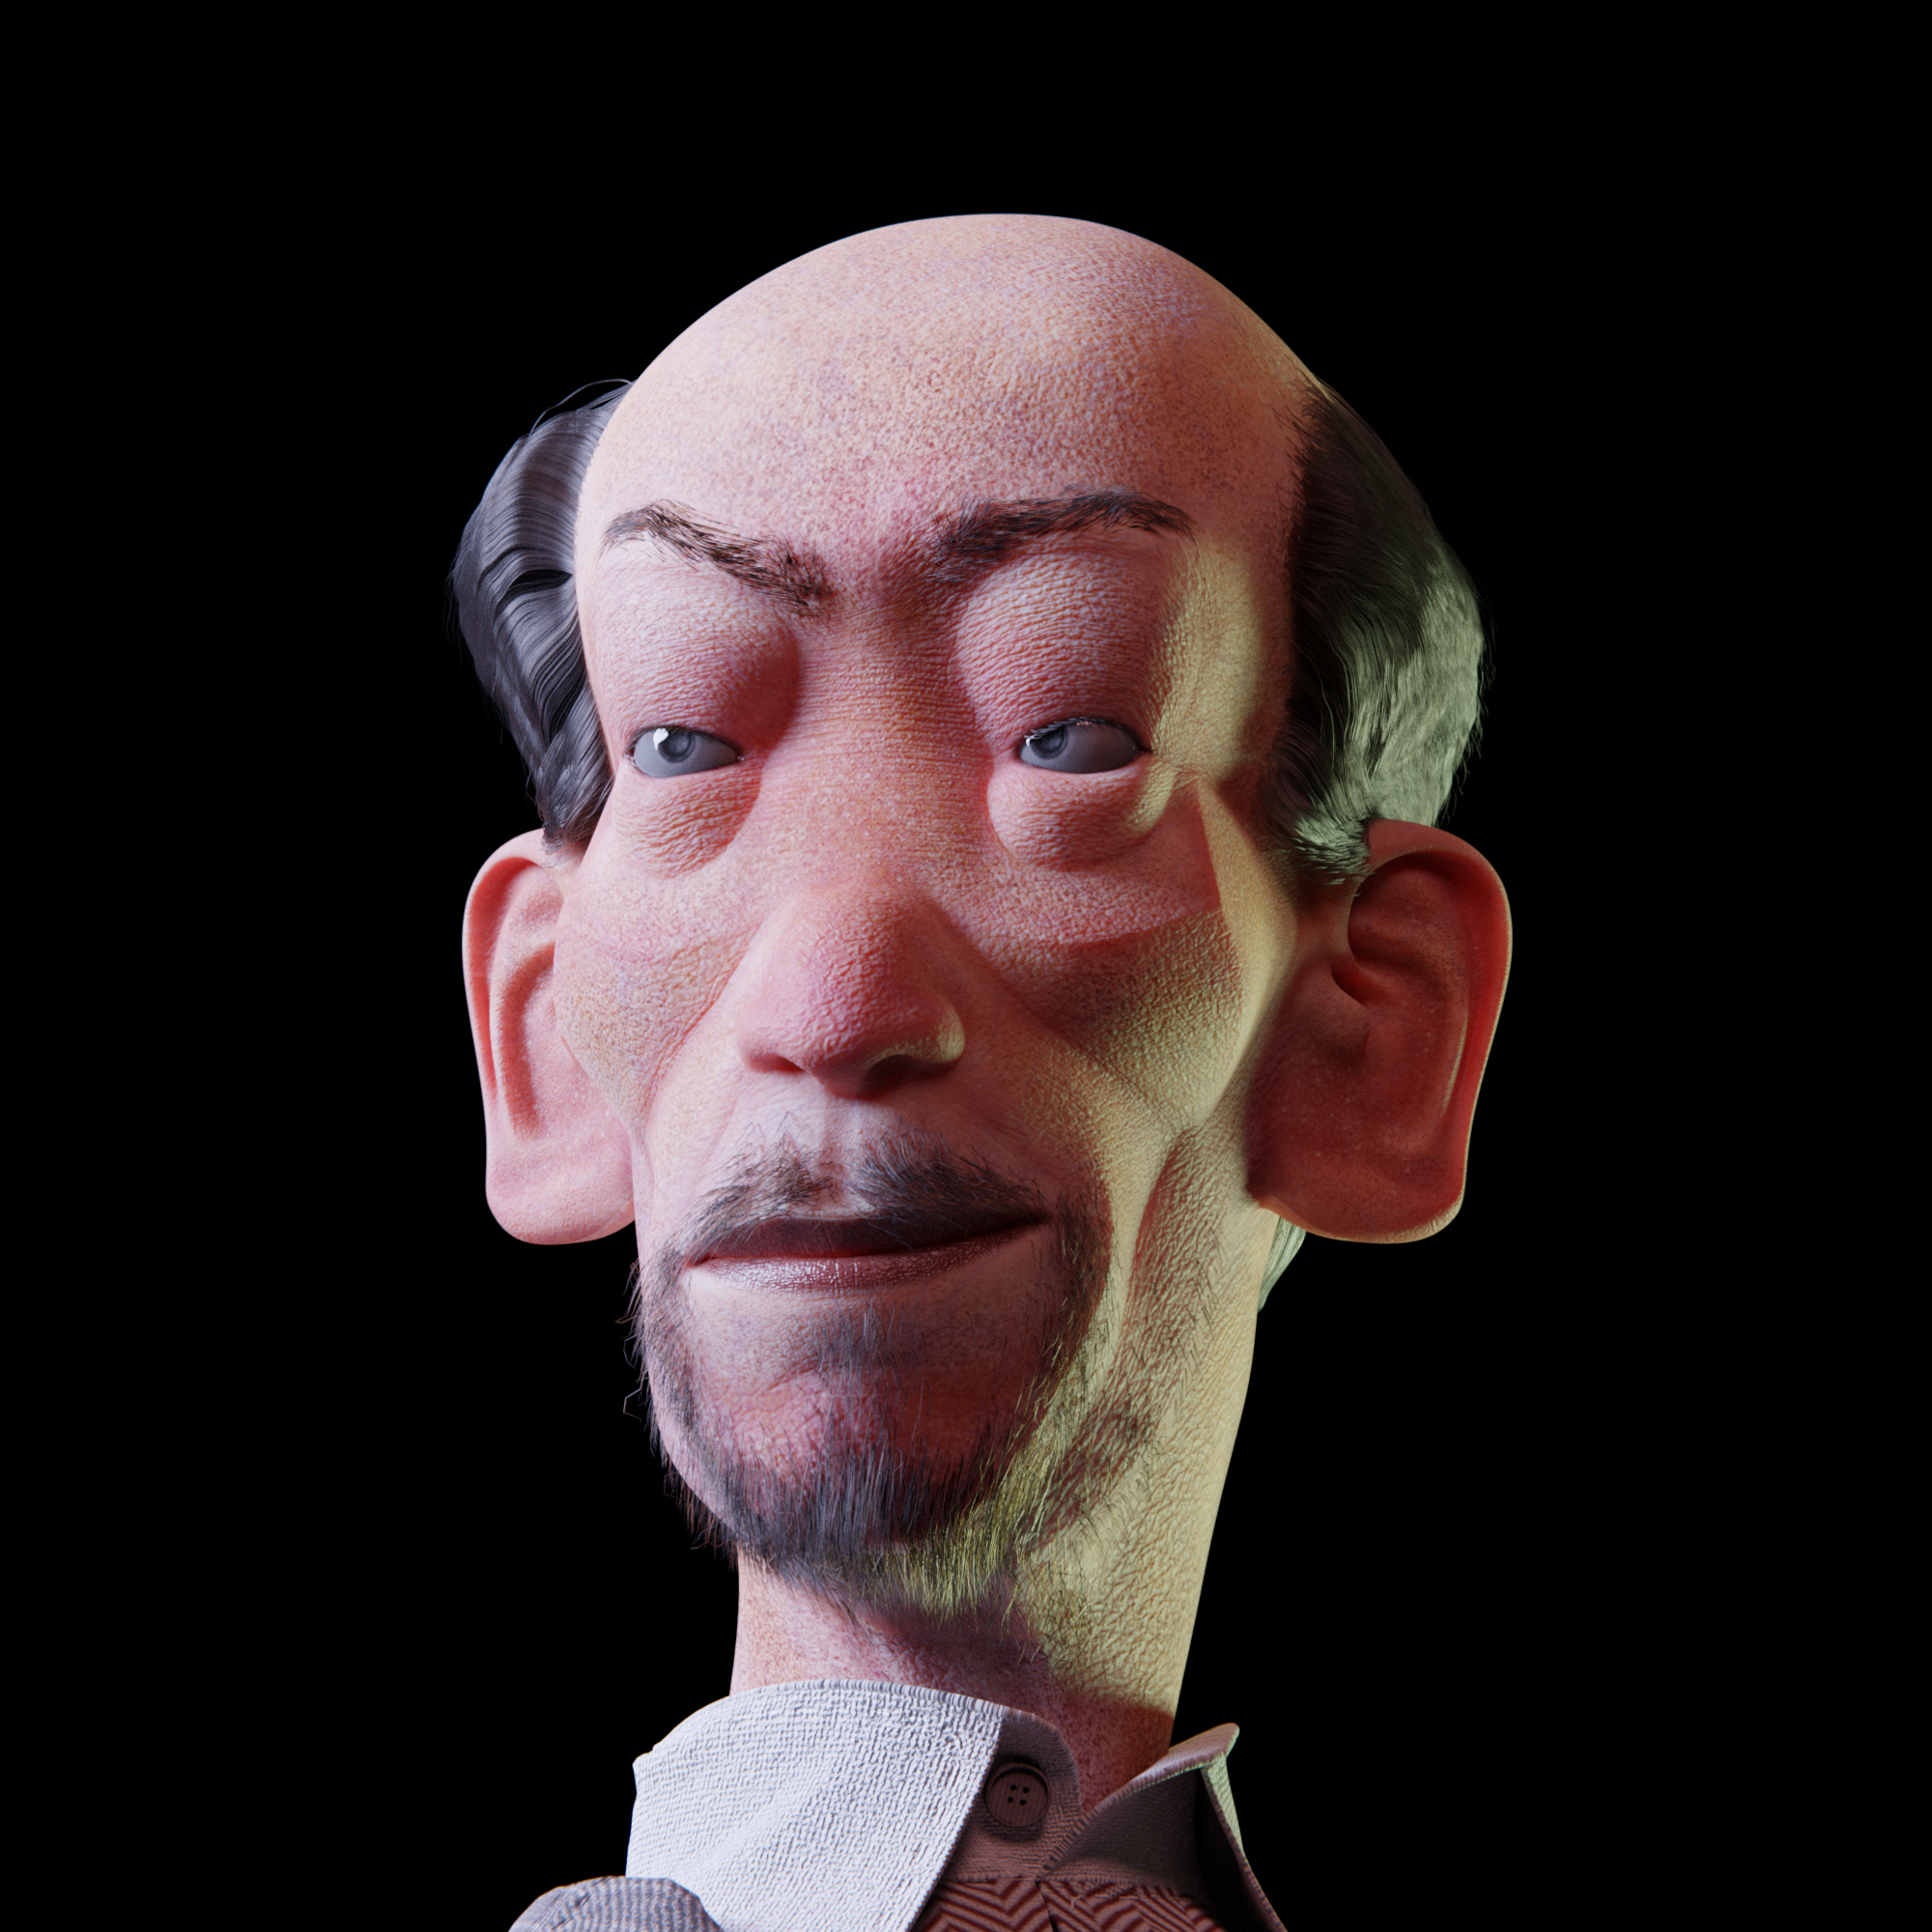
I did the texturing in Substance Painter. I like to add the skin normals while painting, instead of sculpting them and baking a displacement map. Substance has plenty of great wrinkles for all parts of the face and body. The result is not as custom this way but it only takes 30 minutes and lets you avoid 2 days of sculpting pores.
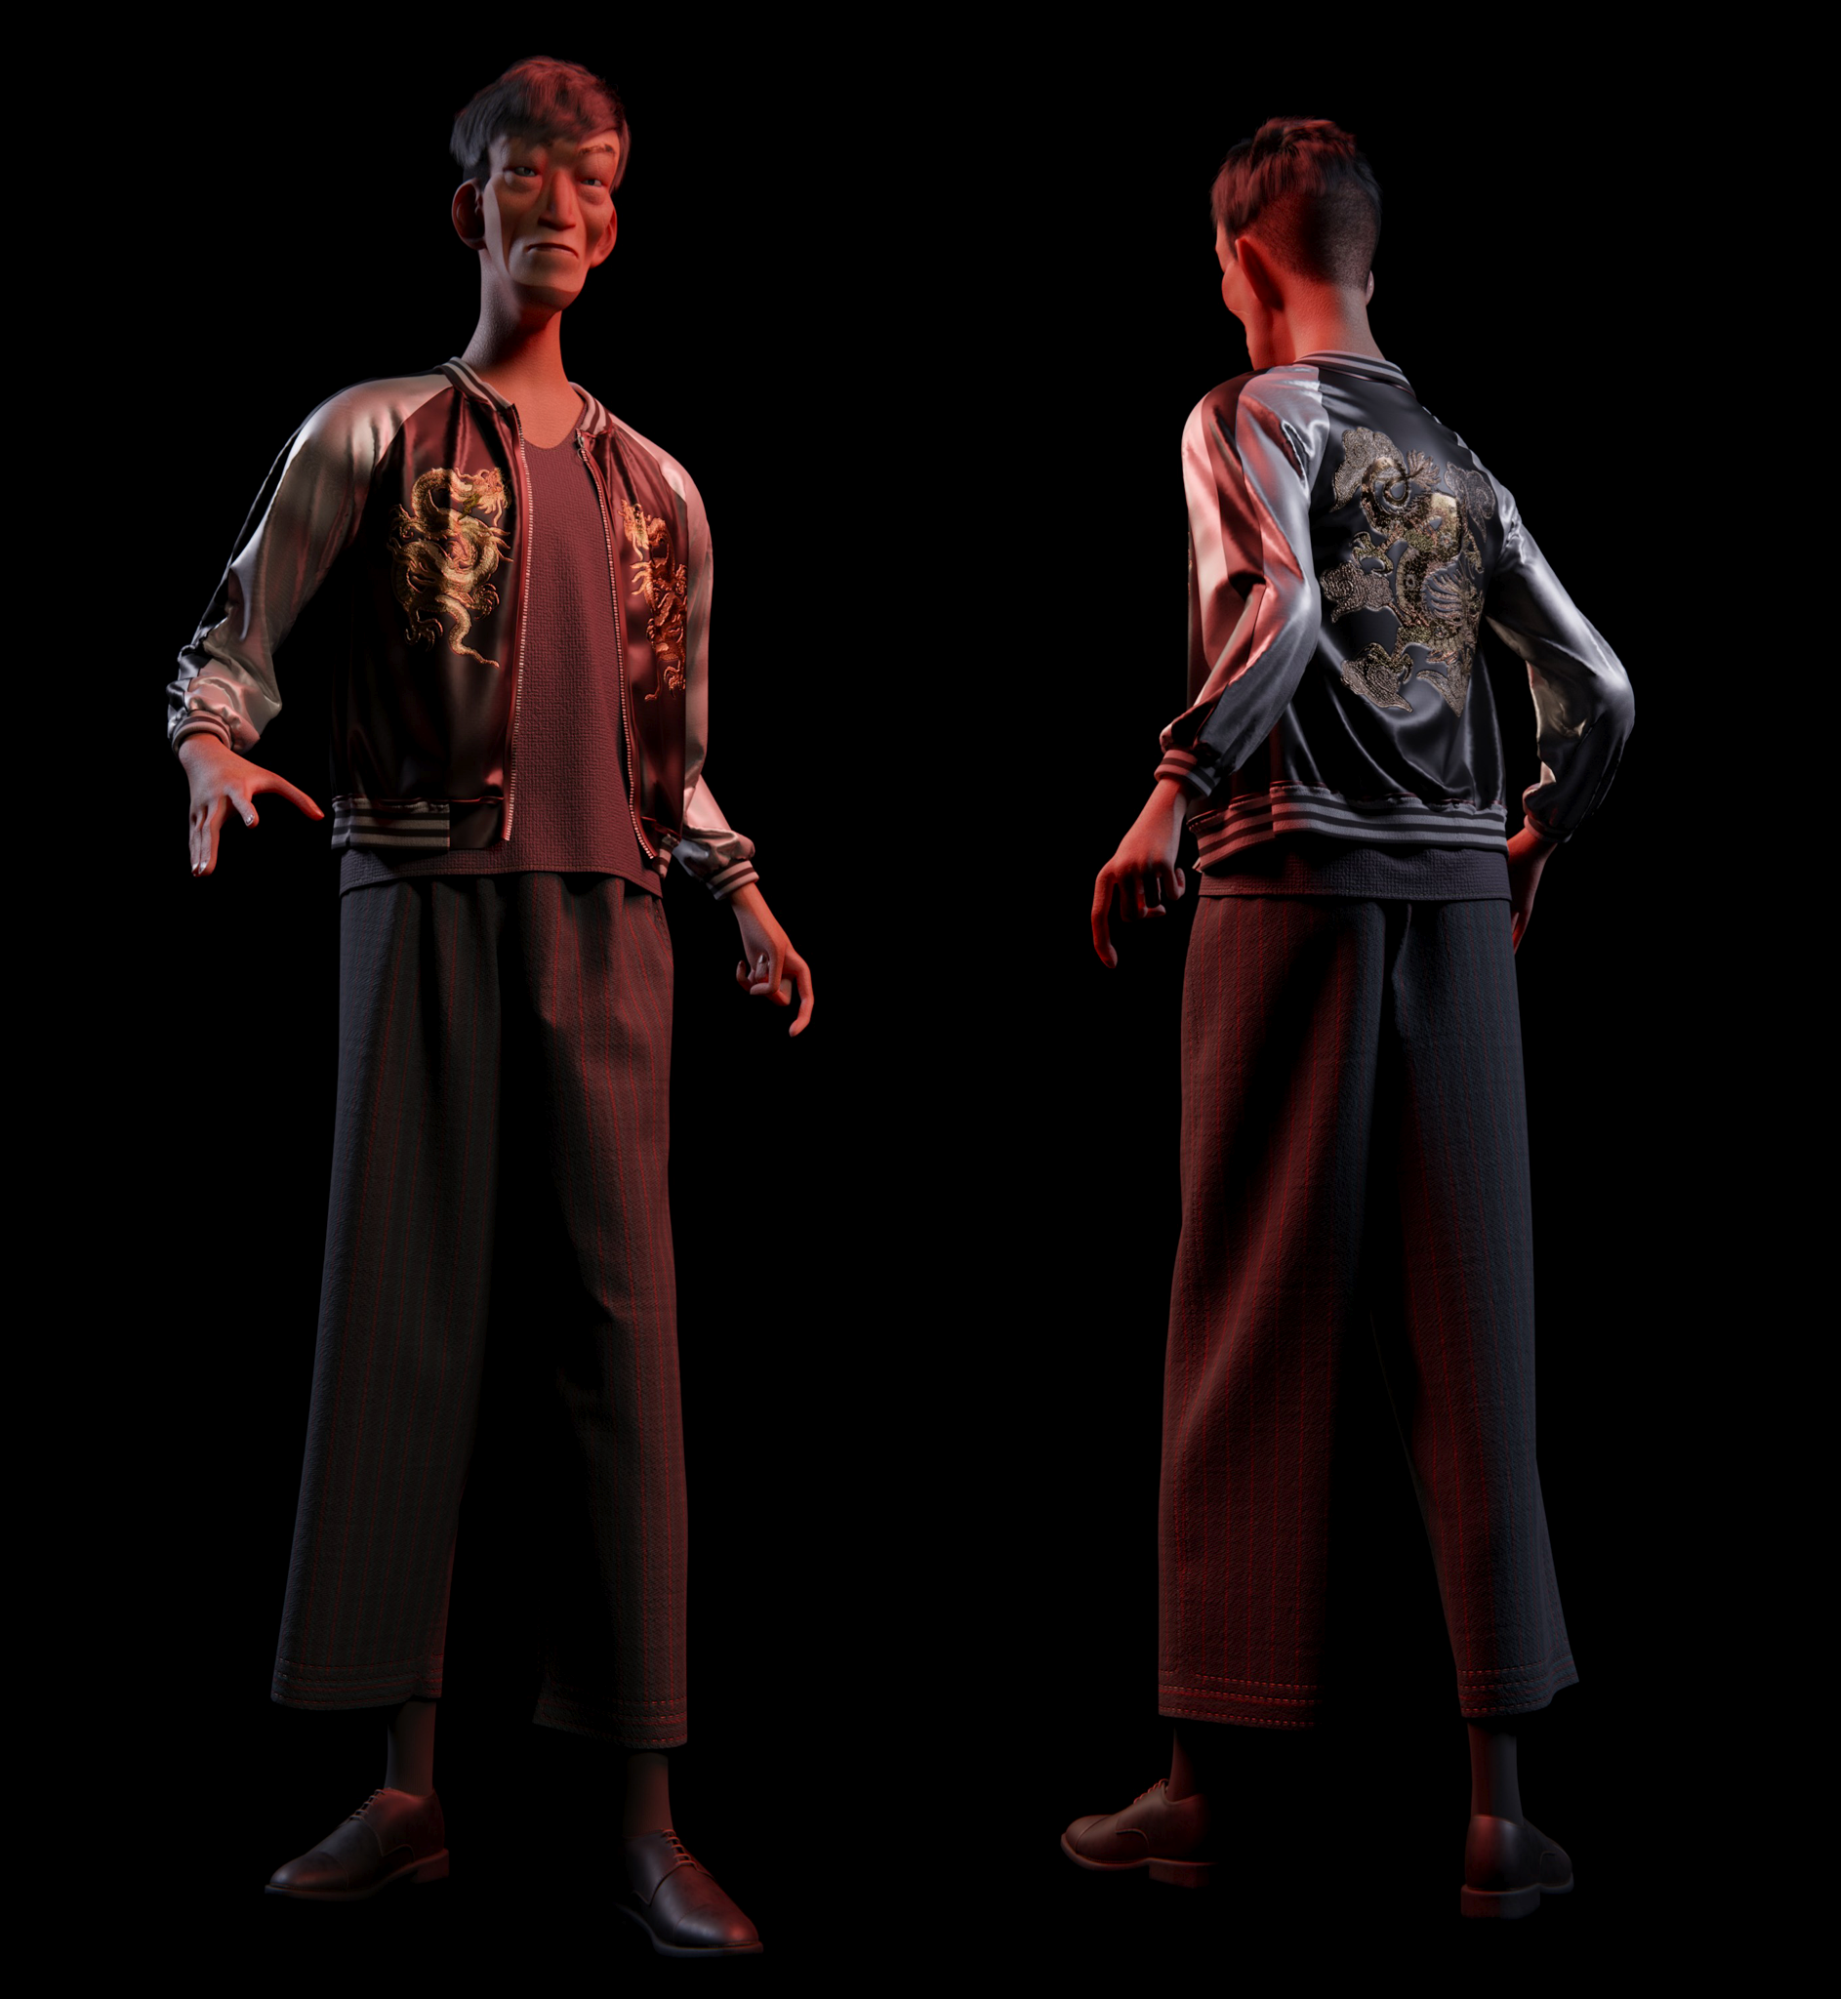
The clothing was done in Marvelous Designer. The simulation is on the realistic side, fairly limiting but straightforward. As the animation style of the film is also pretty realistic, it worked for me.
They all have the same shoes and hands. Three of them also use almost the same suit.
Because you don’t see characters talking and because their expression ranges during the film are not that great, I was fine using Rigify without any additional skinning.
I was able to make them all in just under three weeks, giving me more time for animation.
The backgrounds and lighting
Even though time was limited, render time was not, as I had access to a render farm. I was thus able to use proper CPU melting techniques like Cycles volumetrics in almost every shot.
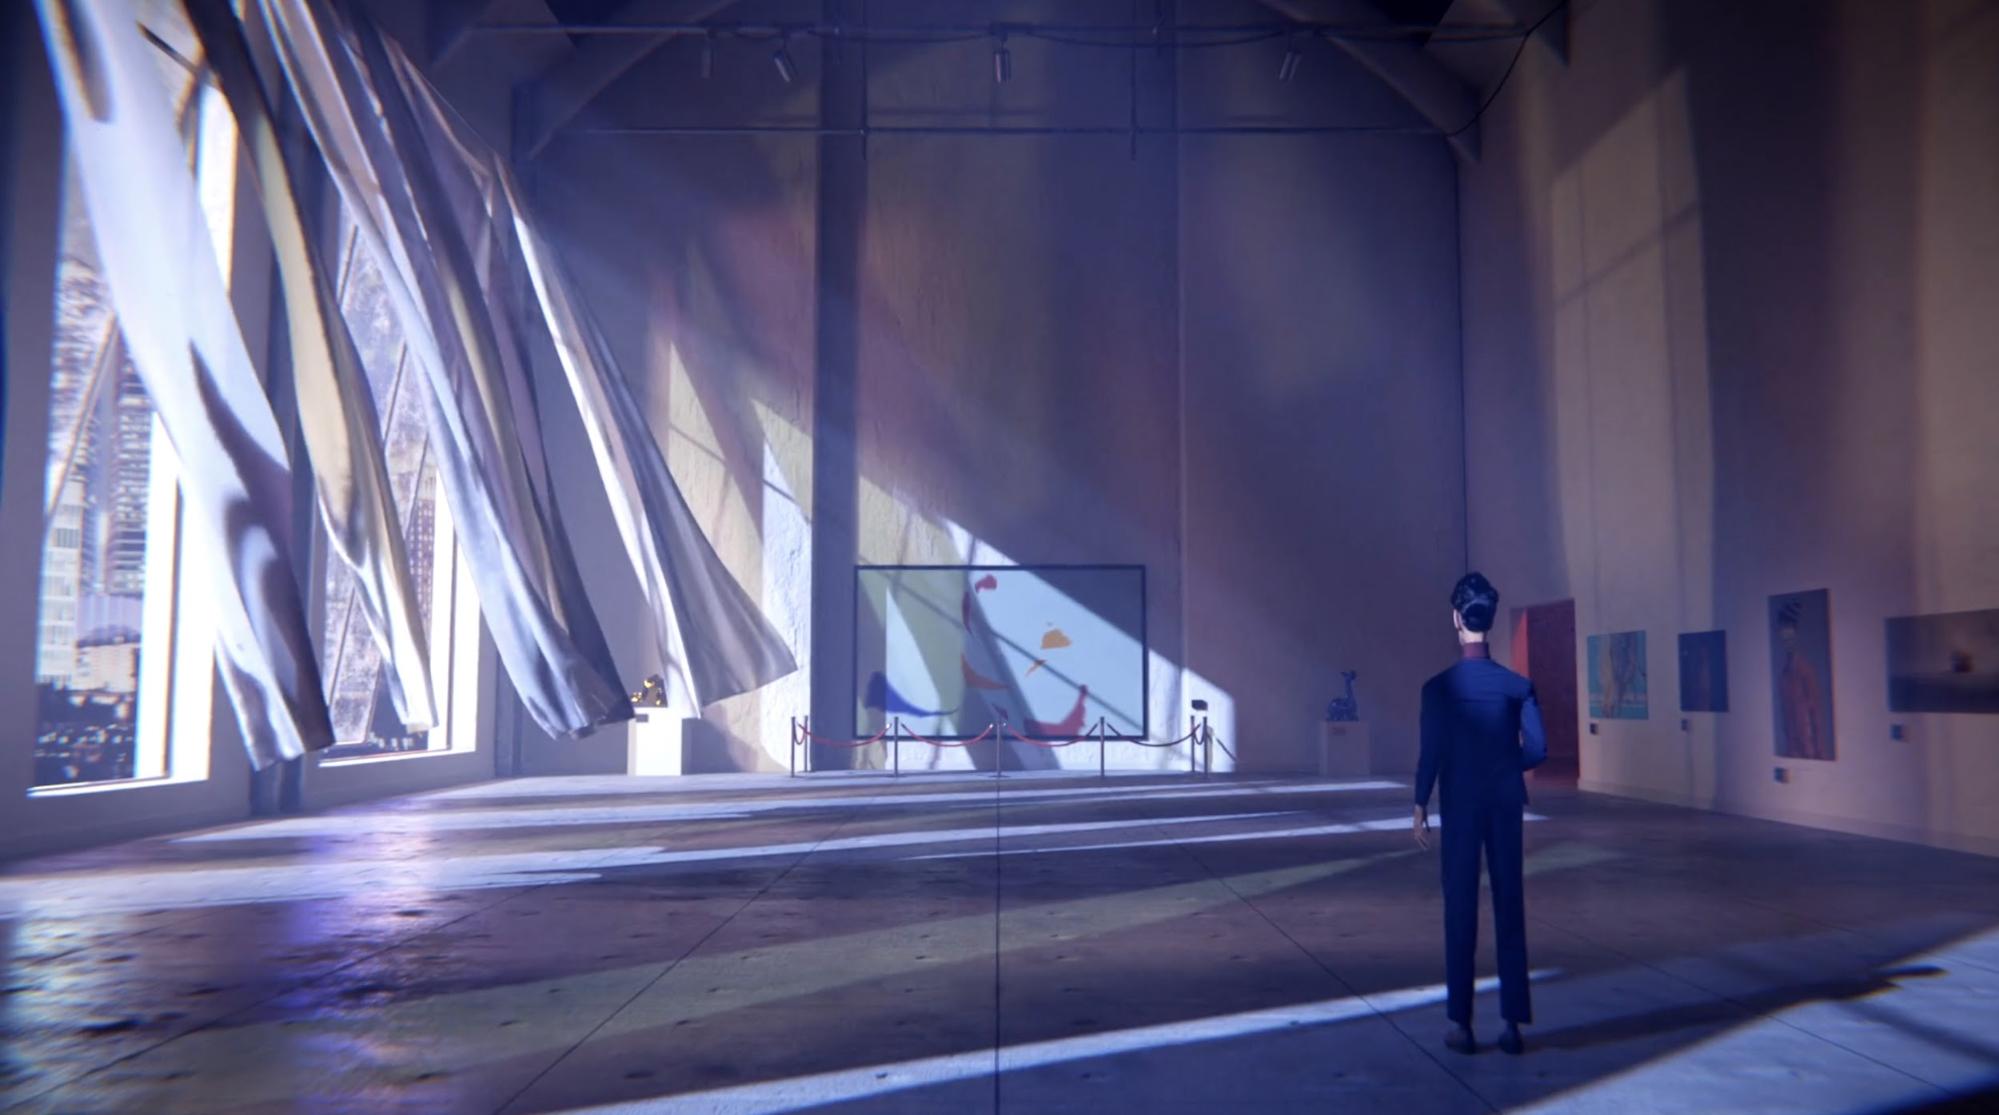
Regarding the lighting of this scene, I wanted to recreate the effect that passing cars can have on the wall and ceiling of an unlit room at night. To do so, I used around twenty spot lights that I animated randomly outside of the windows. Adjusting the size of the lights also had an effect on their sharpness.
Most shots of the film are actually pretty bare, sometimes consisting of only a few planes. This one is lit using only one light and an HDRI.
Scenes like this are very quick to make and can tell the same story as a more technically complex shot.

Lots of furniture and plants were taken from Blend Swap. Once the basic layout of a scene is done, I always start with the lighting. Only then will I add texture and props. As lighting has such a huge influence on textures, I feel it is usually best to do them later. It also helps to only focus on where the eye is looking.
Fun fact: The hardest part of this scene was actually the phone cord simulation.

This scene took the longest to make. The facade of the buildings was generated procedurally using particles. I couldn’t manage to make volumetrics look good in this one, so the light rays are just semi-transparent emission planes with a cloud texture.
I find that light triangles can often be of great help in directing the attention to the important part of the image, like to the character in a large city shot, or to the most desired painting in a museum.
The simulation and animation
Except for the cloth, every simulation was done using Blender’s internal tools.
The animation process was the most time-consuming part of the film, at more than half of the production time. It was all animated by hand, using keyposes, breakdowns, and intervals before spinning.
Cycles motion blur, although slow, is a great way to make any animation more fluid. It looks better than vector blur, but it has a tendency to make the skin pop out of the clothing during very fast movement. To avoid the issue I added a transparent shader on the hidden part of the body. At the time of making, it also didn’t work with water simulation, so I had to switch to vector before the splash.
Conclusion
Very little compositing was done to the images, I simply added lens distortion and a vignette. I made the music using GarageBand during the weekends, and adjusted colors in Final Cut Pro.
The school deadline was tight, and I ended up a bit late. I am still happy about how the film came out. :)
This exercise was extremely instructive and made me realize how much I still have to learn.
I hope this article has been insightful to you, as many others have been to me!
About the Author
 César Luton, Animation student


Really beautiful and interesting subject. Love the styling of the characters!
Very interesting style and the trailer is very sharp and intriguing
Incredible work César, you are an inspiration!
Very nice. Music & narration is top quality. Keep up.
Amazing visuals and wonderful original story!
Really nice animation, I was pleasantly surprised. I’d suggest adding a better thumbnail though, were I not specifically looking vat this page I would had likely scrolled past it.
Nice story, and I’d like to say that’s excellent detail at the end, the implication is quite deep. Great work.