Behind the Scenes: Alien World Reveal
About
This is the Behind the Scenes for the teaser of this animation short:
Hello, my name is Vasilii and I’m an indie 3D Blender generalist from Russia. Today I will tell you about developing a teaser for an animation short that I’m working on.
Generally, I’m a software developer, but I started to be interested in art a couple years ago. If you are a technical person then 3D art is a good alternative to traditional art because it has a good balance between creative freedom and mathematical accuracy. So, I decided to try Blender in 2019 after watching some YouTube tutorials. All my experience is based on YouTube and Blender Cloud tutorials and some practice.
All the parts of this project were done in Blender including modeling, texturing, animation, and compositing.
Inspiration and idea
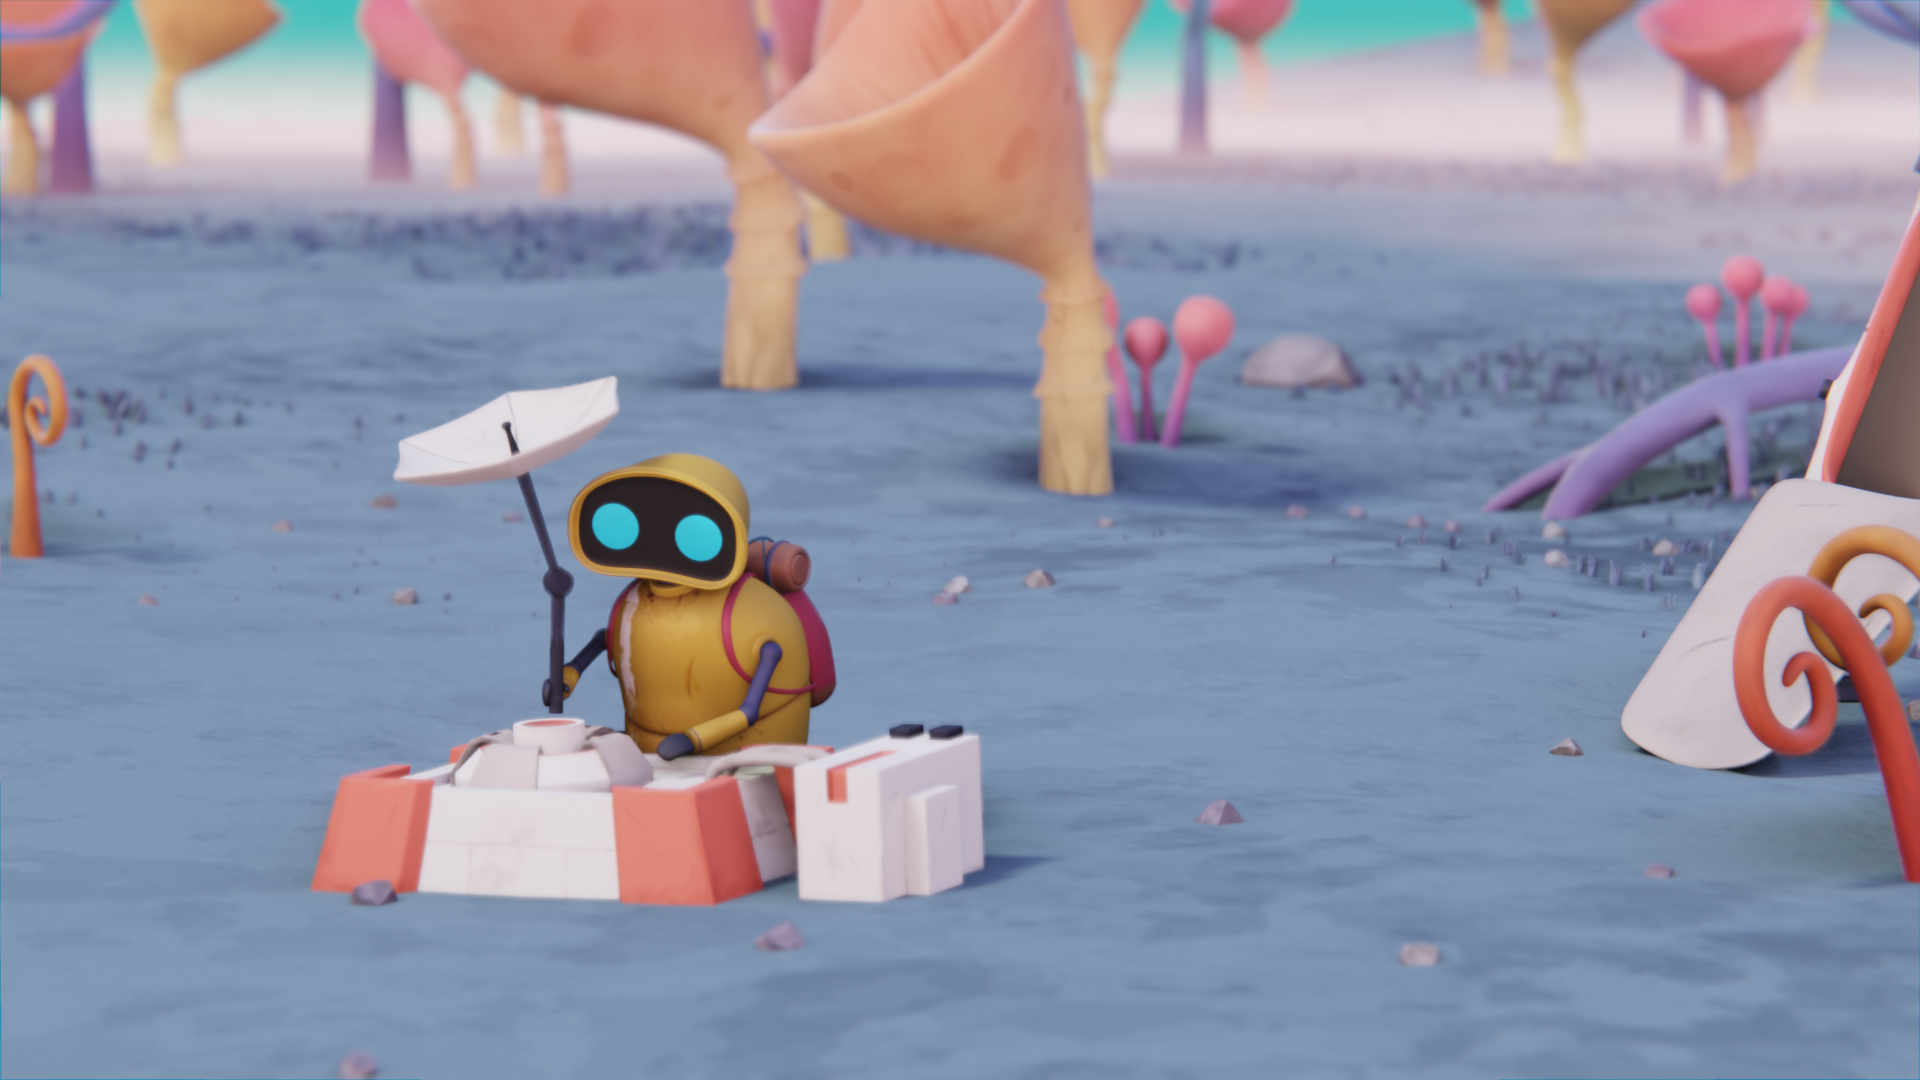
The most exciting part of art, for me, is the ability to create your own worlds and plots. For this project, I decided to create an alien world and show the adventures that would occur during the exploration of this world.
To make the new world unusual, I decided to use some mushroom-based shapes as a base for the trees and other plants. And to make the exploration experience original, I used a robot character.
Environment
The landscape for the project looks like this:
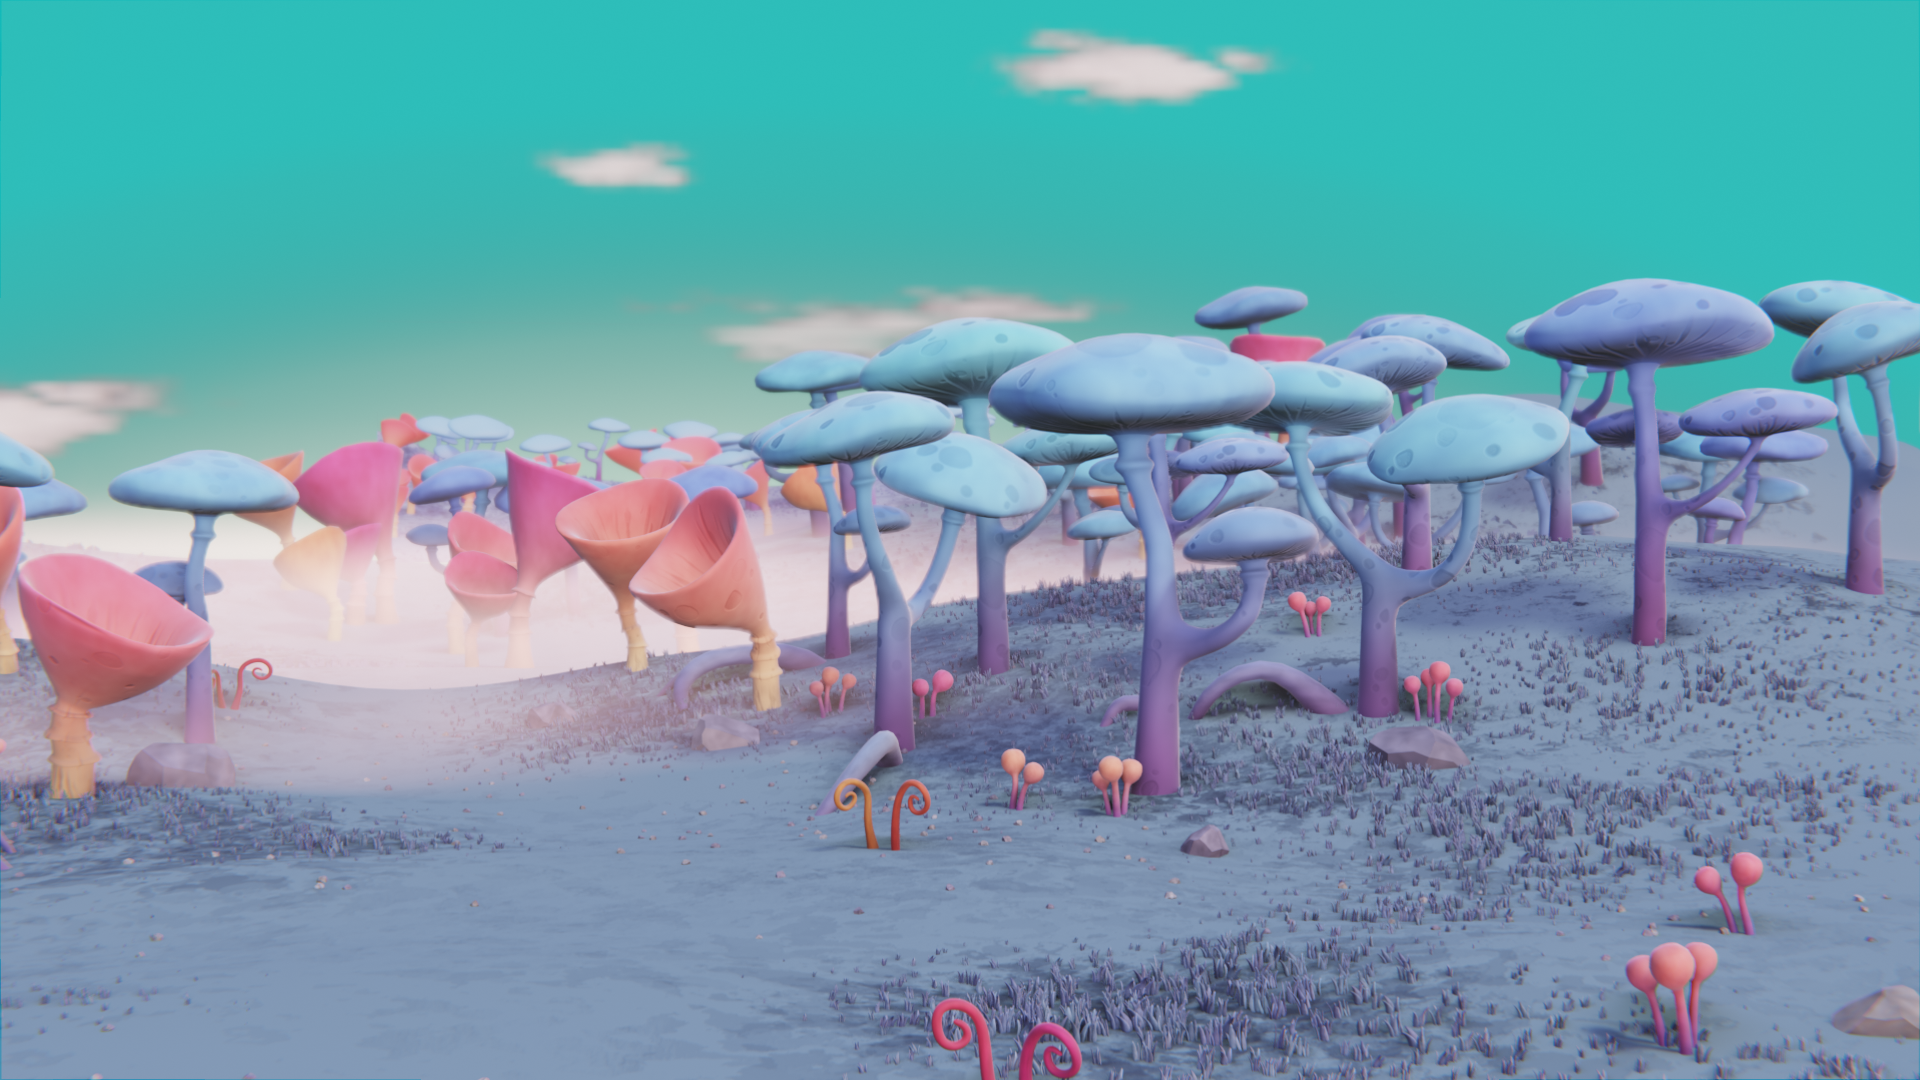
Basically, it is filled by the giant and medium-sized trees and bushes which are modeled from pretty simple and organic shapes:
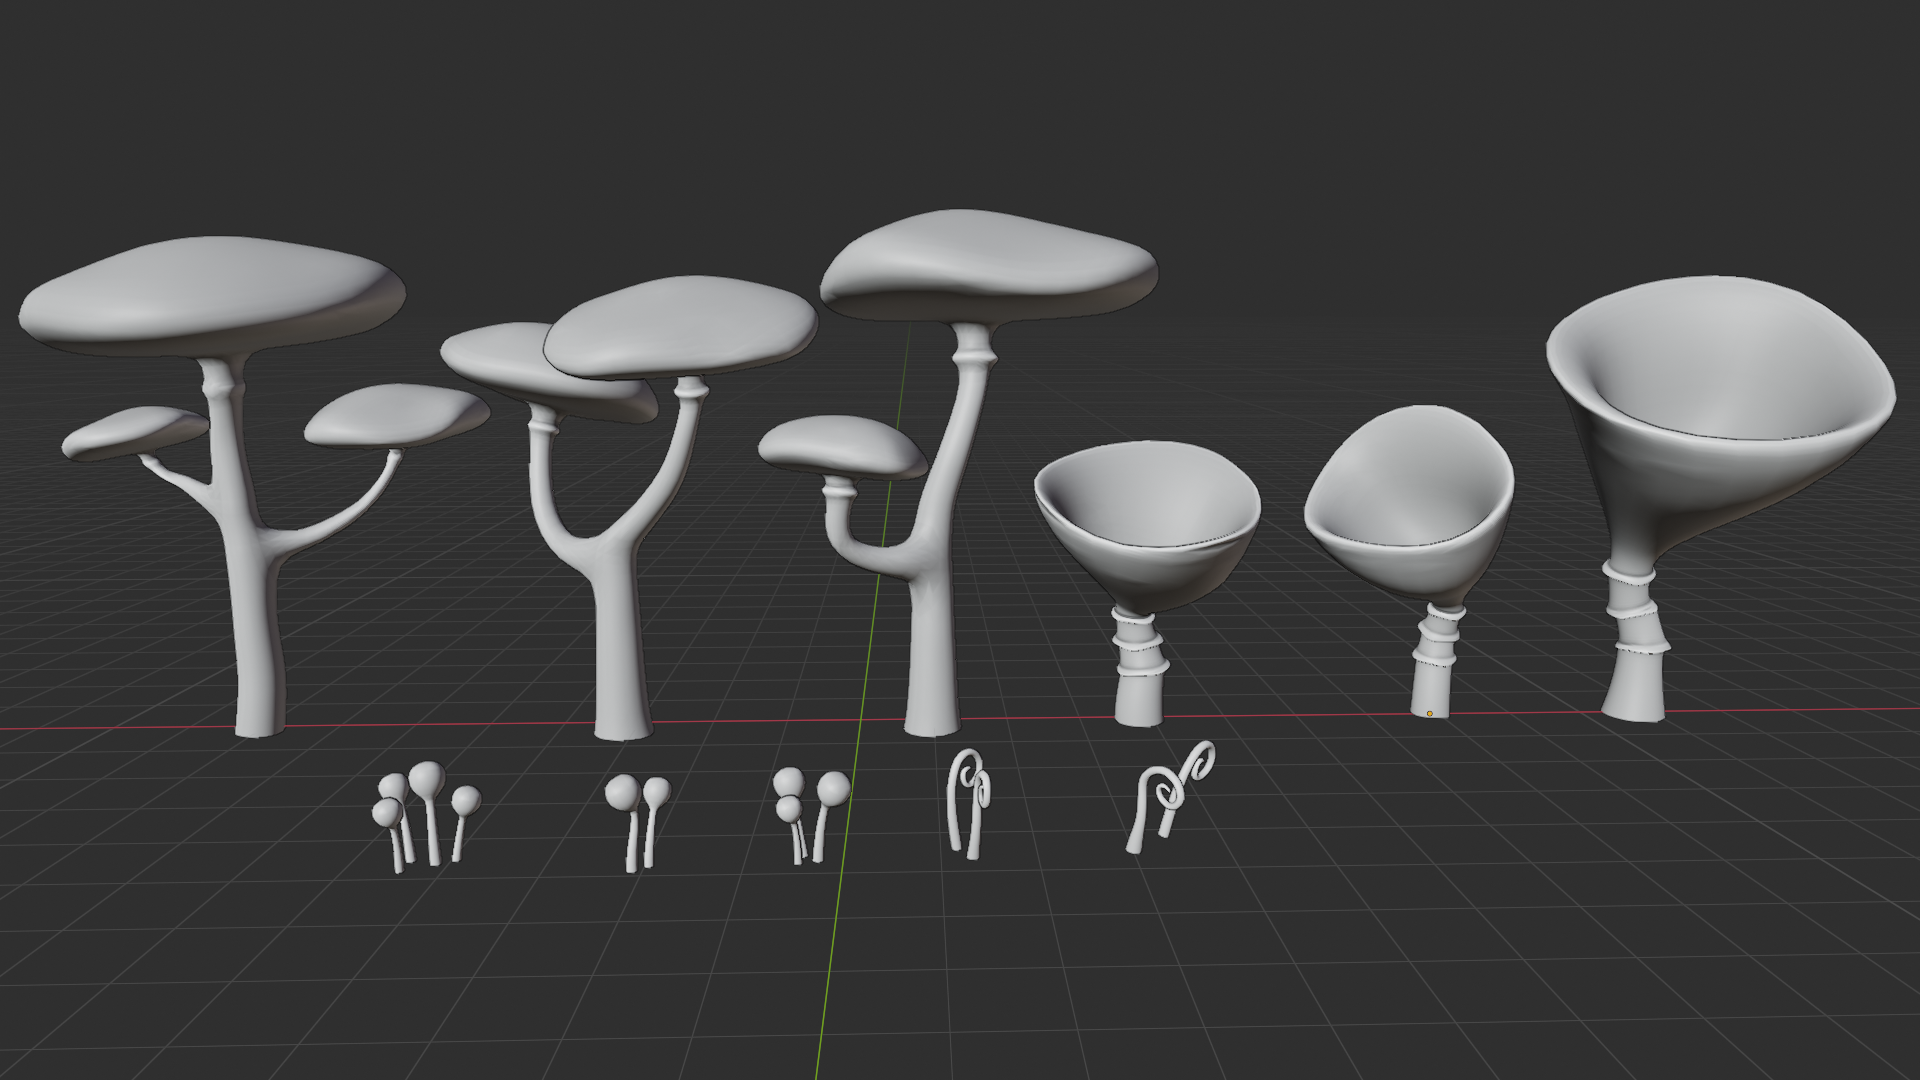
To make them look stylized, I created a generic shader that contains three parts: gradient texture mixed with some noise, soft outline based on fresnel, a hand-painted texture connected to the color, and normals to add details. All these parts were mixed together and combined in a node group:
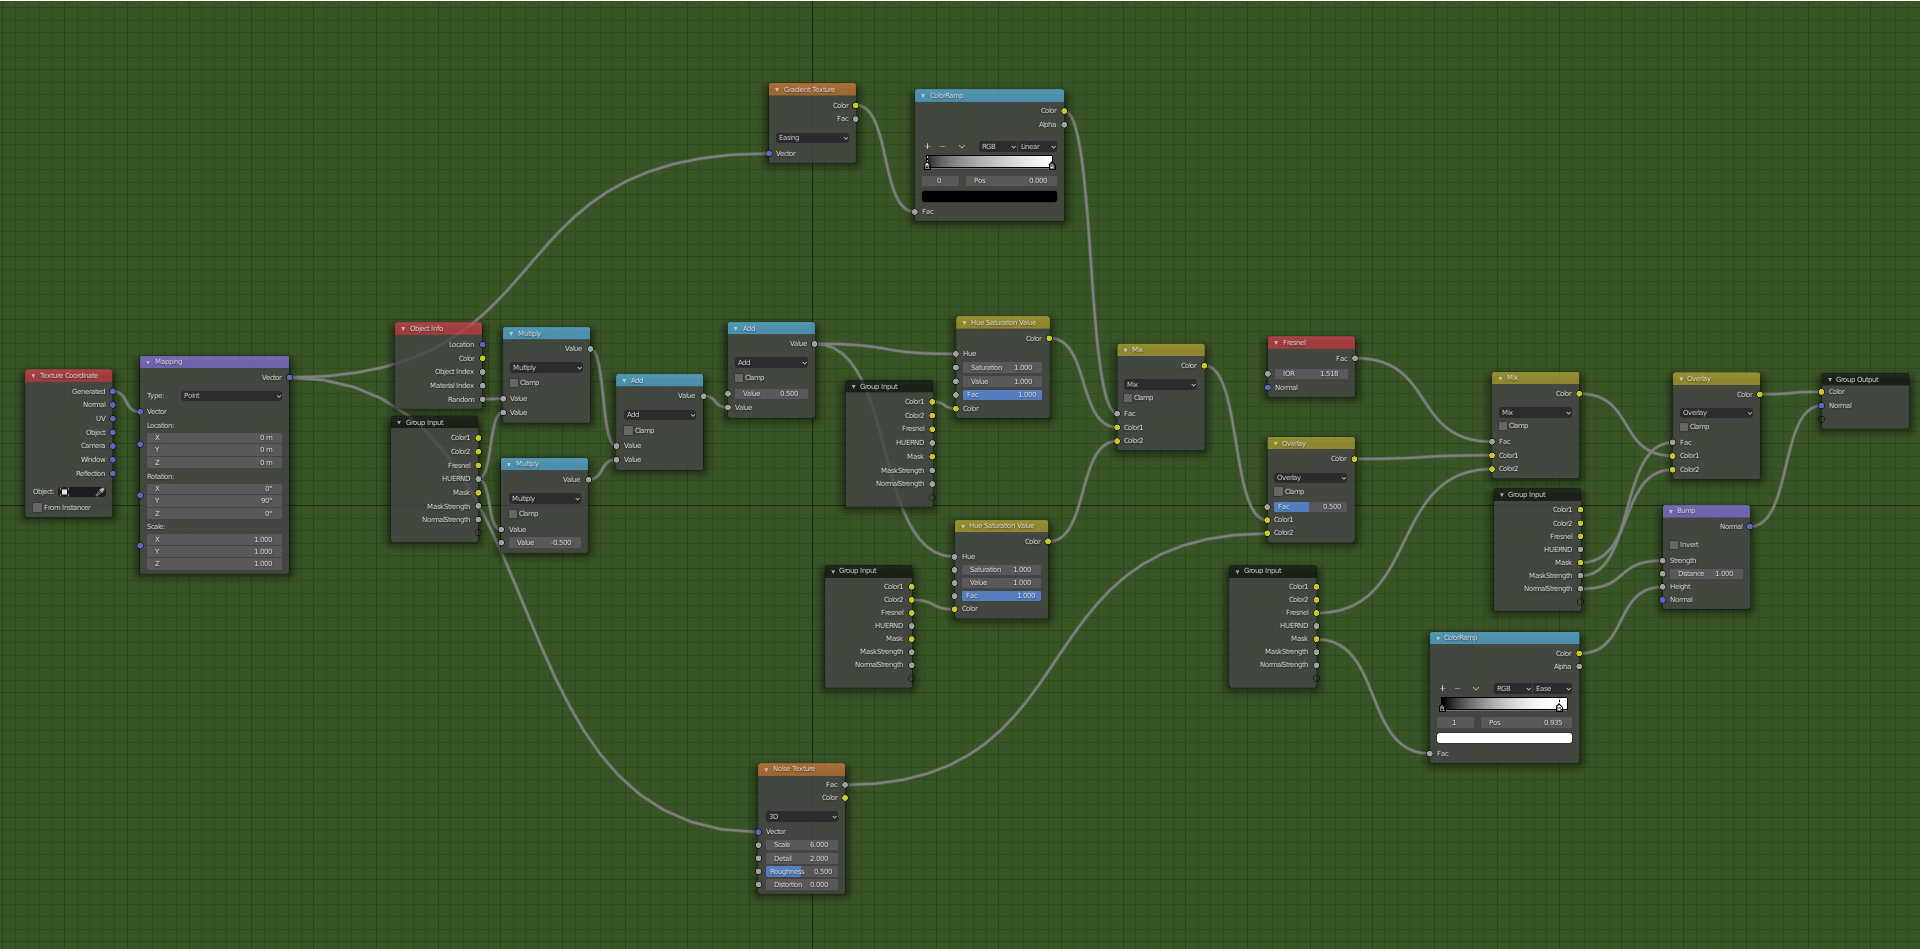
With this setup it was pretty easy to set materials for the environment assets:

The landscape also contains grass and rocks as small pieces for better composition.
Landing module
The landing module design is based on SpaceX spaceships. It has just a hand-painted texture as a material base and simple armature to control the door and the landing gear.

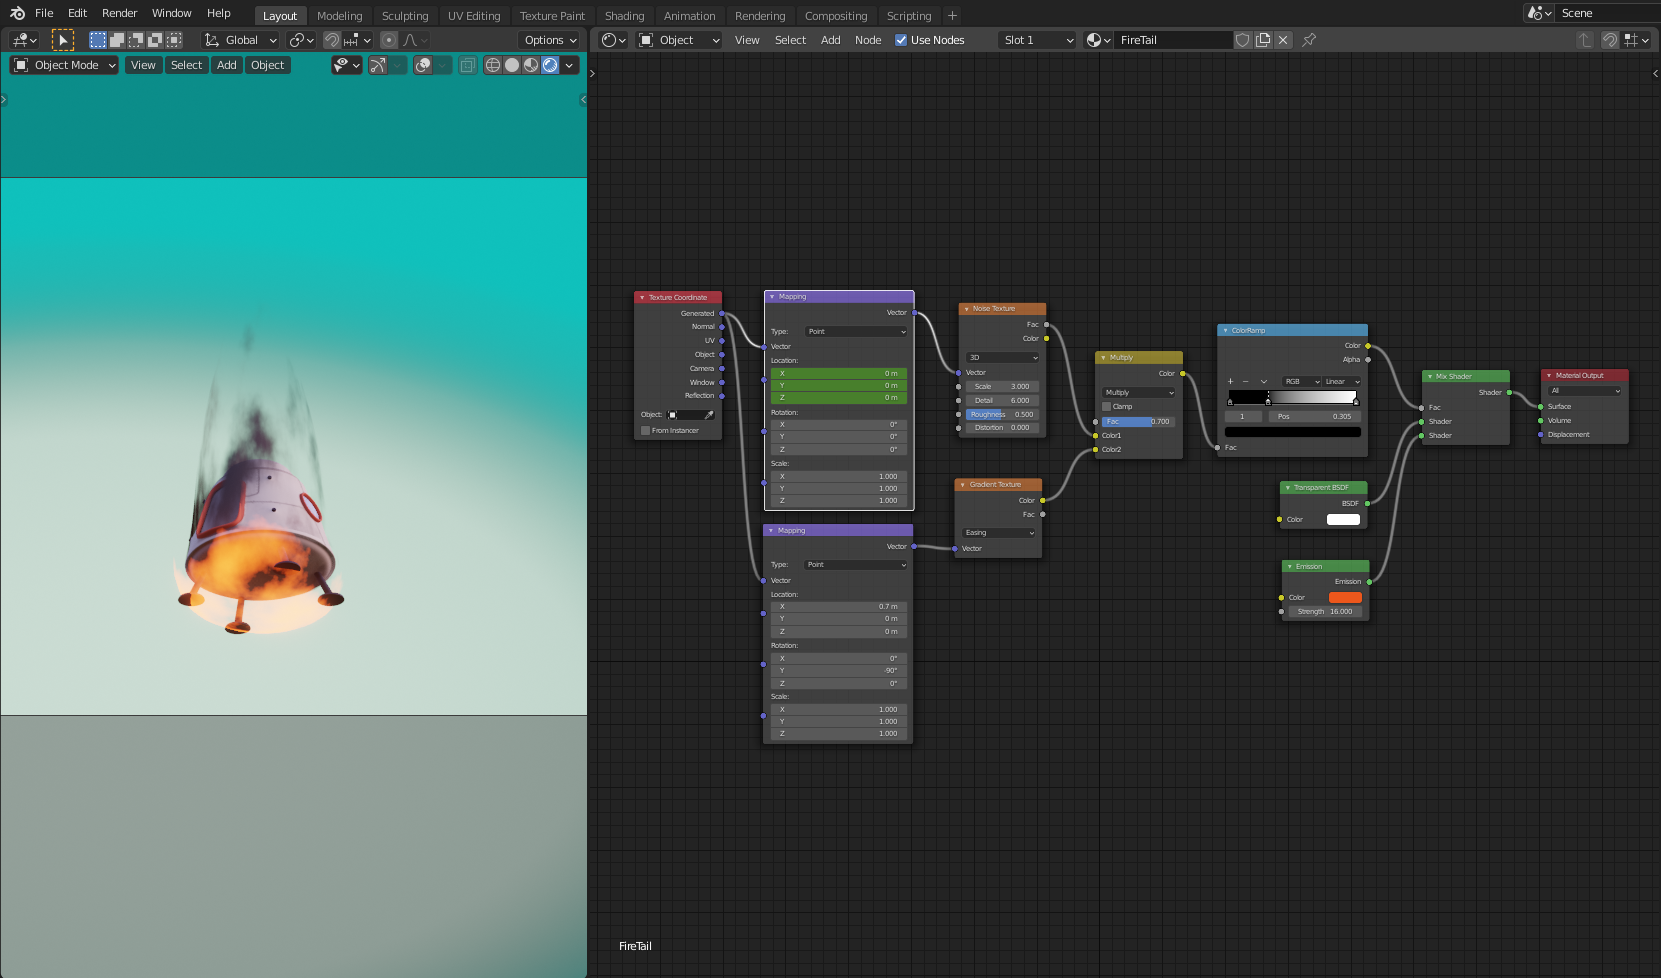
To make a stylized fire and smoke effect, I created a shader of mixed transparent and emission nodes with gradient as a factor. To make it live, I animated mapping of the gradient factor. And the whole animation of the landing is just a path combined with a bit of variation.
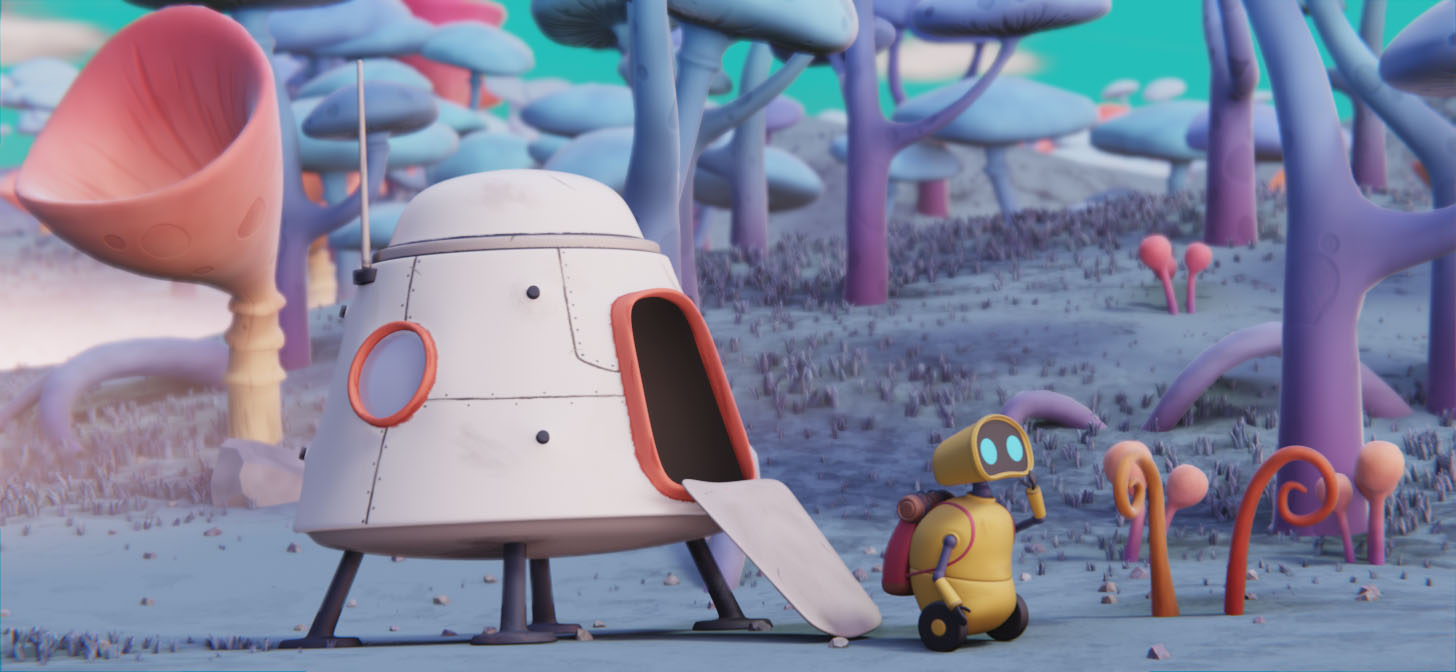
Robot
The main character of the animated short is a cute robot that appears at the end of the video. Its design is inspired by WALL-E and also contains details like a backpack to highlight its scout role.
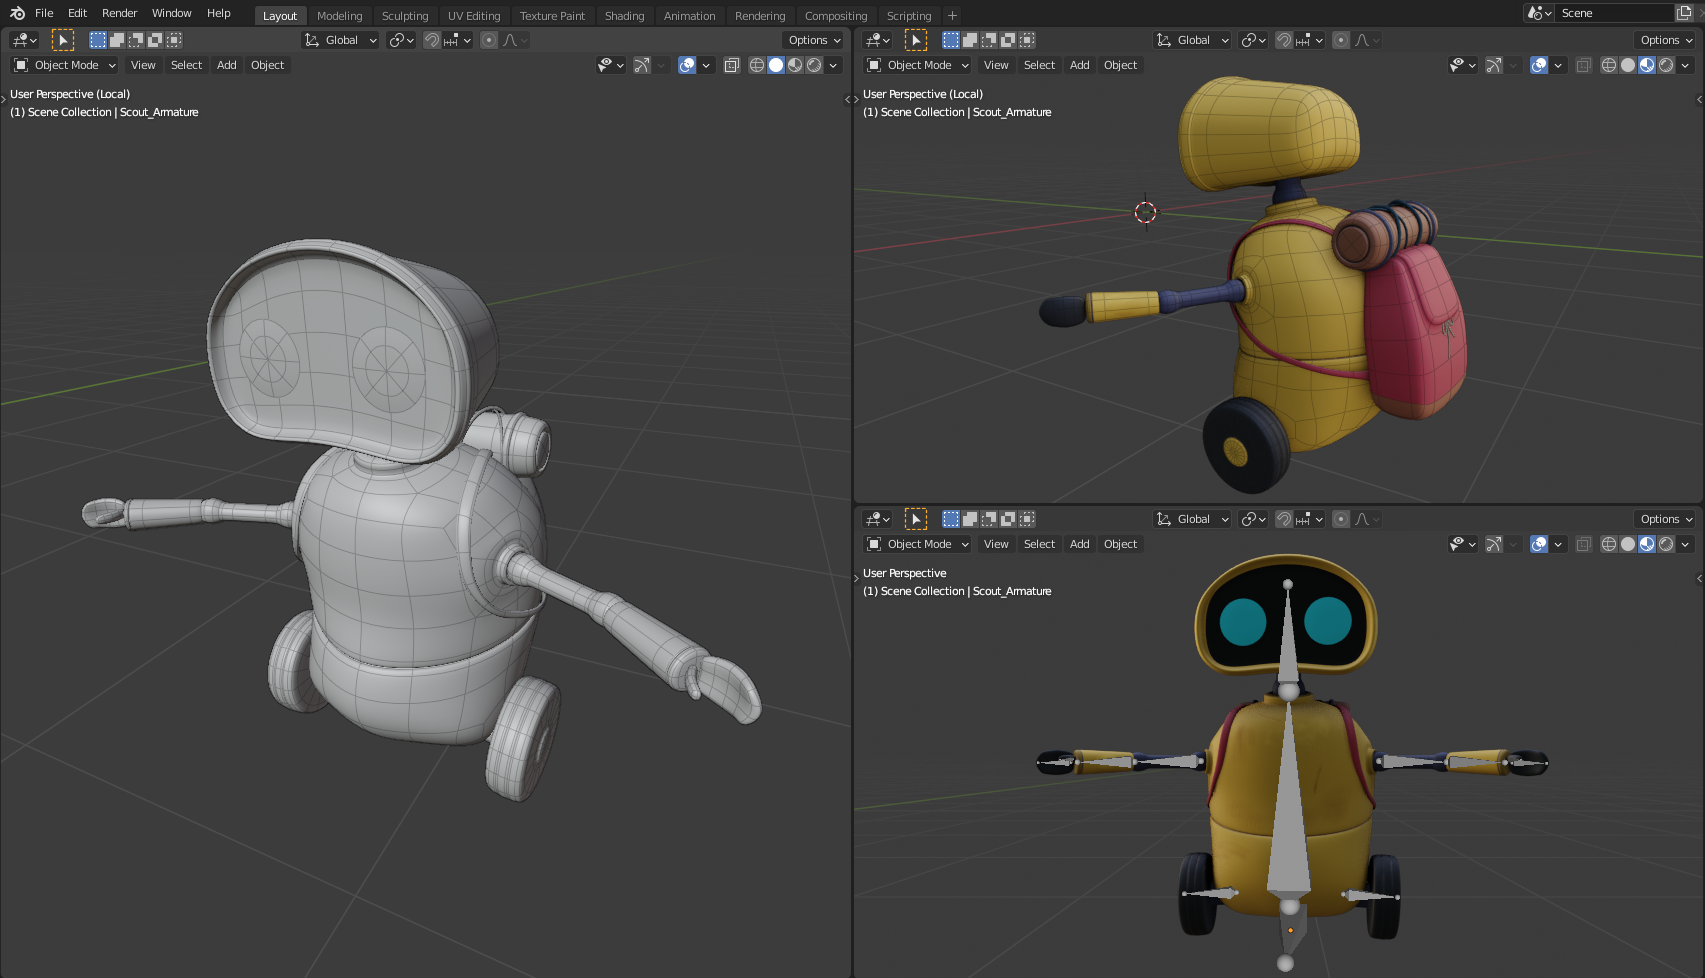
Because of this, the character is basically a ball-jointed rigid body. The rig uses simple bones for each segment of the robot. I didn’t use the Rigify addon for this because it would have been a bit overkill for this character. But Rigify is used for another character who will appear later because it is an organic creature.
What’s next
The project described here is a teaser for the upcoming animation short that I’m creating, so stay tuned to see the progress and final result. Here are some pictures of the next parts:

About the Author
 Vasilii, 3D Blender Artist


