
Lone Monk – CC0 demo scene
Monorender writes:
Among all the amazing features of the new Blender 2.92 (someone said #geometrynodes?!?), there also have been some improvements in other areas, like the compositor. Here’s the list:
- Keying node in compositor ensures result is properly premuiltiplied
- The “Save as Render” option was added to the File Output node
- New Exposure node
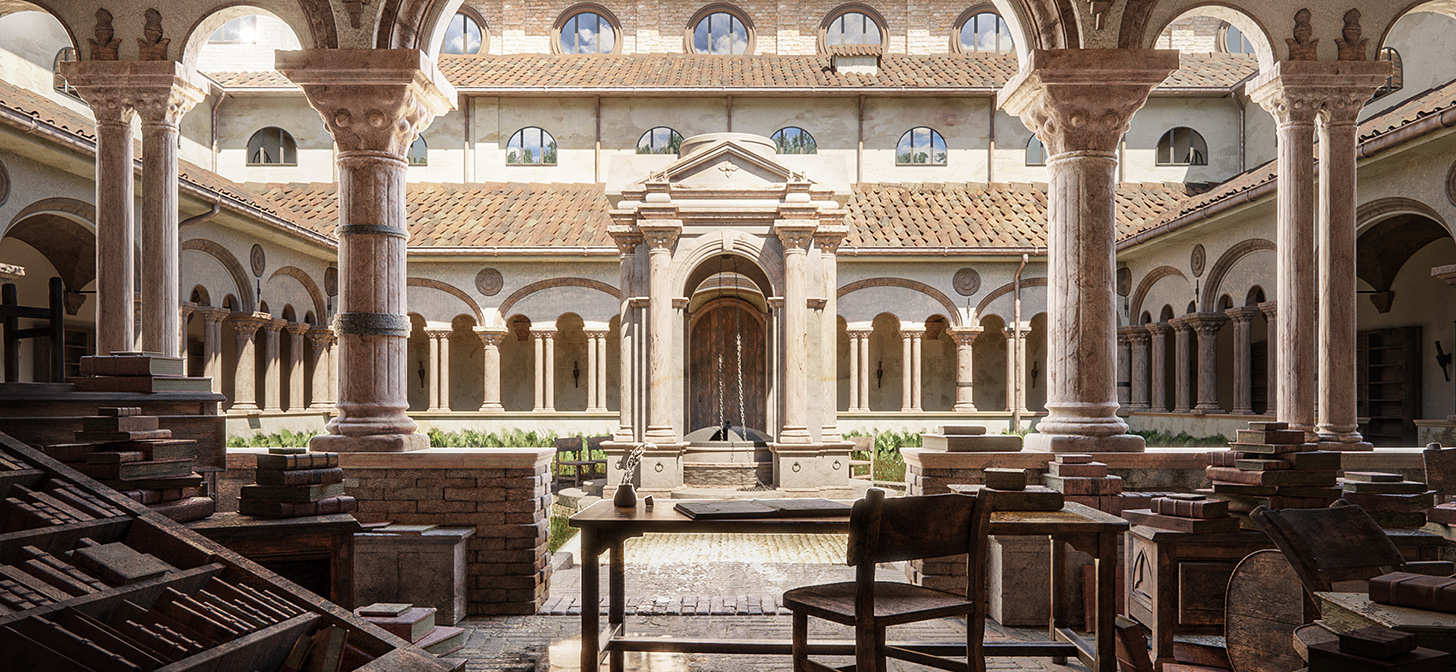
To showcase the new possibility revealed by the latest, the new Exposure node (you can find it under the Color section), I’ve built a scene with high contrast between lights and shadow. If you are into photography, you know that sometimes it’s hard to get everything correctly exposed in your shot because of high dynamic range of your scene it’s difficult to capture on camera’s. This apply to virtual cameras too.
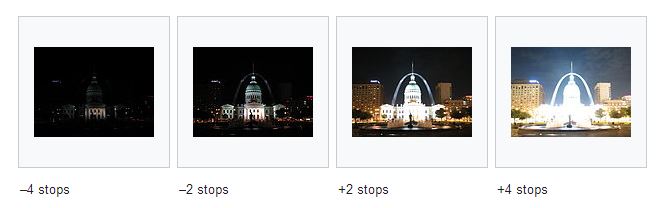
In real life, a trick you can use is Exposure Bracketing, which consist of taking some photos all from the same positions with different exposure settings, and then composite them later to give different areas different exposures.
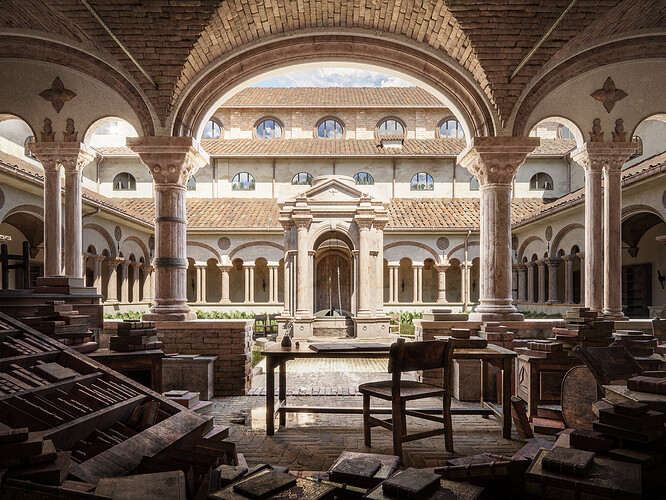
We always have been able to adjust a scene exposure from the render panel, but with the new node we can take advantage of other compositor features, like using the mist pass to selectively apply the exposure only in one part of the scene.
Final shot:
The scene and it’s assets has become part of the official demo files. You can find it in the Cycles section and download it for free. It’s under 35mb with textures packed.
Total working time from concept to final result is about 21h. I’ve recorded and commented with my friends a 50min timelapse. You’ll see every aspect, from concept to modeling to shading and lighting… and discover the inner secrets behind the scene. The video shows a clock in the lower left in real-time speed so you can have an idea of the time spent in each step.
If you wanna know more, leave a comment down below or join the discussion on Blender Artist or Twitter.


