Behind the Scenes: Motorcycle
I grew up being proficient at two things: music and taking things apart. The latter developed into a love for design. Deciding on a career path, I chose design as music seemed to be something I’d rather enjoy as a hobby. In 2002, I won a ‘Young Designer’ award, which really got me inspired! I studied Product Design at university, which is where I learned a lot about my skill set (or, should I say, the limits of my skill set). It was a fantastic experience where I learned that not everyone is good at everything and it’s essential to work together using each individual’s strengths to make progress. I found that I was good at conveying ideas and concepts visually. Writing technical reports, however, was like deciphering a really hard cyphery thing! I find the same is true now in the commercial world and, as a designer, those soft skills are essential.
The thread of taking things apart has continued from my childhood (top-loading Videostar was my speciality) to to the present—I thoroughly enjoy dismantling cars and motorbikes. My current project is a 1984 BMW R80.
I was given a piece of advice by someone I worked with about 12 years ago. He said (picture Idris Elba who was really good at CGI!) ‘Danny, whatever you do, make sure your portfolio is ALWAYS’… pause for effect… ‘amazing!’ There was more to that conversation, but that was the general gist and I very much took that advice on board. As such, I’m always on the lookout for a personal project that I will really enjoy working on that will challenge me and create an end result that I’m proud of.
[sponsor id=’qarnot’]
The goal: collections management
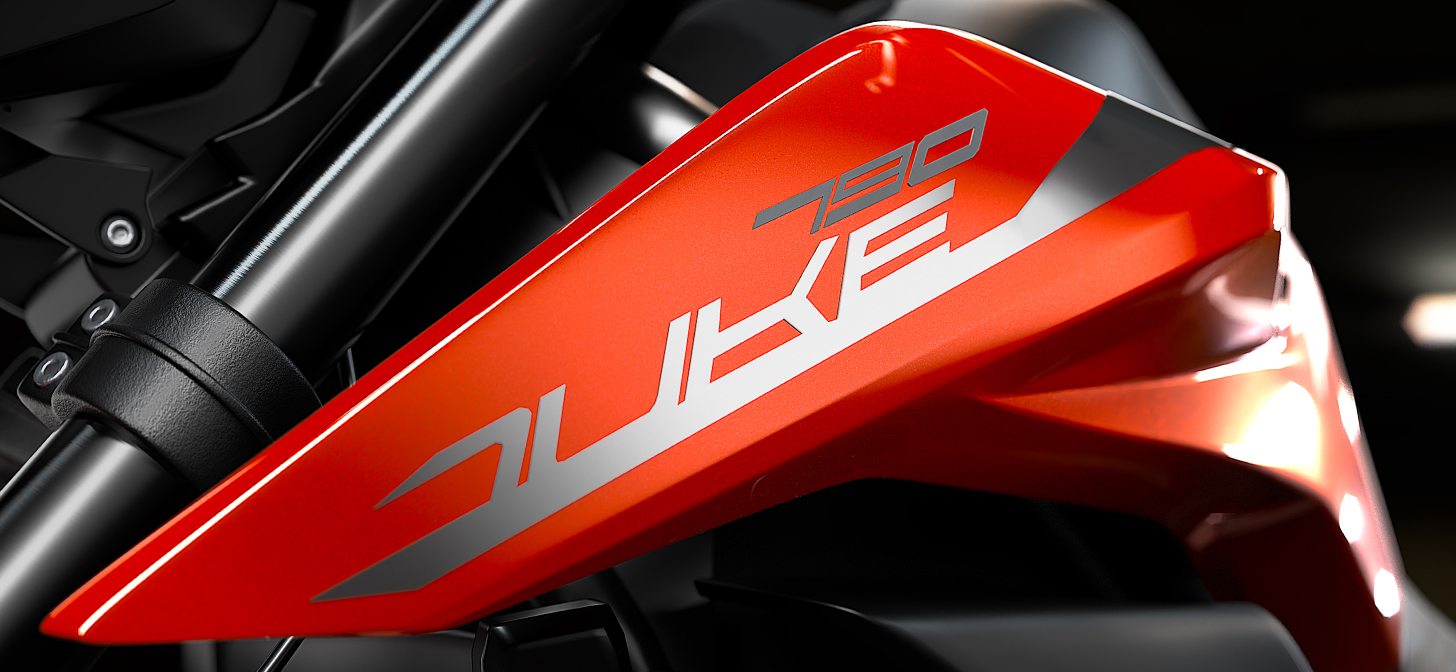
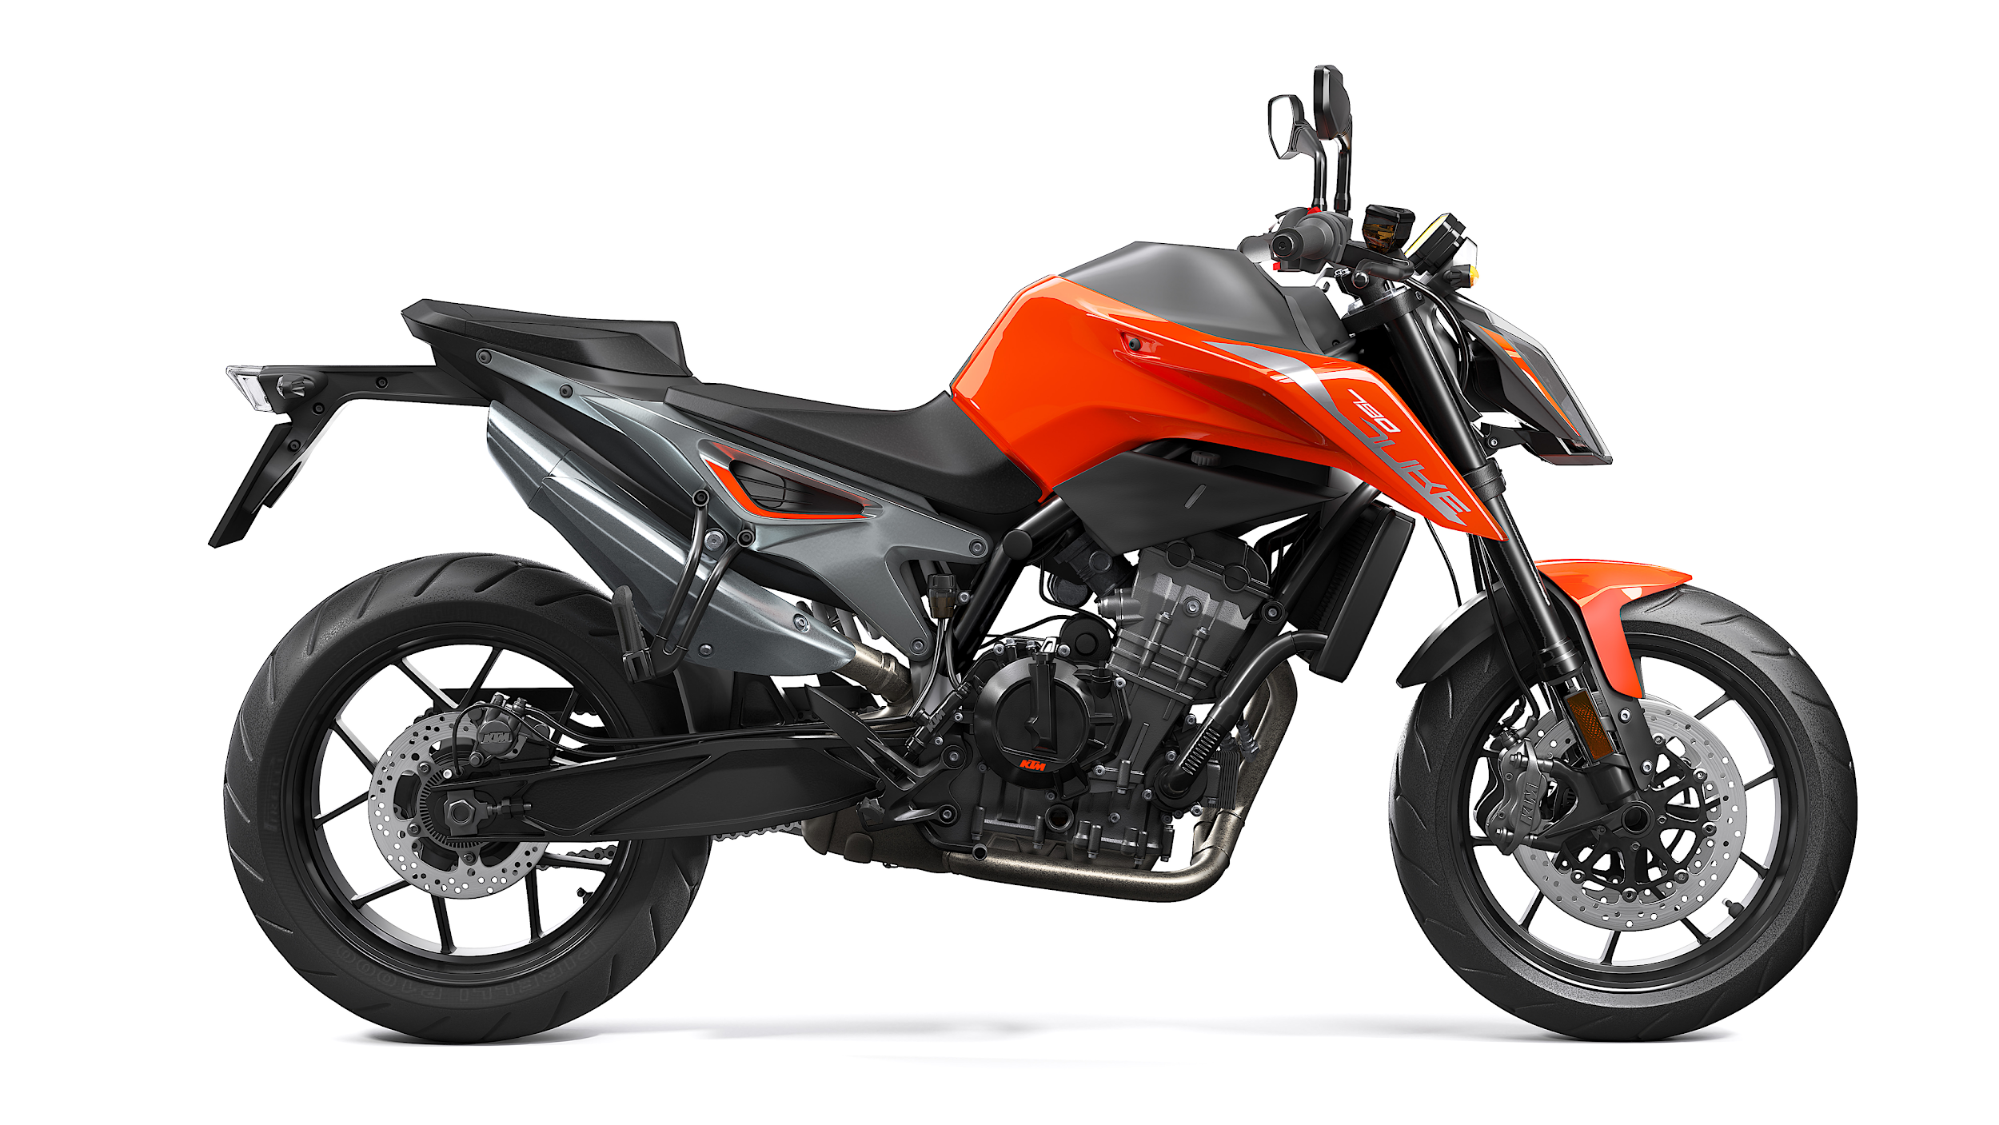
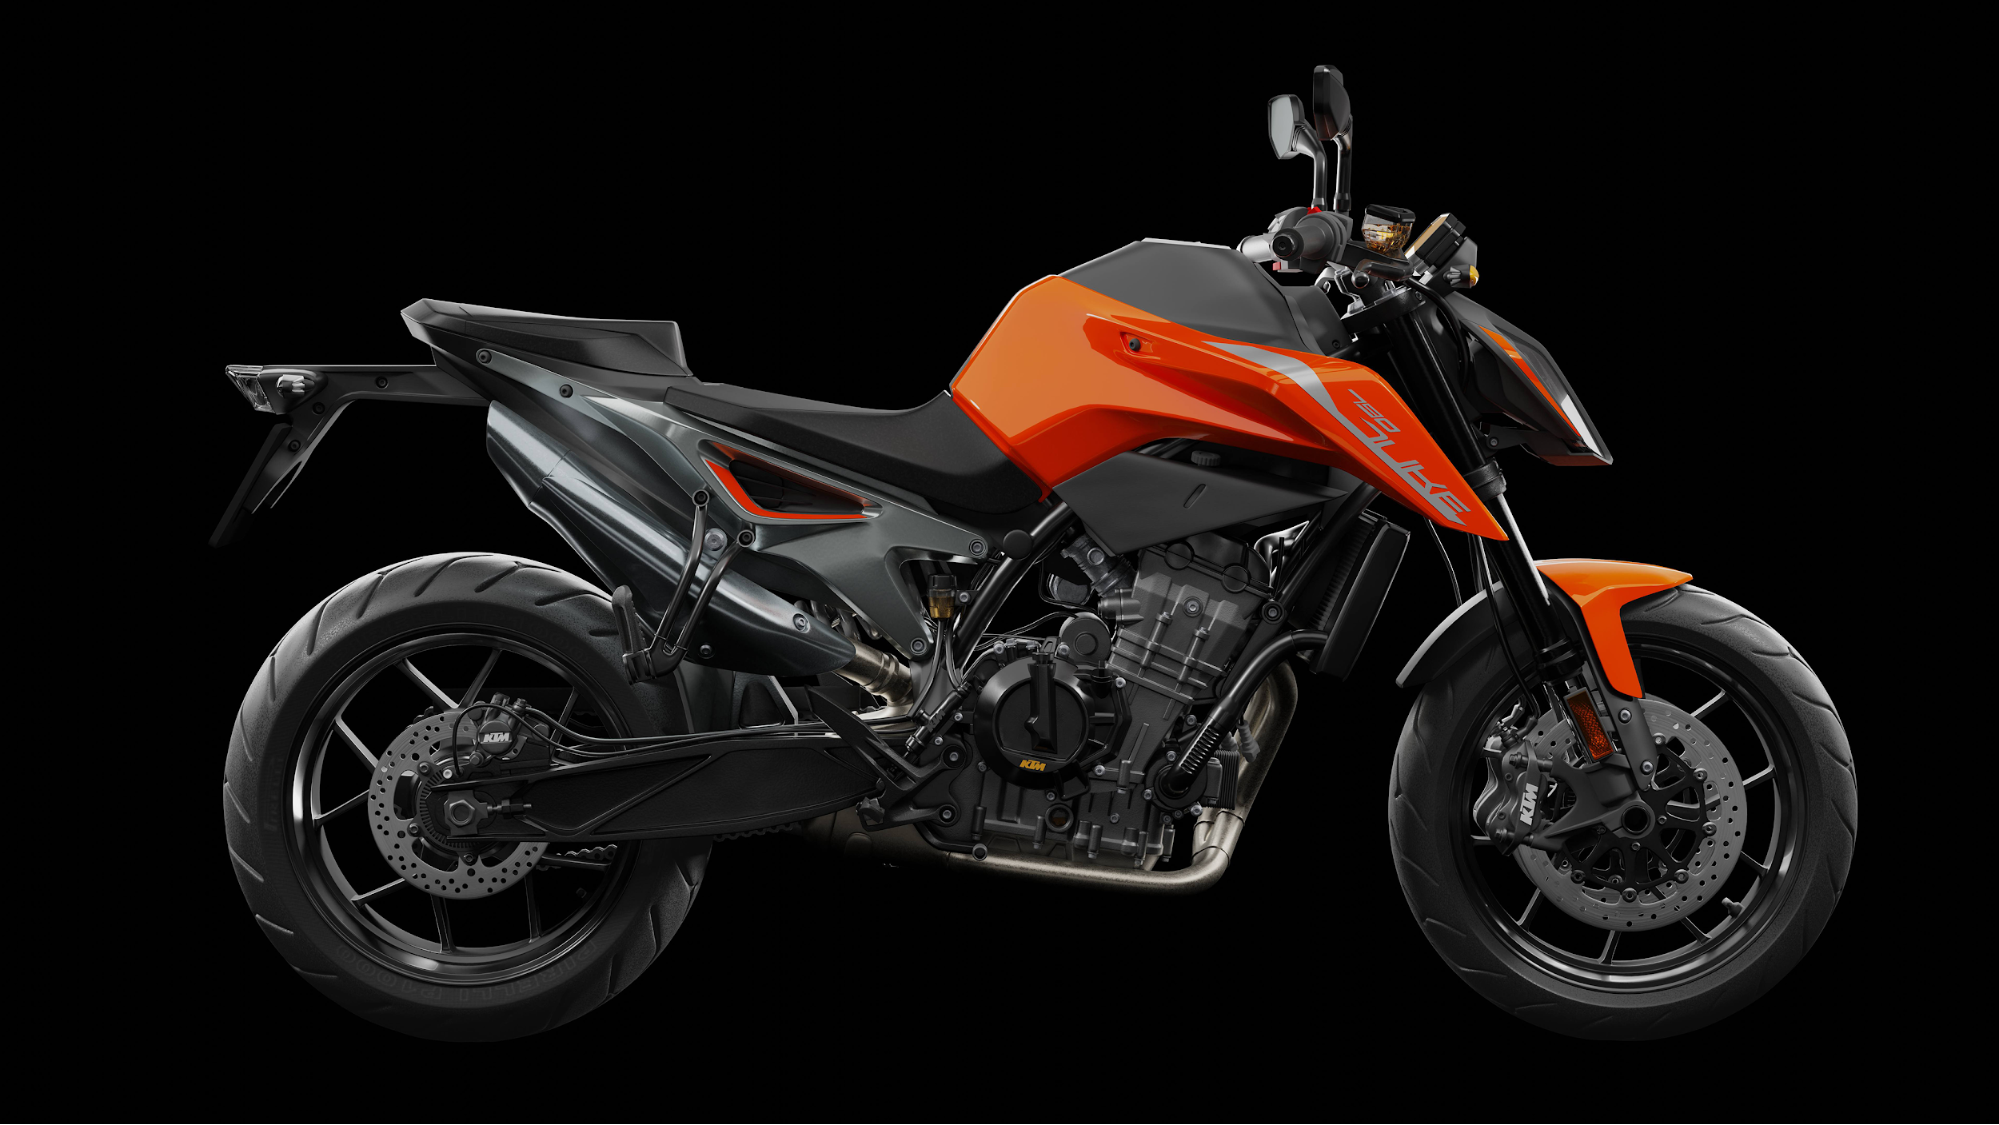
I remember seeing a talk by Joachim Berger in 2019 about visualising KTM motorcycles in Blender. I own a KTM so that was enough inspiration to start a nice set of images. The main challenge here was something that would really make my wife’s eyes glaze over: data management. I wanted to discover an efficient way to utilise a central asset many times for different shots and possibly configuration changes. Collections seemed to be a good starting point. (A quick note about the model here: it was purchased from a re-seller. I am no modeller. I can model, but under duress.)

Getting started
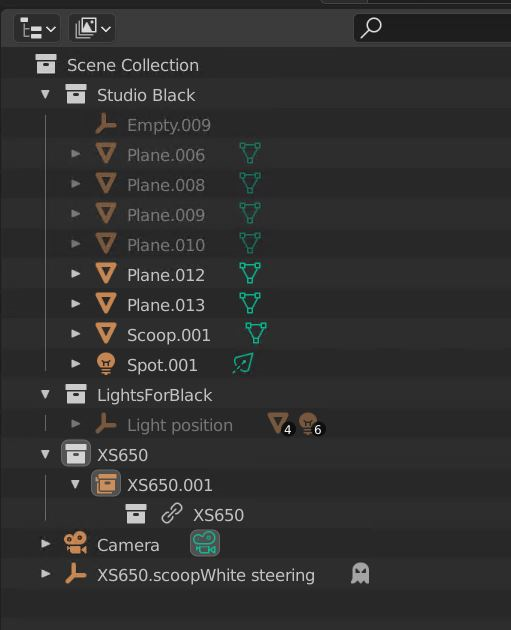
So, as any artists/designers will already know, trying something new usually spells failure at some point. In fact, one could argue that if you don’t fail then perhaps you didn’t learn as much. My initial idea was to use one collection to house the asset: the bike; other collections would be for environments. That way, I could link the bike into each environment and produce images galore, while taking advantage of a linked model that could be updated at any point with the changes propagating through the different environments. That did work… however, I soon realised my folly. Render settings, resolution, and aspect ratio were all the same because everything was in the same Blender scene.
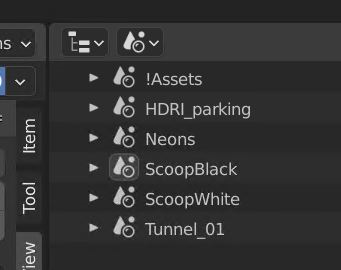
Enter project V2. This time with Blender Scenes. If you haven’t used them, have a look. The next set of images, this time using an asset based on some incredible GrabCAD content, utilised Blender Scenes; now things progressed a lot more in line with what I was hoping for.
I created a simple rig to set the suspension, tilt, steering, and position. When linking the bike into a different scene, I used Library Overrides to allow me to pose the bike independently across the different environments. I will do this with materials soon to create some paint job options.
Tools
Just a quick note on hardware: I’m very fortunate to be using some really nice kit. (I’ve done the hard years, though – 1Ghz AMD Athlon and 2GB RAM back in 2003.) Every render was an all-night affair. My Dad would come into my room and think I’d left my PC on and turn it off at the wall. HAAAA! Good times. I have two systems now, both running AMD Threadrippers which I’m very happy with. One has an RTX 2080 and the other an AMD Radeon Pro VII. The Flat Tracker project is all actually rendered using Radeon ProRender—that was another motivation for the project. It has some excellent features and is developing in a good direction. Watch this space.

Post-processing
After the renders were done, I started looking into post-production options. I love the Blender compositor but I’m so used to painting layer masks in Photoshop that it’s really hard to move away from it. I’m working on some workflow stuff in this area to see if I can bridge the gap. I decided to render out multi-layer EXR files including Cryptomatte. What a totally legendary concept Cryptomatte is! I like to do as much lighting in render as possible and typically work directly on the beauty pass in post. I’d like to do some work on a ‘proper’ layered compositing workflow sometime in the future. I use the extremely popular Exr-IO plugin for Photoshop to import all the object and material masks automatically. Then I can just right-click over an area and choose the layer for the material or object that I want. Pretty easy masking. This might not be the accepted method but it sure works for me.
I like to set a finish date for my shots to stop them from going on forever. This usually results in a 3am finish. It’s worth it to keep things moving, I think.


I’m pretty happy with the visual results but I’m even more satisfied that I gained the knowledge and experience relating to asset management. That was the real goal here. Hopefully my next project will make use of this new learning, which will make all the 3am finishes worthwhile.
Credits
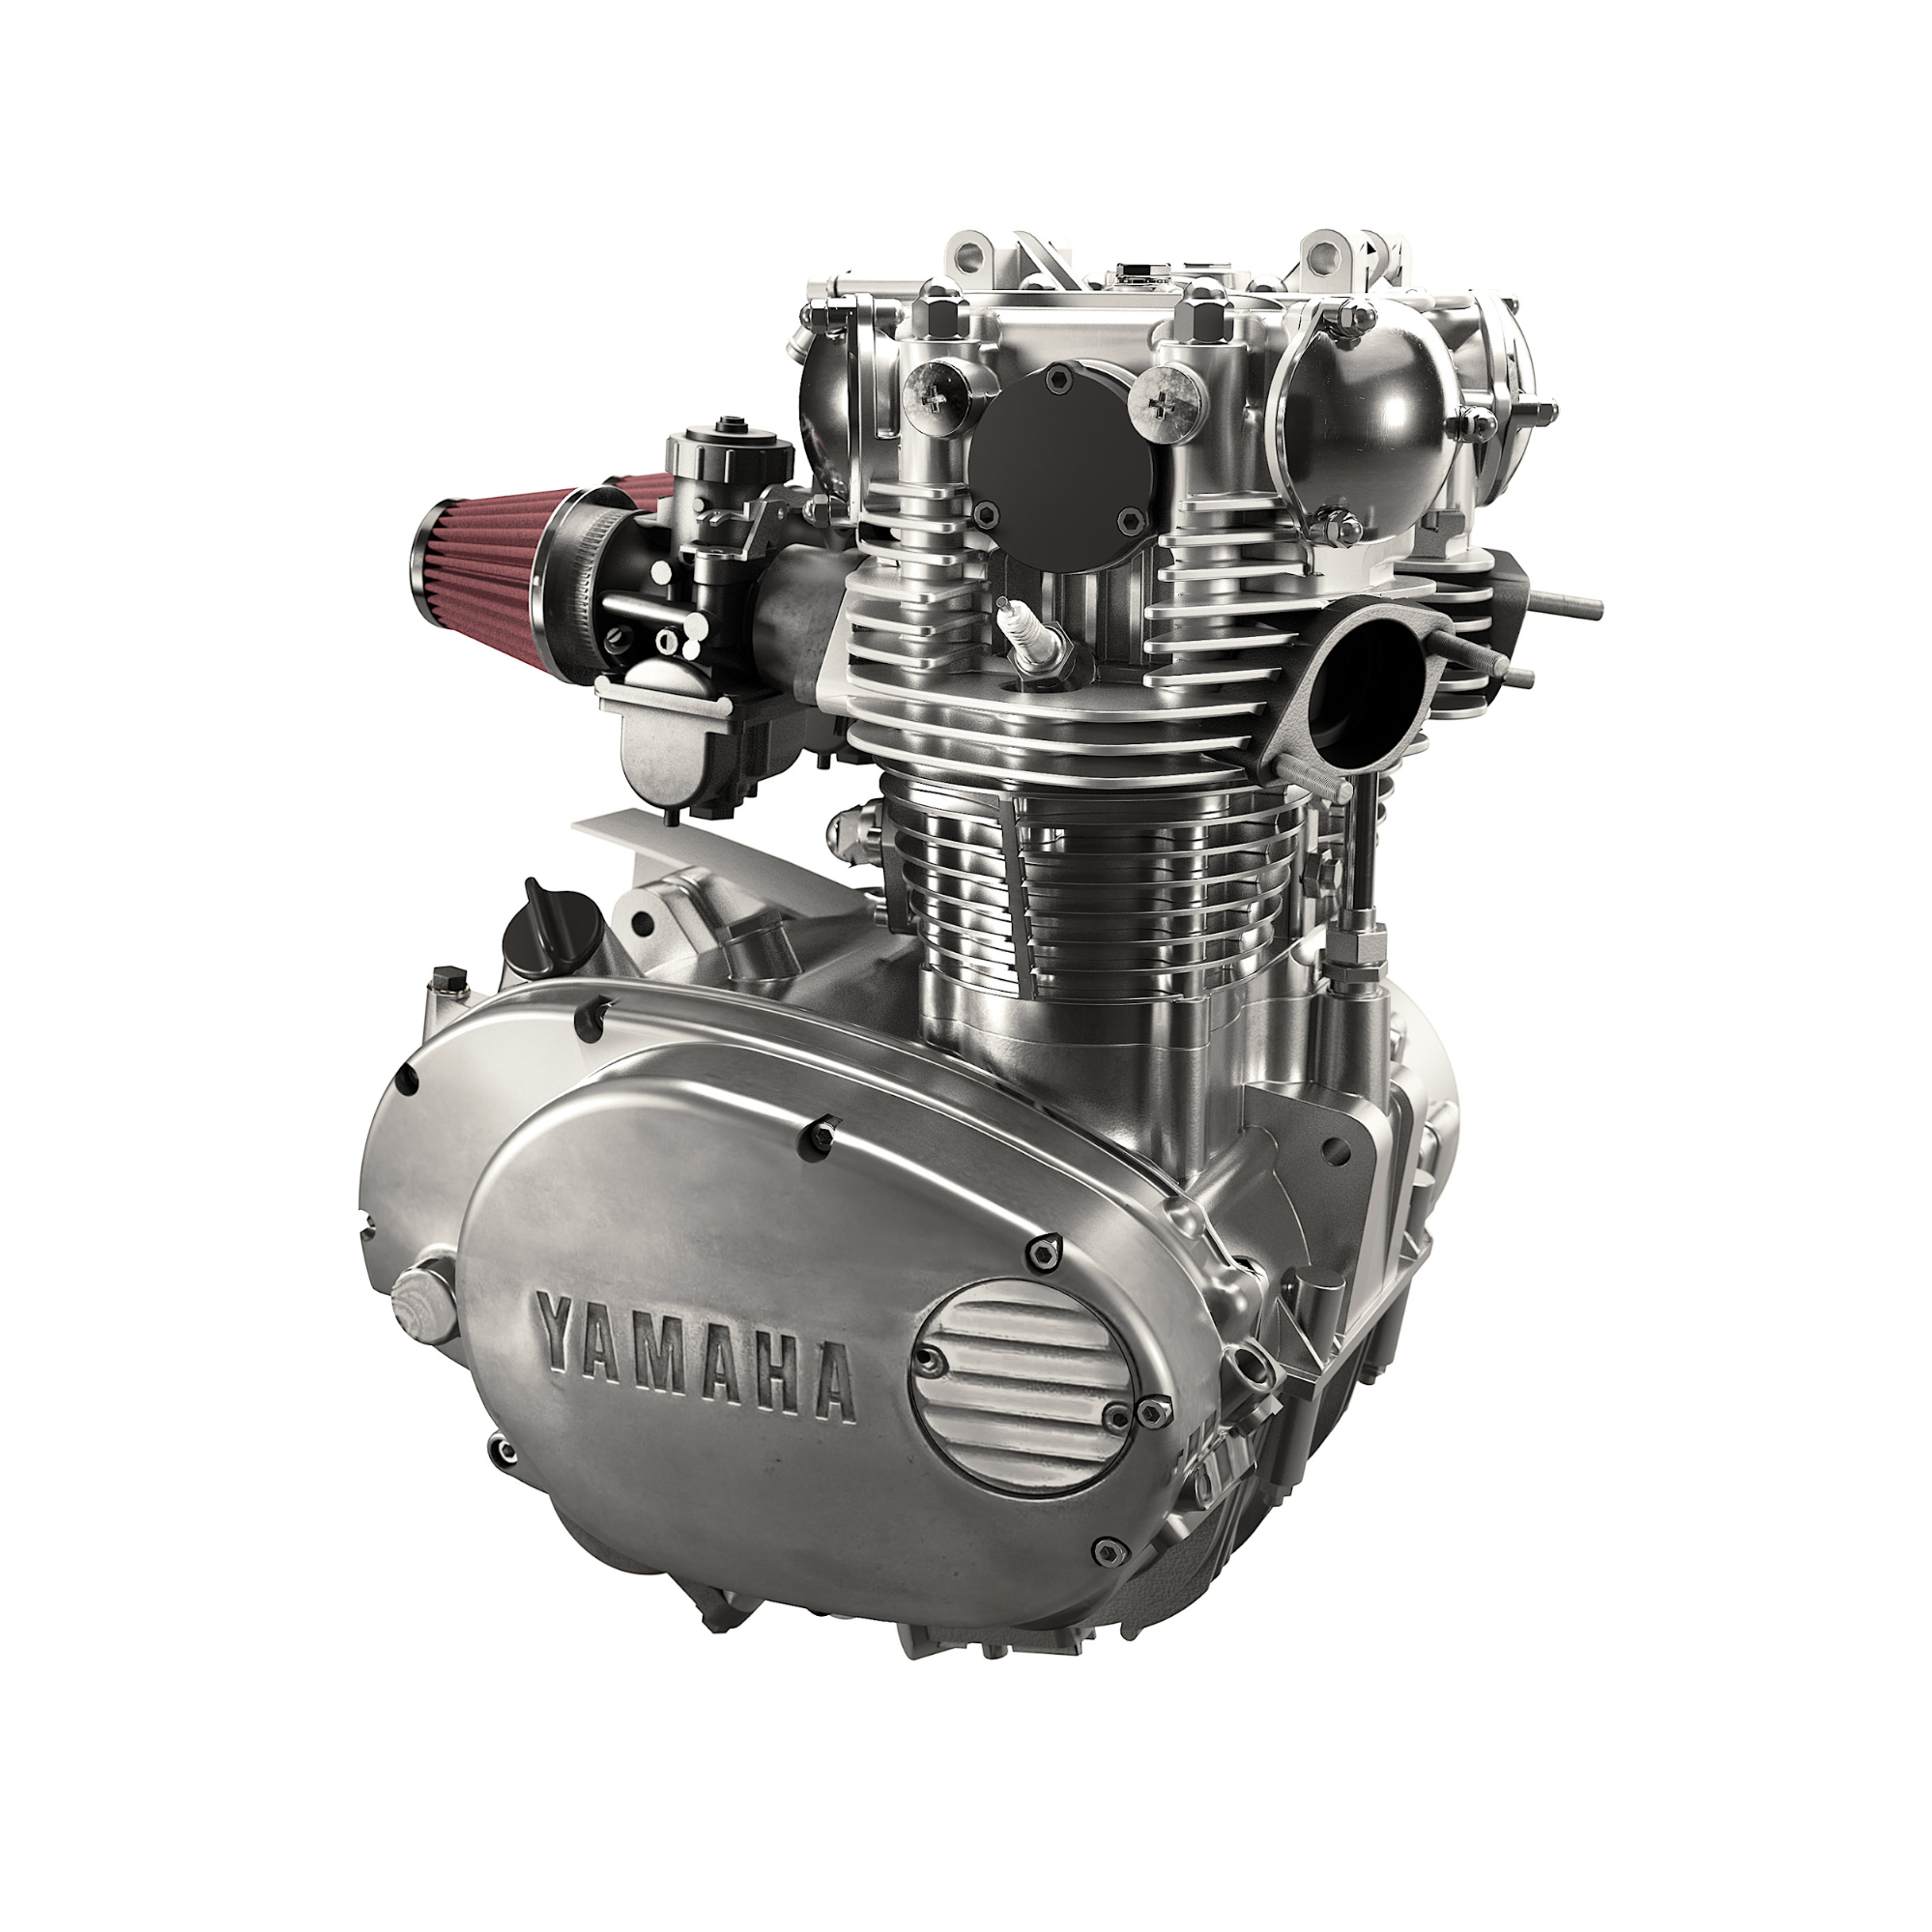
Original 3D models:
- XS650 engine – Rex Harris
- XS650 FlatTracker – Stéphane MEUNIER
About the Author
 Danny Austin, CG Artist and professional dismantler of things.


