
Blender 2.9 PBR Texturing and new UV Feature

jayanam writes:
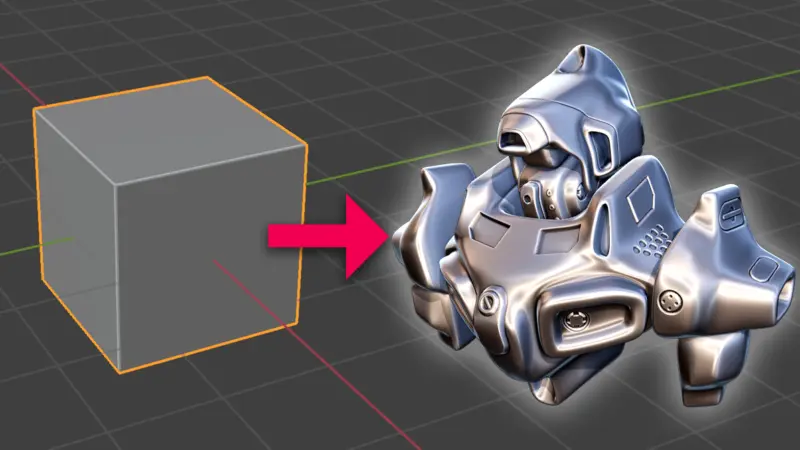
In this video tutorial I show the basic PBR texturing workflow and a new UV mapping feature with Blender 2.9 called “correct face attributes” which adjusts the UVs when the mesh is modified.
Something I’ve wondered is why are normal maps set as non color? I thought the whole purpose of normal maps was to use the rgb color values as height information, if your setting the images to grayscale before passing them through the normal map wouldn’t that be bad? Apparently your right, but I don’t understand why.
The naming is a bit misleading. Non-Color data just tells Blender to leave the RGB-values in a linear scale, it doesnt mean that there no color anymore:-)
If you have Node Wrangler add-on (comes with Blender I think) installed you can select the principled shader and press CTRL-SHIFT-T (I think thata’s the keypress) and select all the maps you have and it will be connected up to the principled shader complete with UV-Mapping.
It’s an easier way of doing it :)
Thanks Jay, as always really easy and simple to follow. Can you do a basic tutorial on procedural texturing. Like adding rust to a shiny bronze basic material for example.
Yes, sounds interesting, I will put this to my list.
The roughness map was sRGB. Blender always defaults to that after you select the image from the browser. So setting it to Non-Color Data before you select the image is pointless.
Good video though, I learned something new!