
Behind the Scenes: Caliber the Otter at the Bar
Hello! My name is Dominque and I’m a very ambitious 3D artist from Anchorage, Alaska! I come from a military background with the Air Force, and now I’m currently serving with the Air National Guard.
It was around 2011 when I finally decided to pursue a new hobby making CG characters and began researching what programs were used for filmmaking. I did about two weeks of research and found out that most films were made on a software called Autodesk Maya. As I began learning Maya, I was getting confused about the shortcuts and there was little info and few tutorials at the time. I was getting nowhere fast and being the impatient person I am didn’t help. So I accepted fate and gave up. From there I turned to writing and wrote various short stories for two years. I didn’t reach Blender until 2013 after I had written a story that I shared with a bunch of co-workers at my part-time job. The positive feedback on the story inspired me to get back into 3D and design some of the characters from my story.
I signed up with CG Cookie around that time and learned a good portion of my foundational skills from them, starting from Blender 2.67. From 2015 onward, I have been pretty active with Blender and even more so today. Especially since the release of 2.8!
[sponsor id=’qarnot’]
About this project
I love animated films of all kinds and often watch them just to study their technicality. I was always amazed at how the creation process for 3D characters worked, and how artists are able to bring something on the screen to life. I was always particularly fascinated by animal characters. I don’t really know what sparked my interest in those types of characters, but my guess is to blame the many Disney movies I watched as a kid.
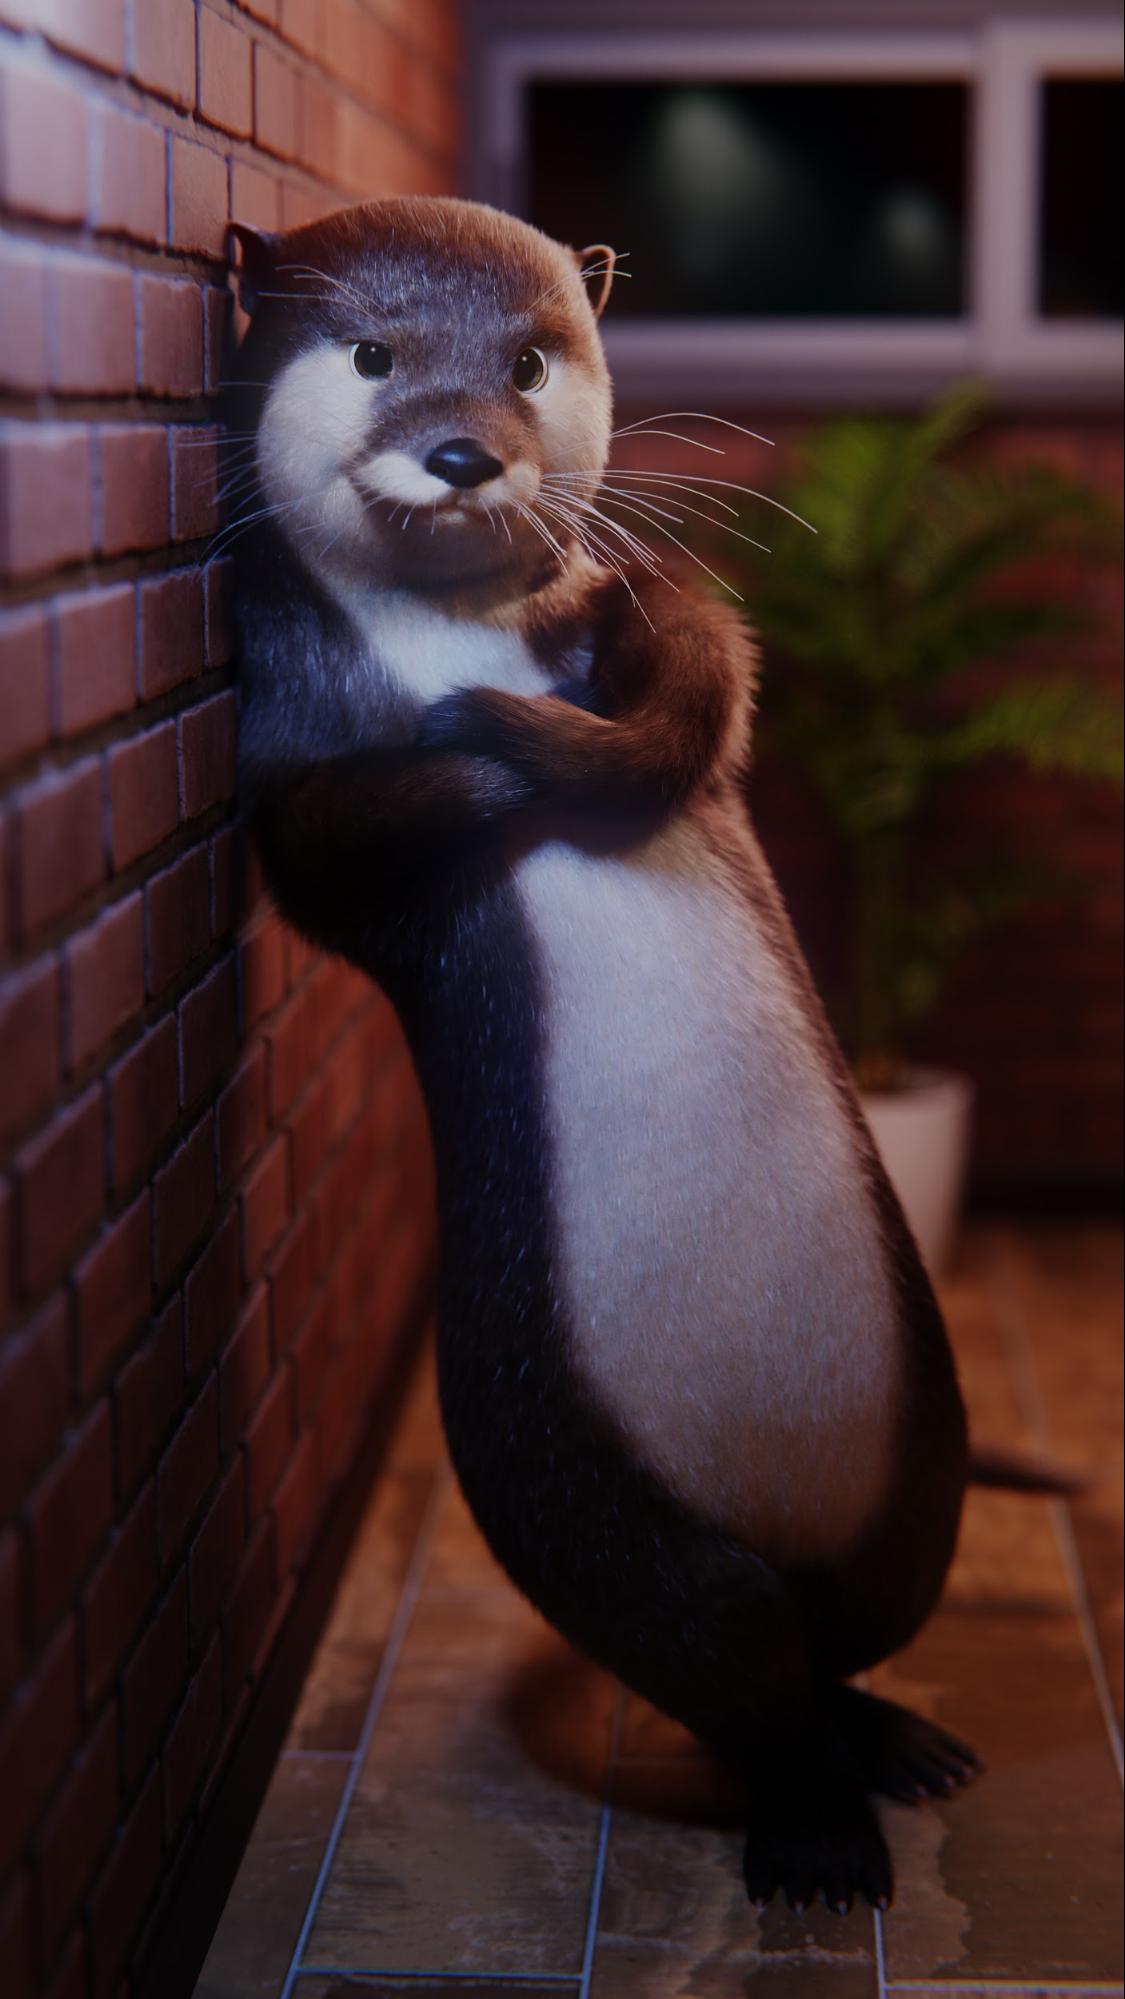
This project specifically focuses on one of my otter characters, named Caliber. He is actually one of many characters from a bigger (and very ambitious) project of mine, called Animals of War. Check it out on Blender Artists!
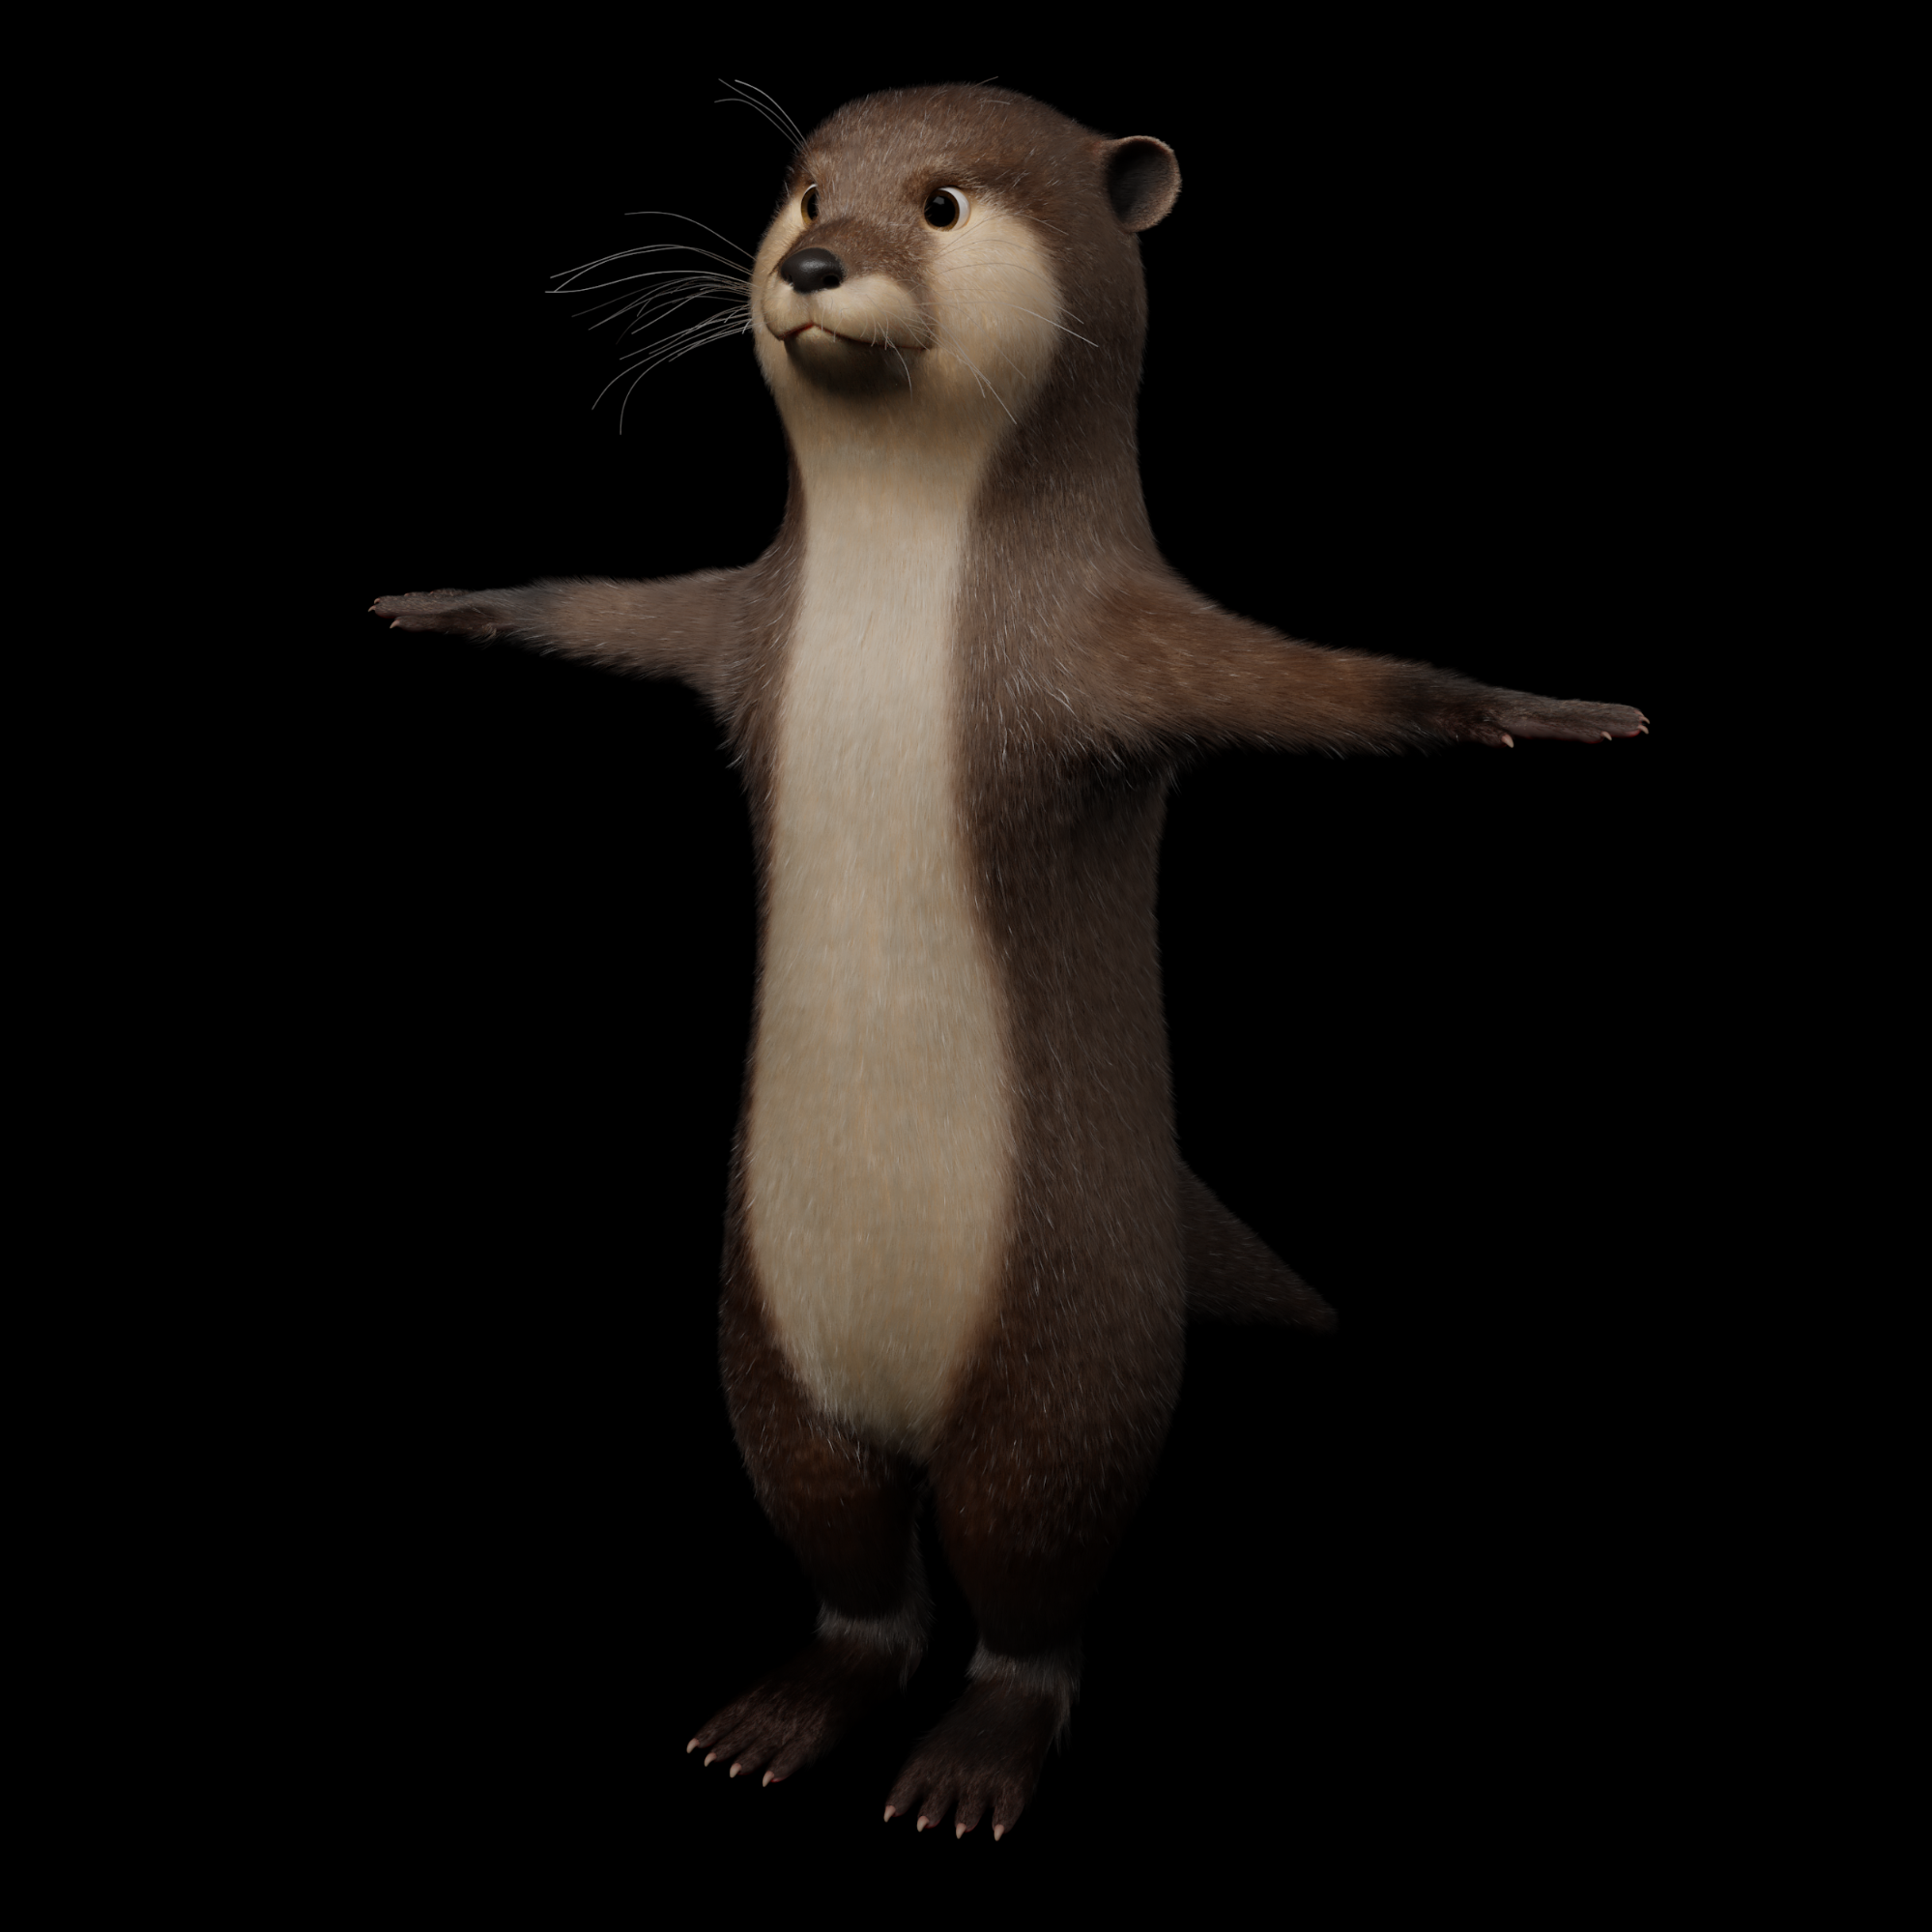
Since Caliber is the main focus of this render, I’ll go through the process of his creation.
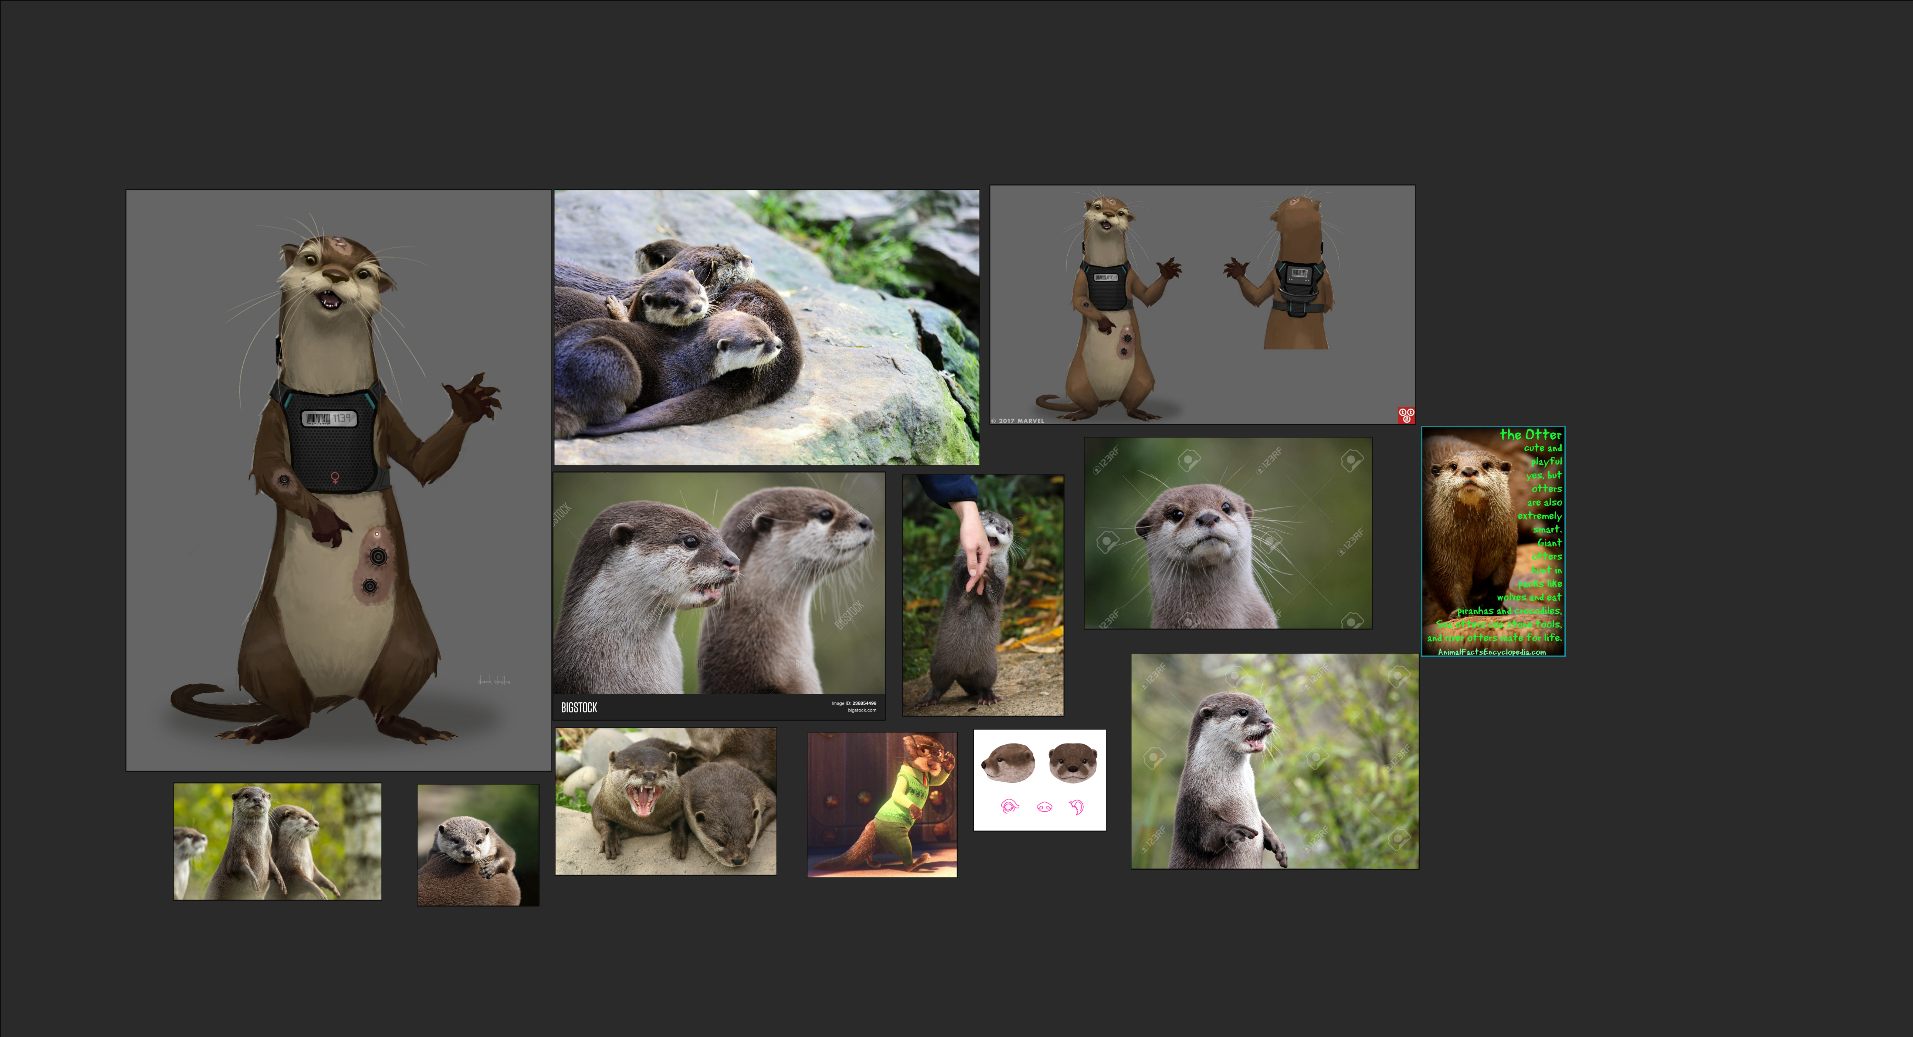
Design/sculpting
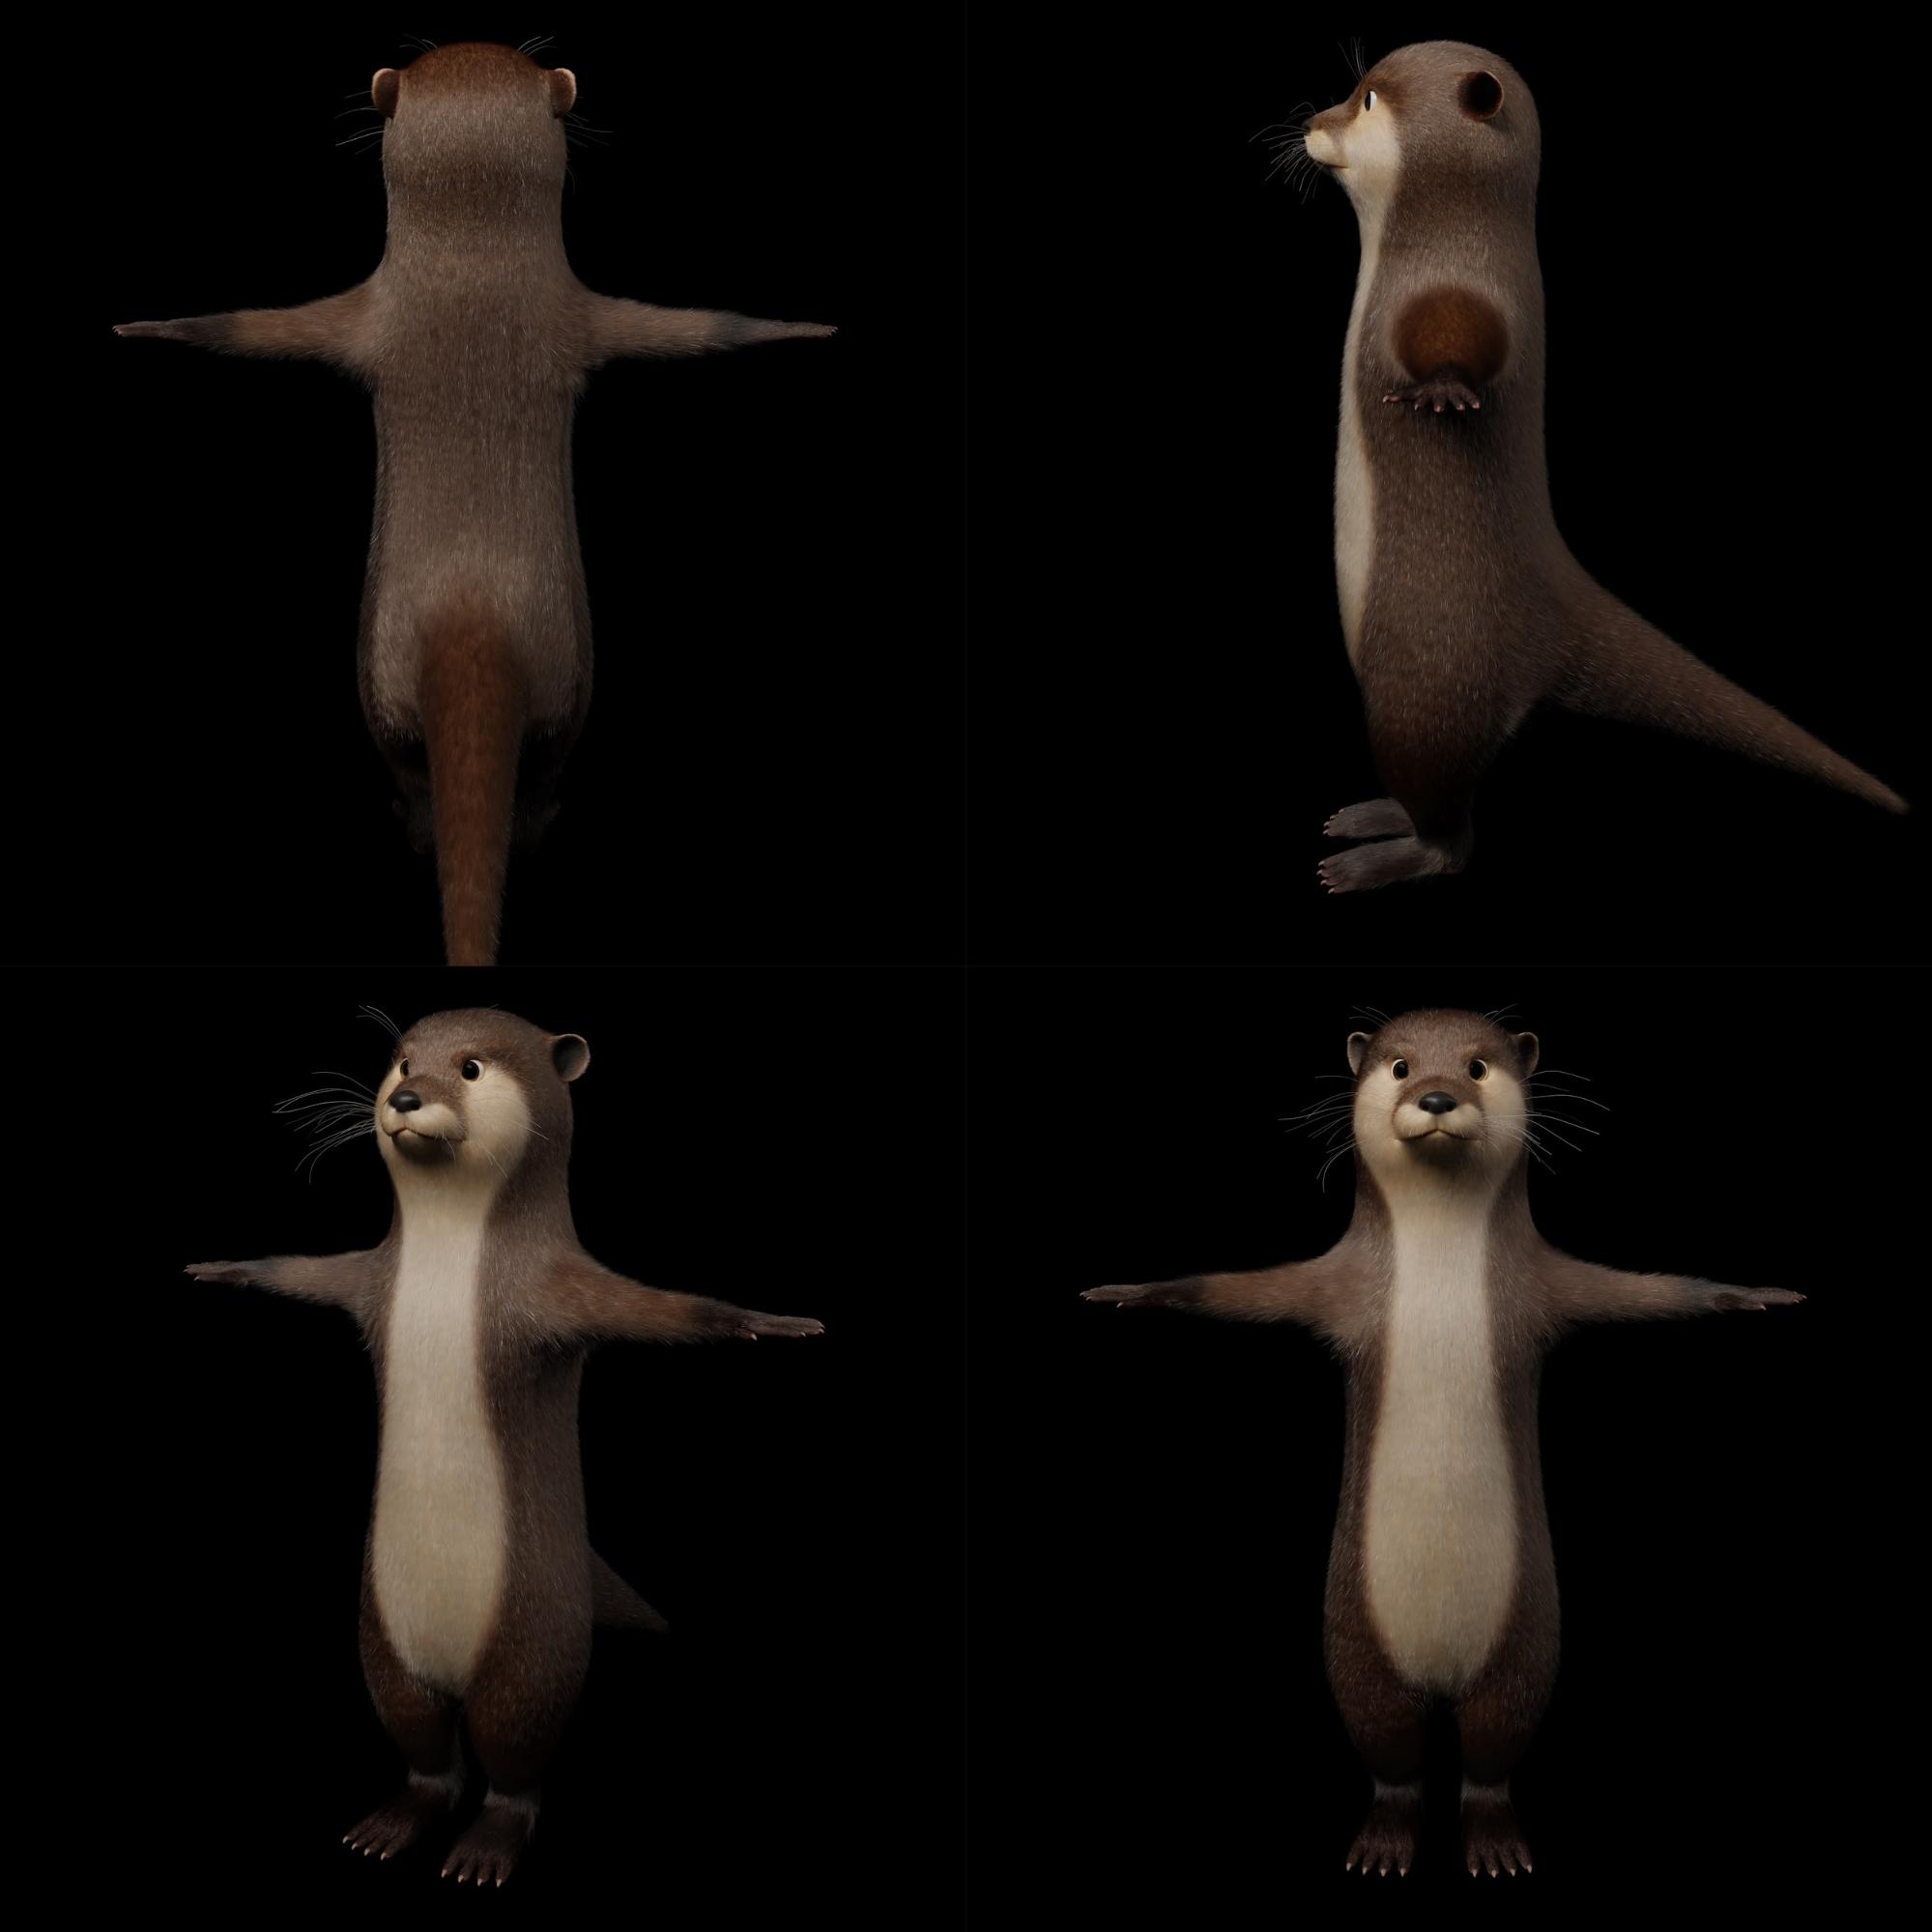
Caliber’s design is based on a set lore from the Animals of War Project. He is a semi-realistic otter with the ability to walk, talk, and use tools. I knew that he was going to be mainly bipedal so I gave him human qualities in his design. For Caliber, I didn’t use reference to sculpt him out, instead, I free sculpted him using mostly pictures of real otters on another monitor.

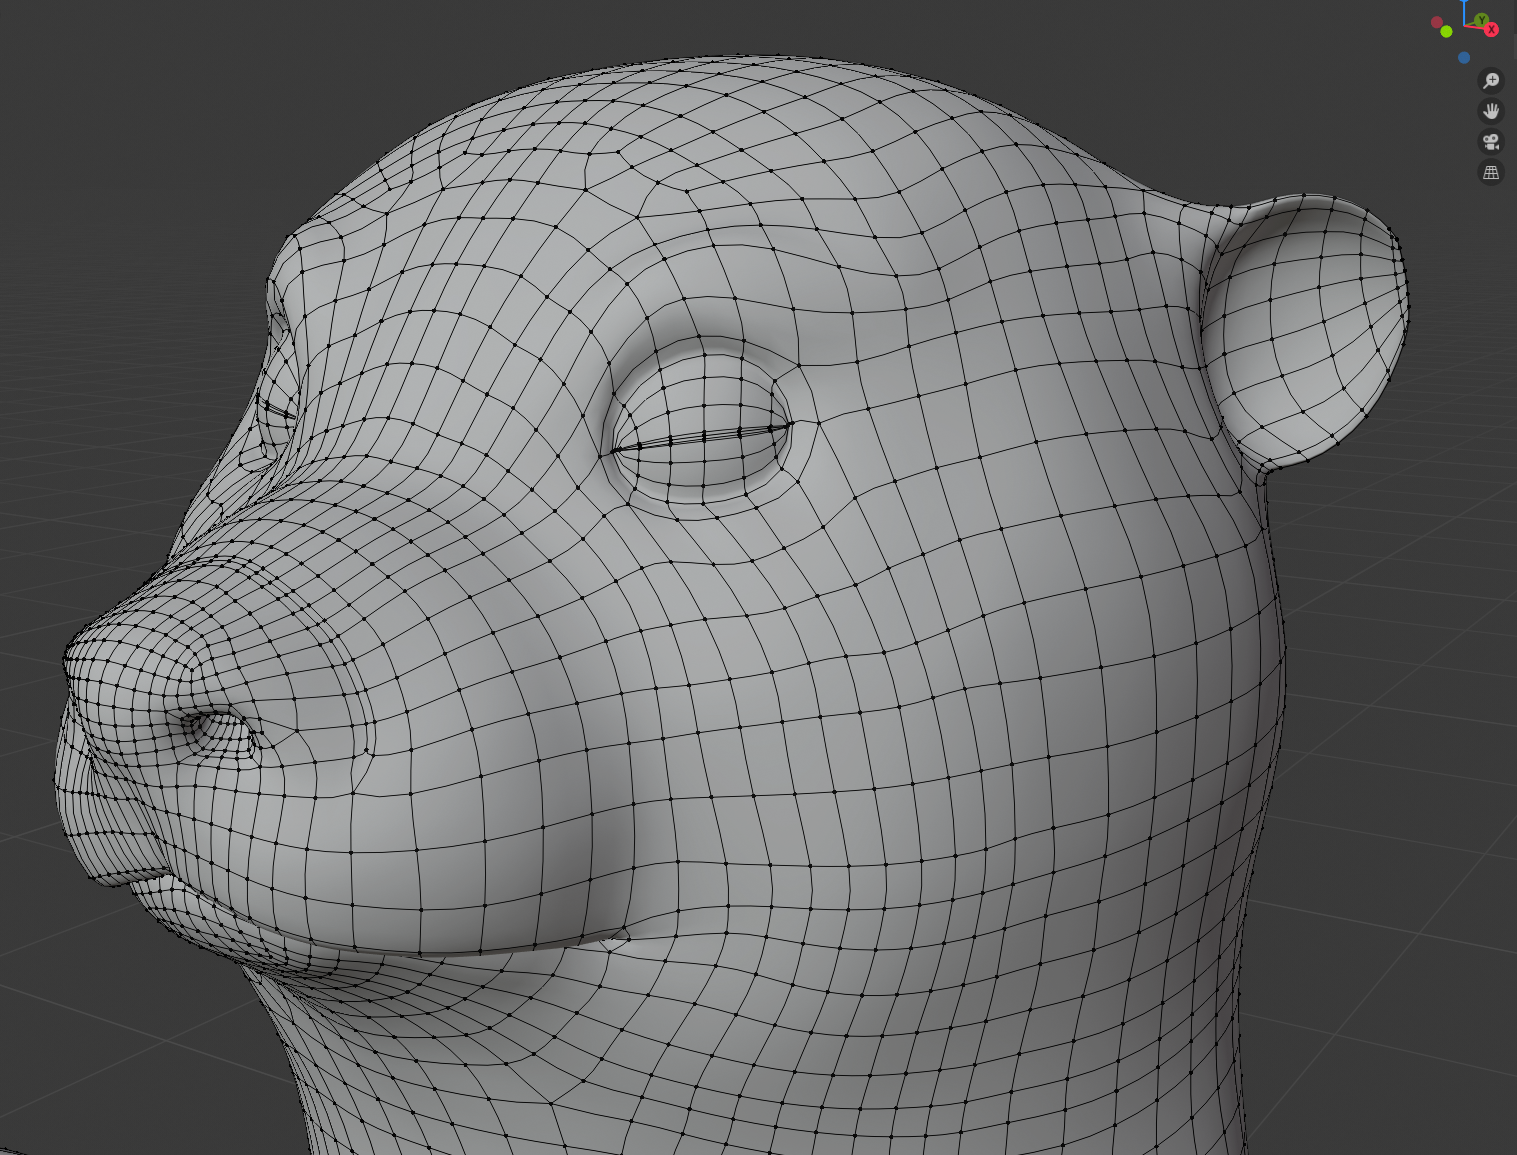
I used dynamic topology to create the shape of the character and details of his face. Sculpting in 2.8 has been much nicer to me thanks to the new UI.
Retopology
Retopology was done using CG Cookie’s RetopoFlow. It really is an amazing tool for quickly retopologizing a model or sculpt. Although I have to say, at the time of creating this character (April 2020), Retopoflow had not yet been updated for 2.8, so I had to revert to 2.79b to complete the retopology process. But now the add-on is updated for 2.9, and is a vital tool in my creation process.
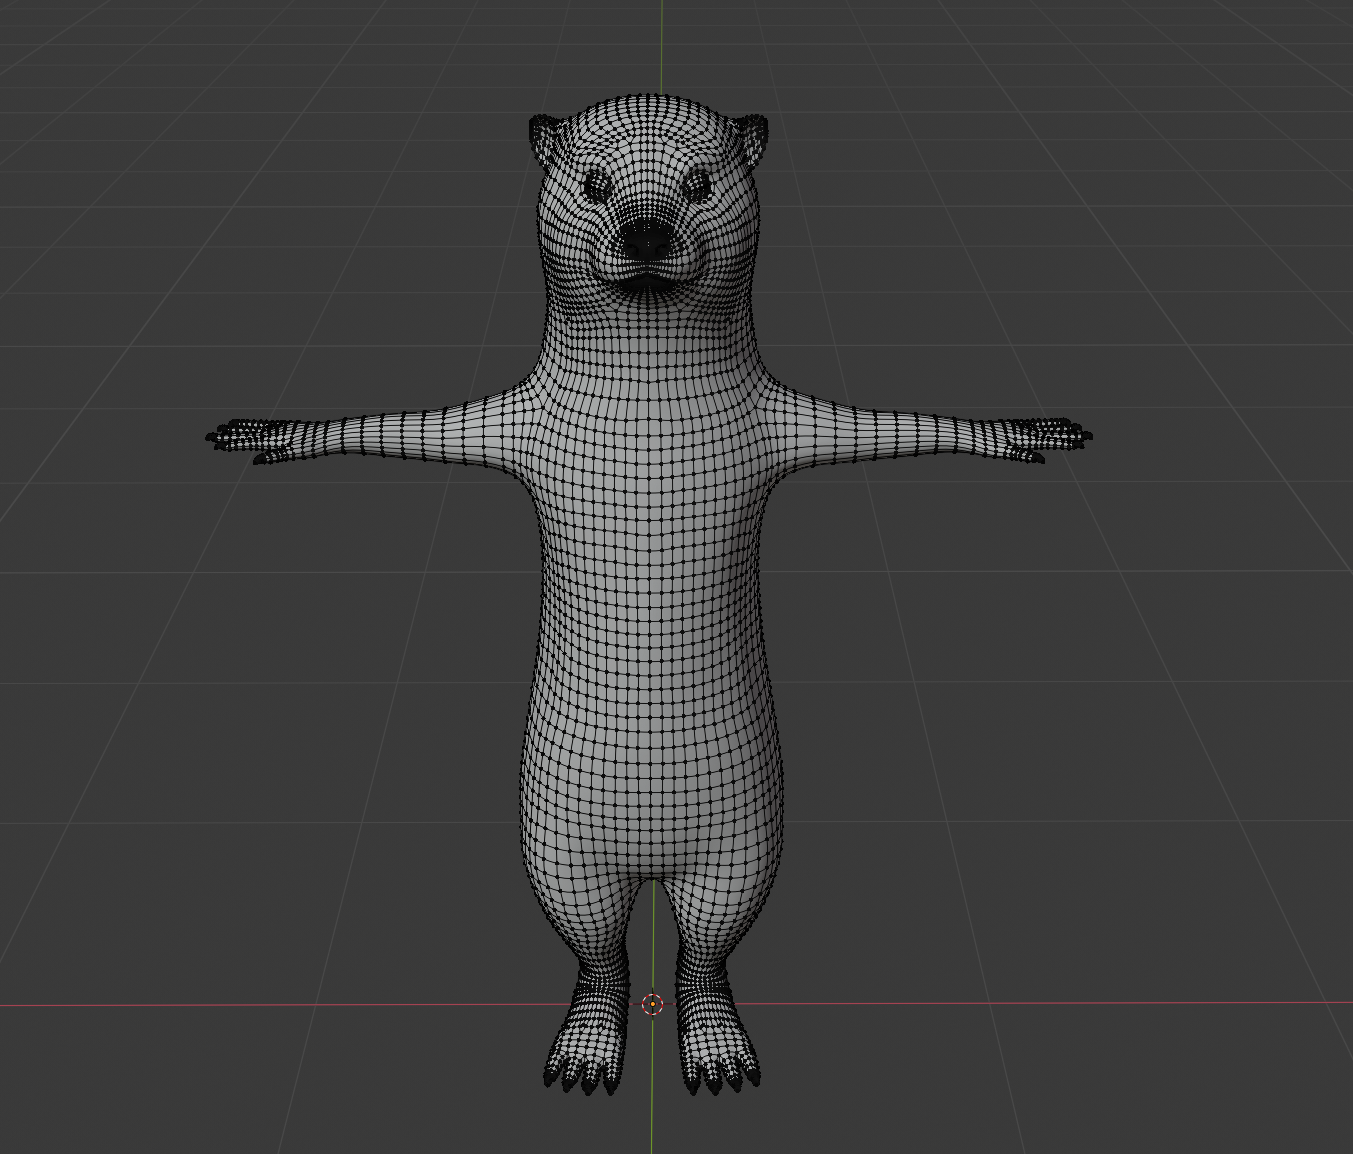
Looking back at this character, the topology flow is ok but it could definitely be improved upon. Always look for improvements! It’s how we grow as artists!
Texturing
Because I knew that Caliber was going to be covered in fur, I made his skin material extremely simple. I try to simplify things in Blender as much as I can, especially when it comes to texturing and materials.
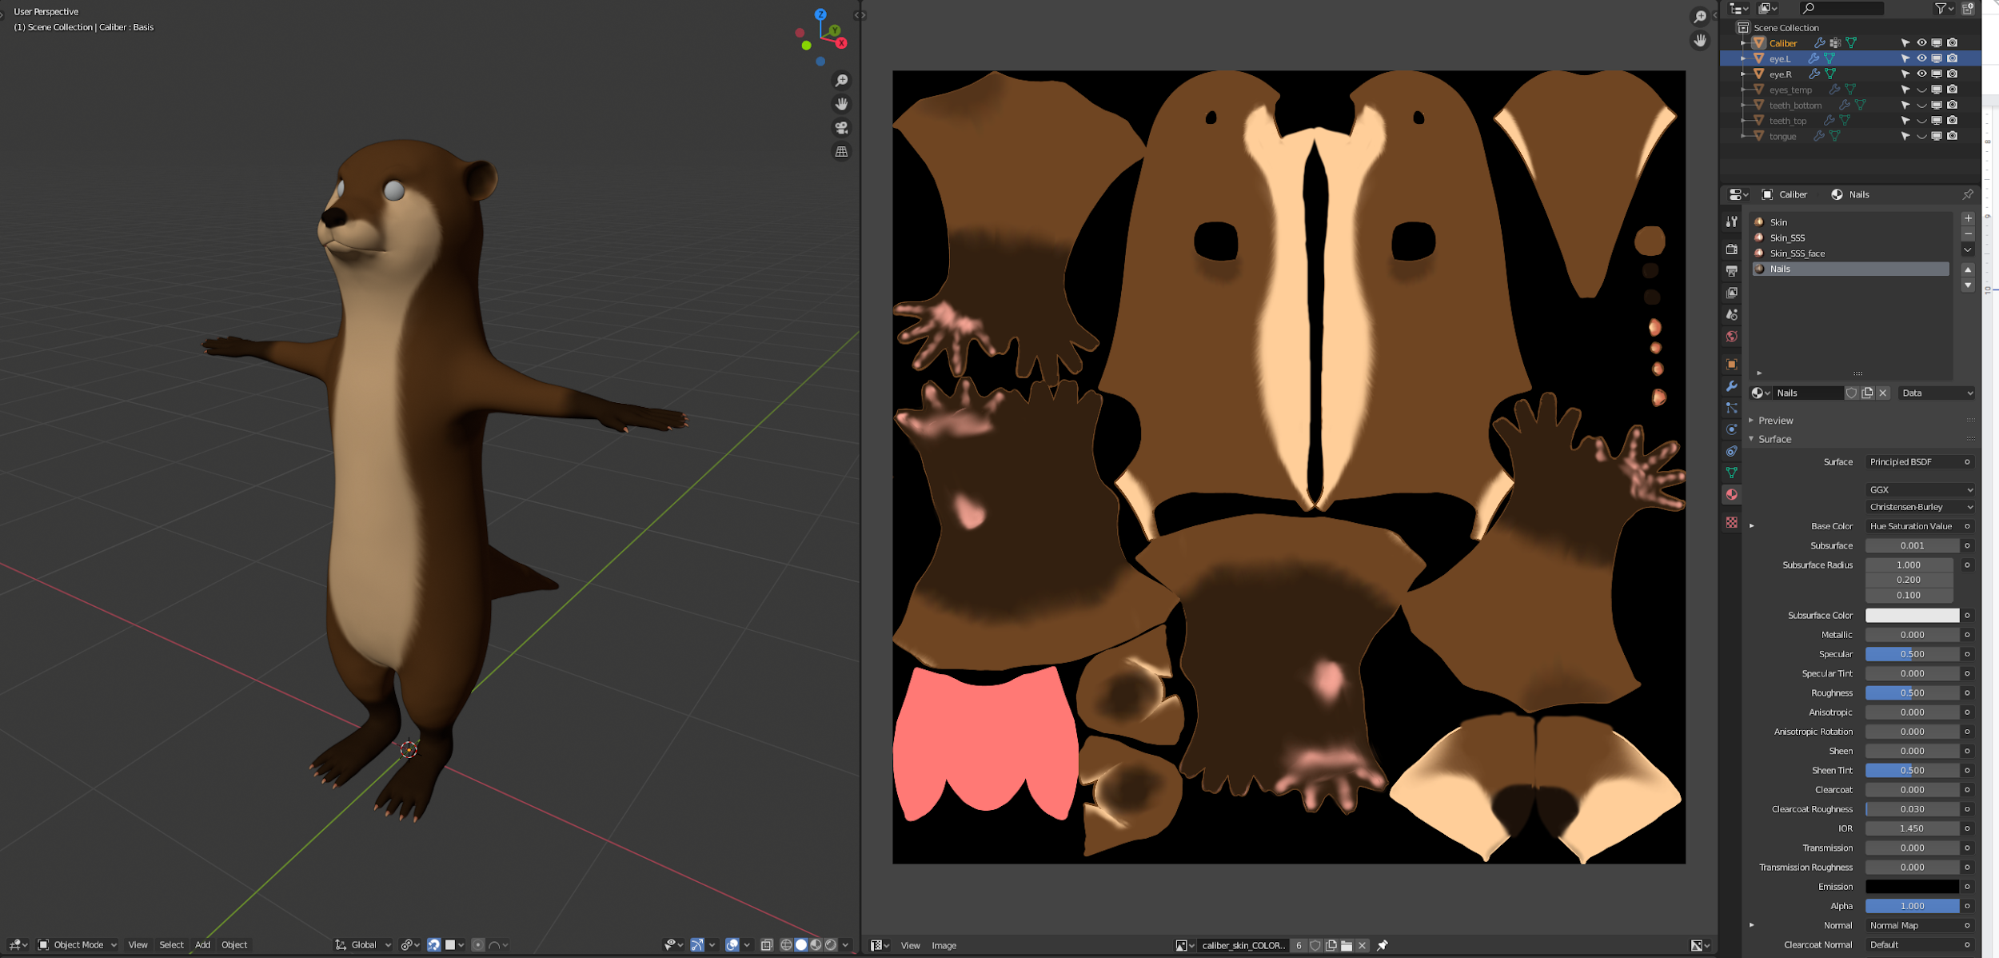
The UV map of Caliber’s skin was simply painted using Blender’s texture painting tools. I used both the 3D and 2D tools for this texture.
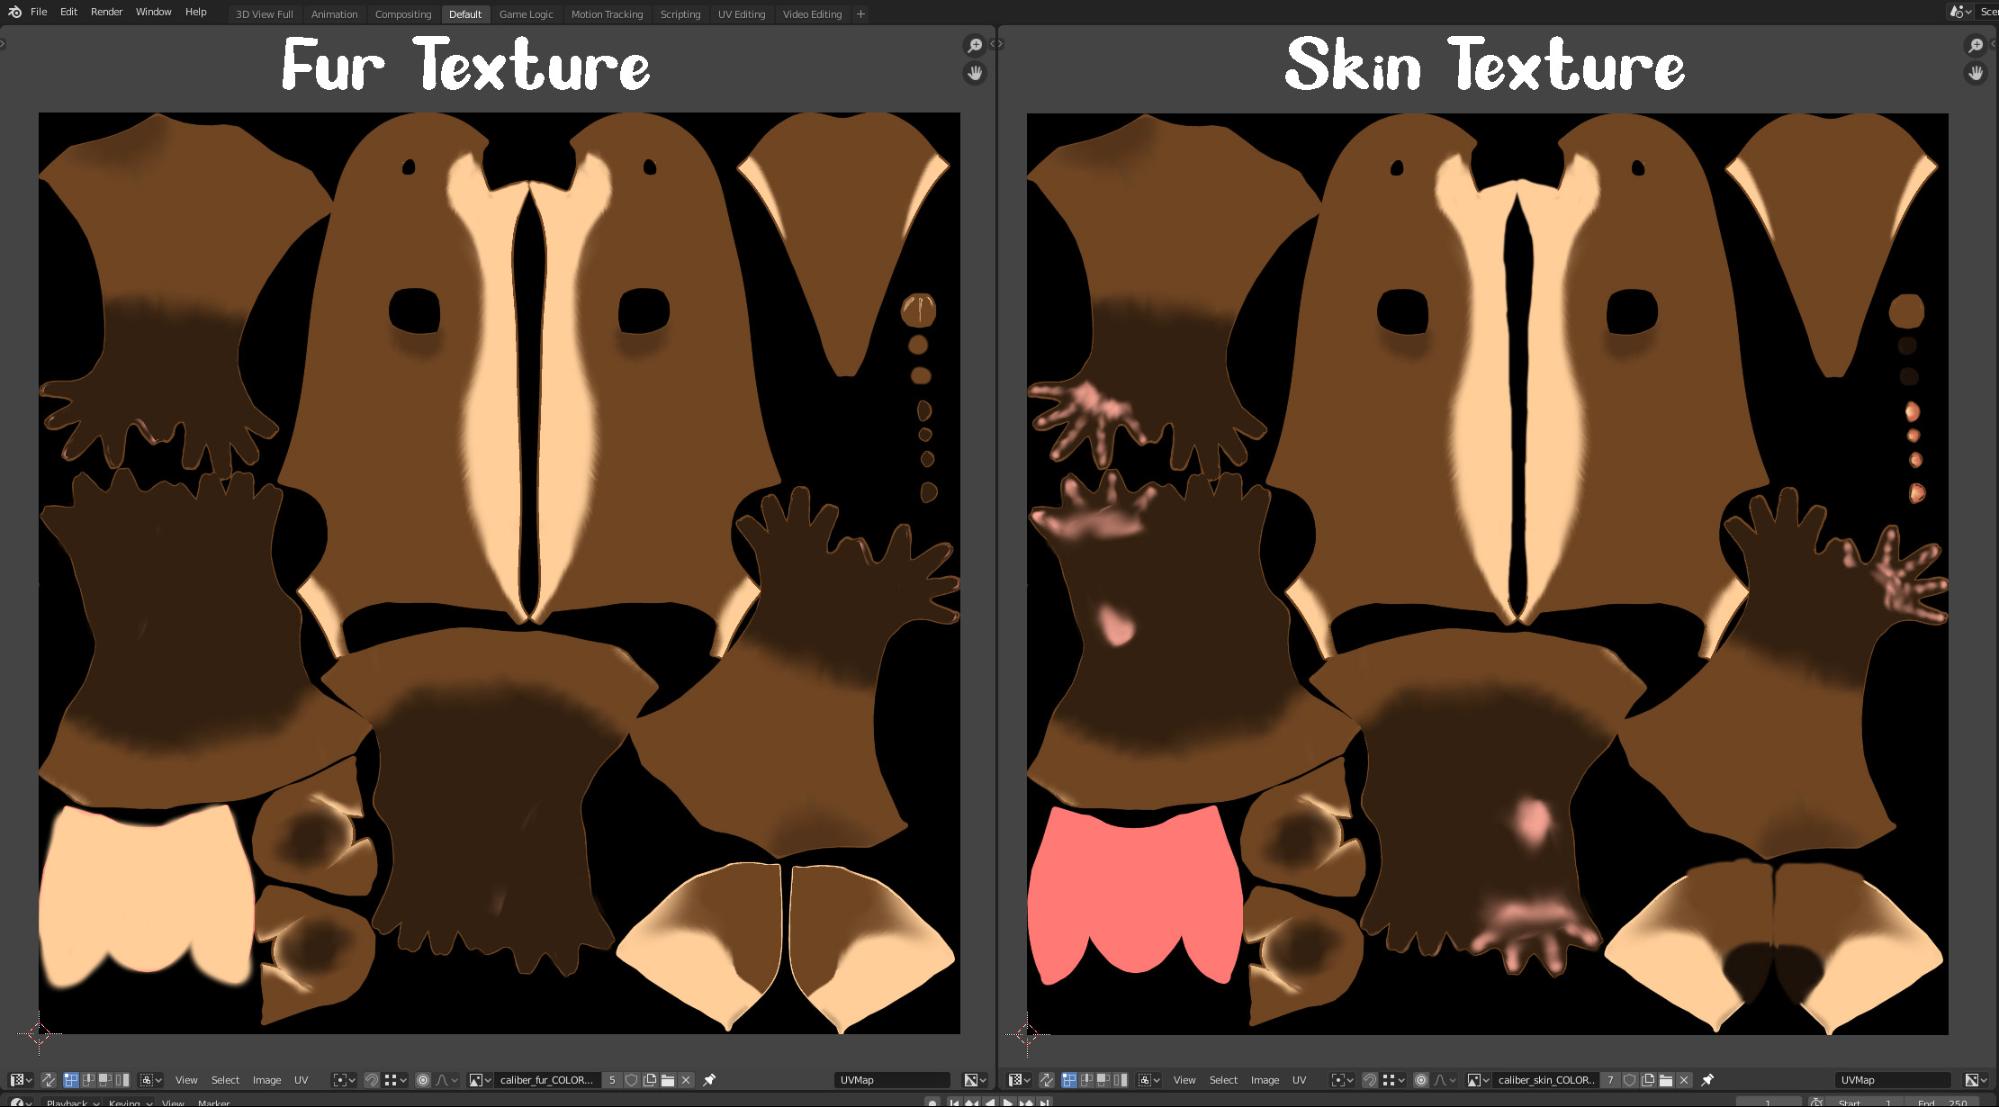
I made two textures, one for the skin, and one for the fur. The fur map was to be used by the particle system to determine the color of the fur. (We’ll talk about that later.)
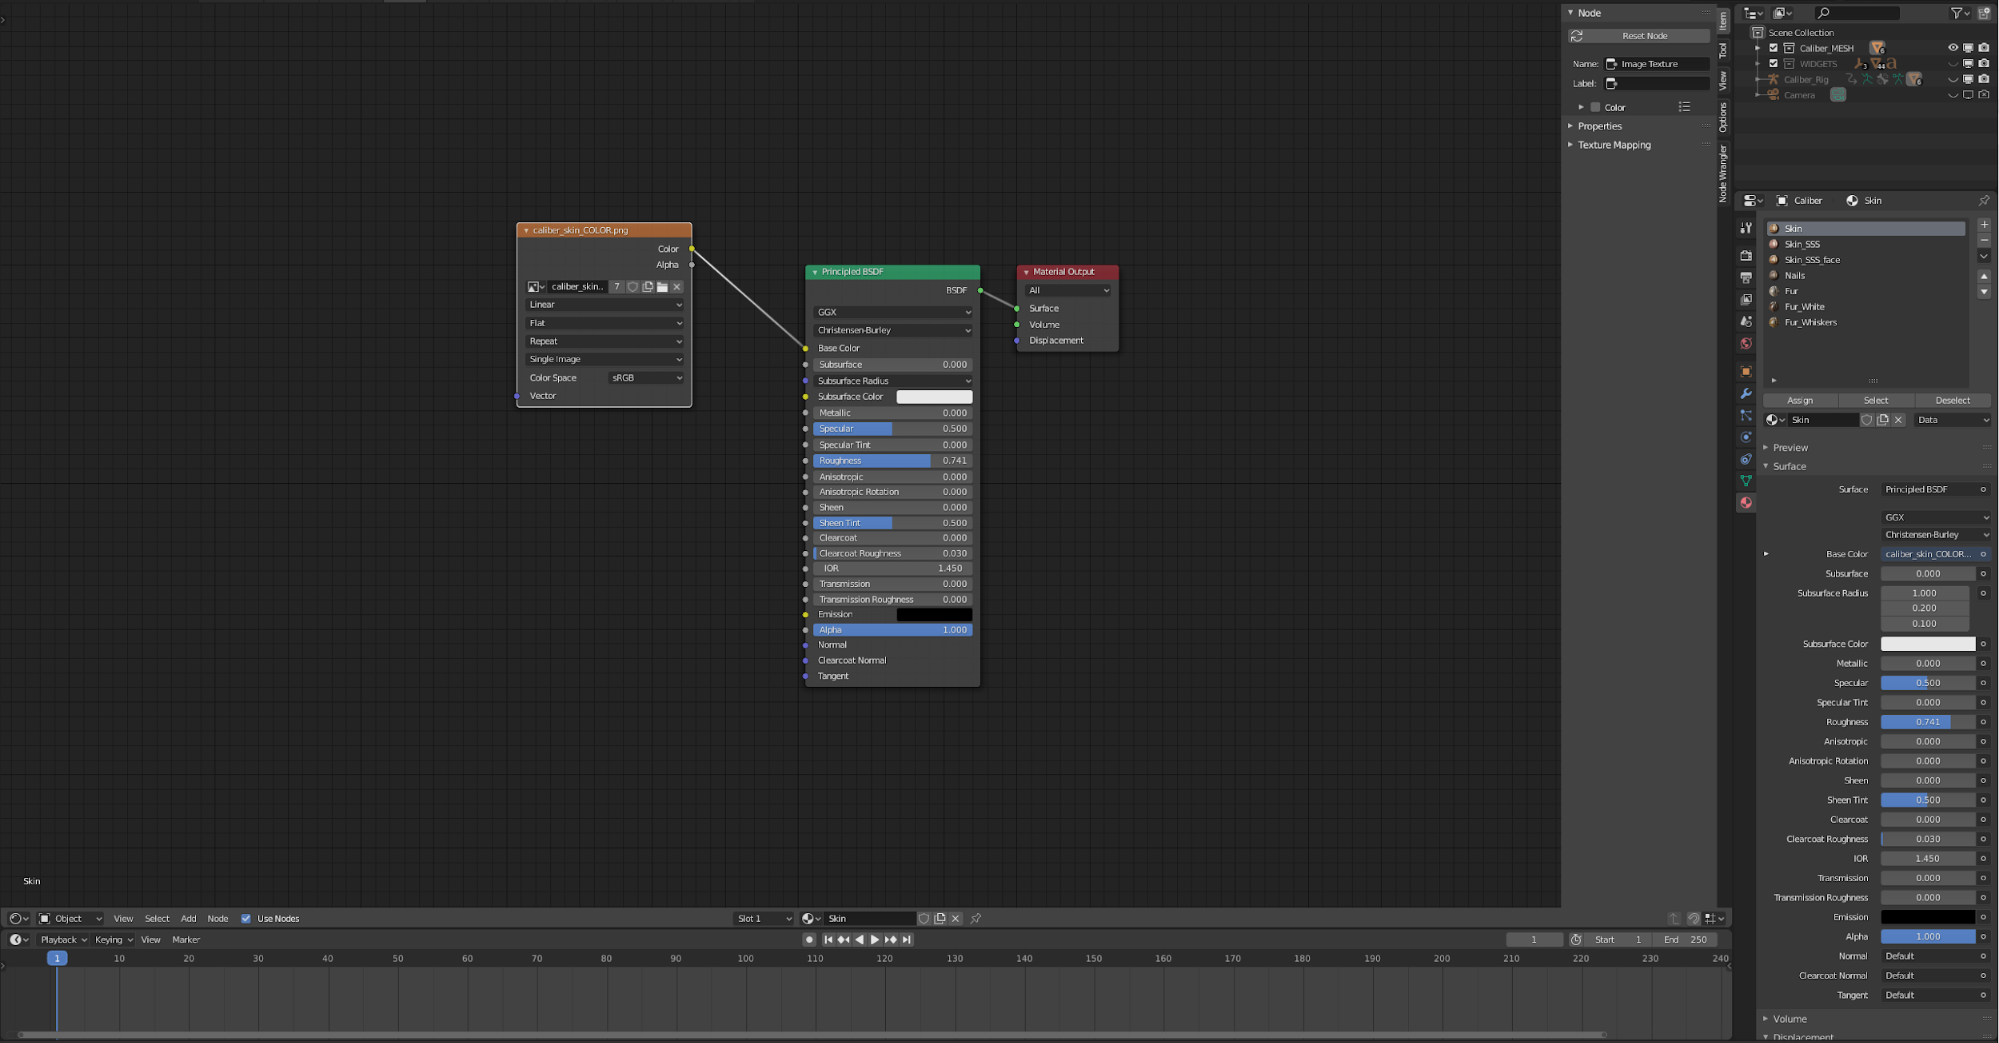
For the majority of the body, it’s literally just one texture on a principled BSDF.

The subsurface material is used only on parts of the body with thin fur, (e.g., fingers, toes, nose, mouth).

The eyes are actually based on a tutorial by Kent Trammell, from here. I took the idea from that video and made some modifications to fit the style of my characters. I also had to do some tweaking to the material so I could render it properly in Cycles. (The video teaches you how to make it for EEVEE.)
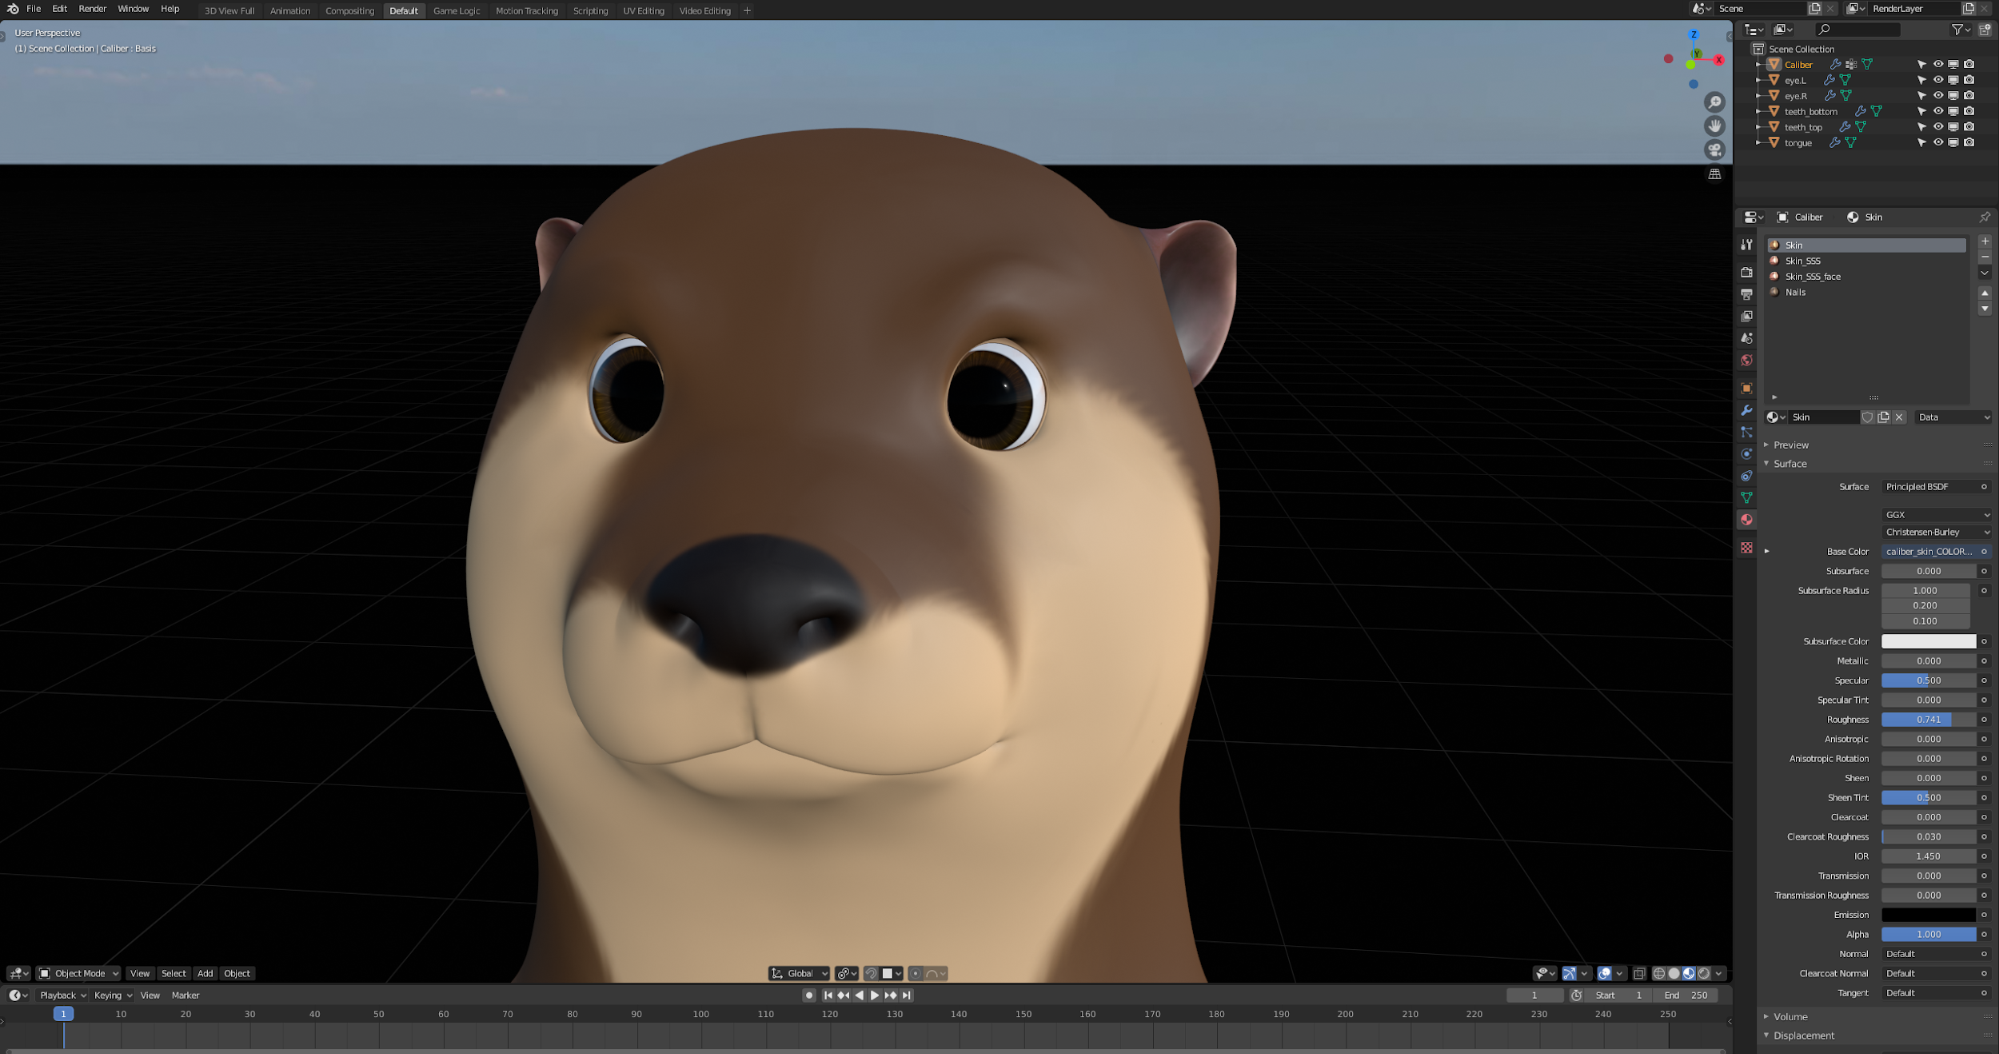
After that, I simply baked out the material onto a texture and there’re my eyes!

I also made some simple teeth for the character using pictures of real otter teeth as reference.
Fur
I spent the most time with this character doing this part. The main issue is the amount of fur. Otter’s have extremely dense and short fur. Me putting short fur on the character requires me to use more particles in order for it to look full. The first time I rendered this, my GPU almost exploded with about 10GB of VRAM used. After a few days, I managed to make it look somewhat believable with only 5GB of use. It’s about 1.1 million hairs.
In case you’re wondering, I built my computer specifically for Blender so the specs are pretty up there. I had to build it based on the fact that I would be rendering fur, so I spared no expense for memory. Everything rendered on a GTX 1080ti, i9-9900k, 64GB DDR4 RAM. I’m definitely looking to upgrade the GPU to the new 3080 series, but as of right now, it’s waaay too expensive.

For Caliber, there are a total of 8 particle systems, split across different sections of the body for controllability. I usually start with the face and work my way down to the feet, tweaking as I go along. Because the workflow is similar between the face and body, I’ll focus mainly on the head here.


For the face, I used 20,000 parent particles. This gave me a pretty good amount of control for the look. For children particles, I used the interpolated method, with 8 children per particle. The velocity, length, threshold, and roughness values settings are vital to get a realistic, non-uniform look. For each of my characters, these values differ wildly.
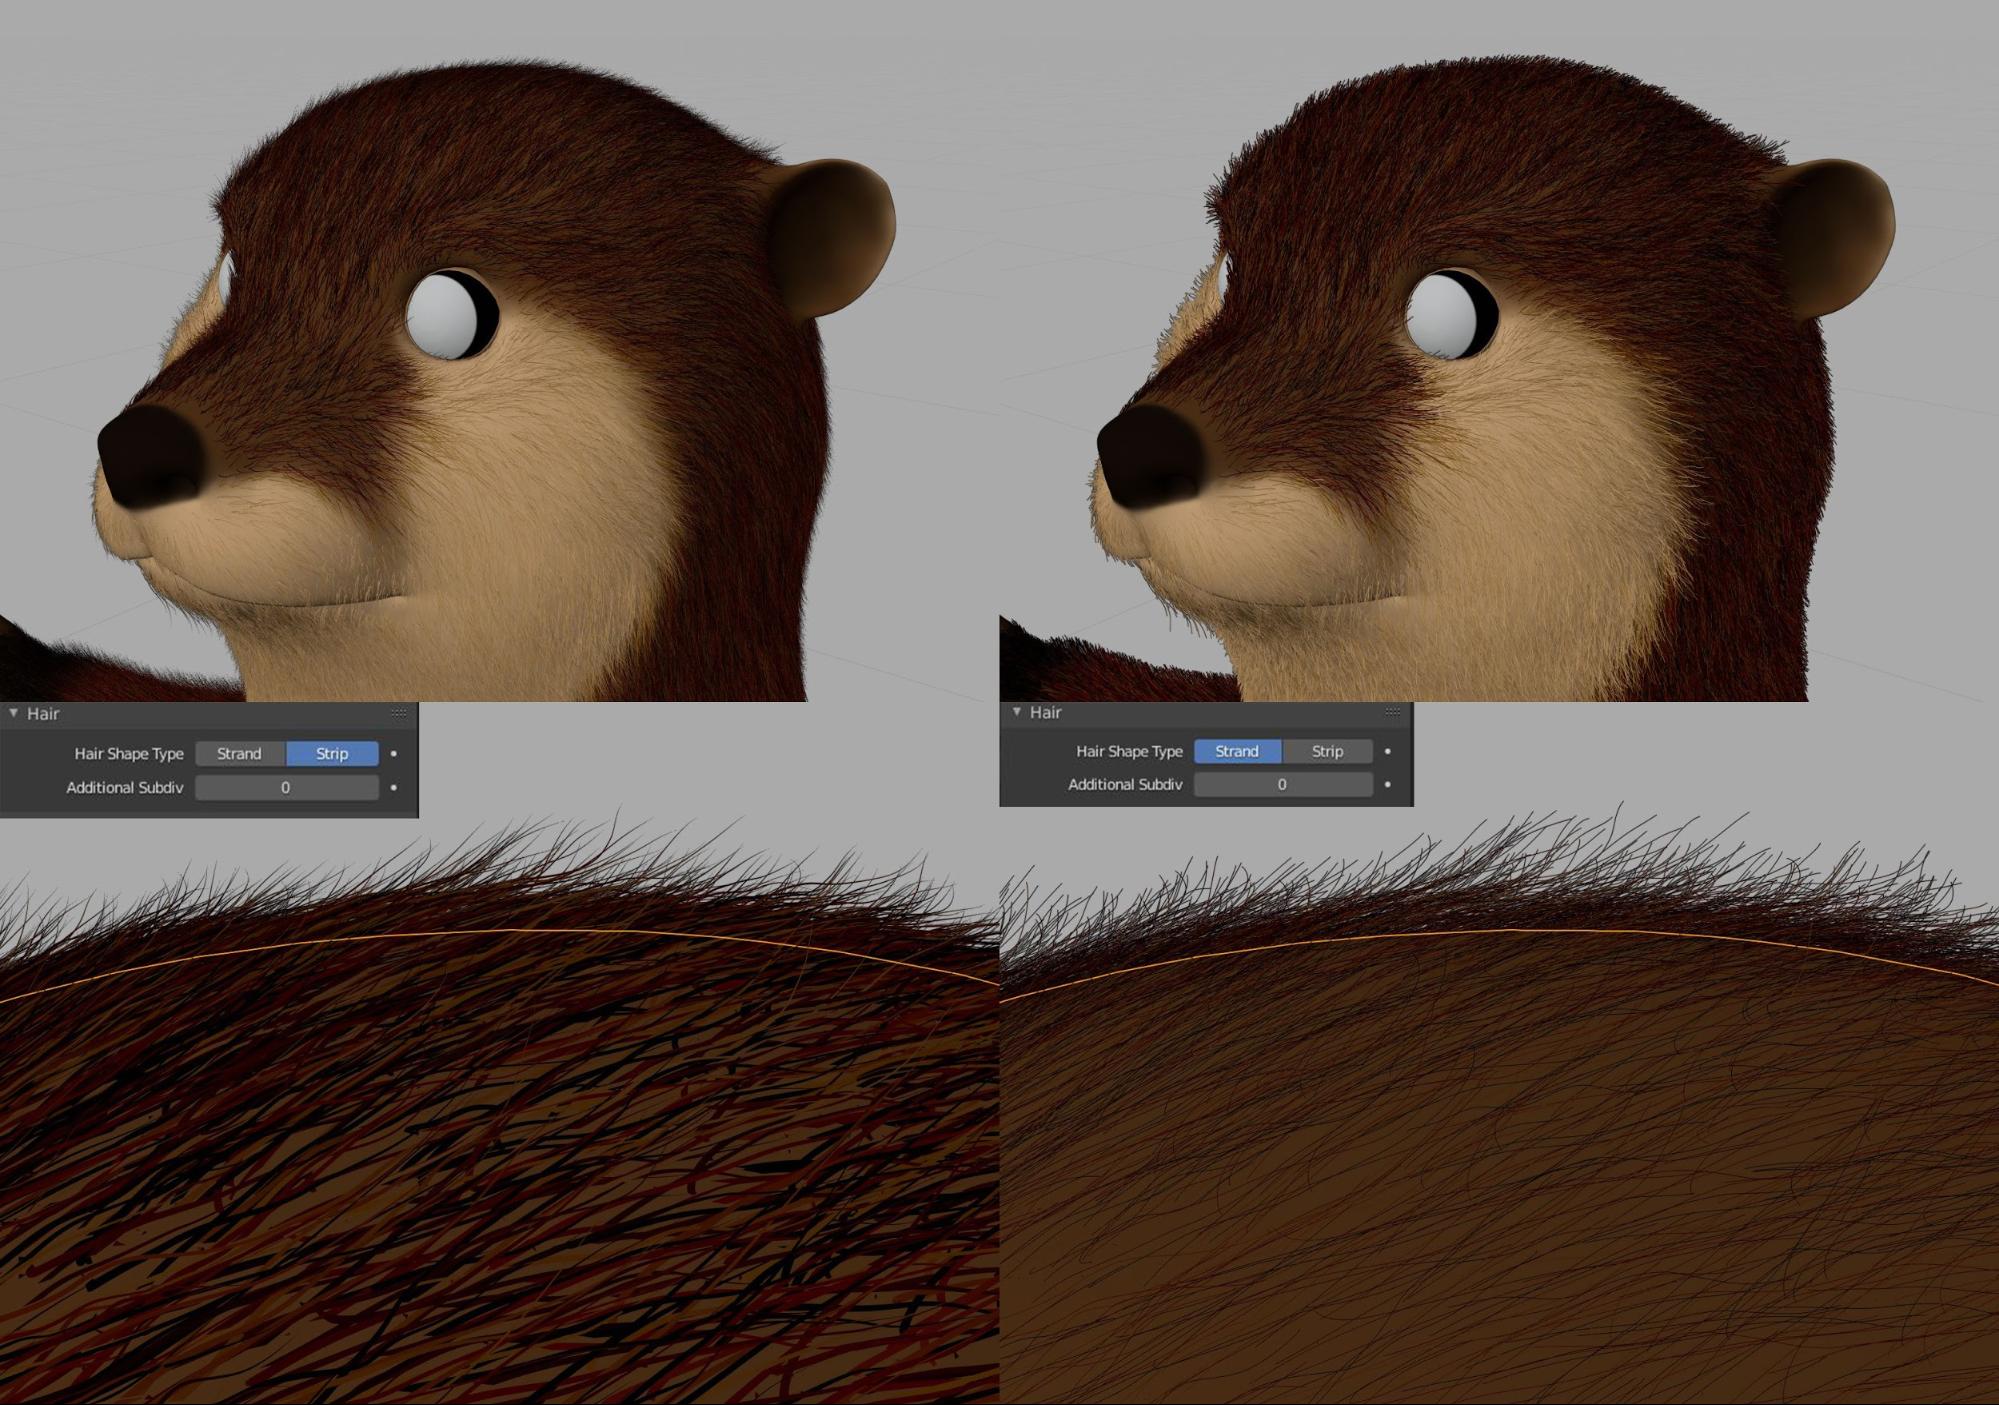
Handy tip: In the Scene settings tab, using the EEVEE render engine, you can change the hair strand type. This changes the visualization of the fur in the viewport. It’s useful for checking on the look of the fur without having to do a full render in Cycles. I have mine set to a hotkey for easier access.
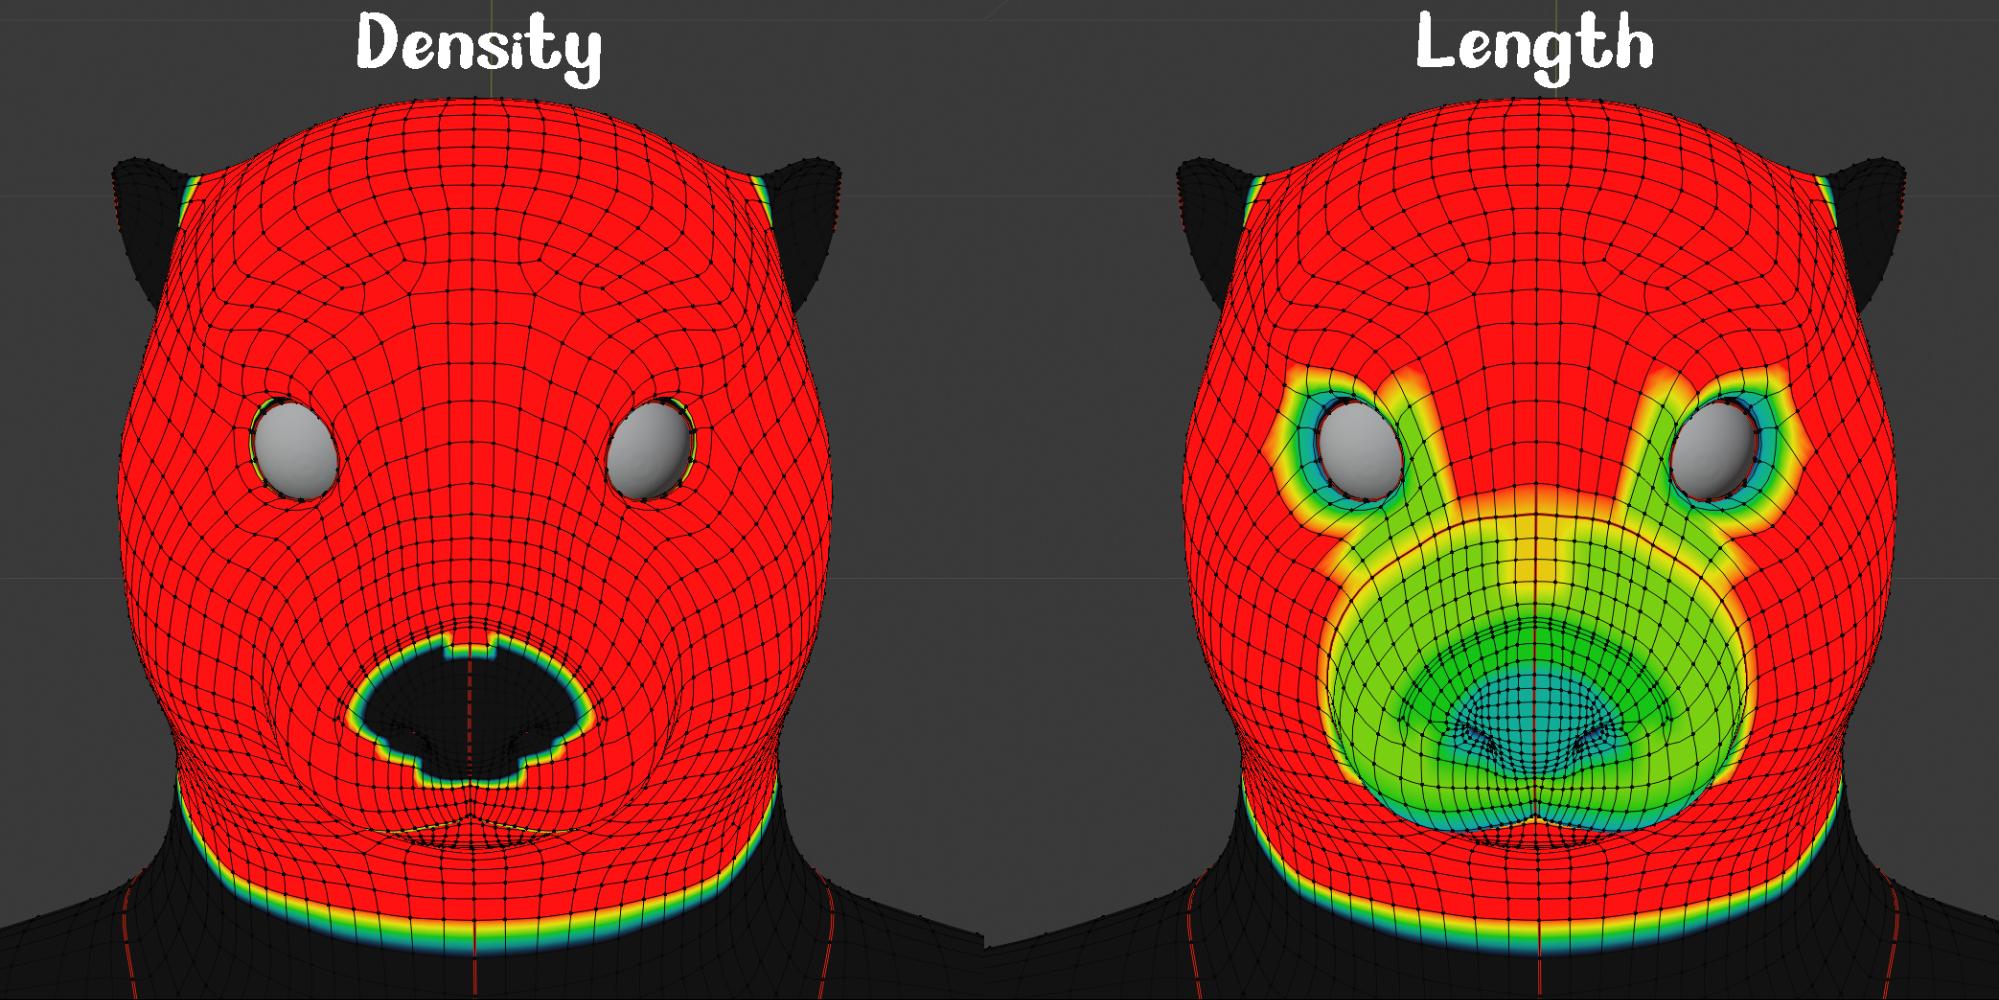
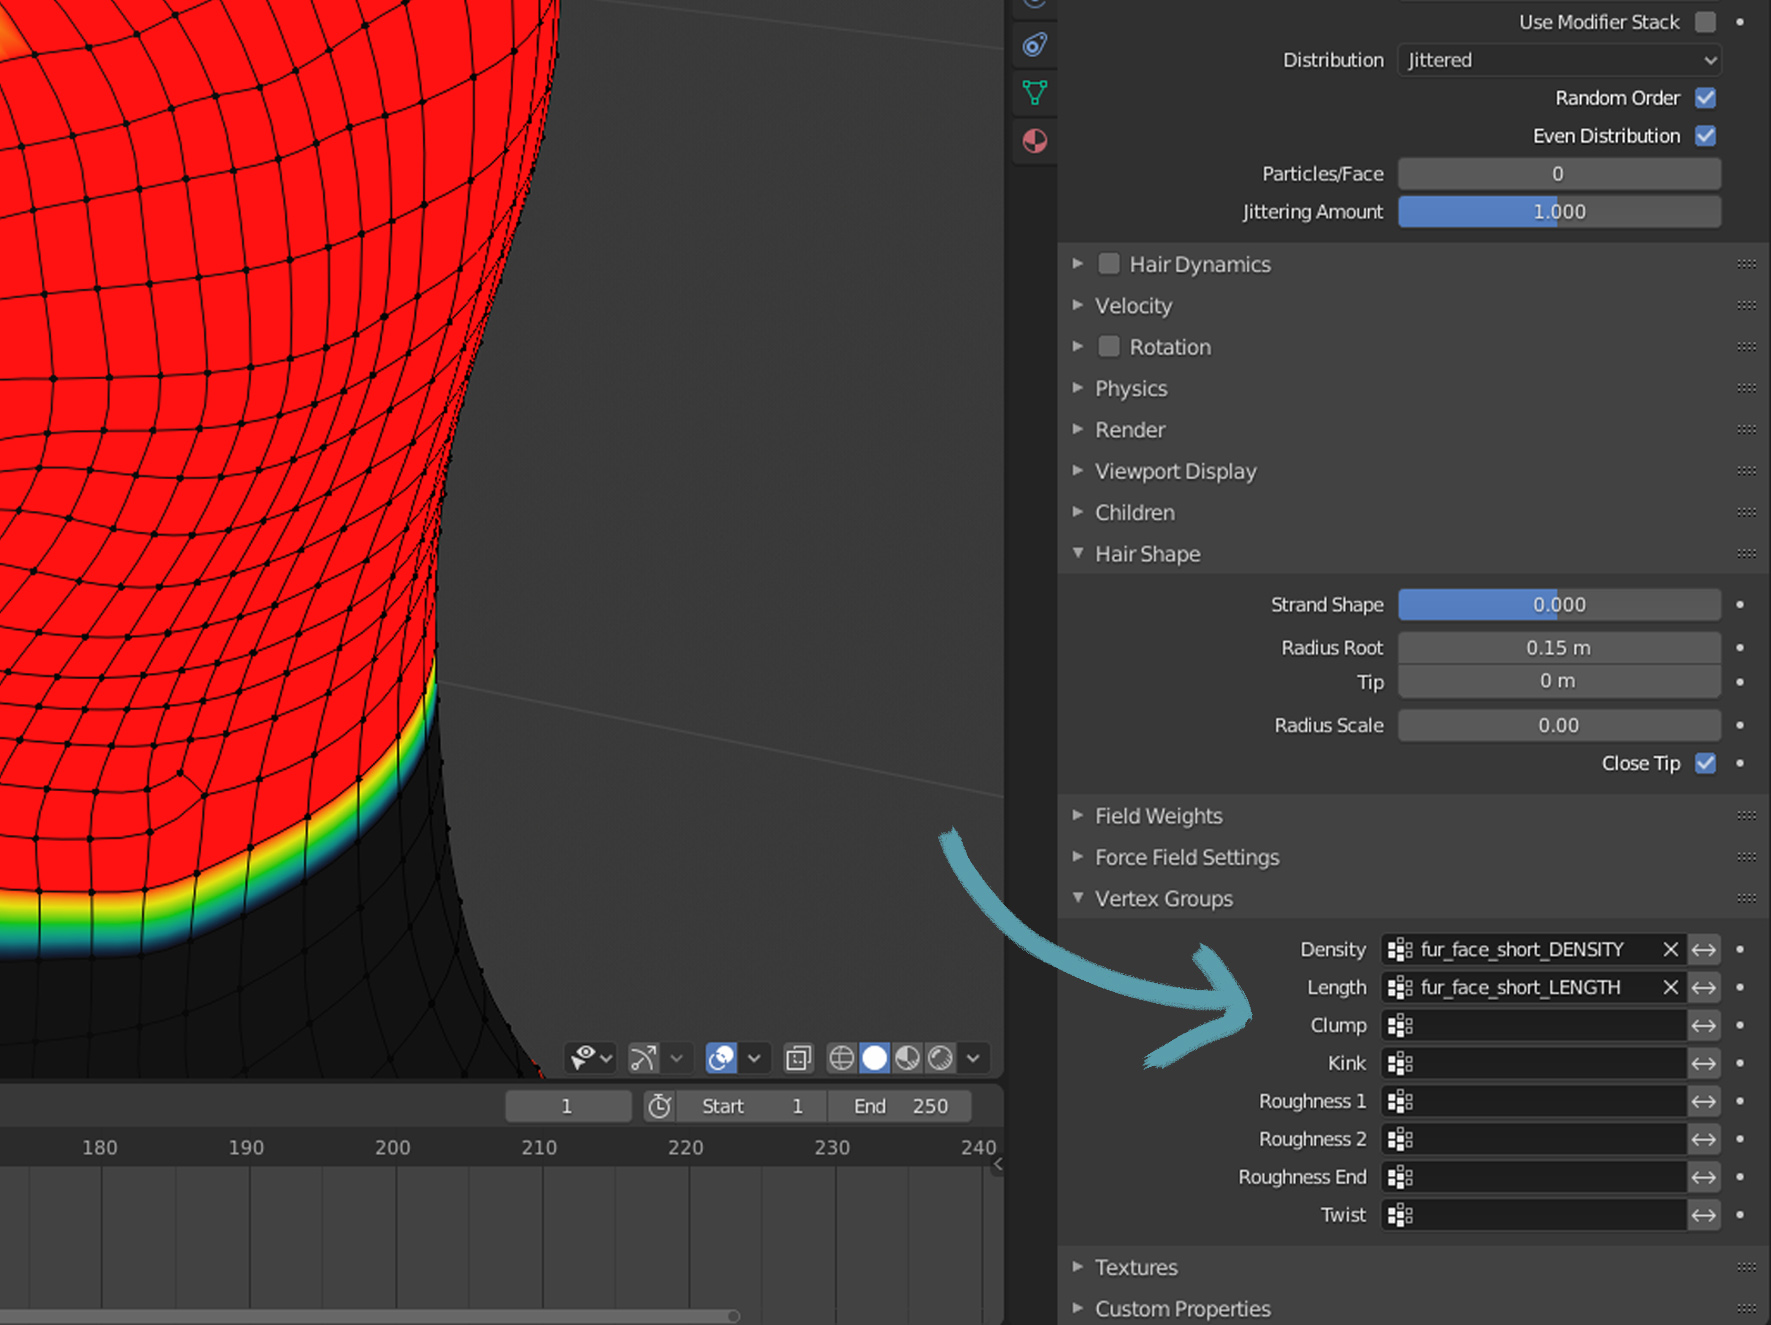
I used two vertex groups, one to determine the density of fur, and the other to determine the length. Both were tweaked for a while until the desired look was achieved. Each particle system had its own set of vertex groups respective to its area on the body. It was this tweaking that took the most time.
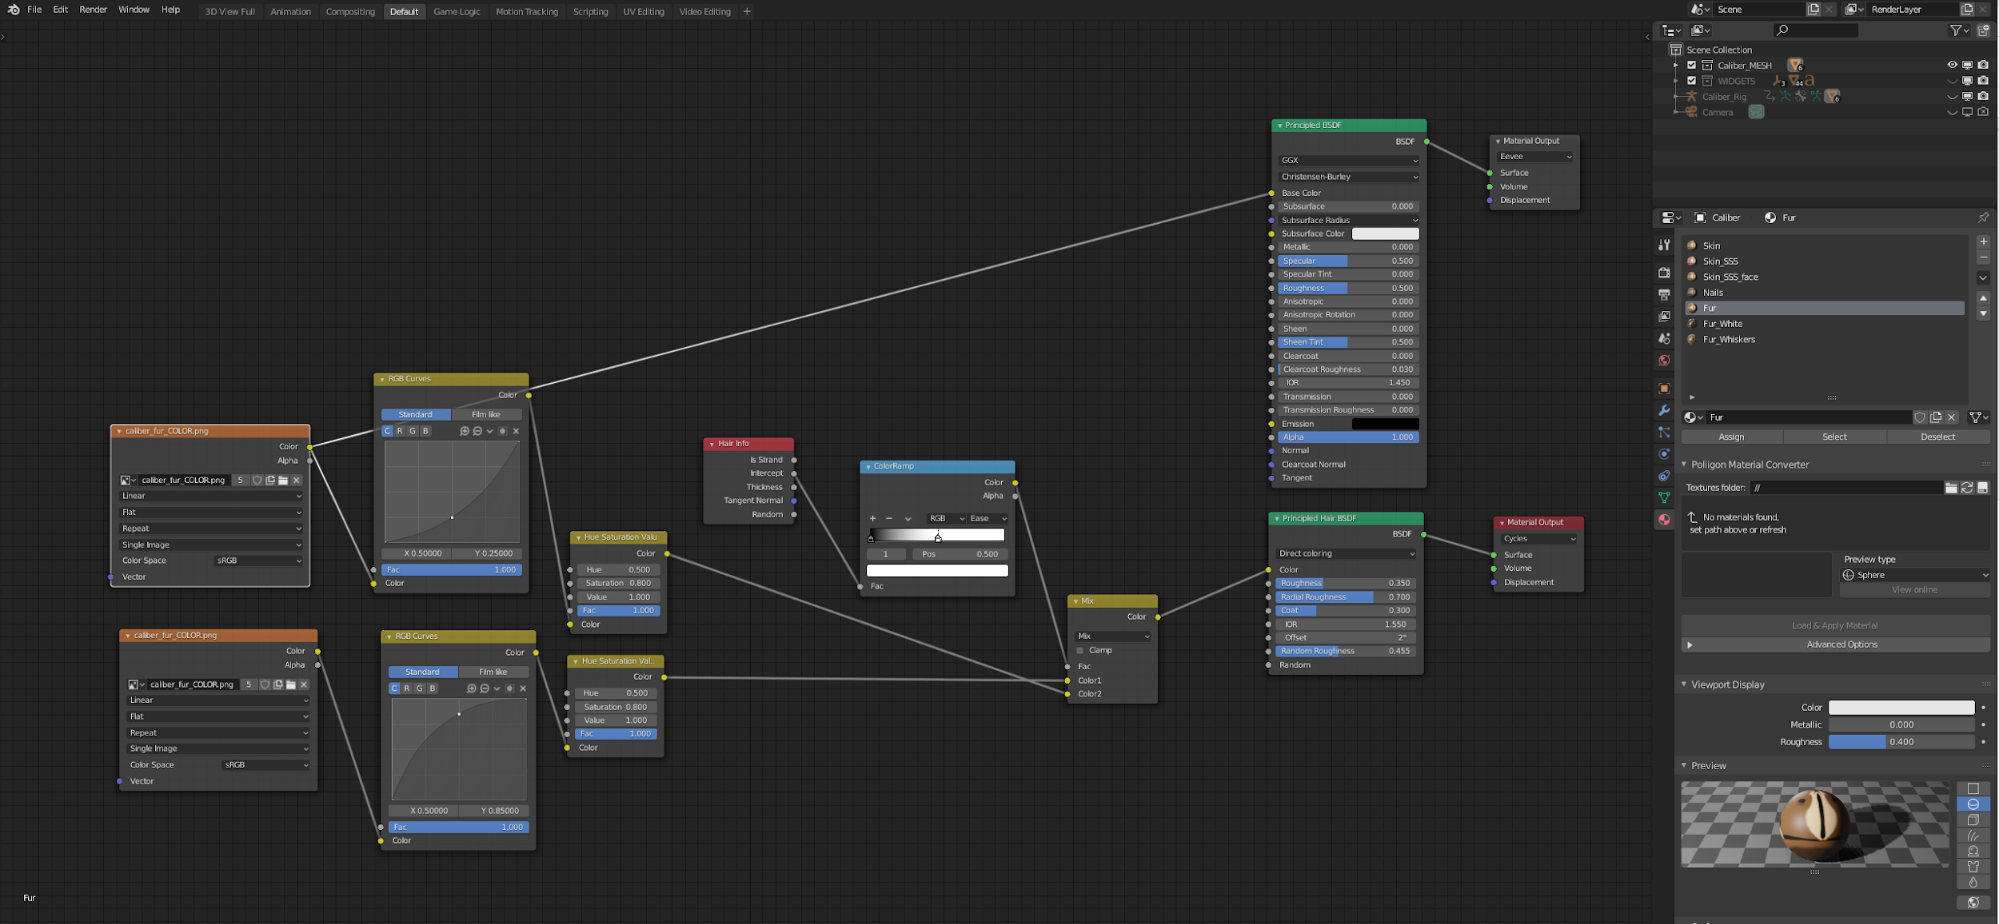
Now that we have the Principled Hair BSDF shader, it was super easy to hook up the fur color texture. I used the Direct coloring method because I have a texture driving the color of fur. Super simple!
Fun fact: This is also how Disney got the many variations of fur on their film, Zootopia. They simply change the texture and bam! New character!
Besides that, the fur was the biggest pain in my butt for a week straight. You would think it would be simple due to the shorter hair but nooo…. I spent, like, three days straight tweaking the character’s fur to look right. And after seeing the renders, it looks like it could be tweaked some more…. But it’s good for now.
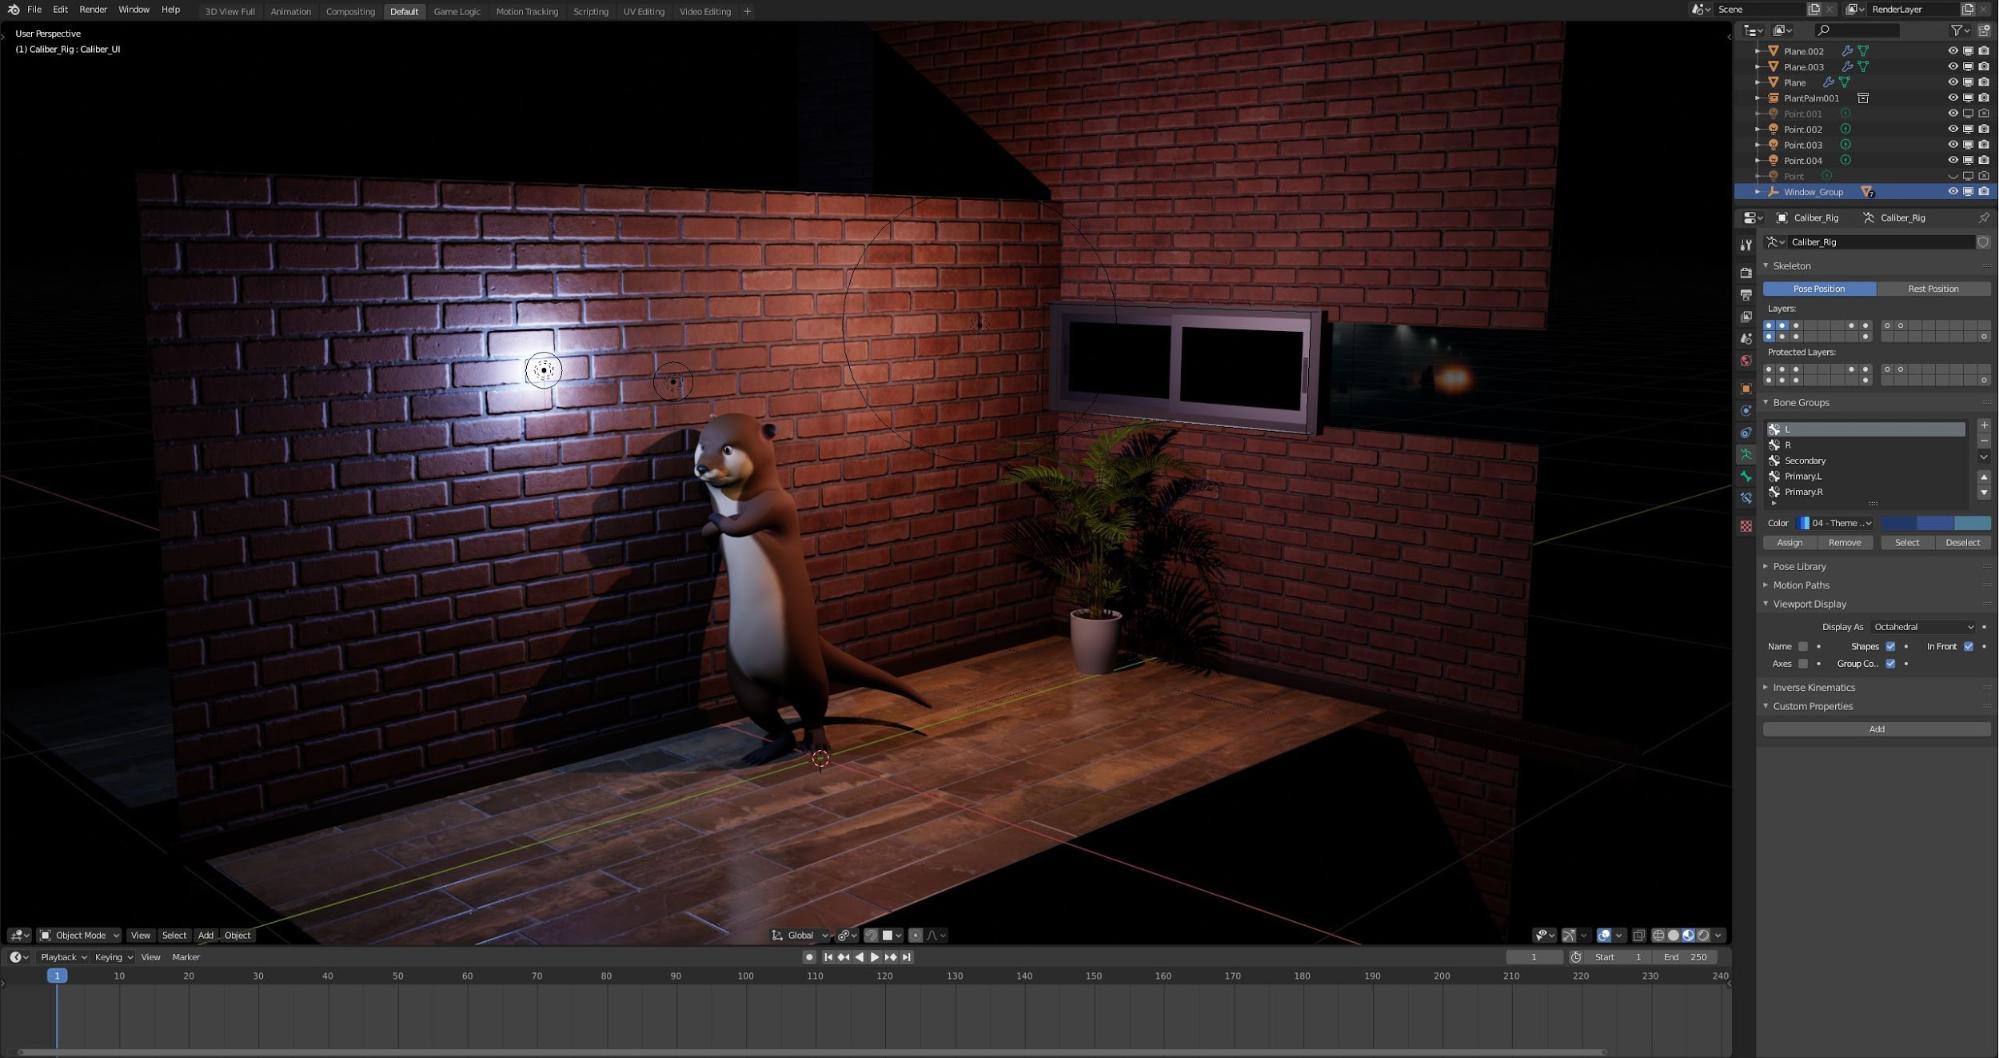
Rig
The body rig was built from scratch and designed as a general-purpose animation production rig. A good portion of the techniques I used here were all from the Humane Rigging DVD by Nathan Vegdahl. Even though the videos take place on Blender 2.6, almost everything still applies today. If you don’t know anything about rigging, that’s a great place to start.
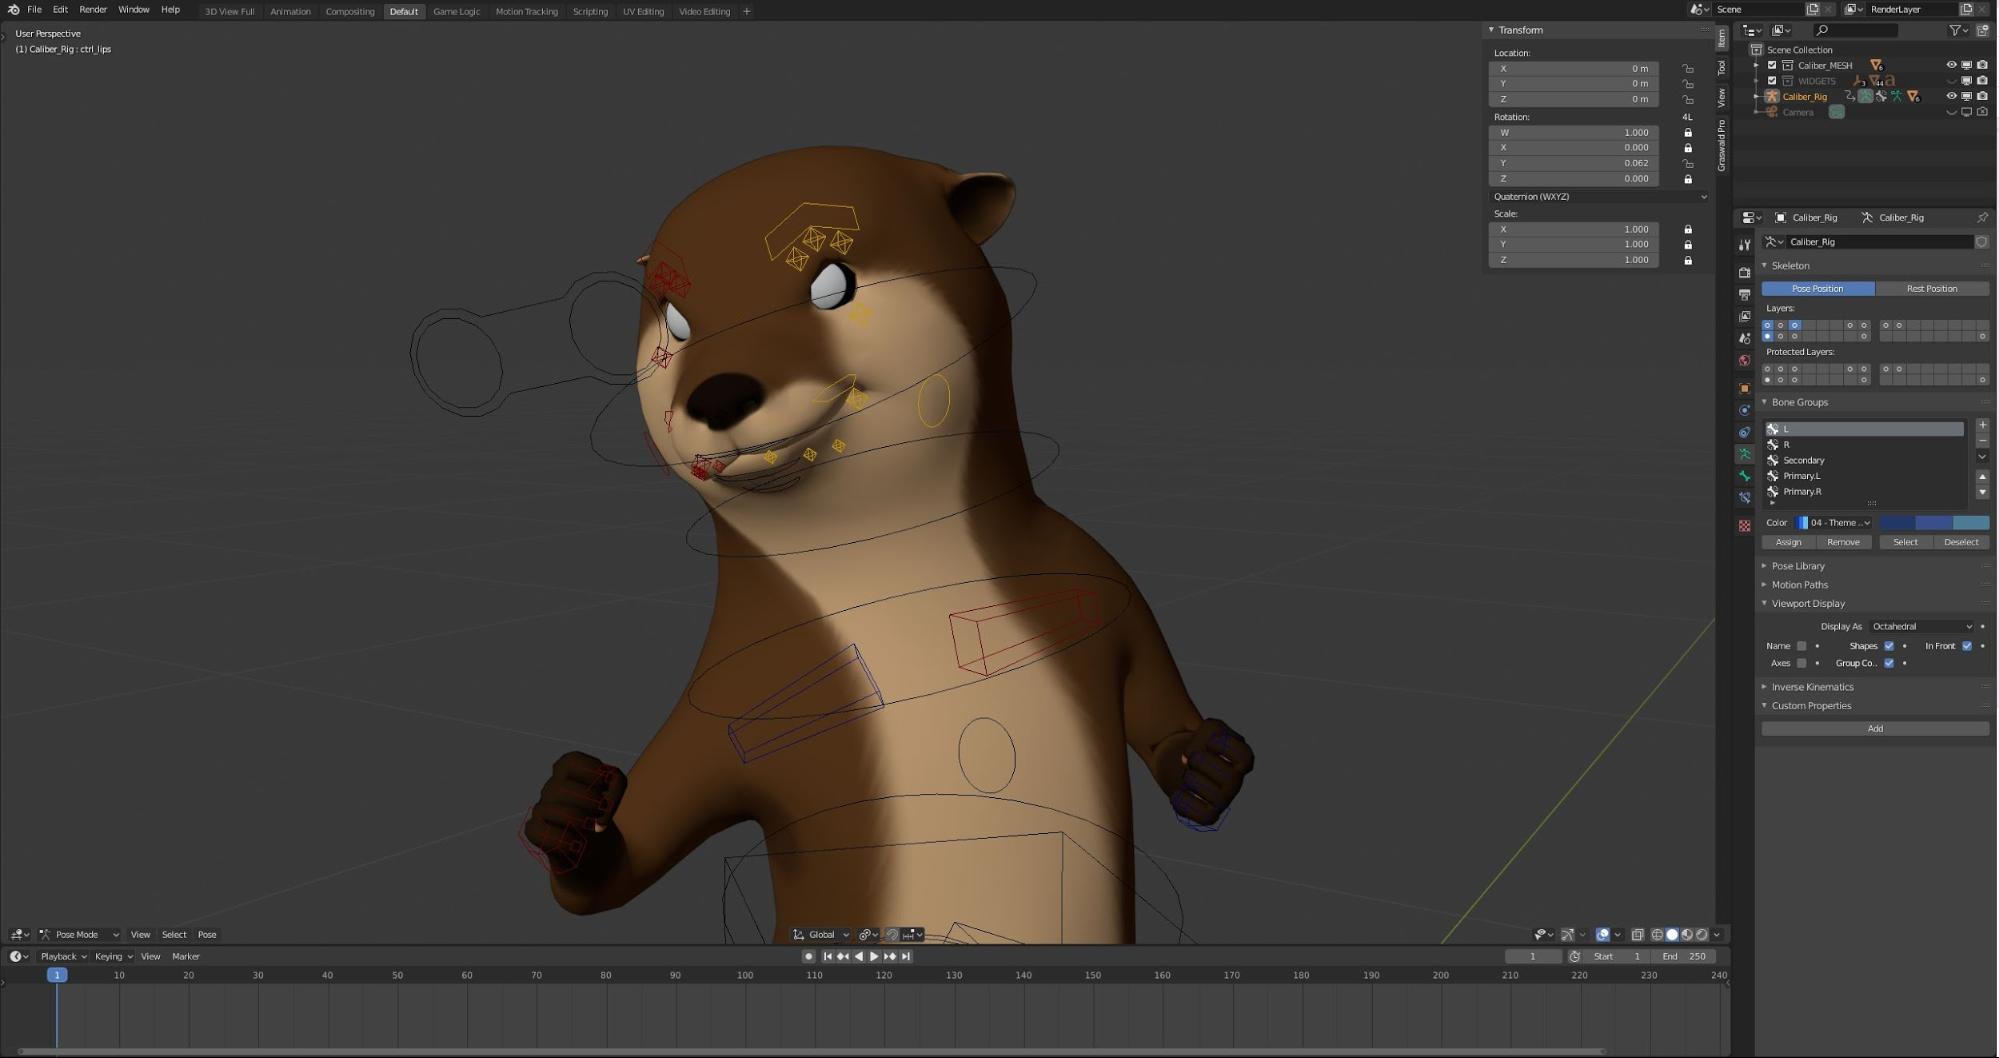
This rig is built from the ground up and has most of the typical things, such as IK-FK switching, a very versatile spine rig, and full control of hands, fingers, feet, and toes. Of course, I could have used Rigify, but I’m stubborn and like to make certain things from scratch.
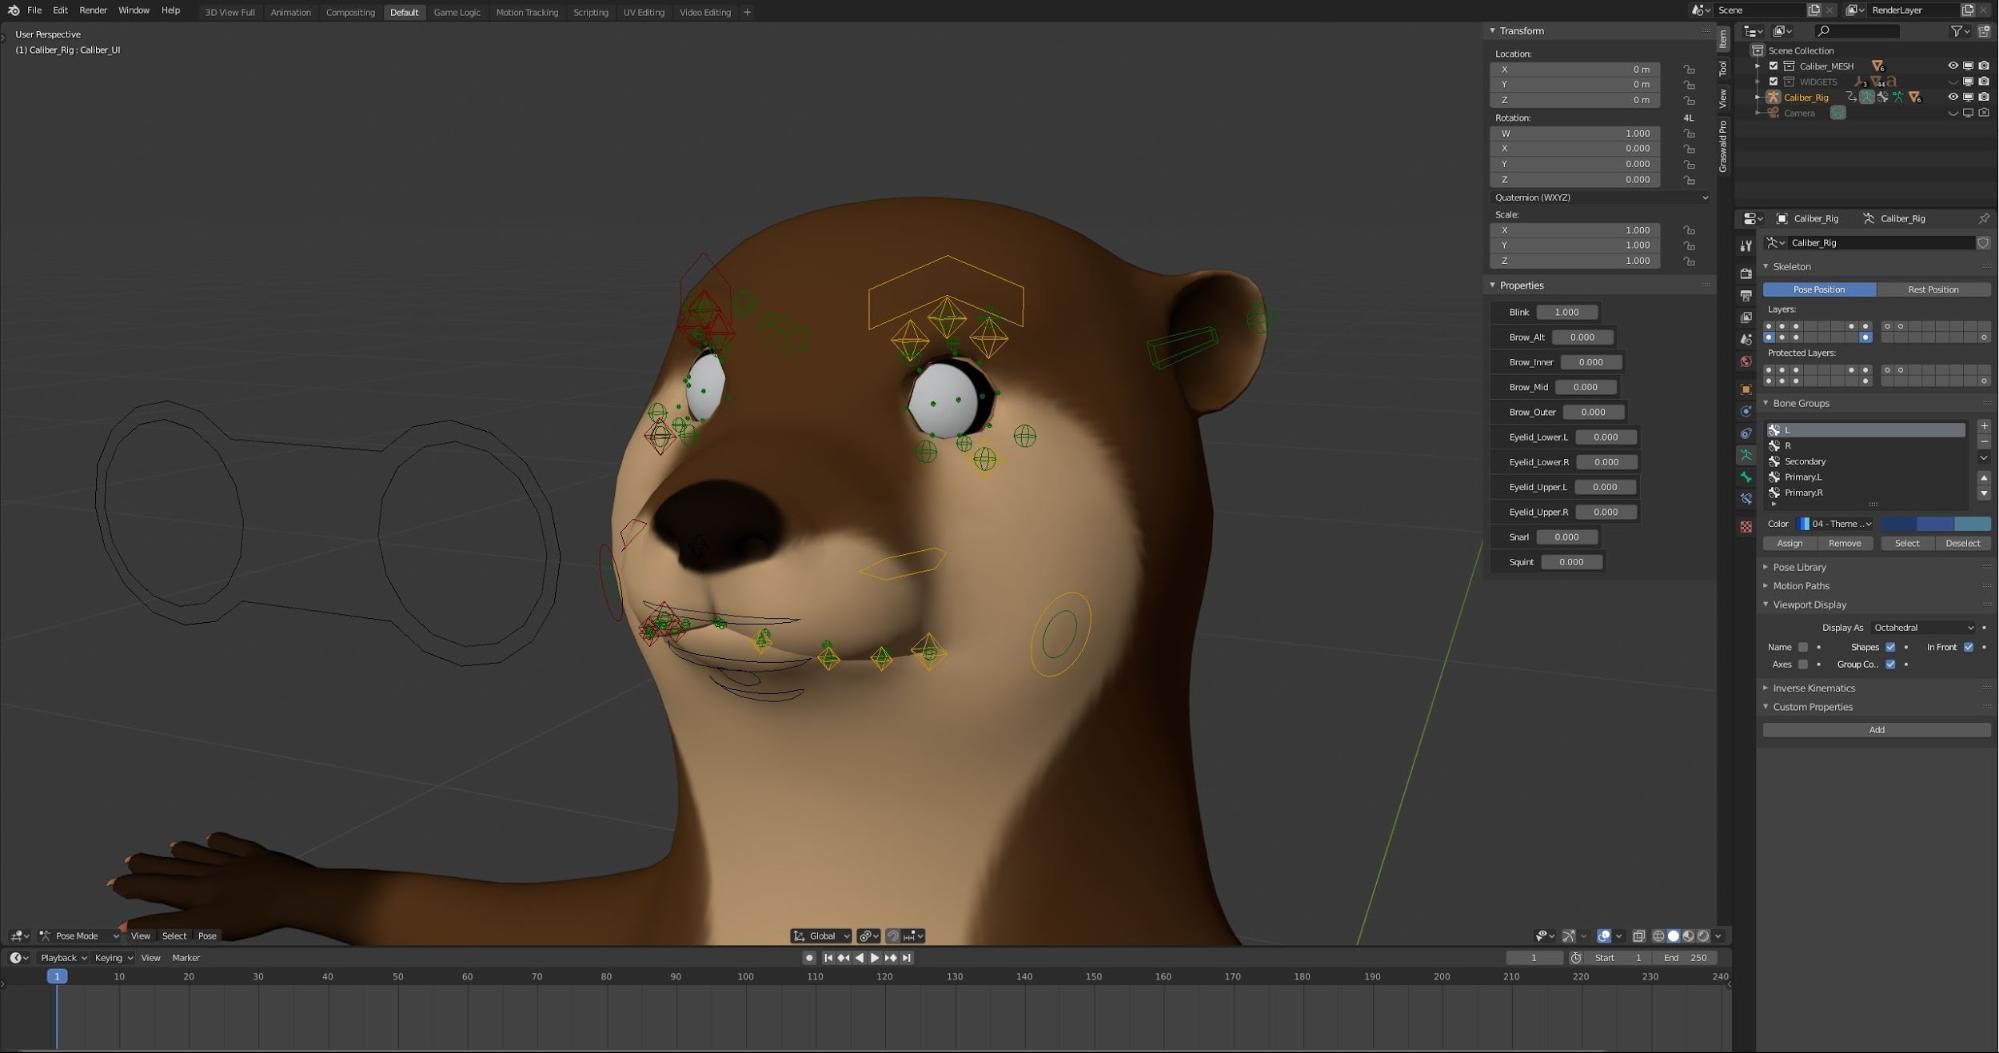
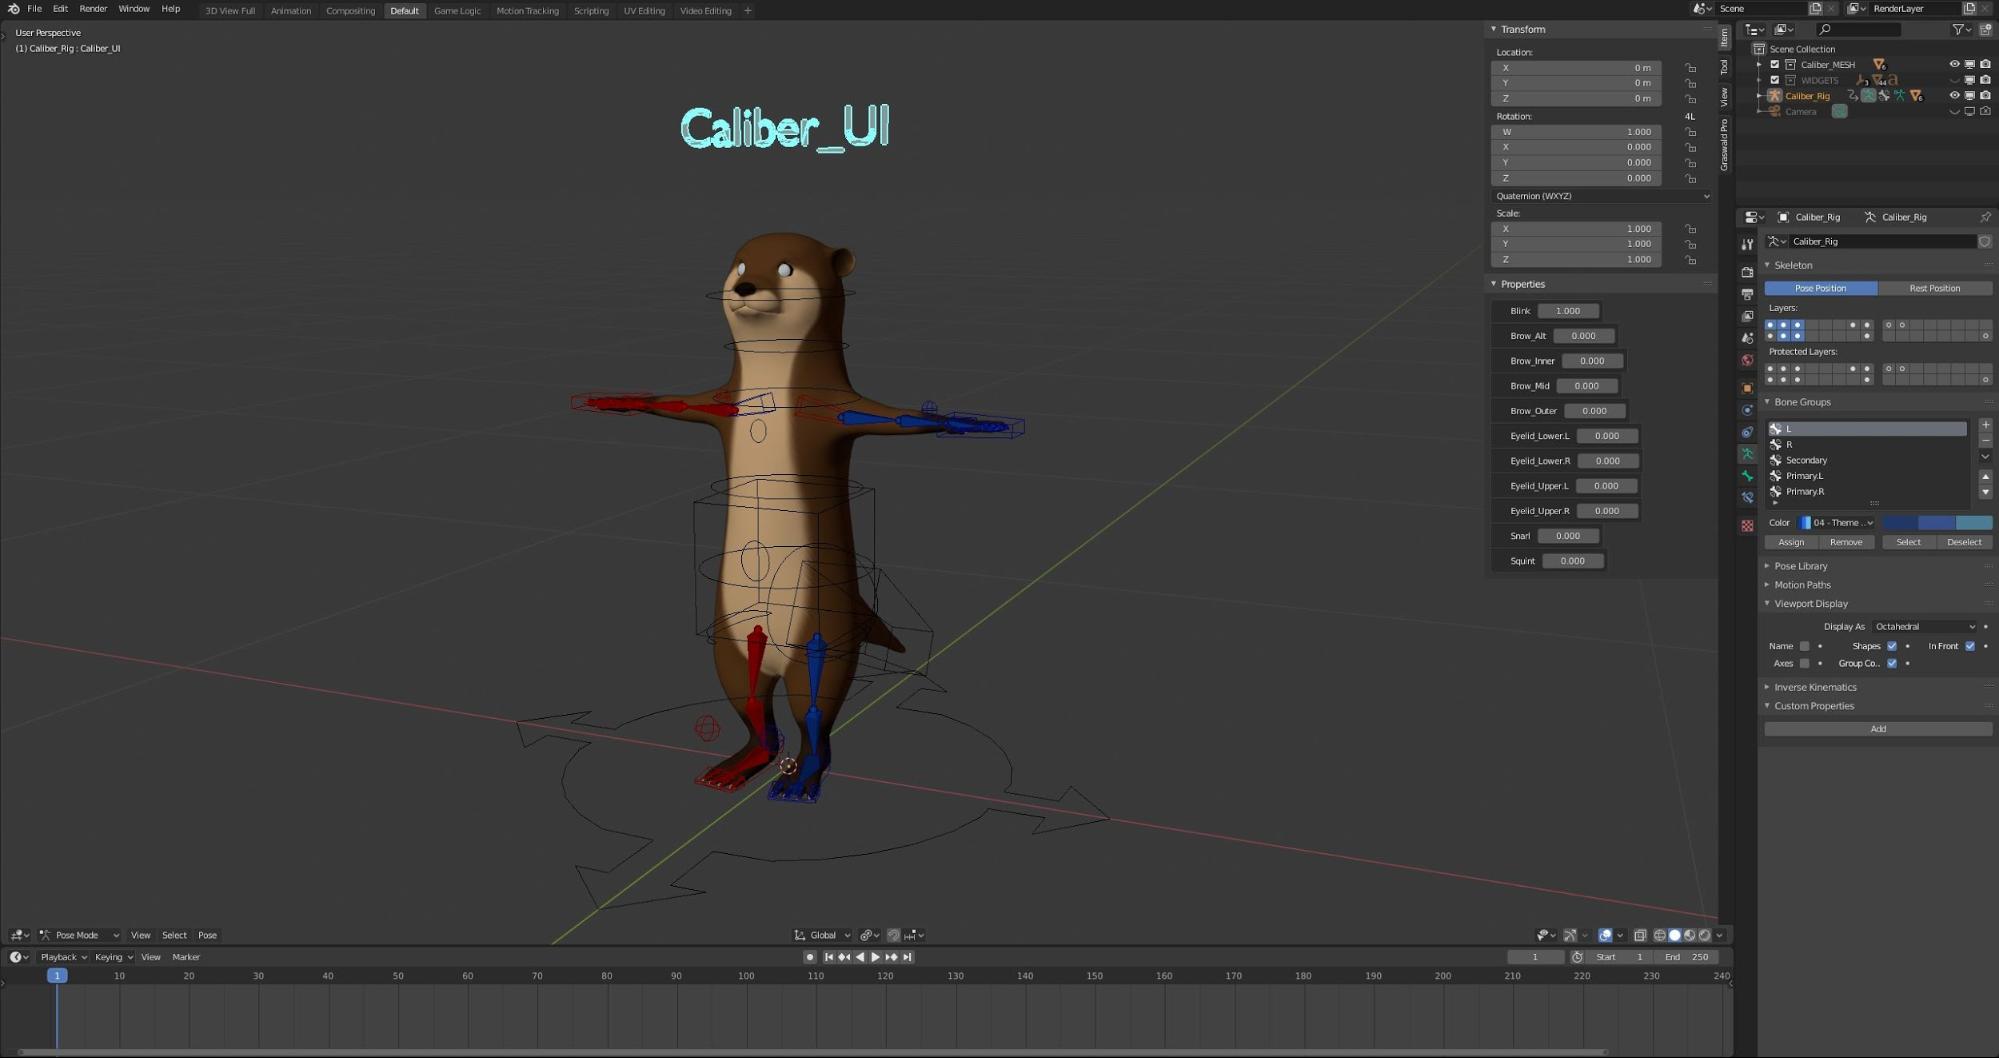
The facial rig I designed is a mixed bone/shape key rig with over 150 shapes, which is a lot, for me. It also includes a little UI up top that allows me to quickly make facial expressions. This character is always improving, so I’m still adding stuff to his rig right now!
I personally find rigging the most important part of the creation process because it sets the foundation of what the animator is able to do. And without that capability, no good animation can take place. So hats off to all the rigger’s in the world. You deserve more!
Environment/lighting
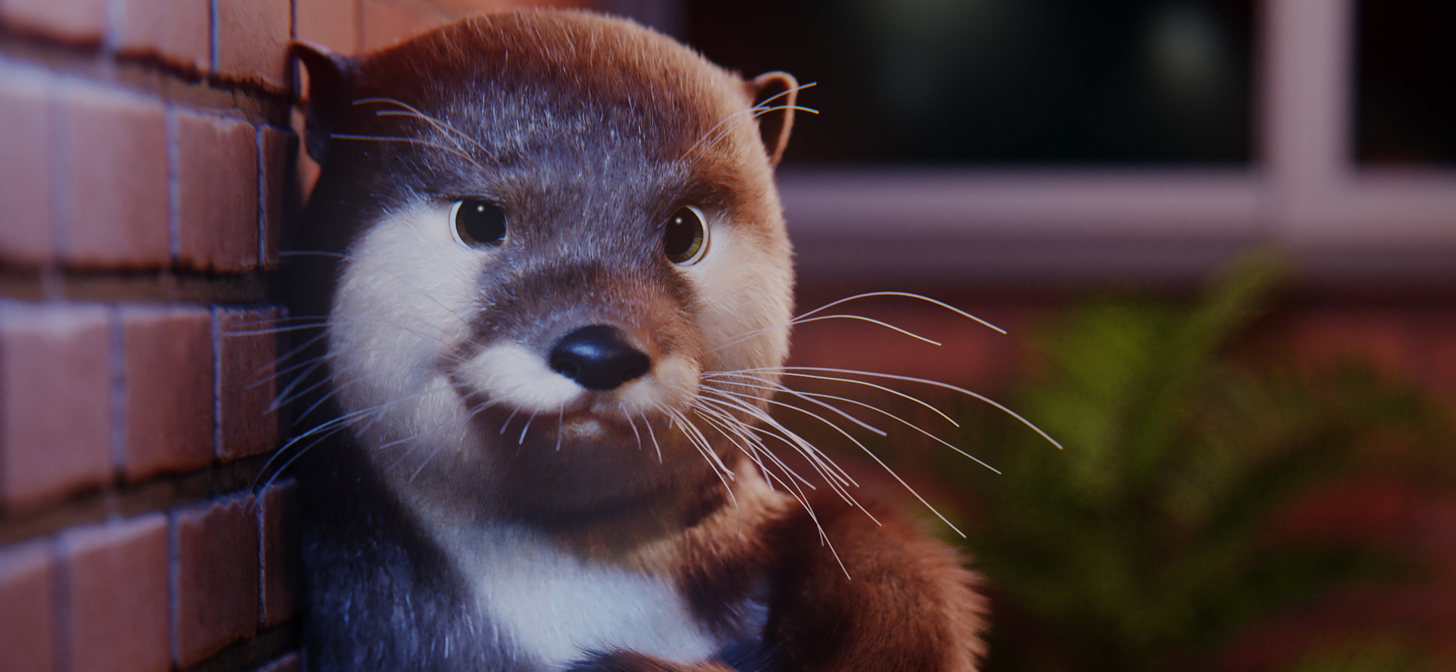
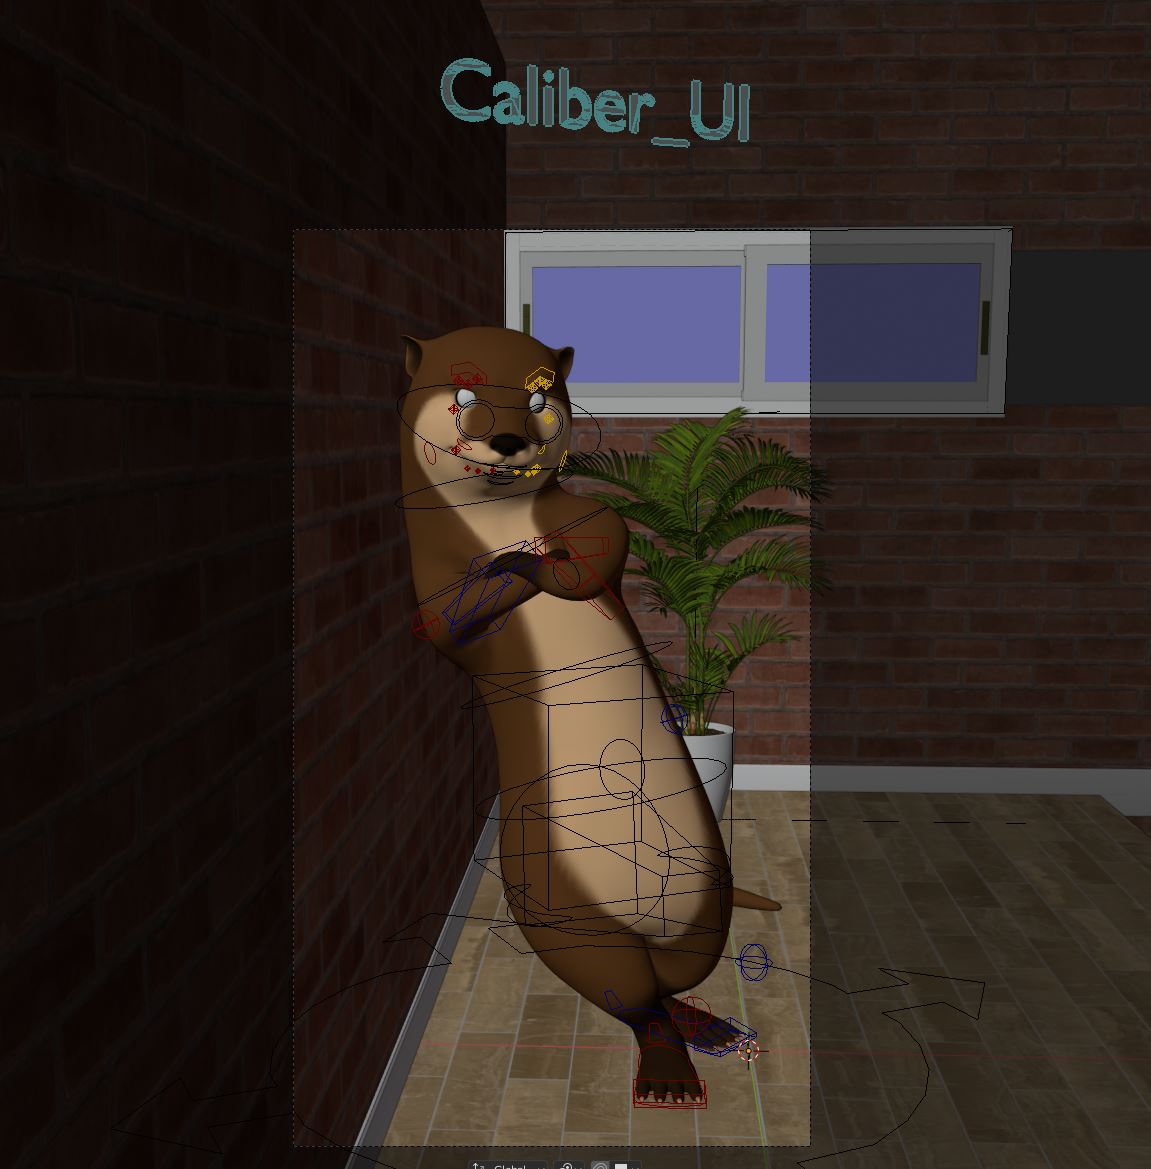
The environment was probably the easiest thing to do in this project. I knew that I wanted split lighting of cool and warm colors, so the first thing in my head was a bar or nightclub.
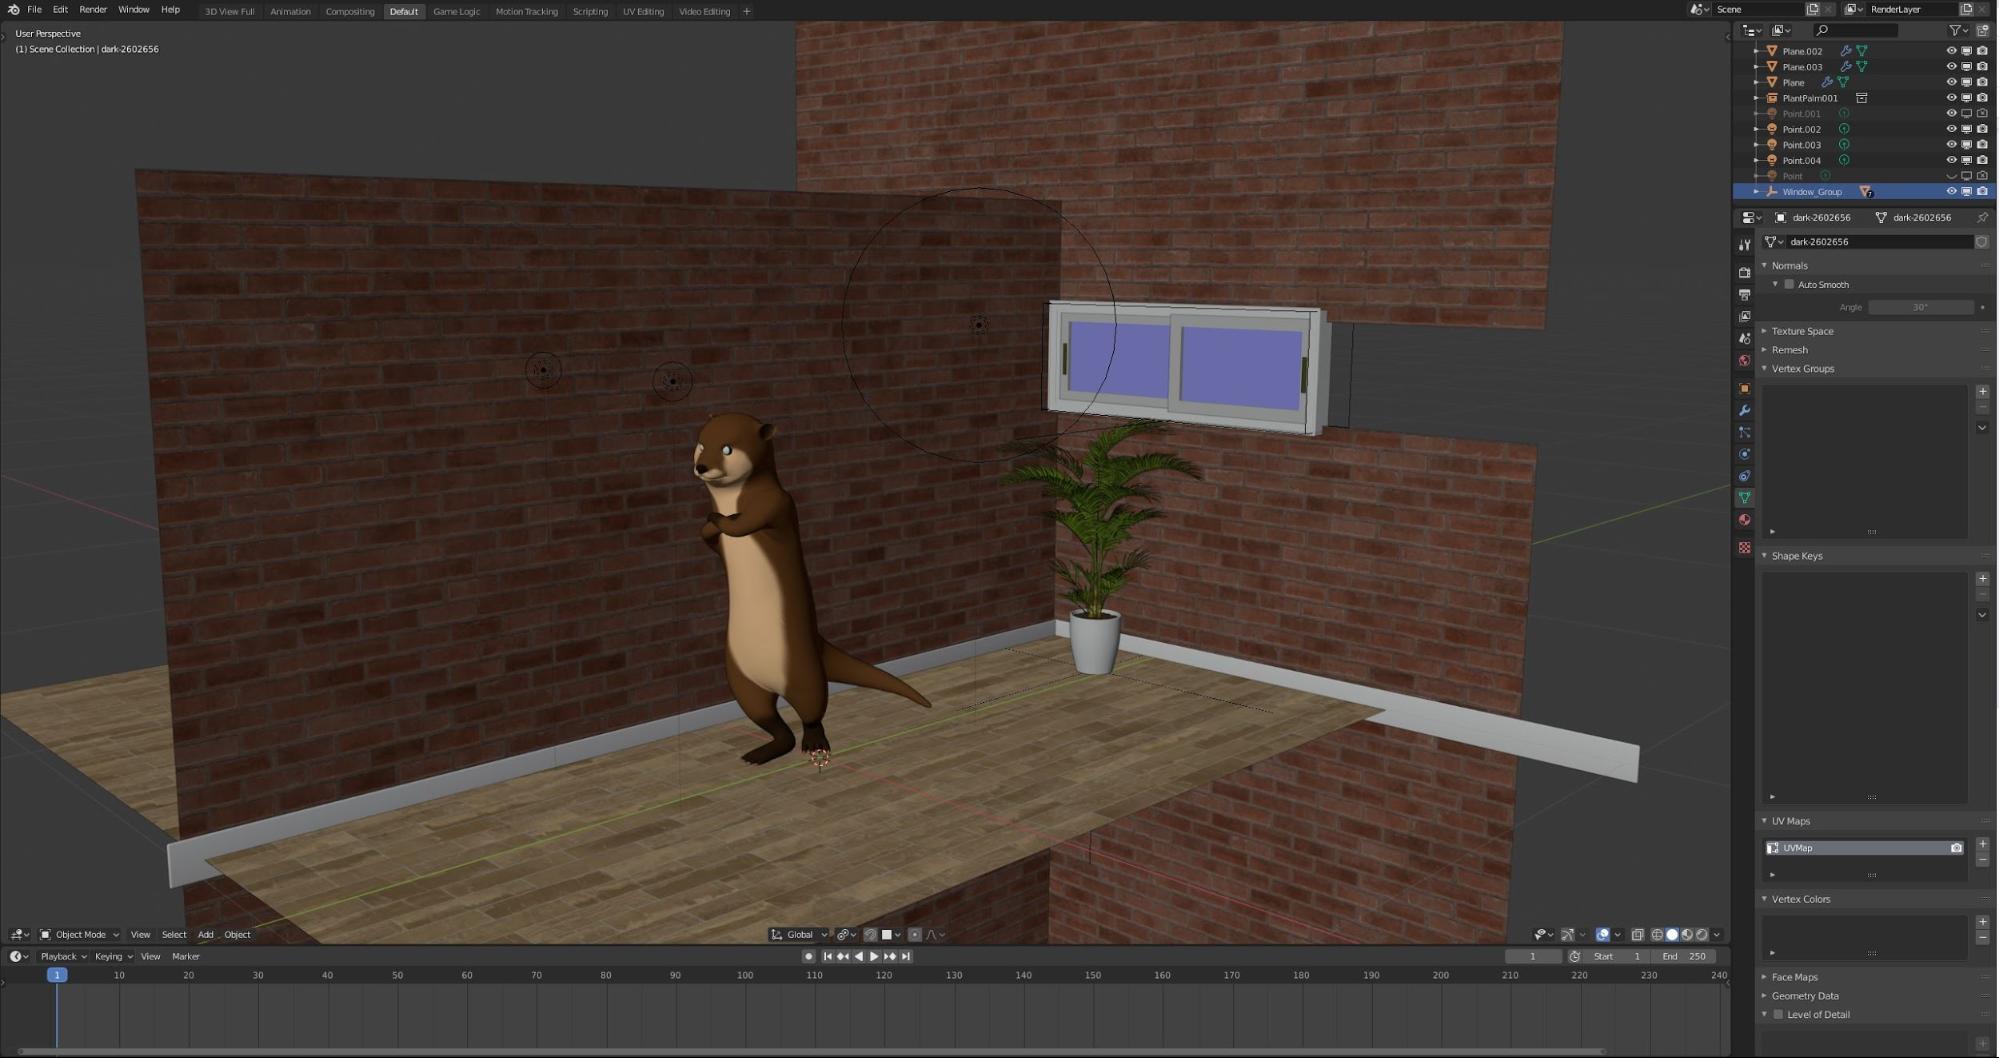
As you can see, it’s a very simple setup with only a few objects in the scene. I used a brick texture from Poliigon with a displacement map and applied an adaptive subsurface to the model, giving it the raised geometry. The floor, I believe, is a marble texture from Poliigon as well.
The plant in the back was a last-second thought. I figured the corner of the room seemed lonely.
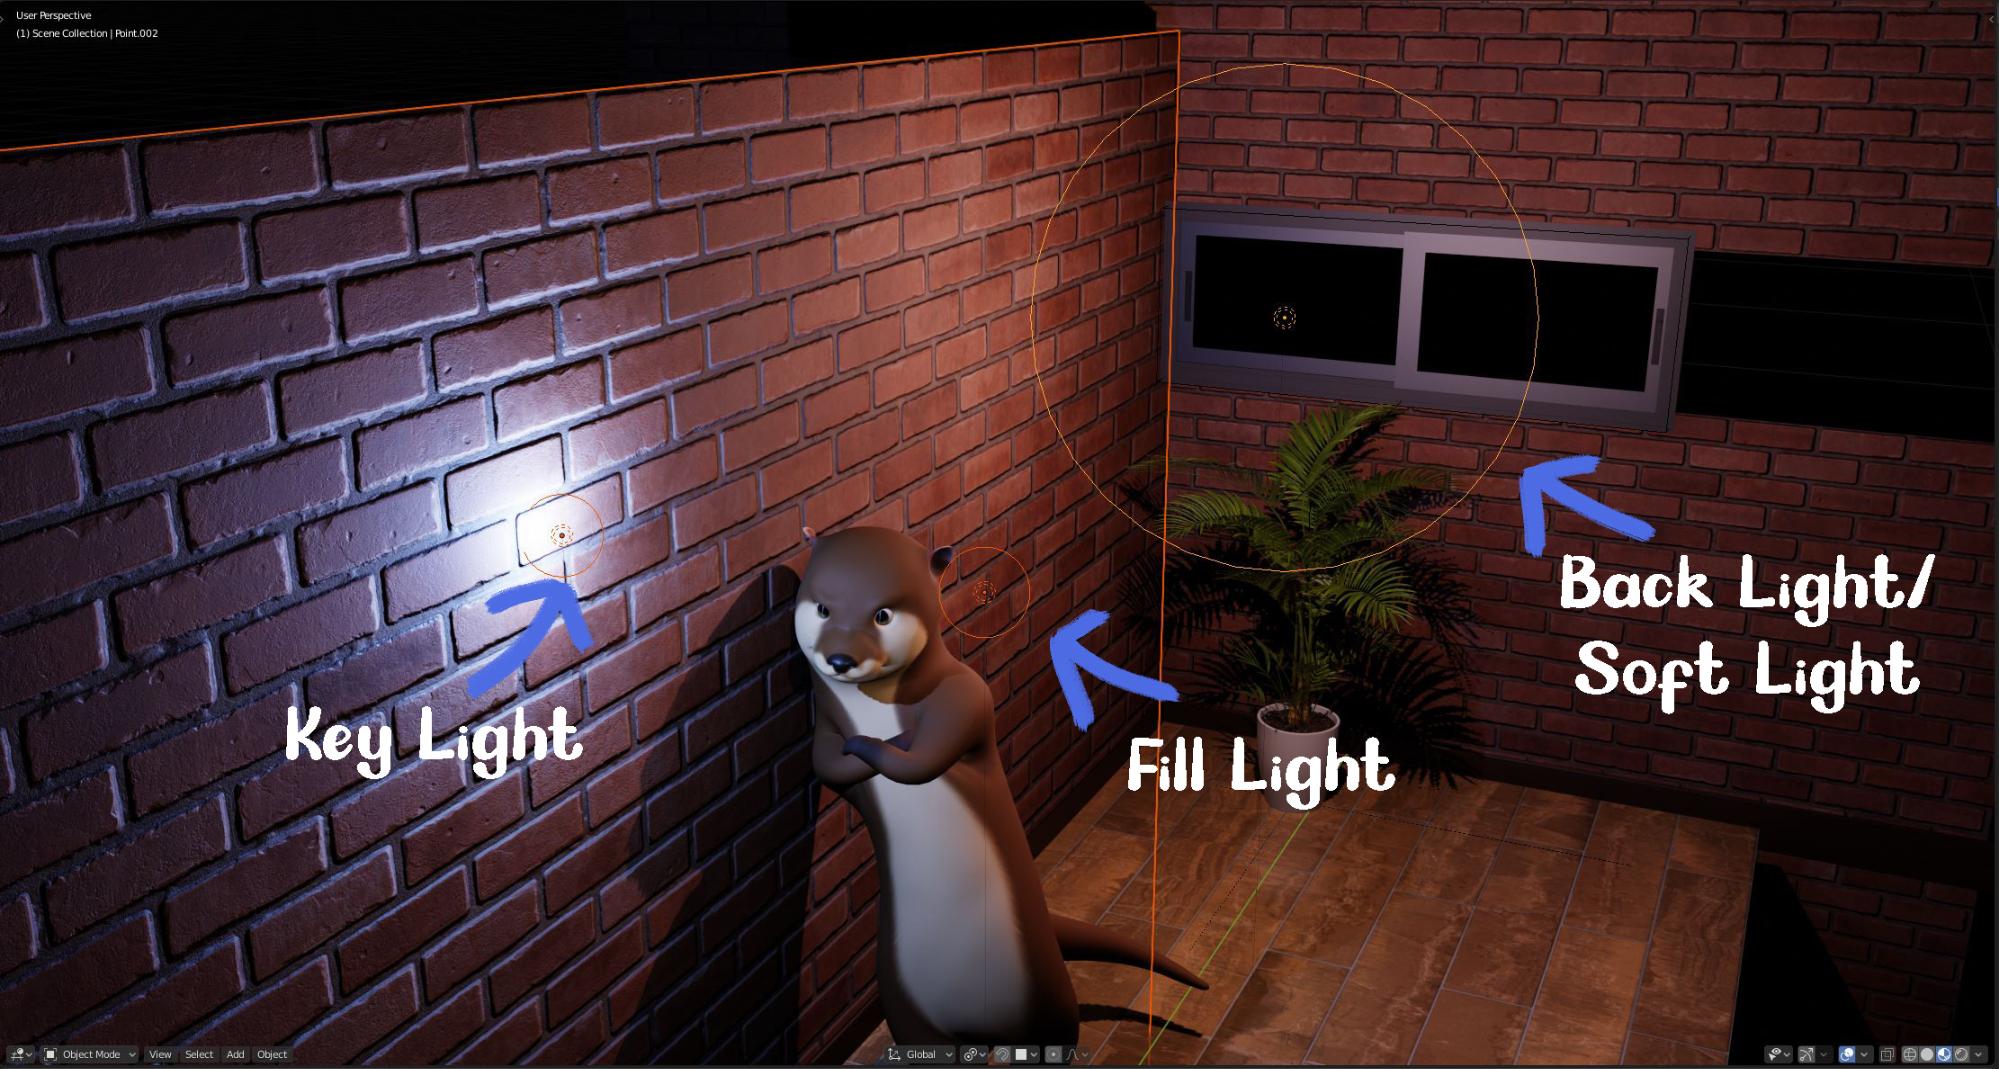
The lighting is a simple three-point setup. I went with larger size lamps as the softer shadows make the fur look waaay better. Lighting fur is difficult, and I try to learn new techniques to do it every day!
I did a little bit of compositing inside Blender then finalized it in Photoshop.
Thanks for taking the time to read all this! Take care! Oh, and if you’re ever interested in taking part in the Animals of War project, PM me on Blender Artists, or join the Discord. Those are the quickest methods to get ahold of me.
About the Author
 Dominque Jon Gigante, An overly ambitious 3D artist, loves animal characters.


Really cool
Great breakdown and explanation. Enjoyed reading this. Good luck with all your other projects. I’m sure they’ll be very successful! Happy Holidays!
Otterly Fantastic Breakdown
Otterly fantastic…hahahahaha. XD
Didn’t expect such a detail process when clicking on this article, thank you so much for sharing your process, I will refer to this when creating a character with fur :D