Behind the Scenes: Forest Cave
My name is Maciej Drabik and I’m from Poland. I’m working as a freelance concept artist, illustrator and matte painter mostly for vfx and game dev companies. My main focus is realistic environment concept art. Favorite themes are ones involving sci-fi and surreal elements.
I’m a self-taught artist. Everything I know I’ve learned from tutorials and from my art buddies.
Inspiration and motivation
When I started this scene, I was testing the possibilities of using Blender with Megascans. Also, I had never really done a lot of forest scenes.
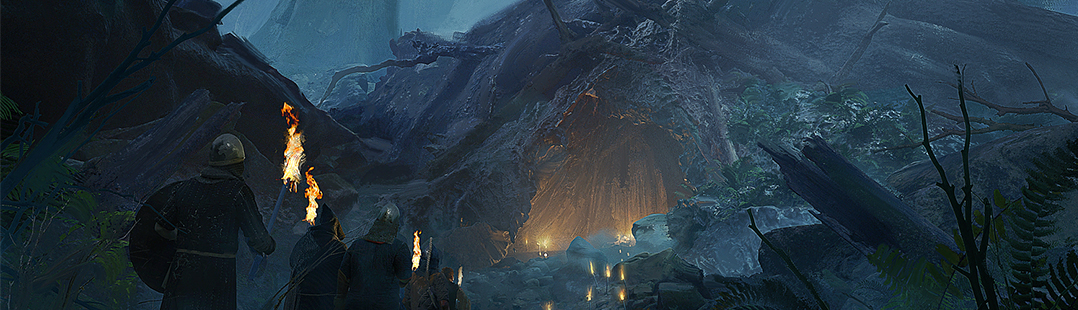
I think my main inspirations were some dark fantasy movies I liked to watch.
Tools
My main tools were Blender, Quixel Bridge, Quixel Megascans, and Photoshop.
The whole 3D process was based on using Bridge to export 3D scans from the Megascans library directly into a Blender scene. This project was meant to test this functionality and it came out amazing. Exporting objects from Megascans directly into the Blender scene saved me lots of time.
Another very important tool here was obviously Photoshop. I wanted to do a paintover to give this sketch some rough feeling, add more mood, and mask the raw 3D render that looked too much like CGI. Most paintover work was done with Photoshop’s “mixer brush”—it’s an amazing tool that I use daily to blend photos with 3D, add painterly effect, and remove this feeling of pure 3D render.
Creating the scene
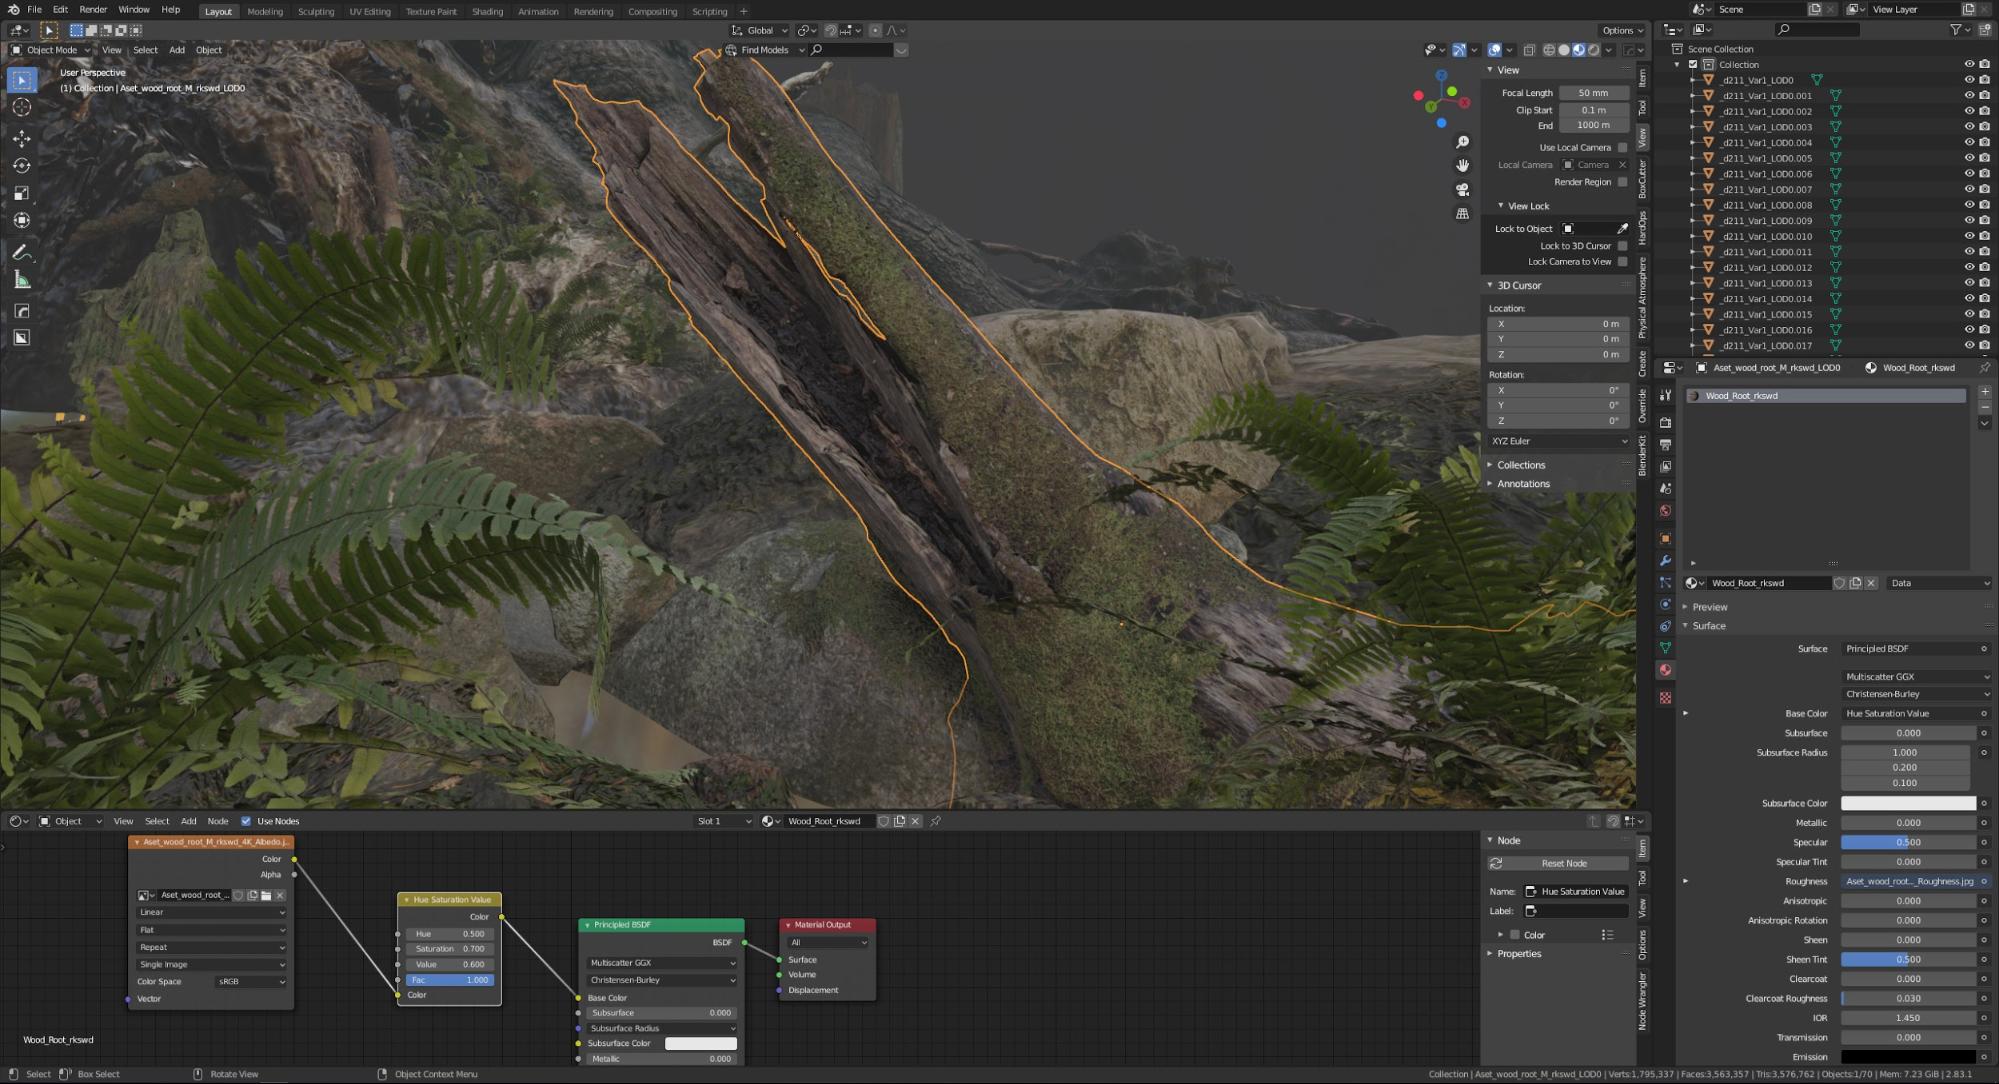
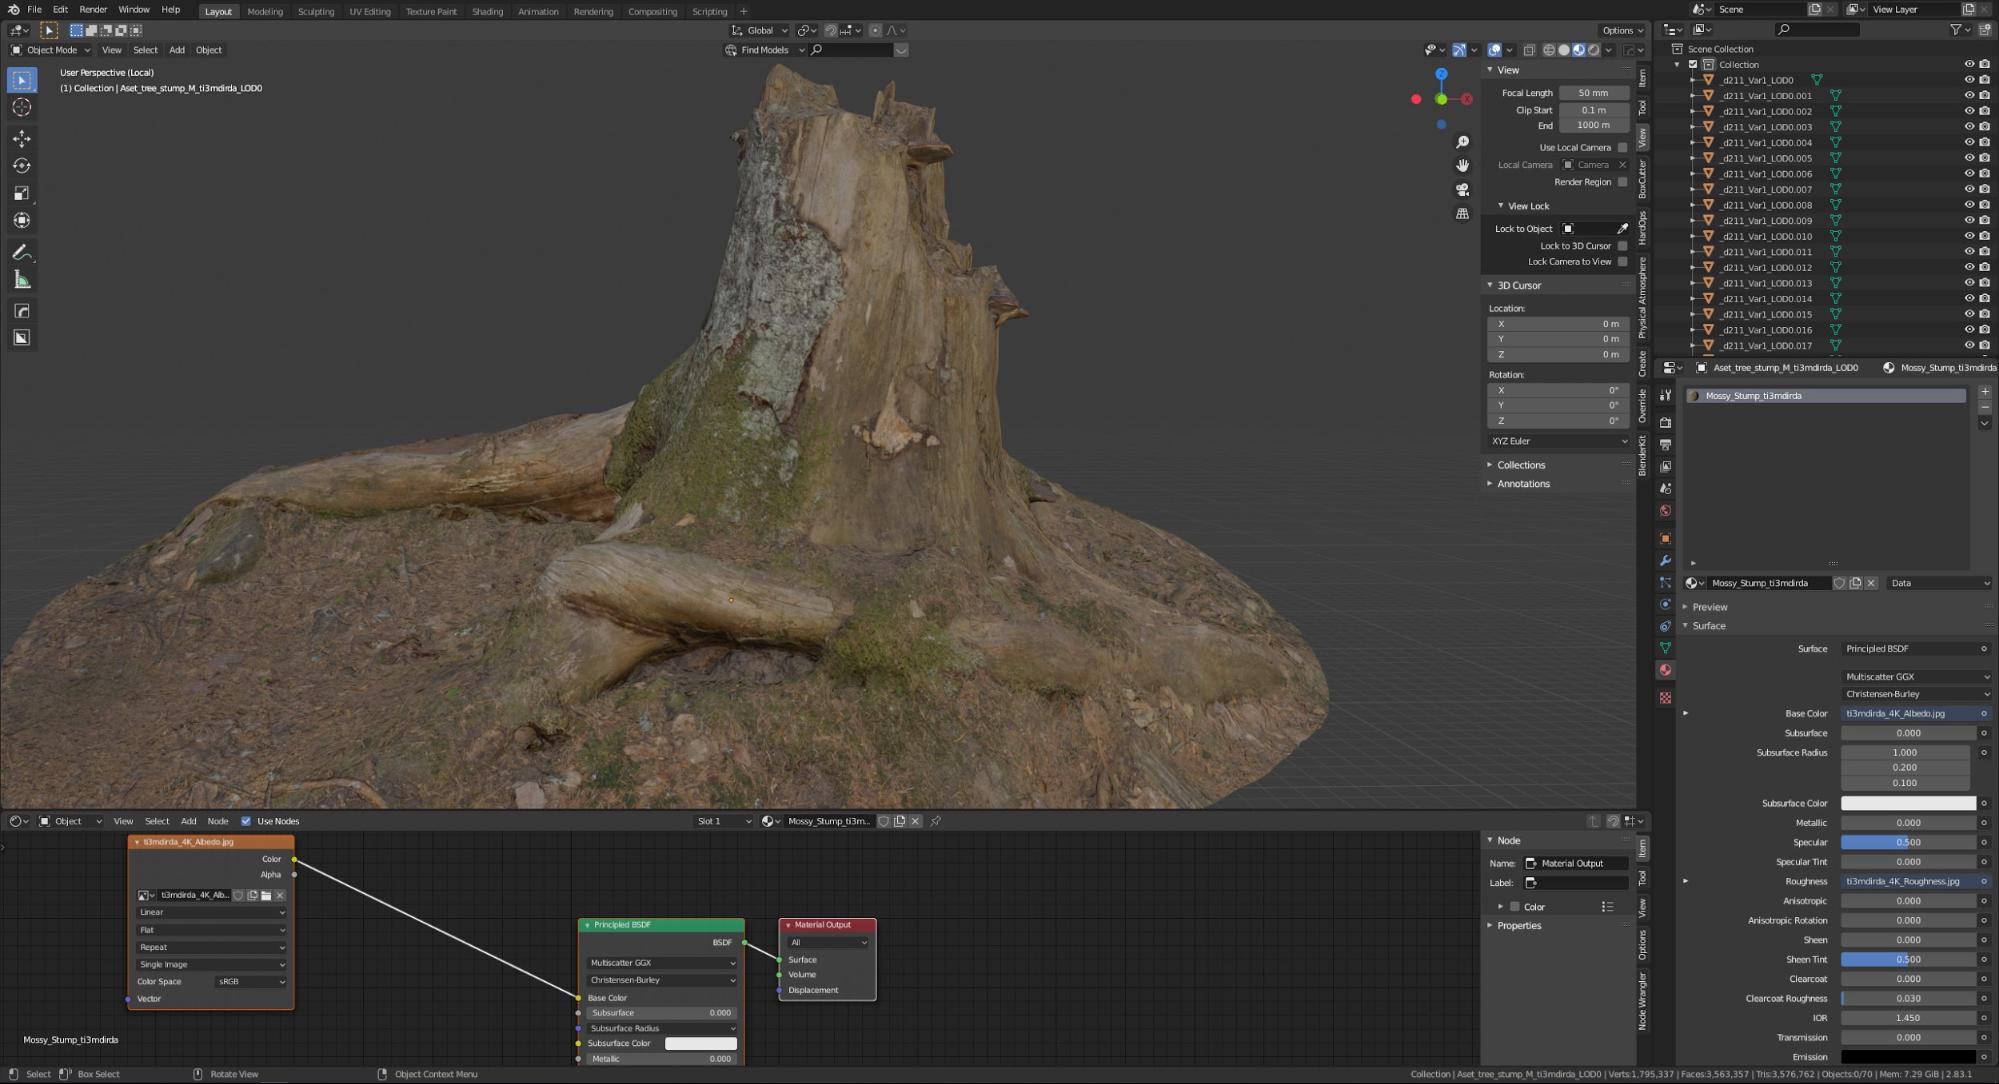
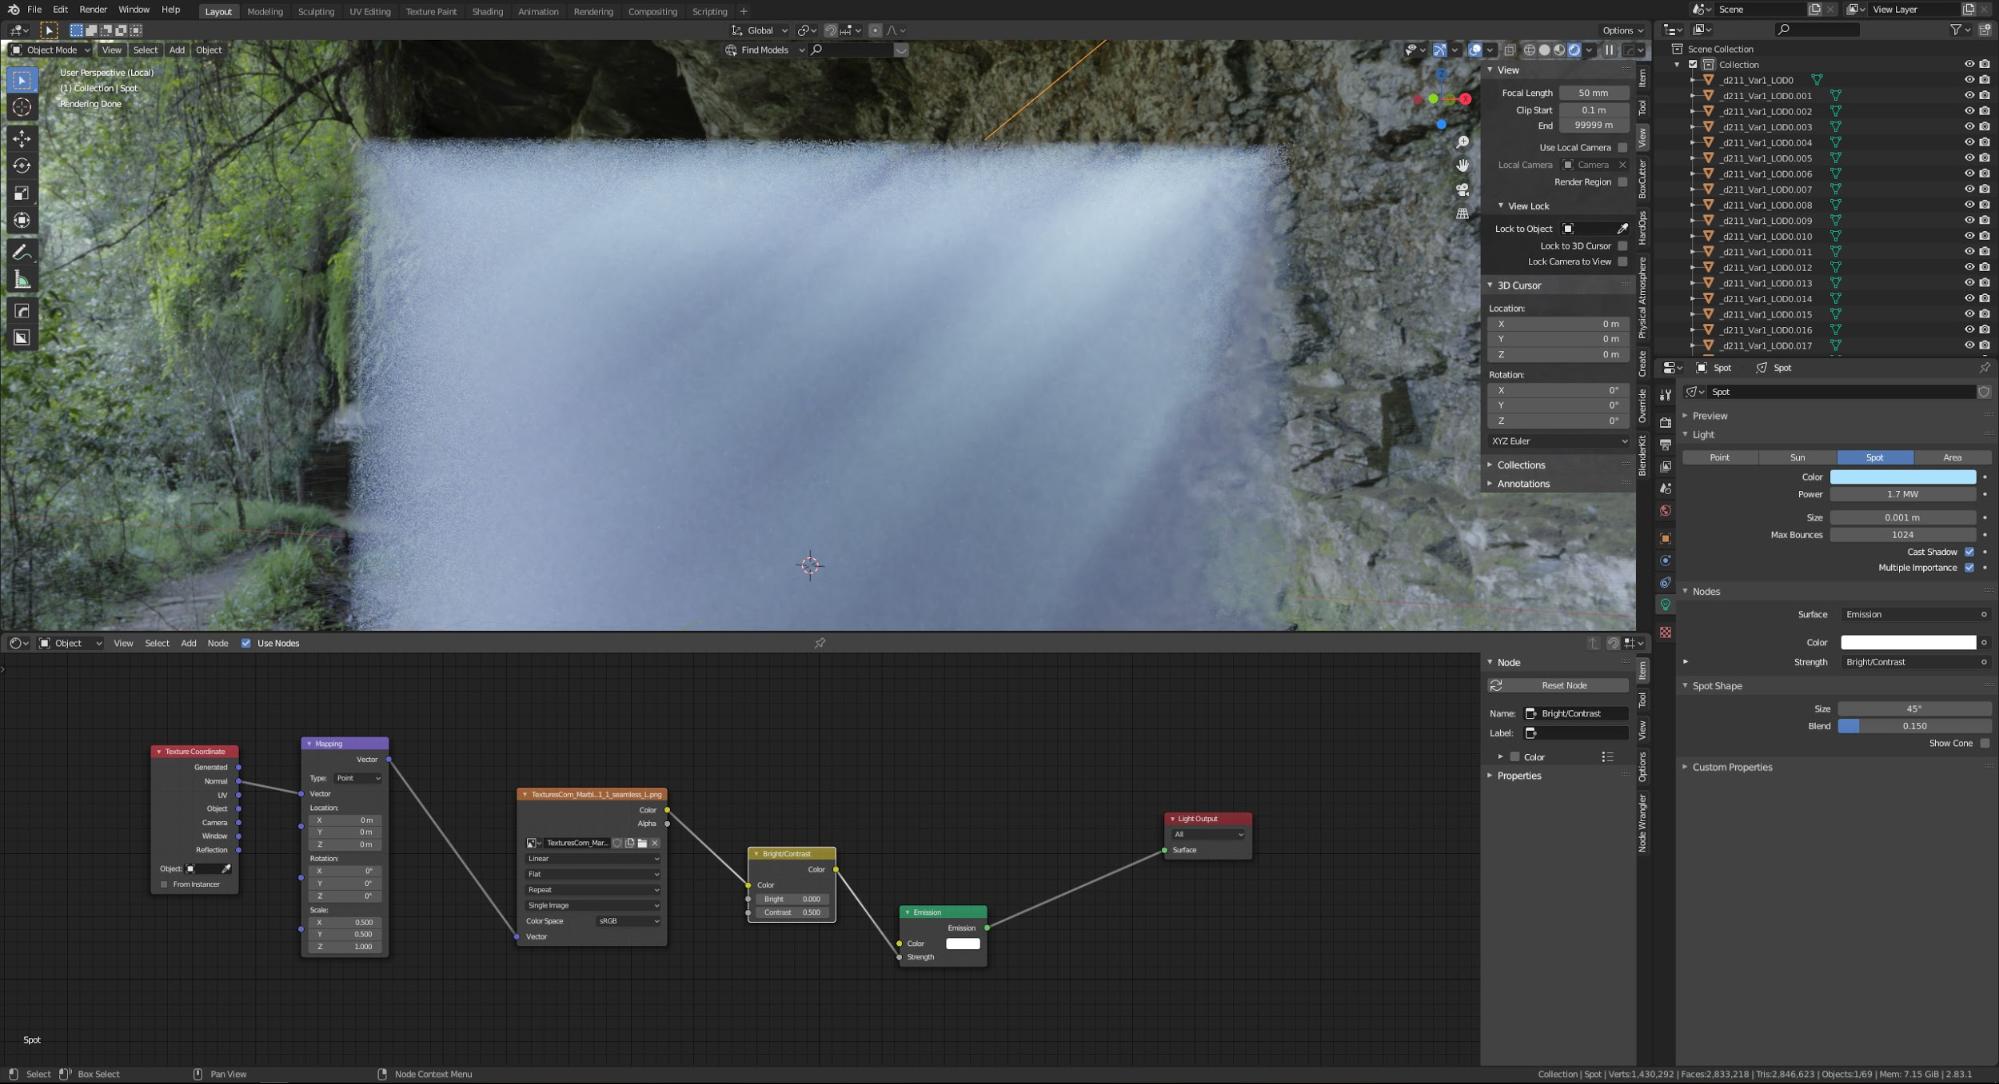
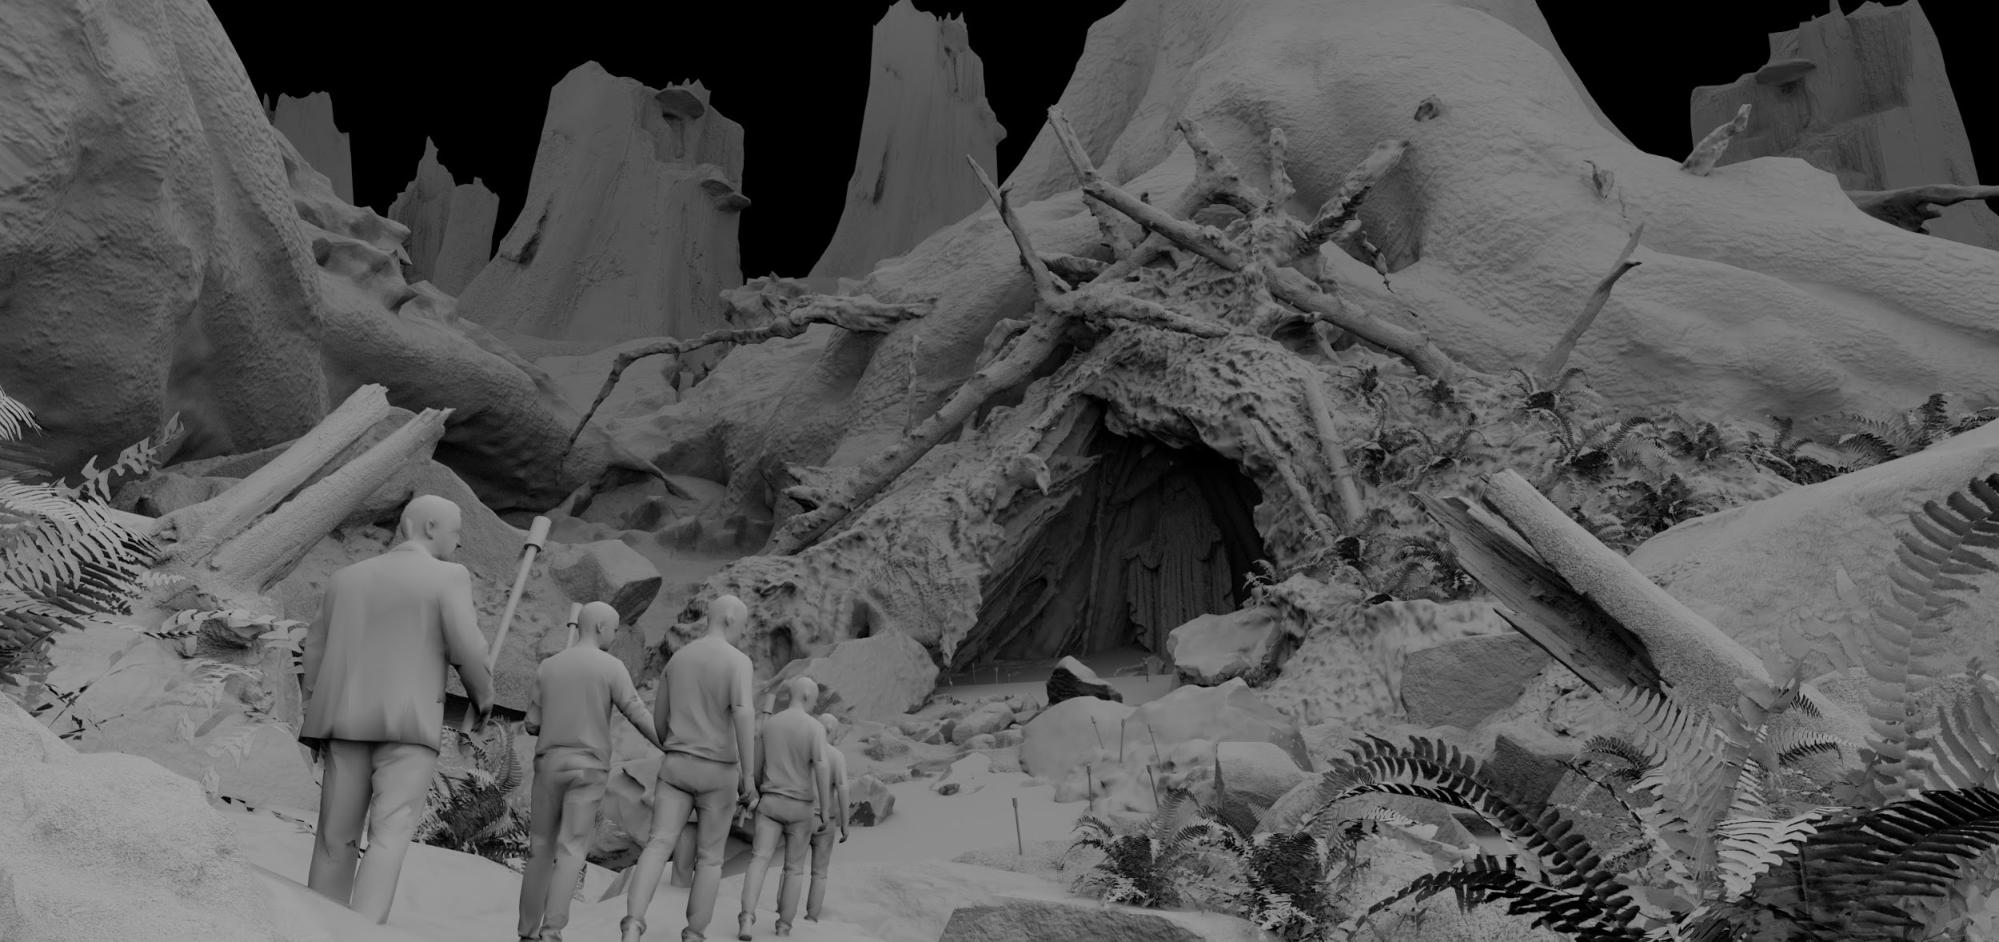
The first step was assembling the scene in Blender for one camera view:
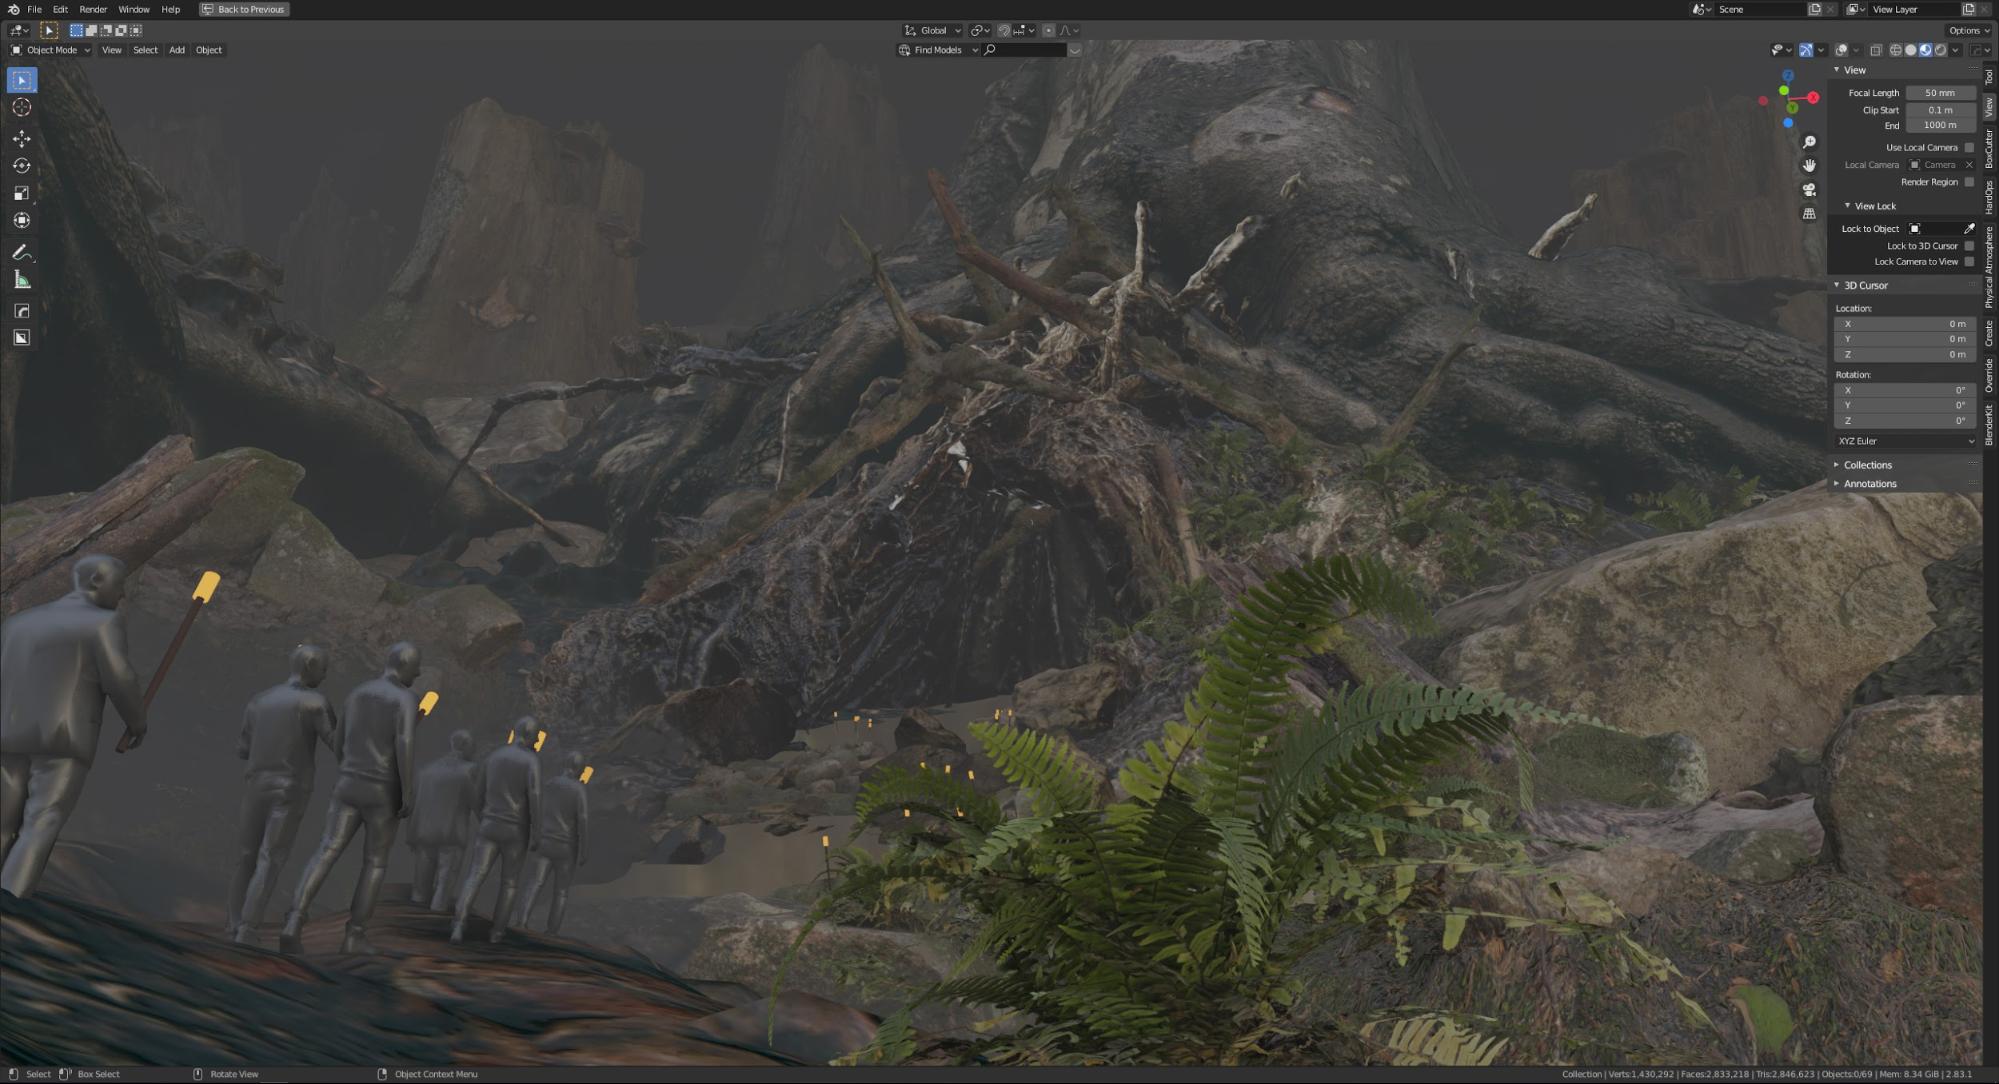
All the assets that I used were pre-made. Most of them were from Megascan’s Library. A few models are free downloads from Sketchfab:
And
Some objects from Megascans:
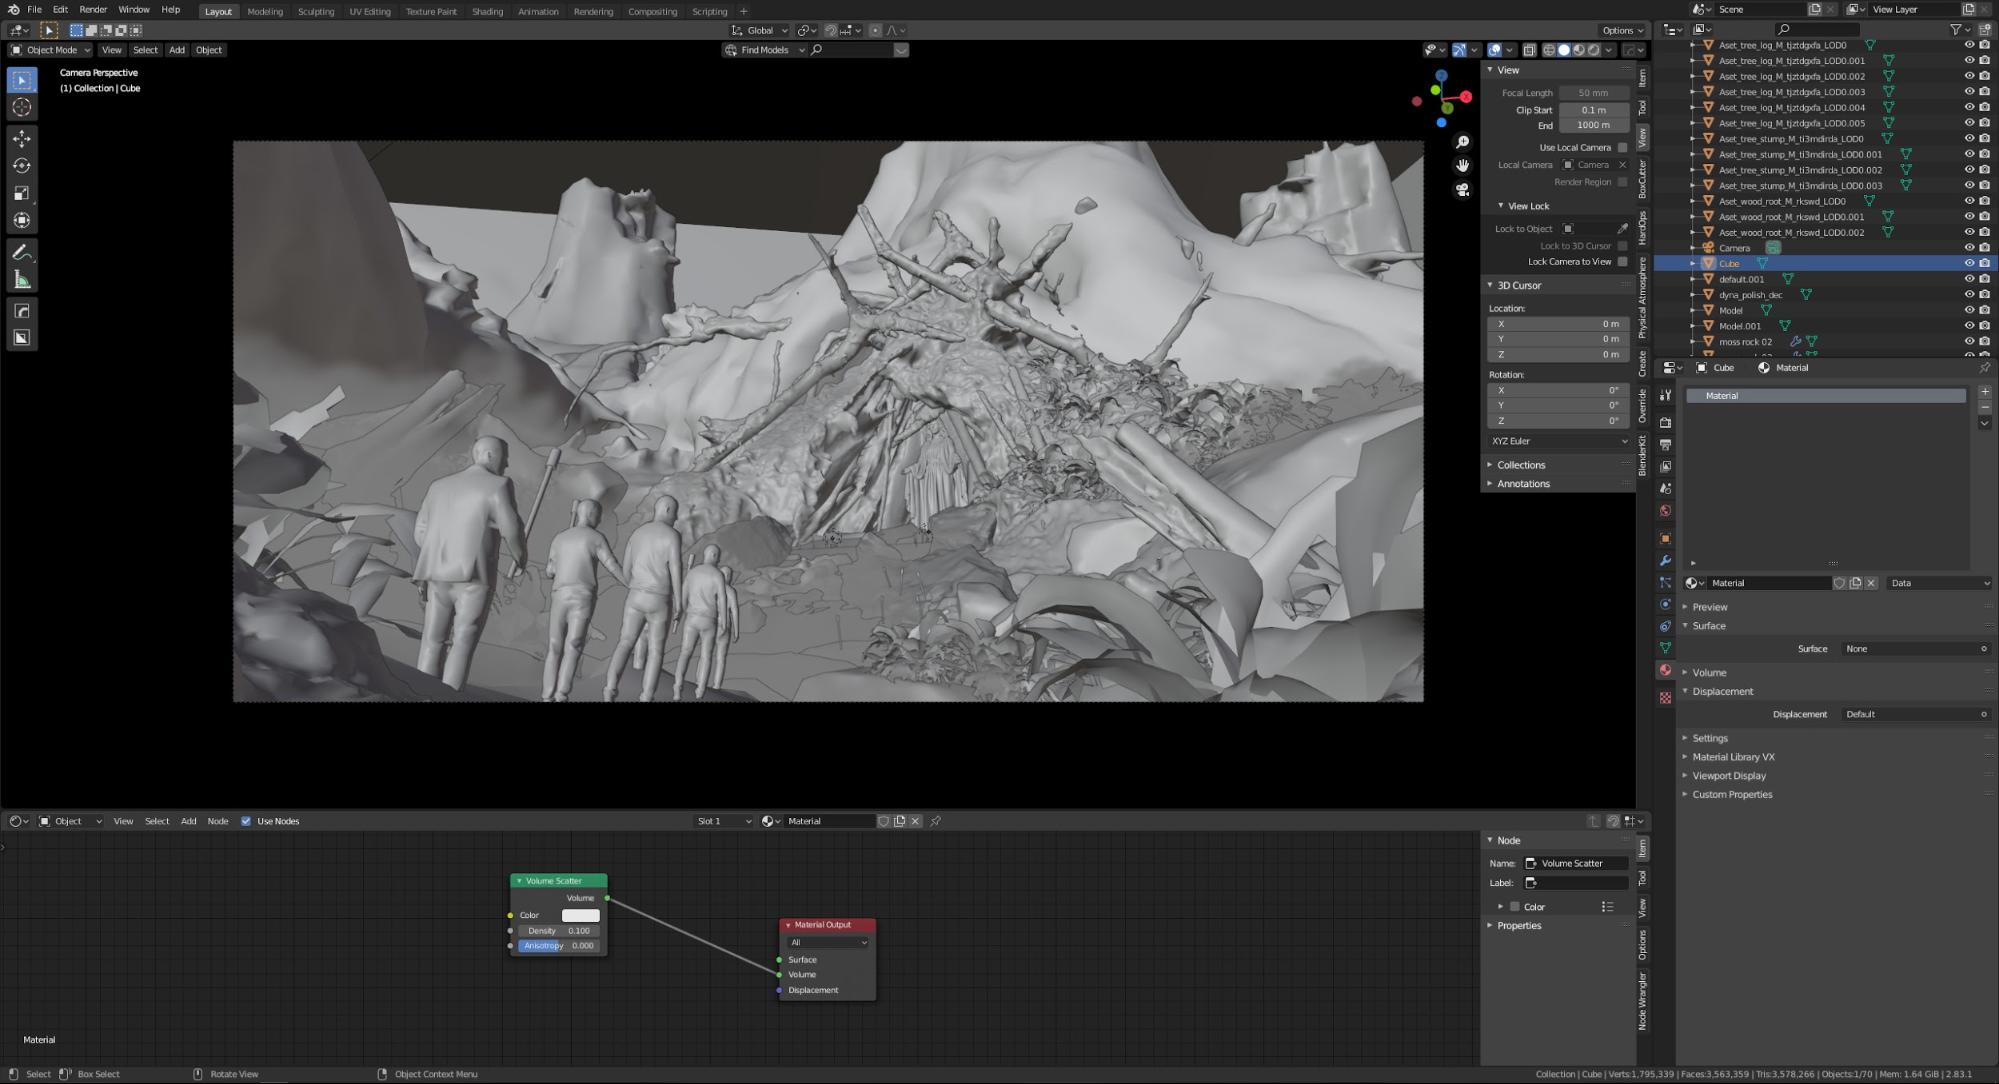
To make the foggy clouds, I used free VDB files directly in Blender:
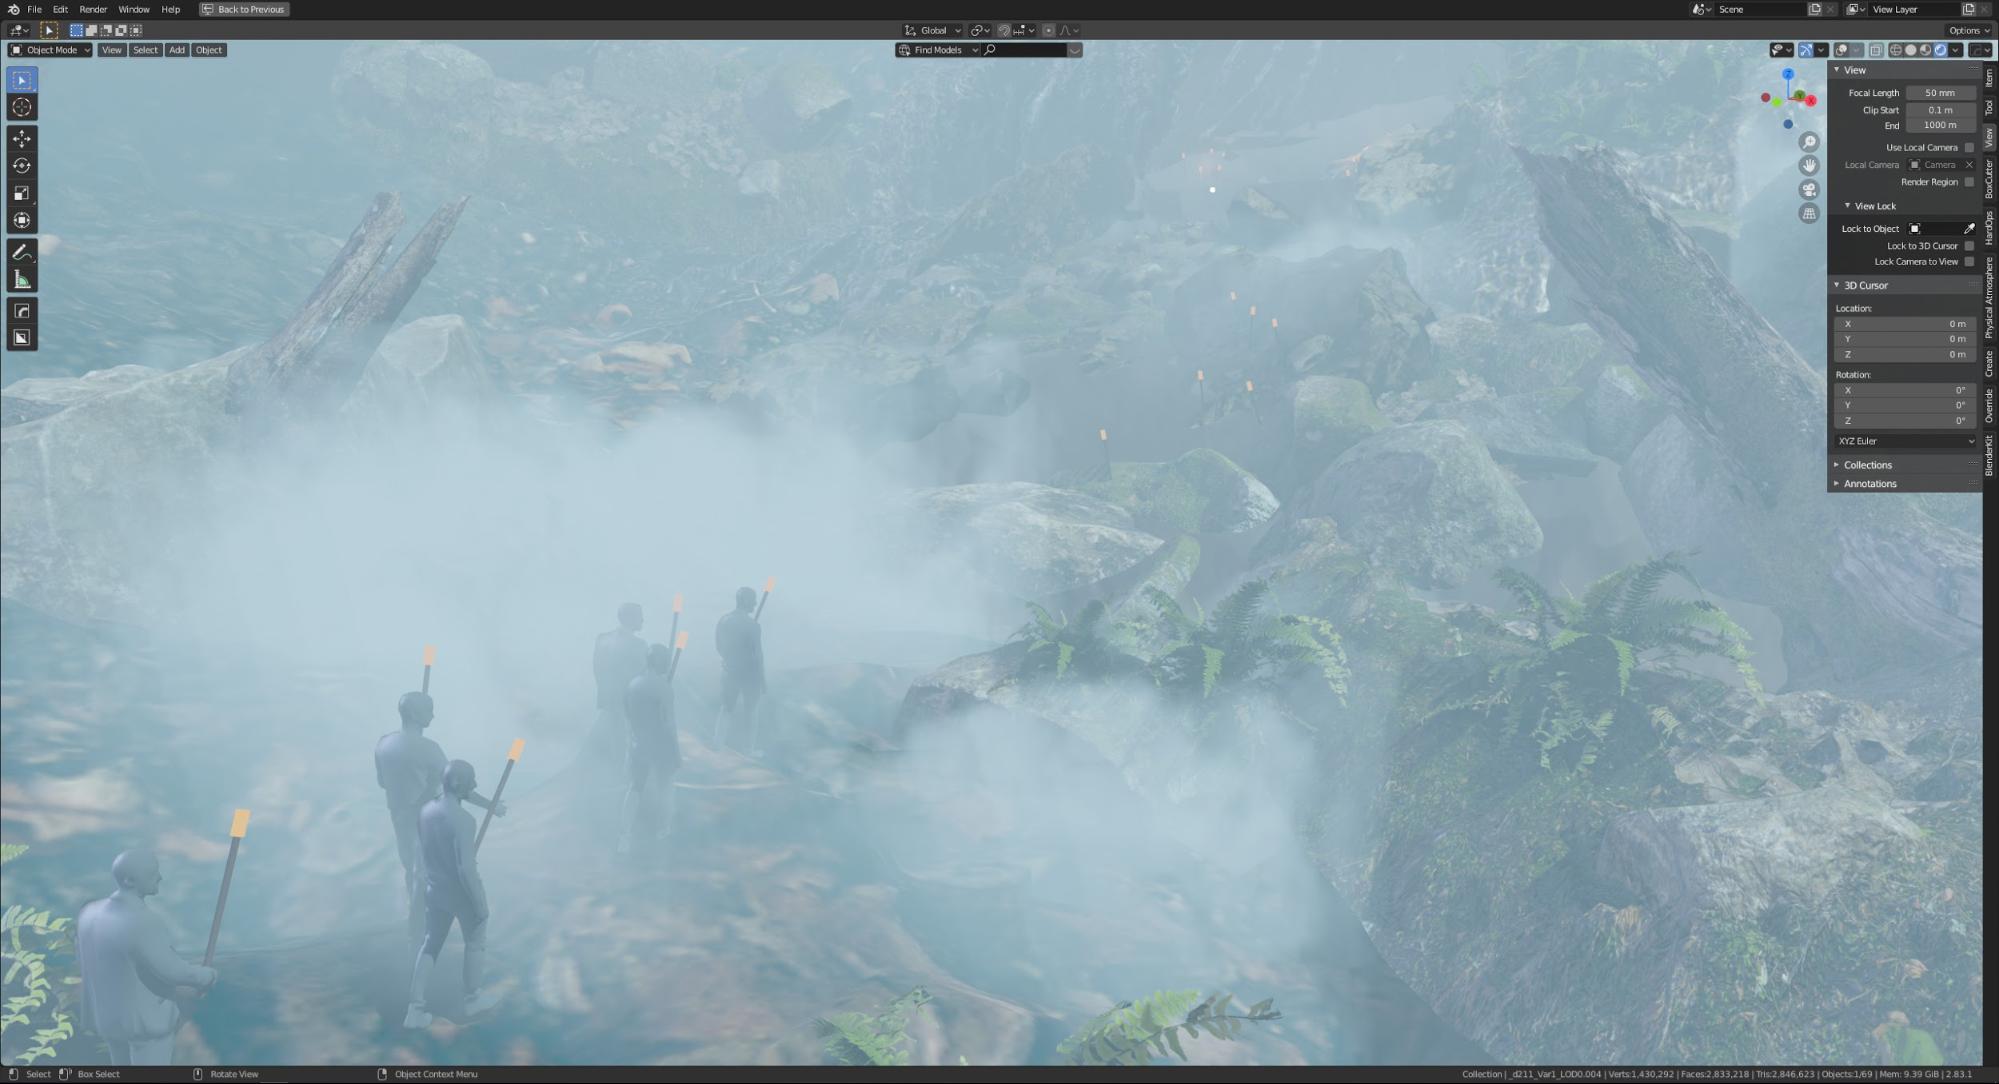
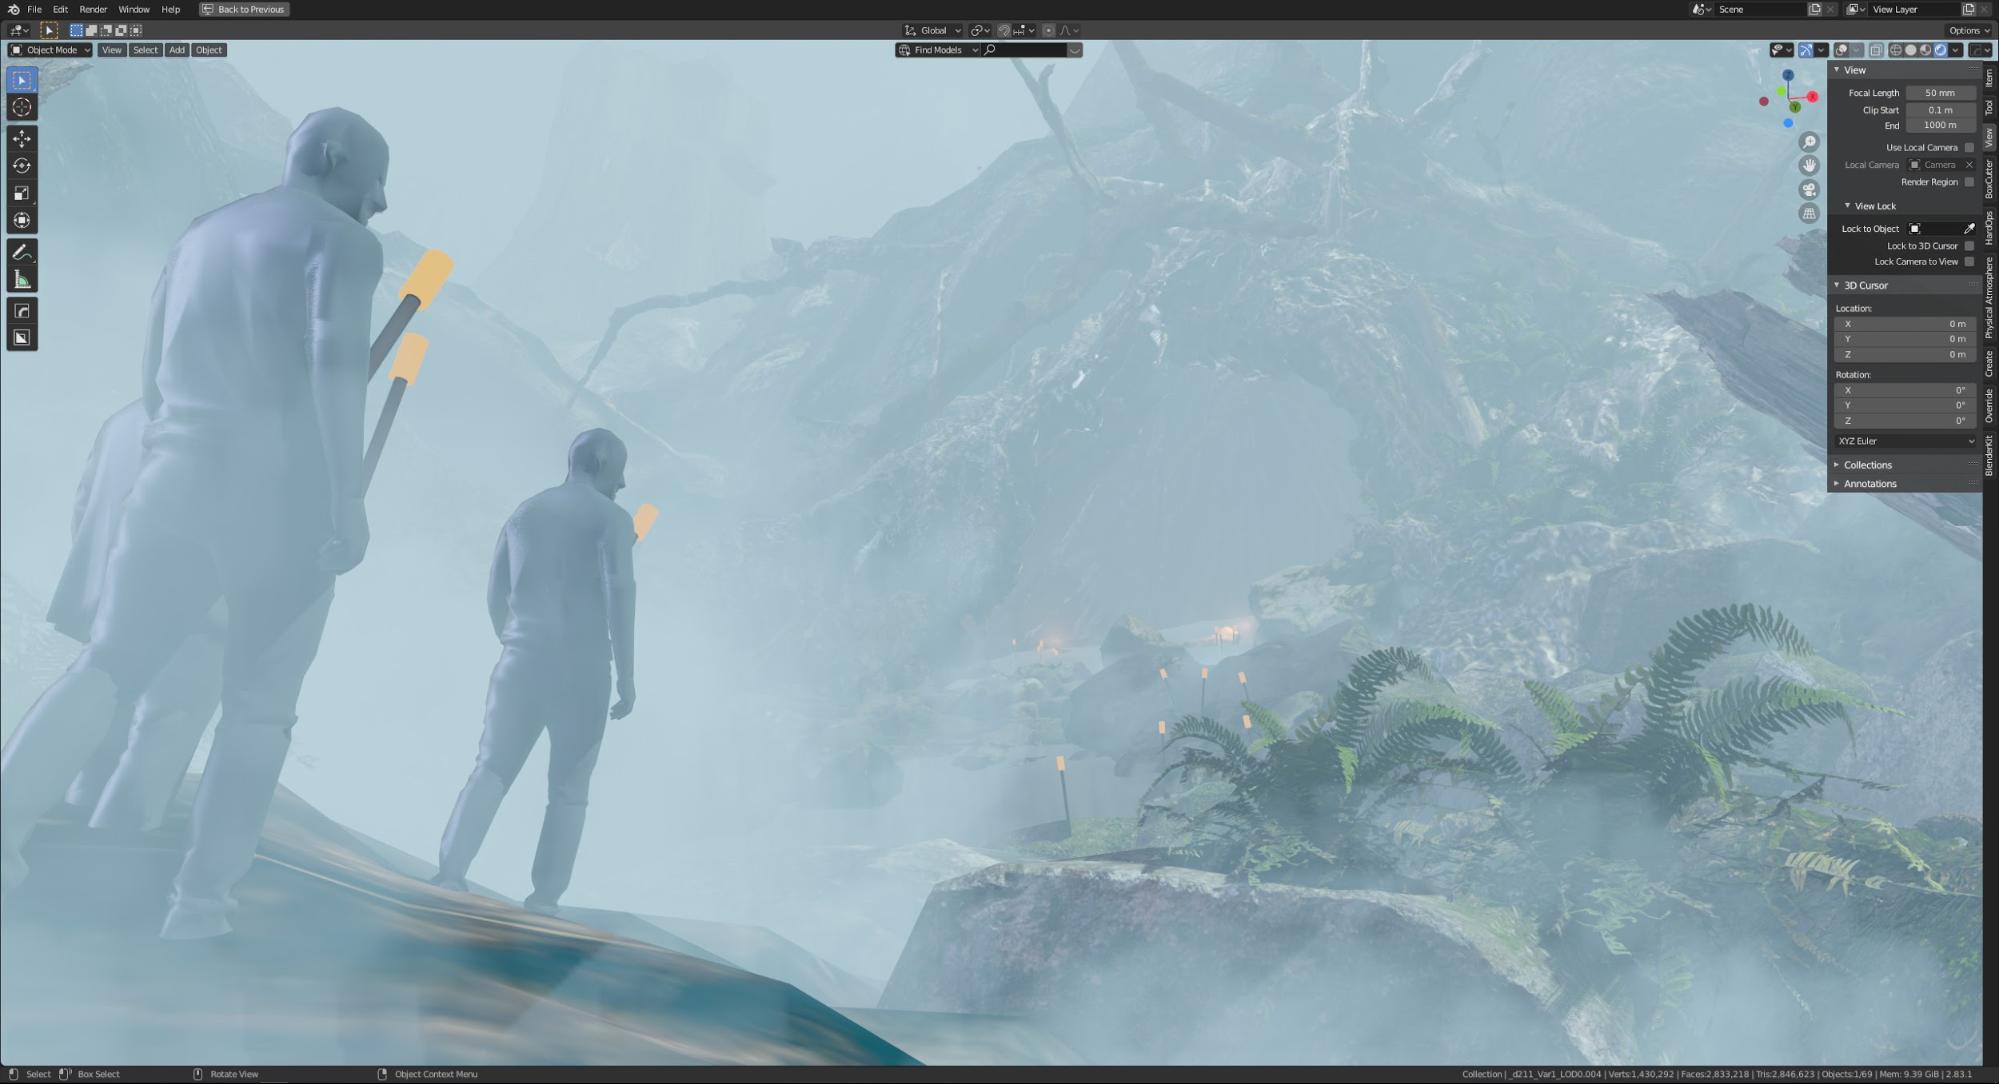
I also used a Cube object with a Volume shader that covered the whole scene.
The scene was lit with an HDRI map and Spotlight with applied texture to give it the effect of light rays.
Rendering
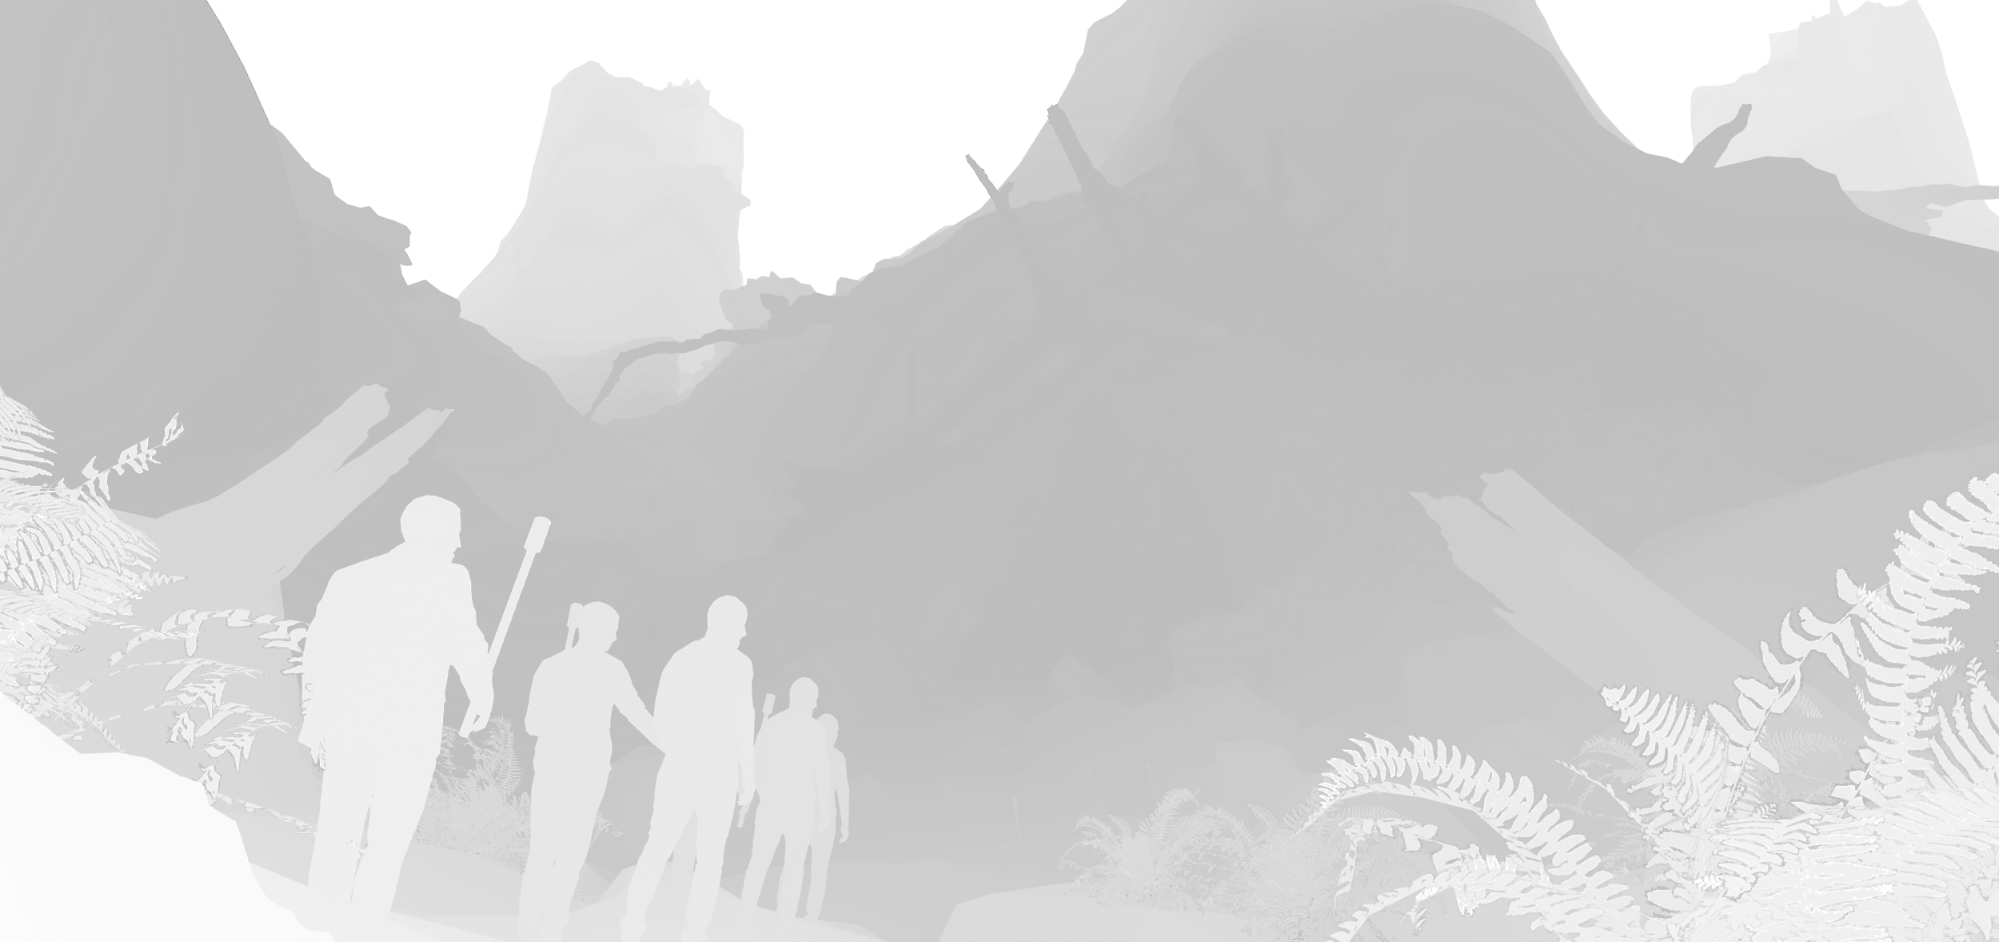
The next important part was rendering with a few render passes to assemble everything in Photoshop.
I used Cycles for this.
Render passes: Main, reflection direct and indirect, Ambient Occlusion, Mist, and Volume.

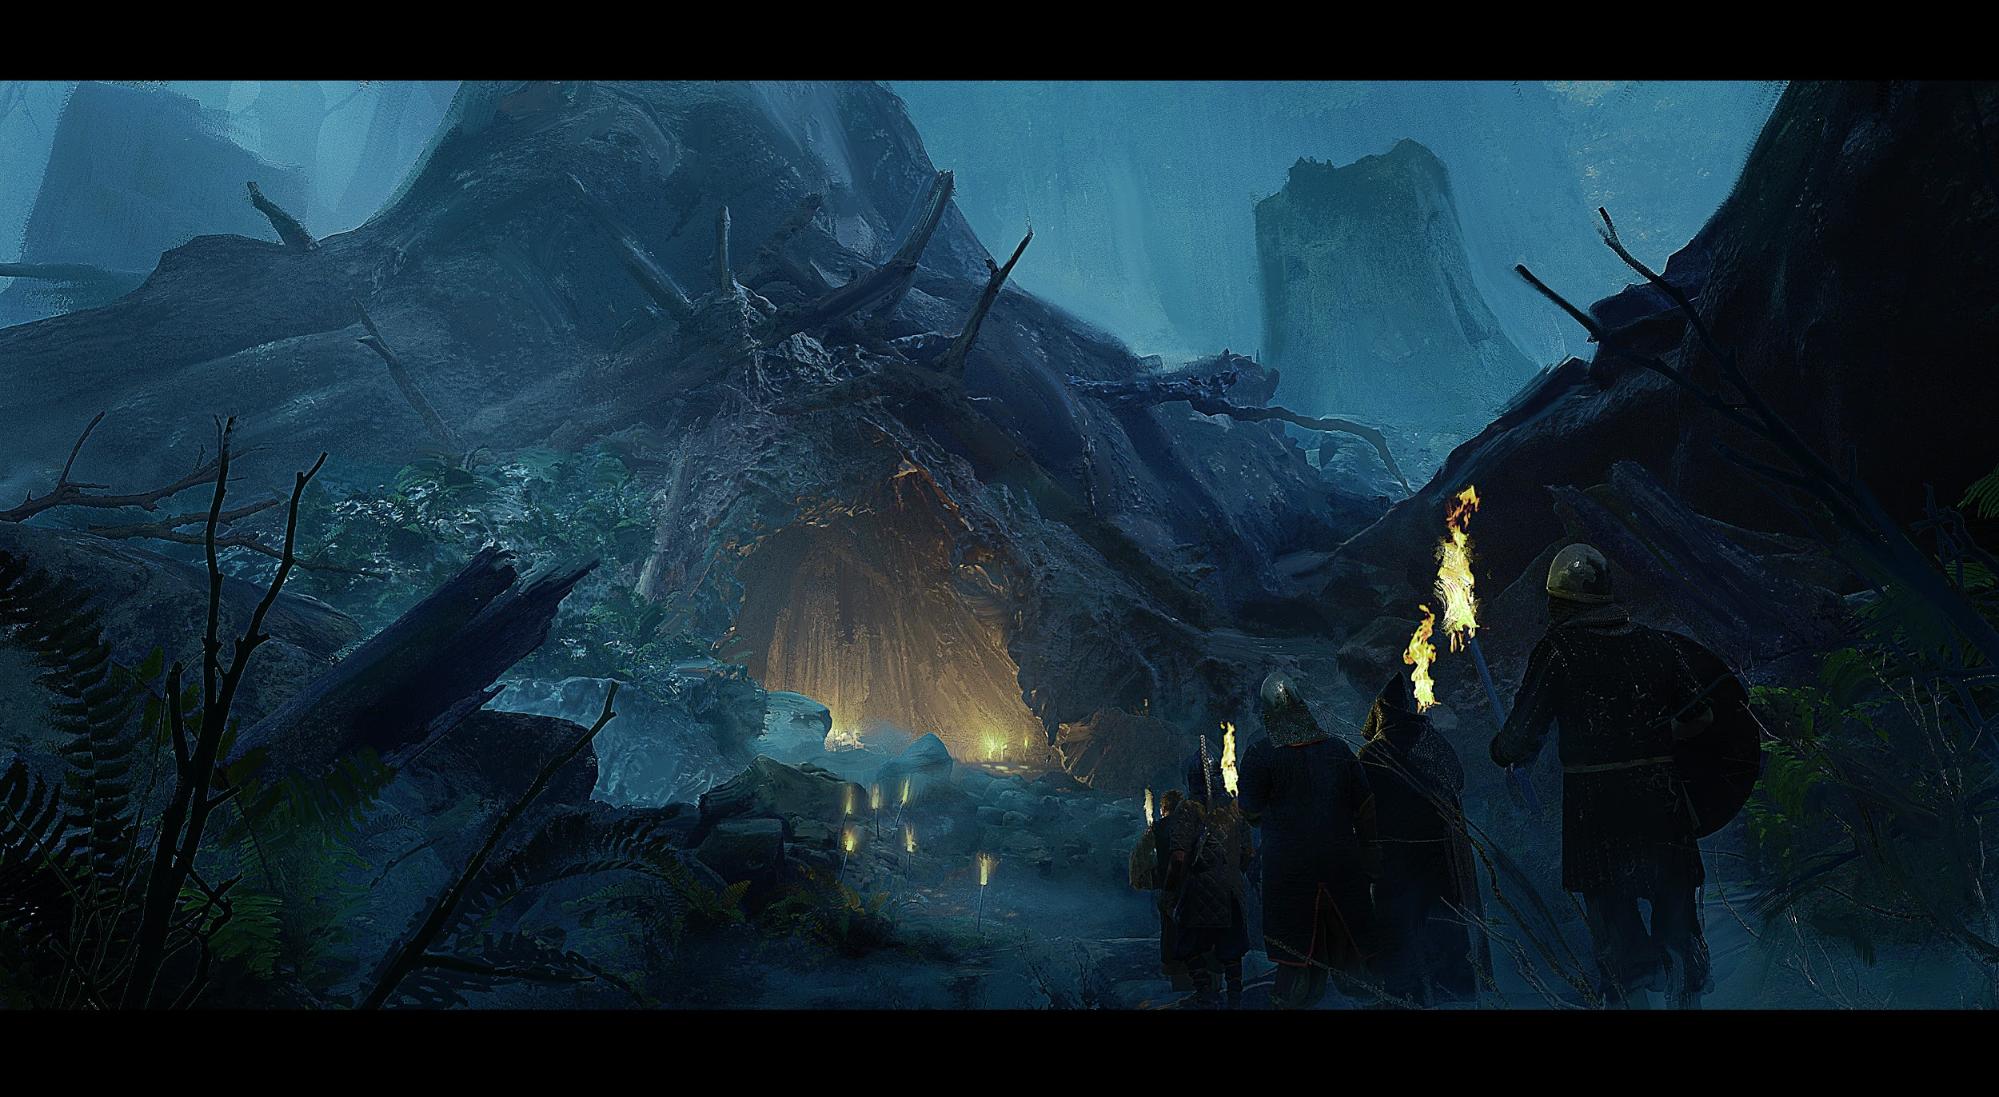
Overpainting
After rendering I took those render passes into Photoshop for quick assembling.
I used layers blending options like Add and Overlay to add render passes to my main render and after that, I started overpainting.
I used some photos for the characters (from photobash.org) and the background/foreground elements. Soft brushes for more fog and glow and the mixer brush for blending everything together.
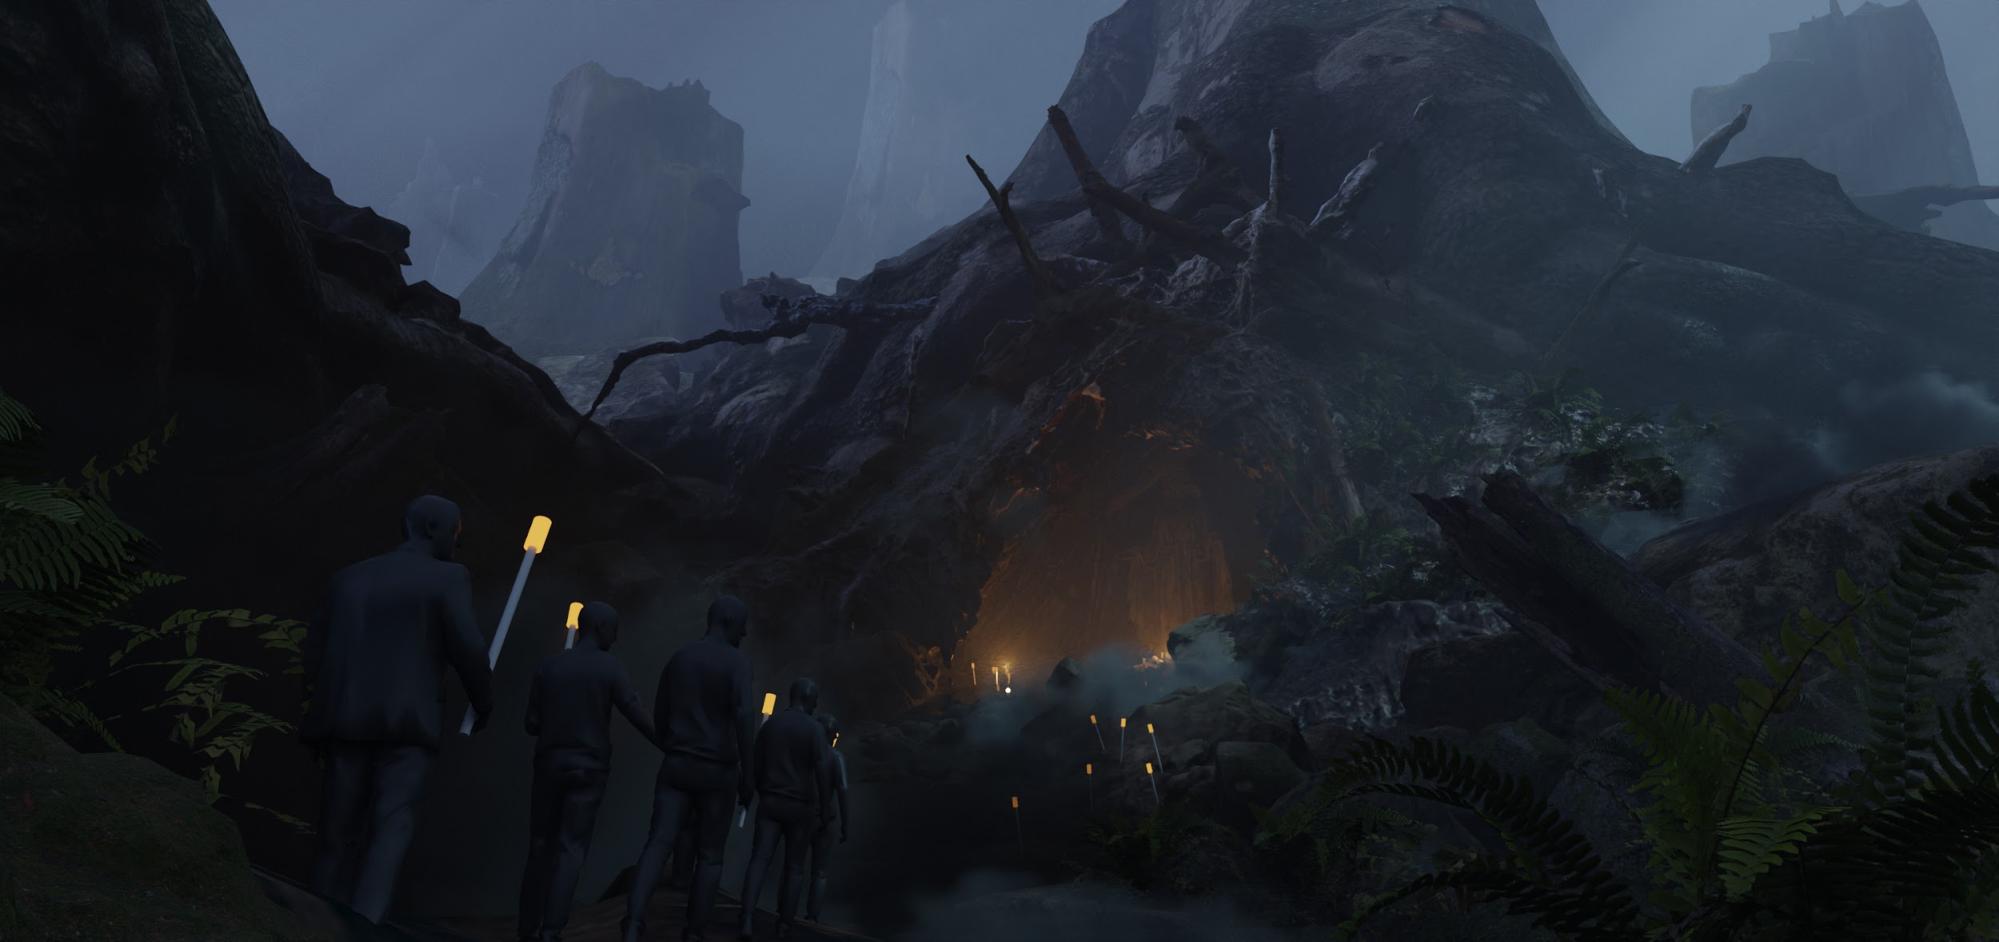
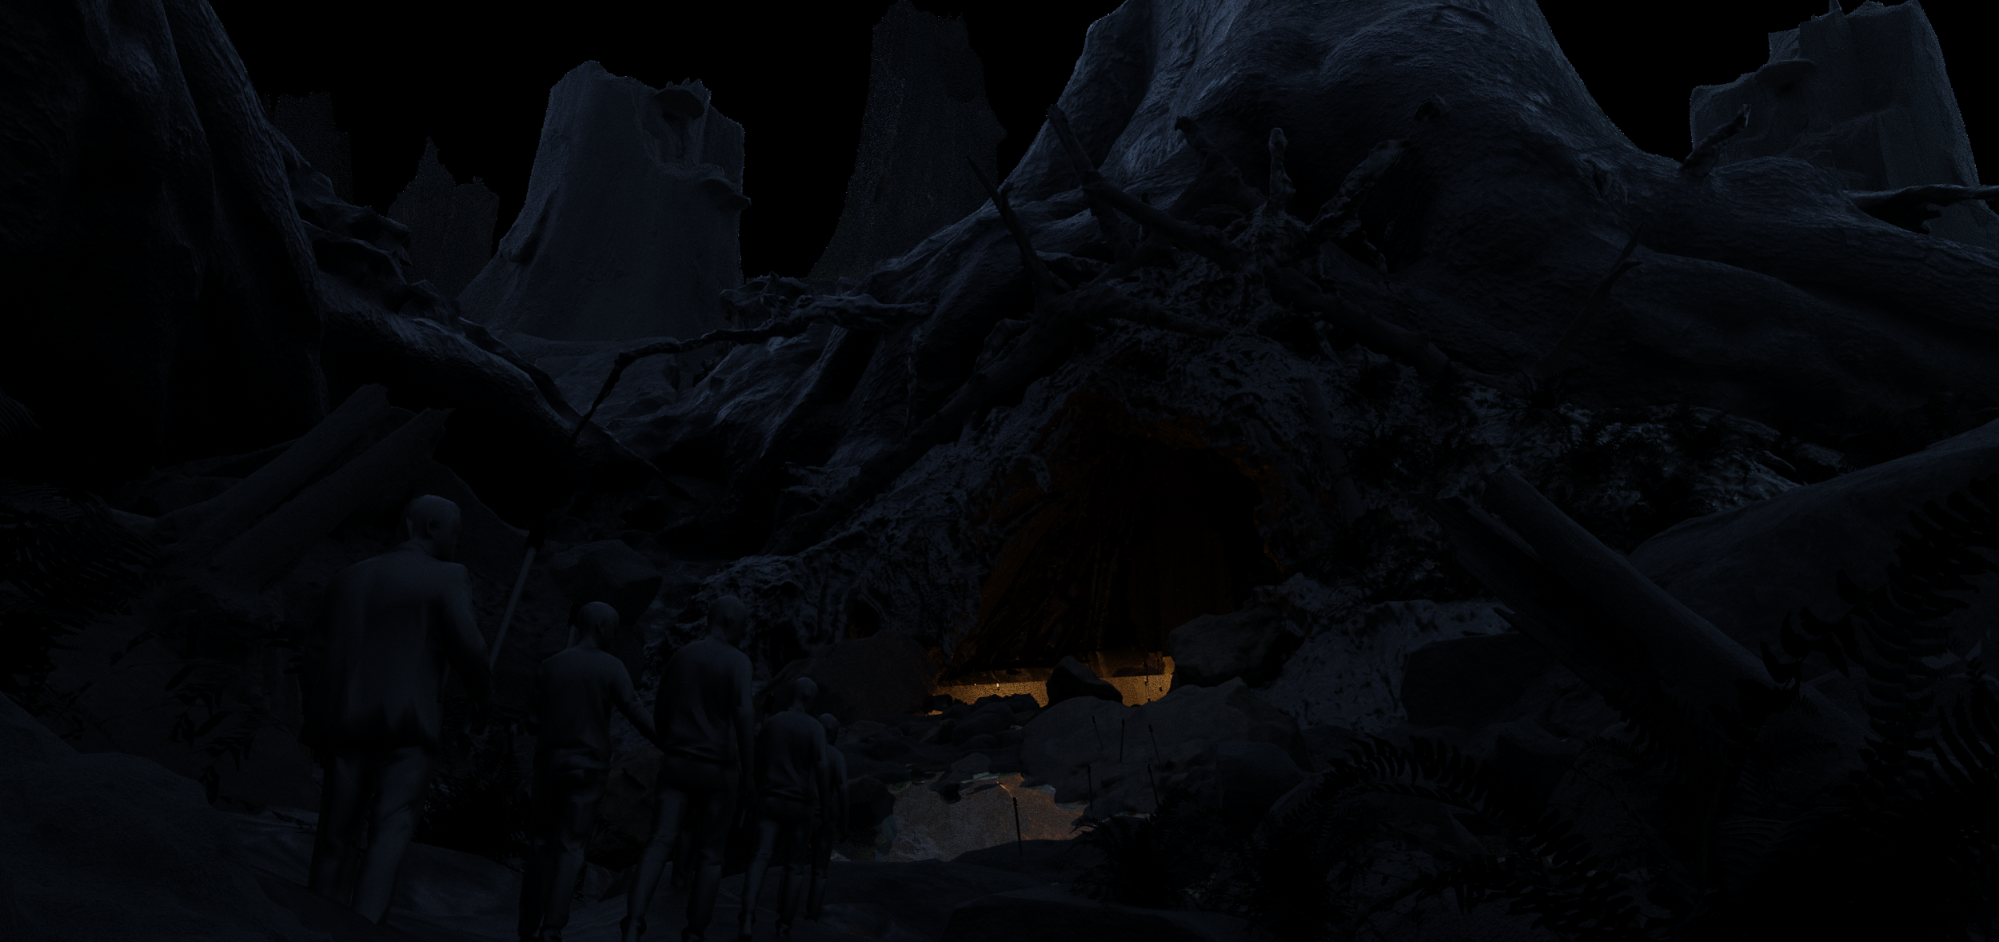
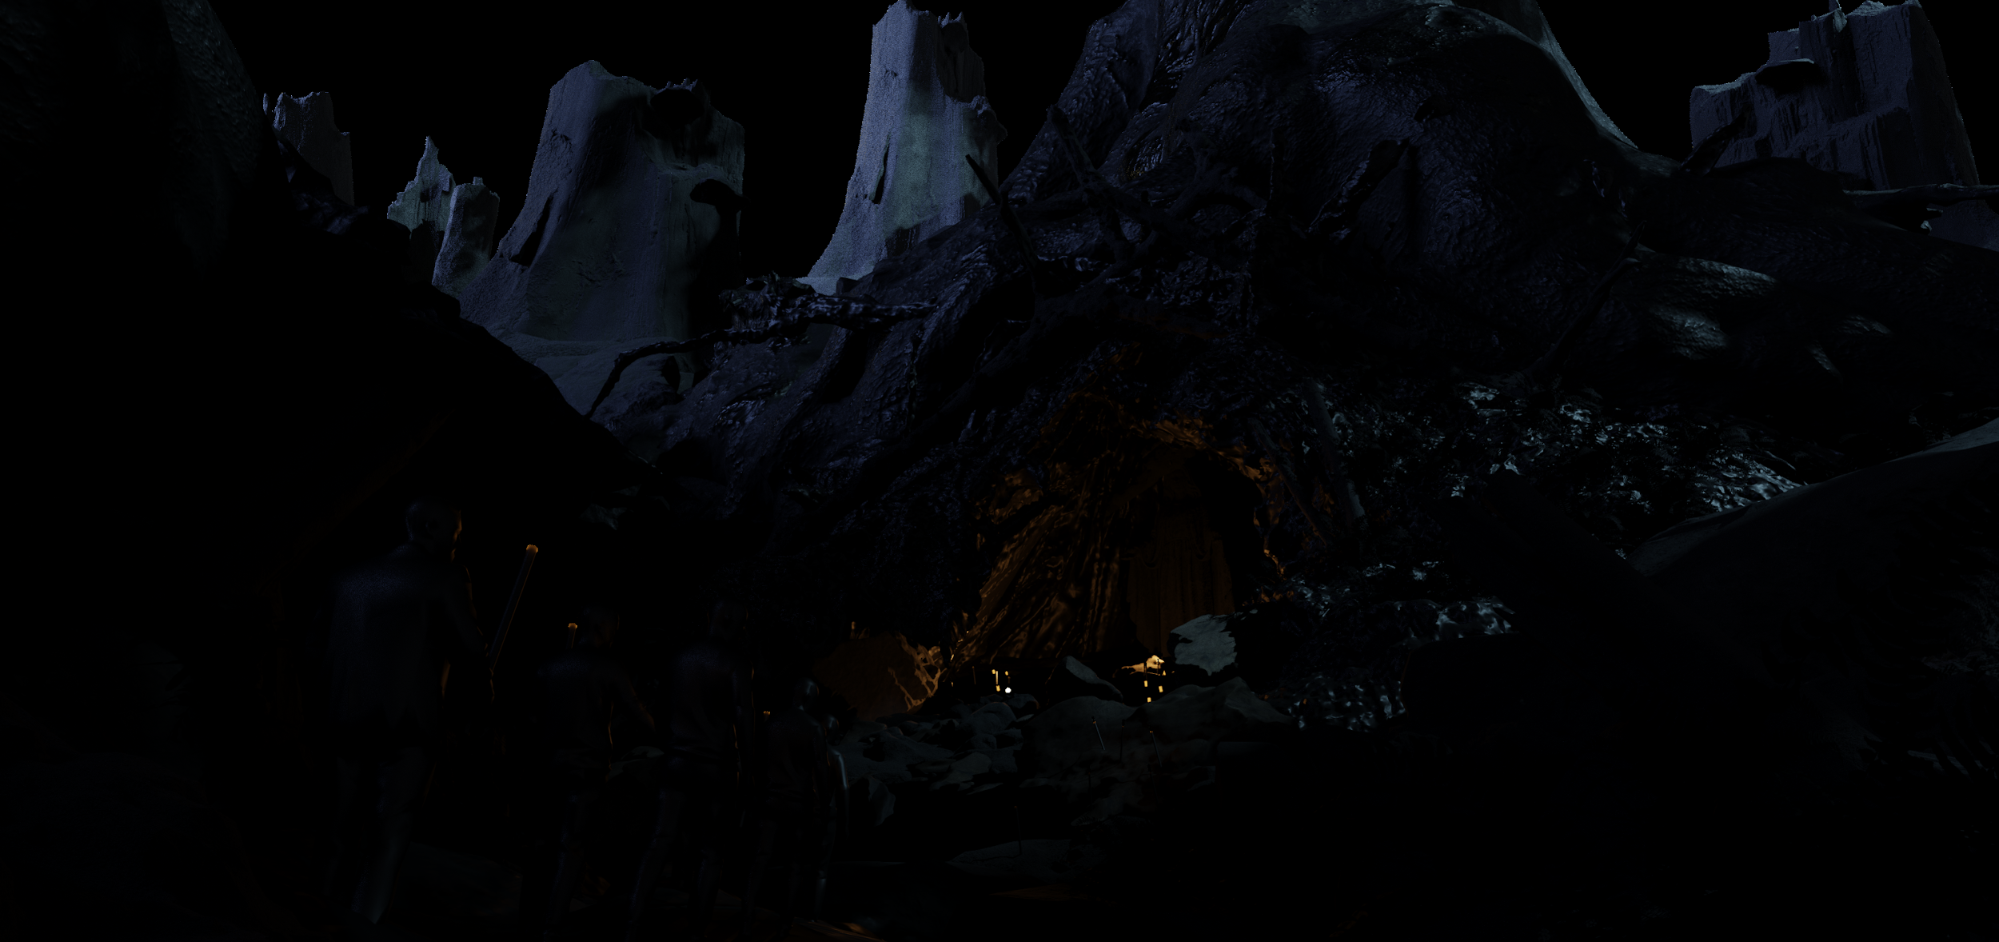
Steps:
After this the image was done. The whole process took me about 2 days working in the evenings.
I hope you like it, thank you!
About the Author
 Maciej Drabik, Concept artist, illustrator, matte painter


