
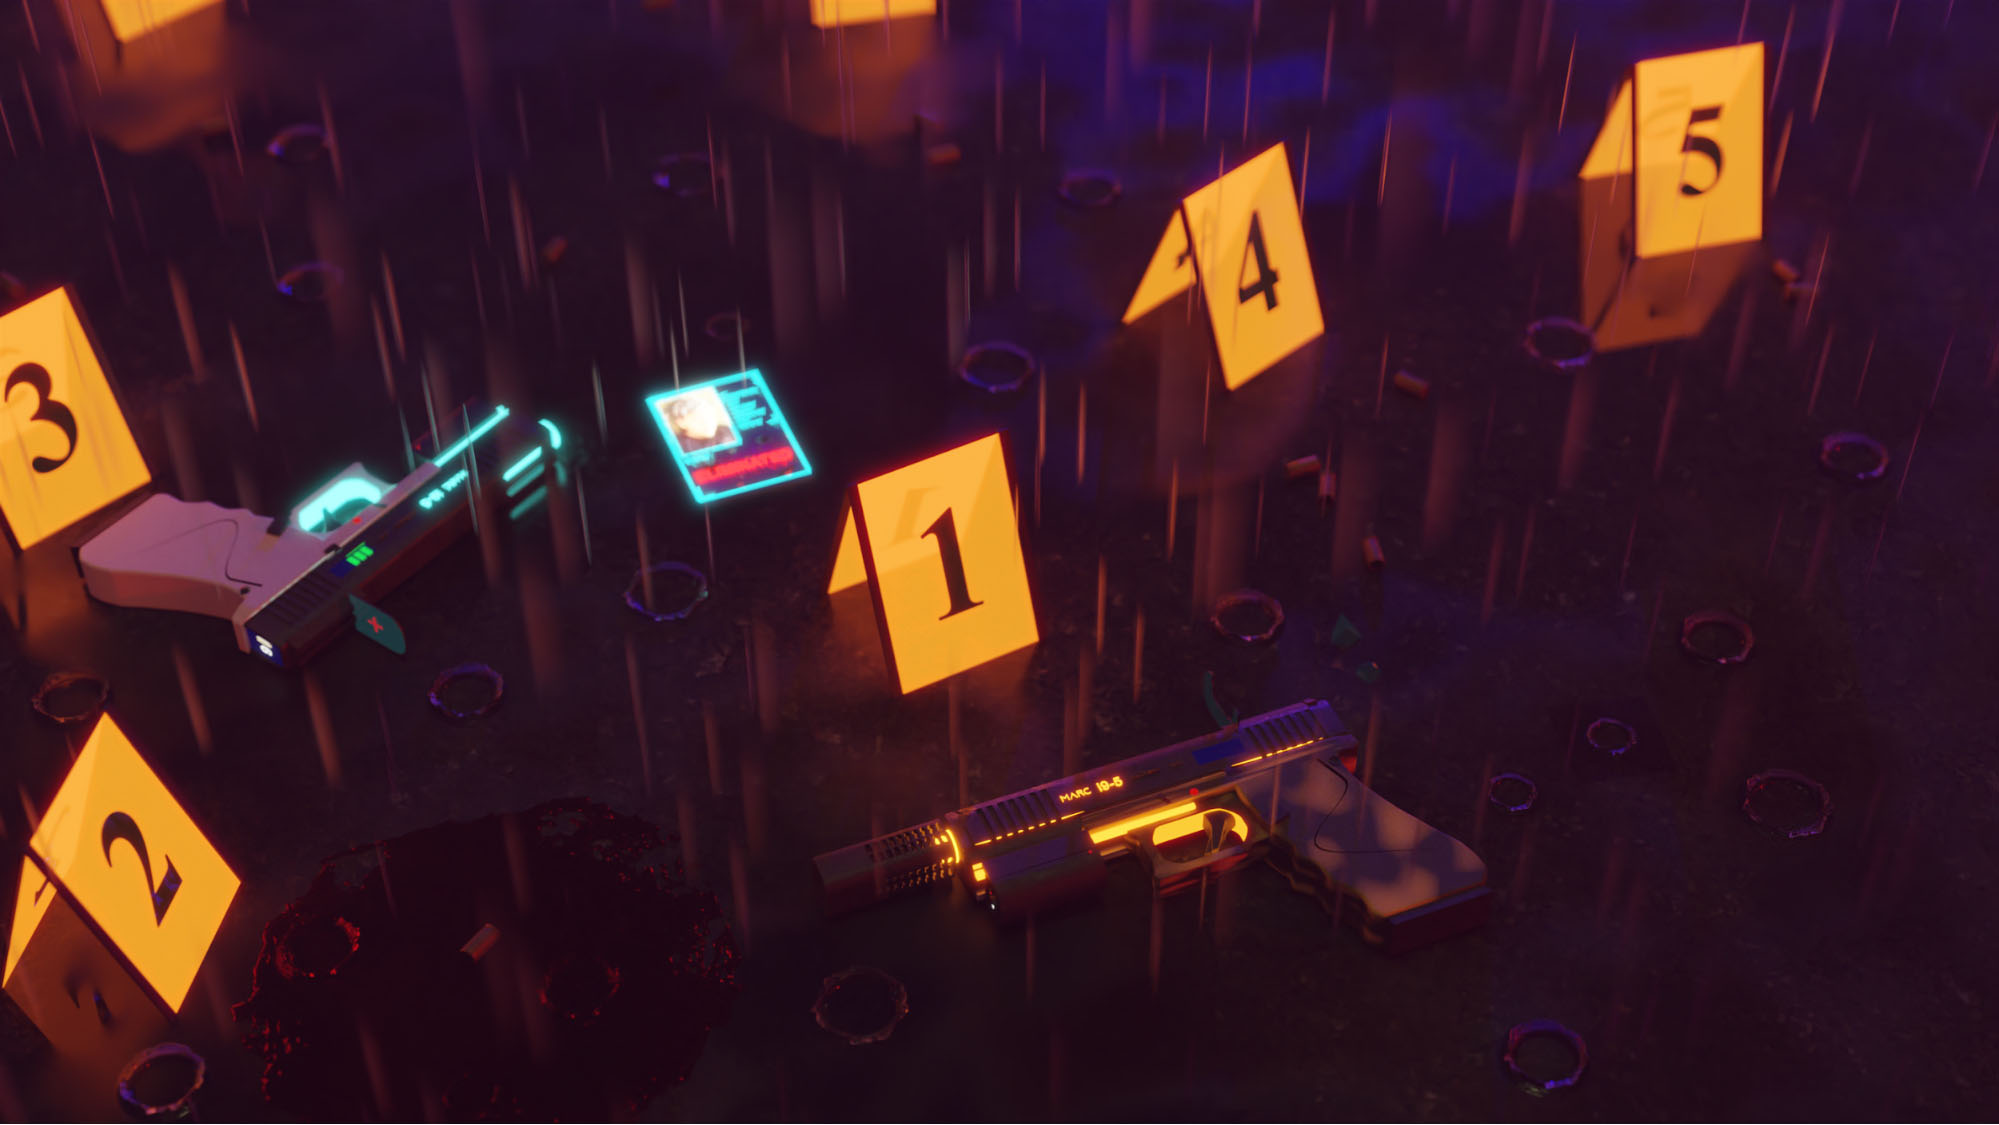
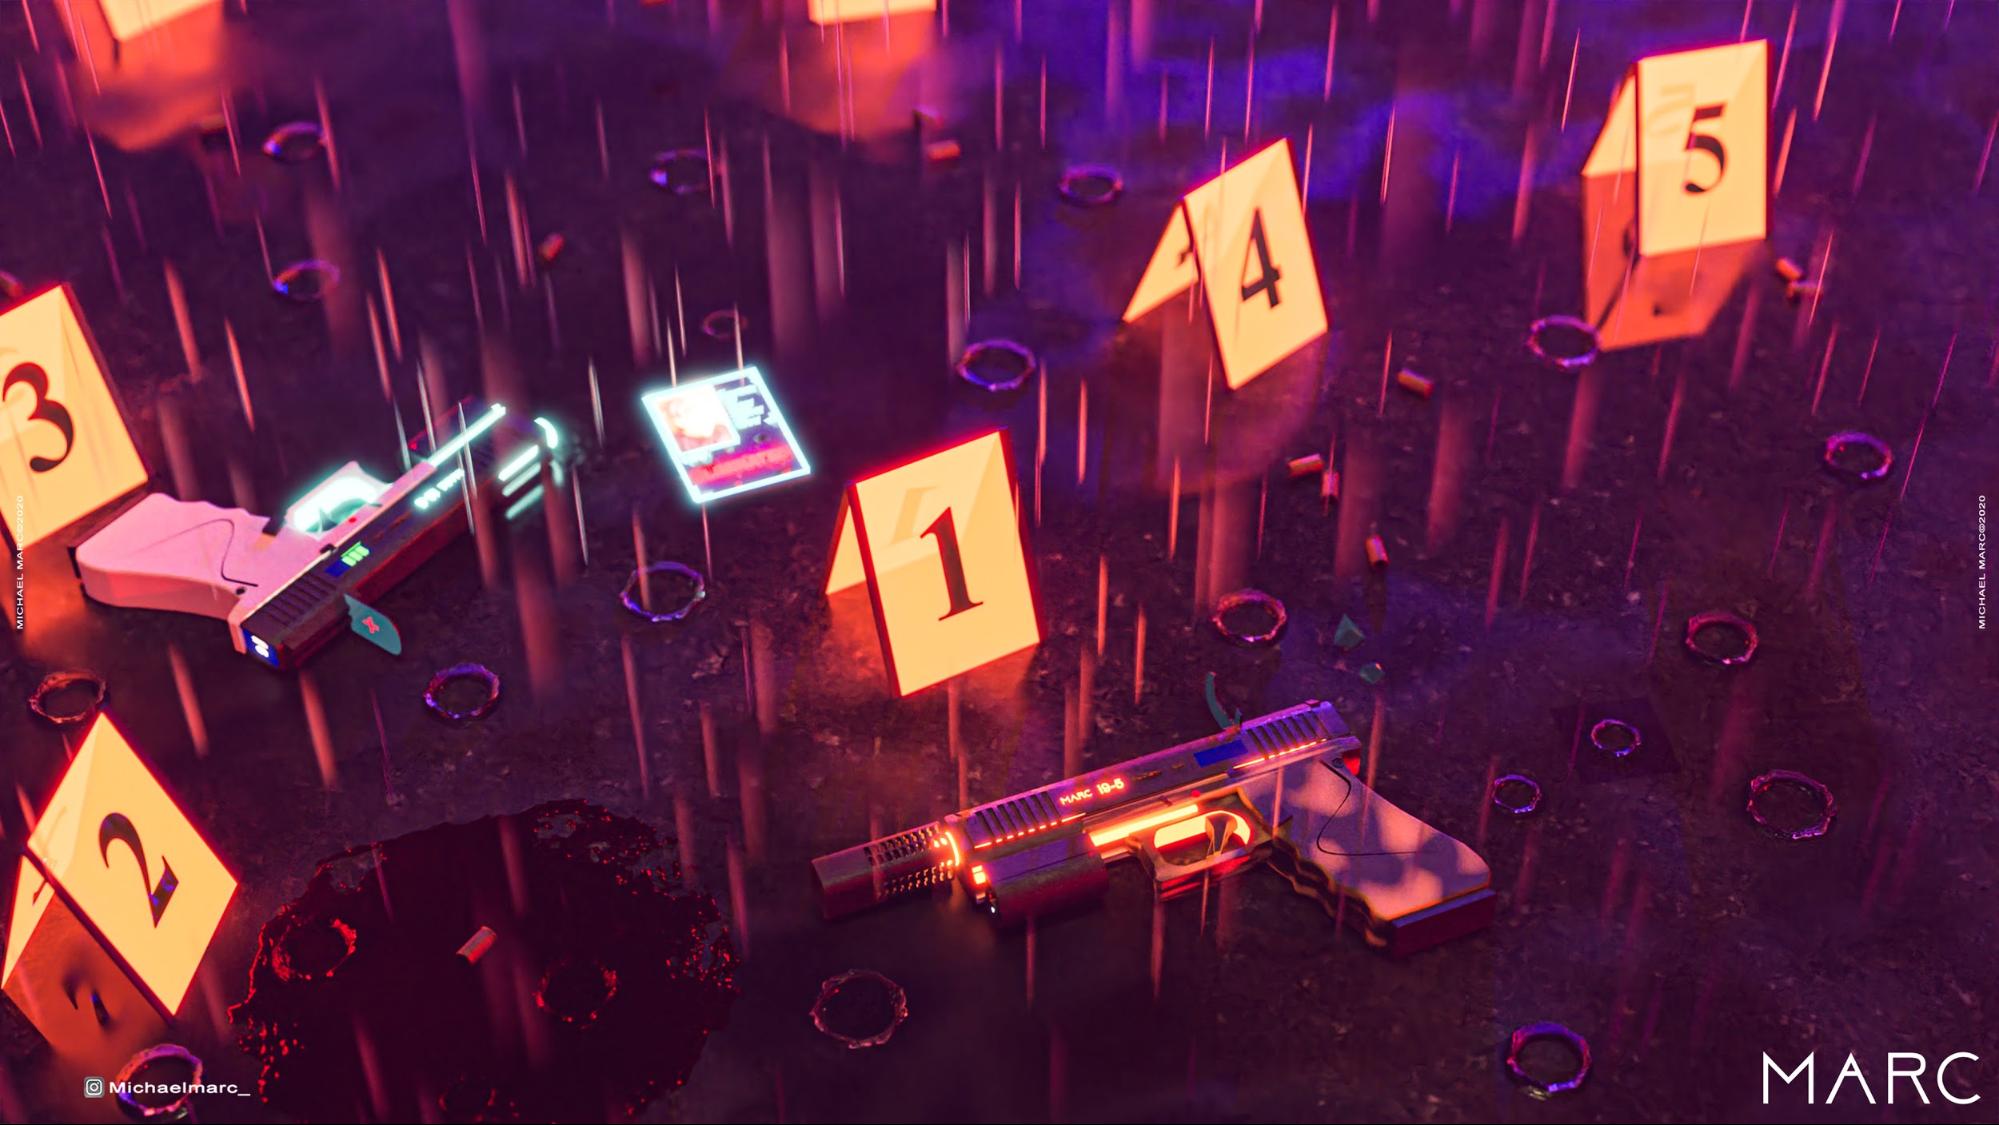
Behind the Scenes: Crime Scene 2035
About Me
Hi everyone, my name is Michael Marcelino also known as Michael Marc. I’m an environment and hard surface artist based in Jakarta, Indonesia. I just turned 21 years old recently (15 July).
Blender is the only 3D software that I use and I just learned about it 2–3 months ago. Everything started because this corona pandemic forced me to stay at home. I found the “Blender Guru” YouTube channel where he teaches Blender to beginners with his “Beginner Blender Tutorial Series”.
And then I decided to download Blender and that was the only tutorial that I really watched. After that, I just learned everything by myself. I’m a really fast learner, right?!
Concept & References
It’s always complicated for me when I’m trying to explain the concept of my artwork because how my mind works is complicated, so I’ll try for you guys.
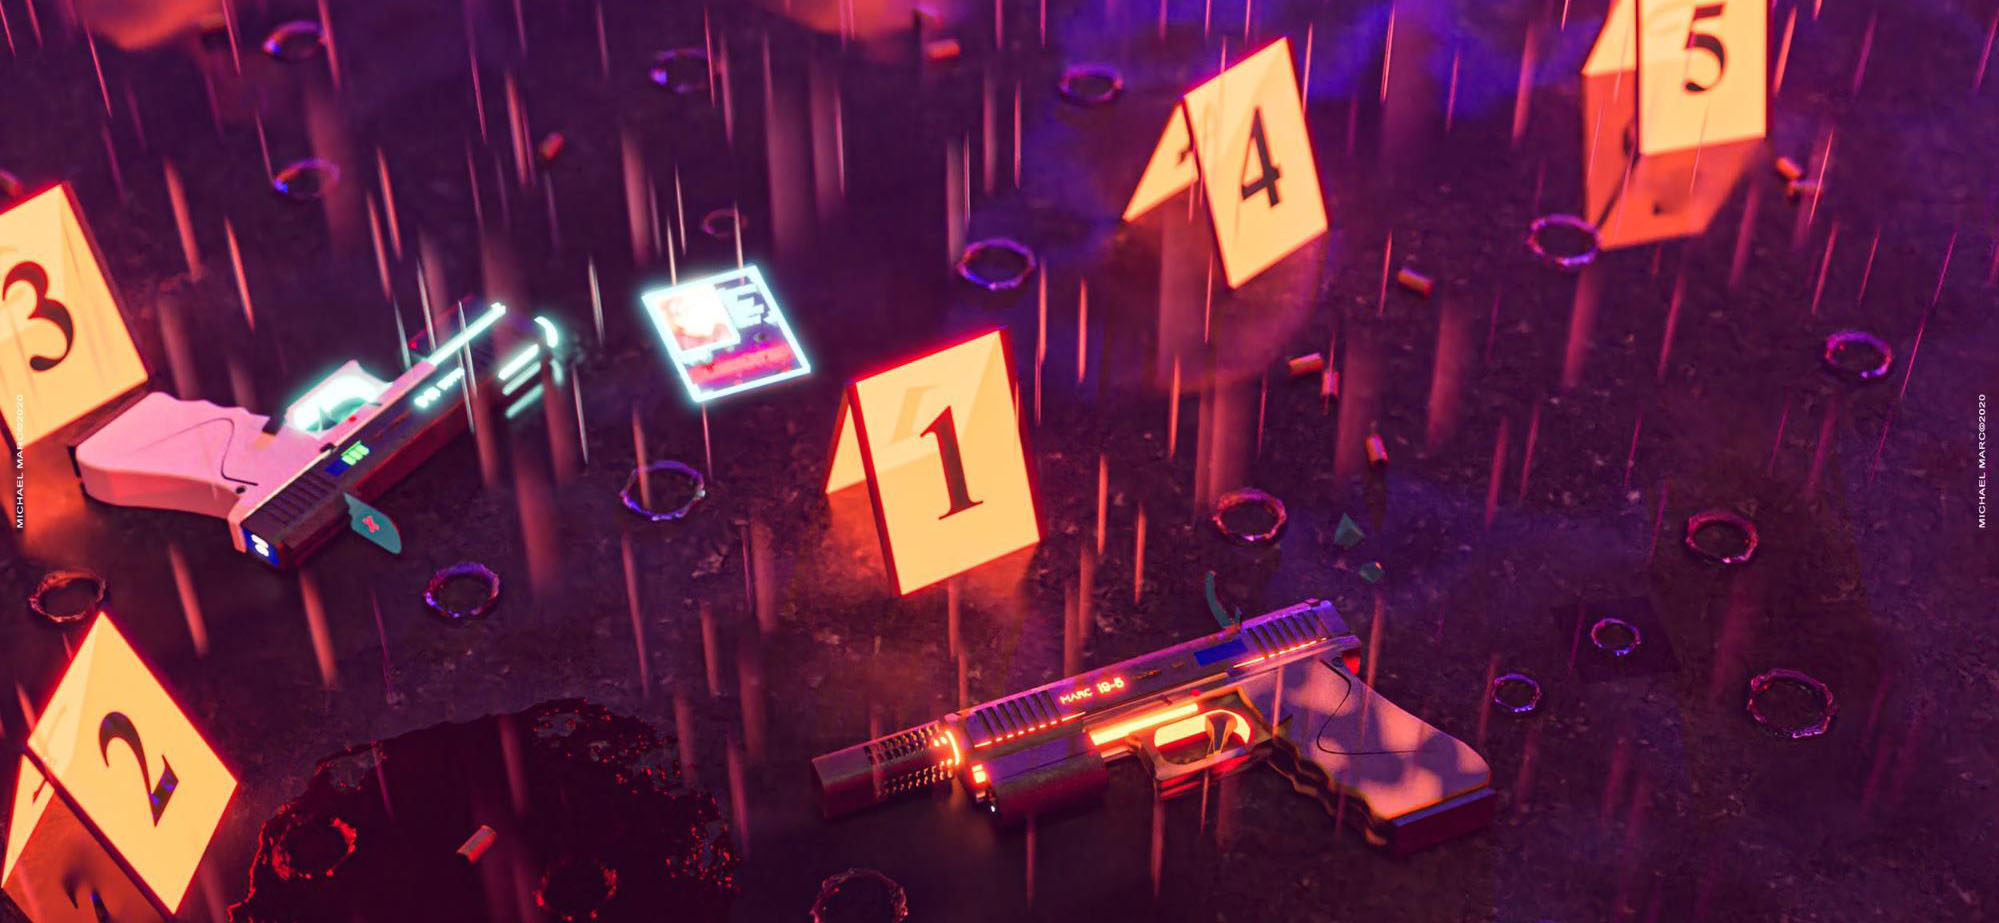
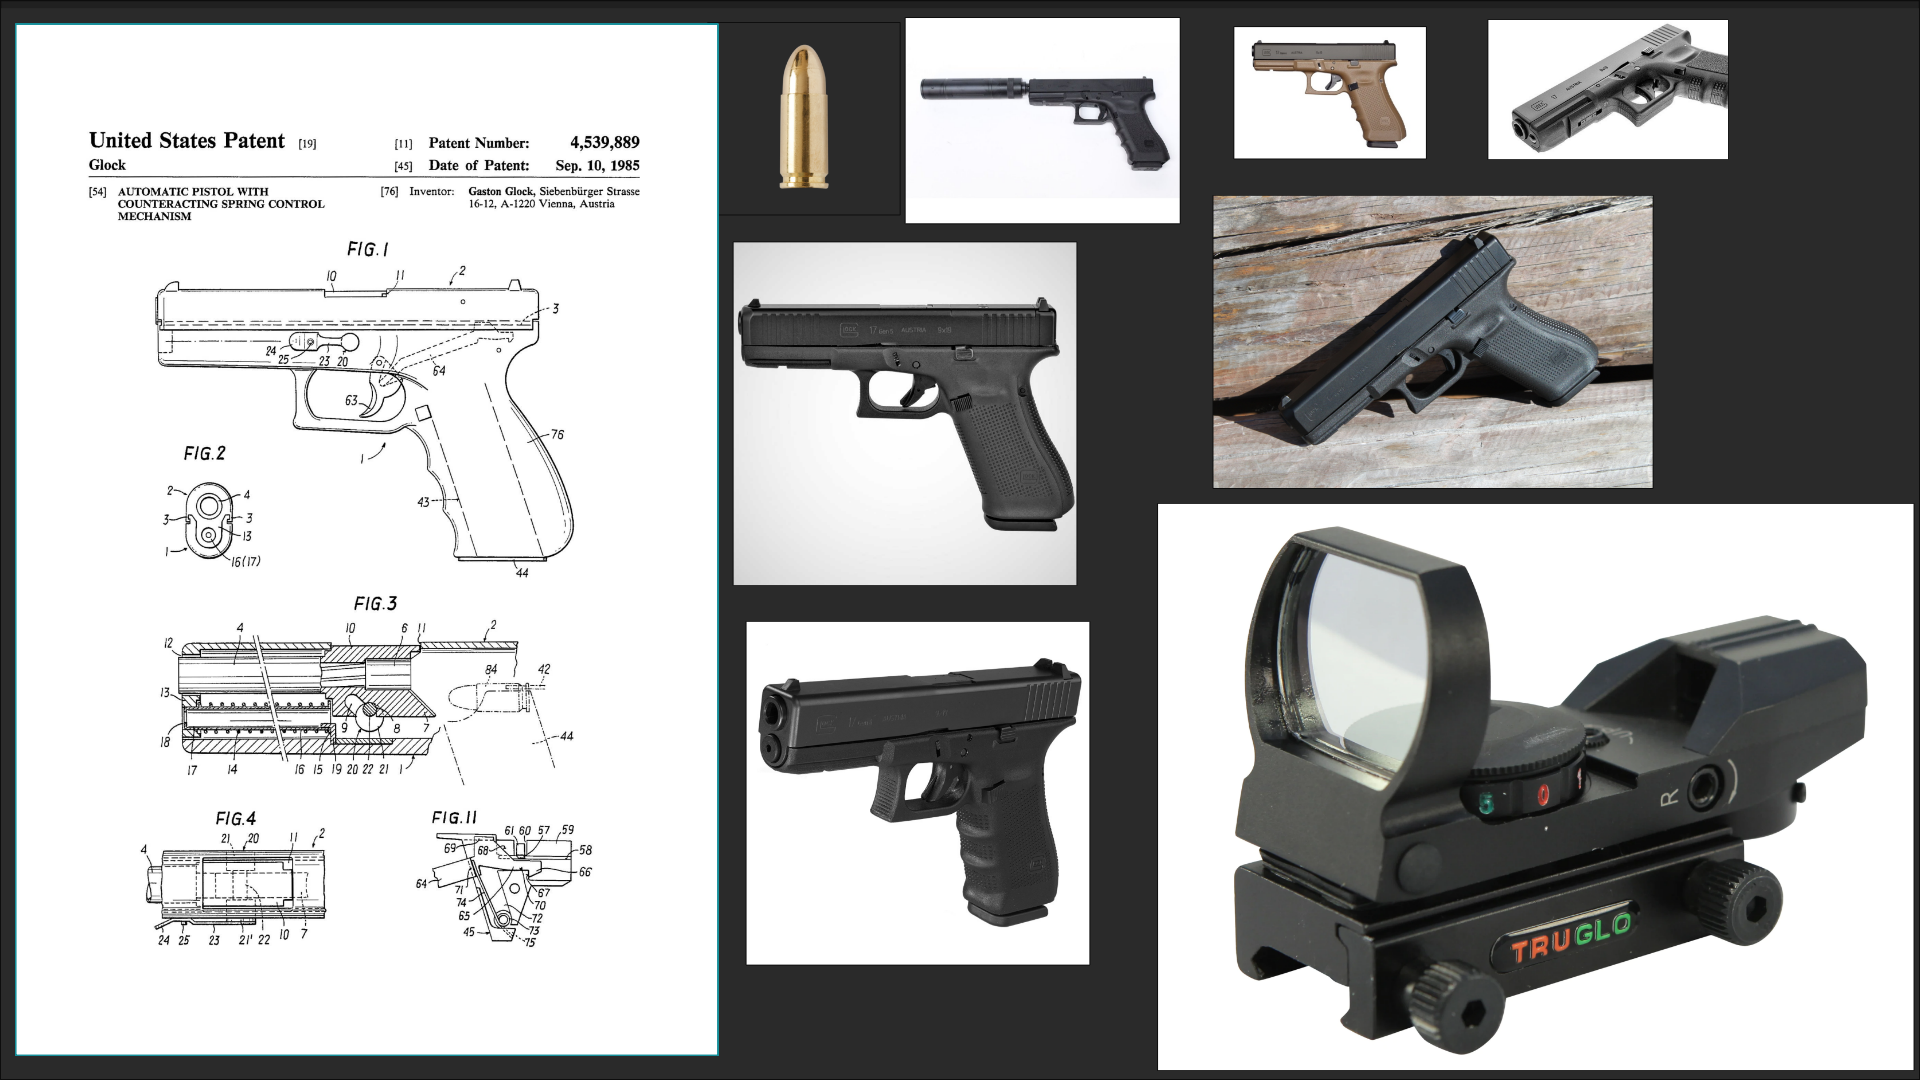
My first idea for this “Crime Scene 2035” was to make a sci-fi gun based on the Glock 17 with a red dot sight and 9x19mm parabellum bullets.
Originally, I just wanted to make a gun on the table with a couple of bullets, but I think I’m not the only one who changes their concept when the modeling starts, right?
Modeling
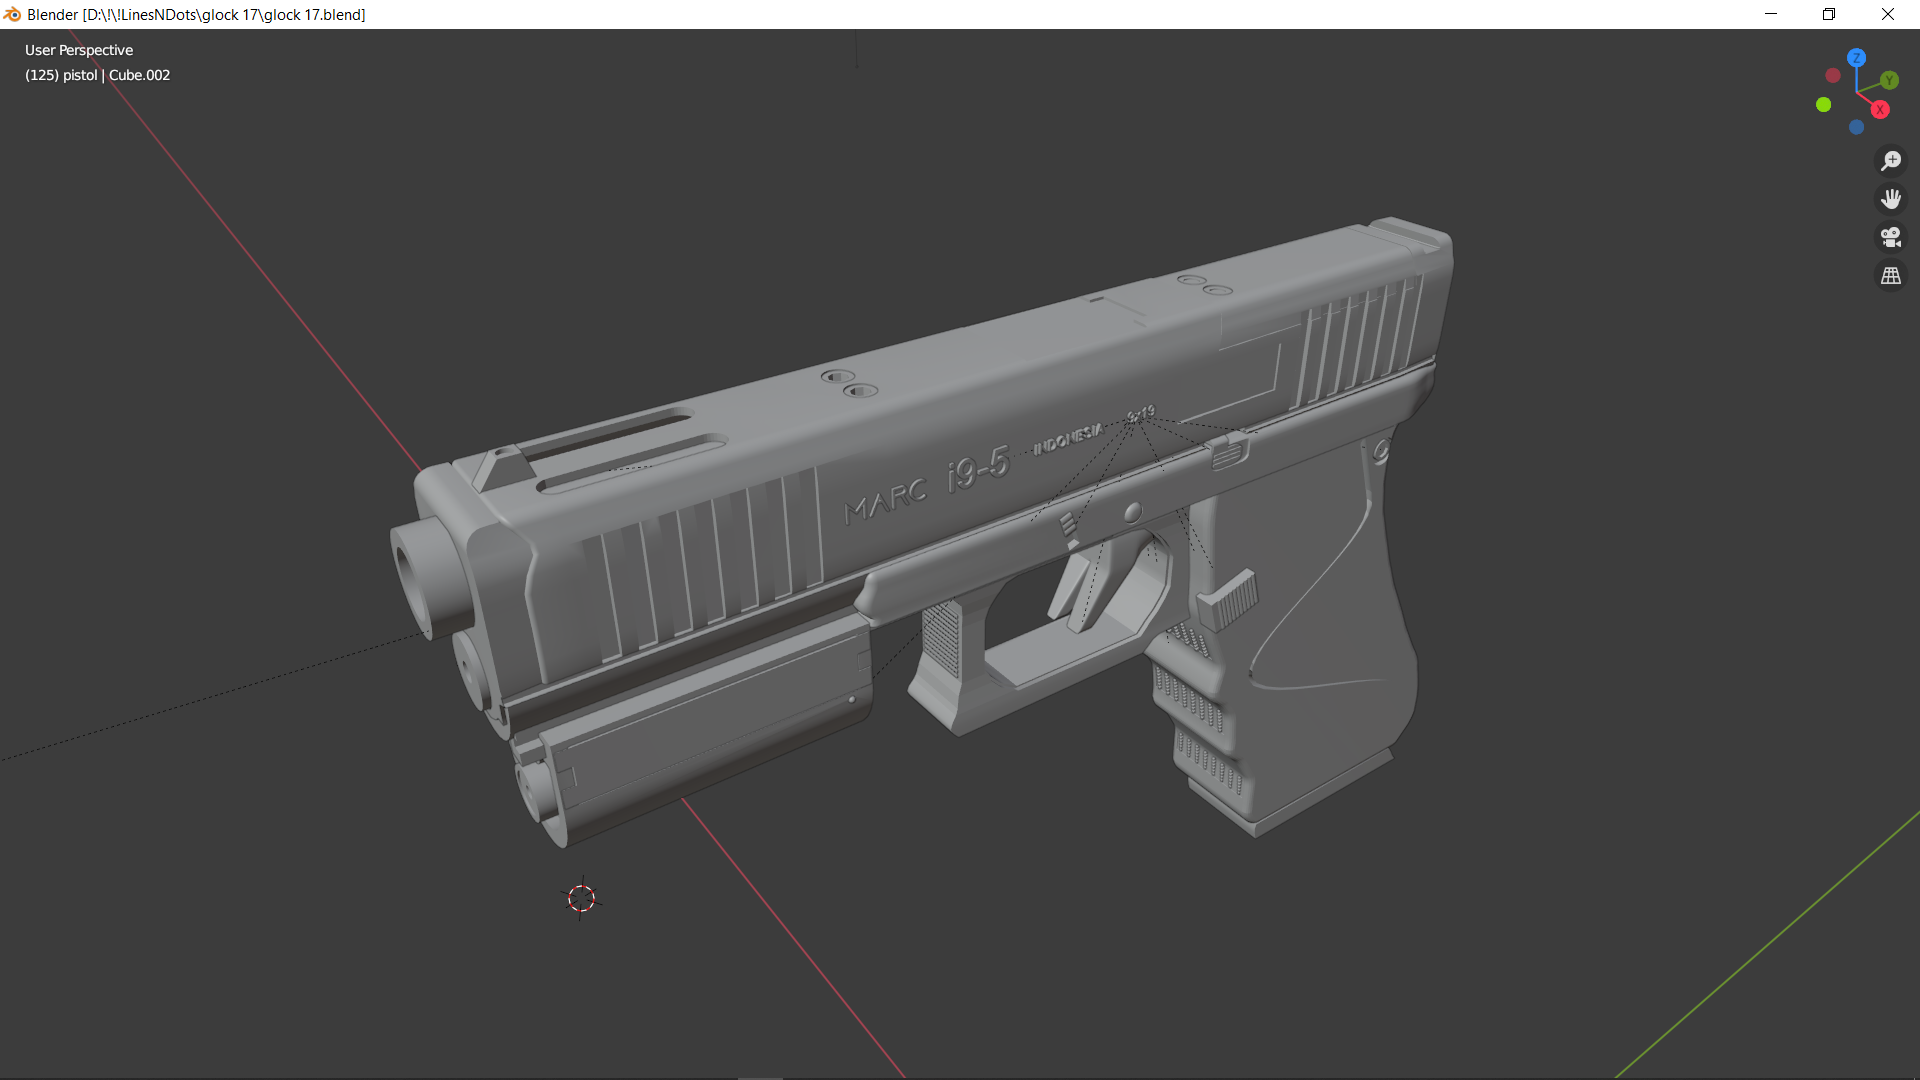
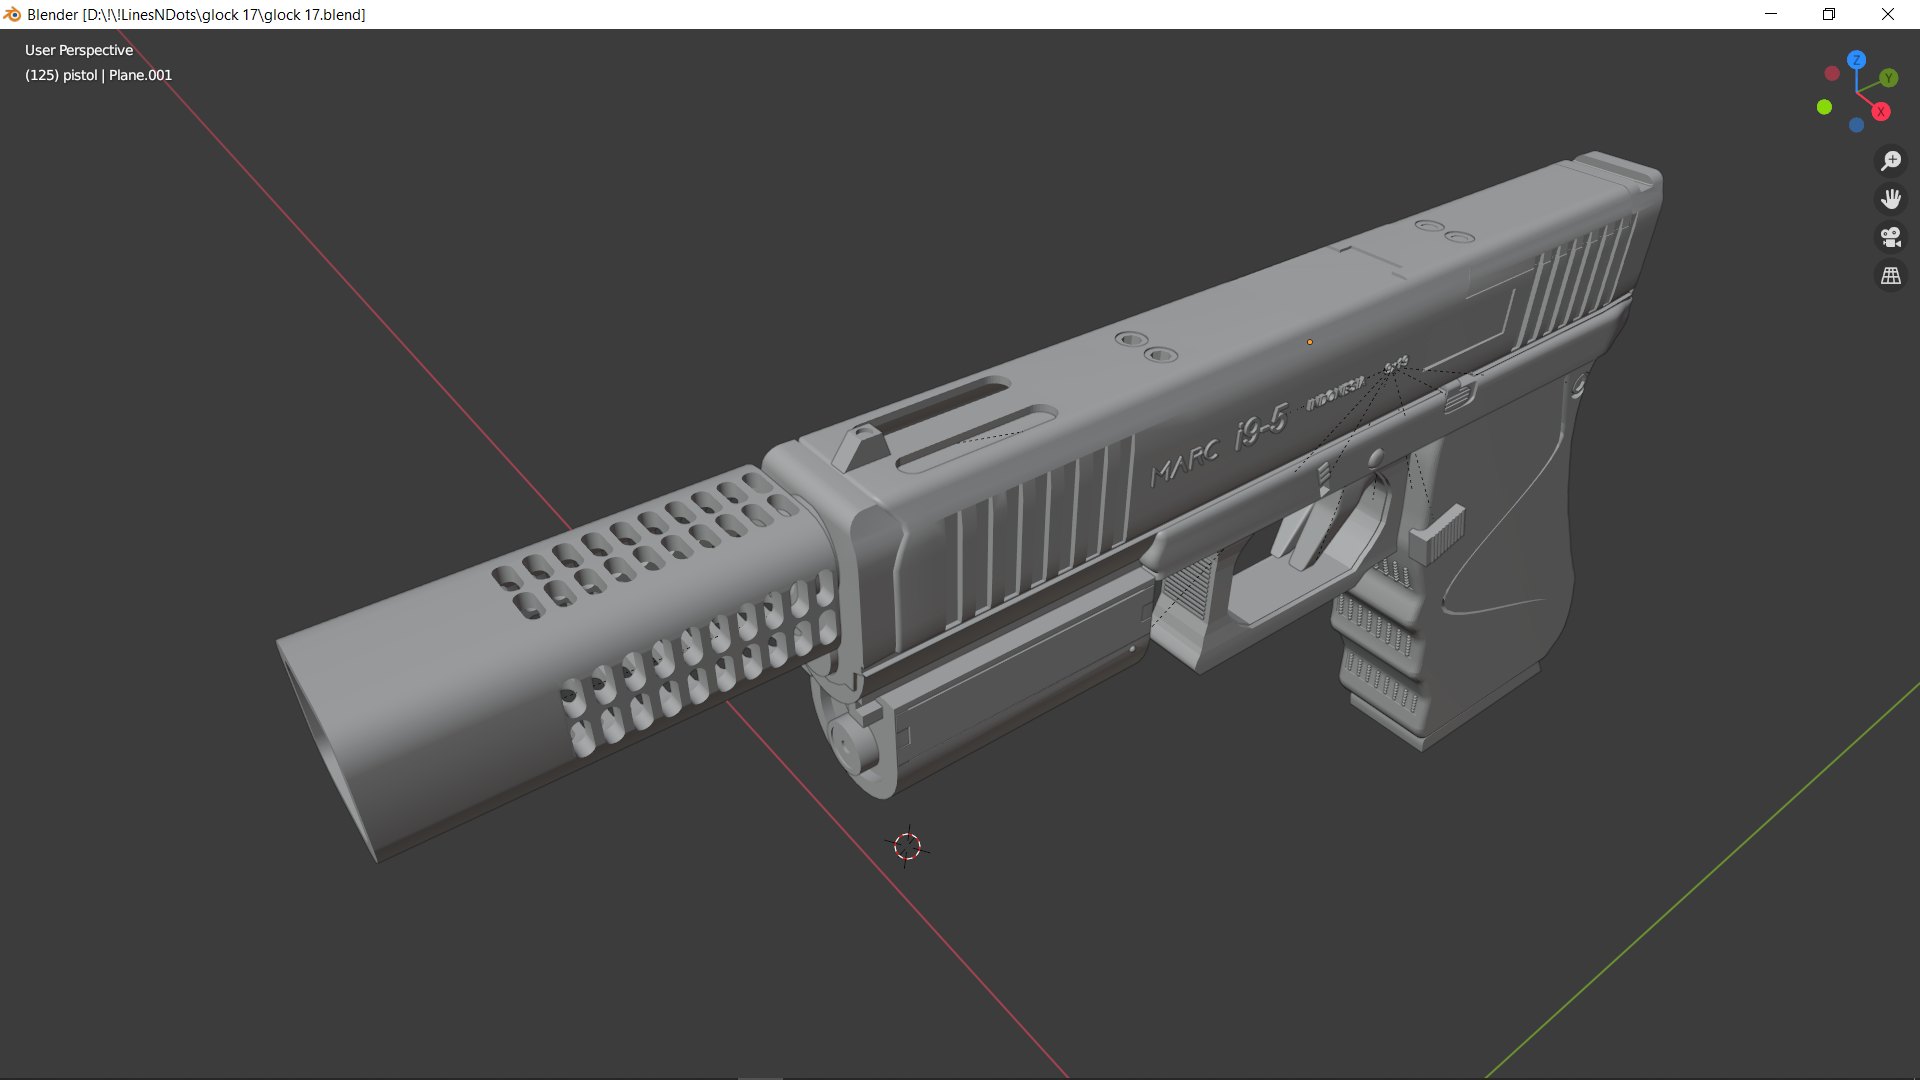
Modeling is my favorite part when I build a scene. The first thing that I did was start modeling the gun based on the blueprints, but it wasn’t perfect so I changed the model a bit and then started to add sci-fi accessories and made the gun look “sci-fi”. I used Boolean and Subdivision Surface modifiers.
Every time I need to make a hole, I use booleans.
One of the accessories is the muzzle brake. I designed it without references, everything just from my memory.
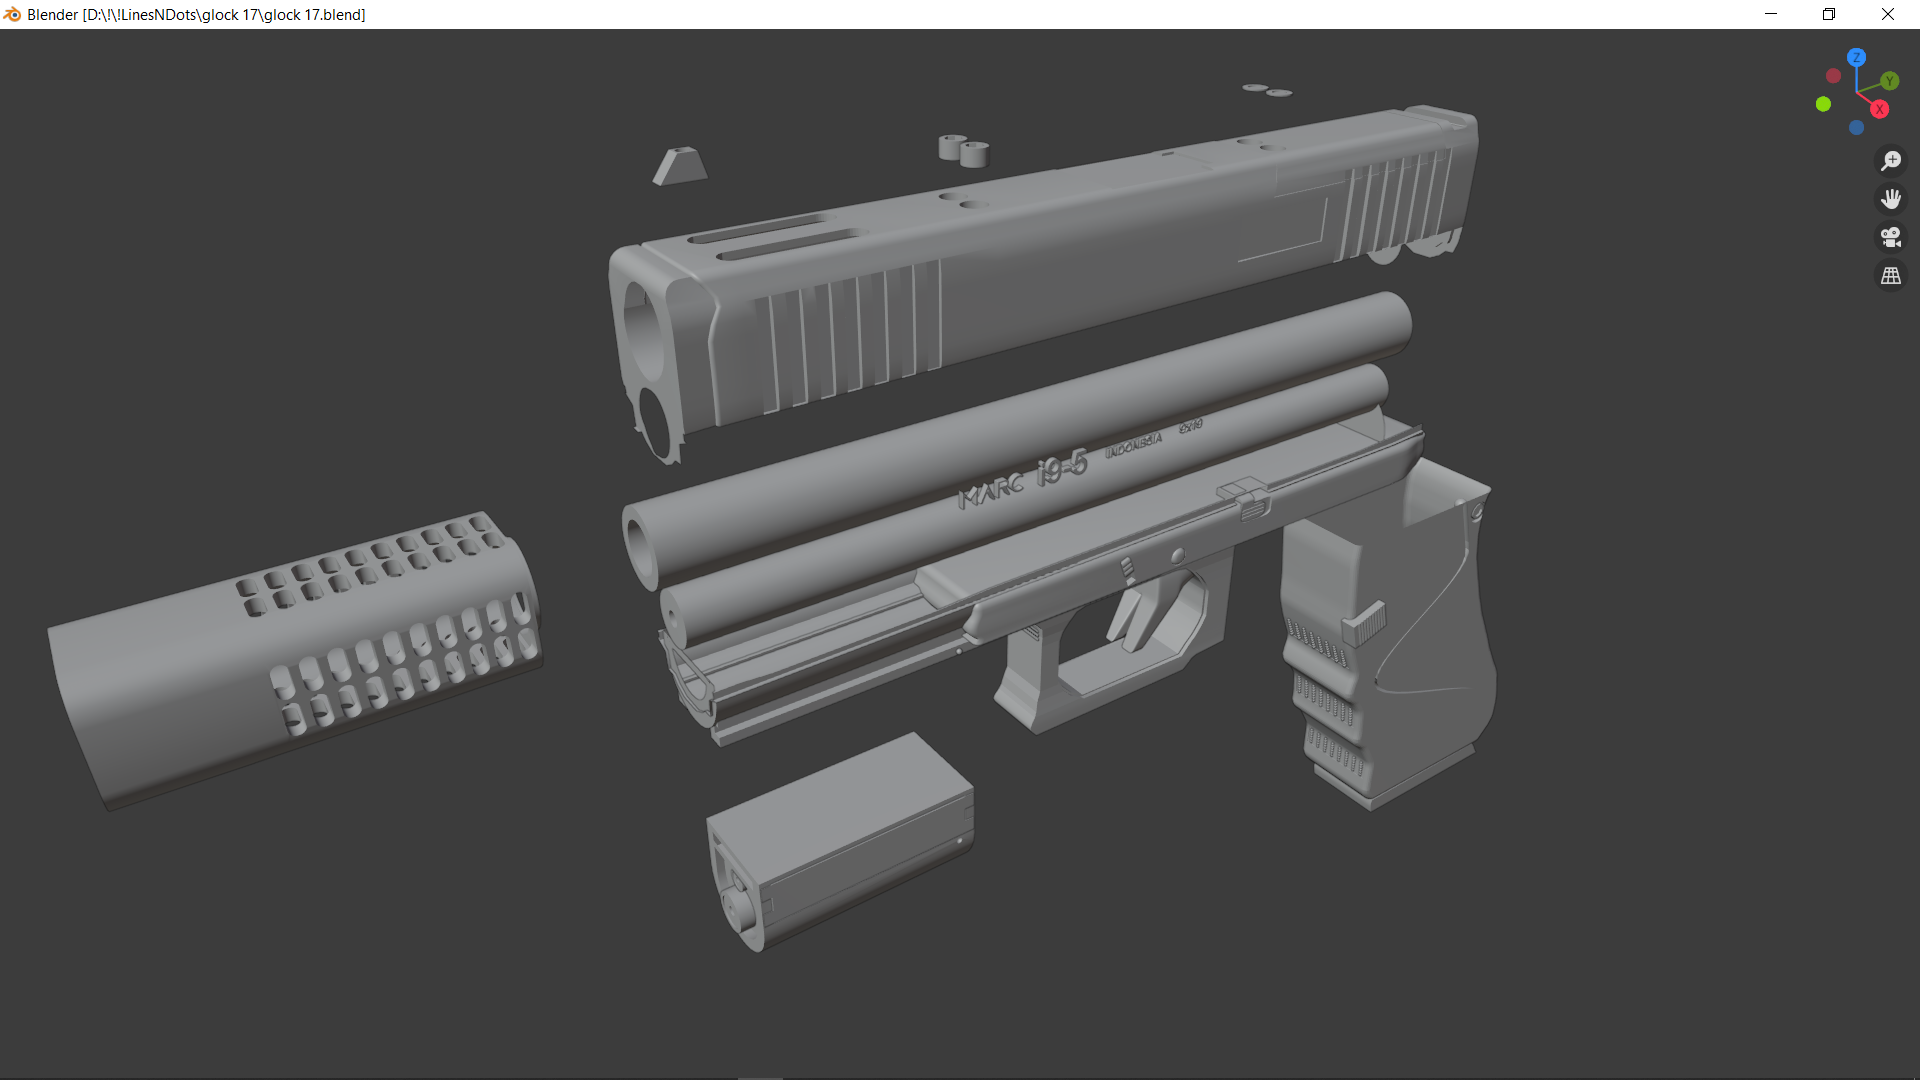
I didn’t make the interior details so there are no gun mechanisms on the inside. I always and only make parts and details that will be seen on the camera, which saves a lot of time.
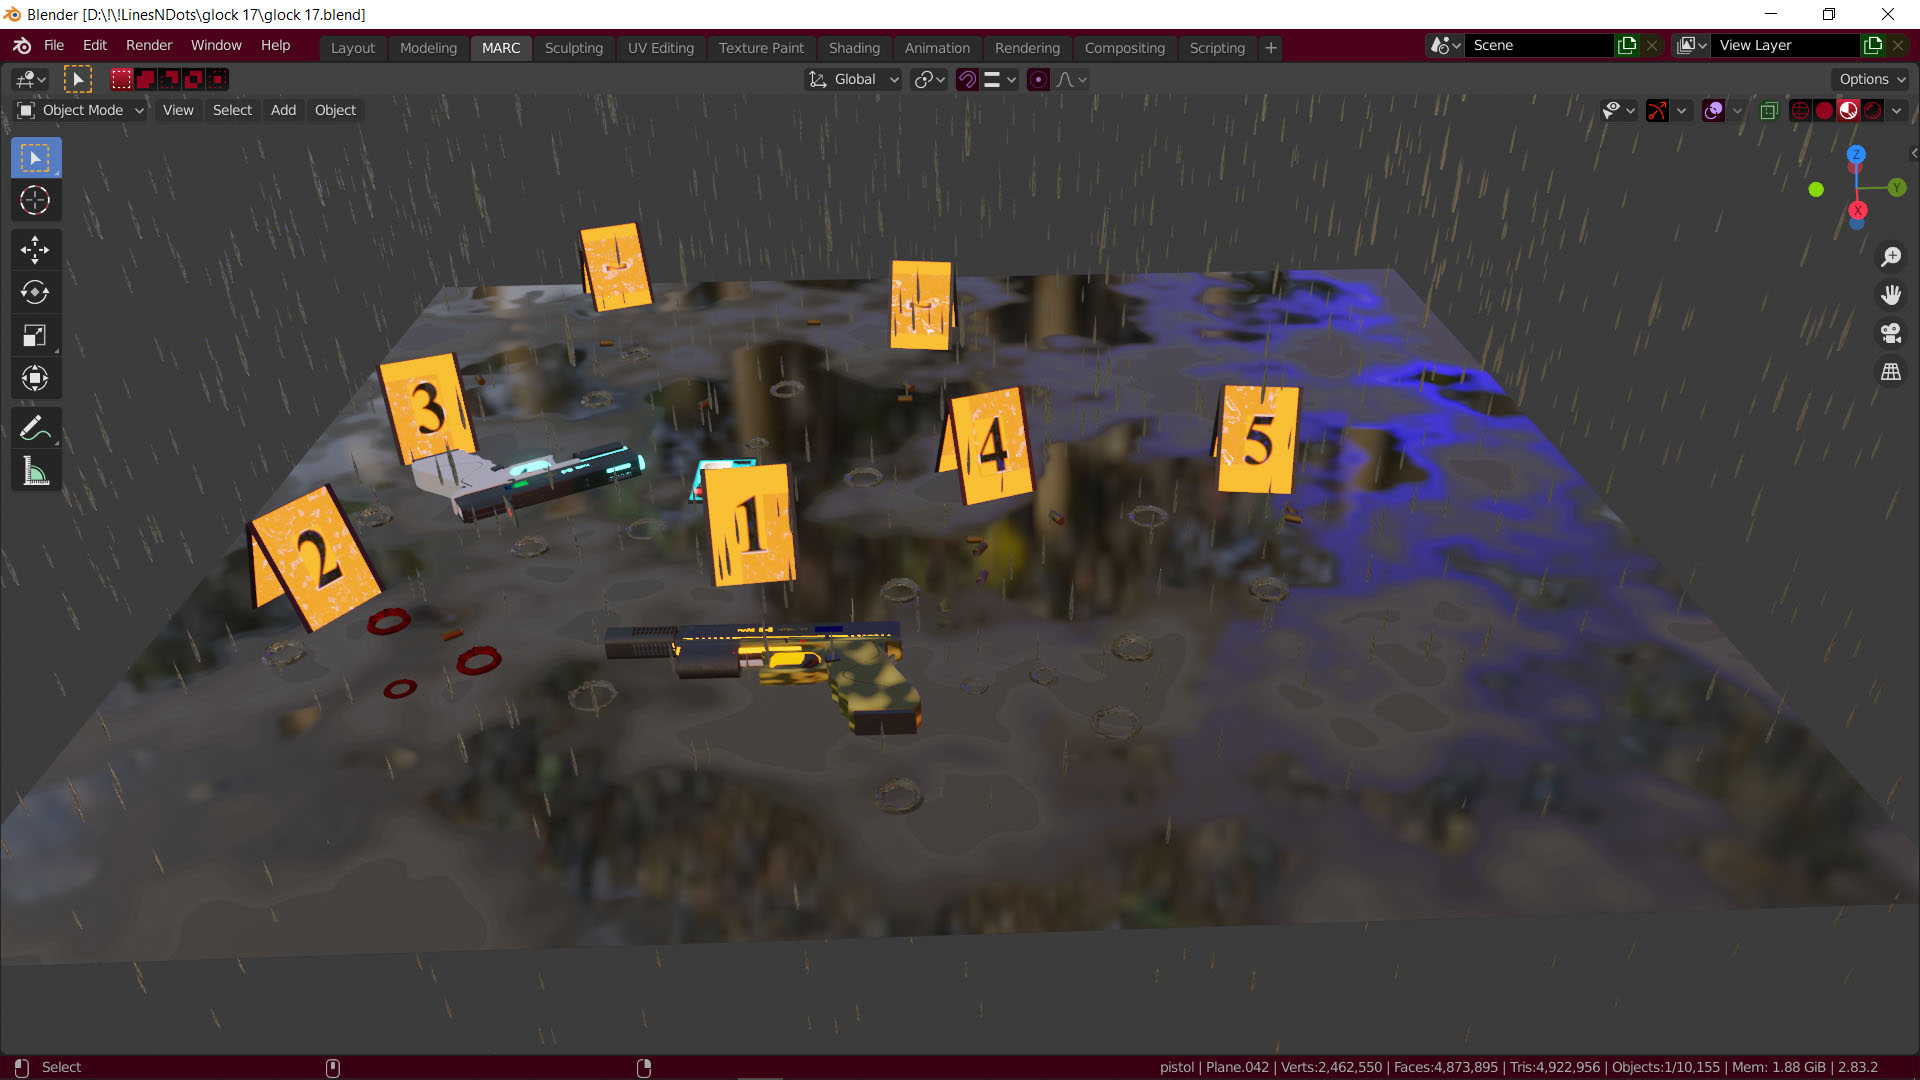
Rain
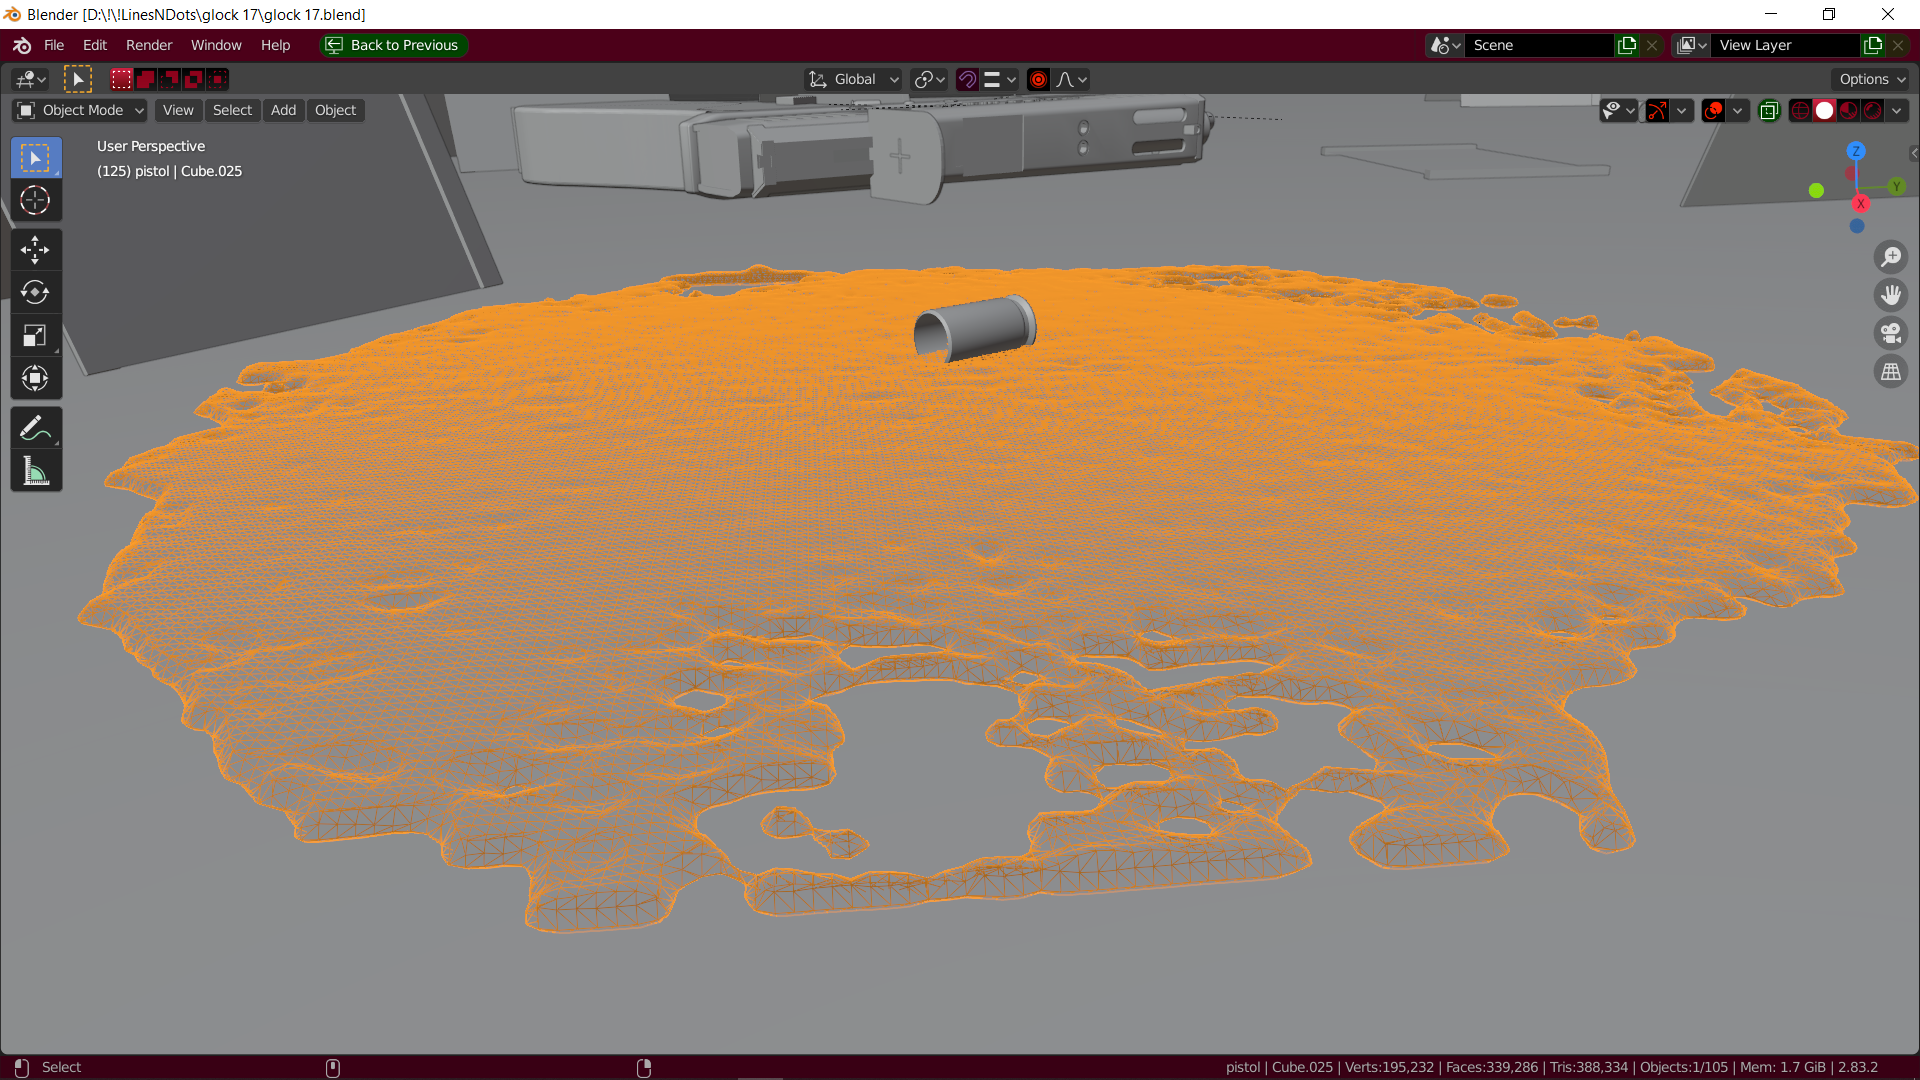
Next, it was time to build the actual scene. I added a plane as the ground, and then added and modeled the ammo cases, crime scene number plate (I don’t know the technical name for it) and the blood.
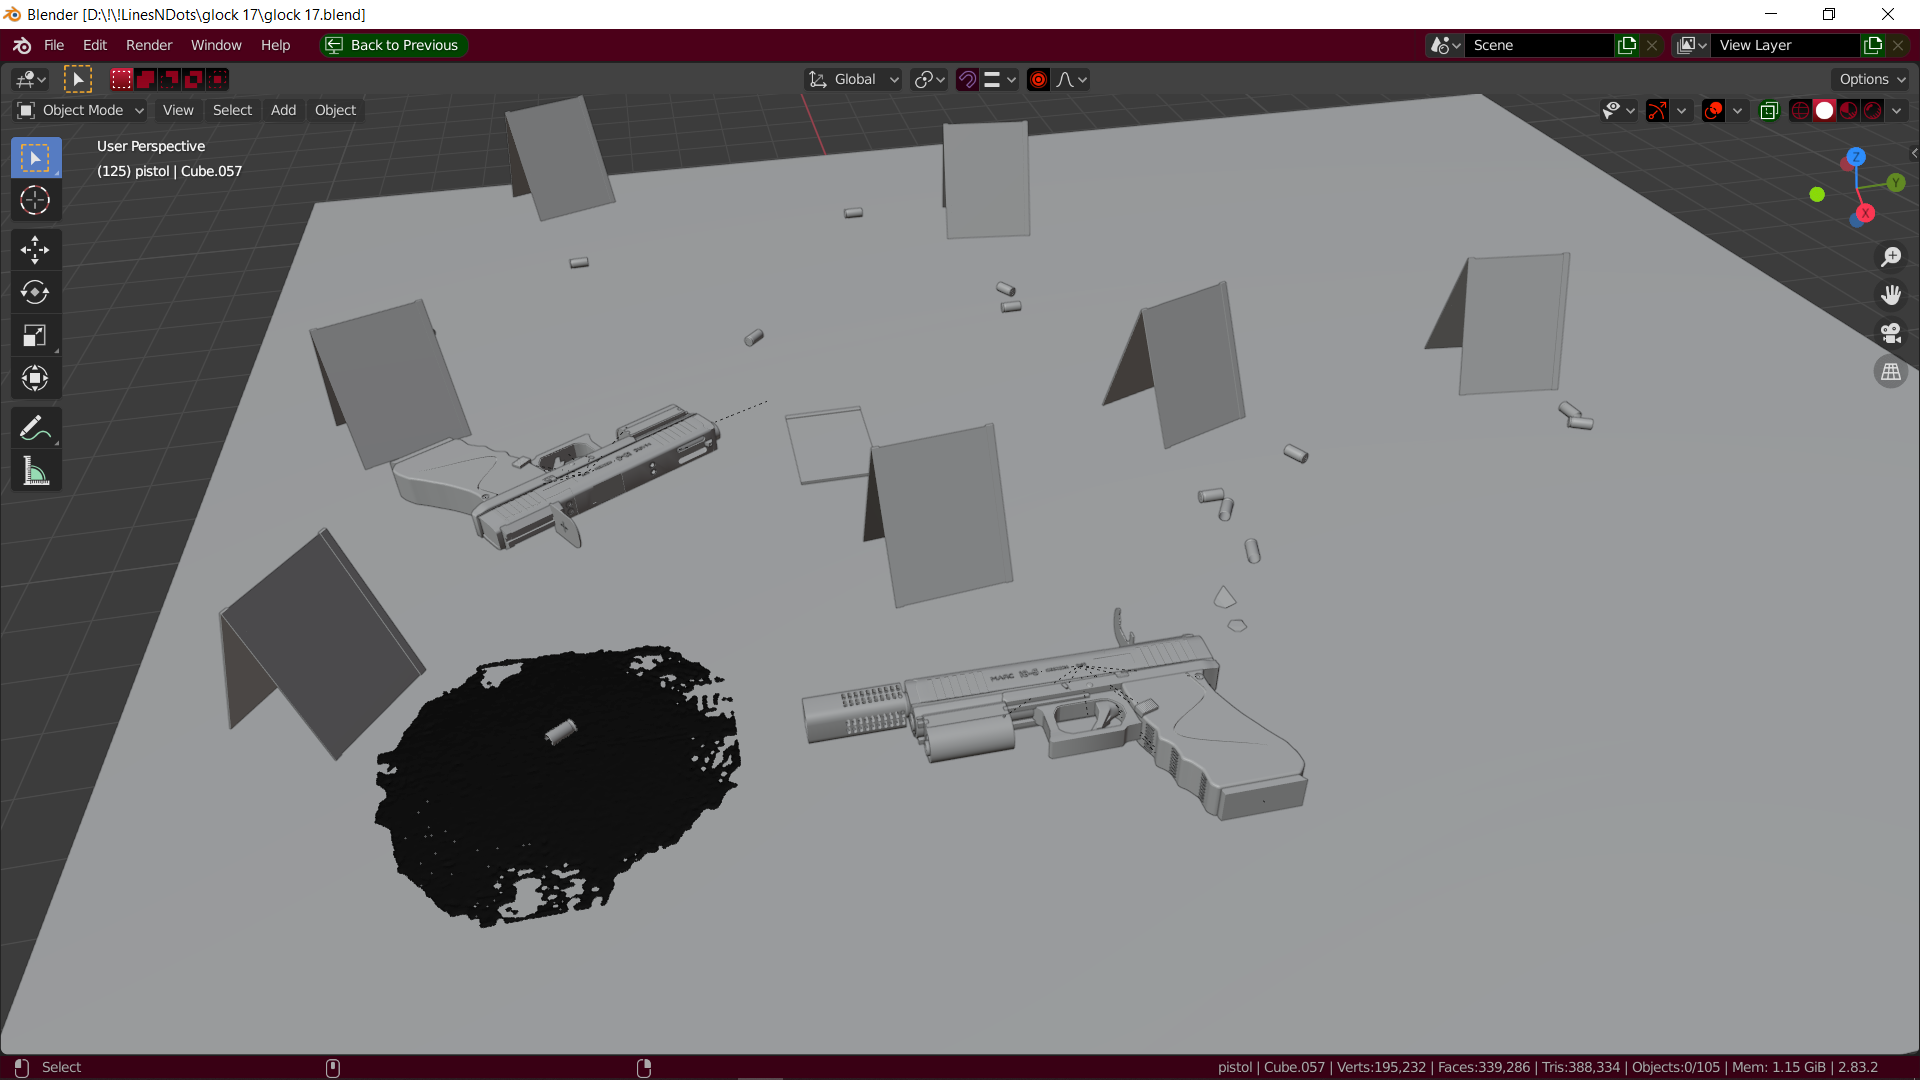
The blood is a liquid simulation, not a procedural.
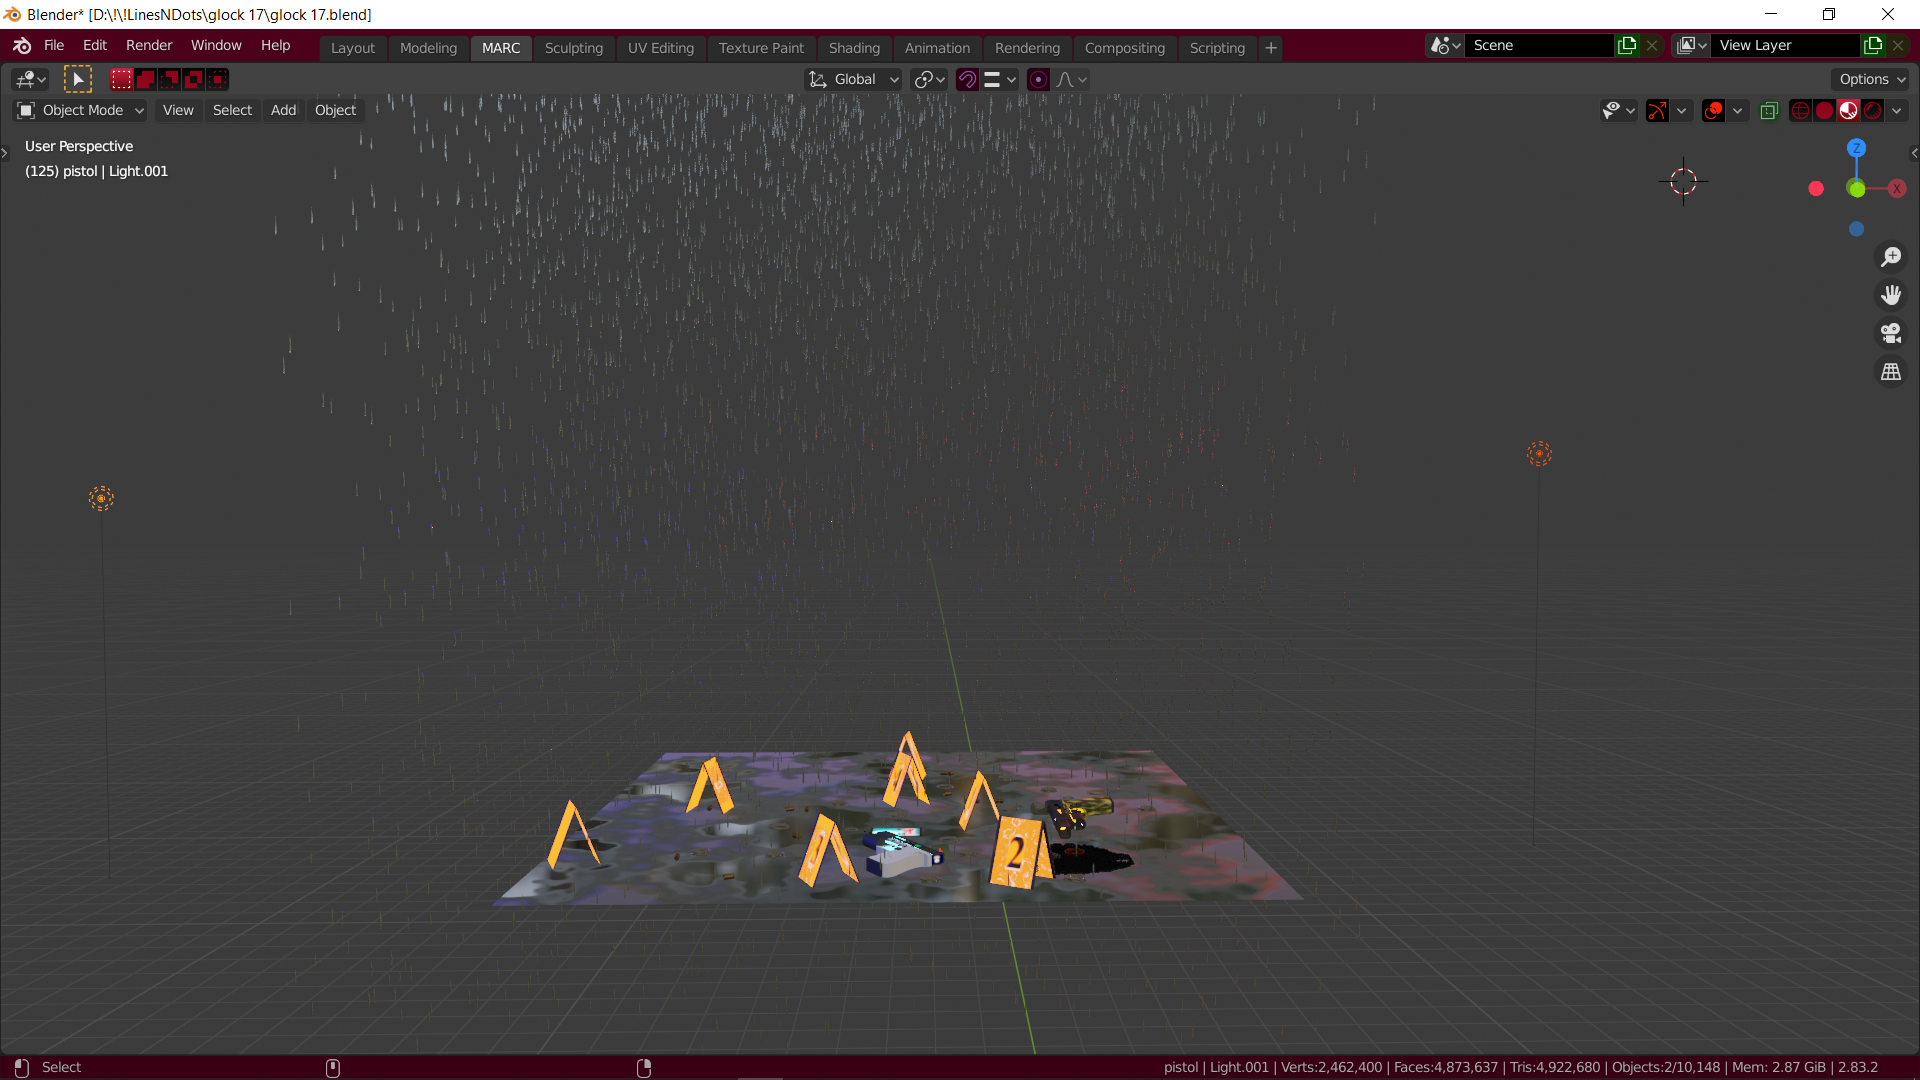
And then I made the scene more dramatic by adding rain.
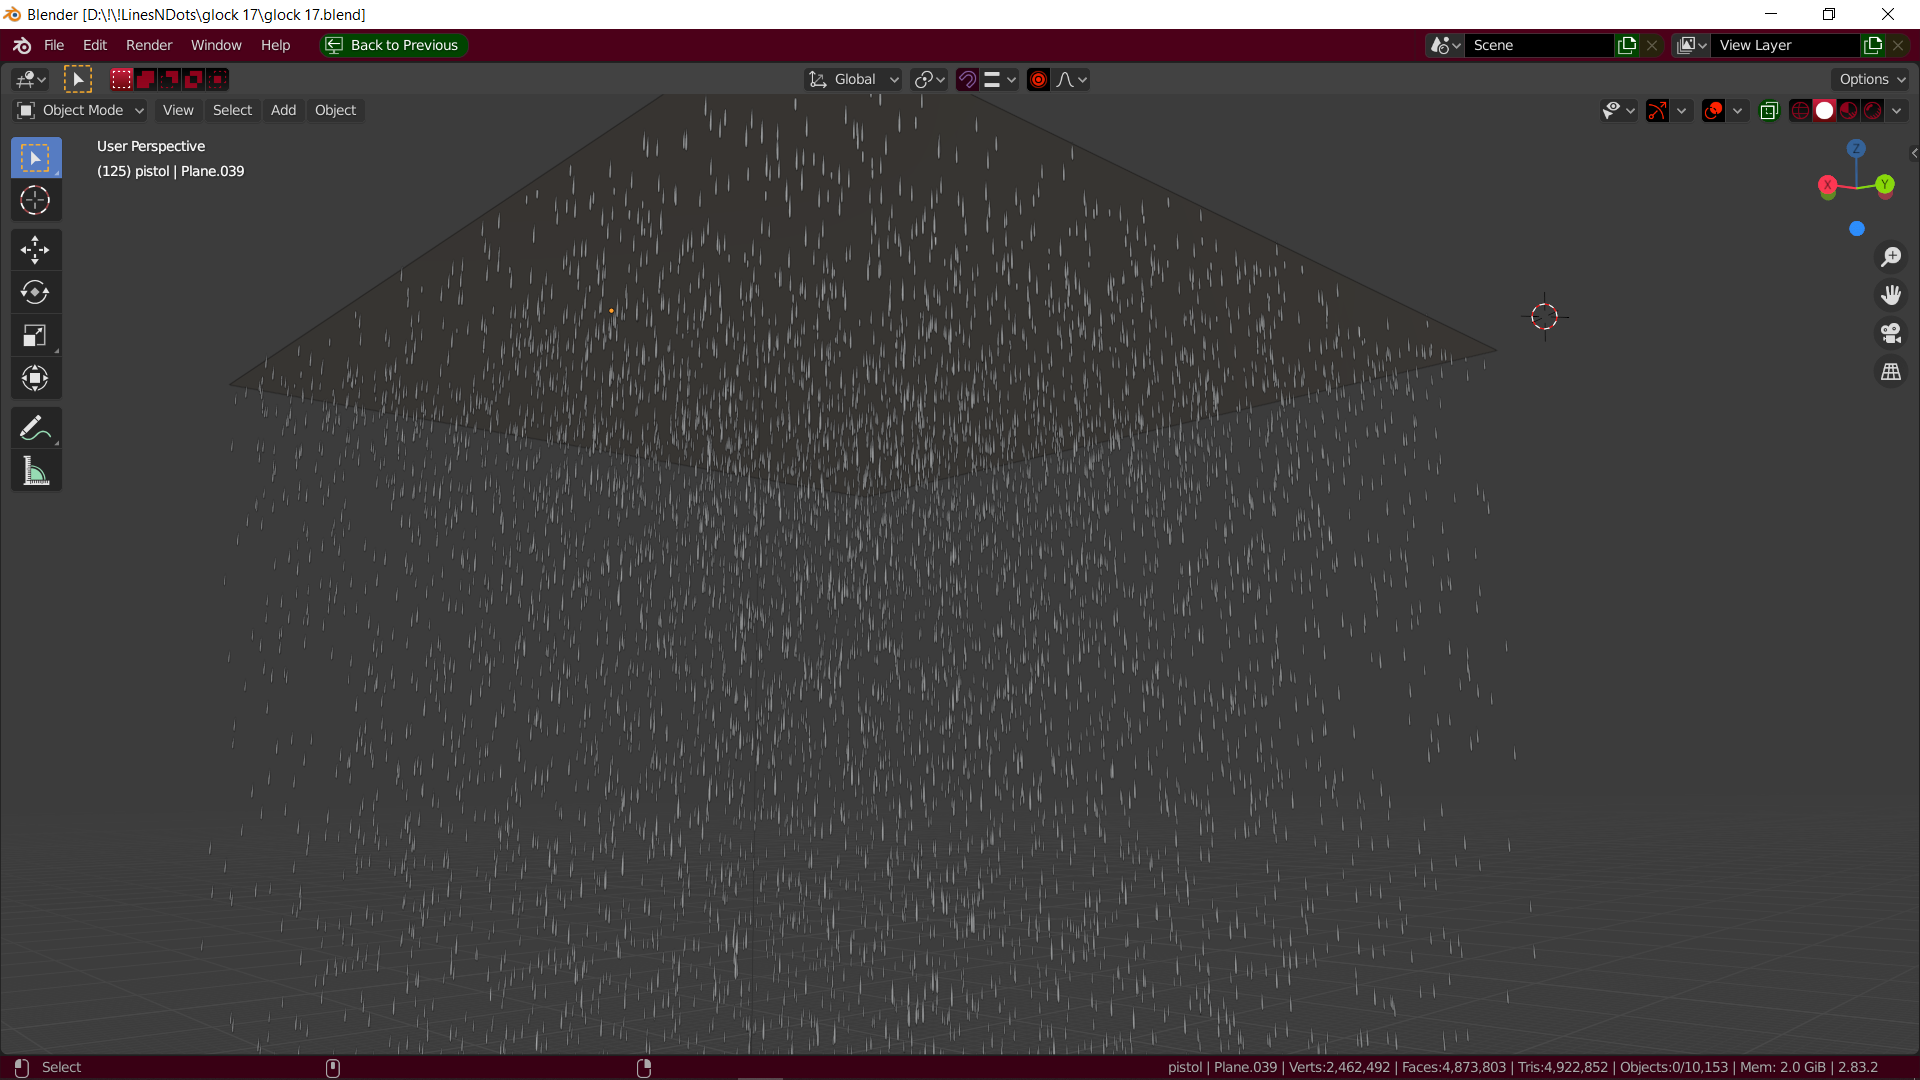
What I did is duplicate the plane and move it to the top.
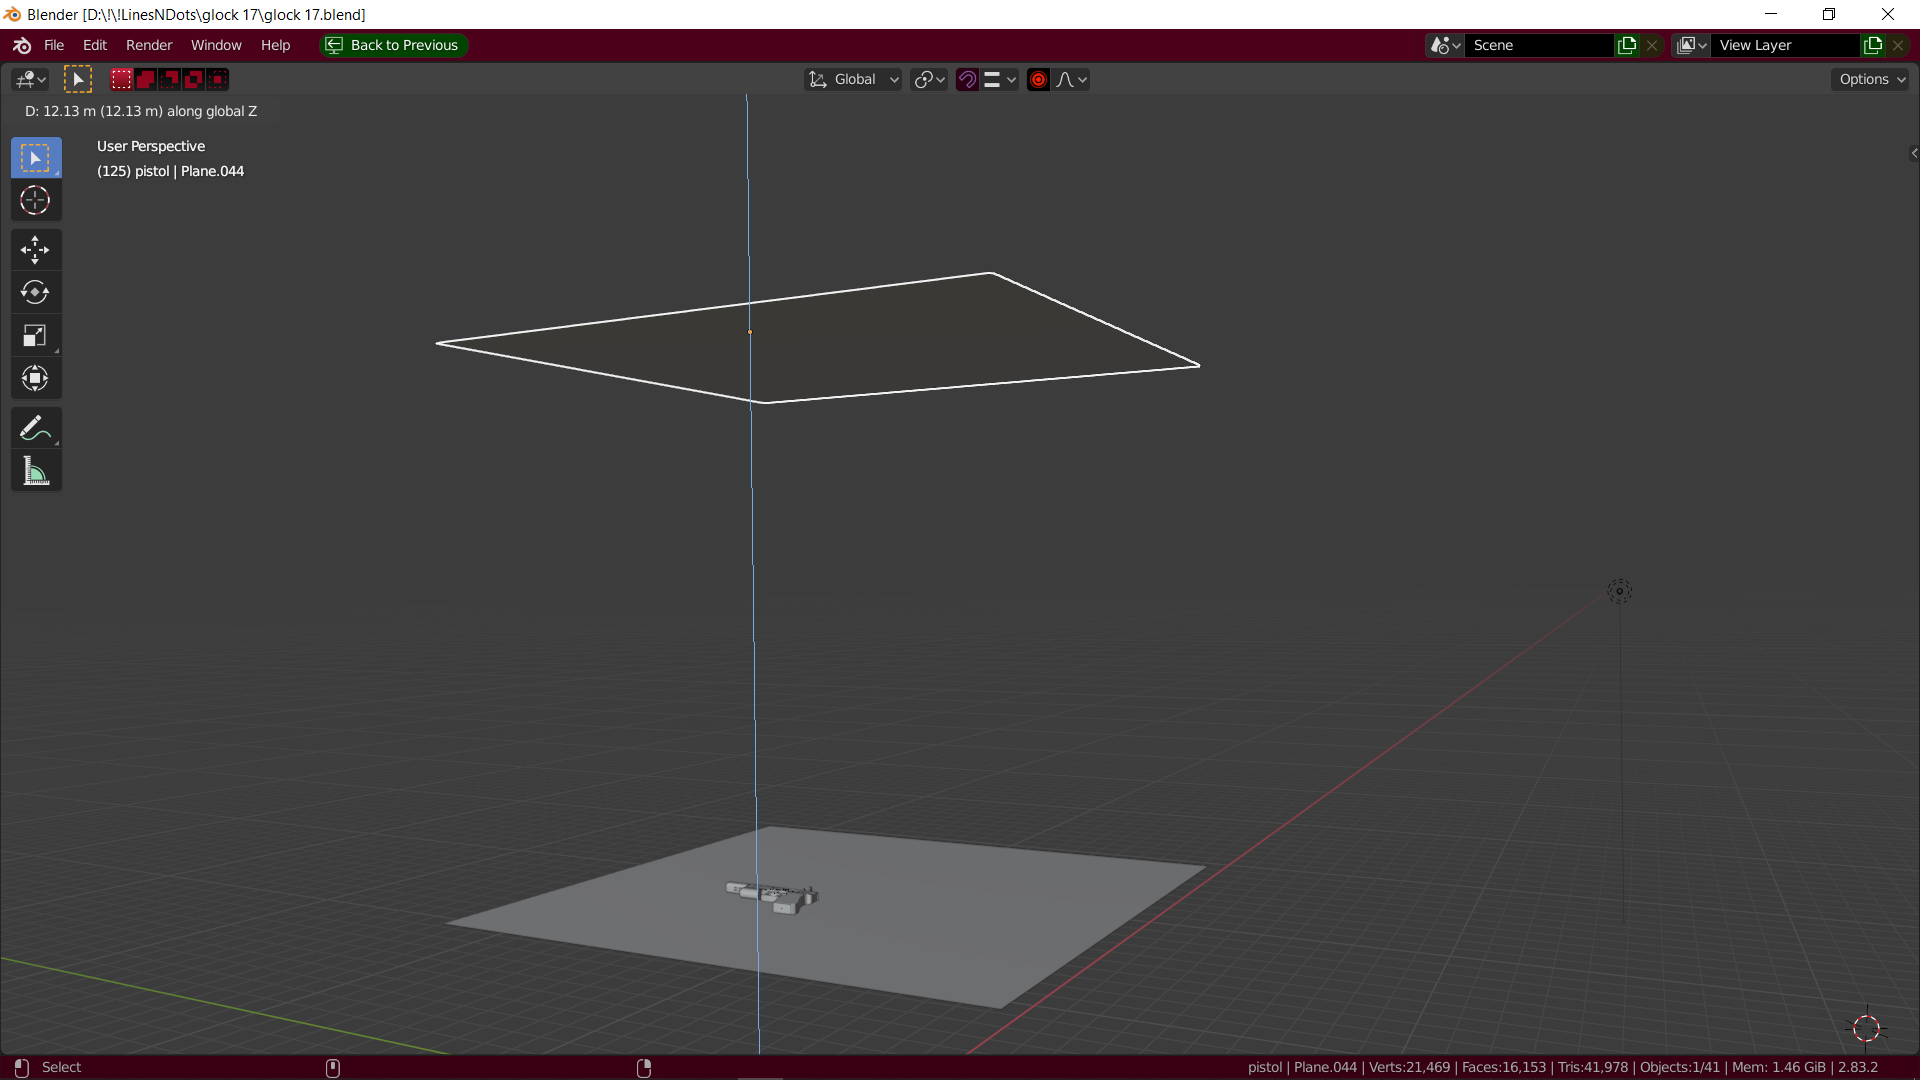
And I used particle settings for the raindrops.

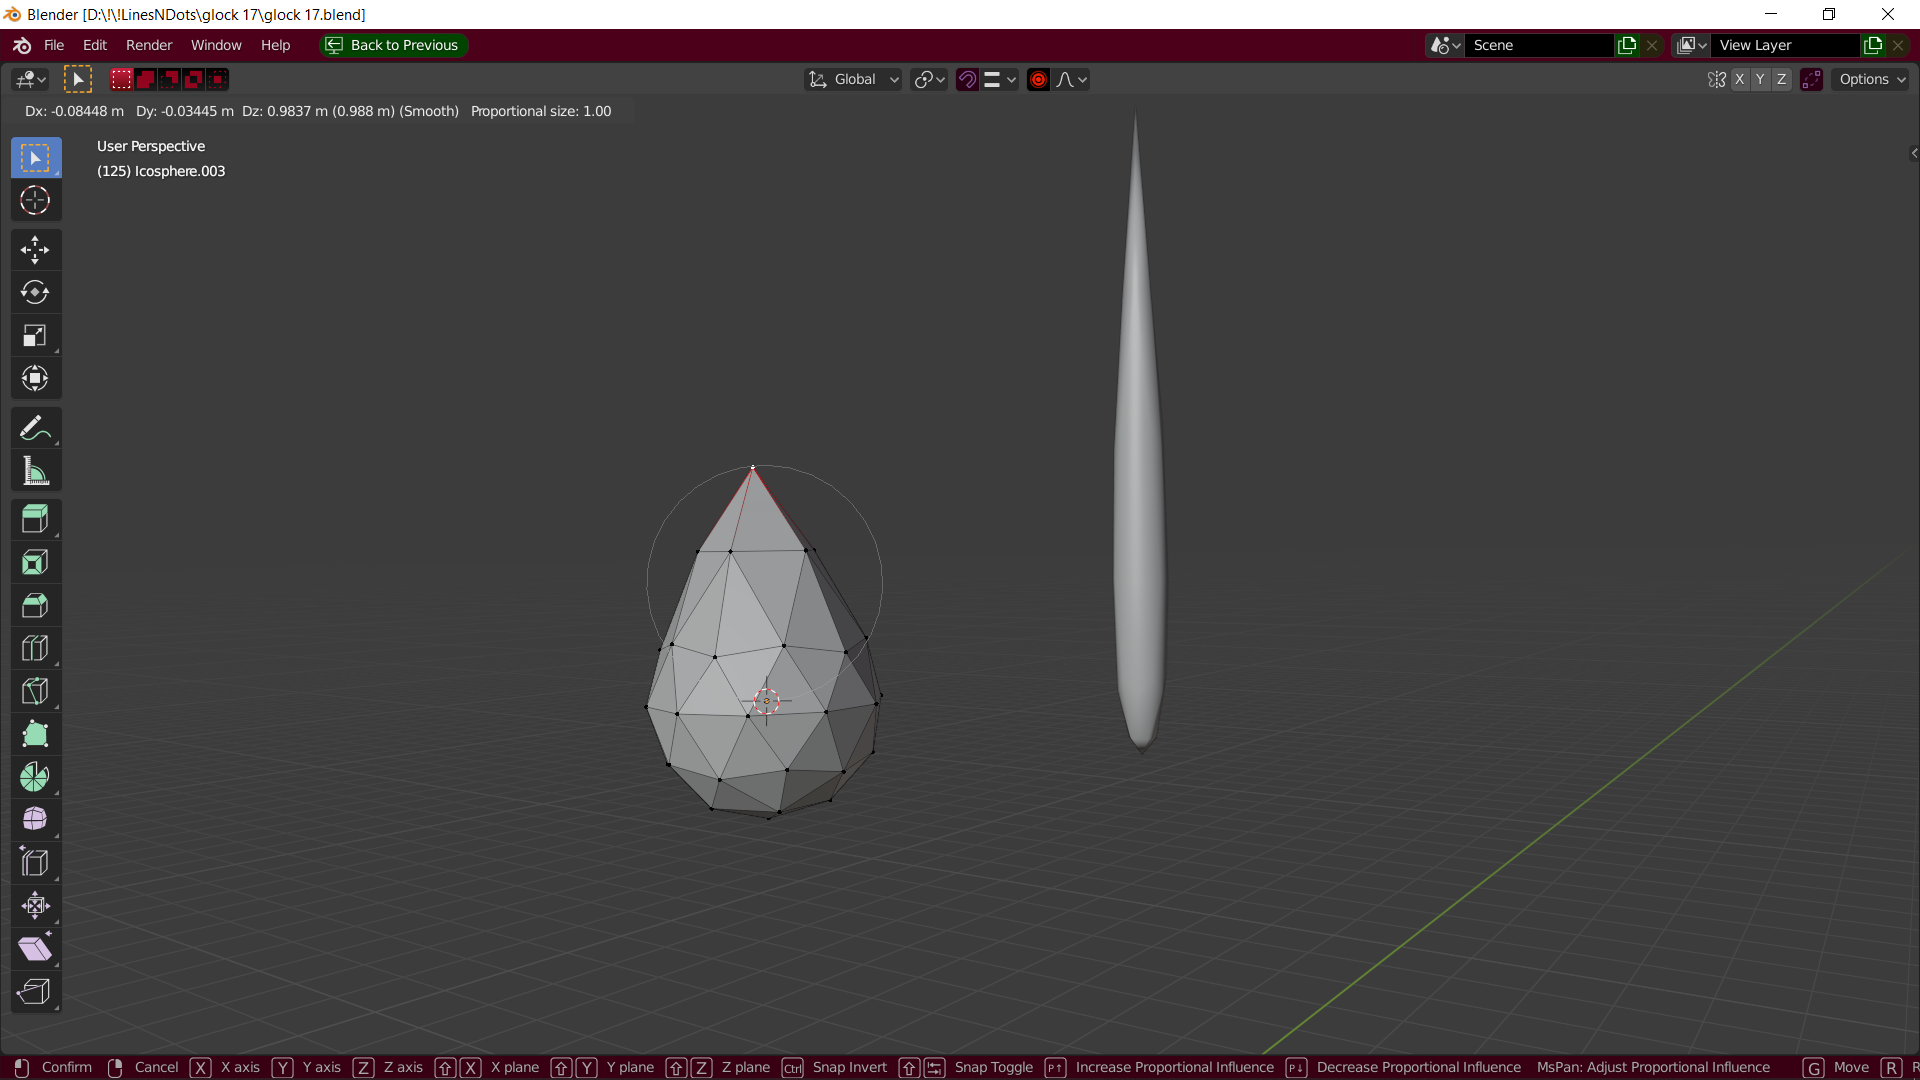
In the render tab, I selected Render As Object. I used the icosphere as the object for the raindrop and then went to edit mode, picked the top vertex, grabbed it up, and used smooth proportional editing (Shift+O). I only used one object, the picture below is just an example.
To make the rain more realistic, I made water splashes. How did I do that? I used water simulation and added a cube at the bottom as an effector (collision).
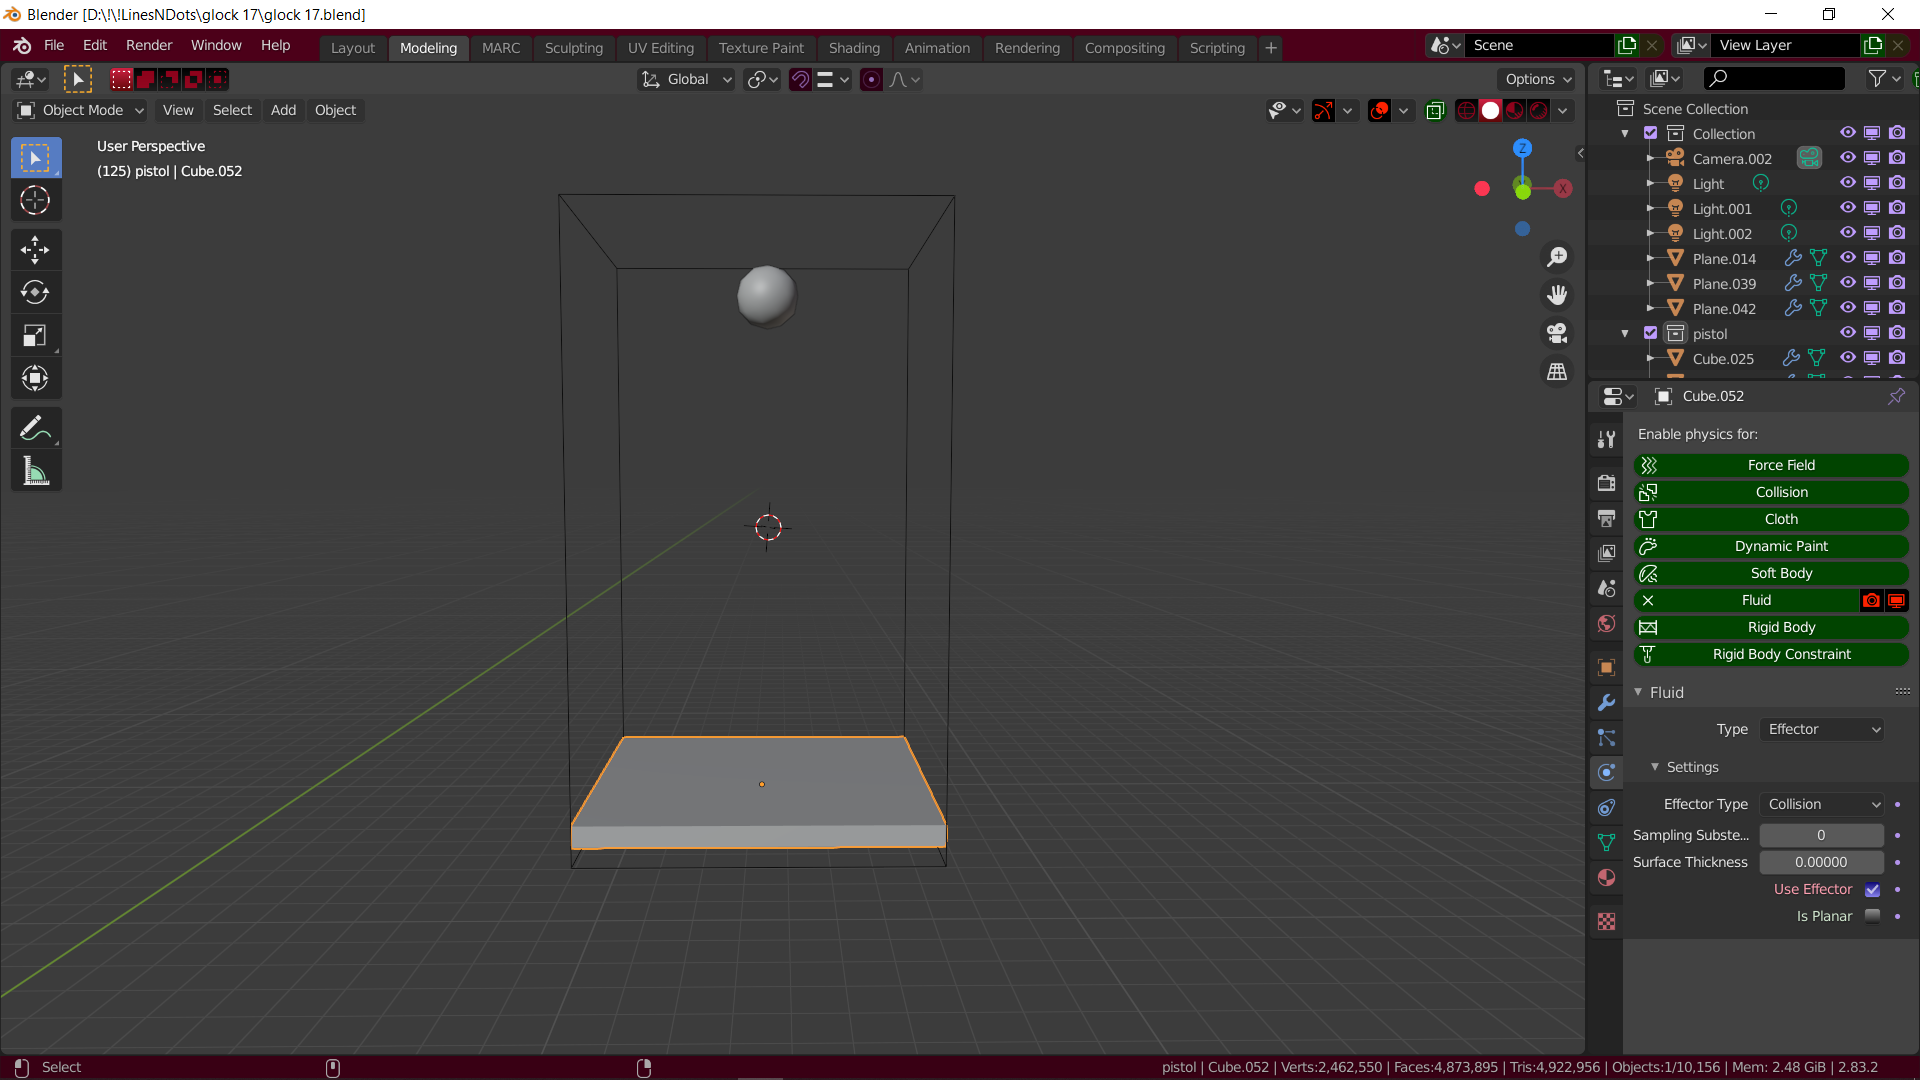
After adjusting a few simple settings, I baked it and then applied it because I knew I would render it as a photo. I made two different splashes.

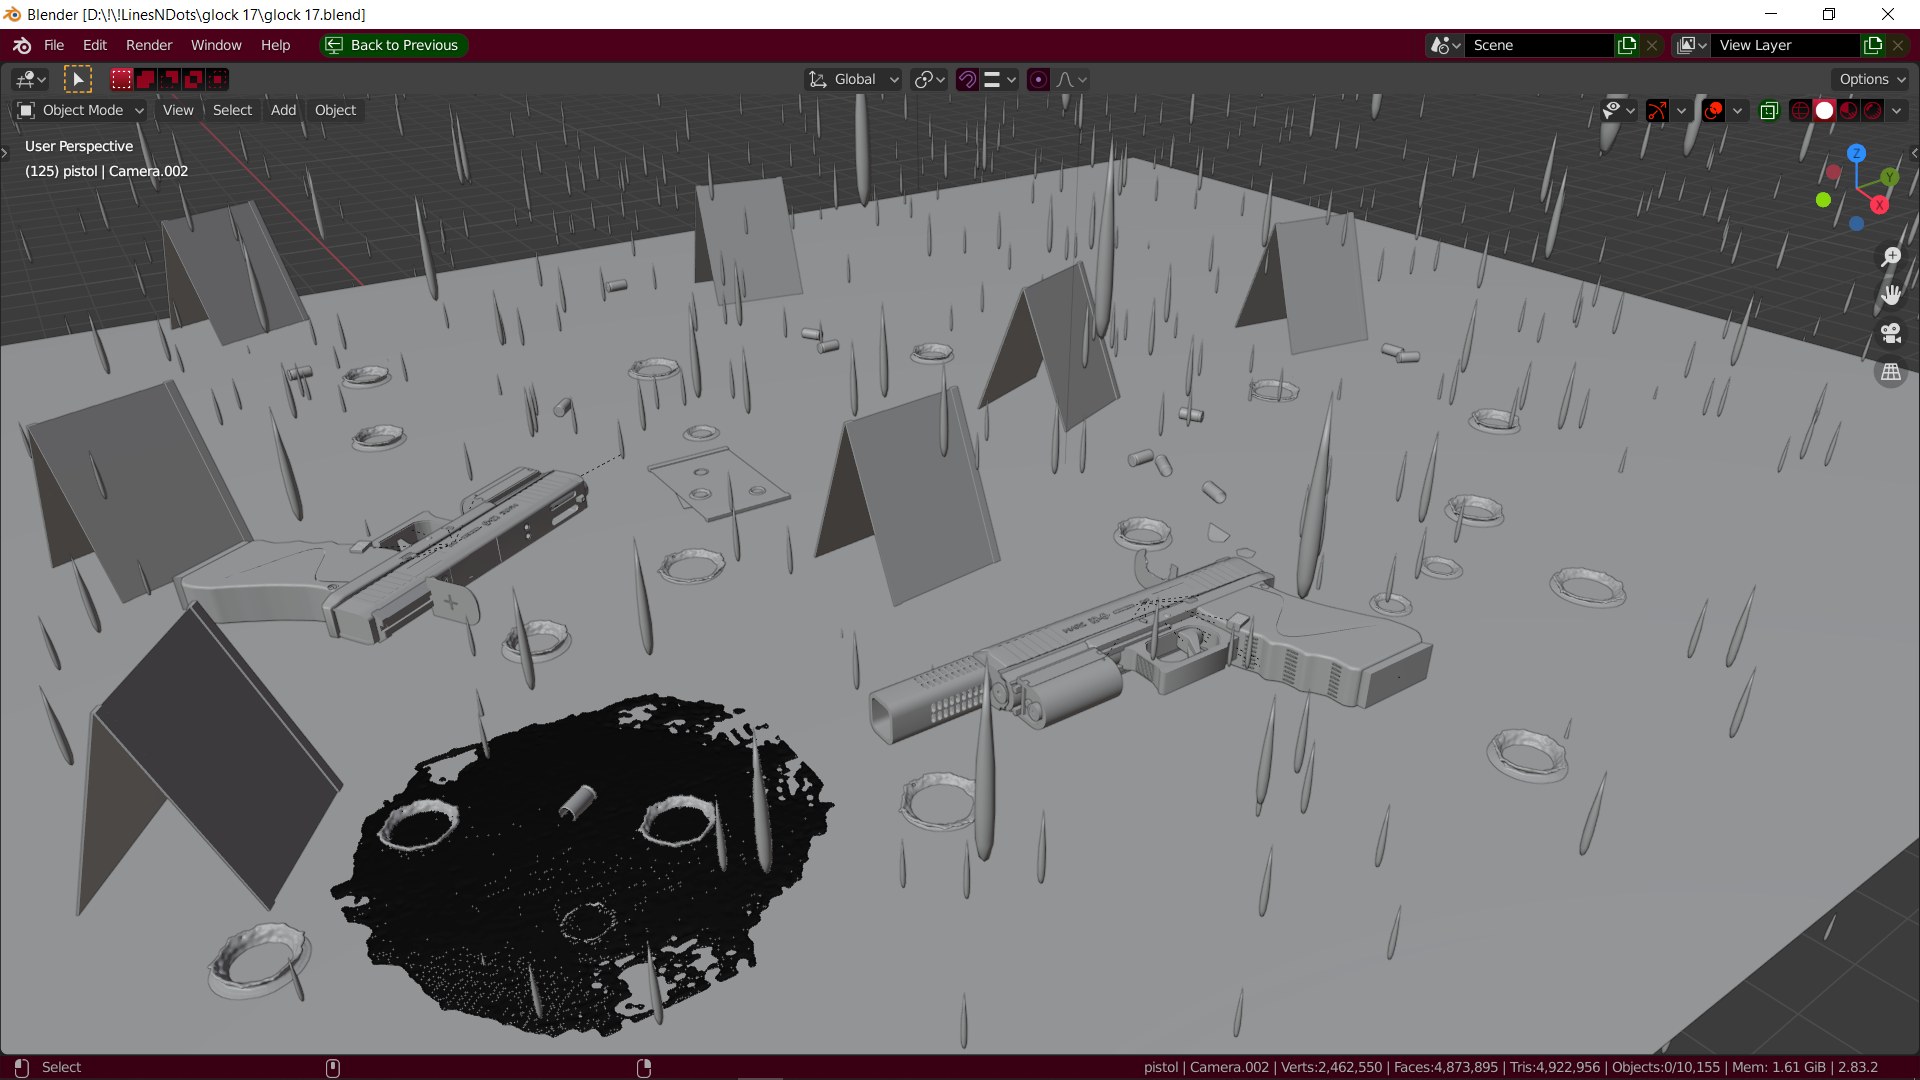
And then I put it in the scene and scaled it for randomness.
Texturing and Materials
Let’s start with the simple one. The material for the blood was created using a glass BSDF and volume scatter, like in the picture below.
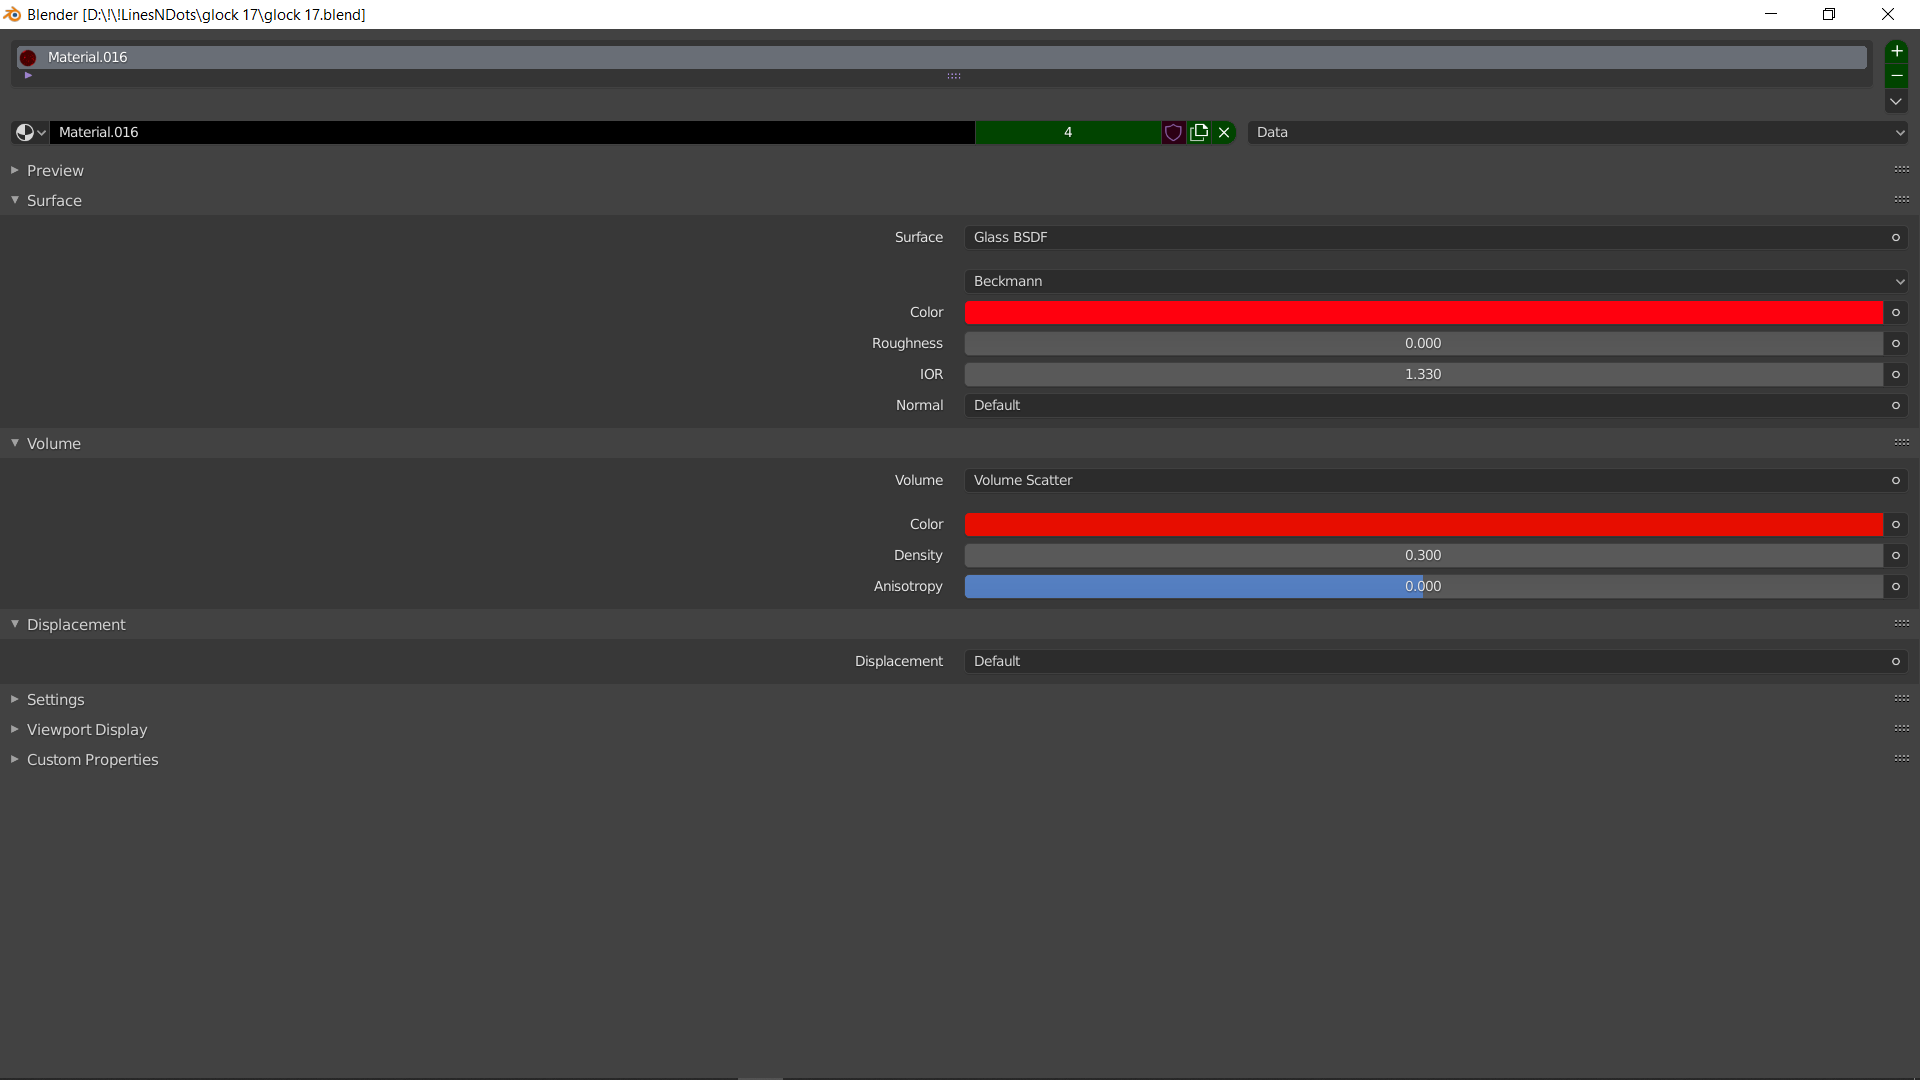
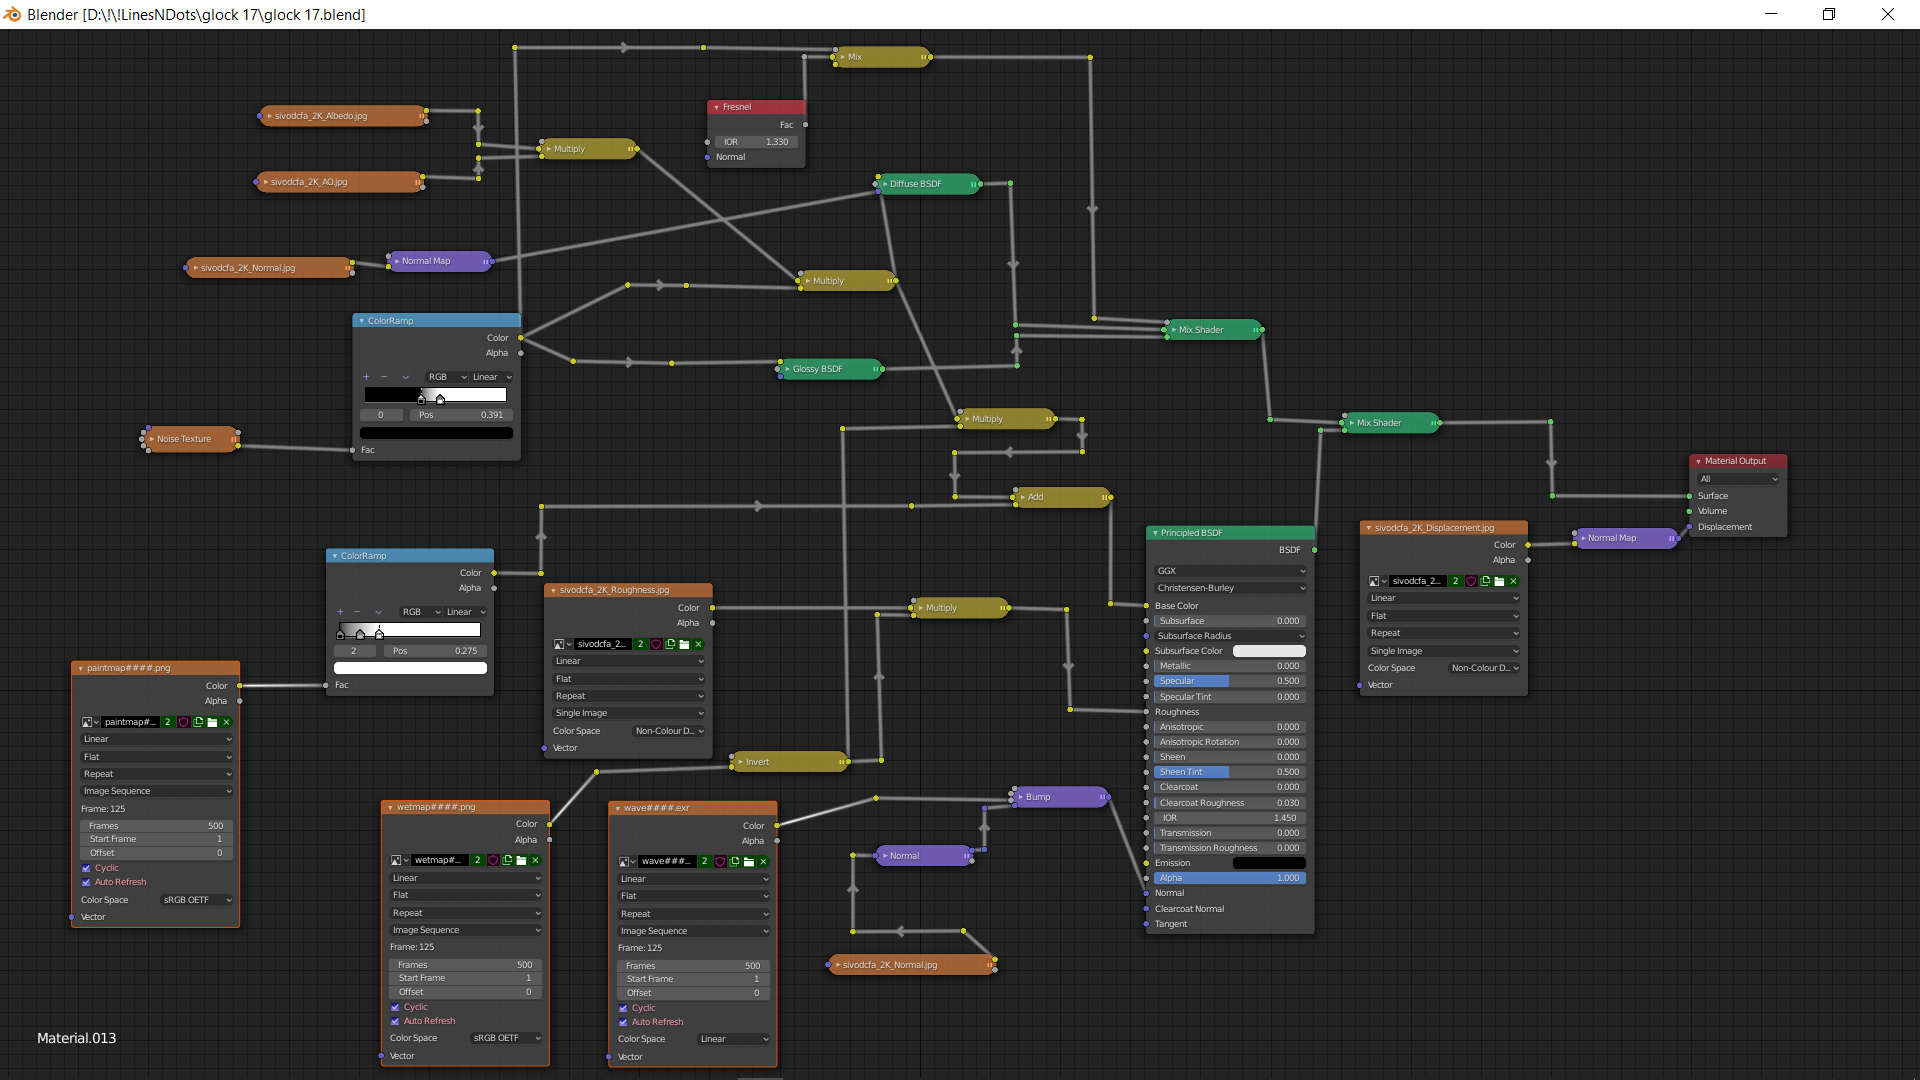
And I used a glass BSDF for the raindrop, too ( White color, 0 roughness, 1.330 IOR). For the ground, I used an asphalt PBR texture from Quixel and made procedural puddles that I then mixed with the water drop impact image sequence that I had created earlier with dynamic paint. Complicated, huh?
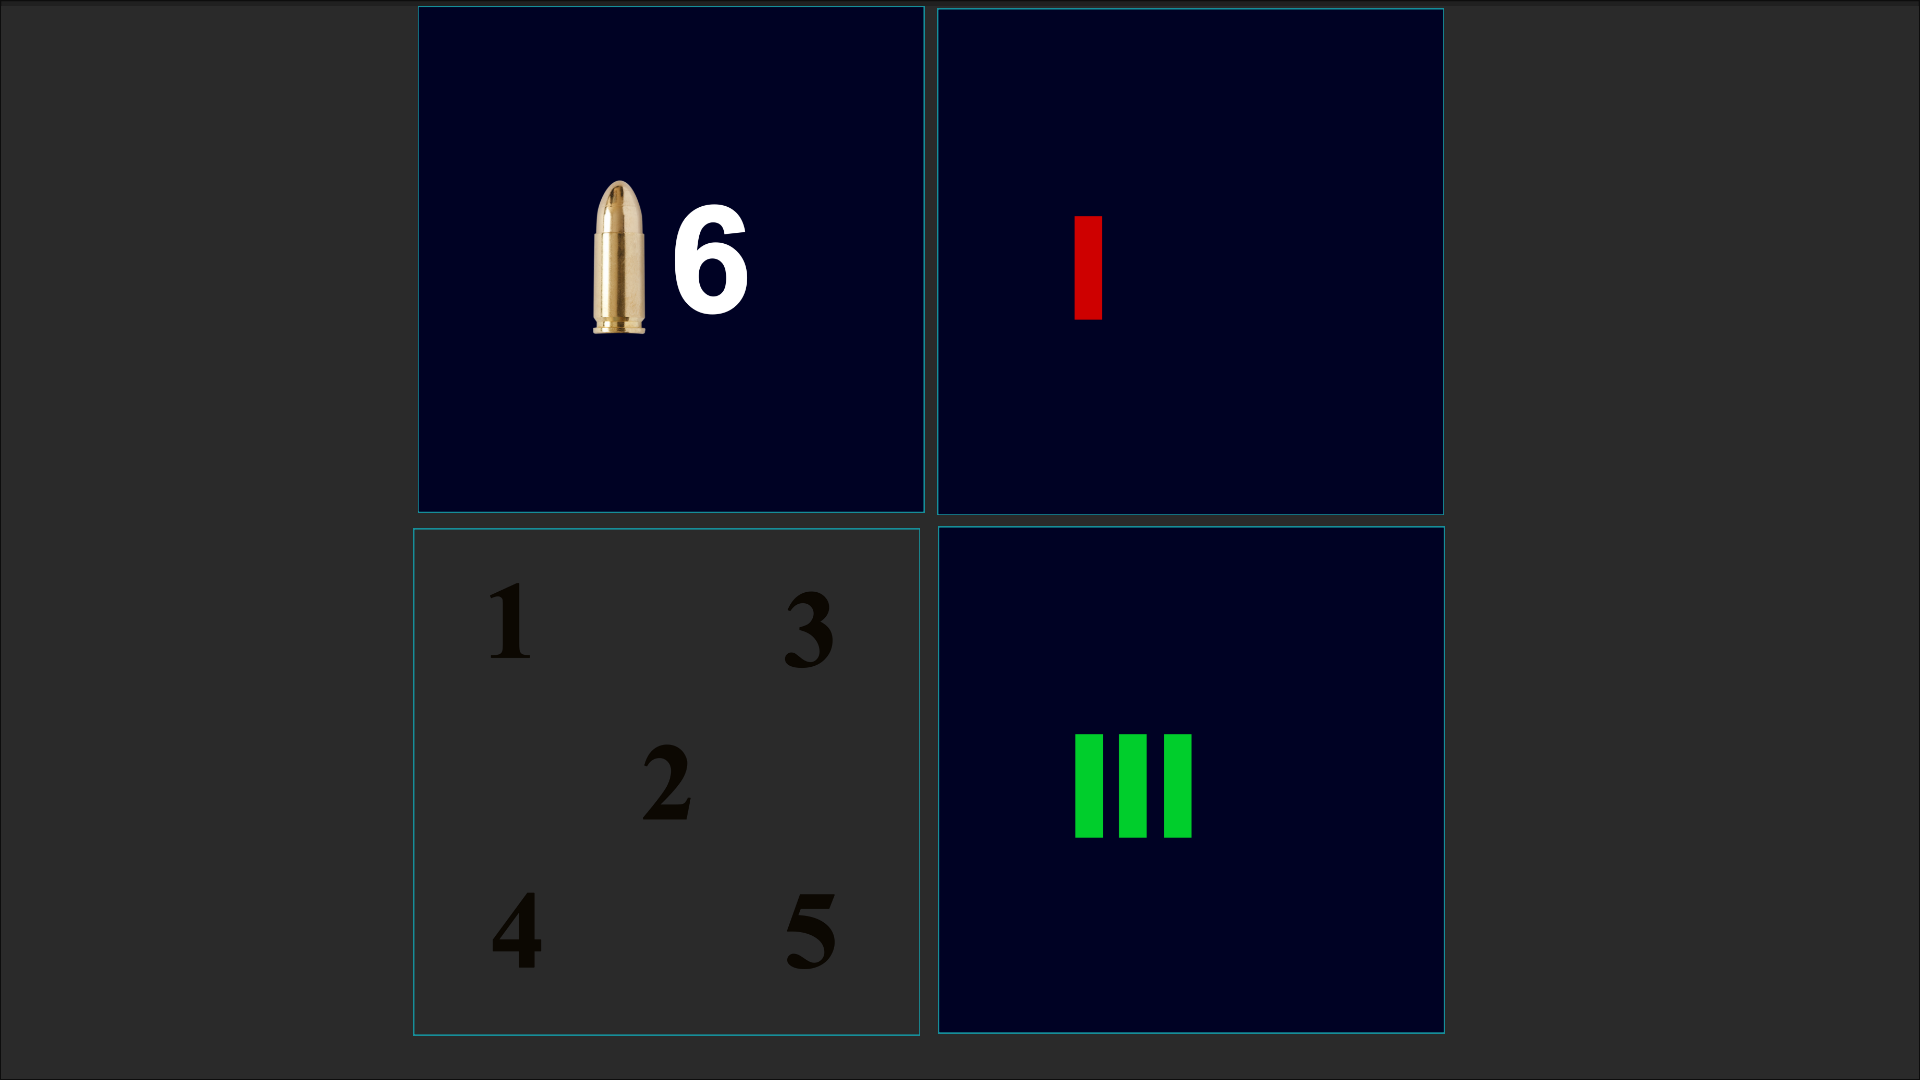
I created these number and indicator details in Adobe Photoshop CC 2020.
The other materials are just simple emission and with some imperfections from Quixel. I was too lazy to create imperfection procedurally in Blender at that time.
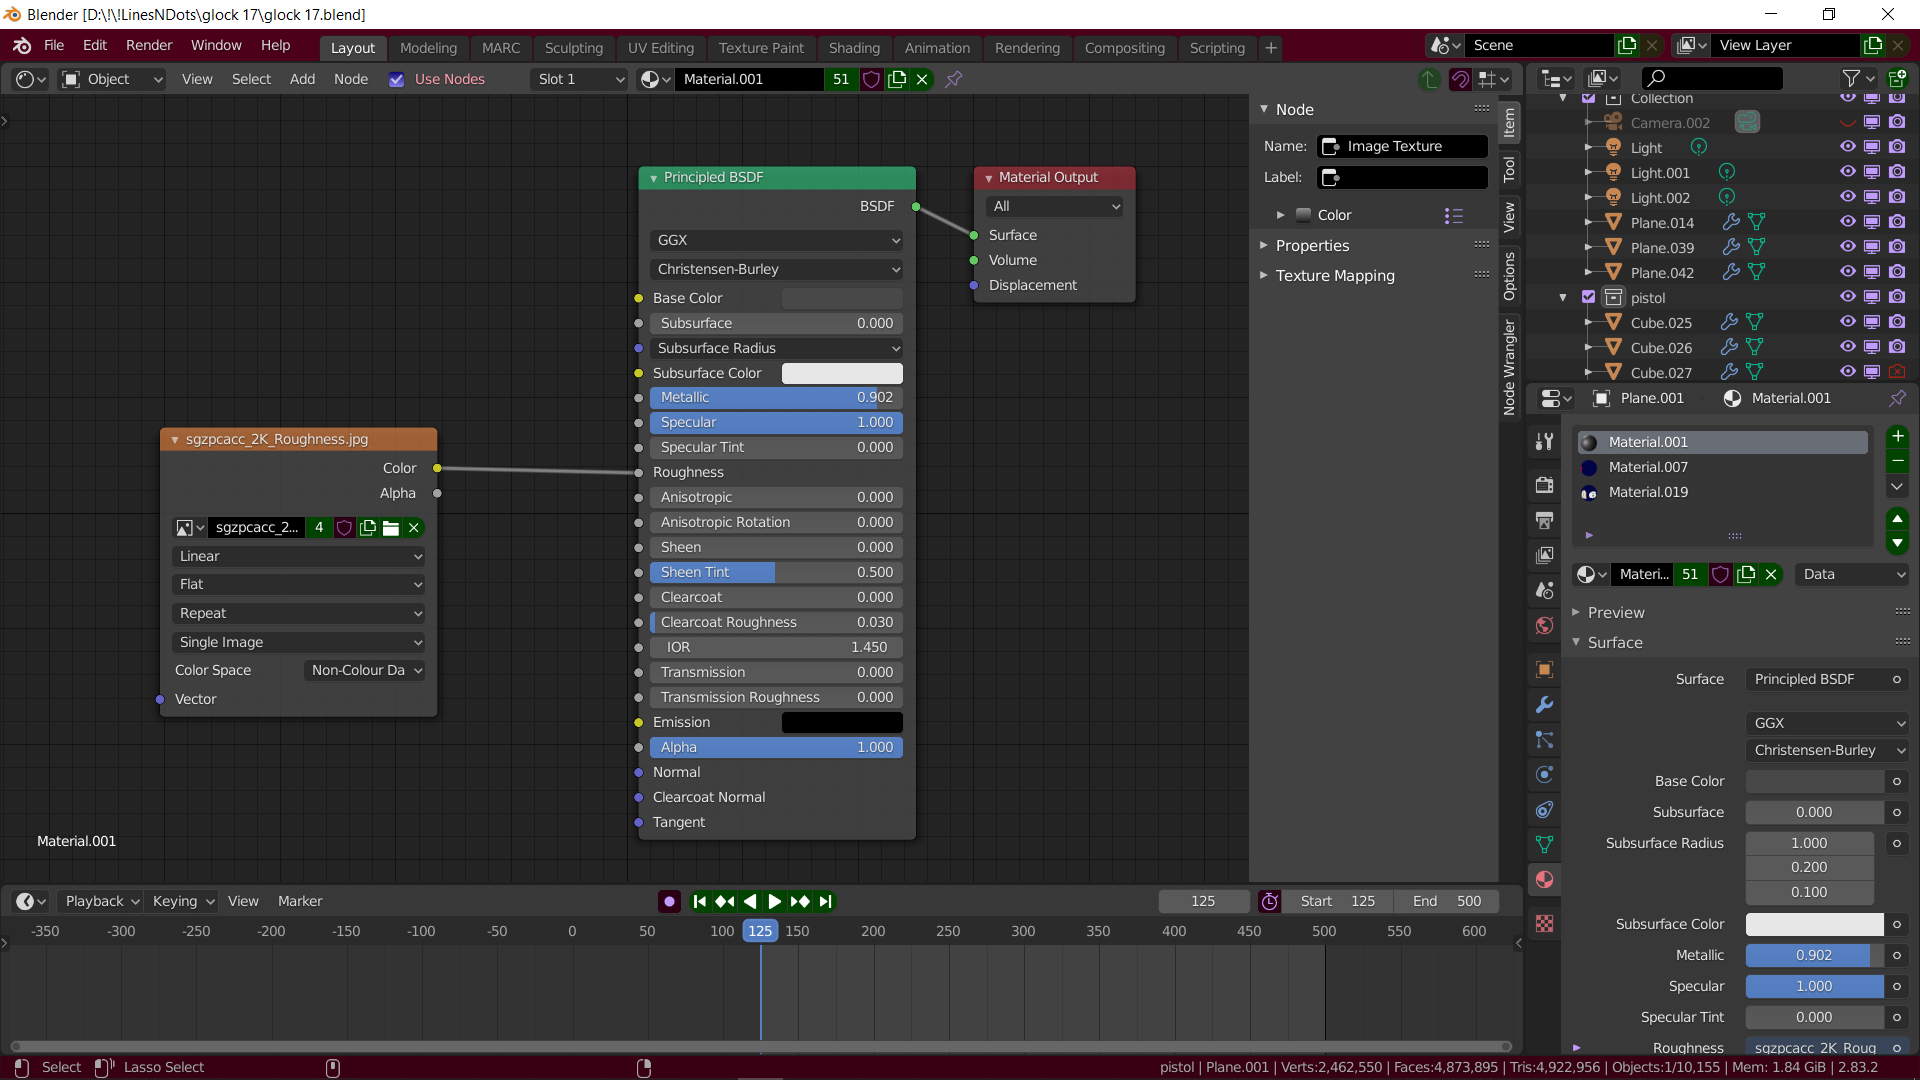
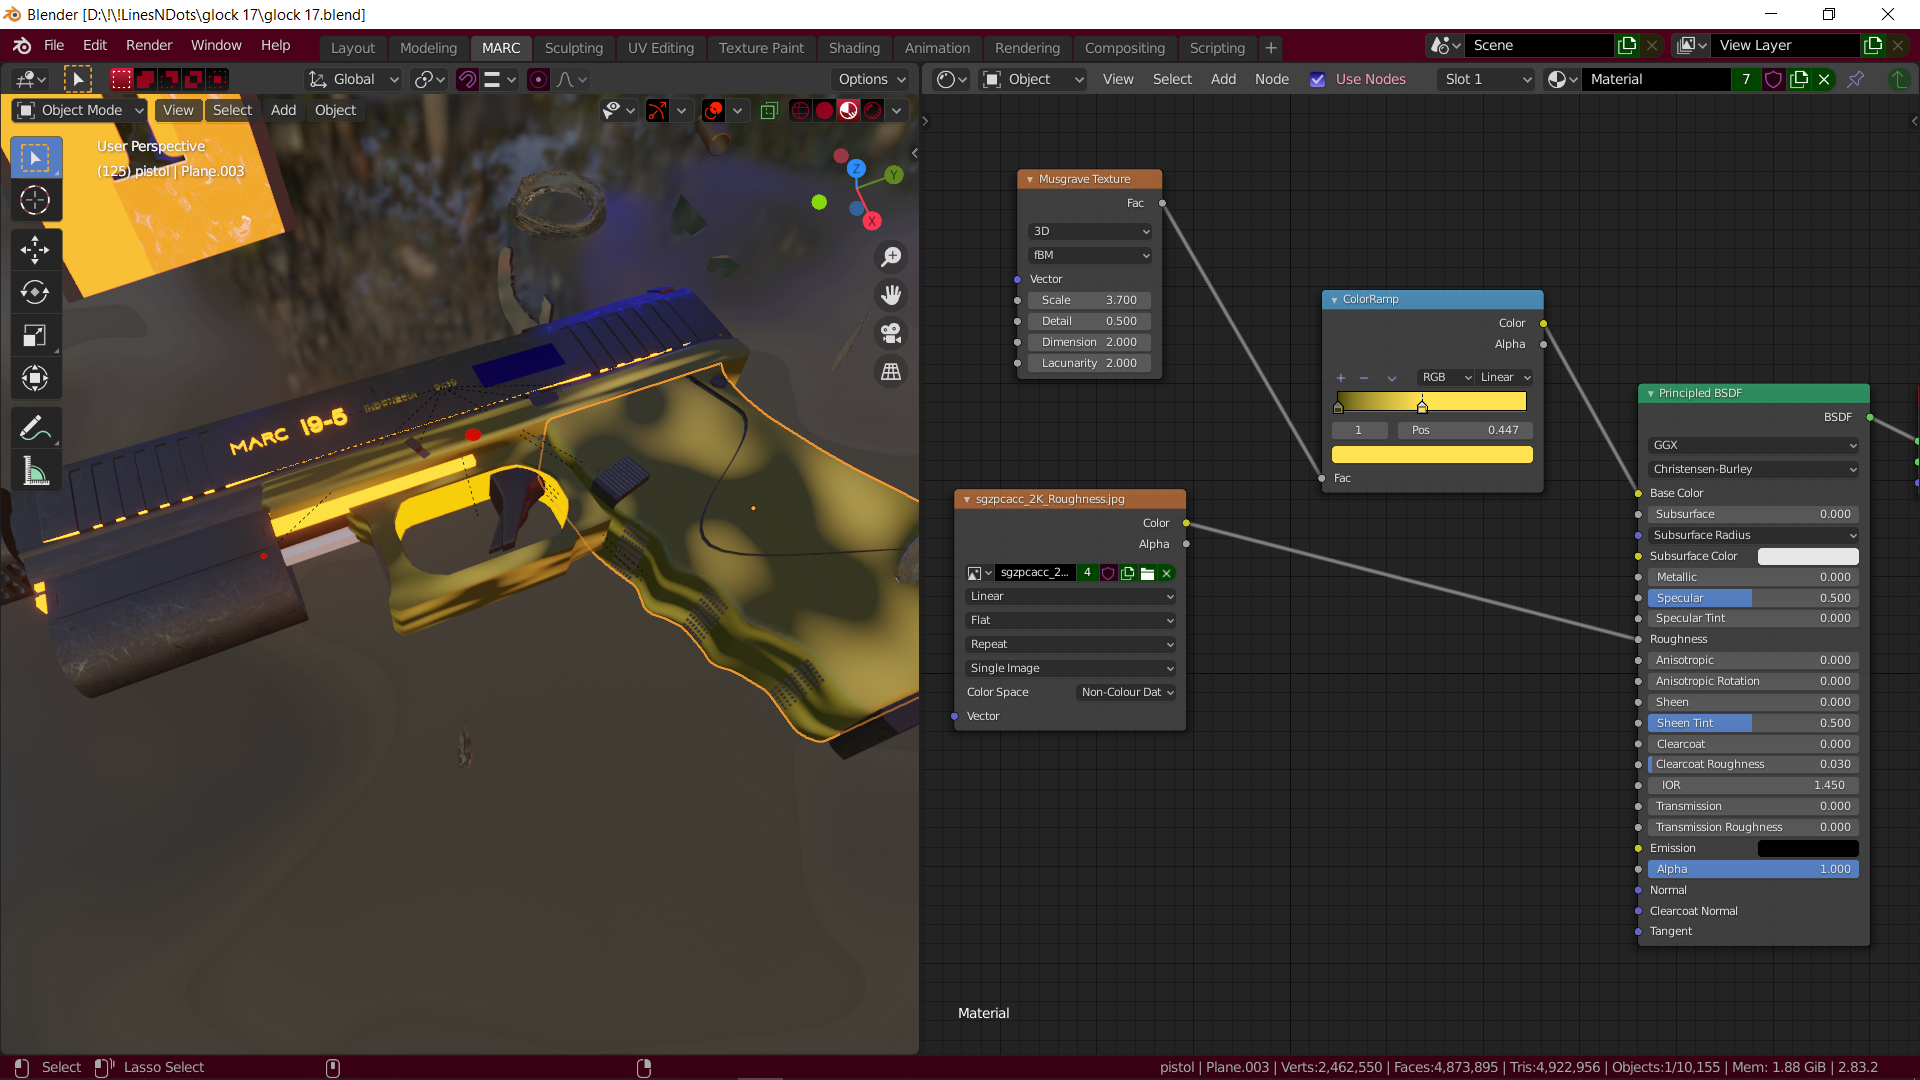
And I used a musgrave texture for the camo pattern.
For the number plate, I mixed the image number with a droplet texture from Poliigon.

Lighting
I only used 2-point lighting with red and blue colors. There are other light sources from the emissive materials.
Render
This is my render setting.
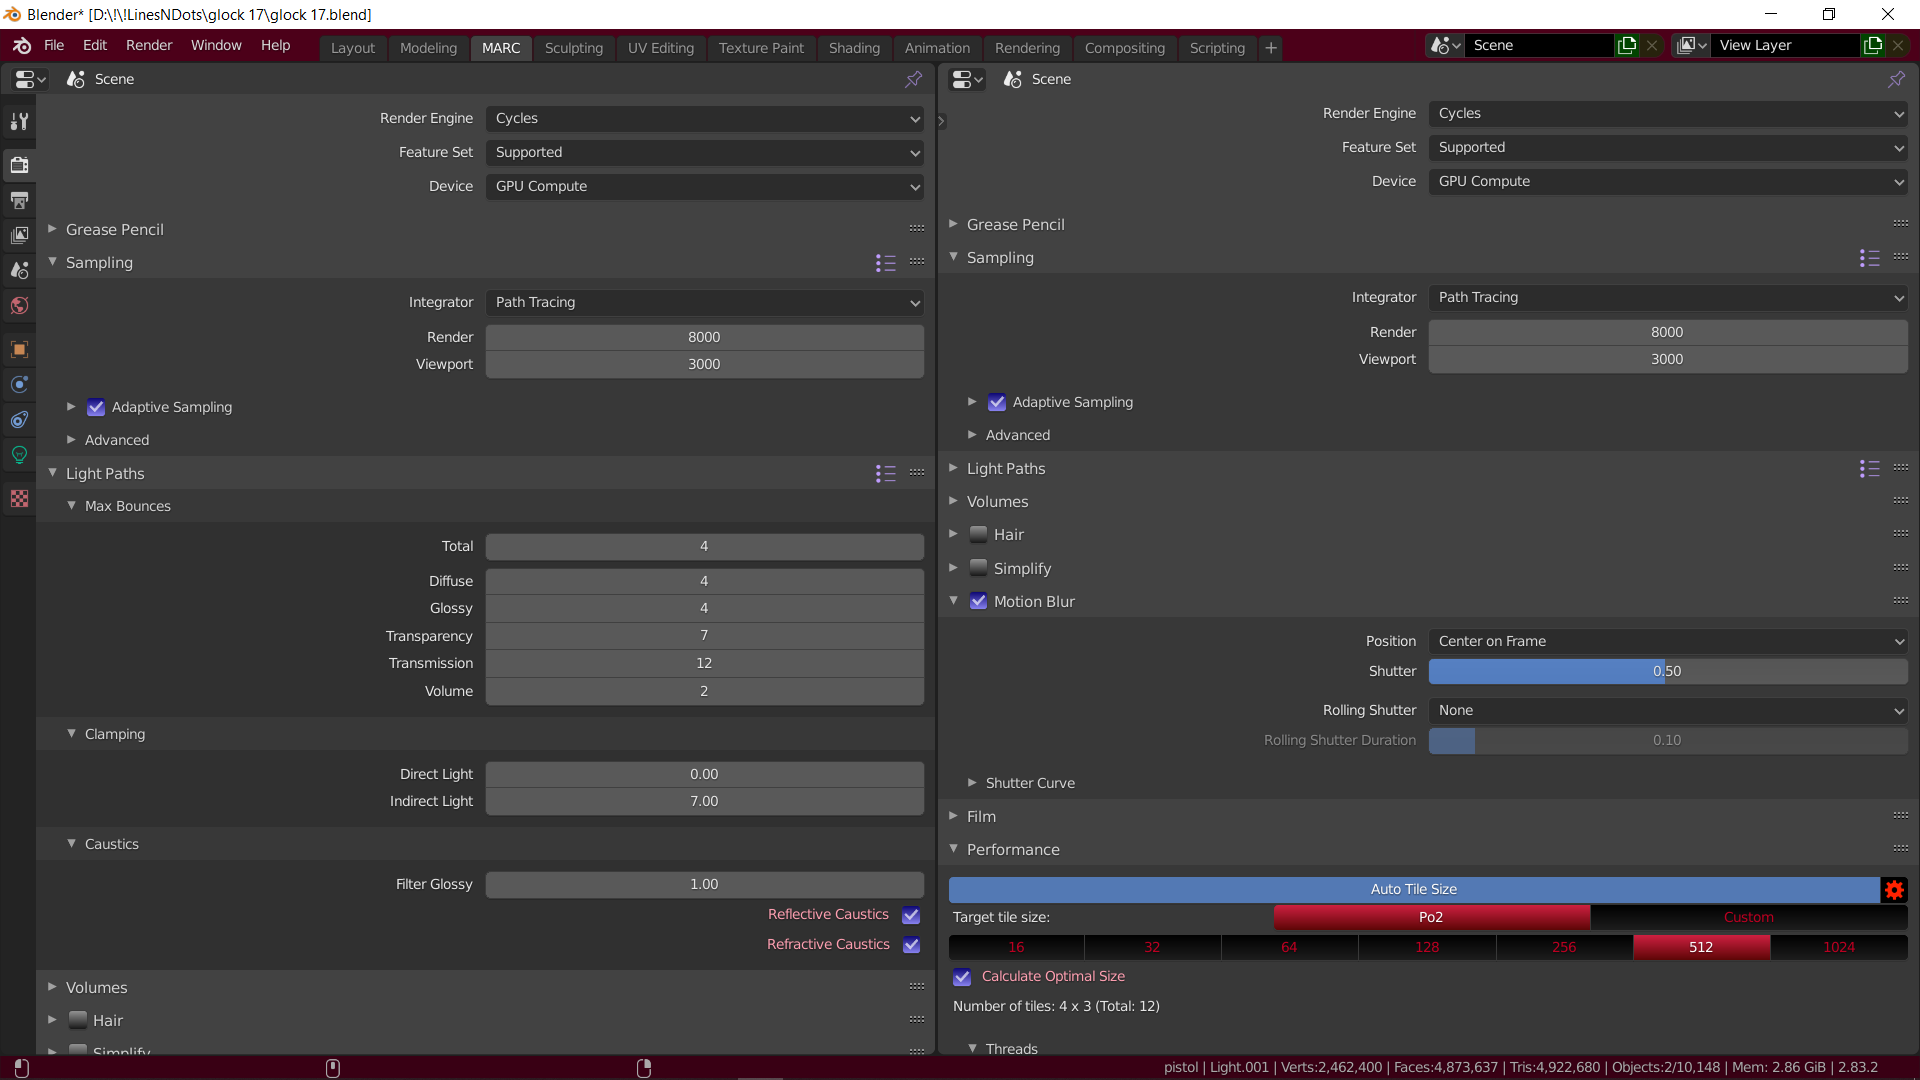
I rendered the scene with 4K resolution. (Render Time: 12 hours/ NVIDIA GTX 1060)
Post-Production
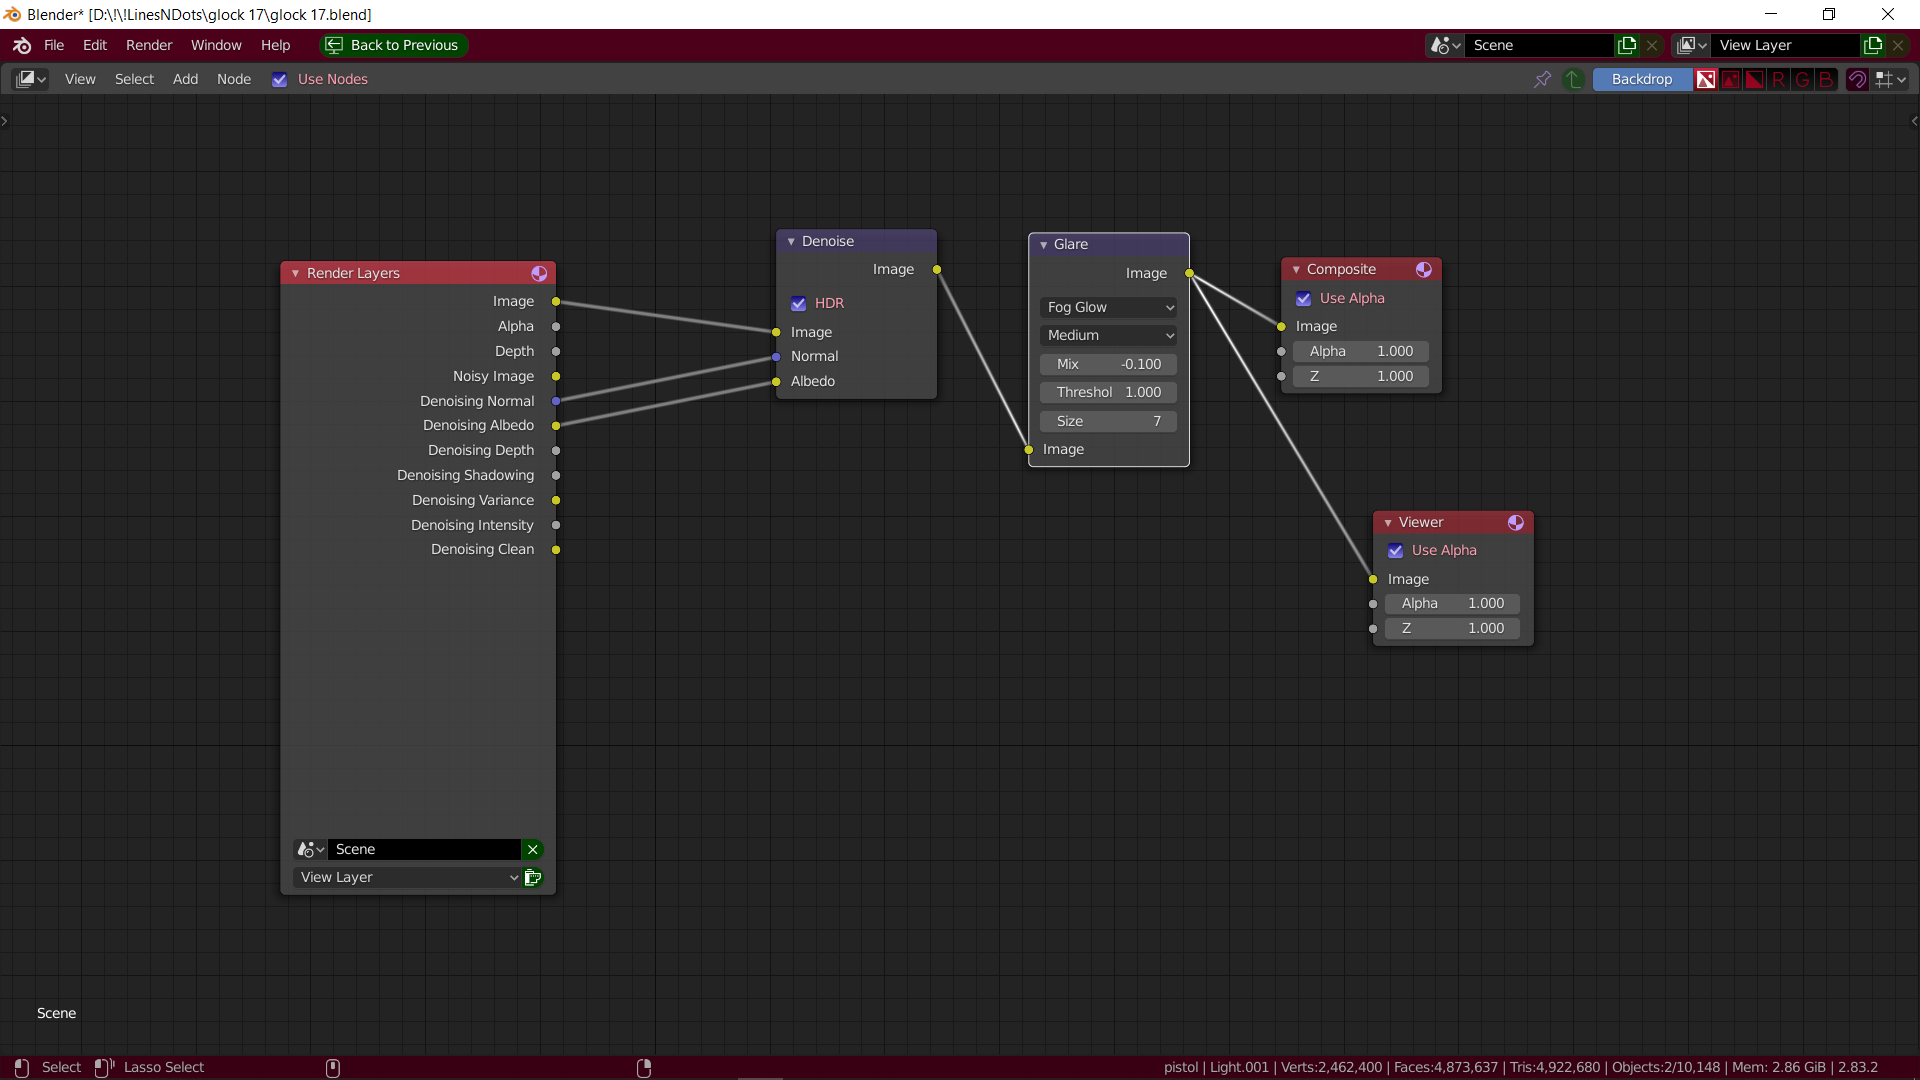
Compositing
I used glare and denoise this time. Normally I don’t like denoise, I just add more samples.
Color Correction and Color Grading
I used Adobe Photoshop CC 2020 for color correction and color grading.
That’s it! Thank you for reading this!
If you want to see more artwork from me you can check my Instagram or ArtStation (I prefer Instagram).
GOOD BYE AND HAVE A NICE DAY!
About the Author
 Michael Marc, 3D Artist


