
Behind the Scenes: Headspace
Hi my name is Mark Faasen. I am a mechanical engineering student from Germany. In the rational and theoretical world of engineering, I feel the need to create a balance by making art. So I draw and work with Blender in my spare time. Drawing was always a big thing for me but I got into 3D software more than a decade ago after watching a viral YouTube video of some guys messing around with motion tracking. I thought “man you can create anything in 3D. I want to make robots and spaceships and dragons and …”. So my journey started with the dream to bring things to life. Searching for software, I stumbled across Blender. I’ve spent countless hours watching tutorials and teaching myself over the past couple of years. The process has been very enjoyable because the Blender community was always there to lend a helping hand.
Nowadays, with the recent upgrade to version 2.8, my love for Blender has been rebooted. I like everything about it—so much so that I do not use any other software in my pipeline!
Software
Blender only. I’m a Blender purist.
Workflow
The way I like to work is with procedural generation and a bit of randomness. By that, I mean that I rarely have a clear concept in mind when starting to work. It’s like doodling in 3D. I just throw things in there and see what looks good. Most of my time I spend arranging the objects, playing with different settings of generated noise textures, and fiddling around with colors and lighting. For me, this is the most fun.
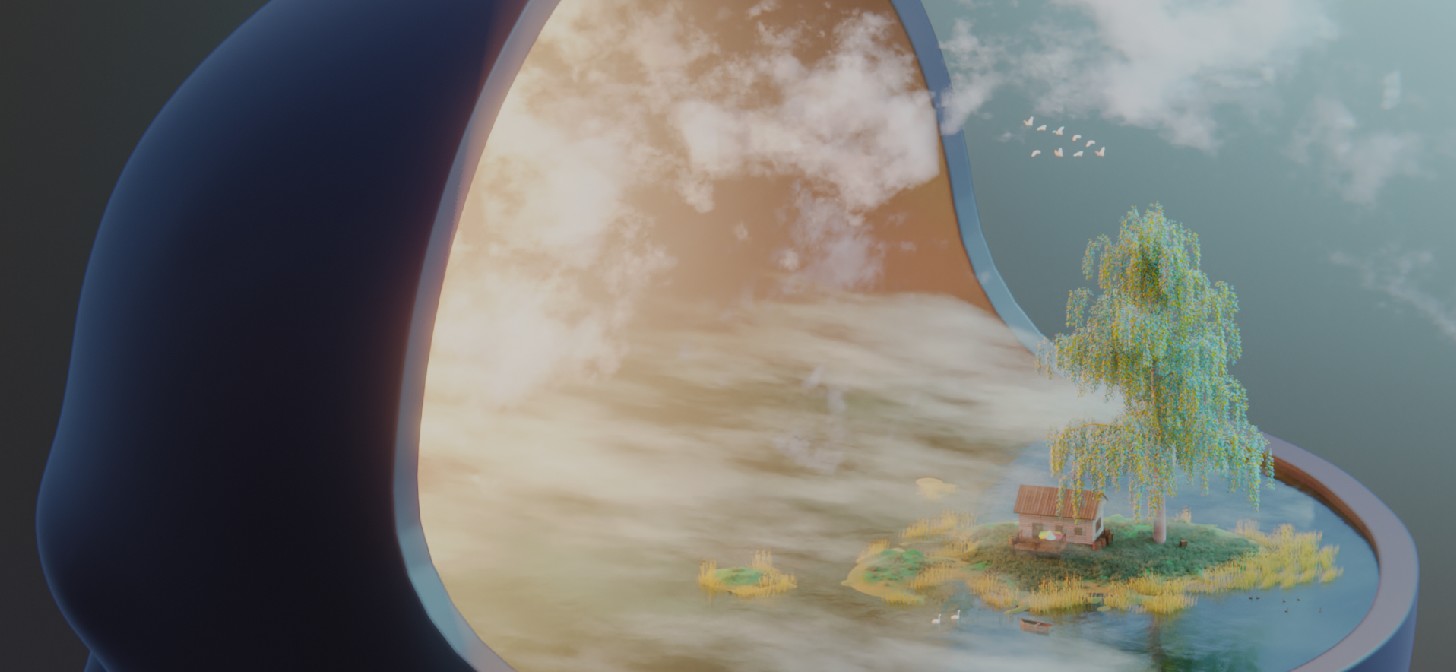
But sometimes it’s different. Like for this work. It was created for the Weekend Challenge on Blender Artists. When I read the challenge topic “Lucid Dreaming”, an image just popped into my mind and I was determined to bring it to life!
Modeling and Materials
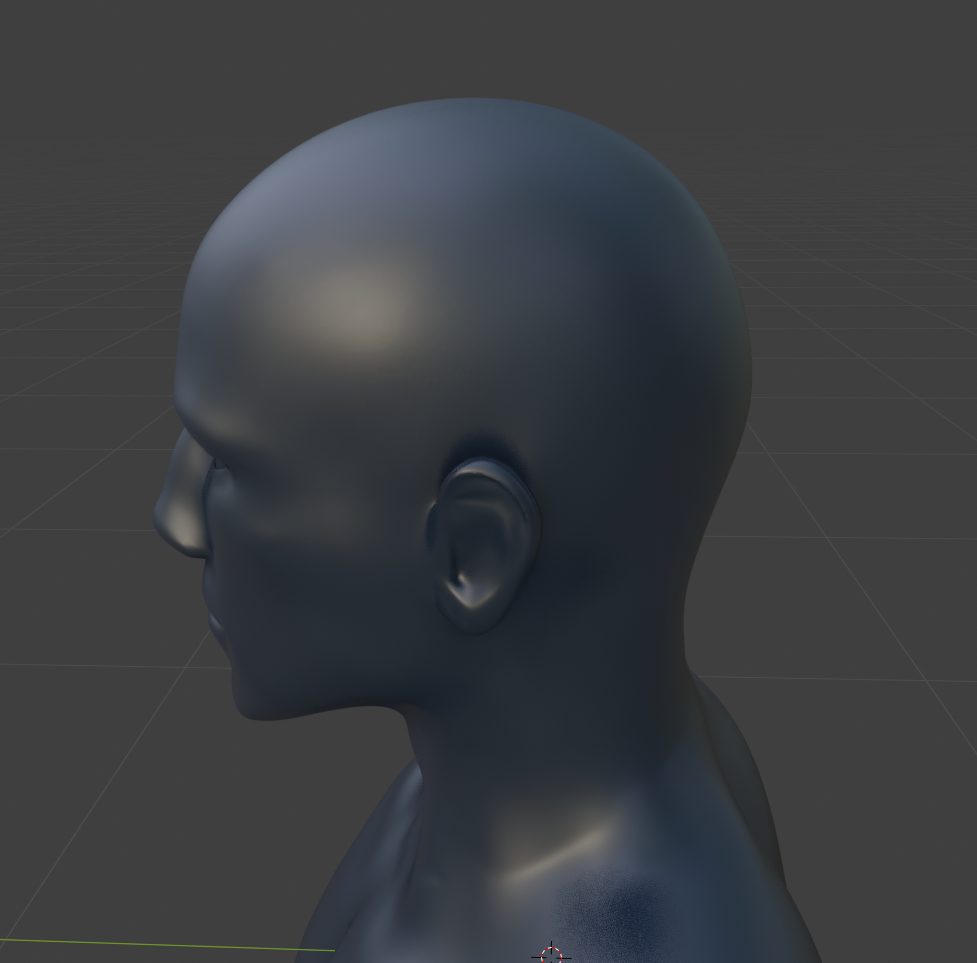
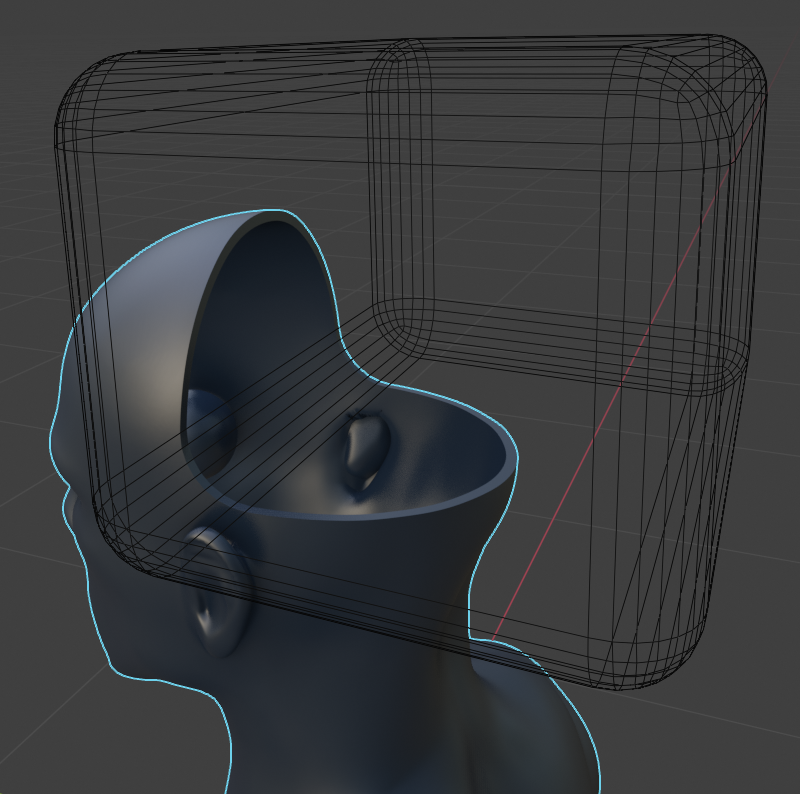
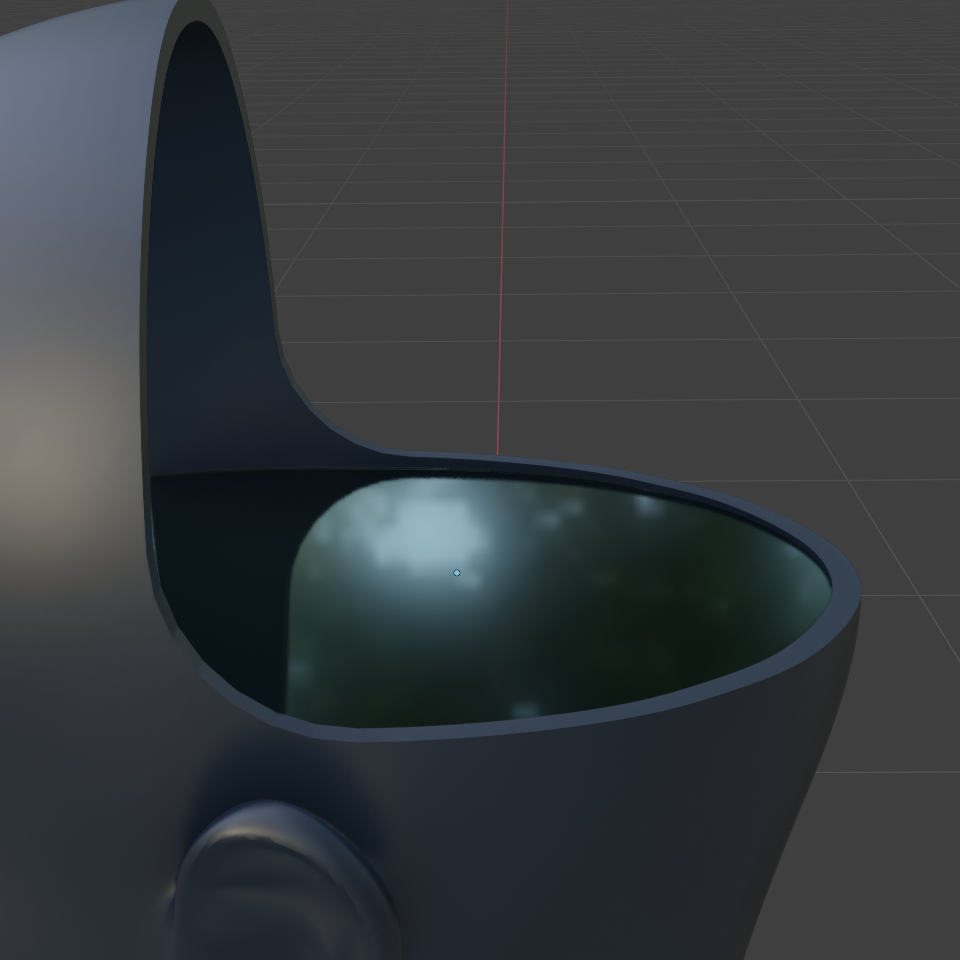
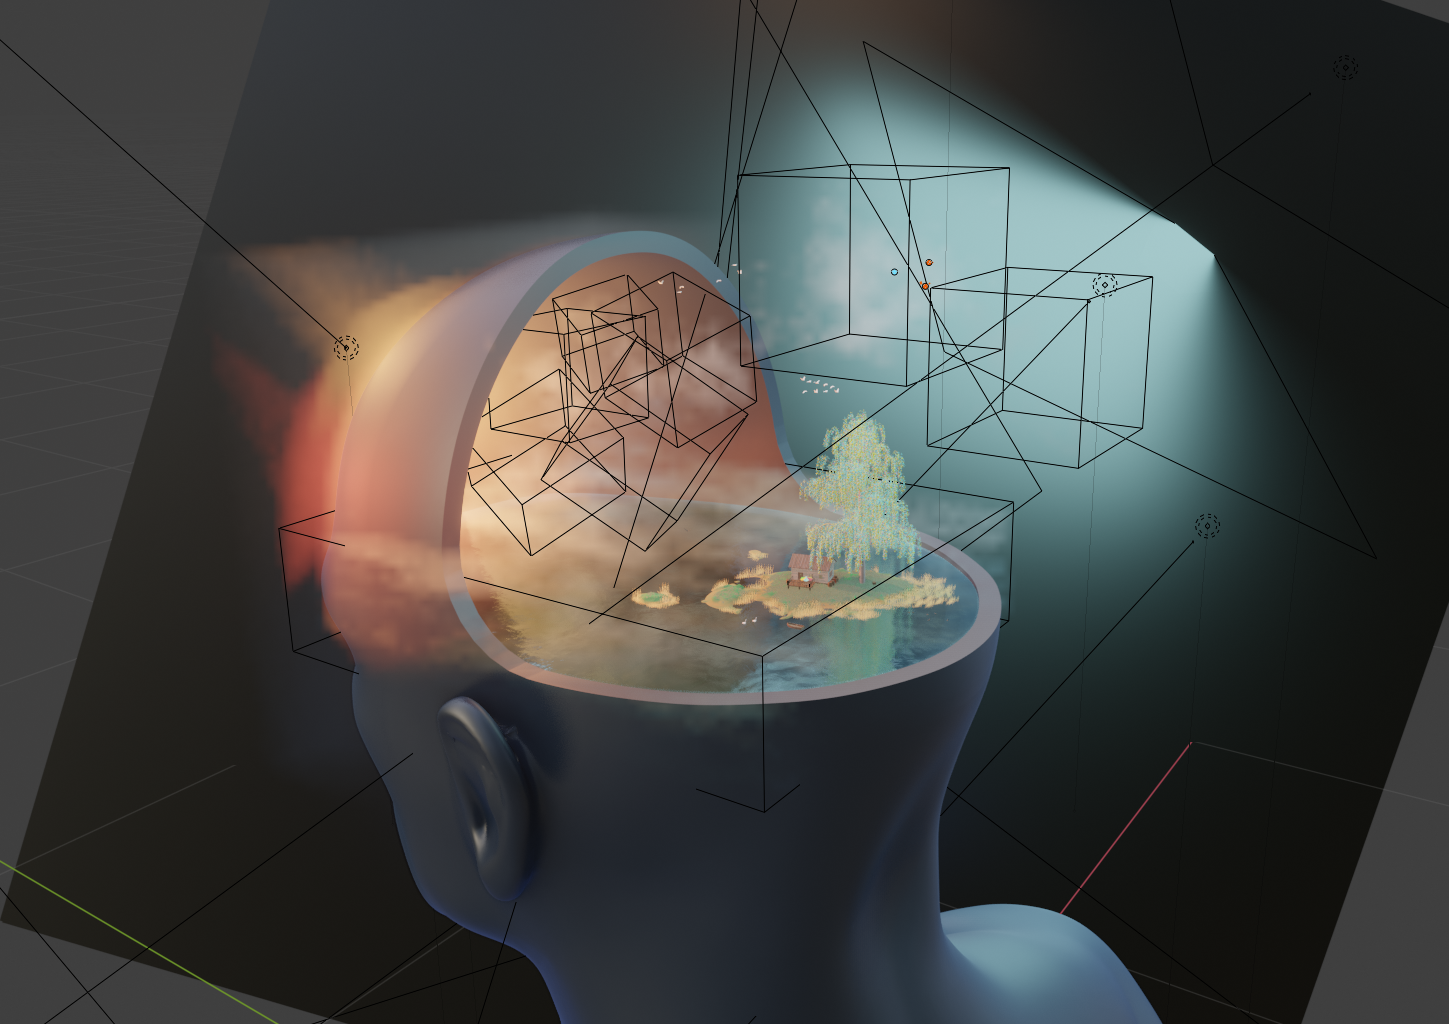
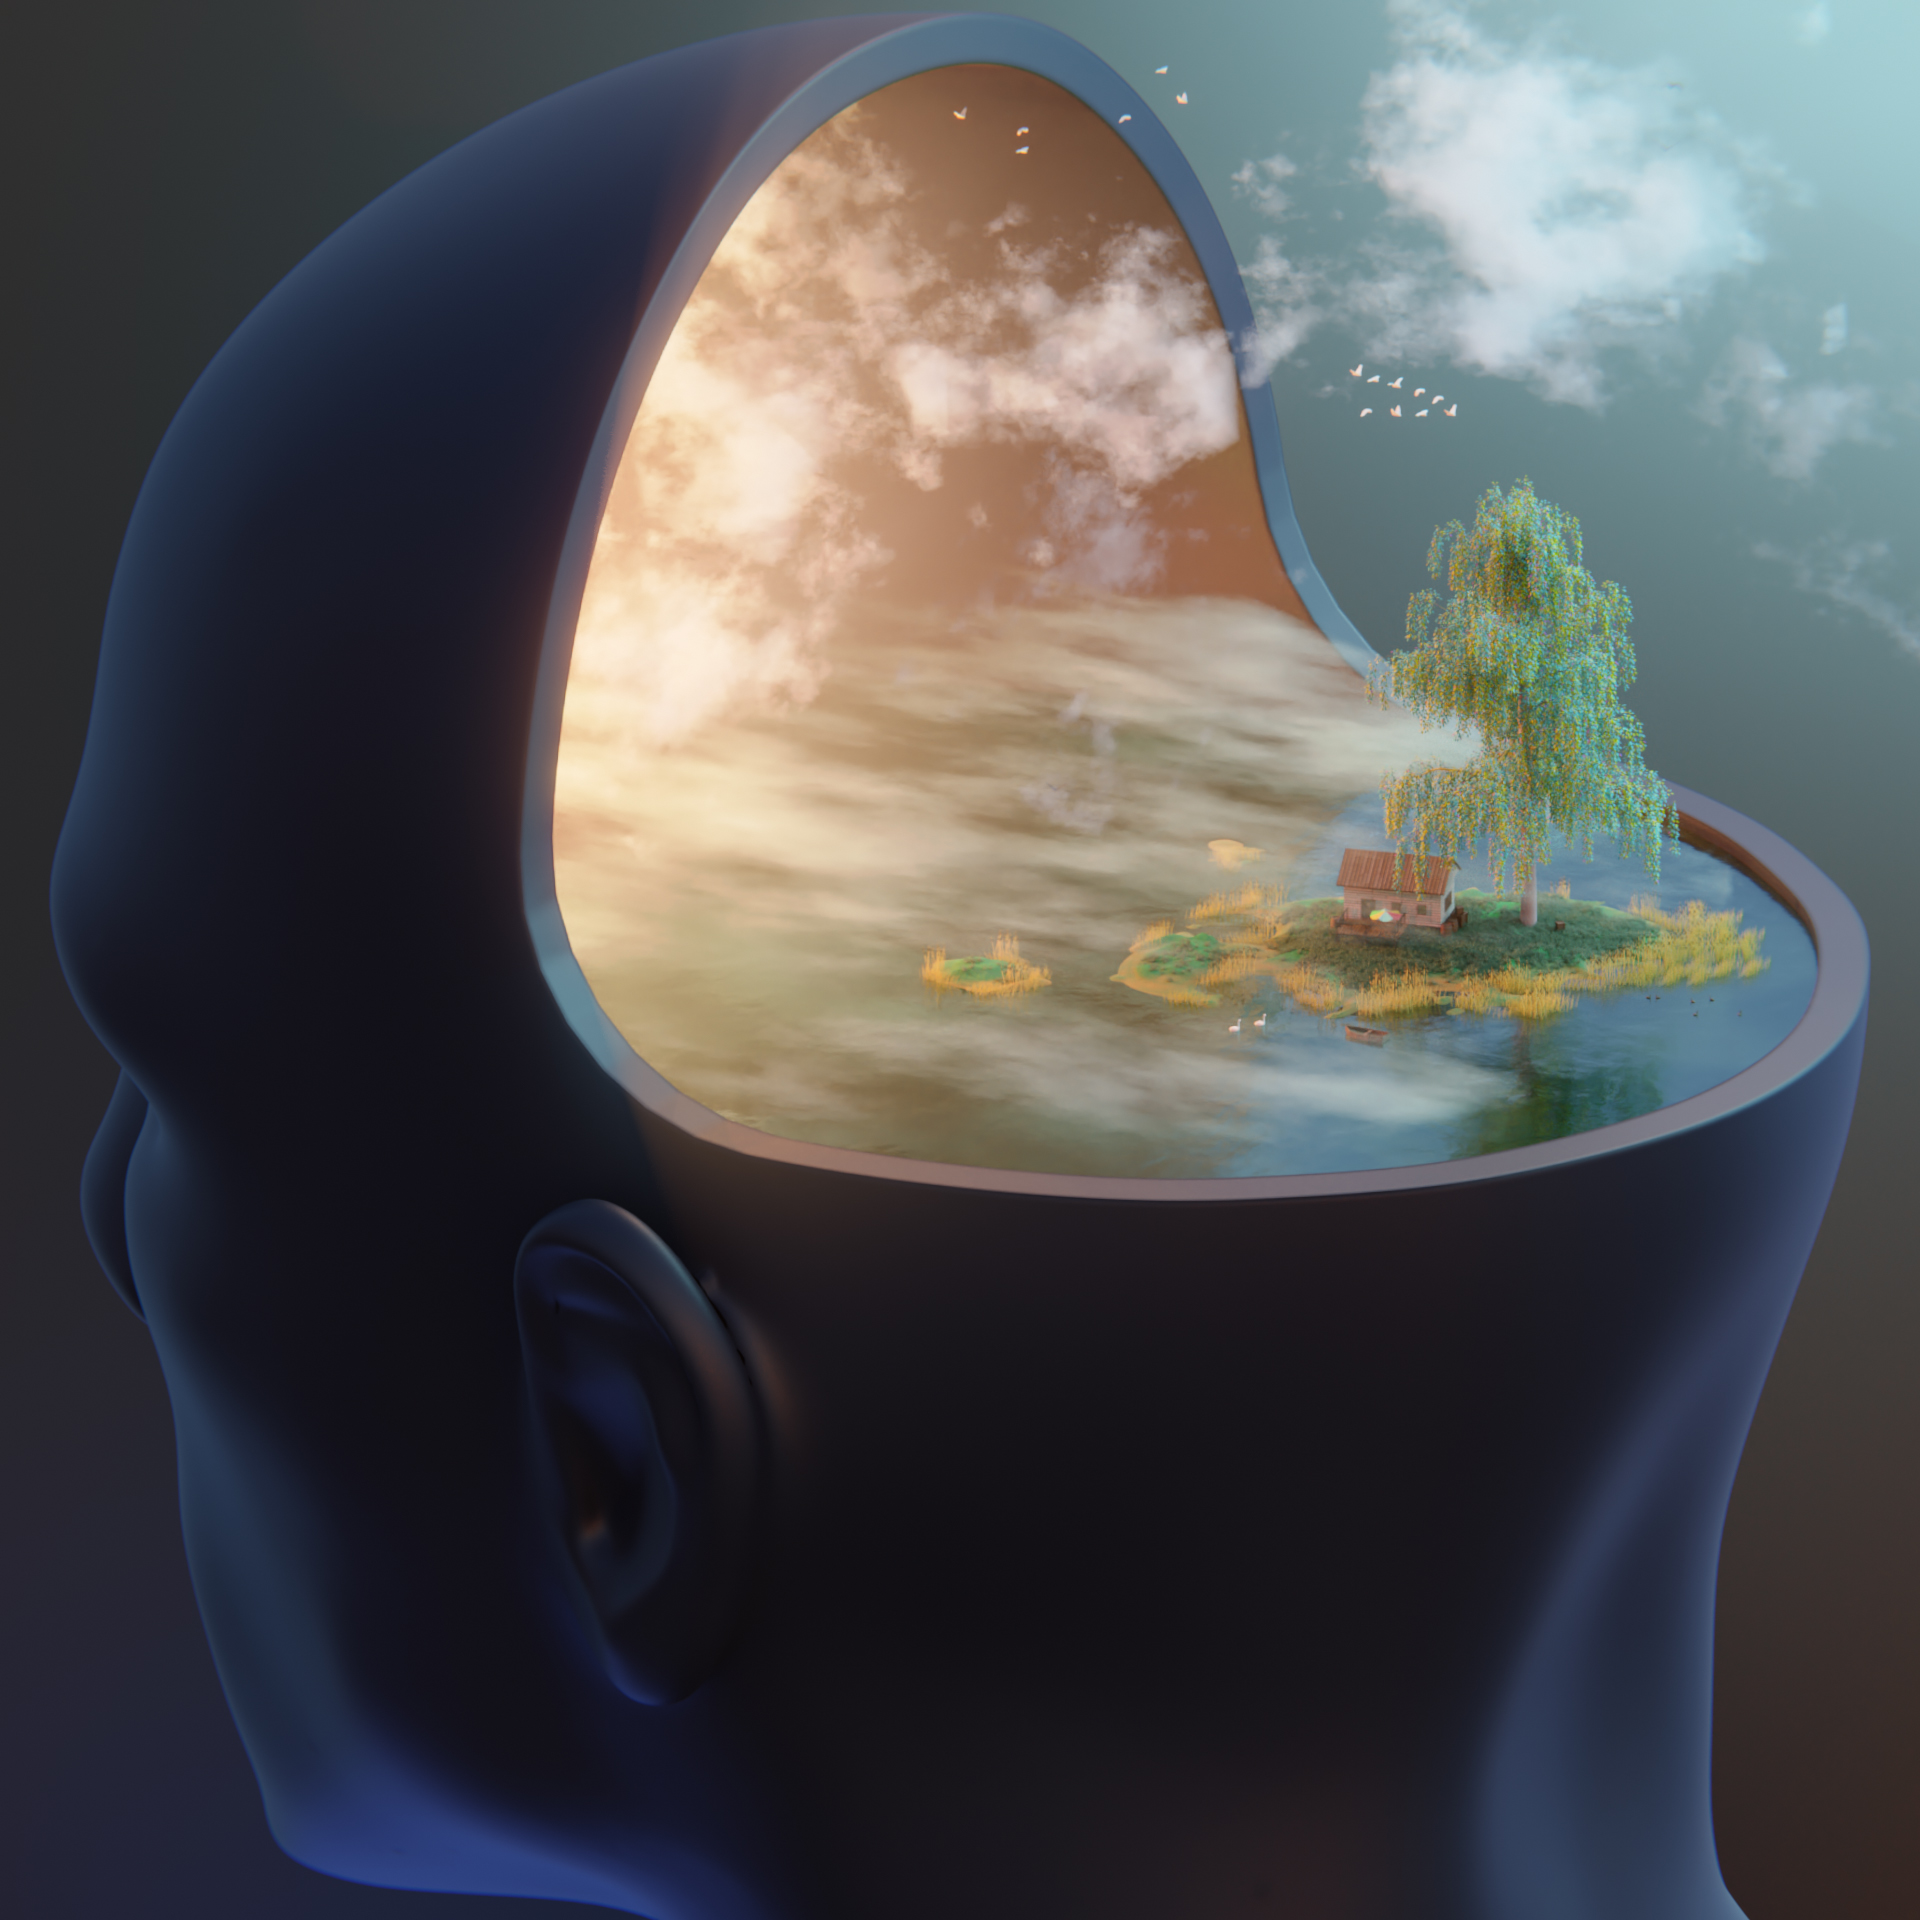
I had never created a human head in Blender before nor had I used the sculpting tool very much. That’s why I grabbed a free head model online and performed a quick brain surgery on the poor guy using a solidify modifier followed by a boolean operation.
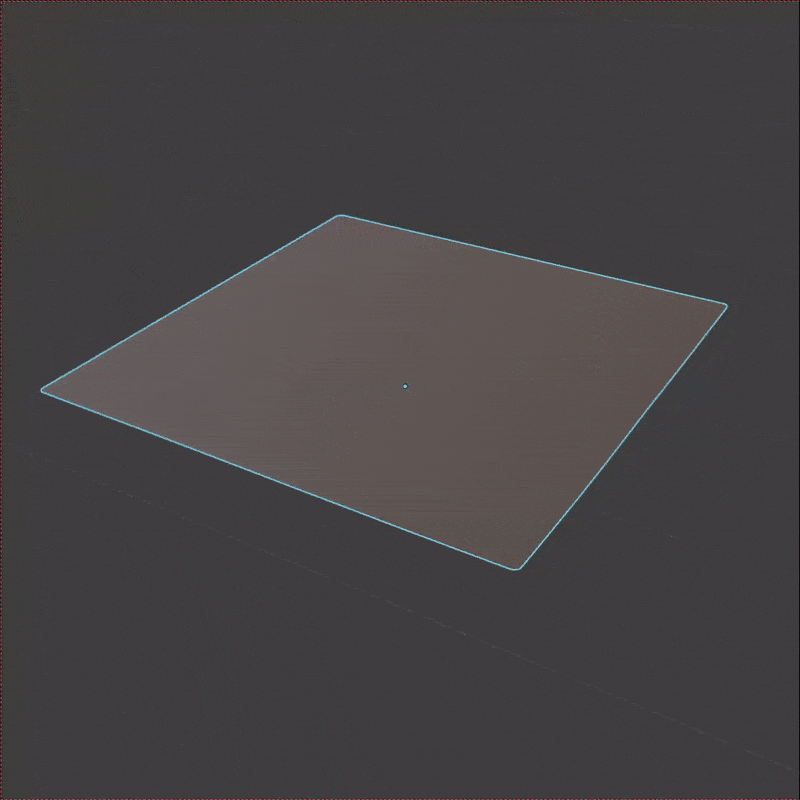
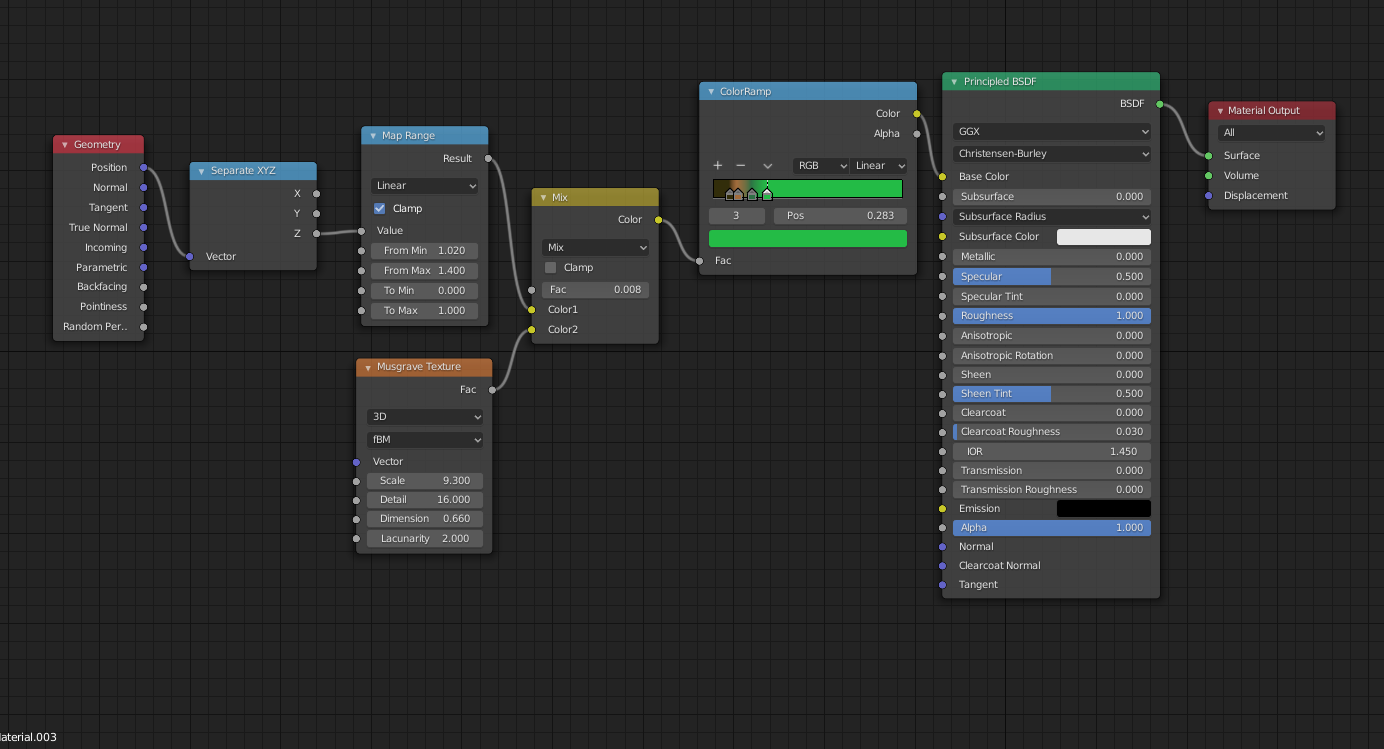
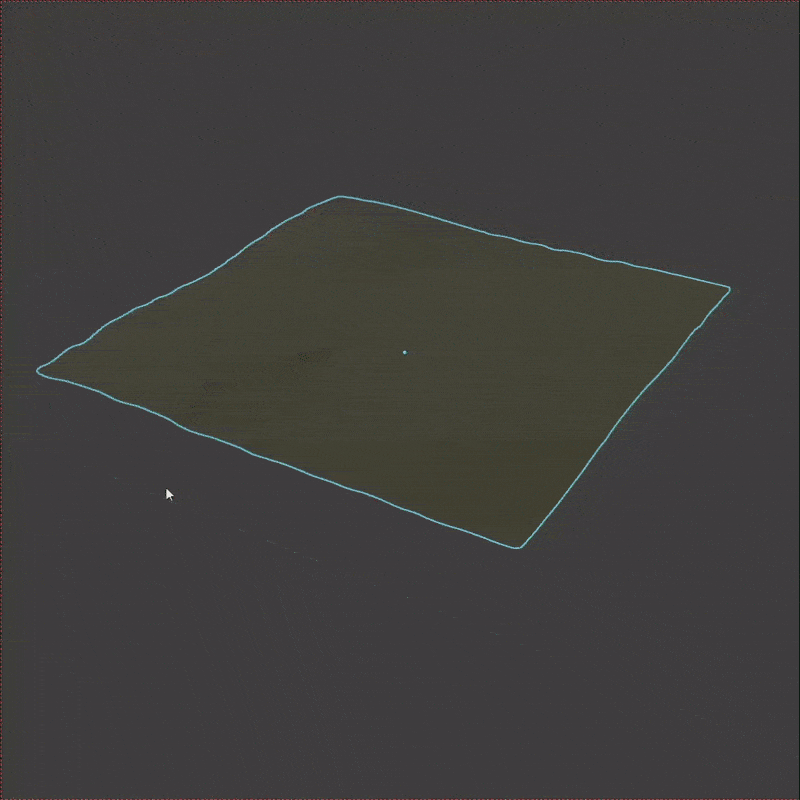
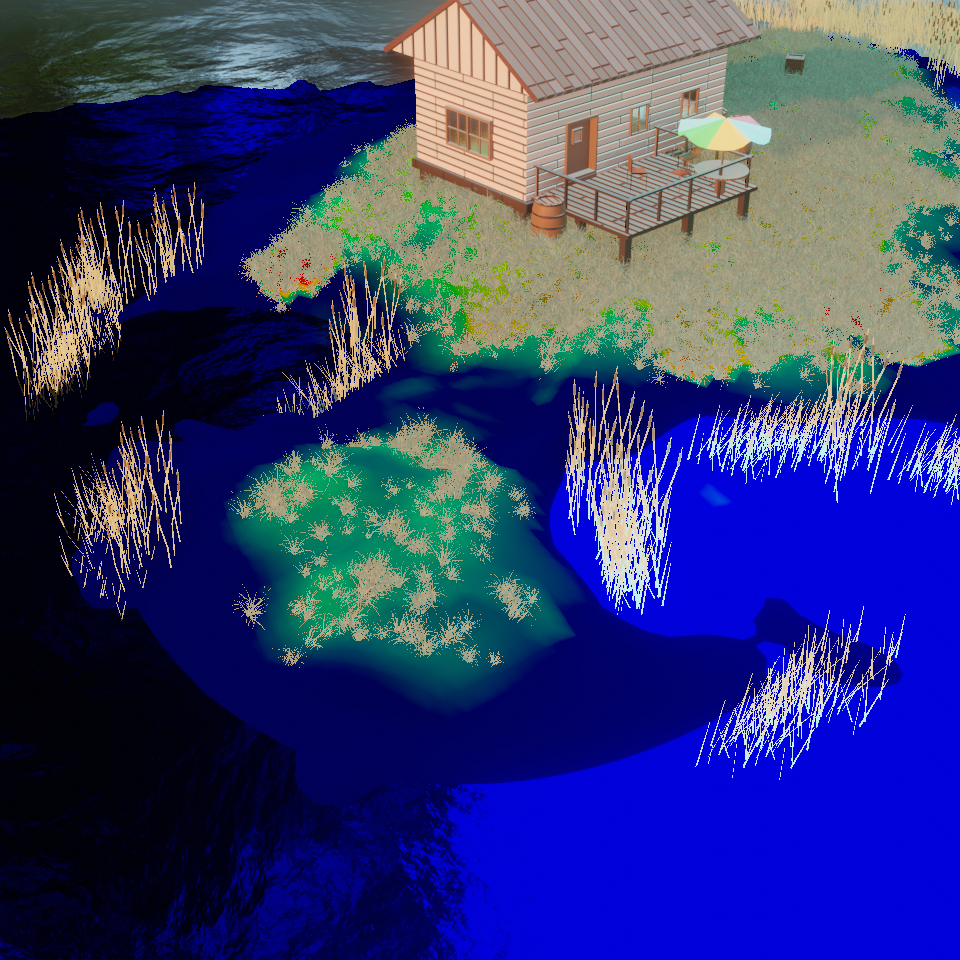
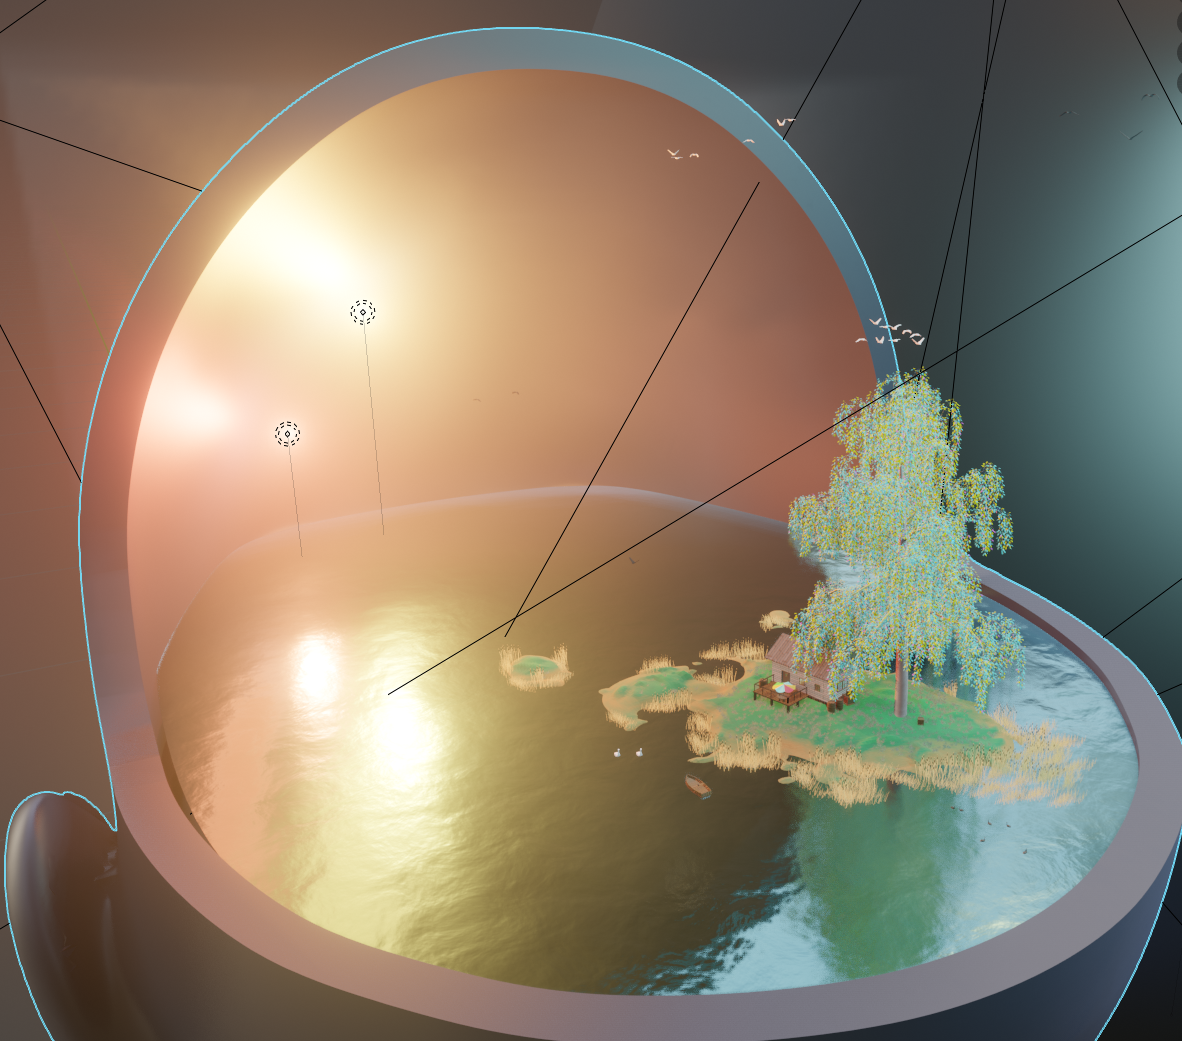
Afterward I created a plane to make the lake.
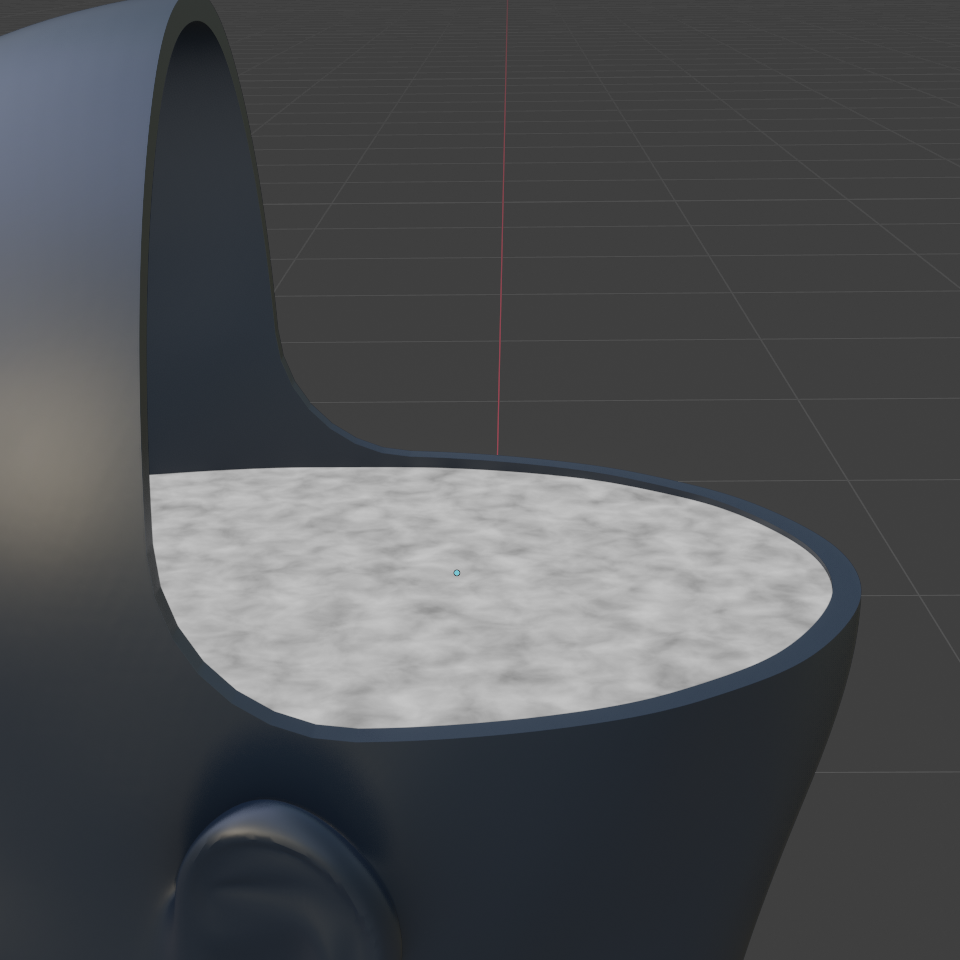
To give a sense of scale, I tried to recreate the effect of wind on large planes of water: there will be areas with tiny ripples and areas without. So I plugged a noise texture into the roughness input node:
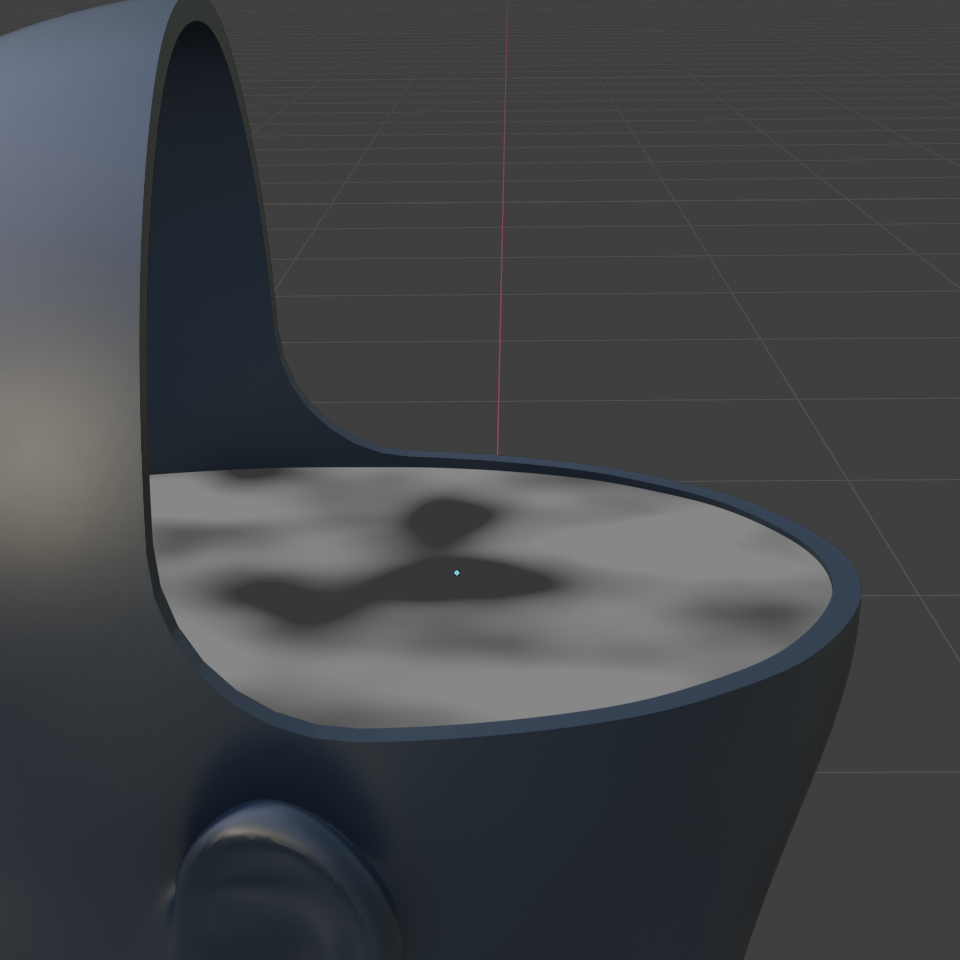
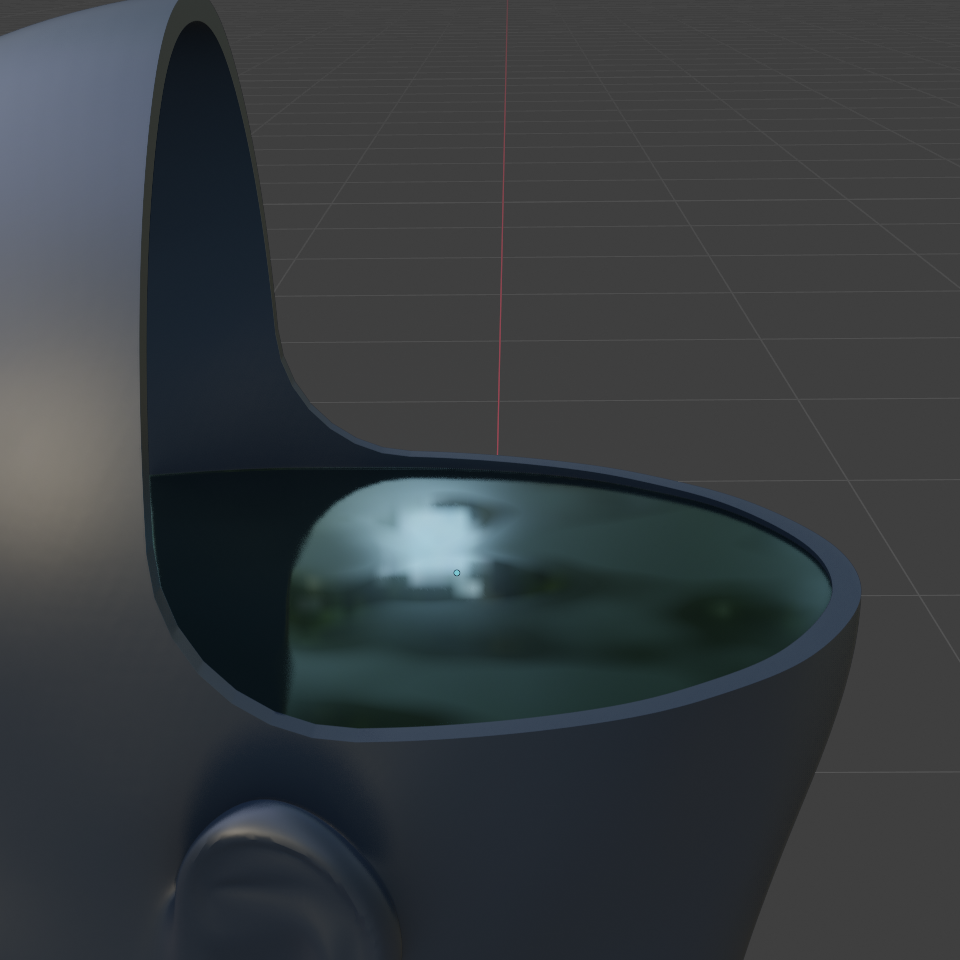
But I still felt the need to add some bigger waves so I used another noise texture as input for the displacement node:

Then it was time to create an island—I made a plane, subdivided it, grabbed some vertices, and moved them upwards with proportional editing enabled. I added a displacement modifier on top to create the little details.
The color of the island is based on its own height. The material takes the Z-Location from the geometry and utilizes a color-ramp to map different colors to the height. I mixed in a little noise texture to break up the smooth transitions.
Modeling the rest was also simple since the camera was far away for the final shot so there was no need for details. In fact, I’m a little embarrassed to show these awful models, but it just goes to show that not everything has to be perfect and you can save a ton of time by keeping things simple.
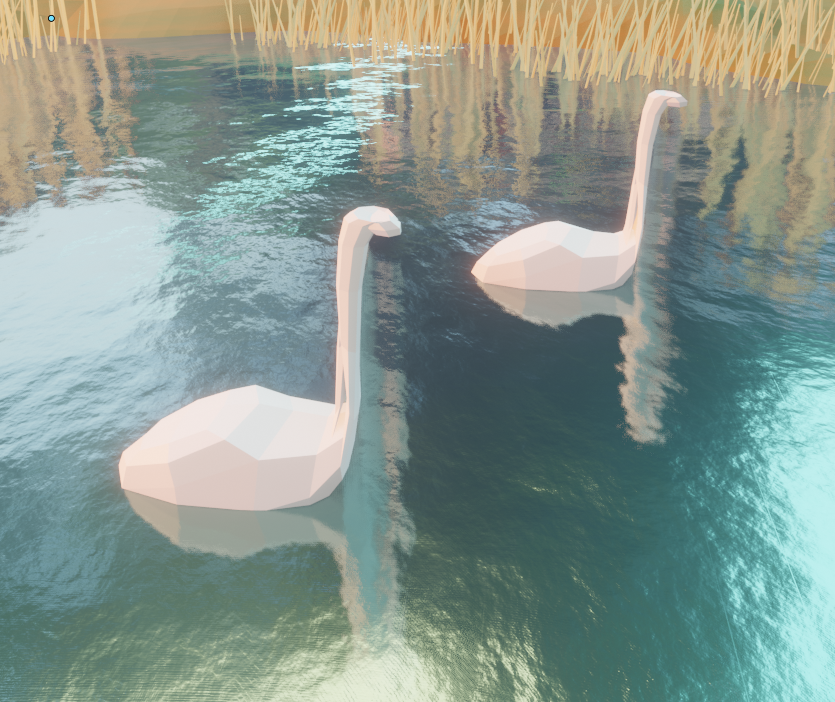
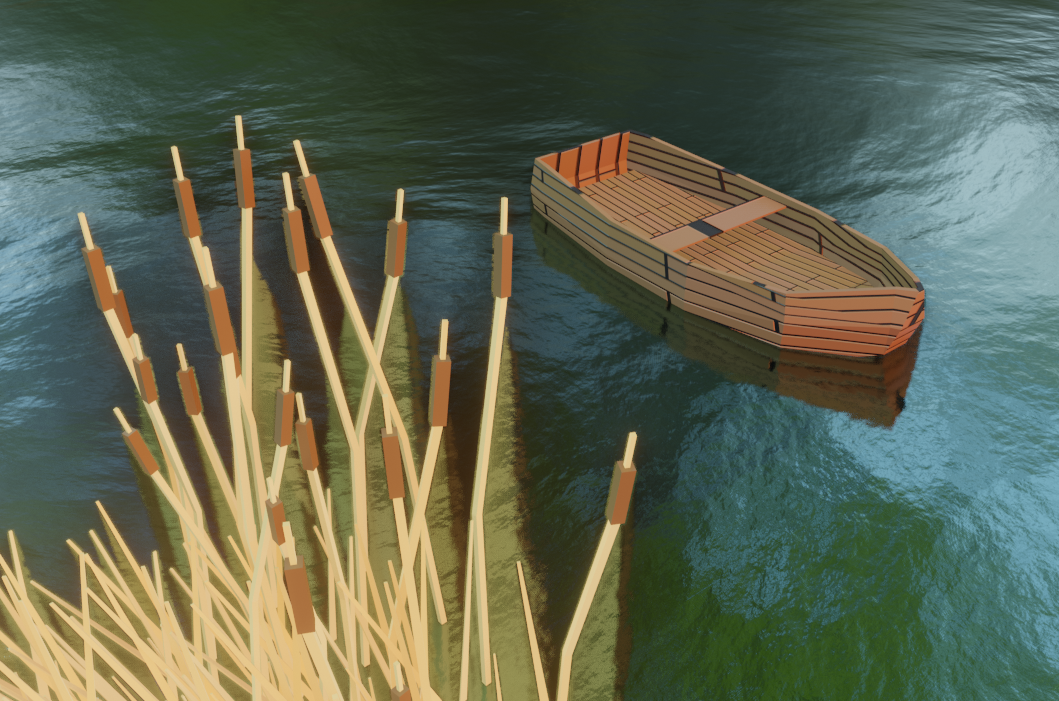
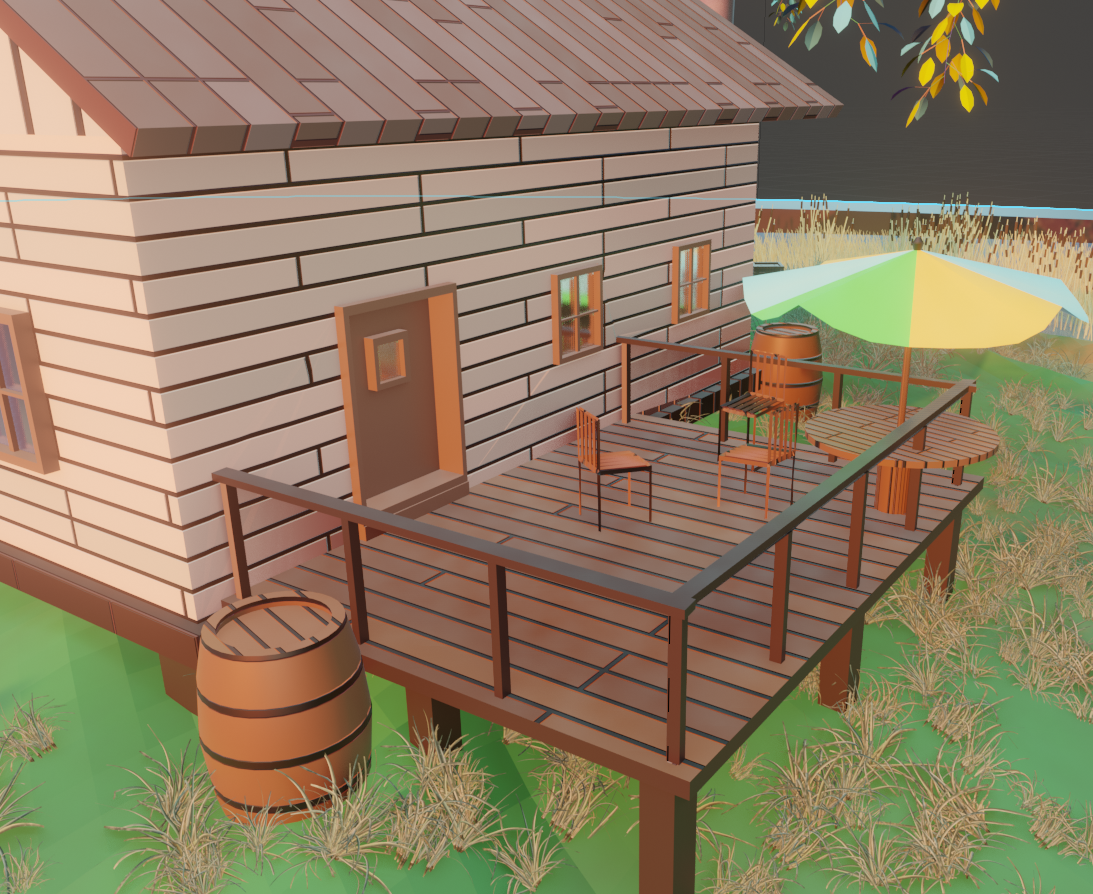
I would even say that I spent too much time modeling the porch since none of it is visible in the final render. But it wasn’t difficult to model, anyway. Basically just some cubes slabbed together with a brick texture on top. The tree was quickly generated with this Modular Tree Add-on. I didn’t even use textures on it. And to make the scene look more alive, I decided to add a bit of grass on the island using a particle system to distribute the grass clumps across the surface. I wanted a bit more control over where the grass should grow, so I assigned the particle systems density to a new vertex group and then painted in the areas of growth with the weight paint tool.

The scene was still missing something at that point. I wanted the scene to expand out of the head like it was expanding into this dreamworld. I tried to add waterfalls on the edges of the head but I couldn’t get it to look right. But then I thought about clouds emerging from the inside of the head. I was very happy with this idea. Firstly, it opened up the space a lot and secondly, it added a bit of visual complexity. The clouds were created using a volumetric shader with a Musgrave texture plugged into the density.
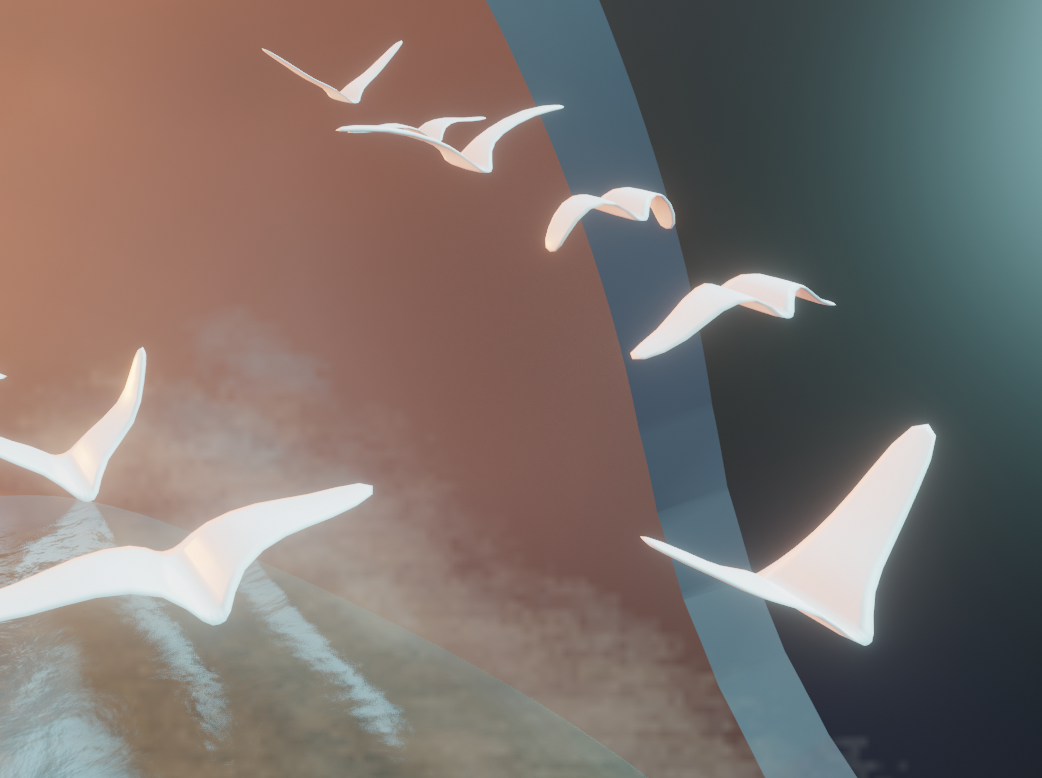
Then I added a few more birds in the sky to create the feeling of freedom, I guess.
Lighting
And finally, it was time for the lighting, one of my favorite parts of any project. I just love how the whole mood of a picture can change with different lights and colors! Thinking about the challenge’s theme “Lucid Dreaming” I thought the head and background should have nightly blue tones and the dream scene should provide bright contrast with vibrant yellow and orange tones.
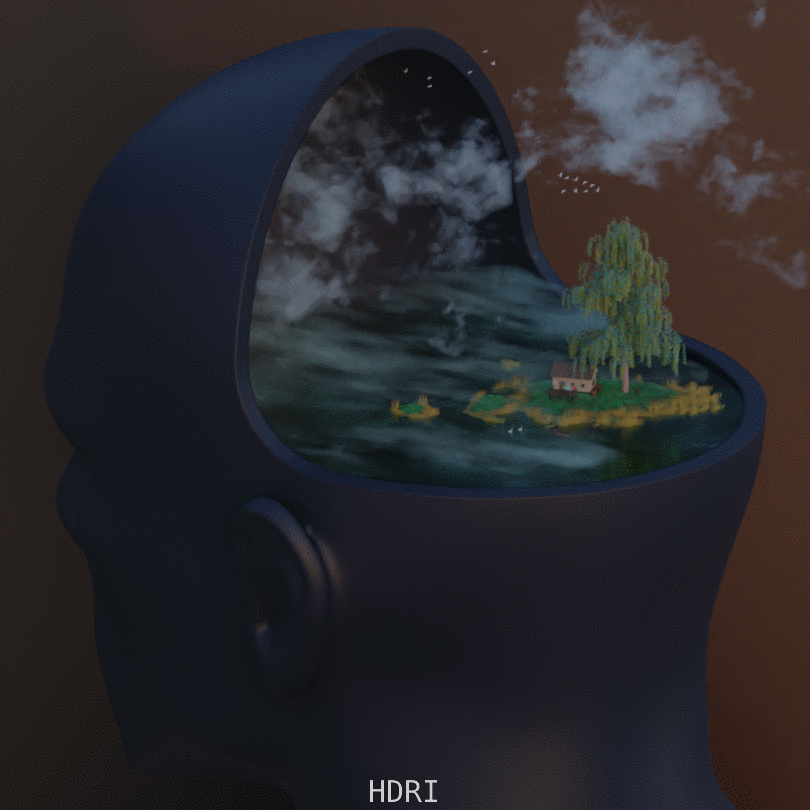
To separate the head from the background I added a few rim-lights to catch the edges. Also, the “Light Blue” area light is very important as it lights up the actual rim and separates the clouds from the background. For me, it also gives the impression that there is a world with a nice blue sky in his dream. A little trick I do often is to add two lights in close proximity with slightly different hues. It helps to add more colors to an image.
The background itself is just a plane and the lighting creates a nice color gradient on it.
And that’s basically it. I had a ton of fun on this project and it helped me to improve my workflow. I hope this behind-the-scenes look will help you too!
About the Author
 Mark Faasen, Mechanical engineering student from Germany. In love with Blender and the Blender community.


cool idea