
Behind the Scenes: I’m Orko


About
Peace for all…!
I’m Rubiano Basquera, from Joinville, Brazil.
I’m not a 3D artist. Yes, I am not. I am a mechanical designer and study 3D and CGI out of enthusiasm.
I have not worked in large studios, I have not participated in any external work (yet) and I also do not have any great achievements published. However, this is an area that touches me deeply because since I was a child I had something pulling me towards the artistic side of drawing. I only entered through another door because I never stopped becoming a designer, I just chose the mechanical path.
In 2017, I started studying image manipulation and at the end of 2018, I got to know Blender. I confess that my role as a mechanical designer (3D) gave me a great foundation for 3D modeling in Blender.
Inspiration
What brings me inspiration is nature and everyday life, because I believe that all art is born from those things.
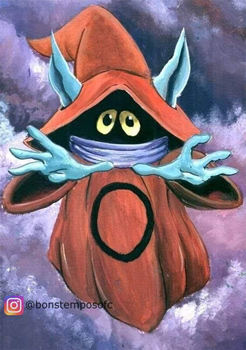
The inspiration for this work was born from a single image that touched me and reminded me of my childhood.
Tools
- Blender (of course)
- Substance Painter
- Photoshop
Modeling
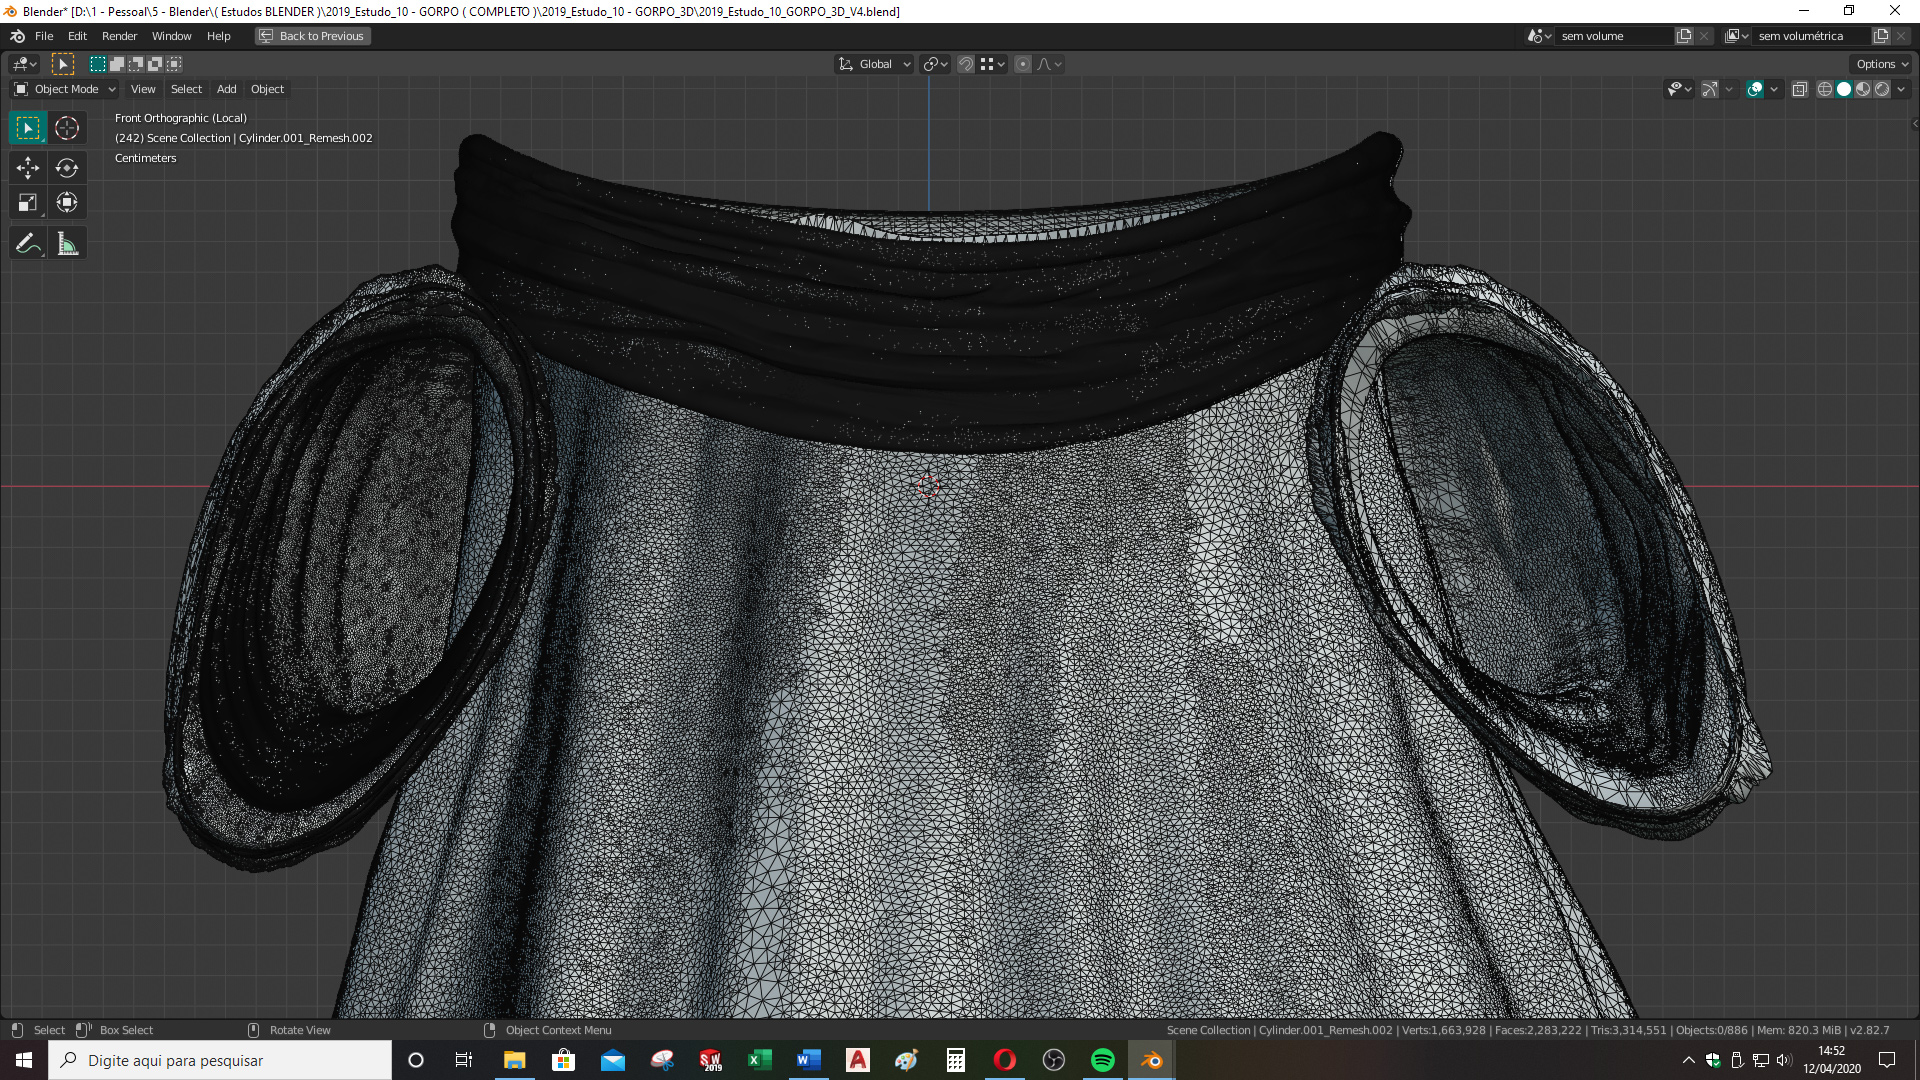
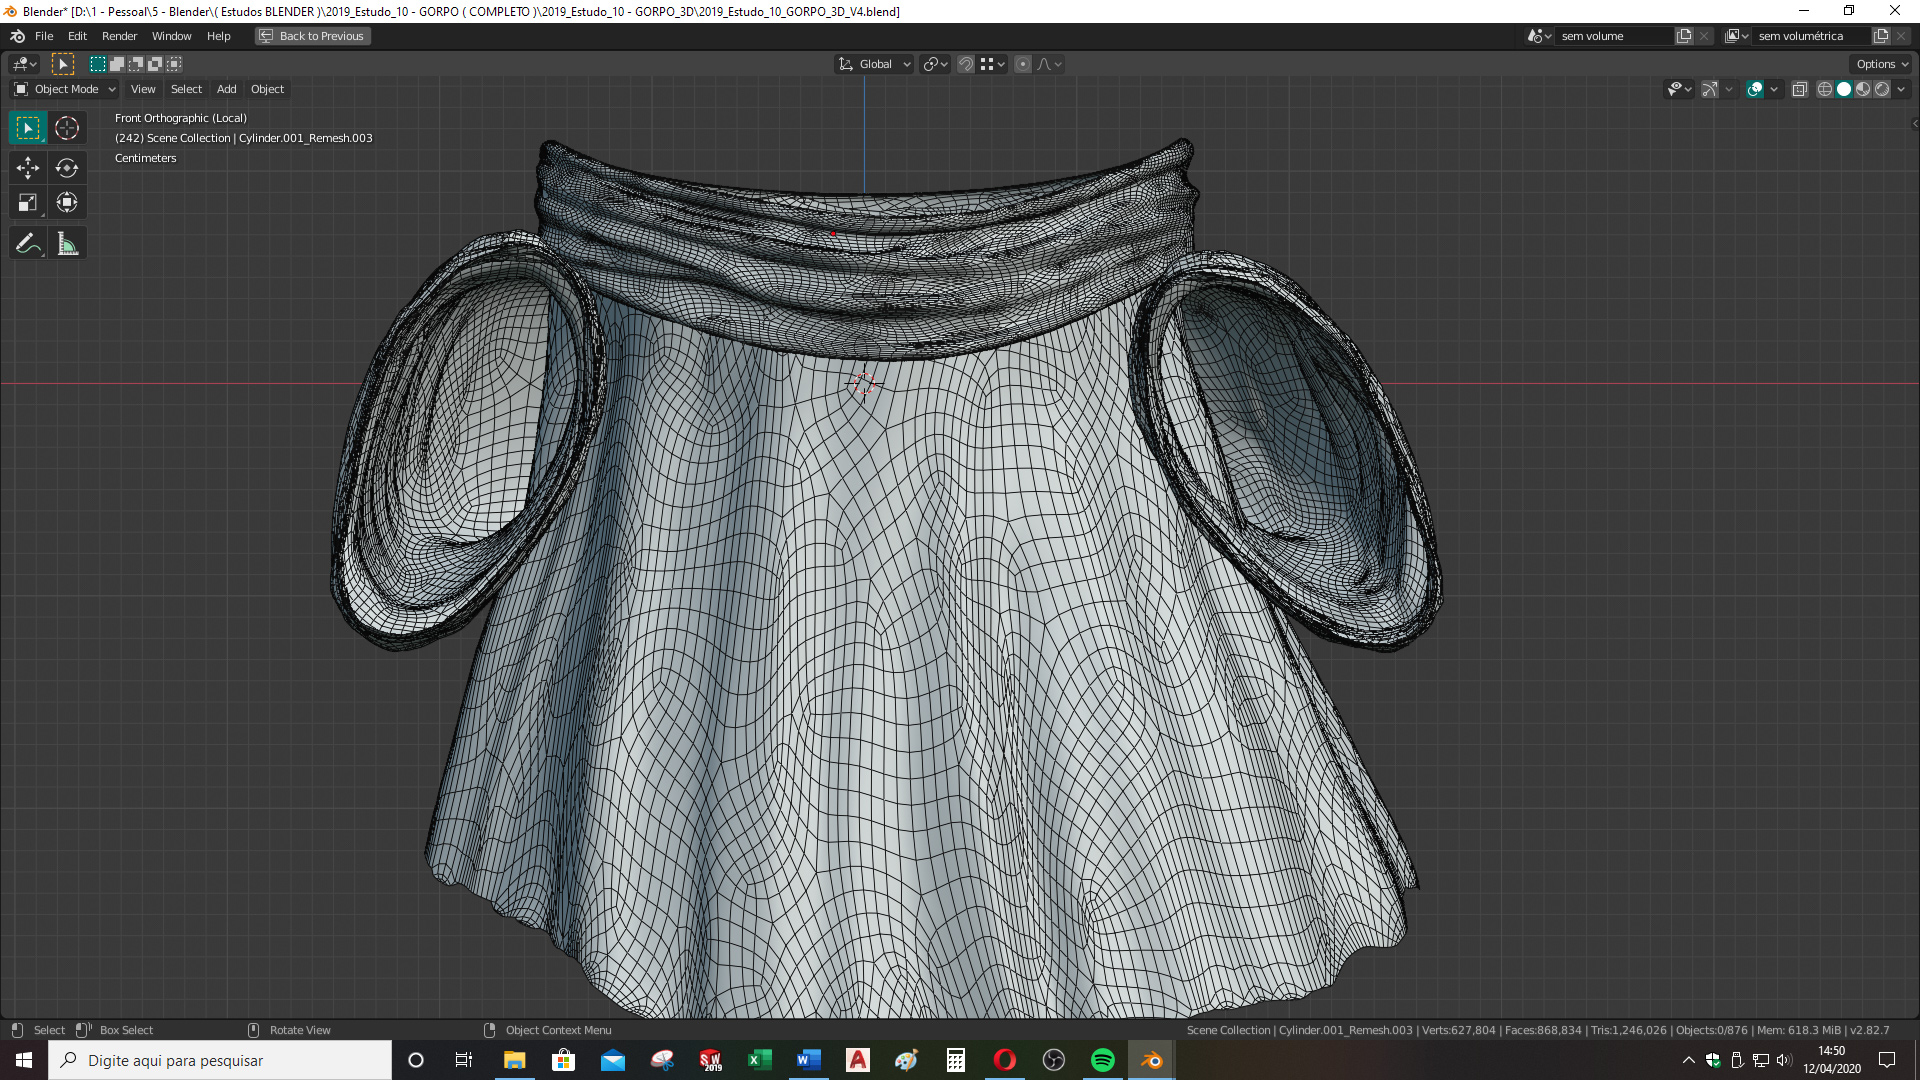
I started with the part that I found most critical, the clothes. For this, I used cloth simulation to create the initial shape.
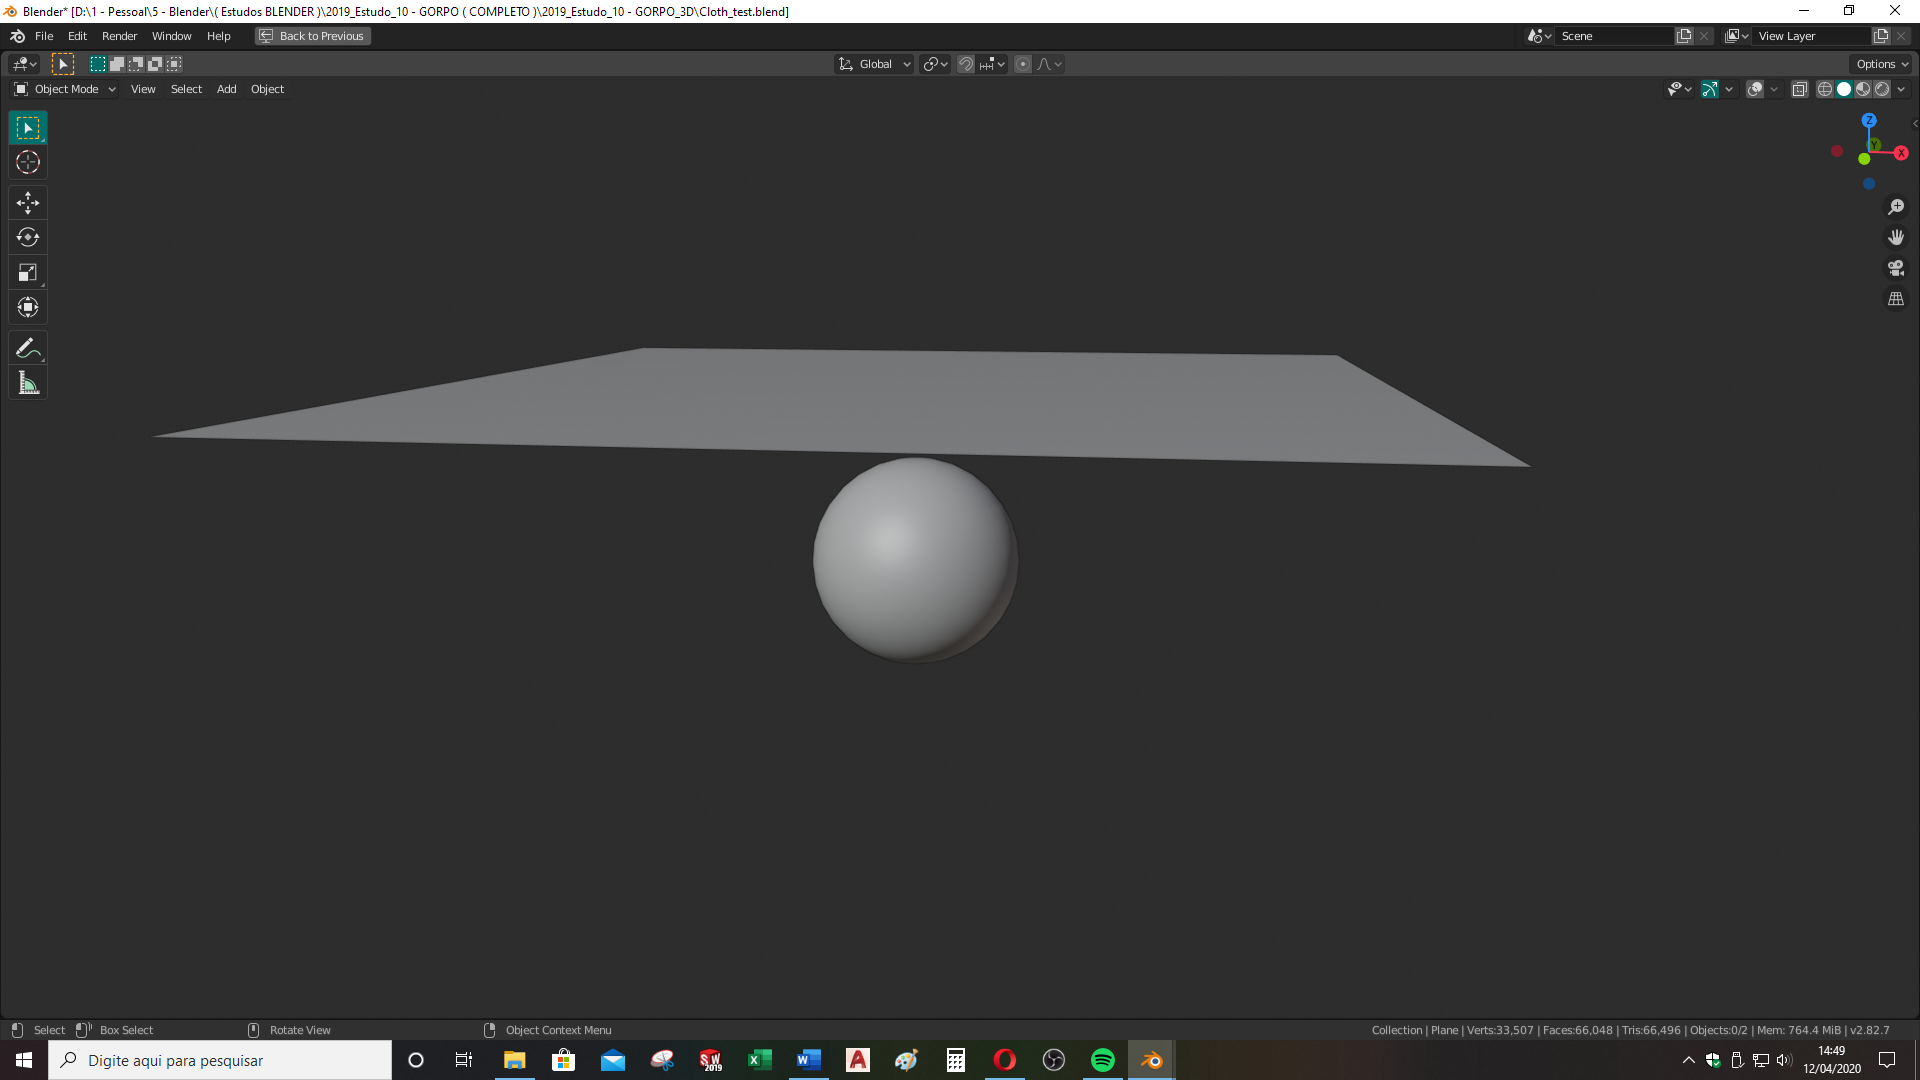
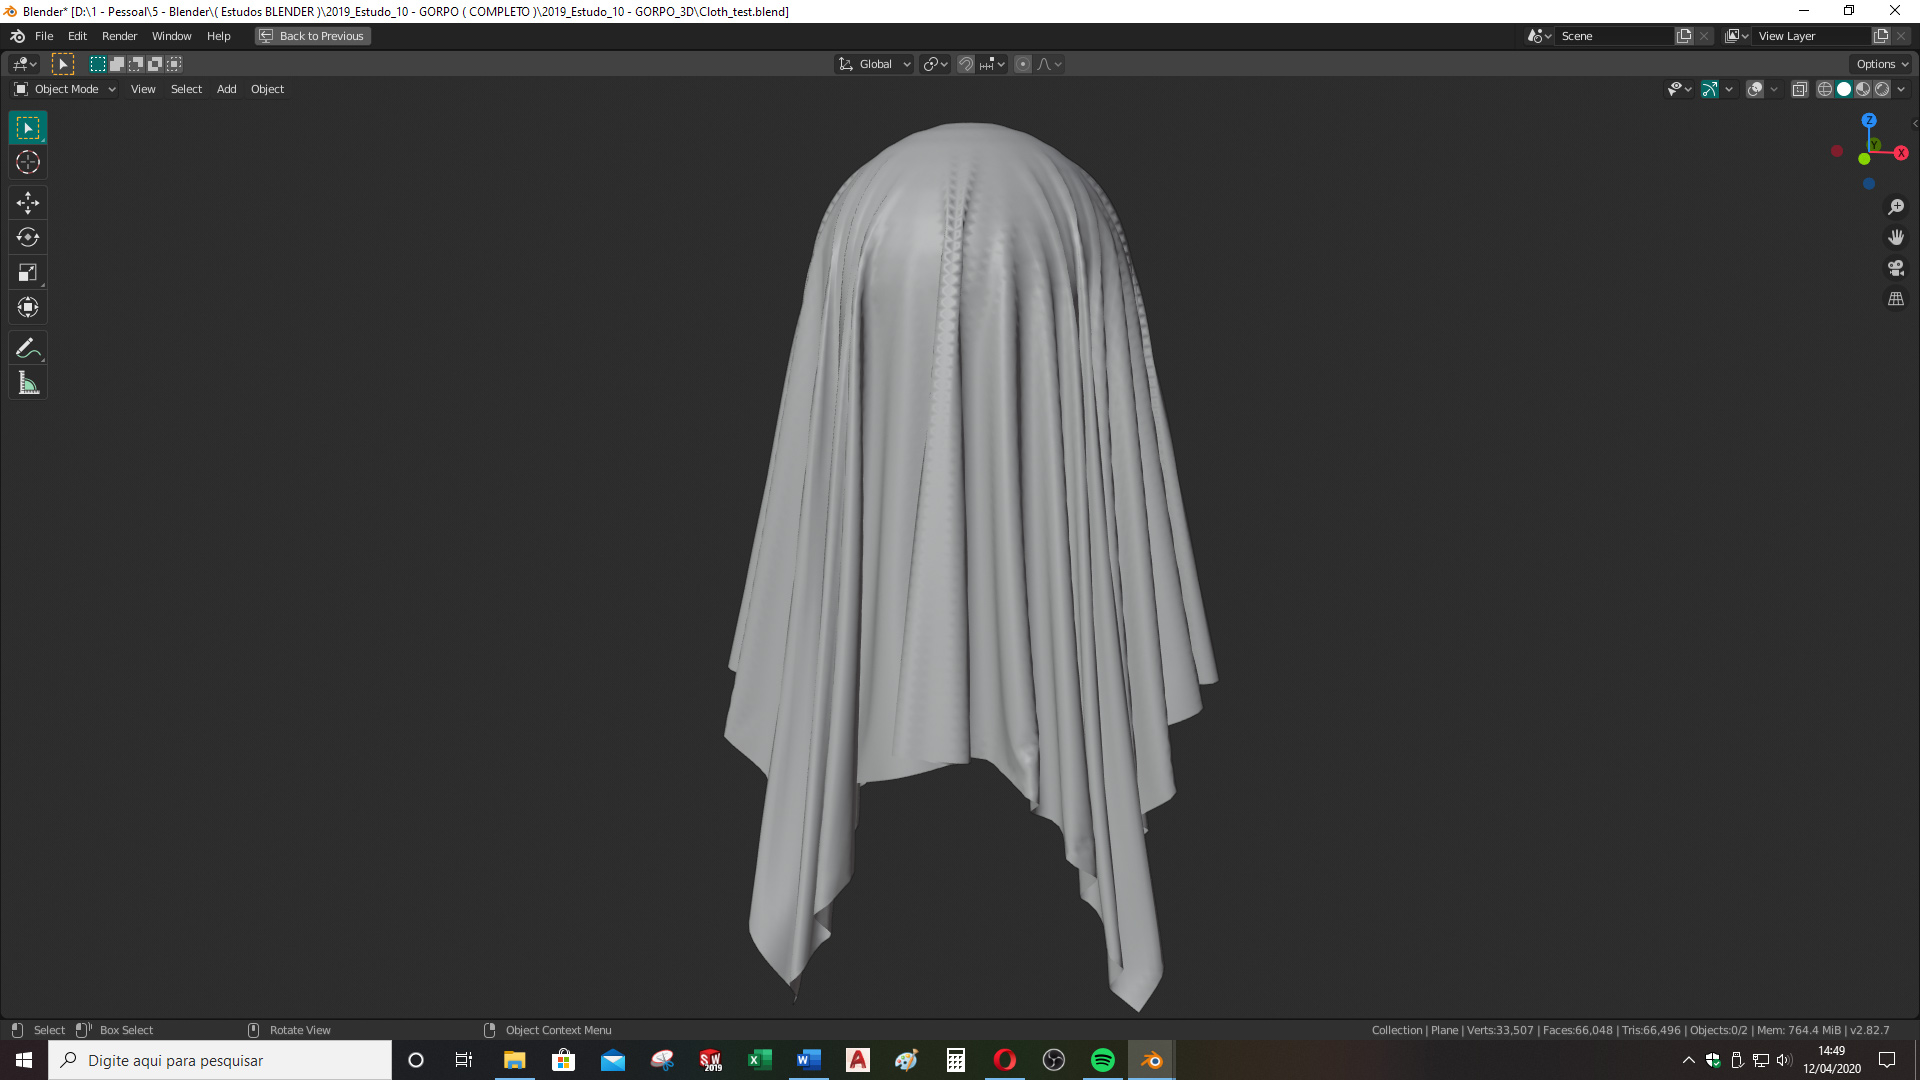
After that, I moved on to modeling the sleeves and scarf and gave the final shapes to the sculpt. For retopology, I used the DynRemesh add-on.
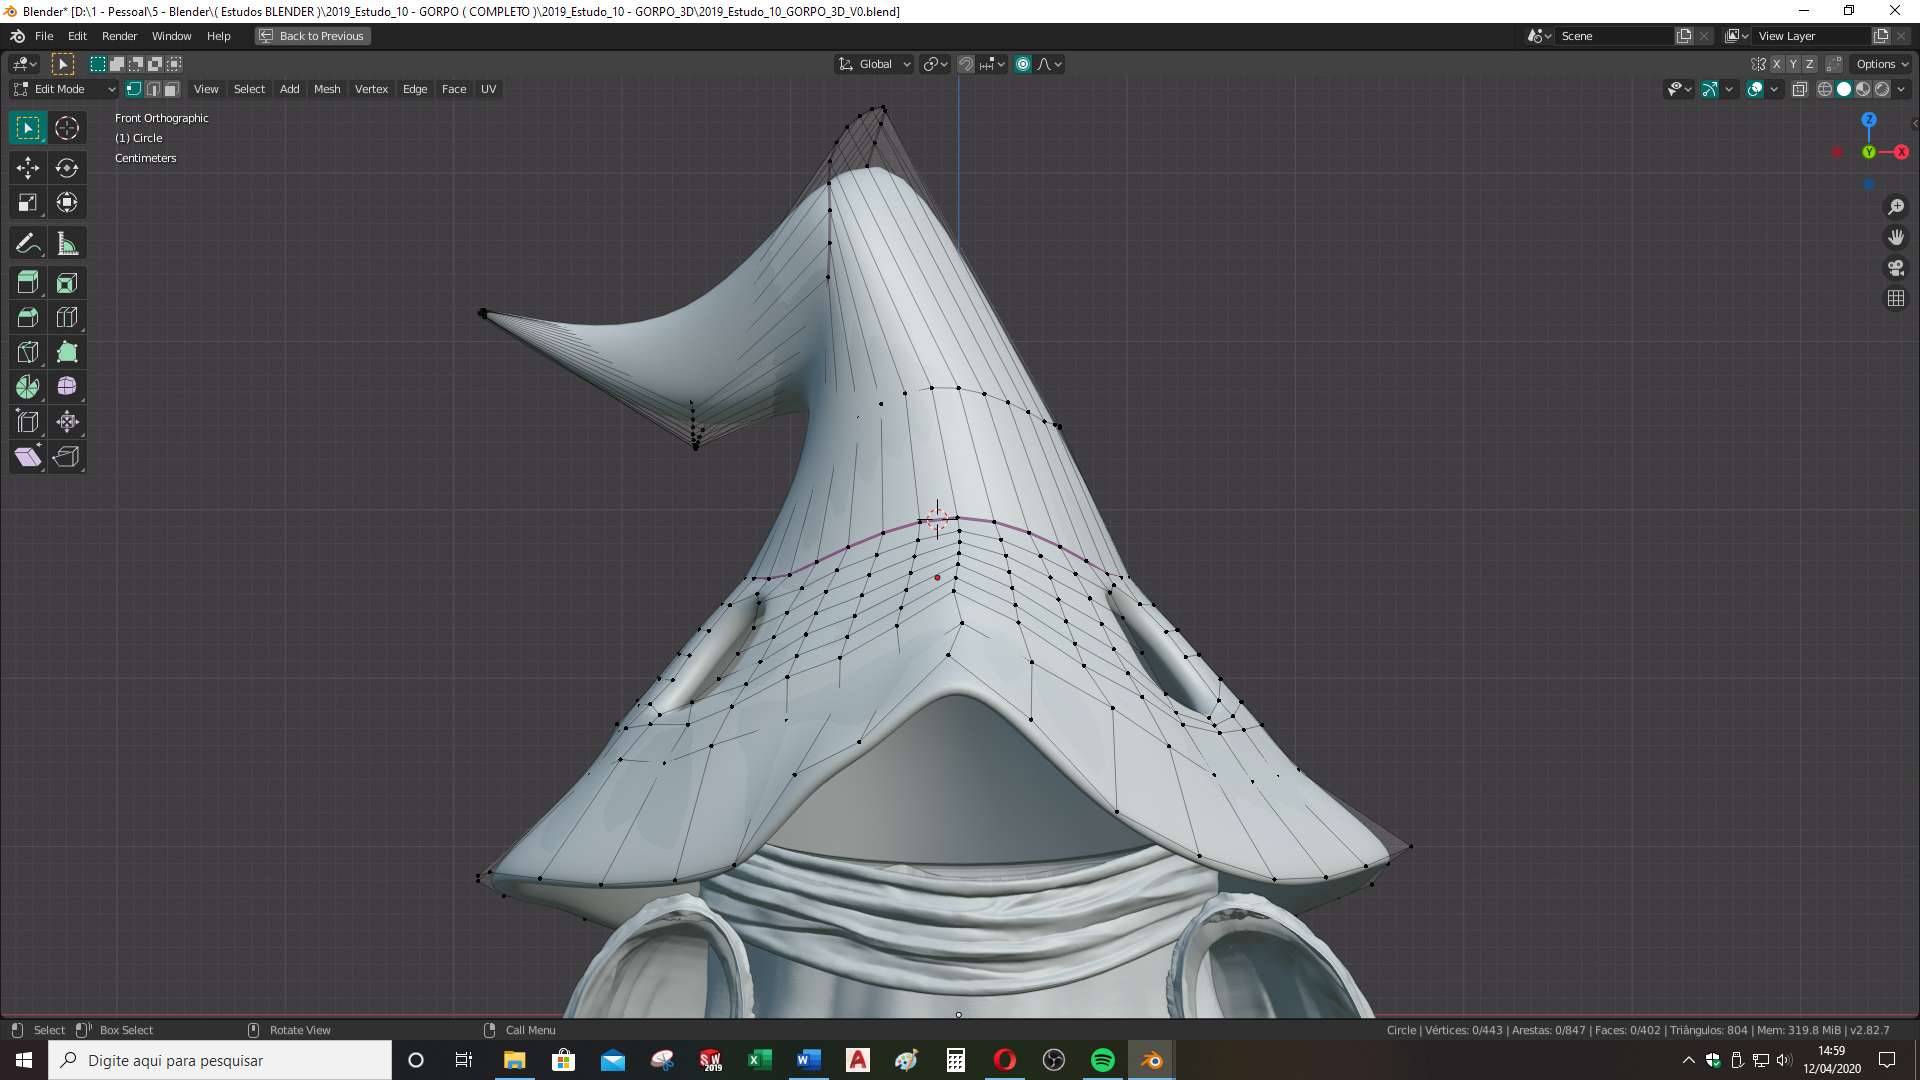
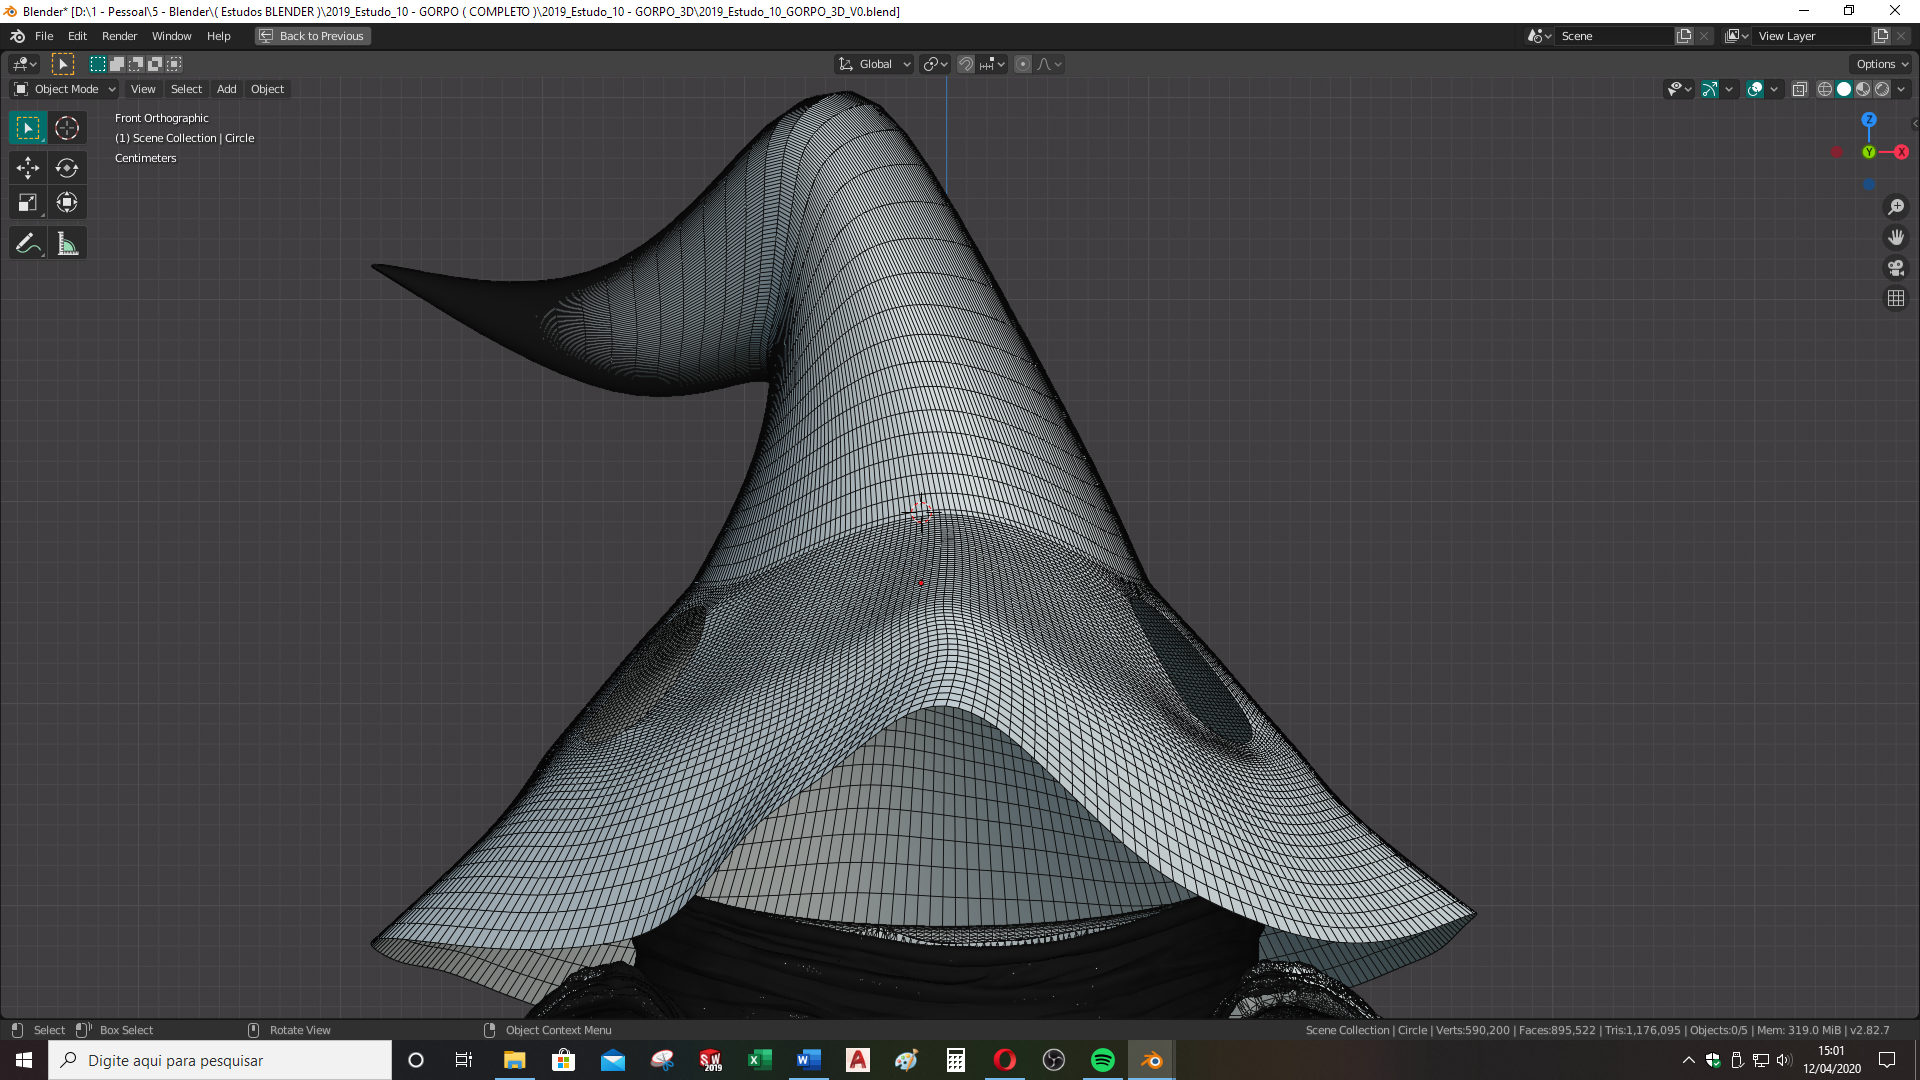
The next step was to make the hat, which I started with a cylinder and deformed until it turned into the final shape. Then I applied a Subdvision Modifier.
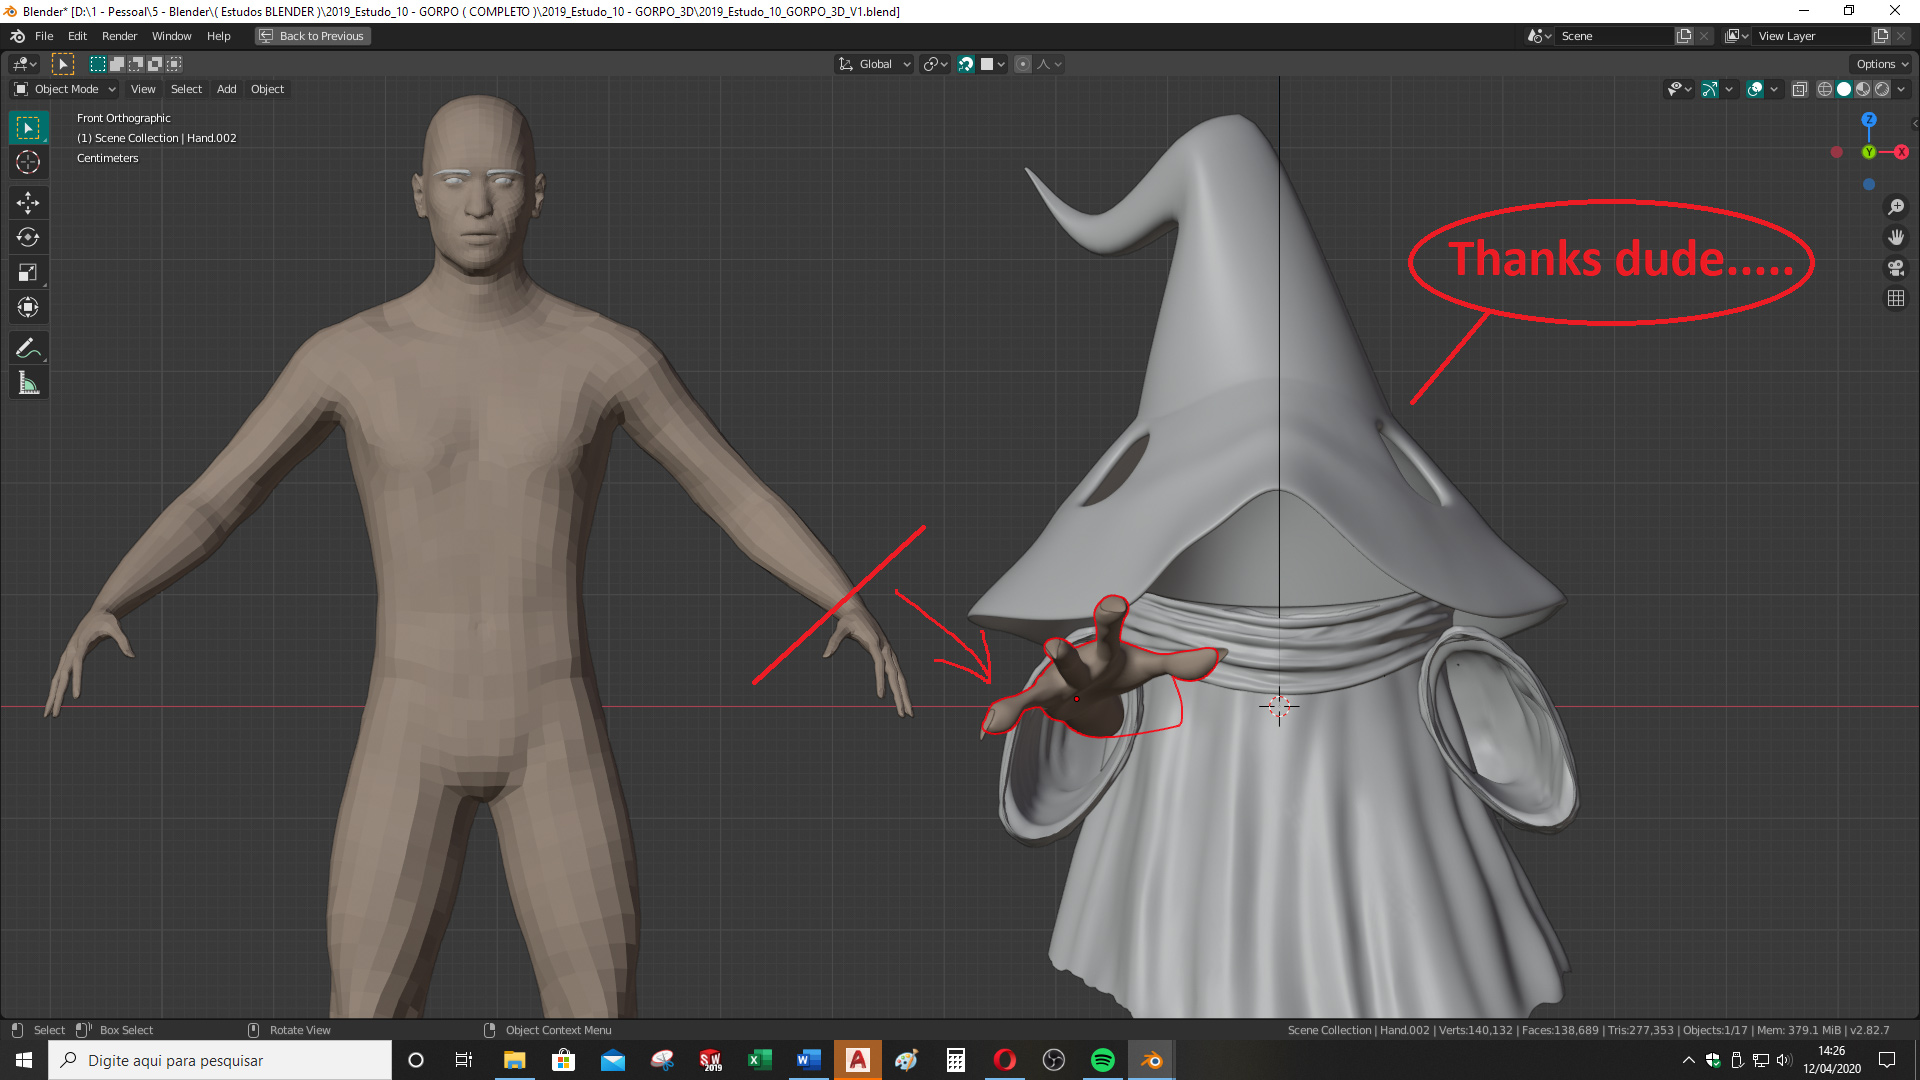
I borrowed a hand from the free Makehuman software. And then I just cut off one of the fingers and the character’s starting hand was ready. A few more strokes on the sculpt mode turned it into Orko’s hand. Getting its nails done was easy… 😉
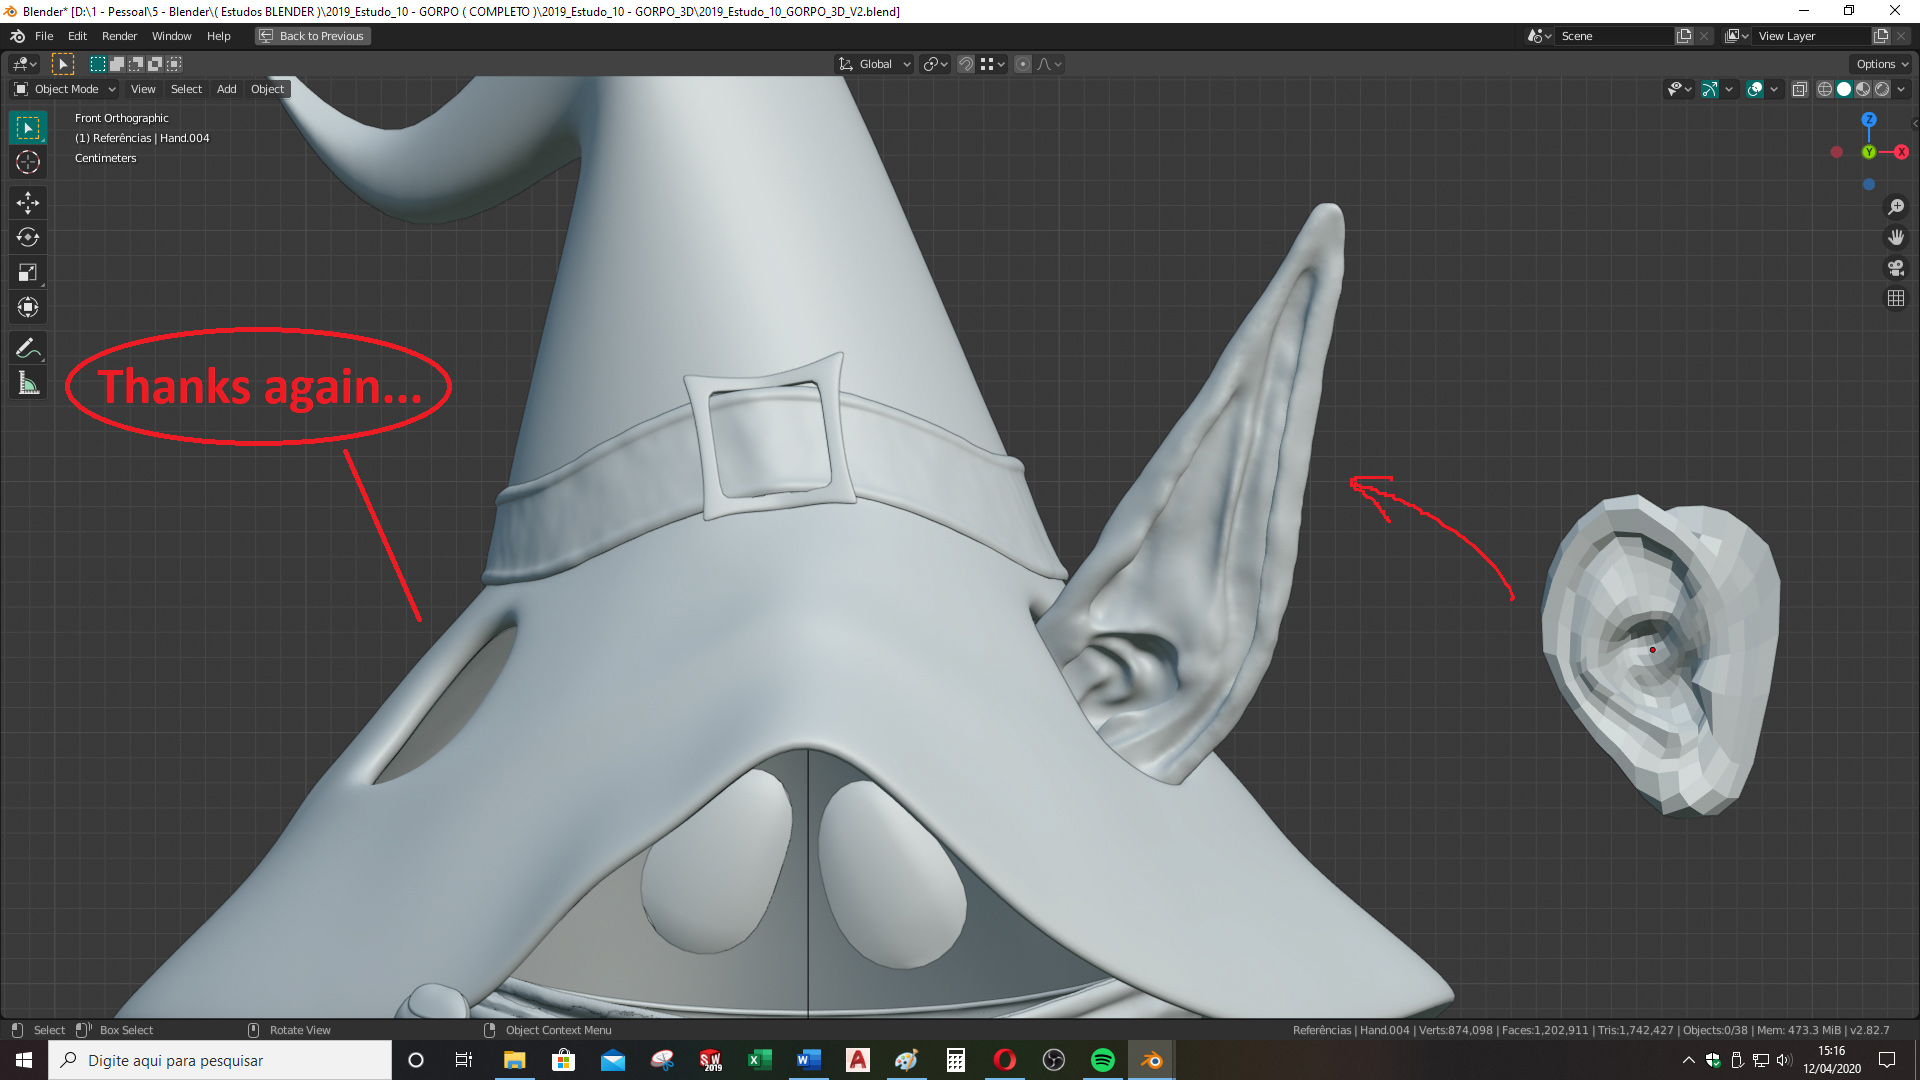
To model the ear I also used the Makehuman software. After a few strokes in sculpt mode again…voilà!
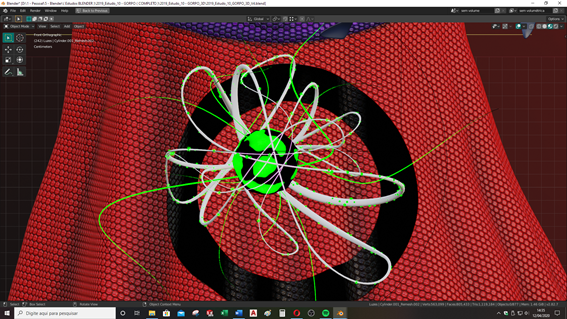
To make the magic object, I used a sphere with subdivision and also the Displace Modifier, with a texture that used clouds and emission.
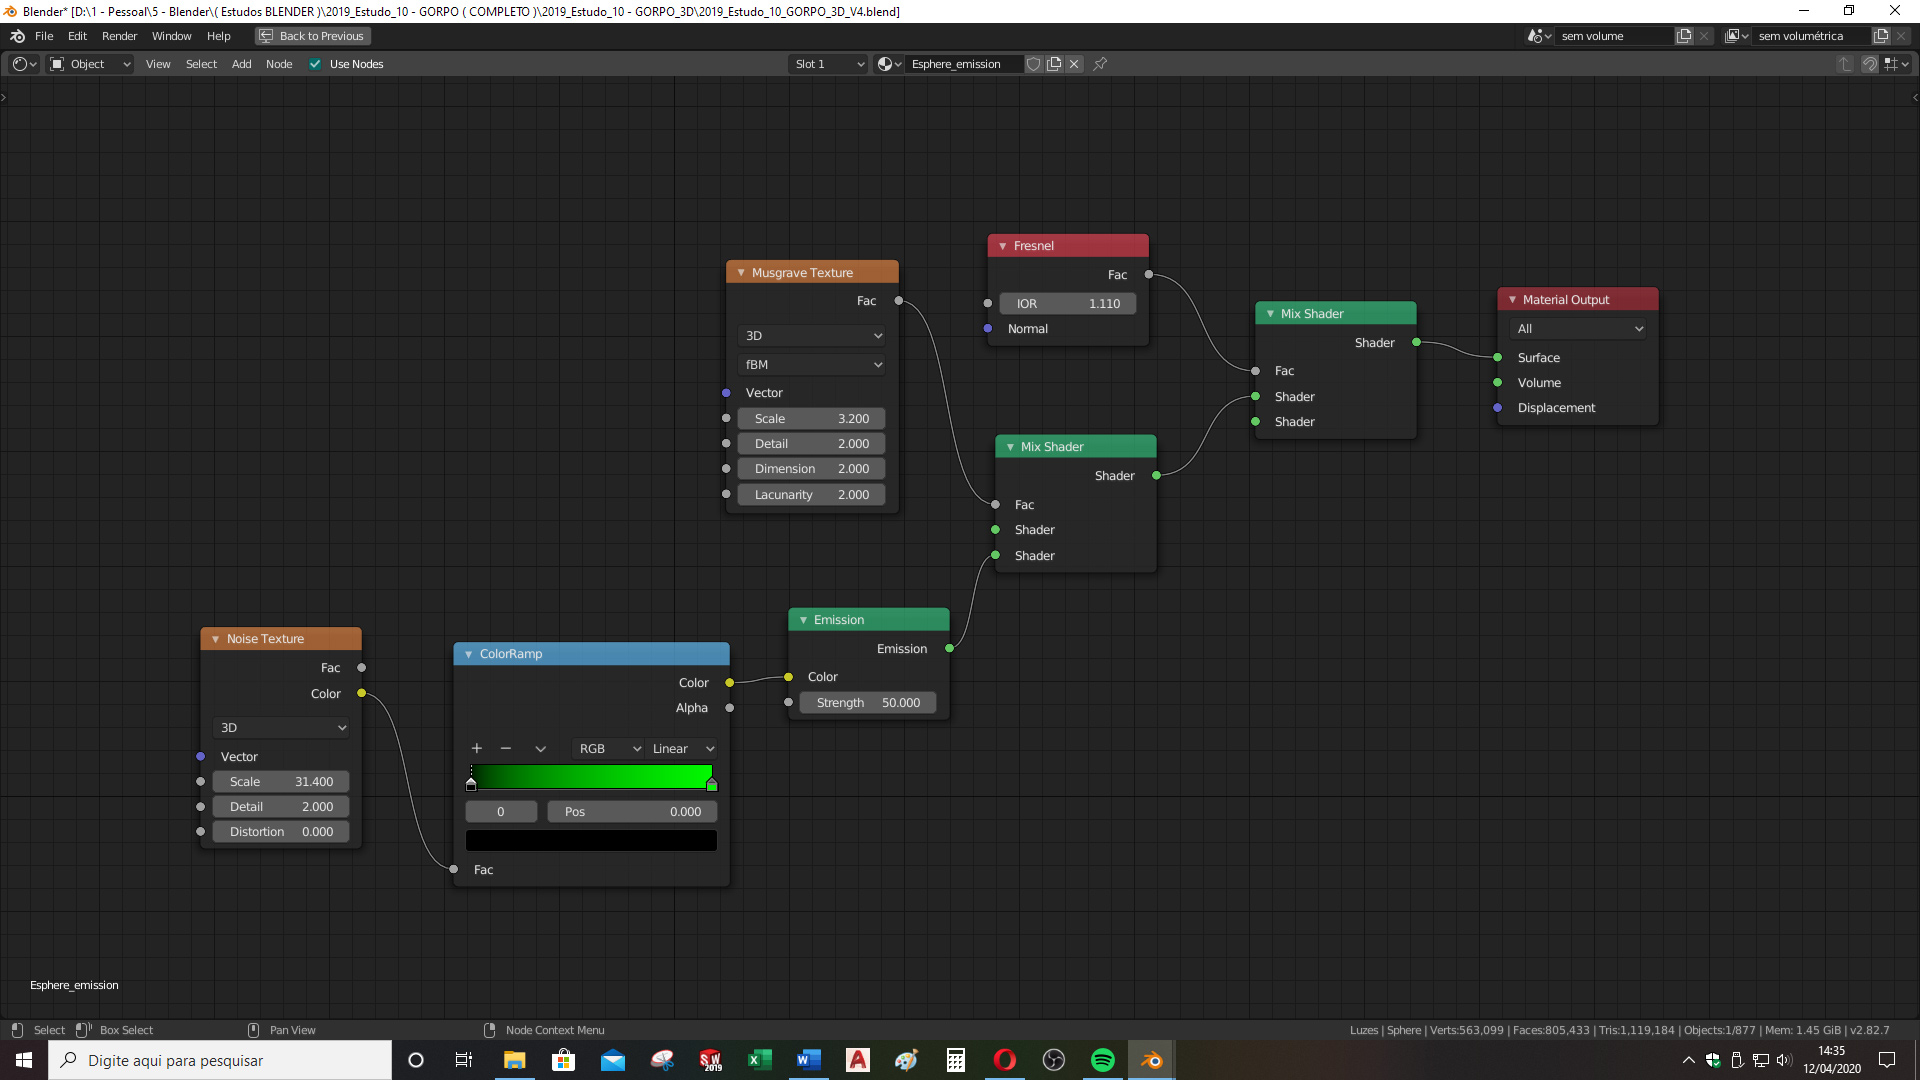
Super simple magic object shader using Musgrave Texture.
The light rays were made with a Bezier Curve, using Bevel for thickness.
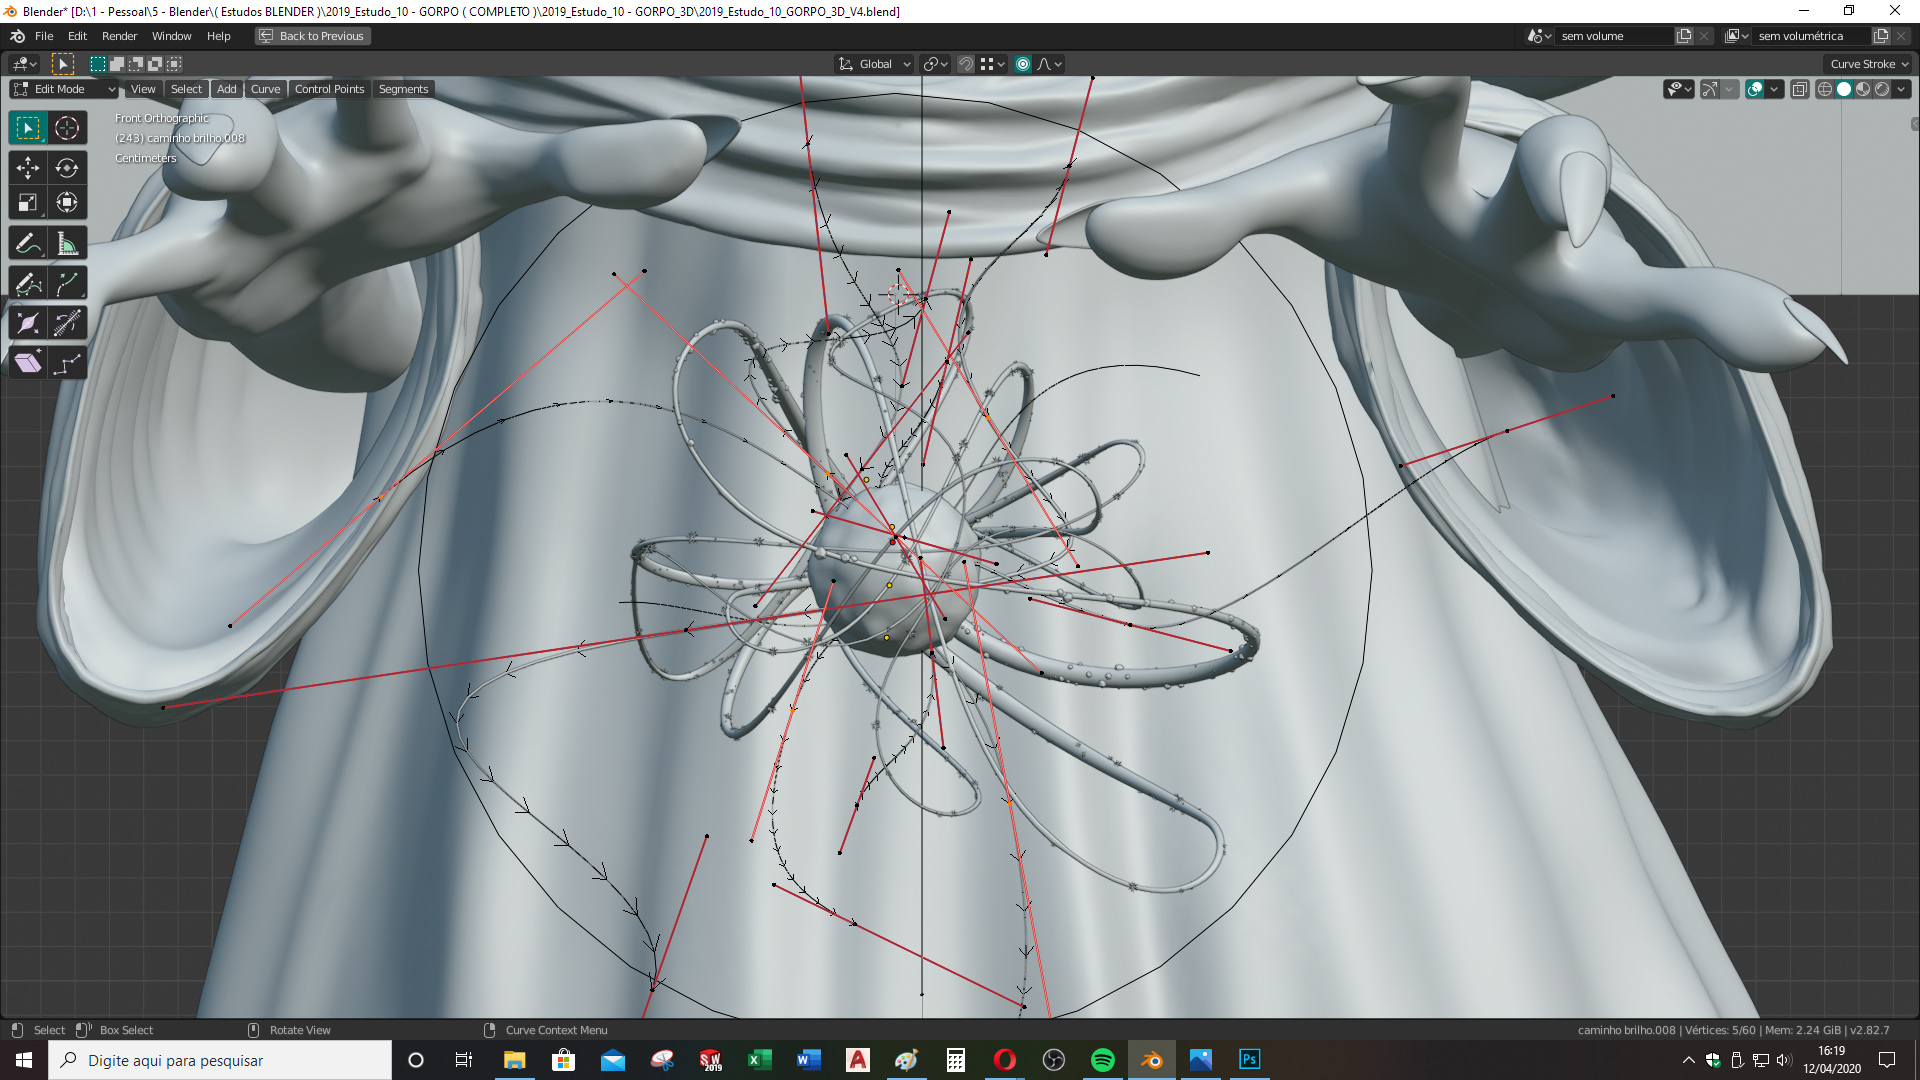
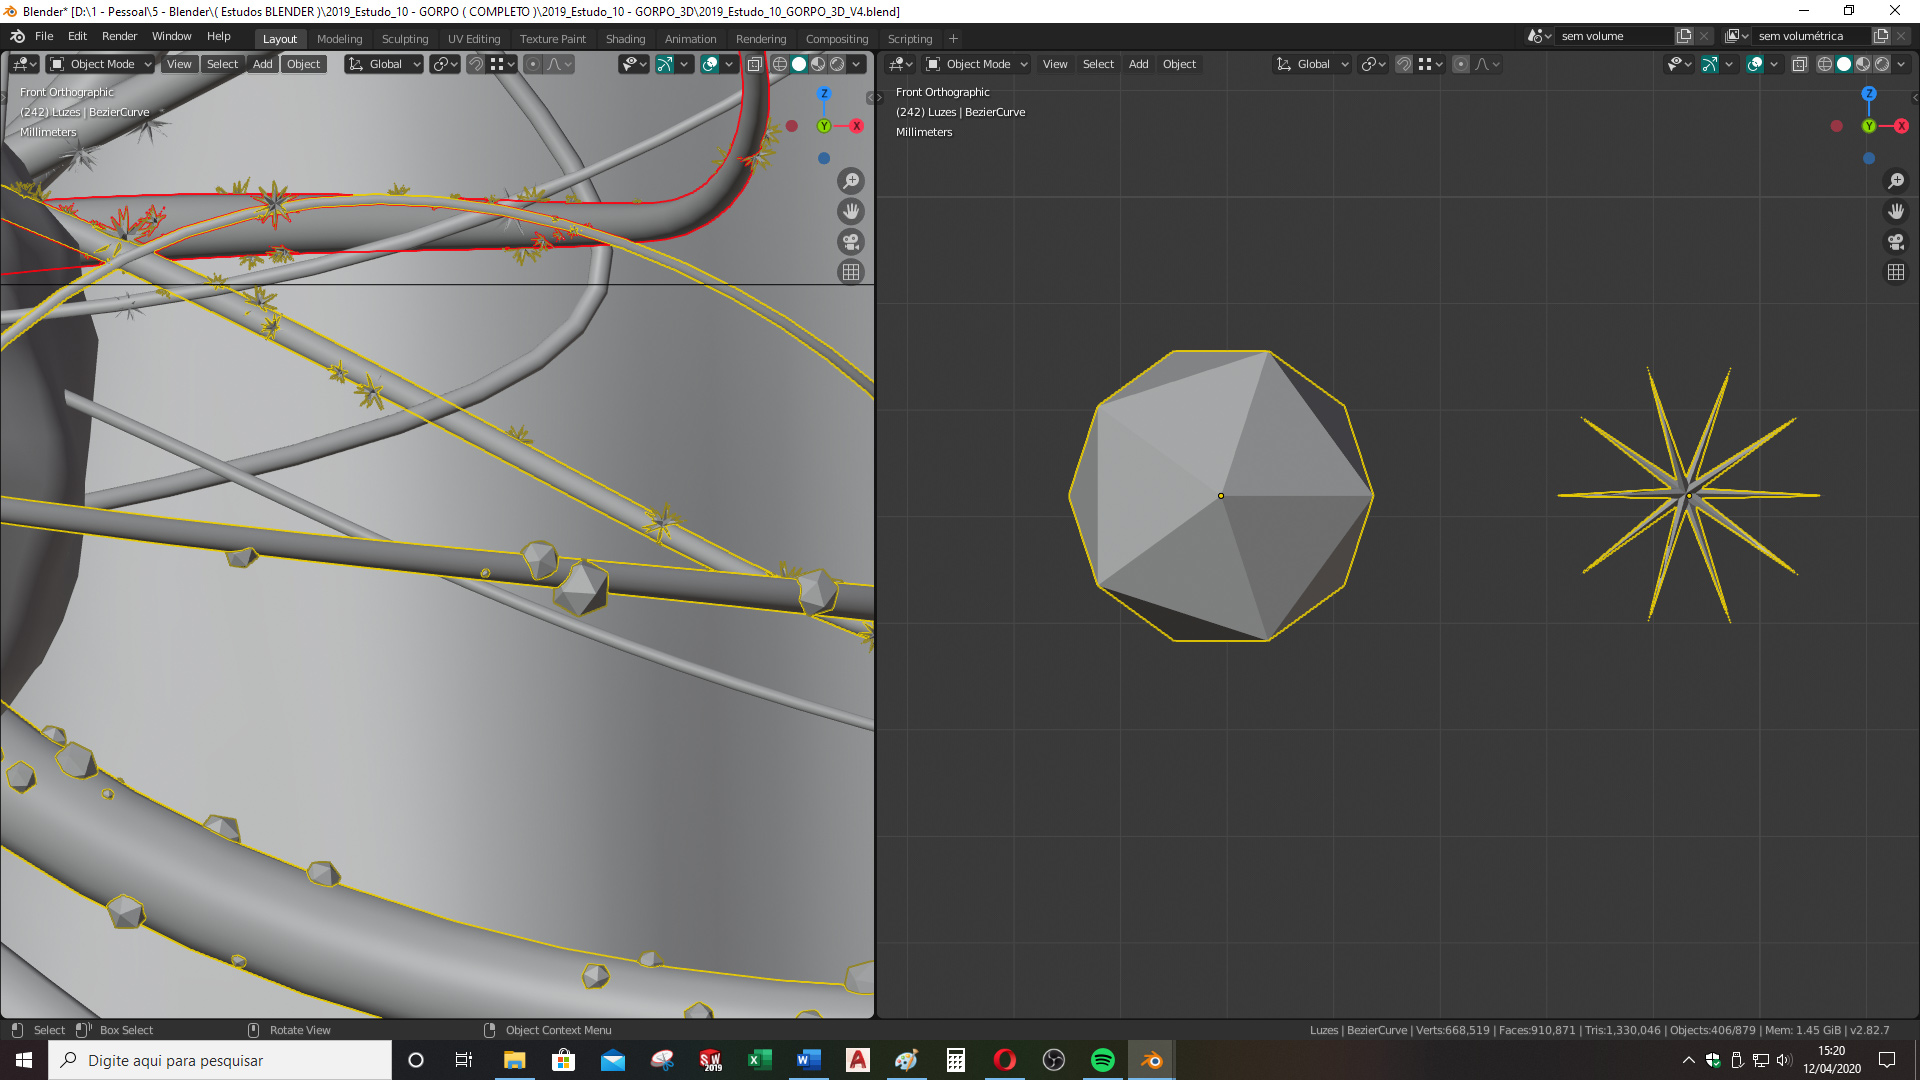
For the sparkles around the magic sphere, a particle system was made and applied over a bezier curve that had been transformed into a mesh.
For the cauldron liquid, I used the Dynamic Paint system.

For the background, I used an image that I found on the internet and just put a blur on it in Photoshop.

Texturing
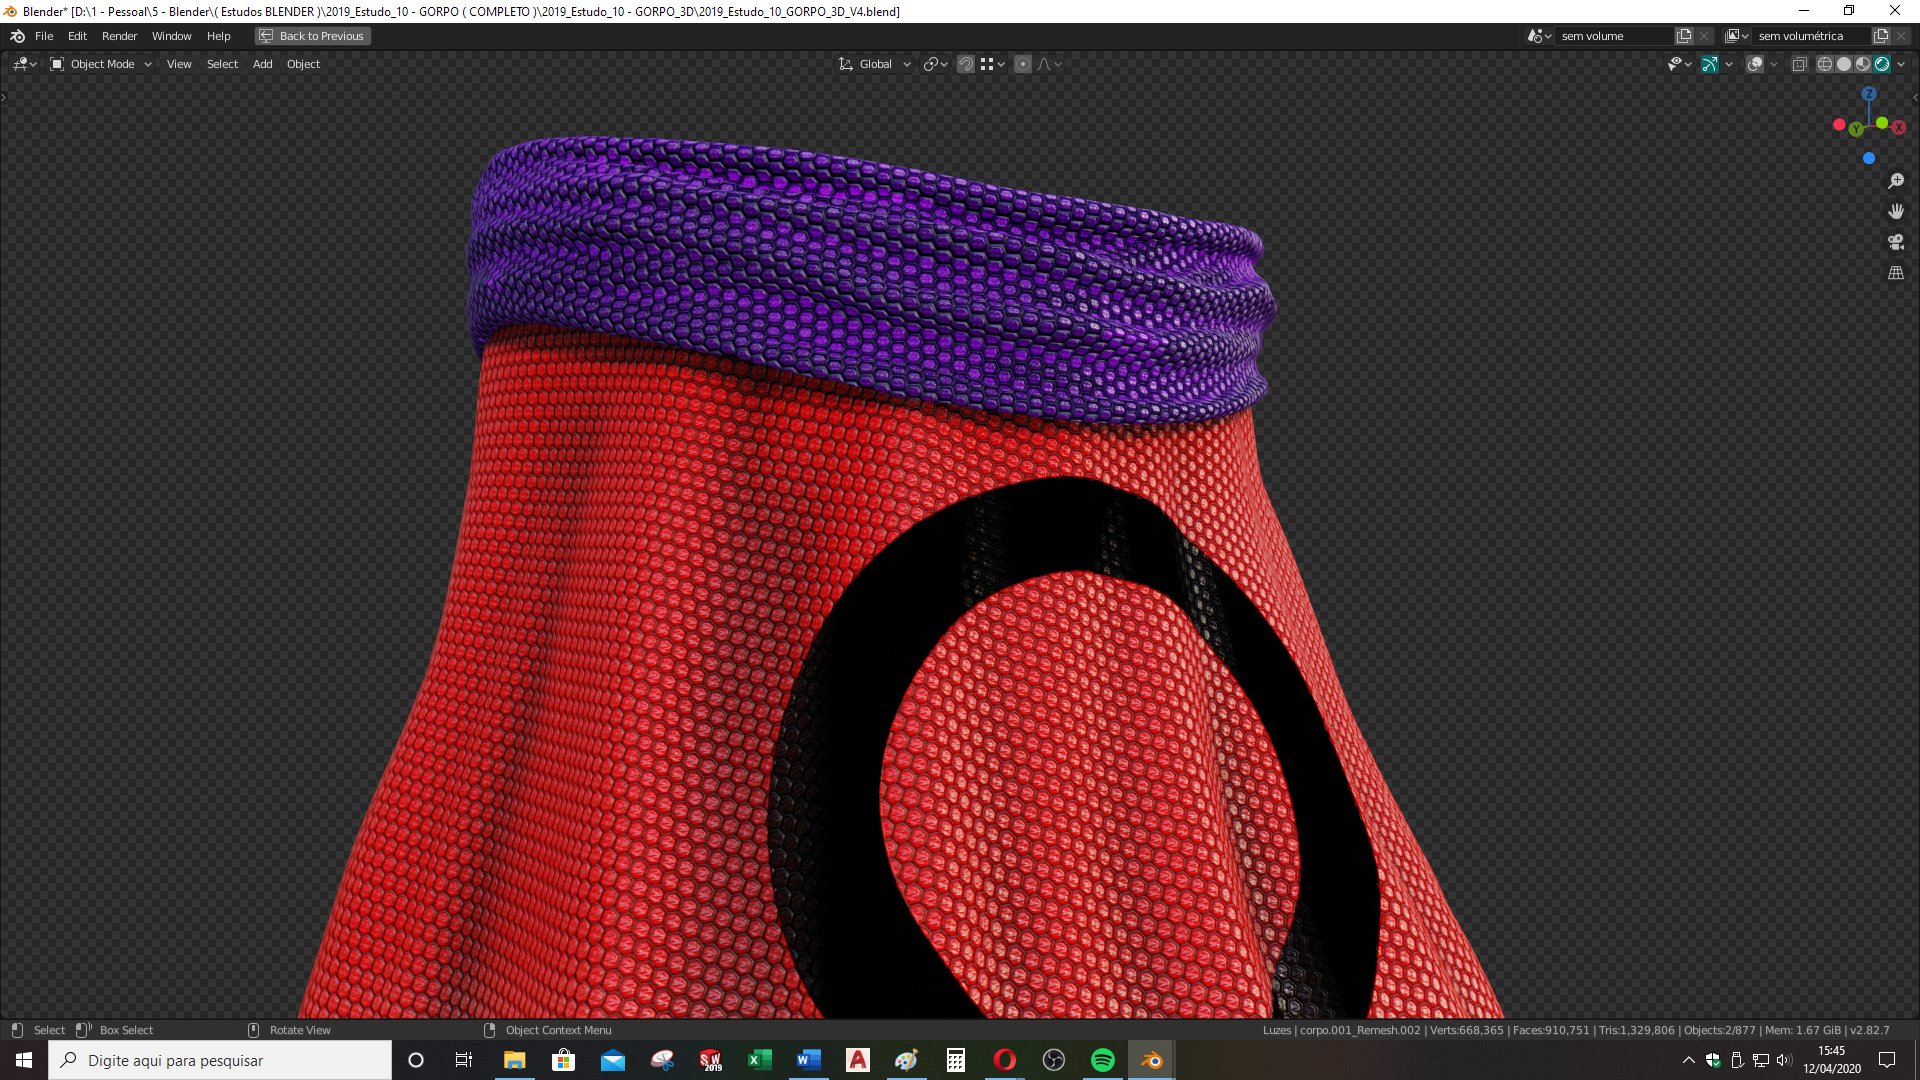
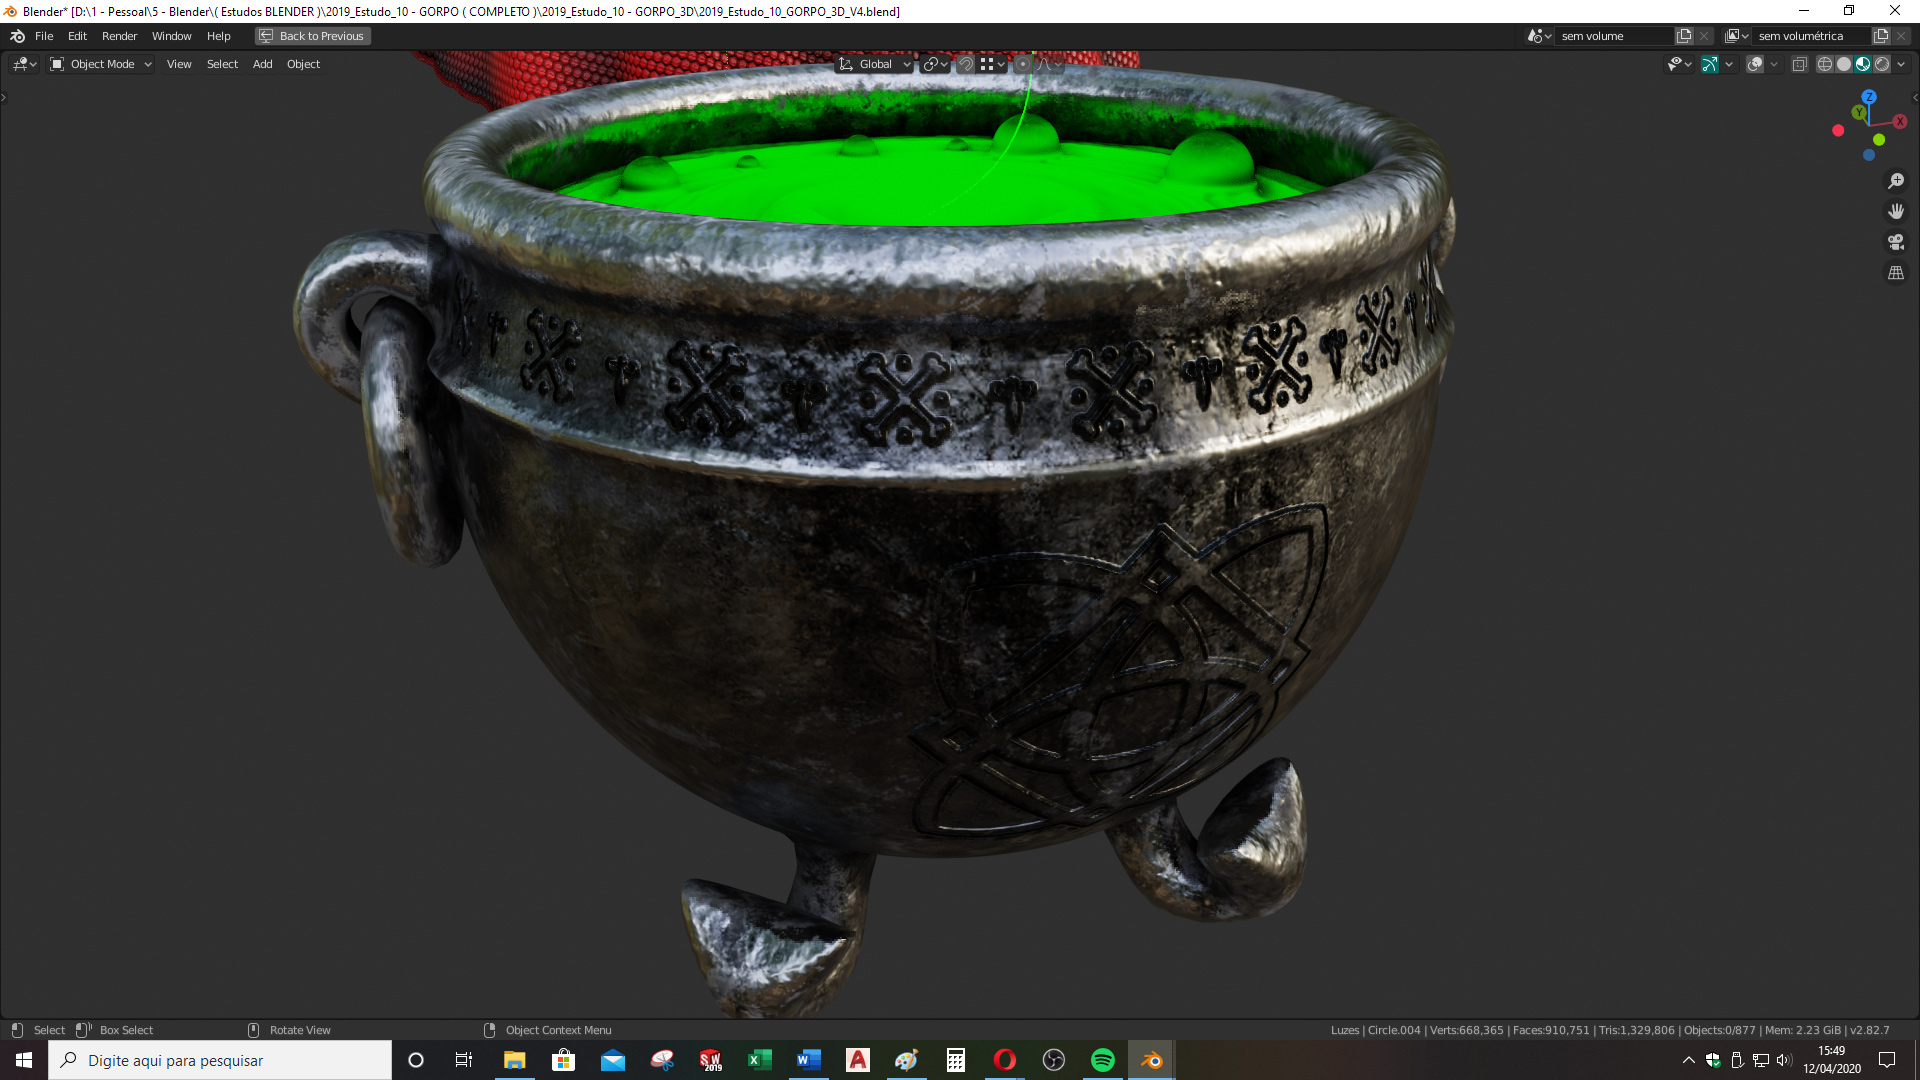
I had to learn to use Substance Painter to make the texture on the clothes and scarf. I also used Substance for the cauldron.
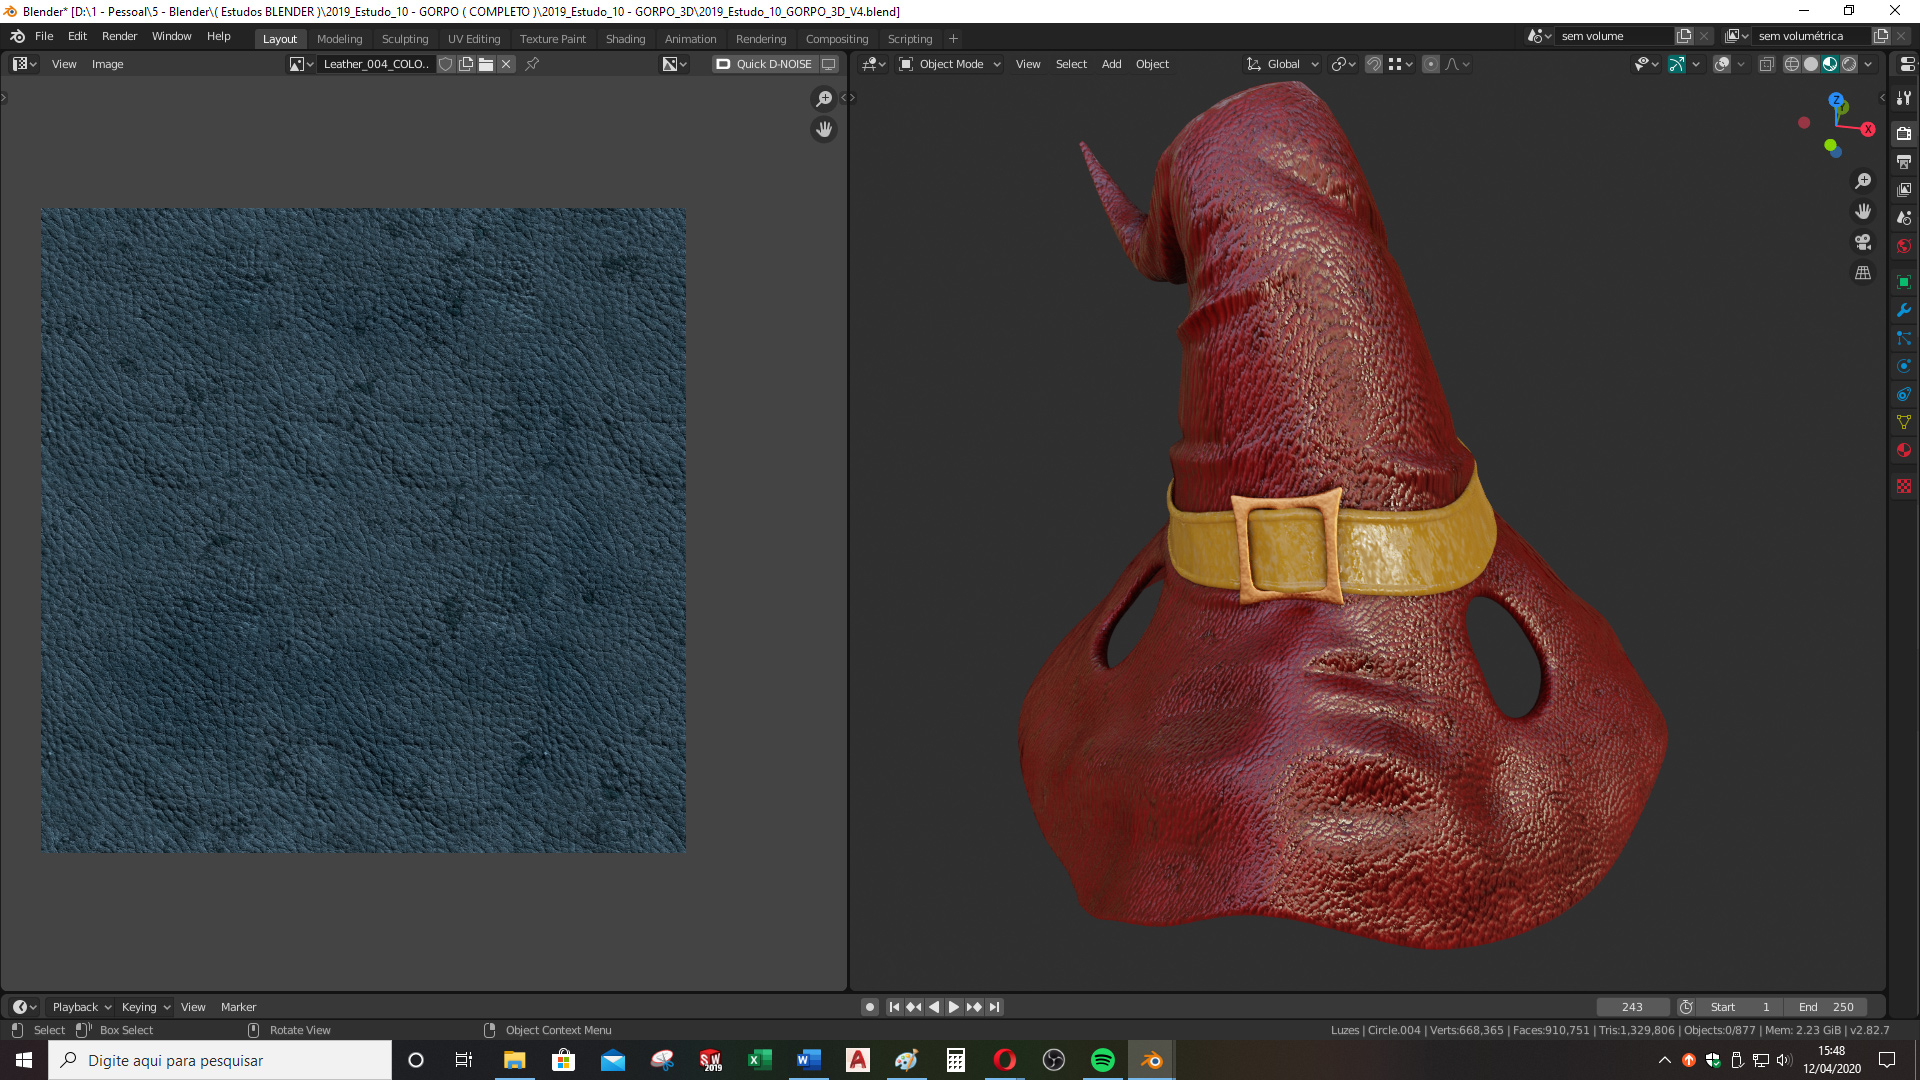
As for the texture of the hat, I used a leather PBR texture that I already had.
Rendering
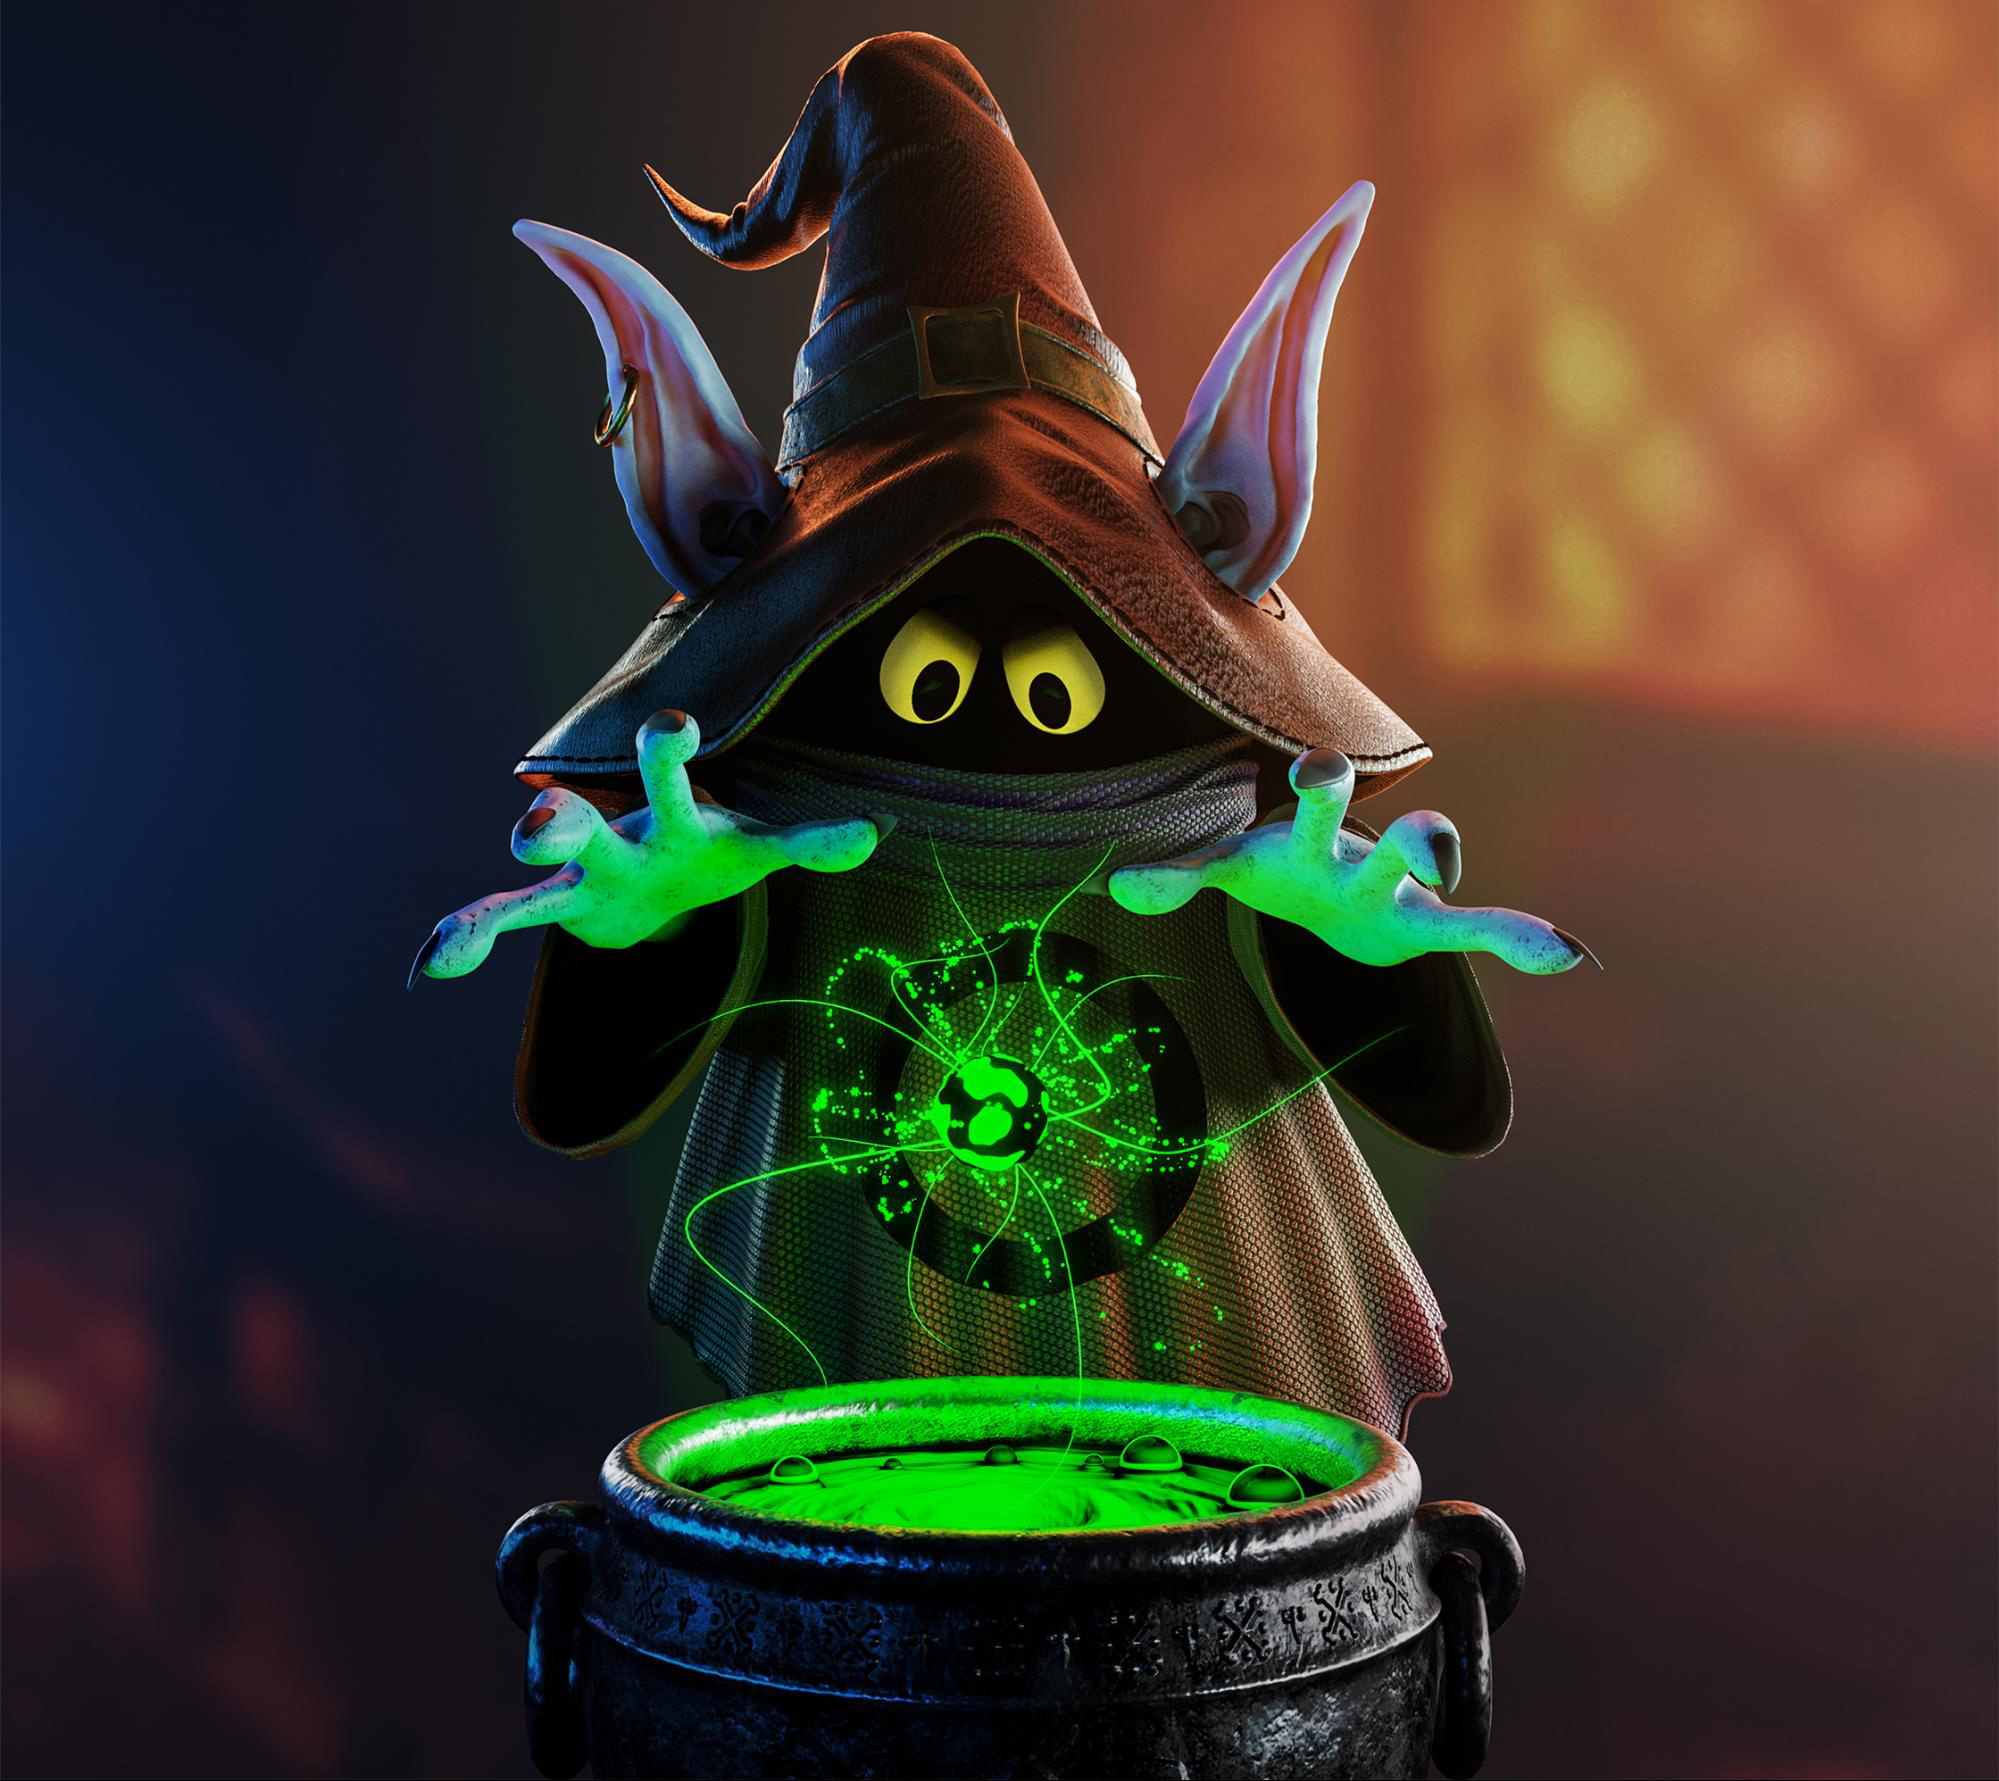
For final rendering, I used the size of 3184 x 2843 with 1100 samples and also used native Blender Denoising.
The final render in Blender (Cycles), without post-production.
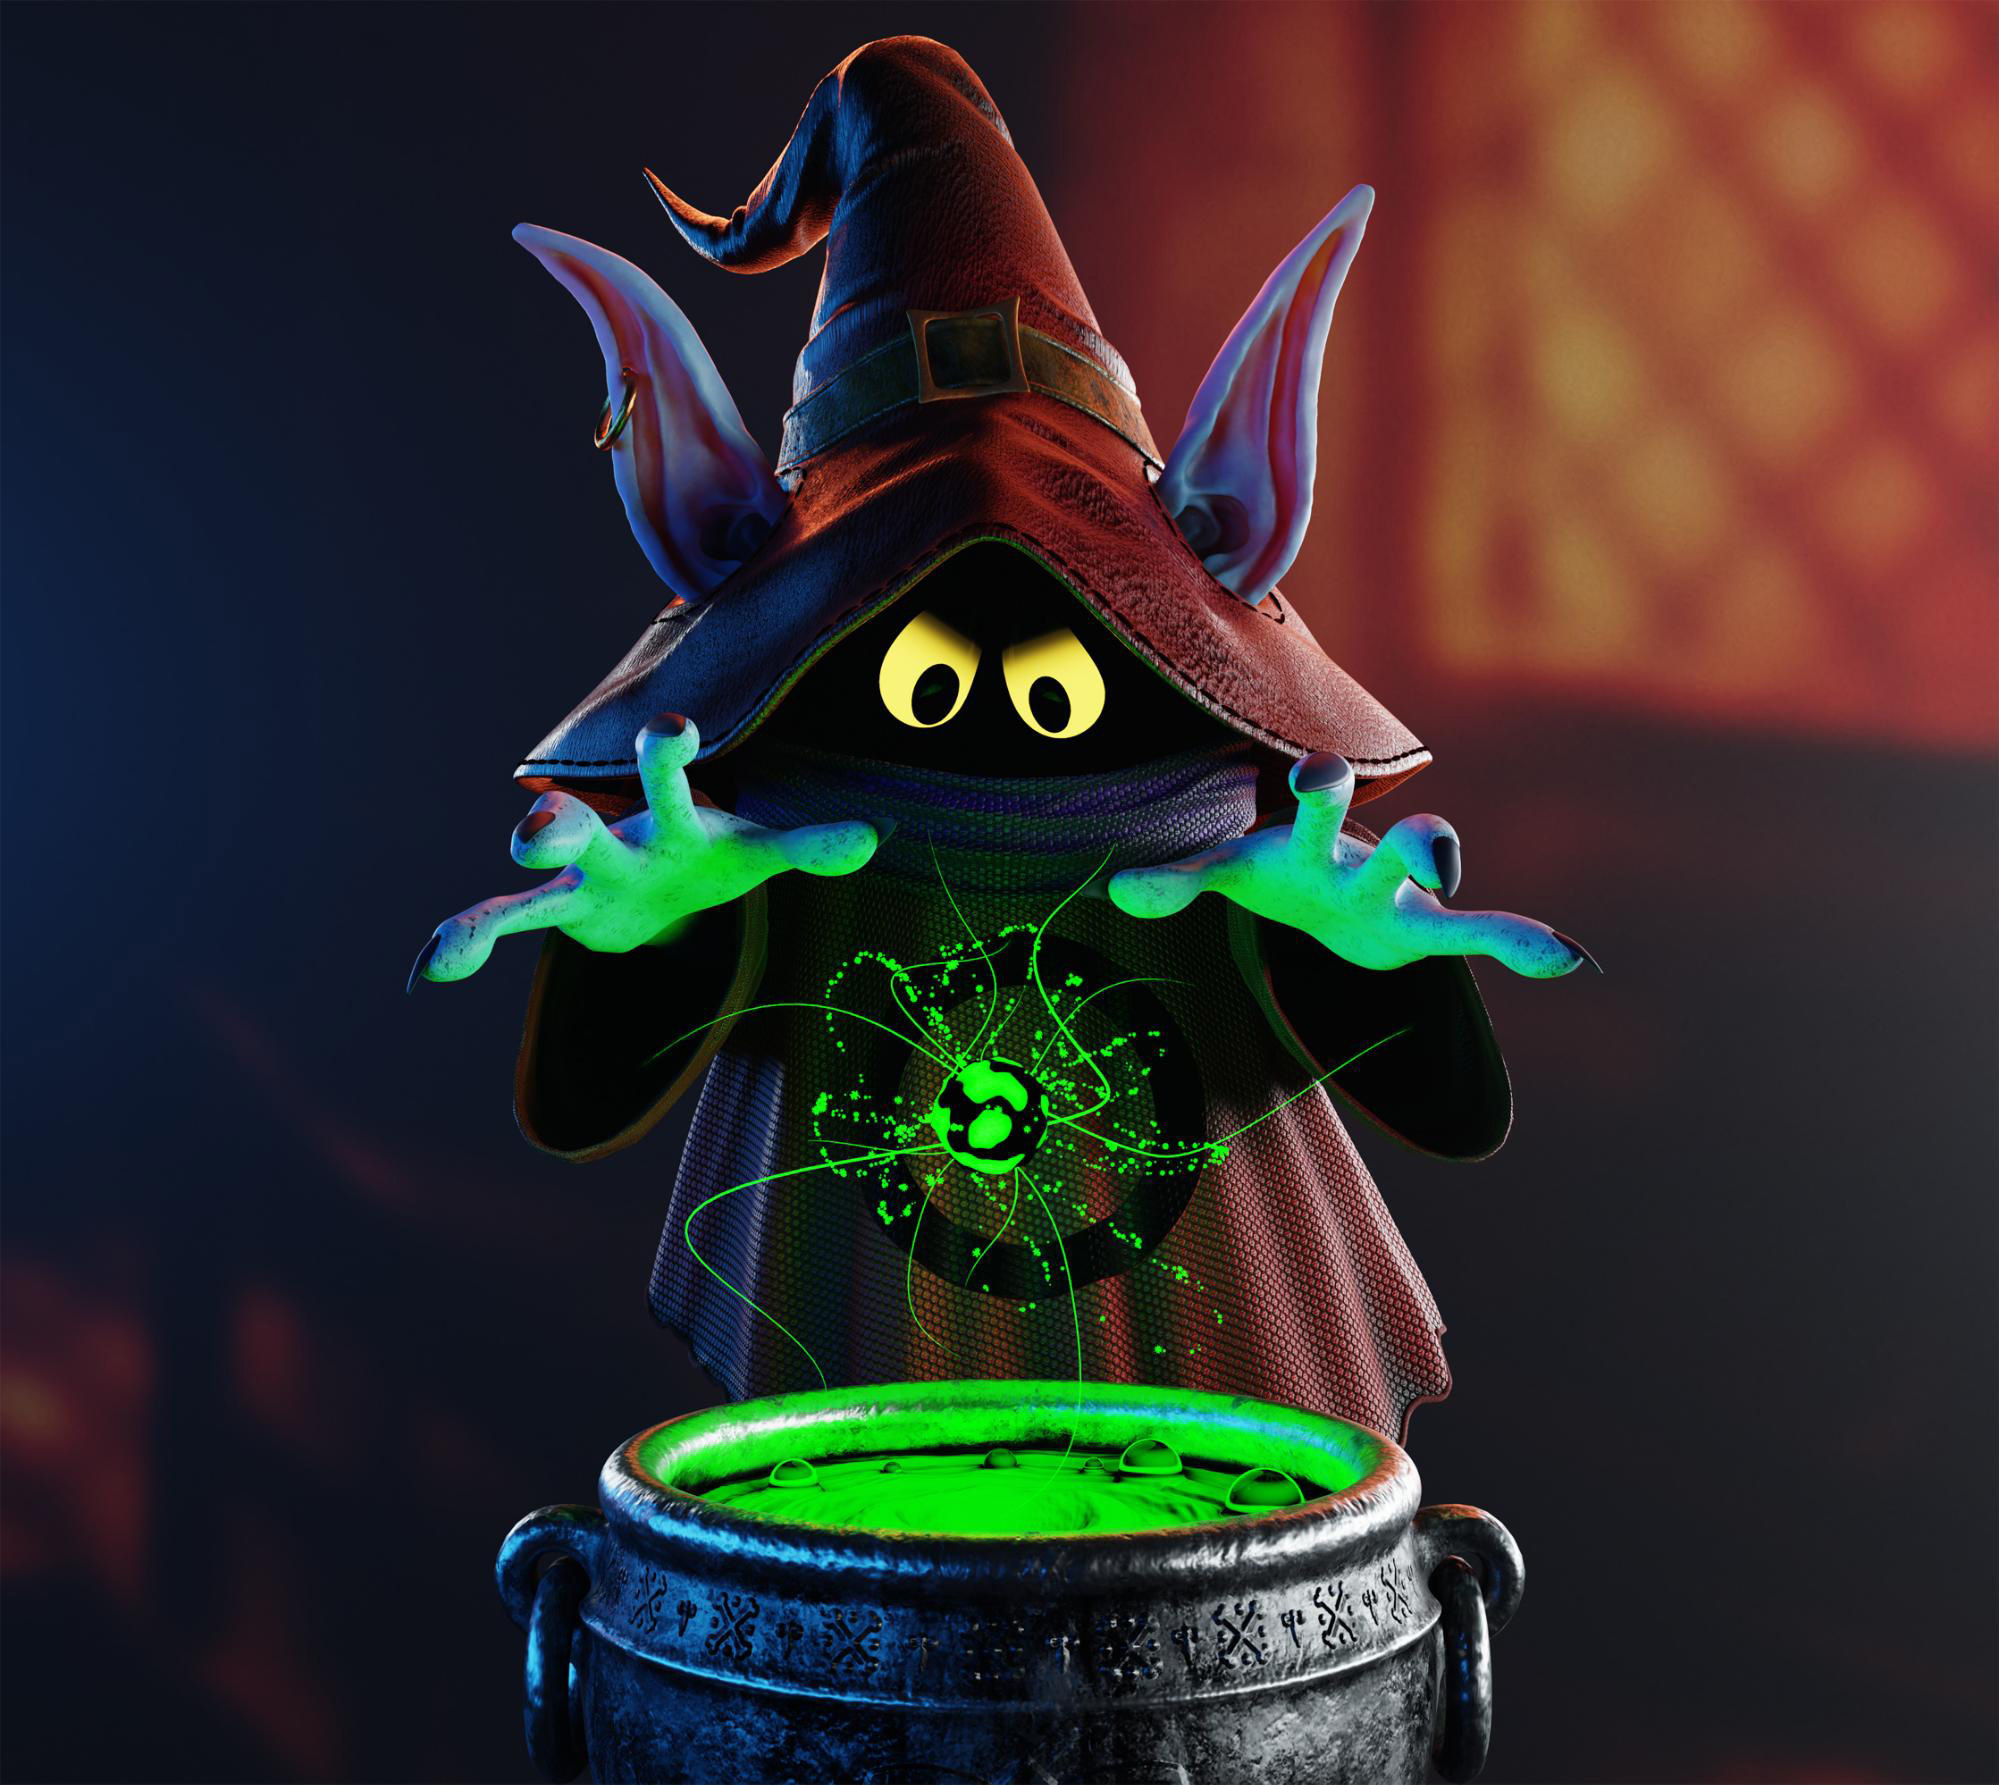
I took it to Photoshop just to put a glare on the magic sphere and the rays.
About the Author
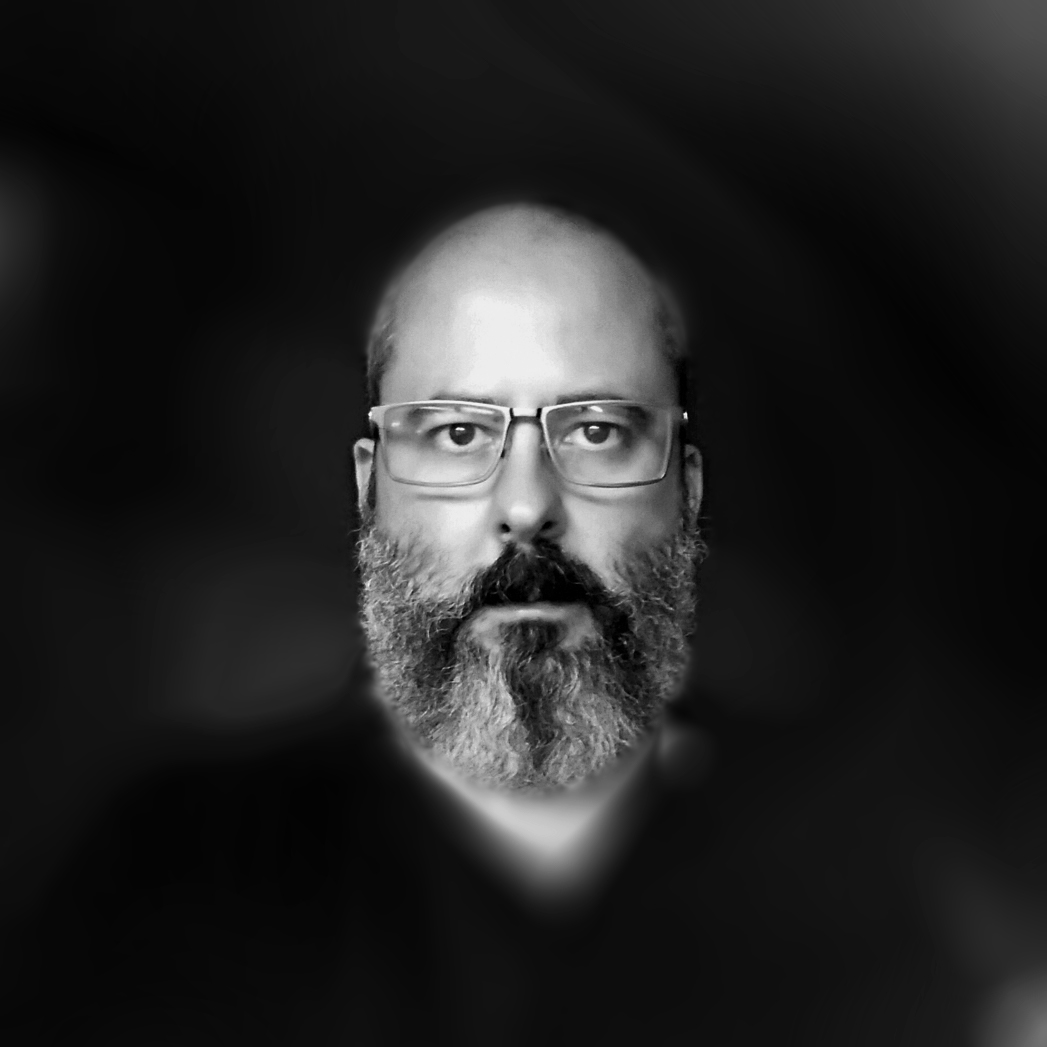 Rubiano Basquera, Mechanical Designer, a self-taught 3D and sorcerer’s apprentice 😉

Well you did a great job sir!! Its a wonderful image. Super nice work been with such shot experience in 3d
PS love that “Fantastic Suzanne” model on yir==our Artstation. Perhaps render it on a black background with top lighting and add a bit of make around. I think that will make the model look even prettier then it already is. Very good, work you modelled all of that?
Great job !!! Extremly clever work !
Great, lol!
Tks for the tips ;)
Yes, I modeled everything you see, starting from zero.