
Behind the Scenes: Seagulls’ Cry
About
I’m Gregory Smith, and I’m a student in my final semester at university in the UK, studying CGI. My focus is on matte painting, and I’m starting to build up the reel that I hope to throw in the direction of studios within a few months. In my spare time I occasionally make landscapes in Blender, just for fun.
Inspiration and Concept
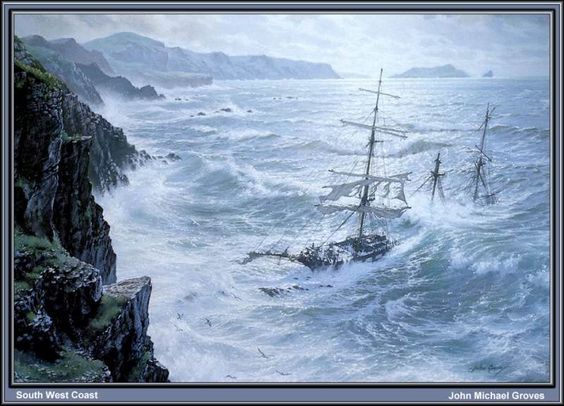
This project started out as an experiment with BD3D’s ‘Scatter’ addon, so I didn’t want to create a very large scene. After a few different ideas, a beach seemed a good option—small, enclosed, and able to test particle scattering across both the steep terrain and the flat sand. I’m not sure quite when the ship came in: early concepts inevitably turned towards a Game of Thrones style castle (some of the rock formations still echo castle towers); characters wandered up and down the beach and left, and finally a ship found itself unceremoniously plonked on the sand. I’m often influenced by contemporary representationalism, and I think this image must have been in the back of my mind:
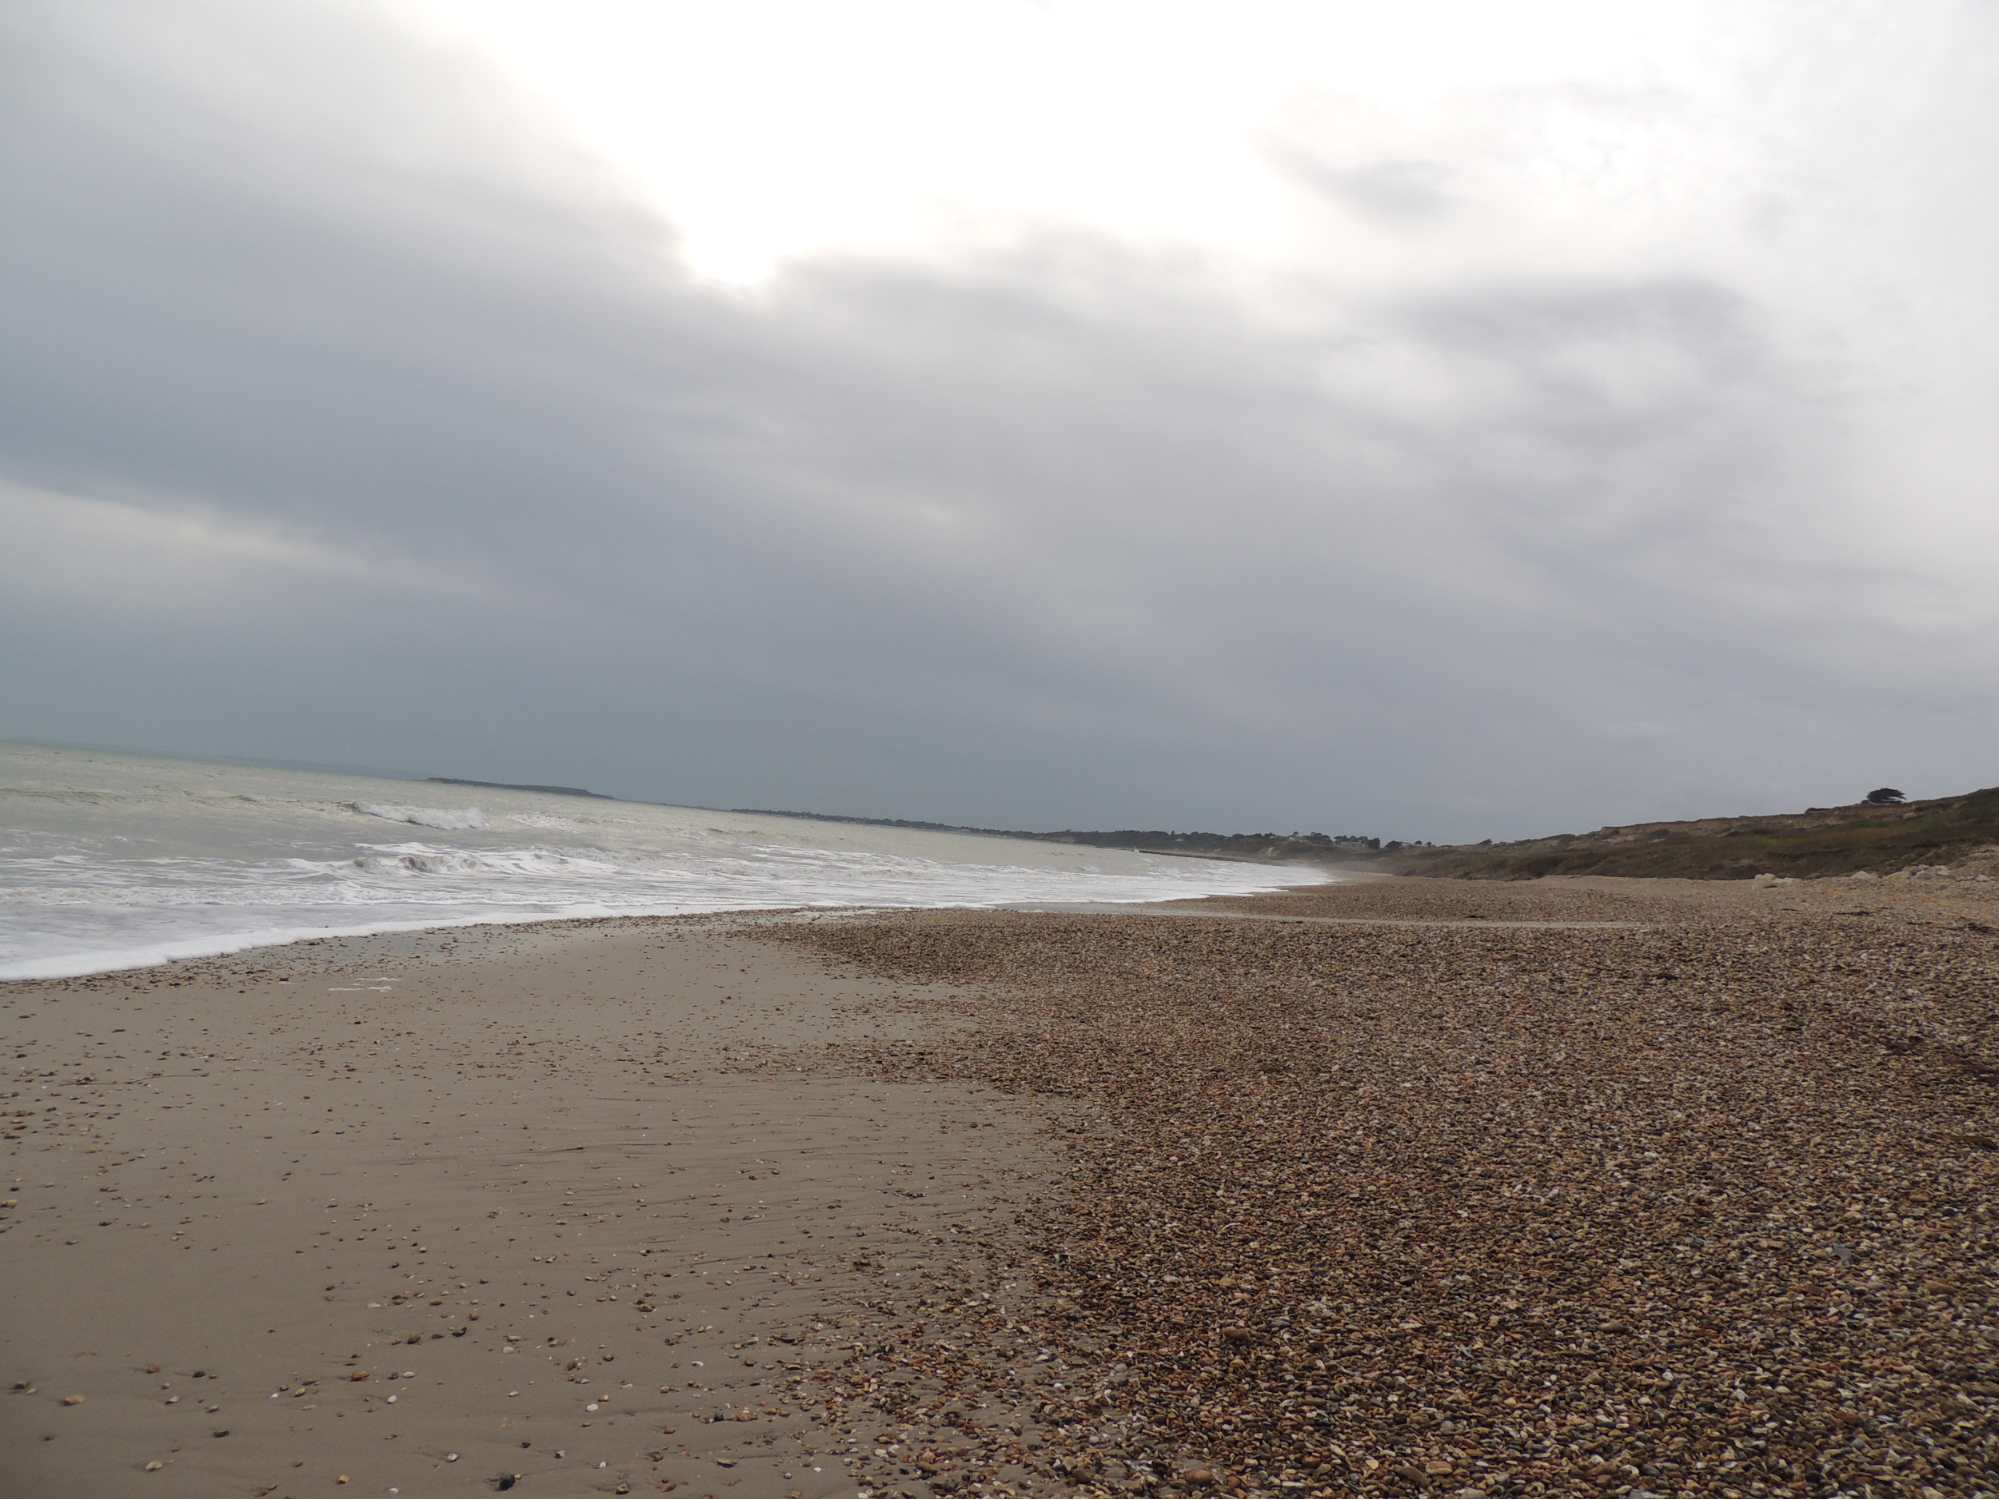
For concepting the detail, a few of my own photographs were key references. I’m not much of a photographer, but they’re enough from which to study natural formations:

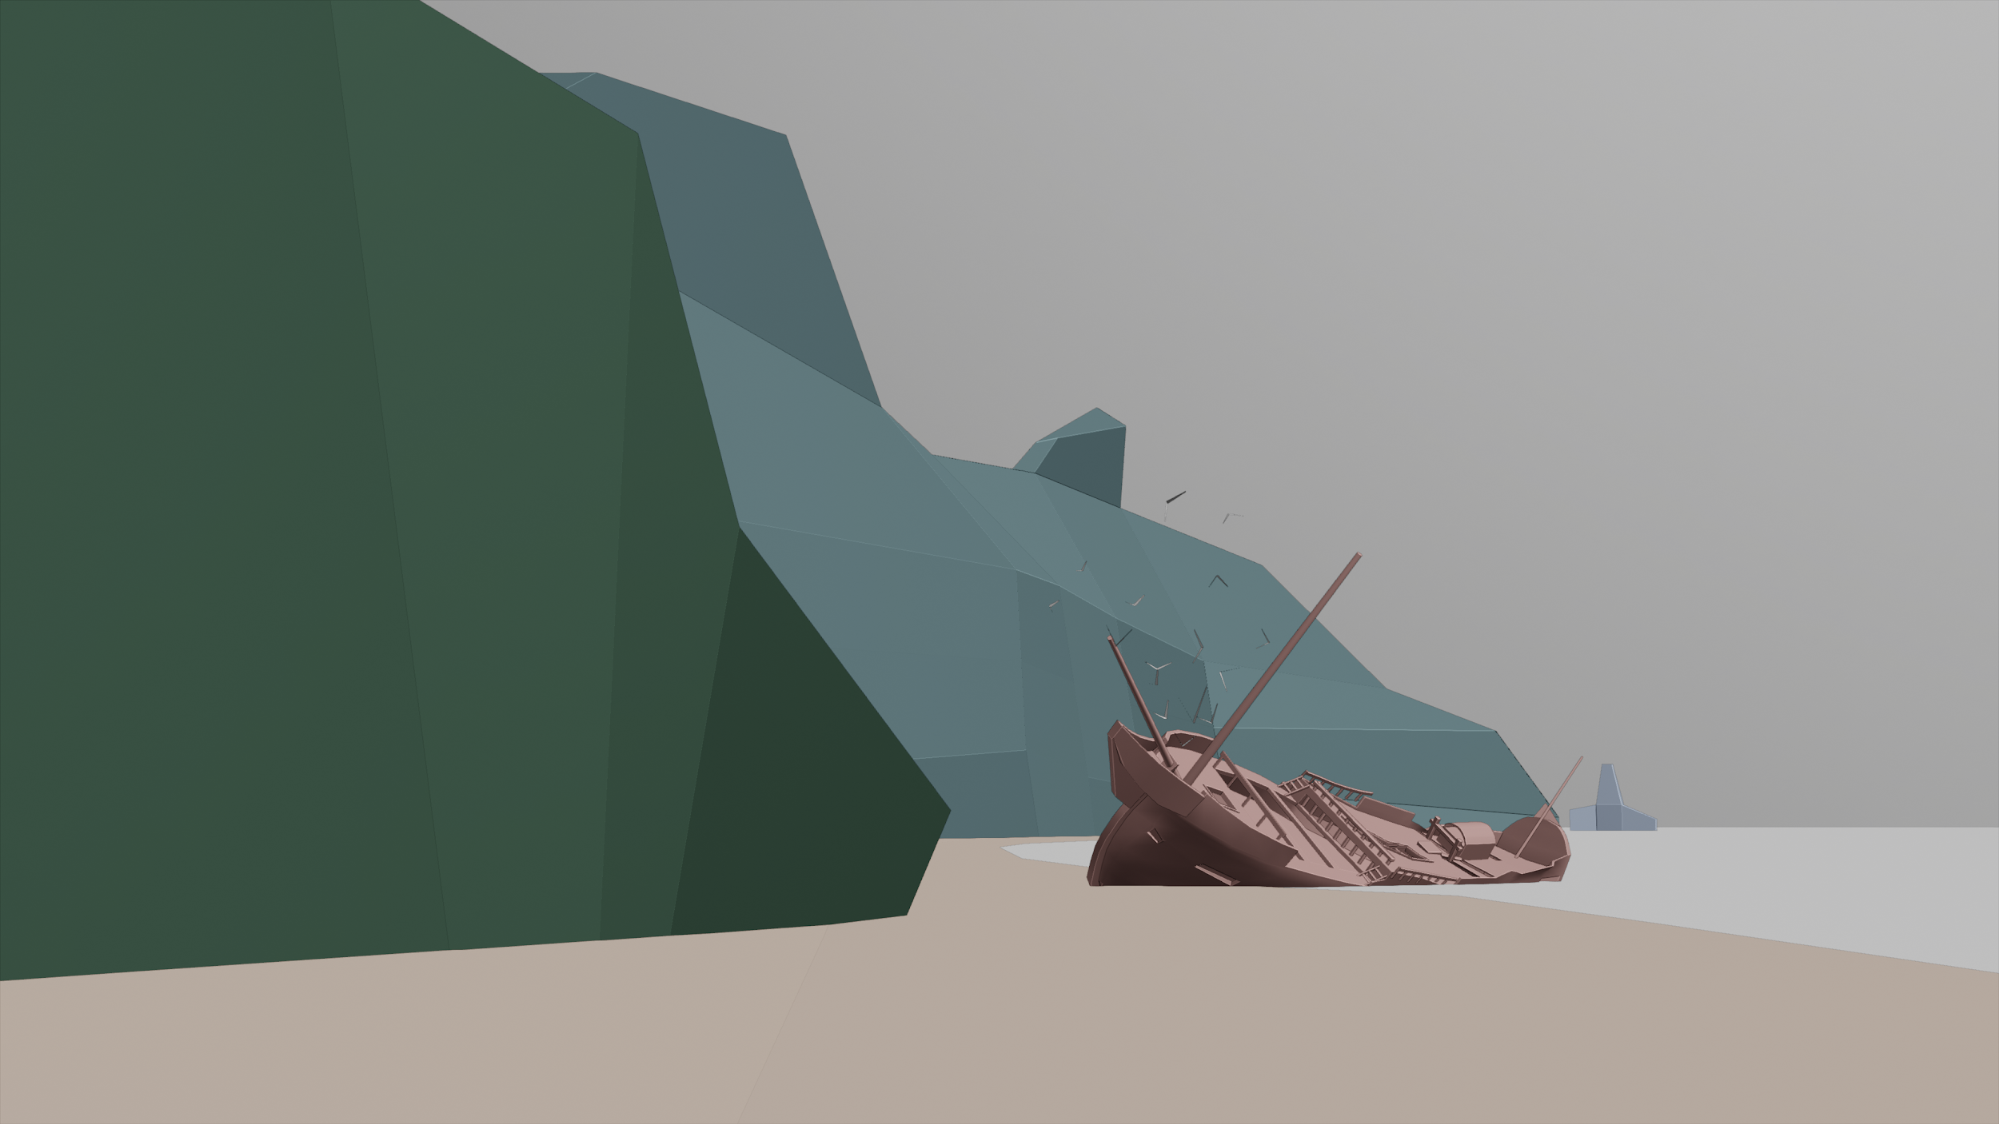
At the moment, something I’m trying to develop within my concepts is a clear value structure. So I wanted to try and get a clear readout of two value masses—as far as reasonable, whilst maintaining a sense of aerial perspective. Keeping the shot in dull flat lighting apart from a central lit section seemed to be a solution.
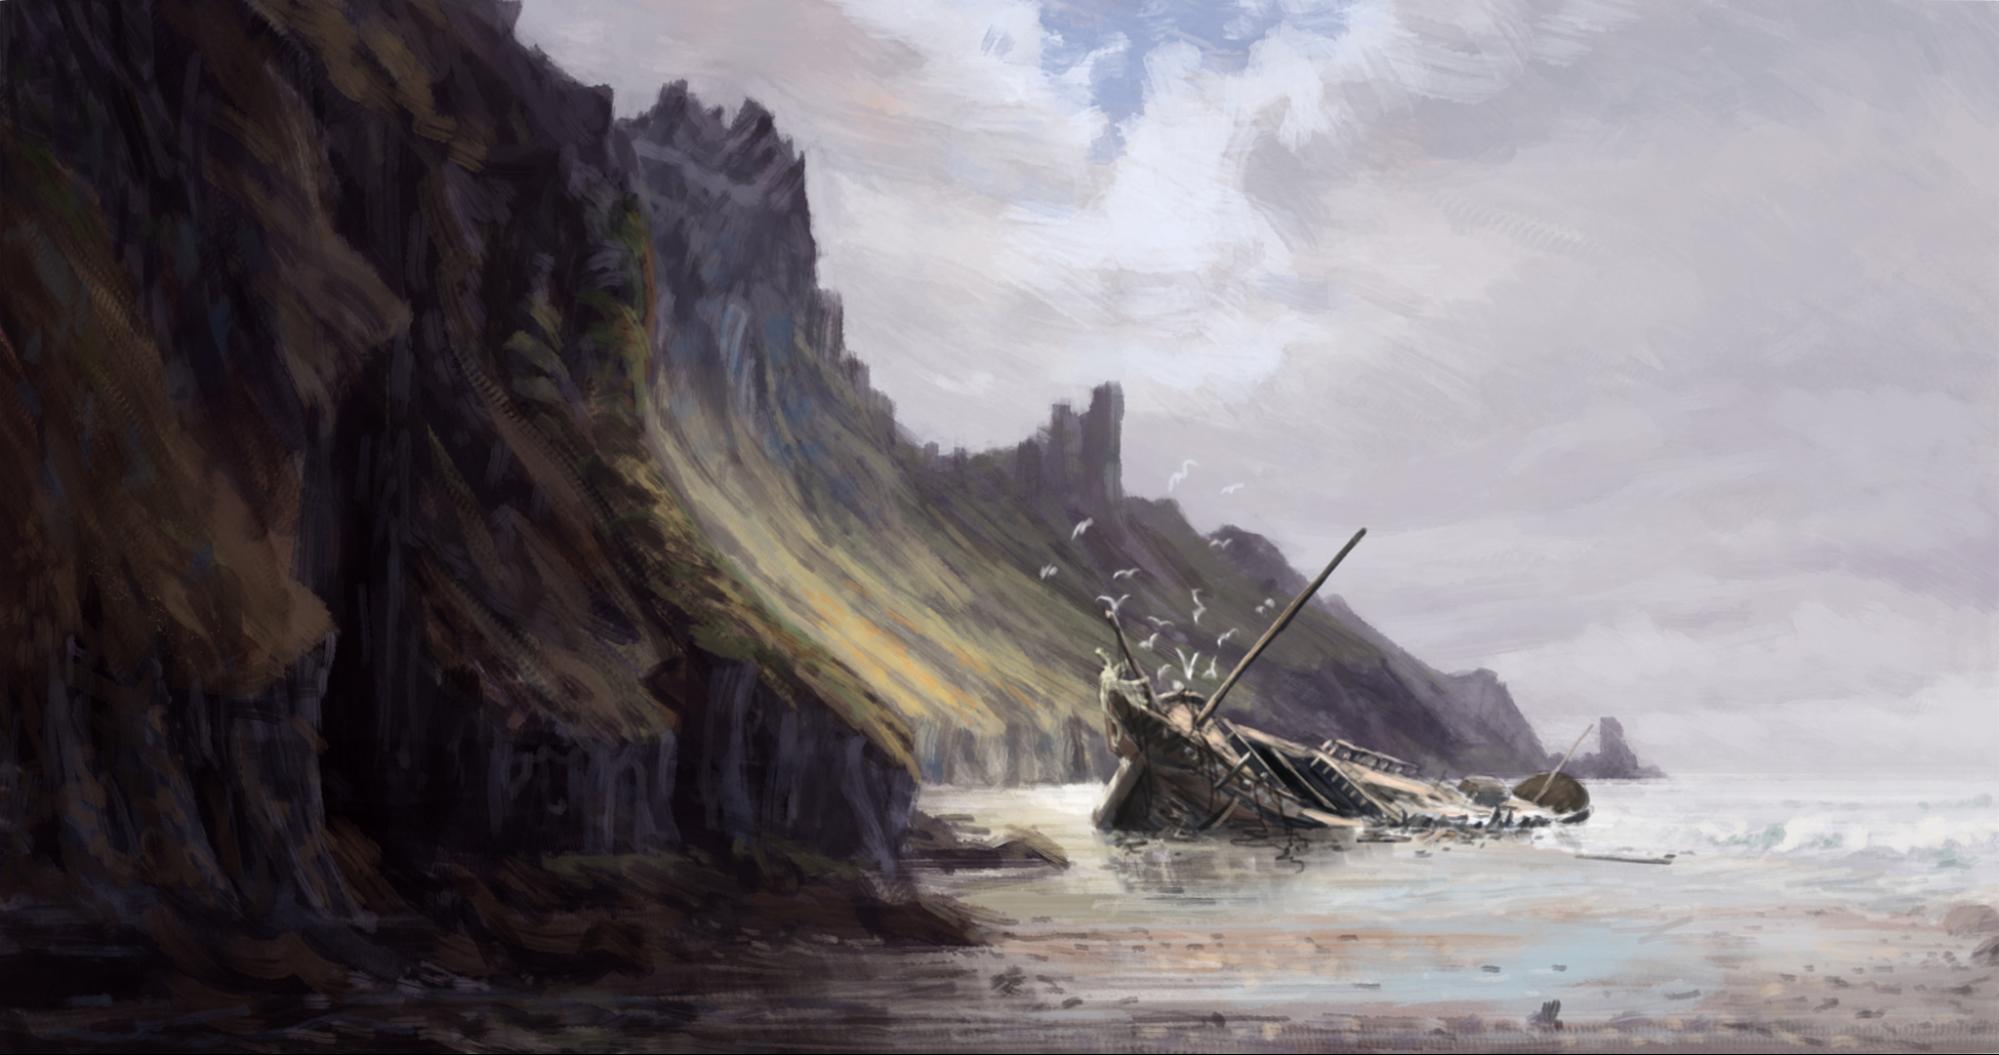
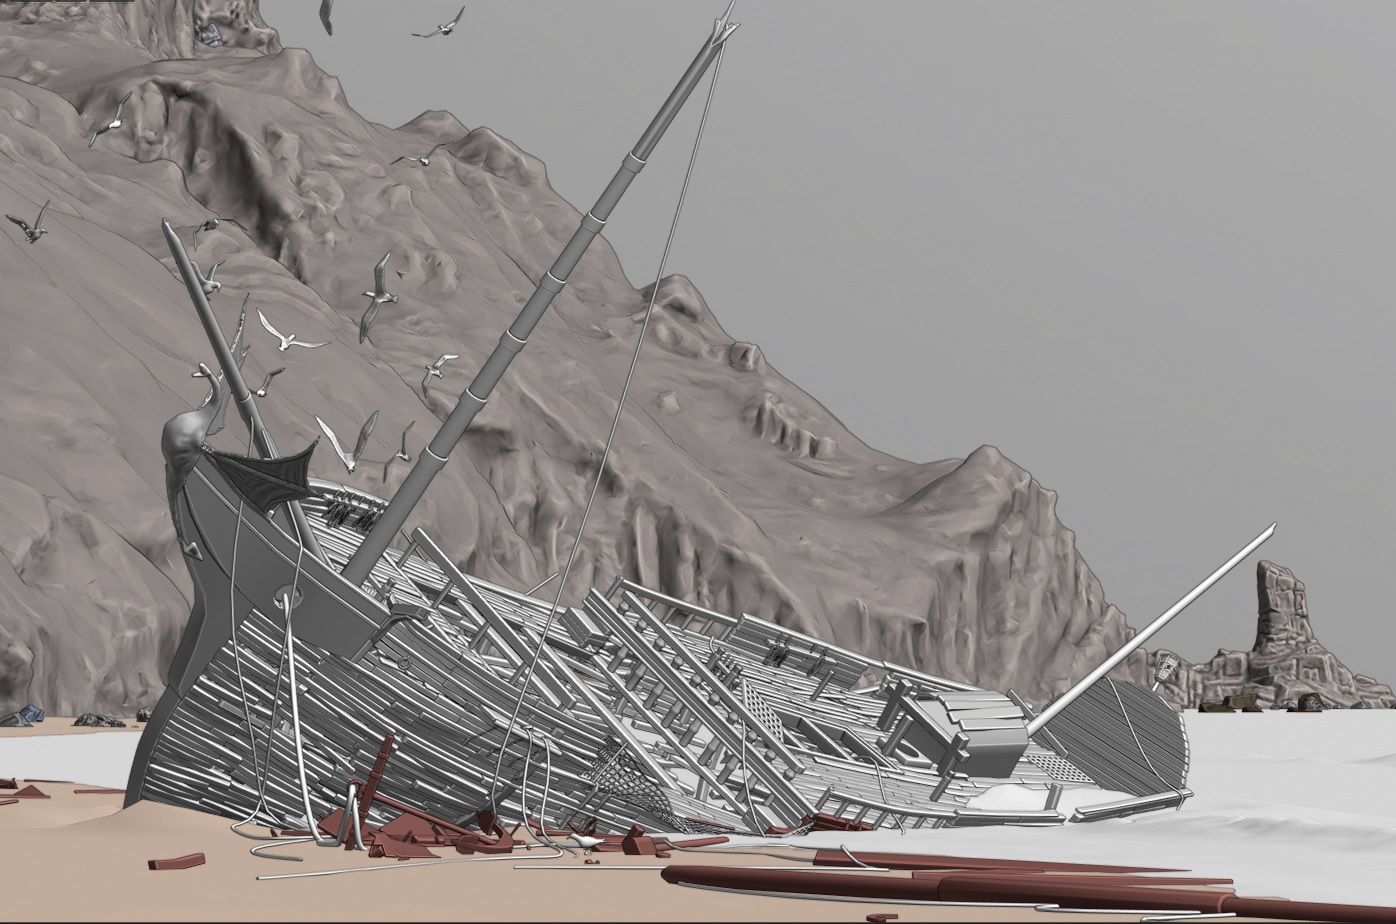
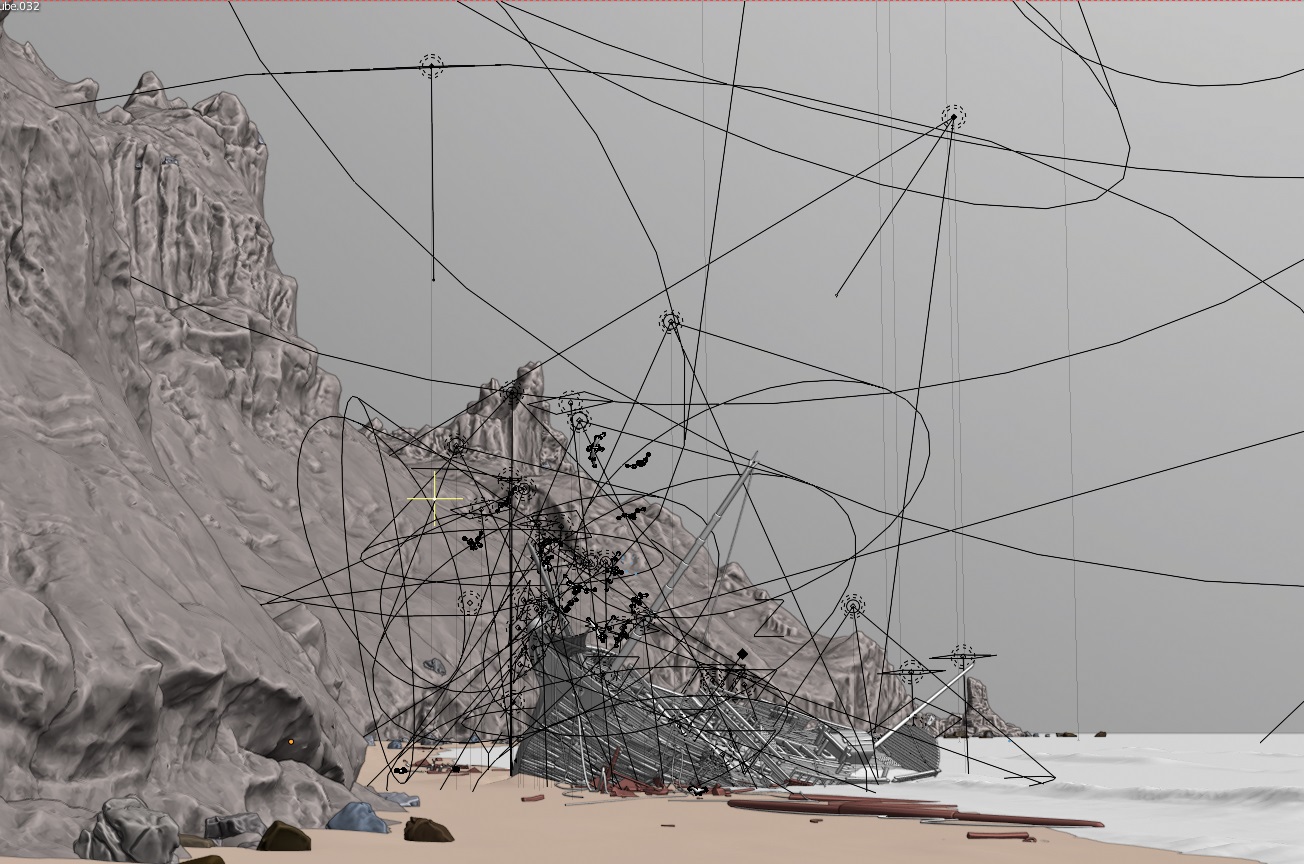
From here I built a blockout. Not much changed at this point, but I did alter the aspect ratio slightly to give the image more height.
Modeling
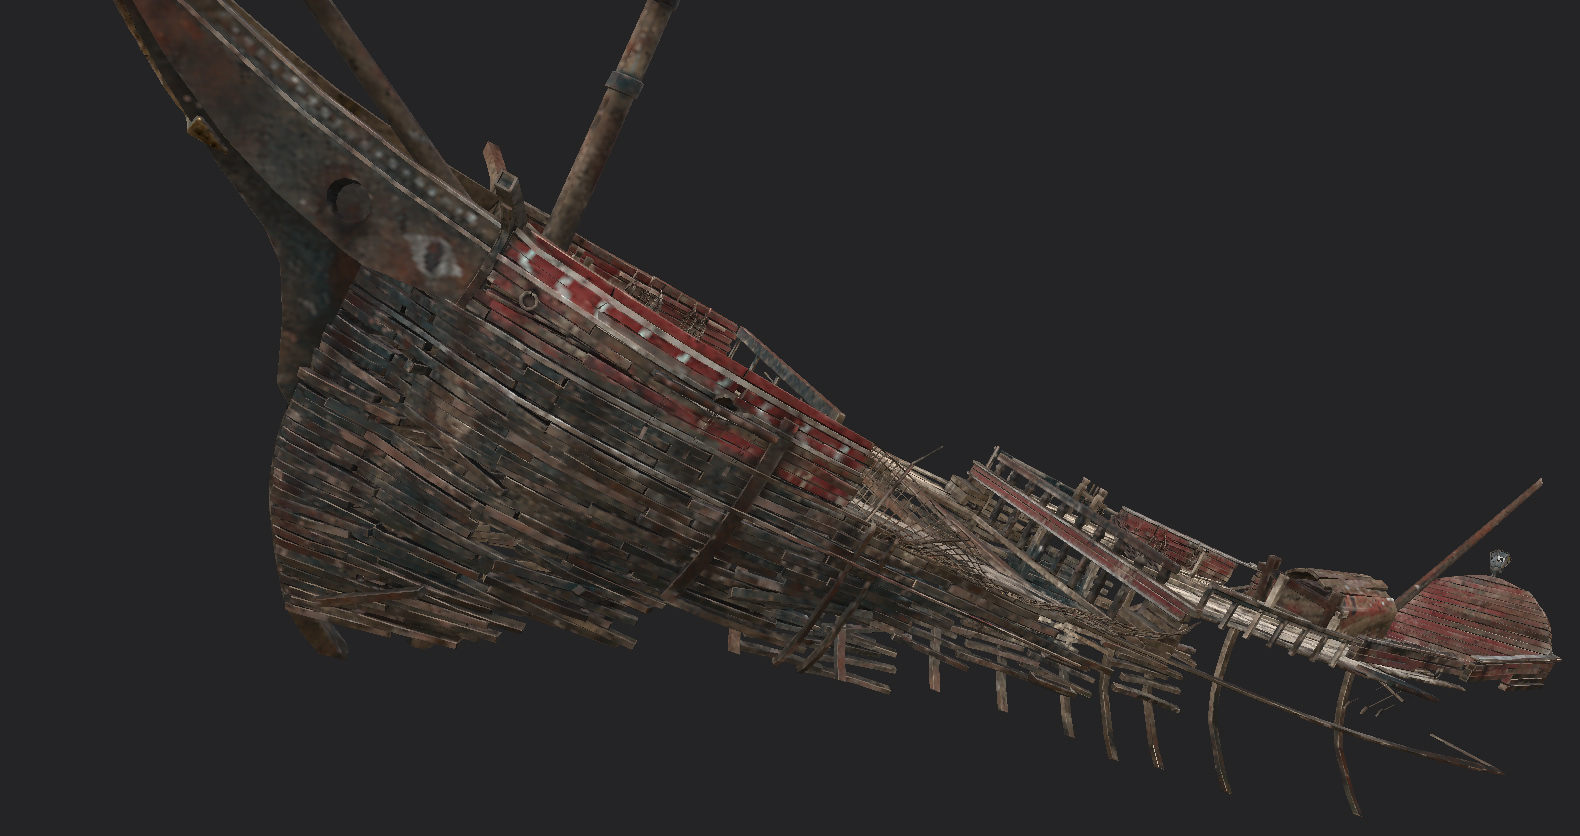
Ship
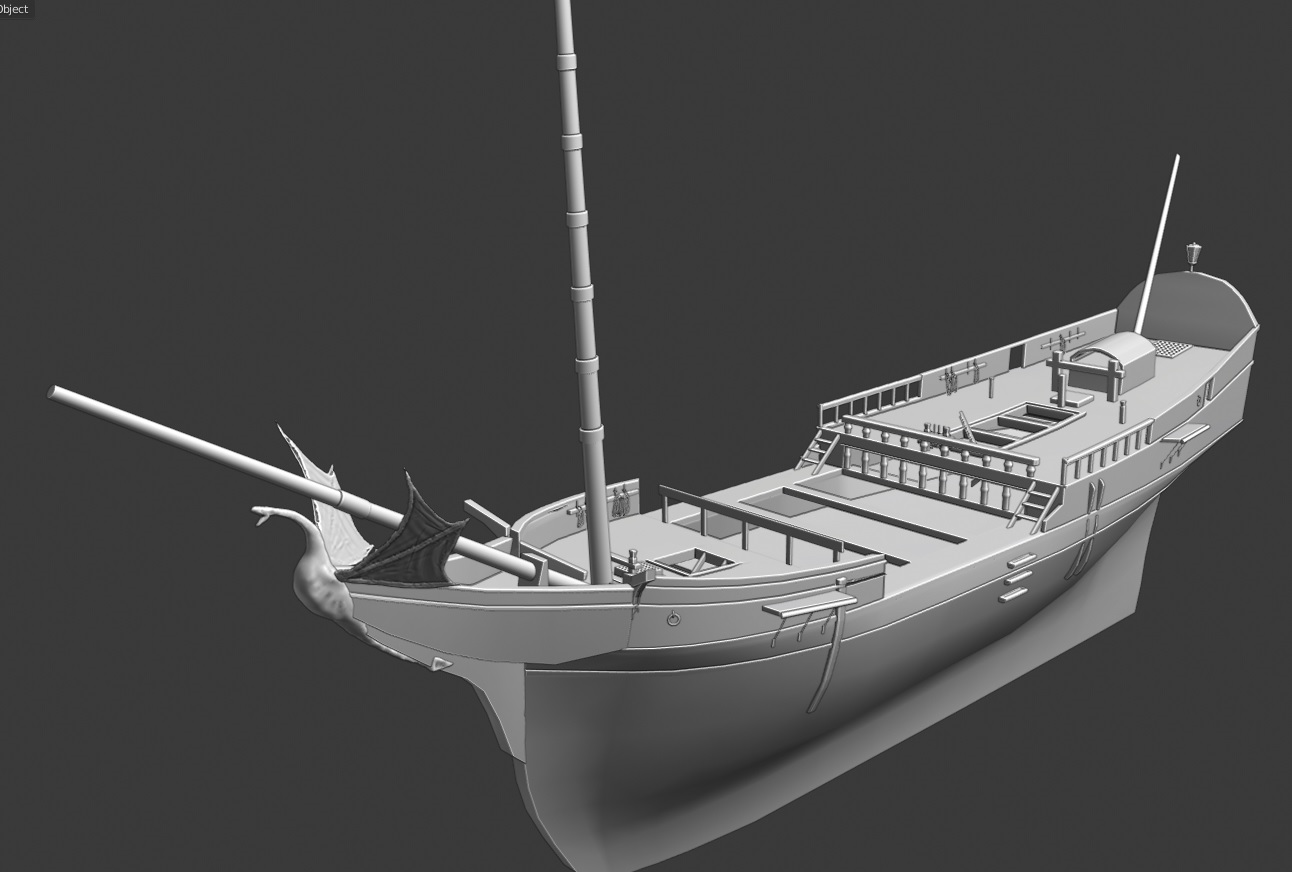
The ship was always going to be a fair distance from the camera, and as it’s also rather the worse for wear, I felt I could get away with quite a loose approach. I started, then, with a simple ship model—something like a race-built galleon, although as it’s fantasy, I didn’t take too much trouble to match anything in particular, and some elements from later ship designs crept in as a result of constructing it largely from memory. Importing this into my render scene, I messed around with proportional editing to warp the hull into a wreck, and started detailing. In order to really control the level of damage, the final model was rebuilt entirely over the previous version, plank by plank.
Environment
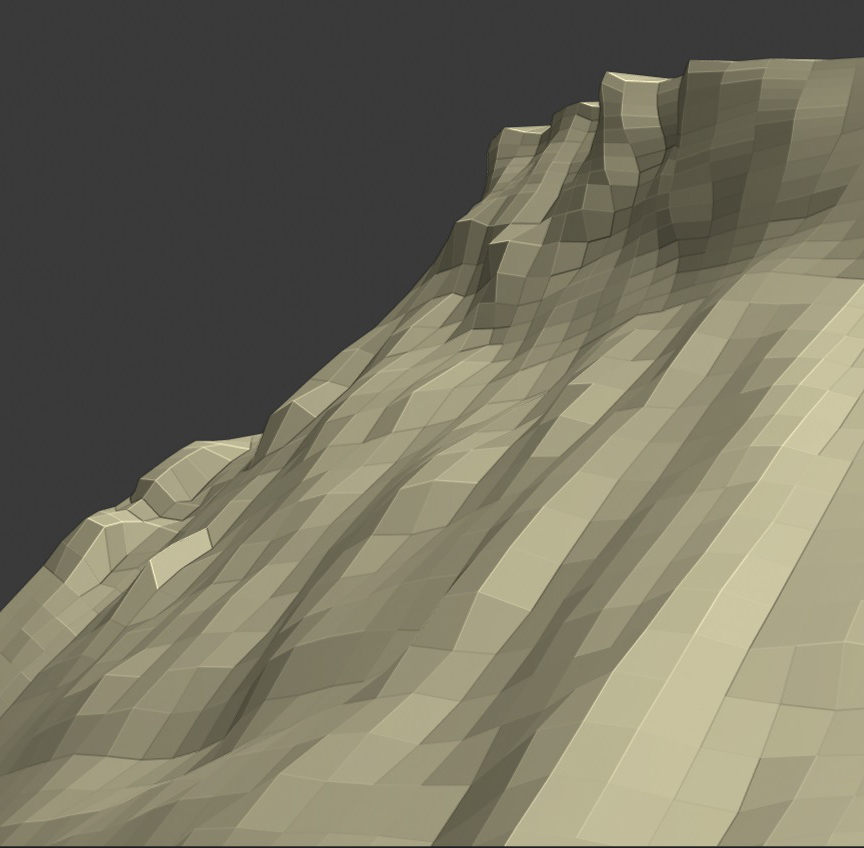
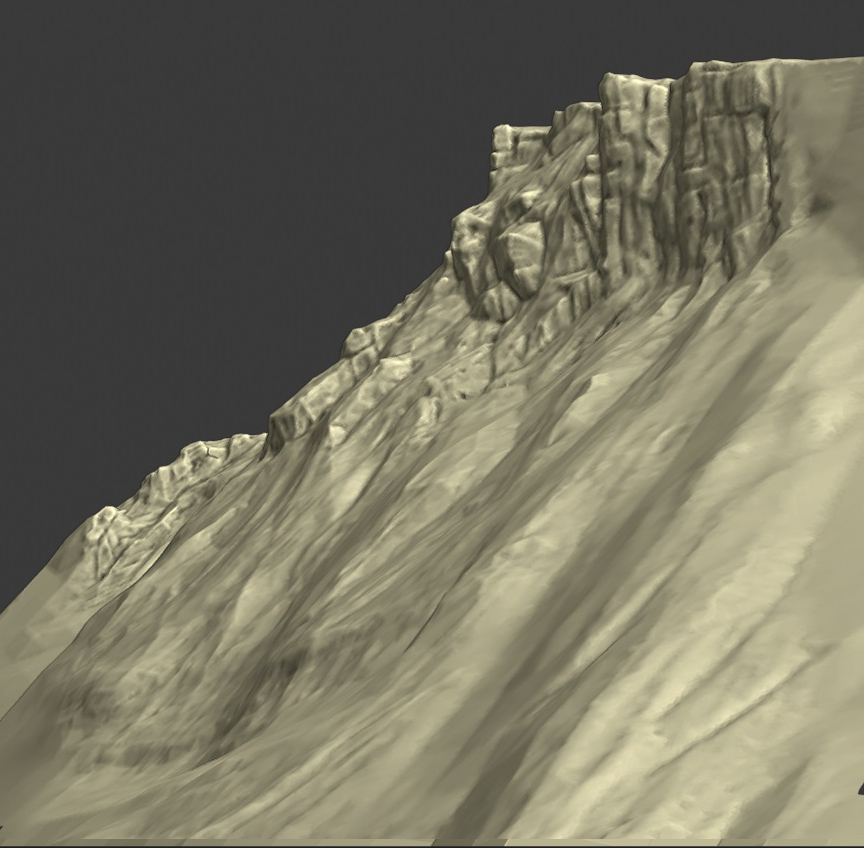
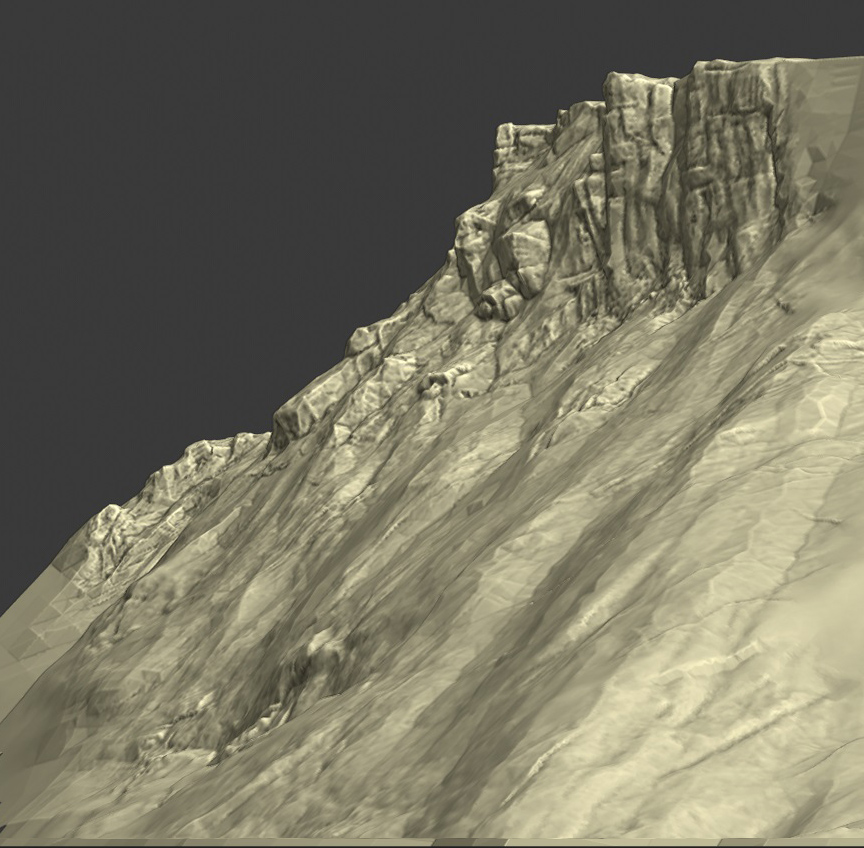
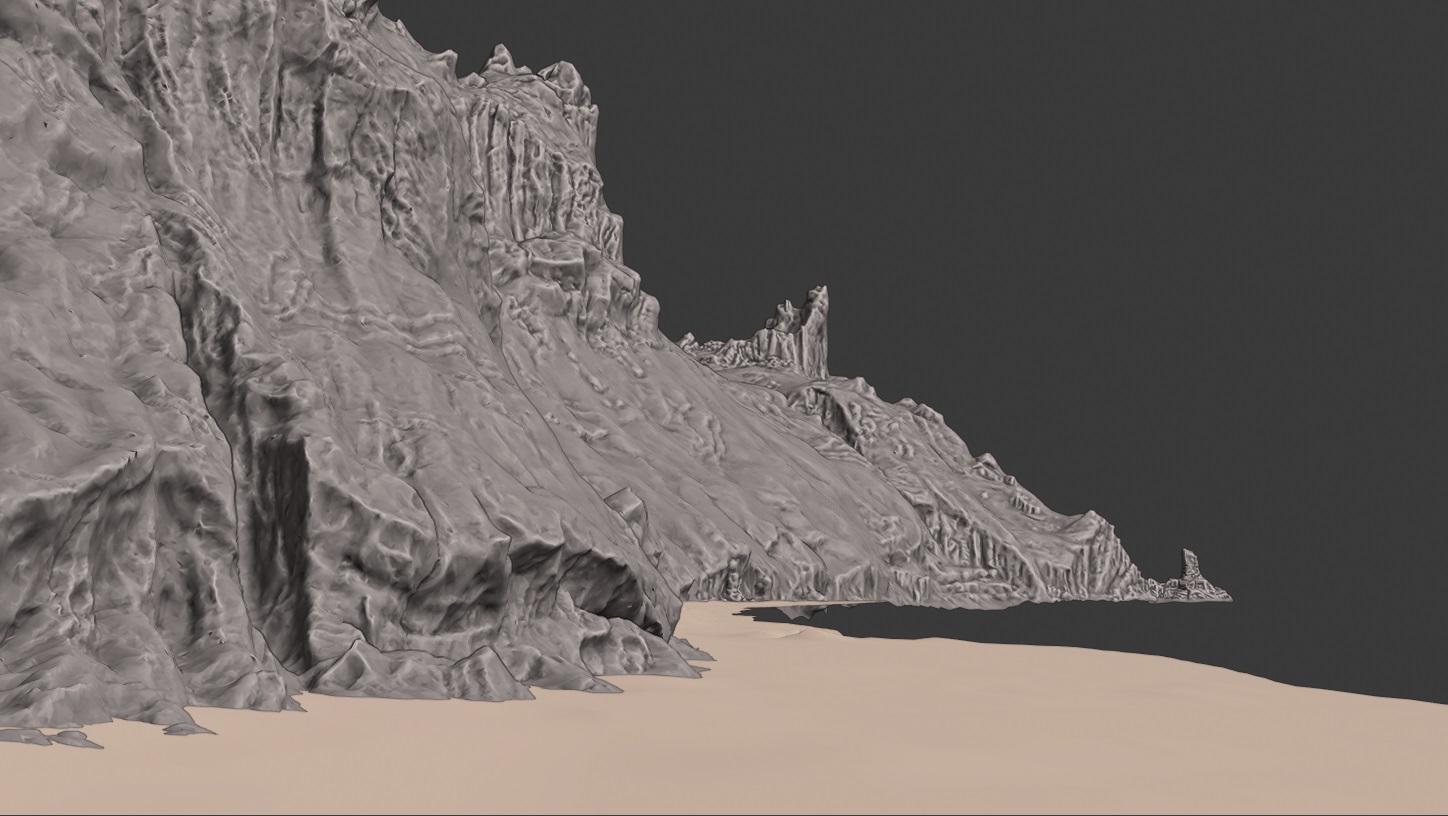
After establishing the layout of the cliffs through both the concept and the blockout, the process was simply to bring out the forms through sculpting. I didn’t save any iterations of this sculpt (not expecting to be writing a Behind the Scenes at the time), so to illustrate the process, I’ll use some screenshots from a project I’m developing at the moment.
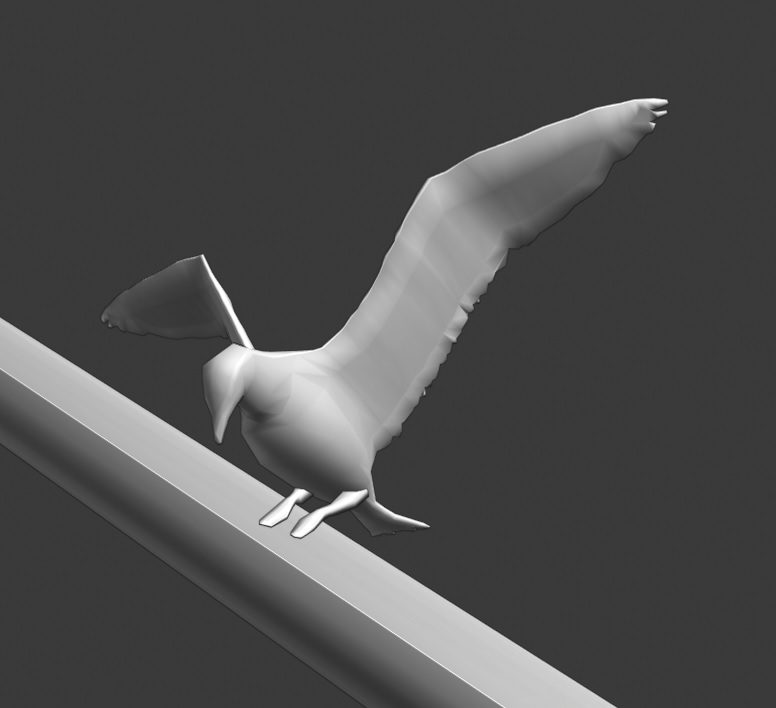
Gulls
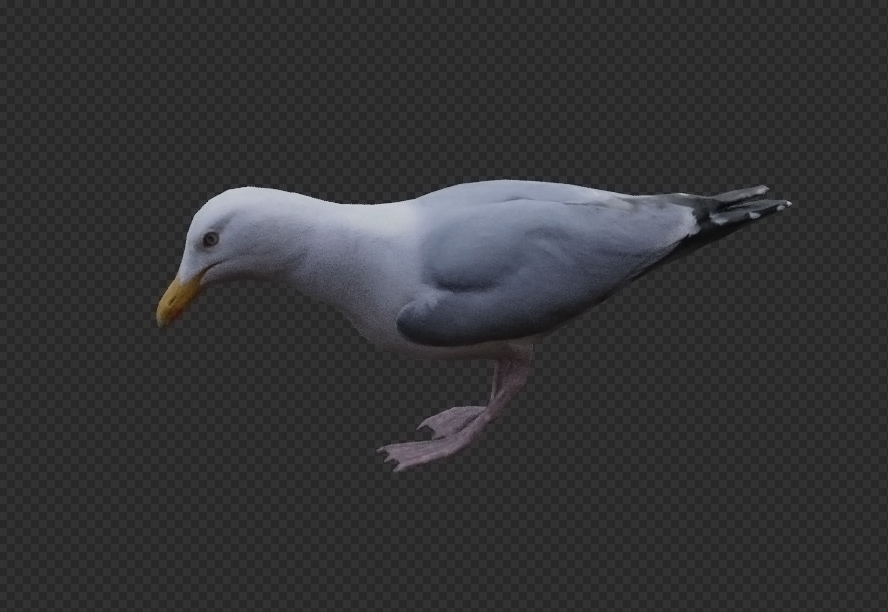
The gulls by themselves took nearly as long as creating the environment! Characters have always given me trouble, so I tend to avoid shortcuts. As a result, the workflow is a standard one: a base box-model, sculpt, retopology, and rig.

Texturing
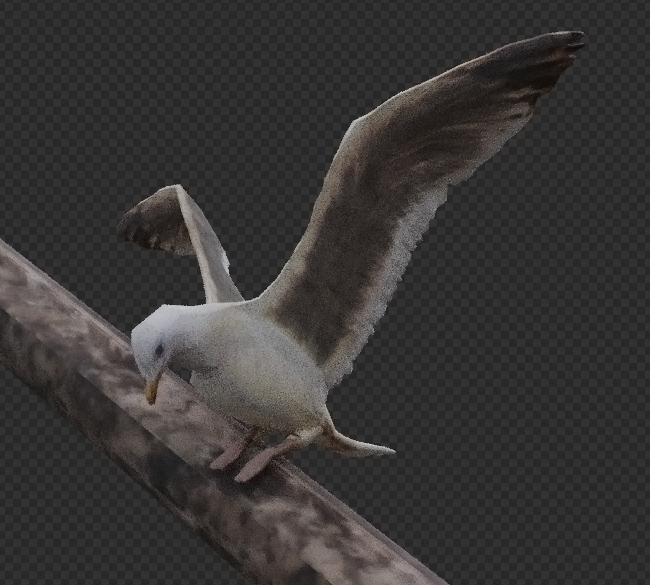
Ship and Gulls
Both of these elements were textured in Substance Painter. I like SP for its speed; my workflow predominantly focuses on building up grunge over a smart material using the various options for smart masks. I did use some projection approaches for the gulls, however.
Environment
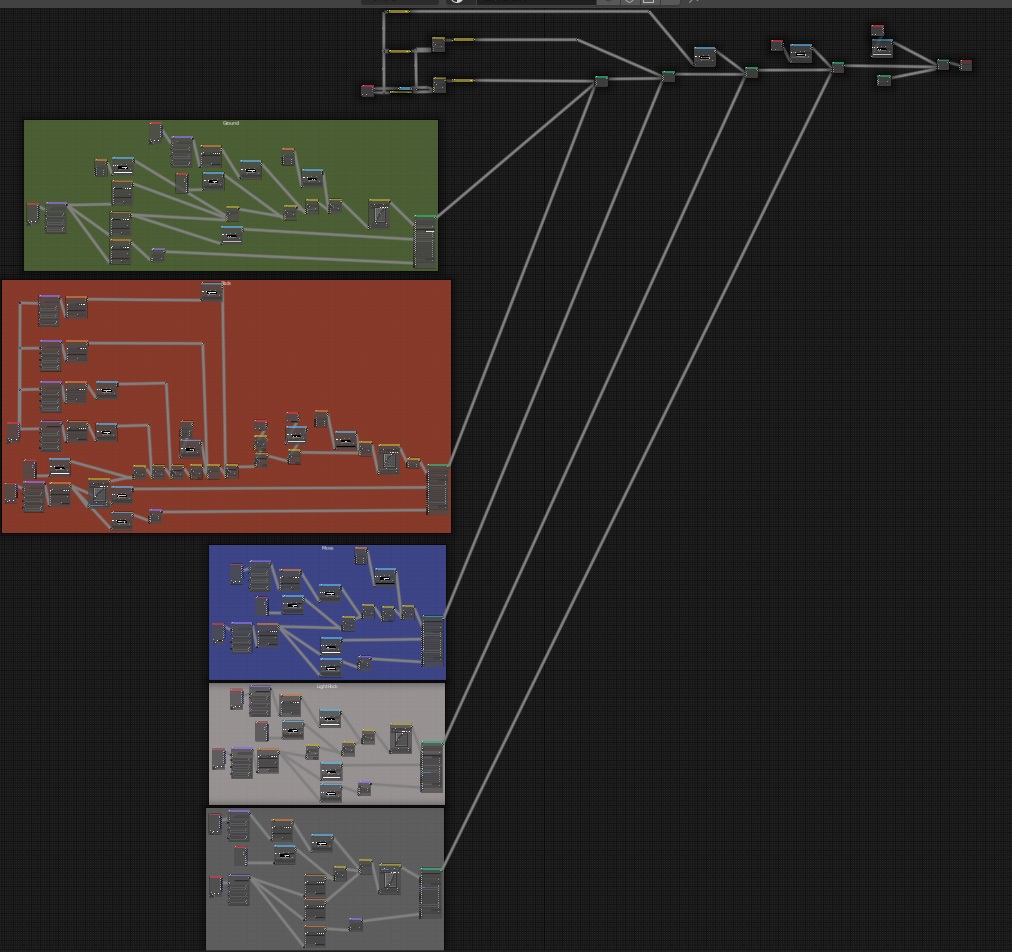
My approach to texturing large landscape elements is something I’ve developed over the last few years. Its basis is in an RGB masking workflow, where colours are used to isolate specific areas for specific materials. This is painted in Blender, using vertex colours. (This does require a reasonable poly-count, of course; it can otherwise be necessary to bypass this step through another method/do a full retopo.)
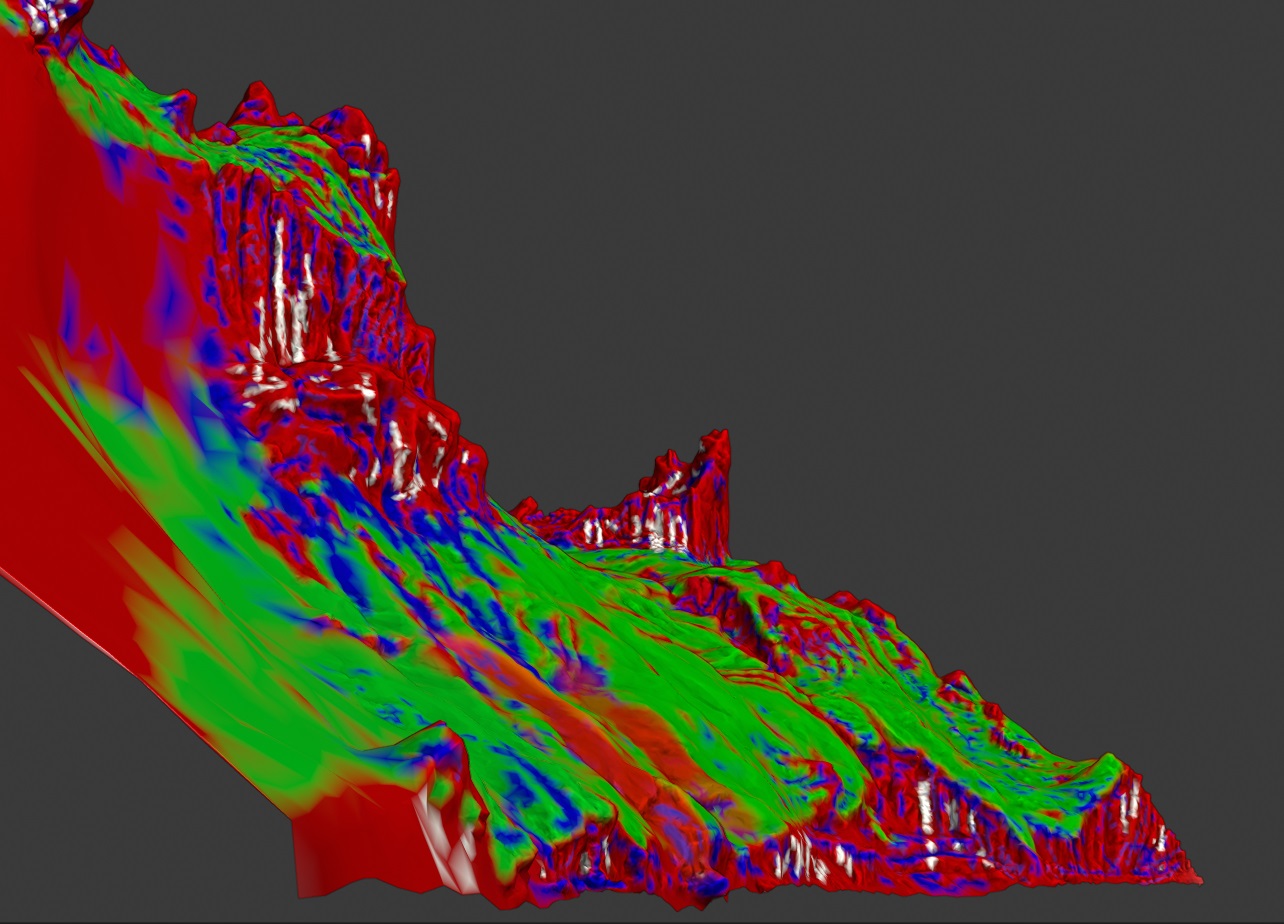
With this established, materials are assigned to the relevant colour. This combines image projections with geometry data to match the texture with the model.

Lighting
An HDRI of a grey day provides the overall lighting for the scene (‘Gray pier’ from HDRI Haven), whilst the brighter area is created separately, predominantly with area lights. The main objective was to rim light the ship to recreate the value structure of the concept. This did need to be balanced with controlling the amount of light reflecting onto the sand.
Compositing
After rendering with the usual passes (AO, Mist, etc.), compositing largely consisted of localised colour grades, with alterations made with curve adjustments in Photoshop. Cryptomattes from Blender provided the relevant masks. I also created the final versions of the sky and sea DMPs.
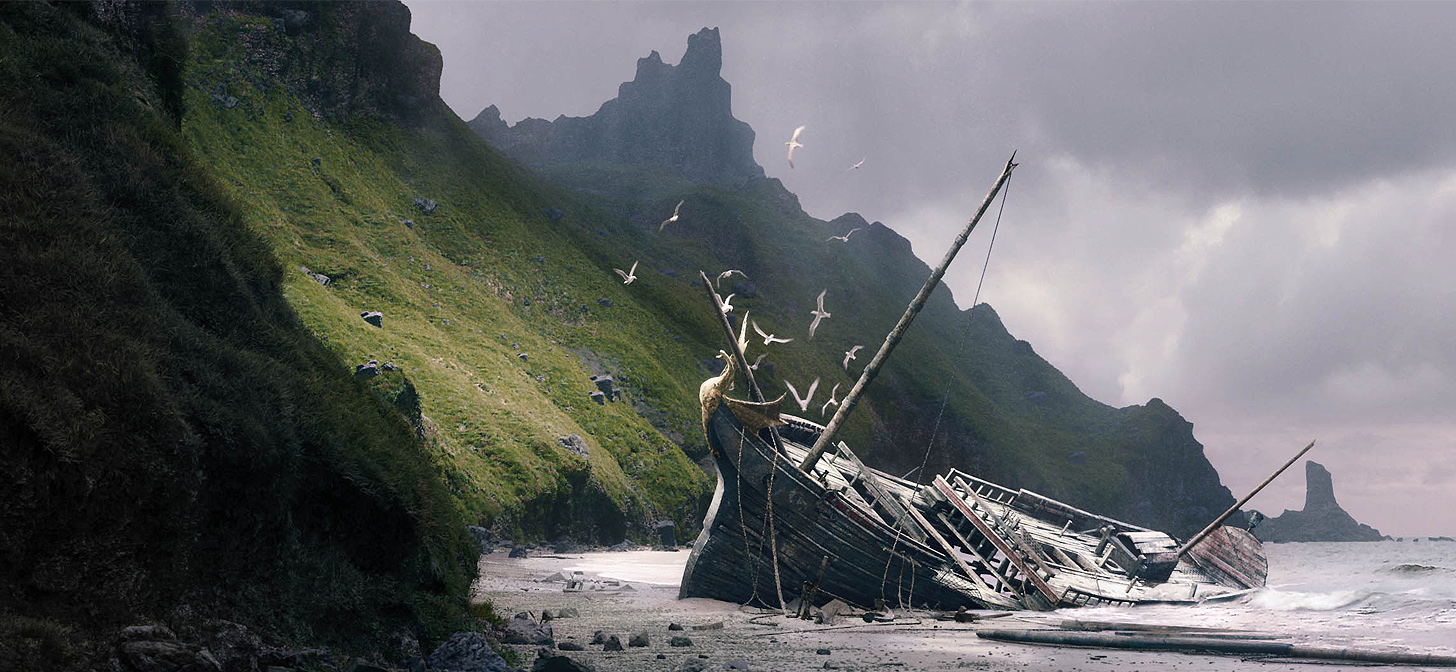
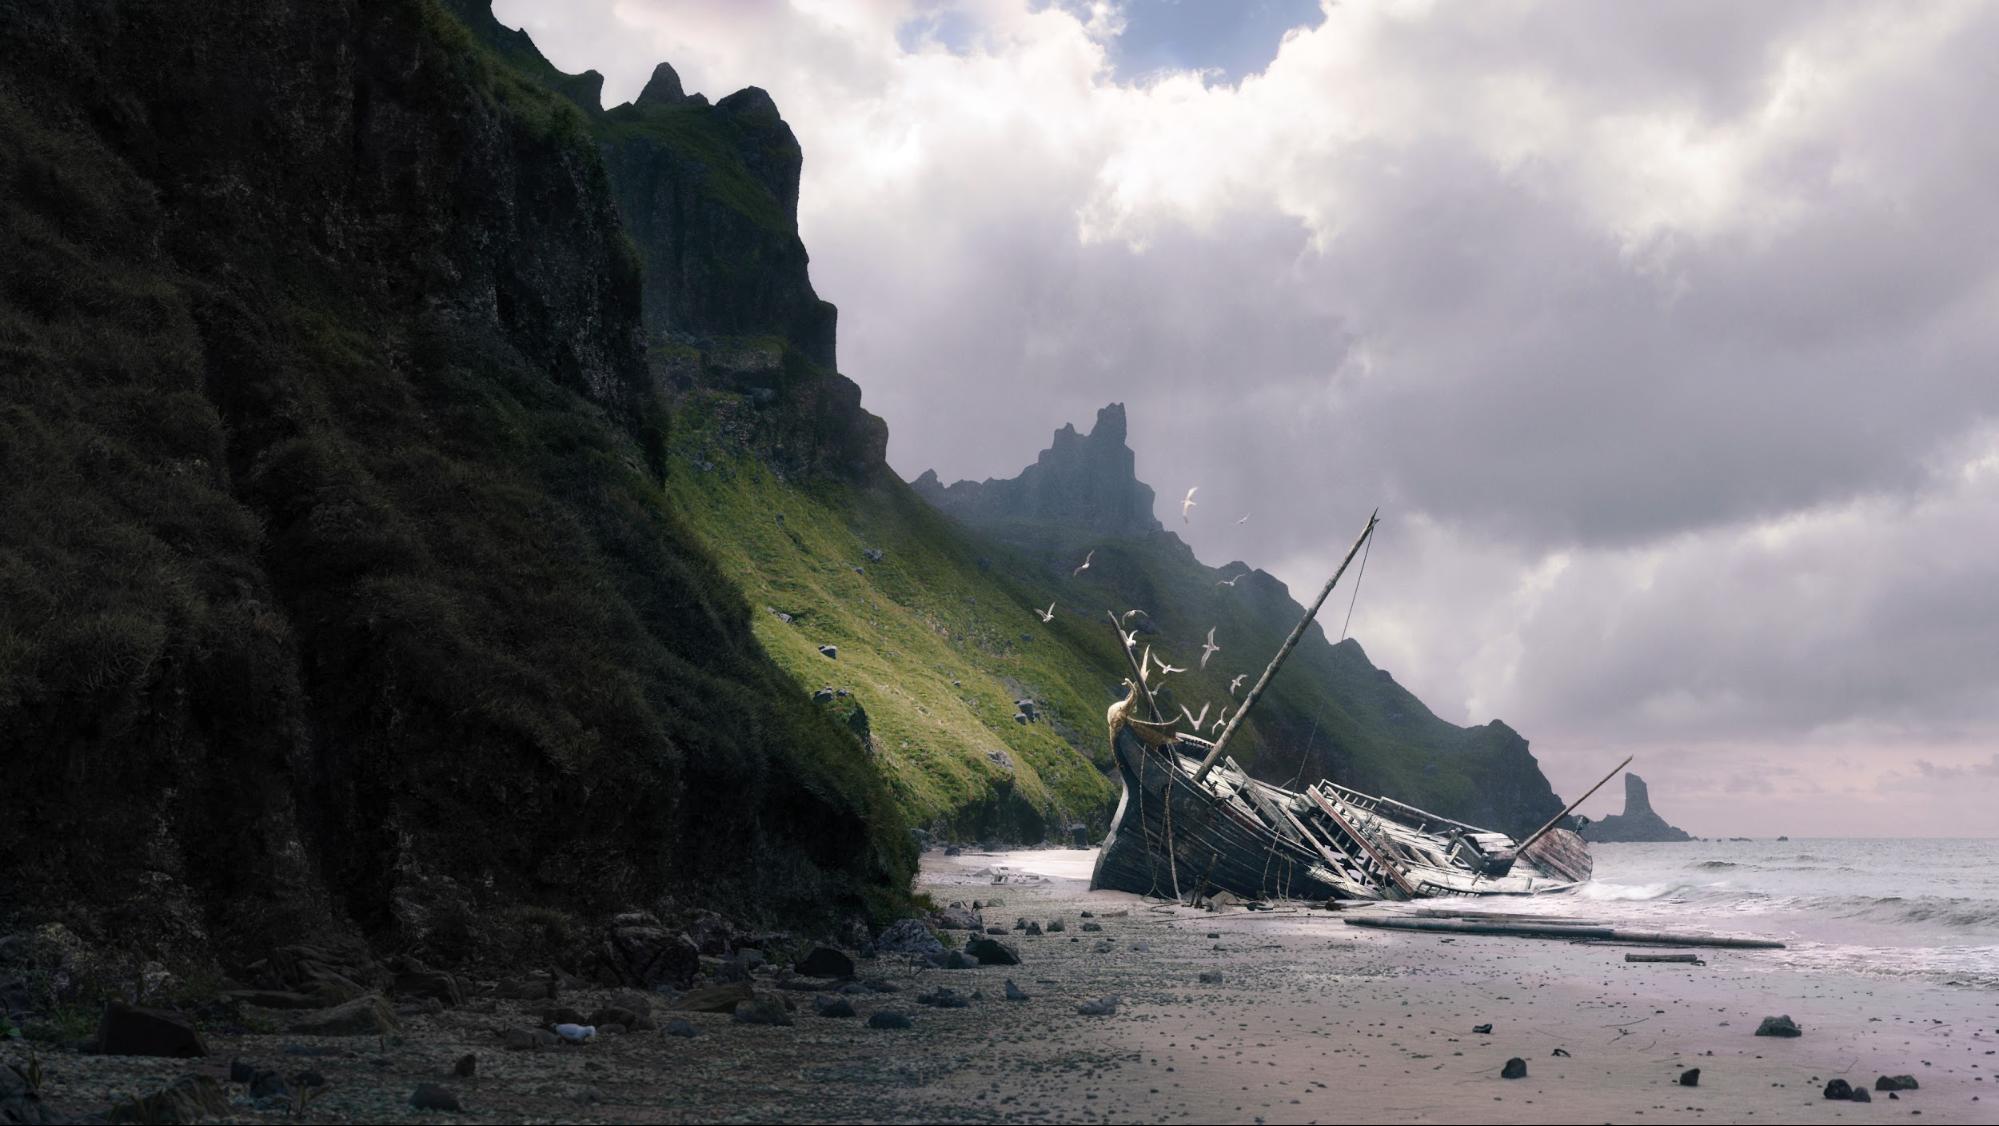
Final Renders

About the Author
 Gregory Smith, Student and Matte Painter


This breakdown was great, I loved seeing the whole process to a professional matte painting. I try to as an amateur, dabble in matte painting, but this is next level! I feel stupid that I havent considered an RGB mask before, that’s so smart. Thanks for the inspiration!
Very, very cool! Love it! Thanks for sharing your process. These are always fun to read, to see how other artists approach projects.
Agreed, love the perspective!
Excellent work. And an excellent breakdown of your workflow and process