Behind the Scenes: Rupert the Bird
From Drawing to 3D
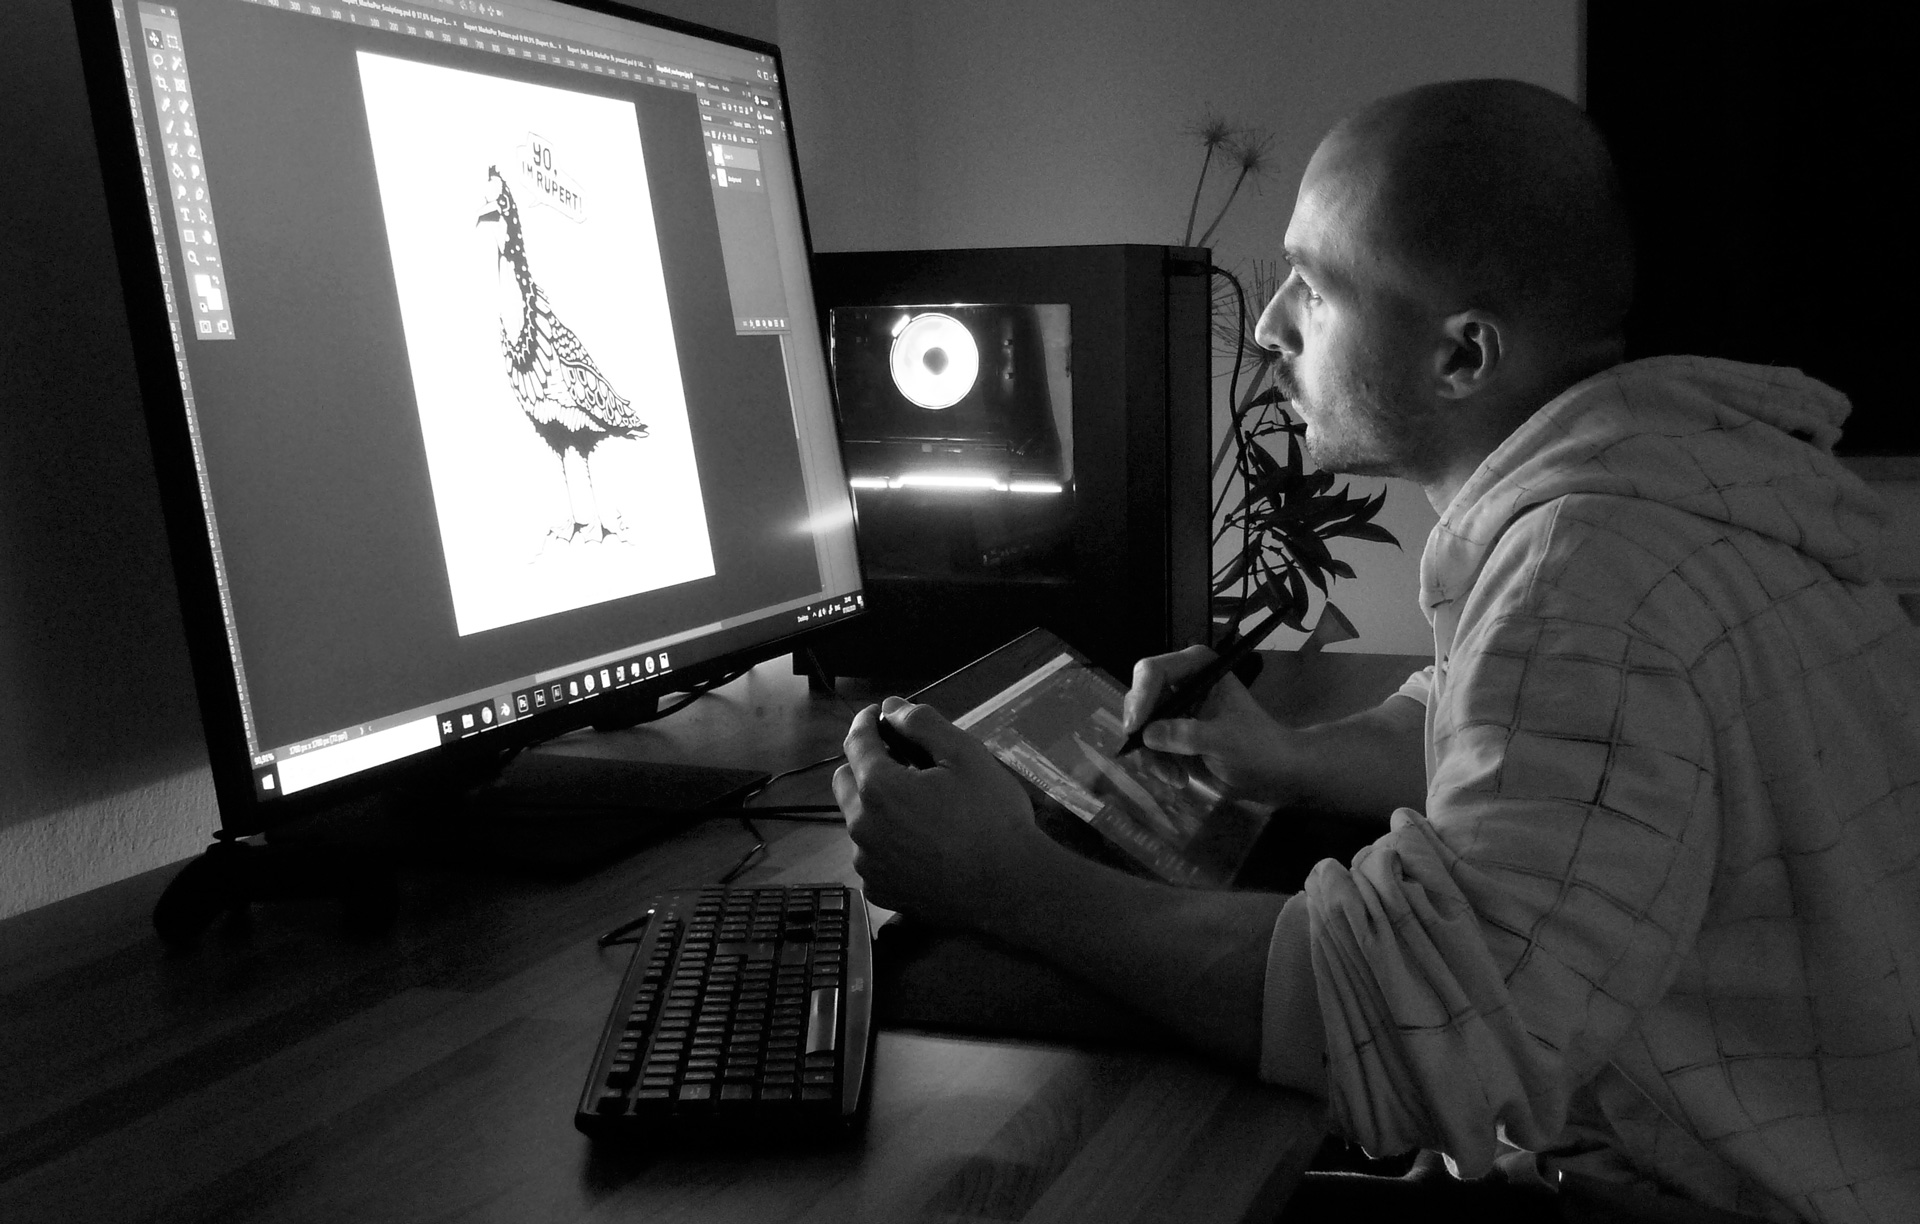
Hi, I’m Marko, an illustrator, animator, and director from Slovenia.
In 2019, I started to learn Blender. I had done lots of drawing, painting, illustrating, and animating before, but it was all 2D. So in 2020, I’m on a journey of turning my old grungy drawings into clean(-ish) 3D artwork. Fun times.
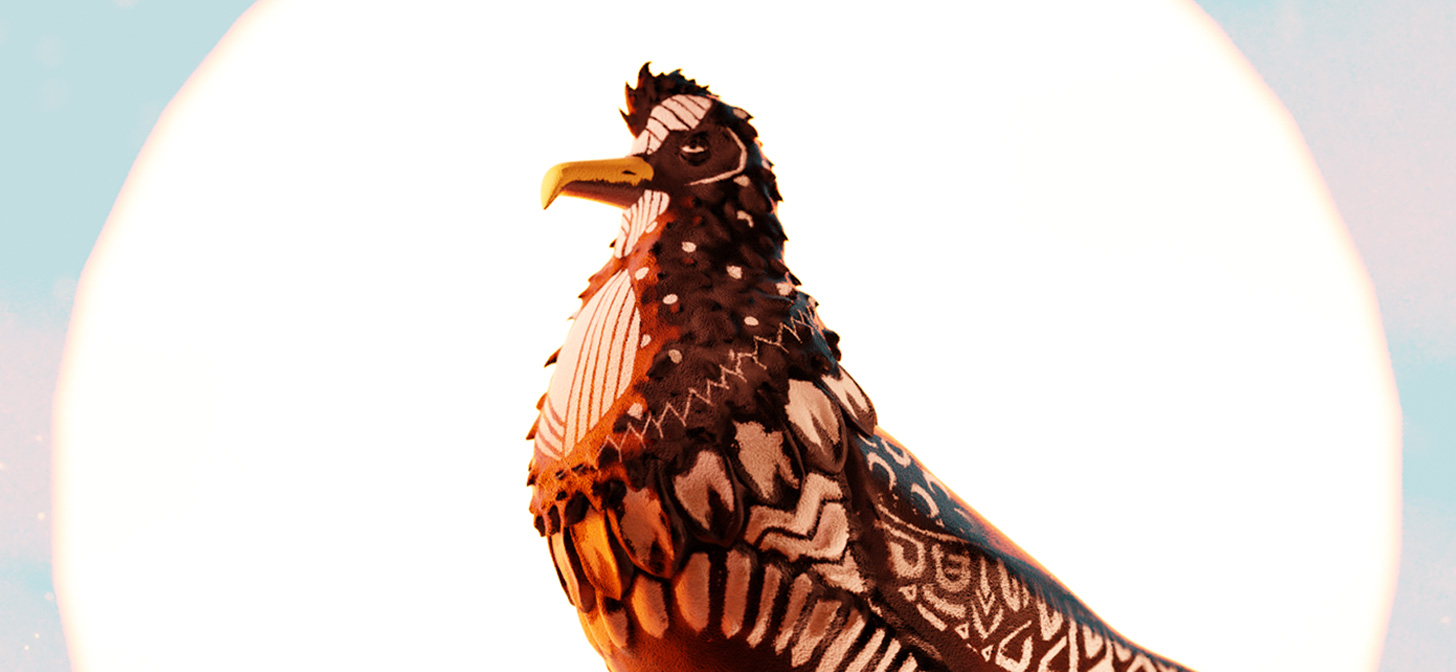
So here’s Rupert. At first, the working title of this piece was “NopeBird”.
Because sometimes you have to say “no”. After showing the illustration to my girlfriend, she baptized him “Rupert” right off the bat.
Most of my characters are somehow tied to the sea, as I am as well. So when drawing a bird, a seagull seemed like the right way to go.
I’ve always liked playful patterns, lines, and geometric shapes, which found their way onto Rupert’s fur as well. These graphical elements ended up looking like tattoos, and I think the mohawk ties it all together.
So I guess this makes Rupert a determined punk-rock seagull.
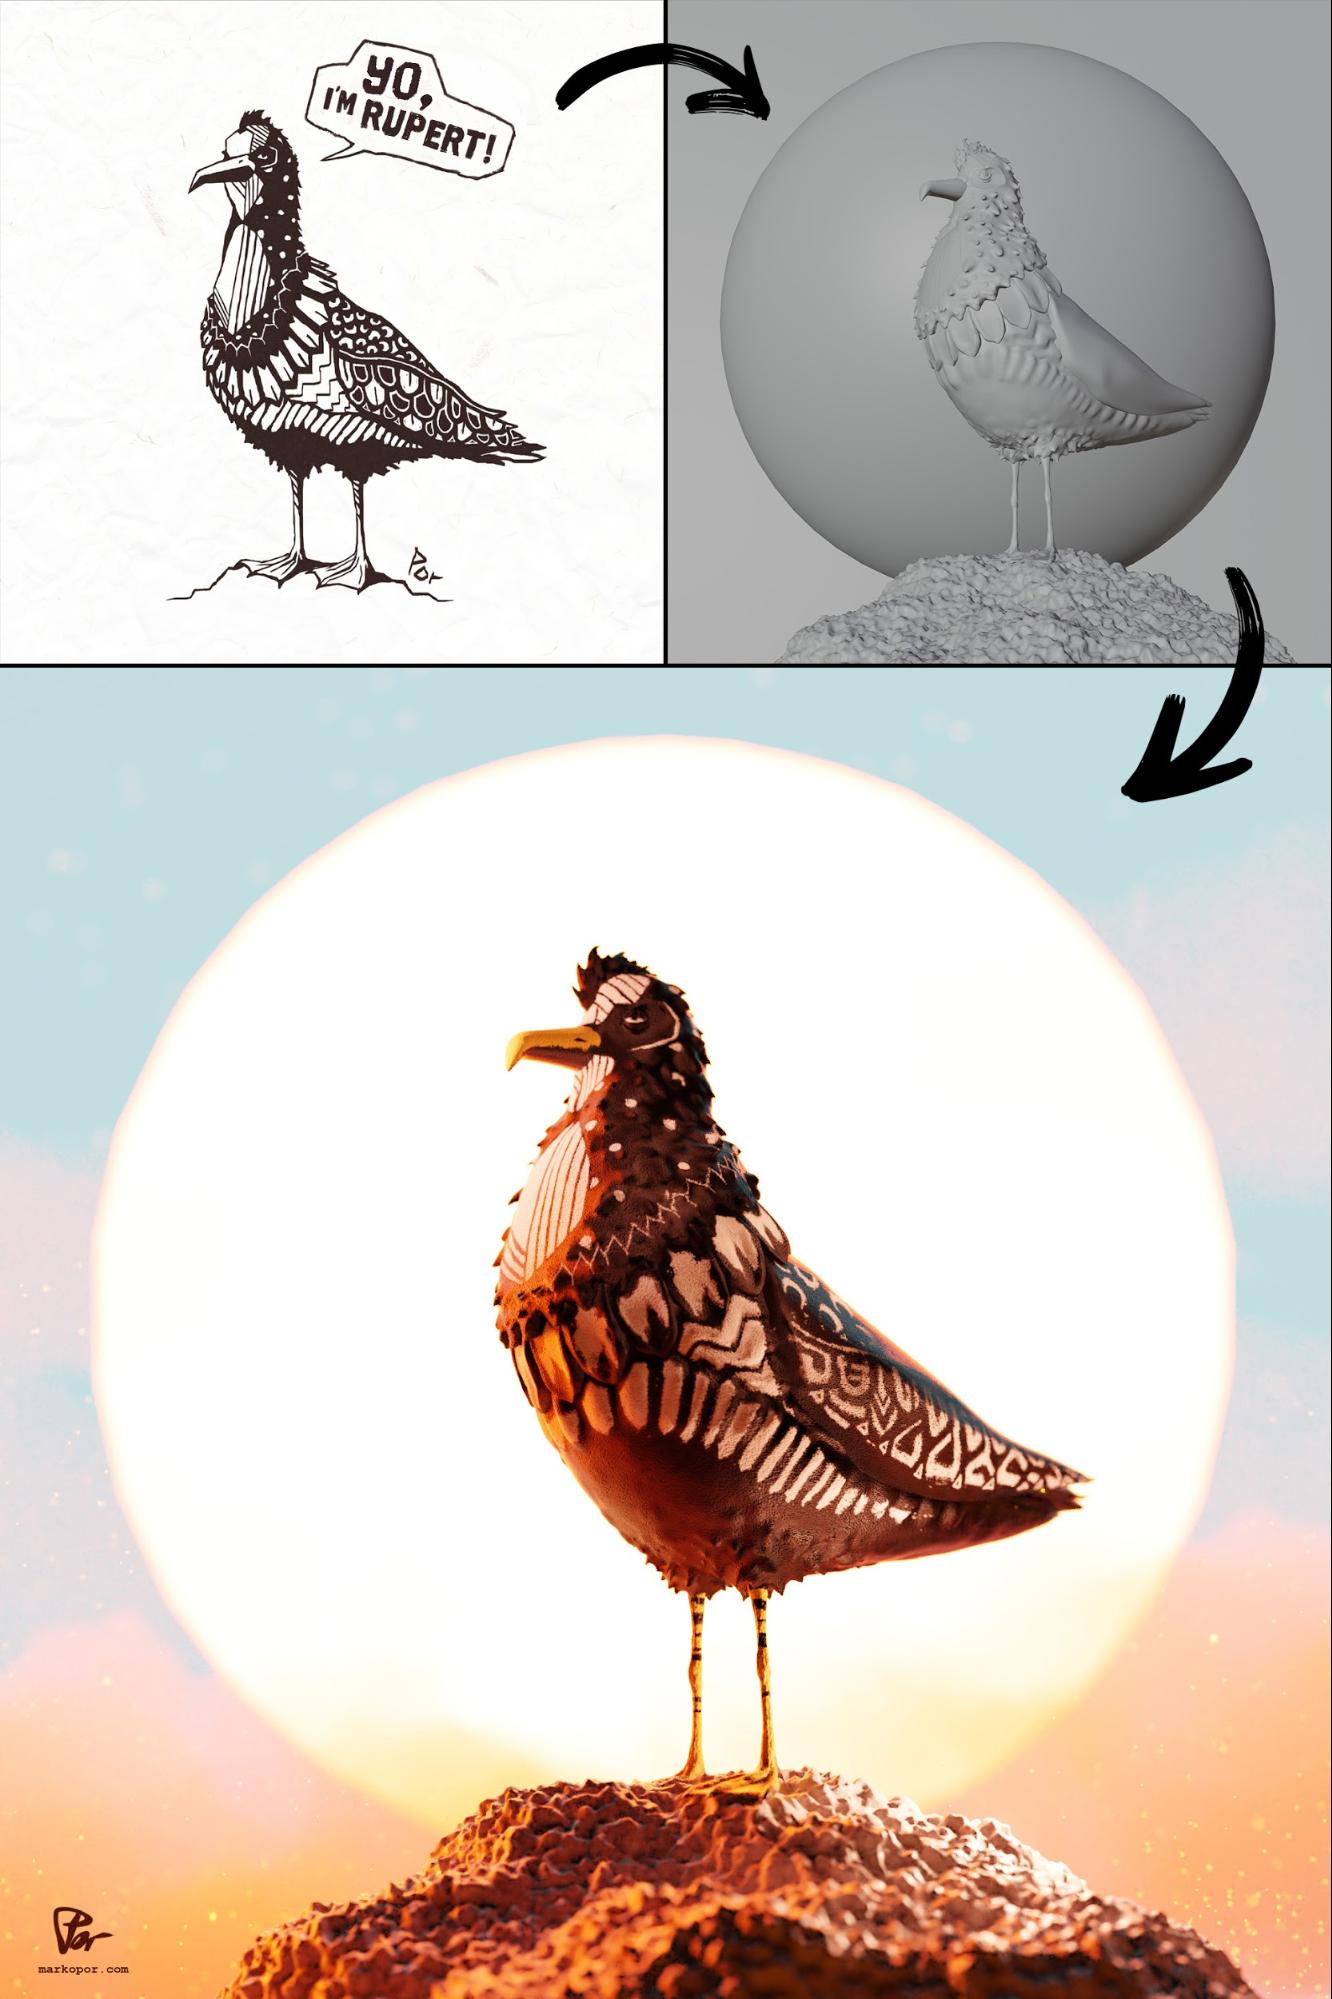
The original artwork was created with a pen tablet in Photoshop.
Process (3D)
My original drawing was meant to become a simple sticker. If I’d have really wanted to follow the concept exactly as it is, I’d have to draw Rupert on a model sheet from all sides. But since this was a personal project, I’ve used the original artwork as more of an inspiration, and gave myself more room for creative detours in XYZ space as well.
Rupert 3D was made with Blender 2.80, and rendered with Cycles.
Modeling & Sculpting
I’ve made a few 3D images and animations before, but this was my first time sculpting and texture painting a character.
Rupert is obviously not yet ready to enter the rigorous animation production pipeline. It’s just a sculpt (for now), so no retopo.
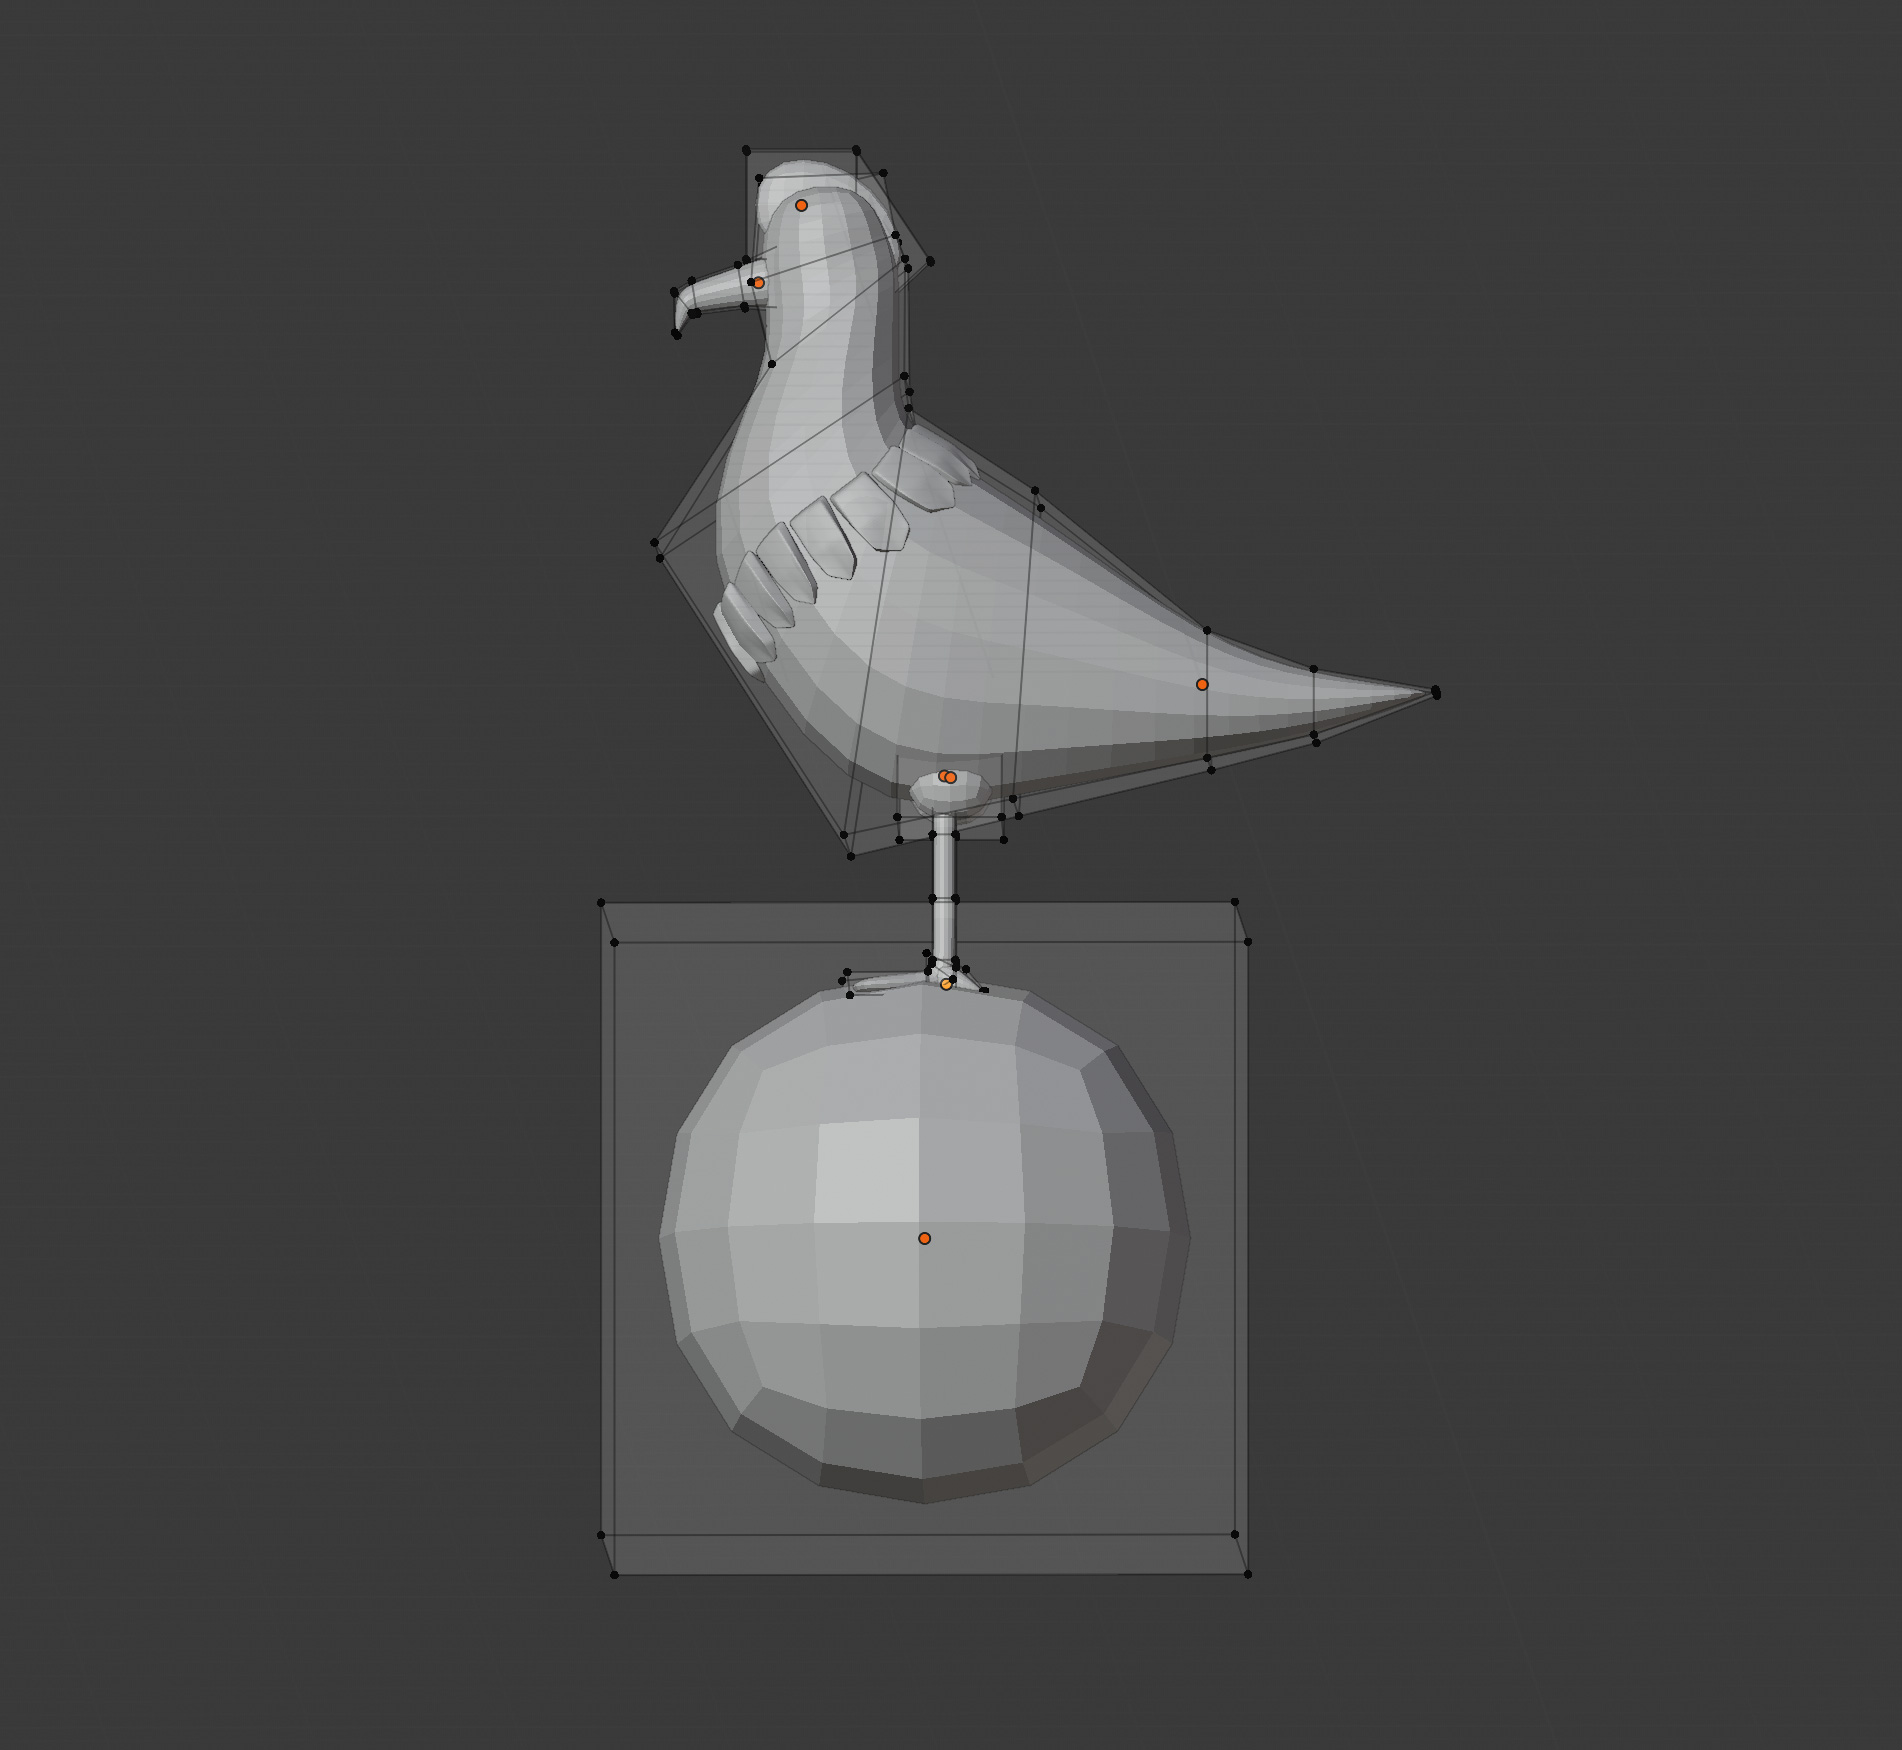
- Modeling
I made the basic shapes with low-poly objects and the Subdivide modifier.

- Sculpting
So, this is where it got messy. I applied all the modifiers and boldly dived into Sculpt mode, armed with my pen display and Dyntopo working at full power. Way too many new vertices later, this was the result:


Materials & Texture Painting
- Materials
I’ve used a simple “roughness + bump combo” node setup to achieve the rough, rubber-ish look on Rupert.

- Texture Painting
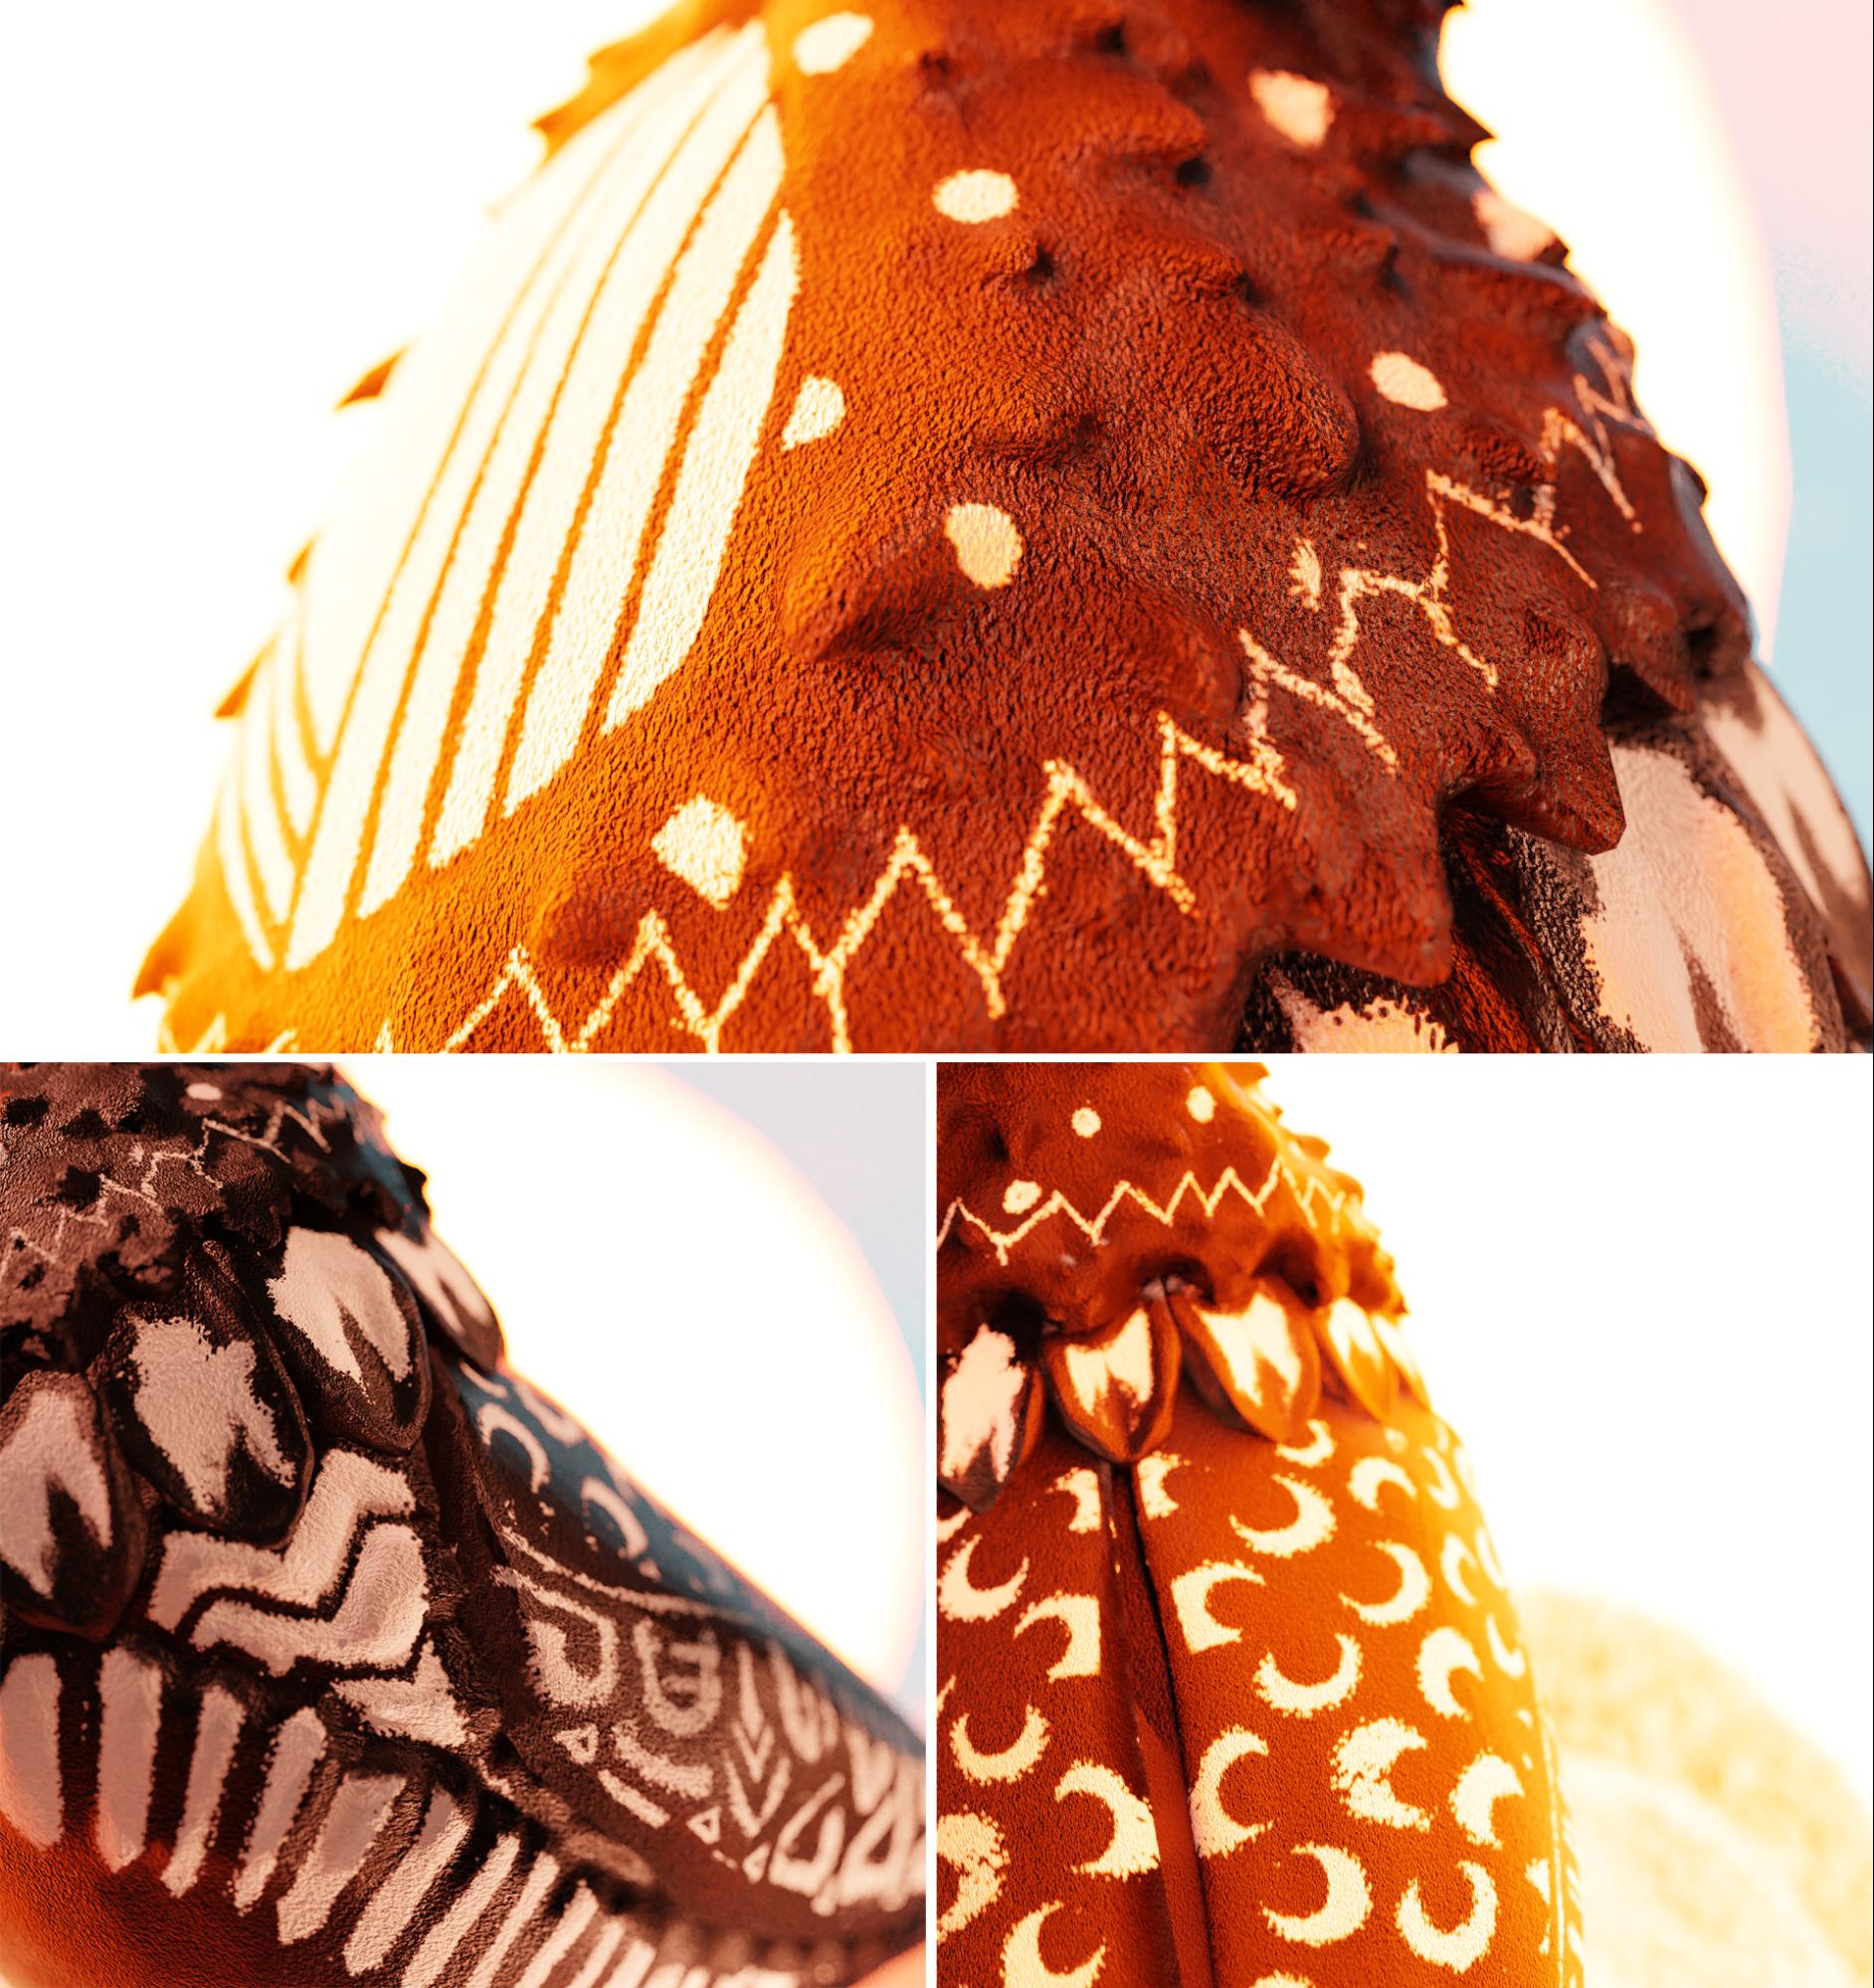
This was nice, painting on a 3D model. I guess this was the most creative part of the whole build. I was using my drawing for reference, but in some parts, I just went with the flow. ✌️

After UV unwrapping everything, I used the “12 Organic / Rust” brush from “Small Brushes Pack”, which I found on BlendSwap, to paint the patterns on Rupert’s “fur.”

Here’re a few more shots of the paint job:
Final Thoughts

I’ve gotten some great feedback on Rupert from the Blender community and other creatives as well, so this is my chance to say thanks to everyone. If anybody has a question or a cool project coming up, just drop me a line.
The next step for Rupert is animation. Maybe I’ll make Rupert dance a little bit. This means that I have some retopo work to do first, haha. Hopefully, I’ll get a chance to write about it here. Cheers!
About the Author
 Marko Por, Illustrator | Animator | Director | Surfer


notbad
lol, thanks
Dear Sir,
Thanks For Shearing Such Information,
Very Interesting Post.
Thank you, Dear Sir! :)
Love it!!!
[Some of my posts don’t get properly uploaded for some reason. Apologies if this ends up being a double-post.]
Love it!!!
Thanks. Twice! :D
I love the painting, great look!
Thanks Pepe ✌️