About
My name is Jaume Sanfrancisco (smili) and I’m from Alcoi, Spain. I’m a technical engineer in Industrial Design, although I’m not working in that area. I do part-time freelance projects related to 3D, graphic design, video editing, motion graphics, and stuff like that.
Motivation
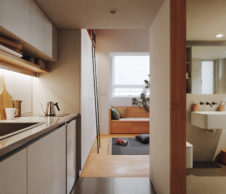
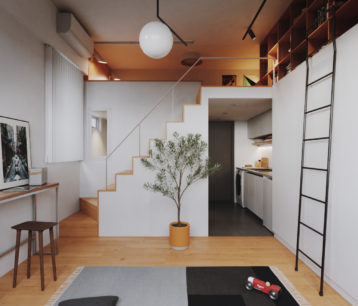
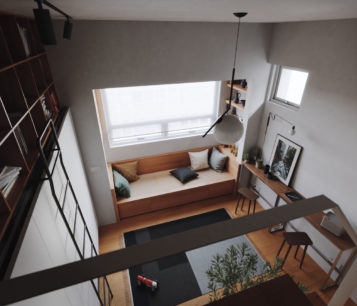
I wanted to try a complete project in Blender 2.8 and I’ve always liked small apartments, so I started searching and I found this apartment that I liked.
Luckily, the project comes with enough images and information to reproduce it, adding or changing the things that I wanted but trying to be accurate.
Tools
Blender, Cycles for rendering and Affinity Photo for post-production.
Modeling
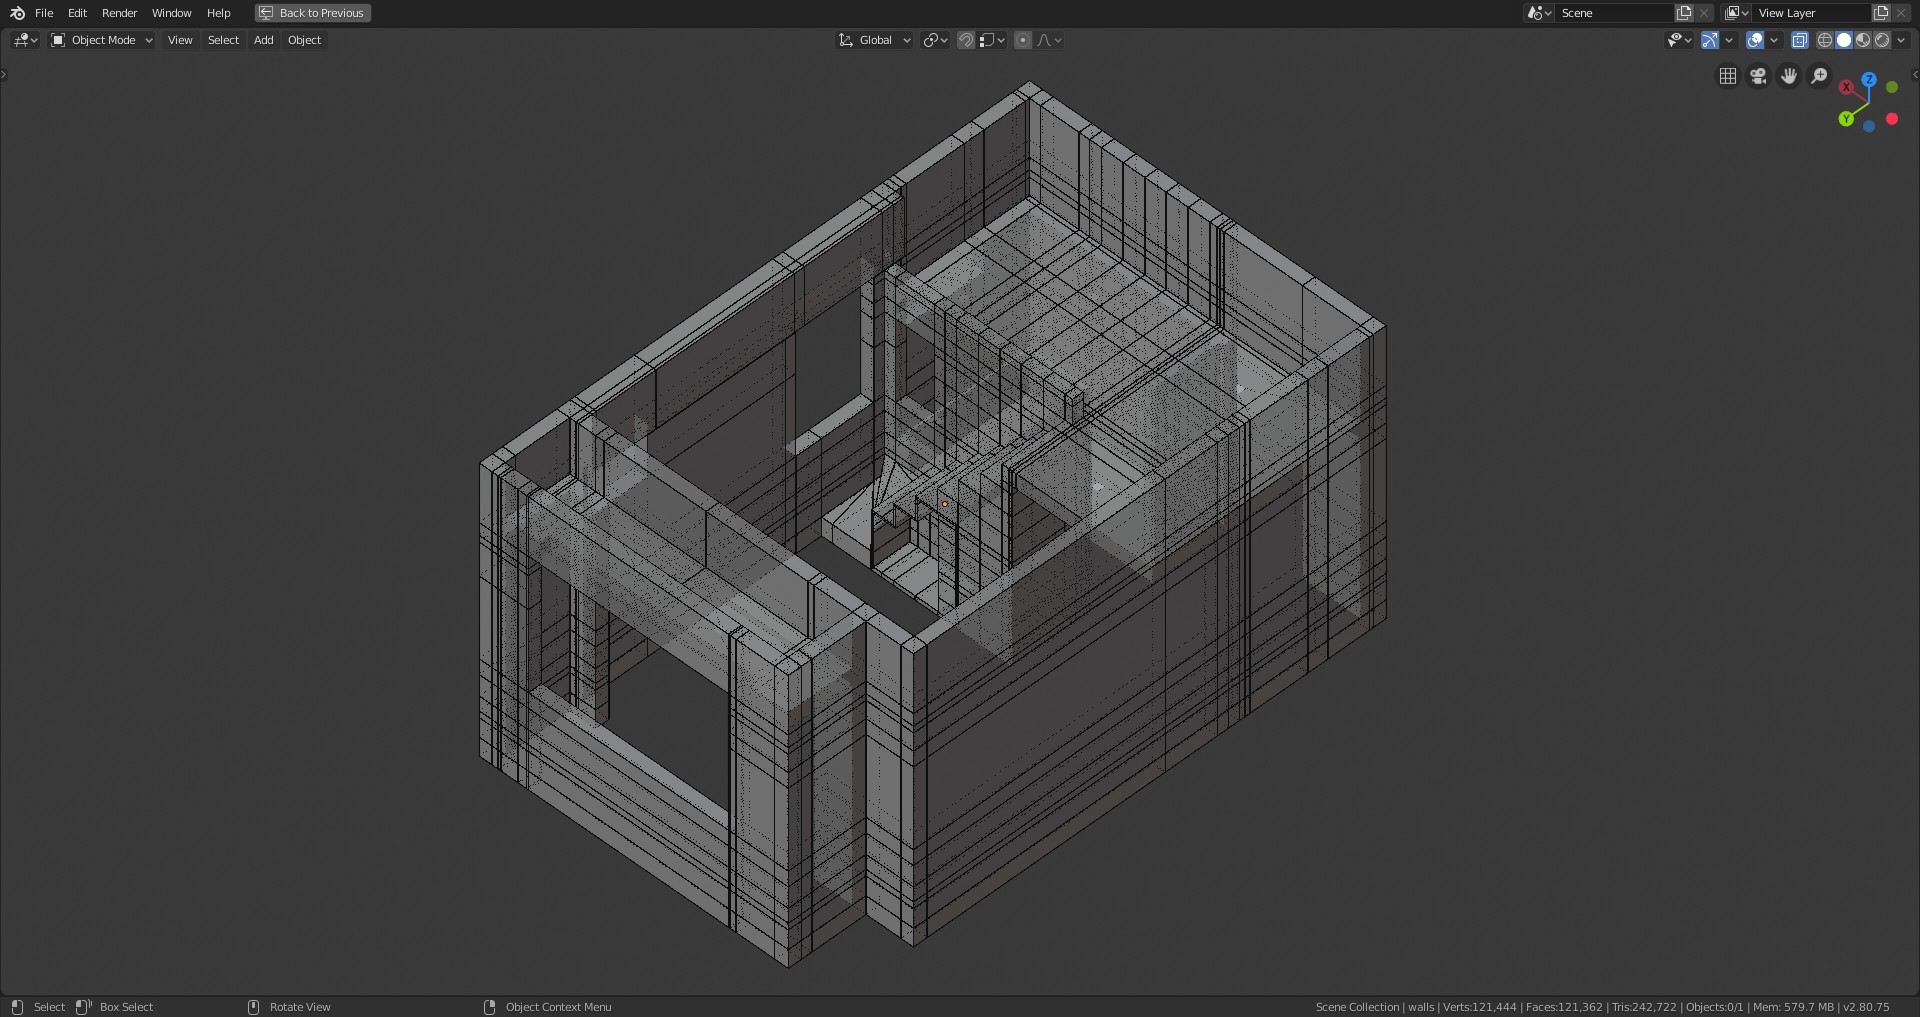
Using the floor plans from the project, I started modeling the walls, floor, and ceilings. And then, I made the holes for the windows, doors, and some ceiling lights.
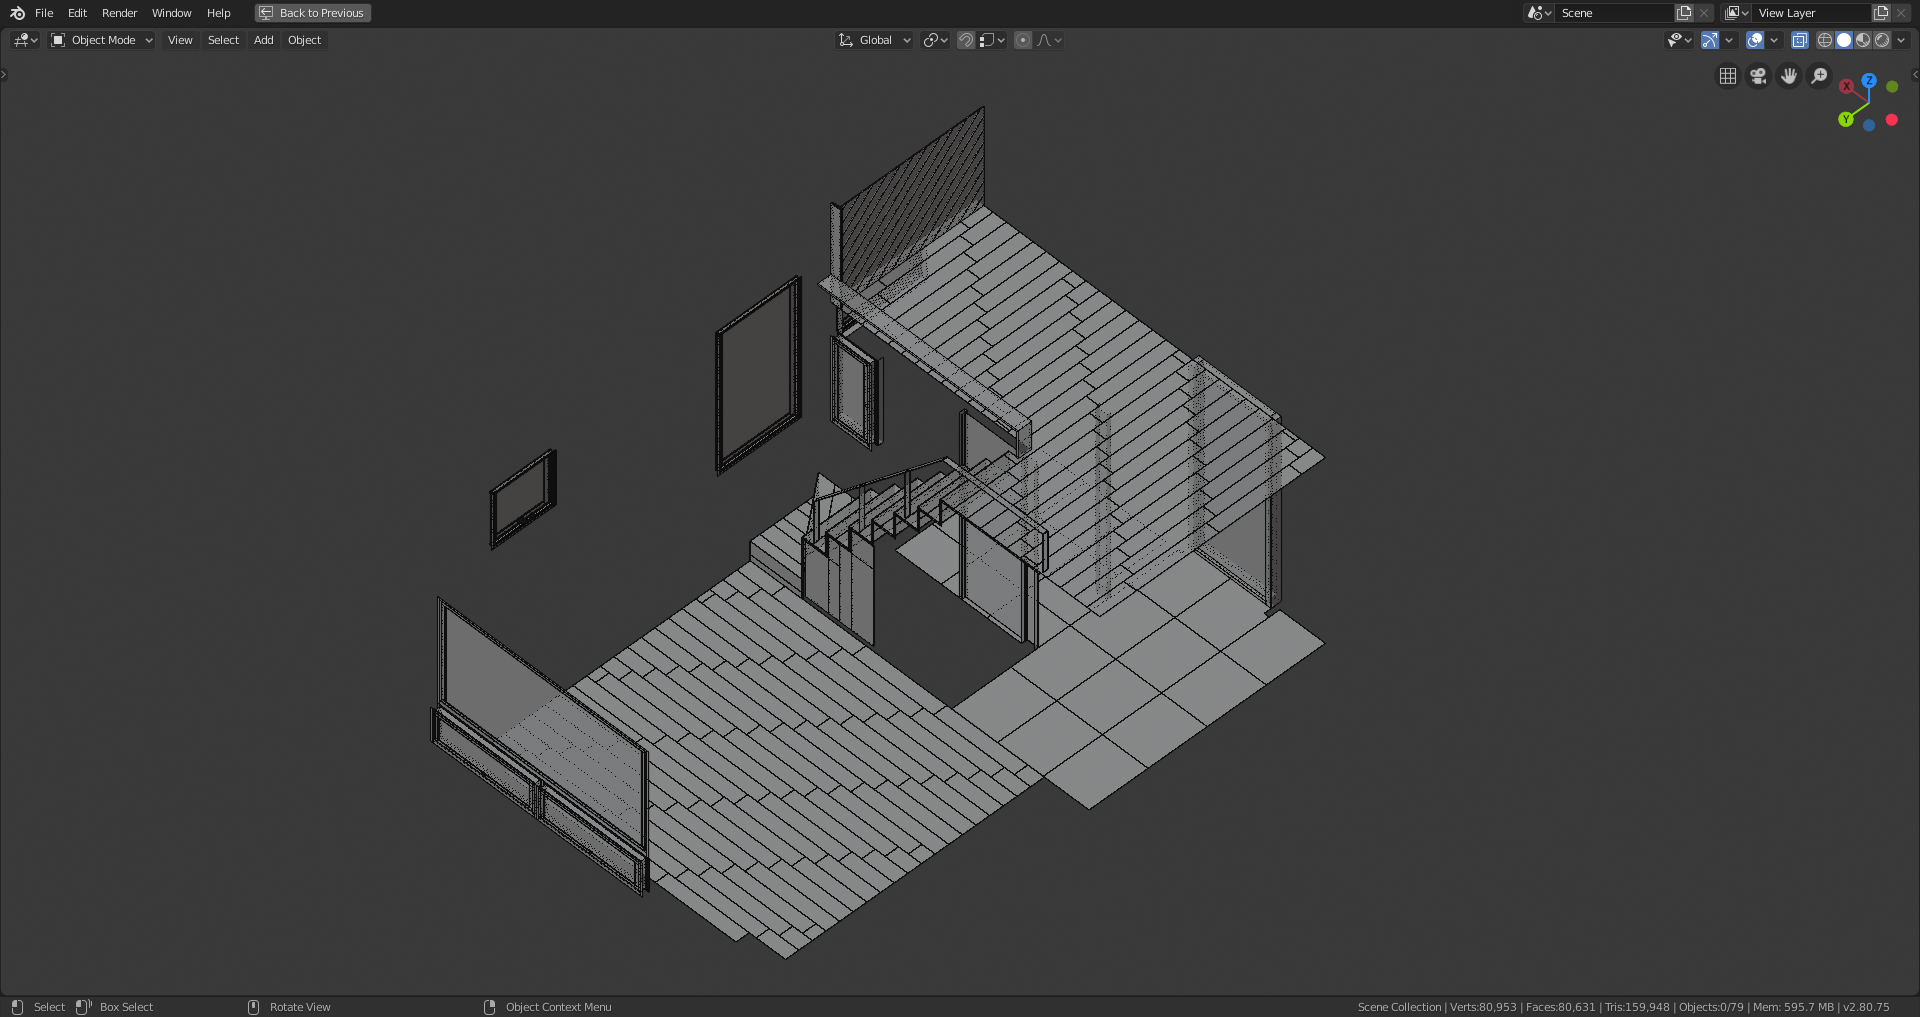
Then, I modeled the other ‘structural parts’, such as the floors (parquet), windows, doors, and other components.
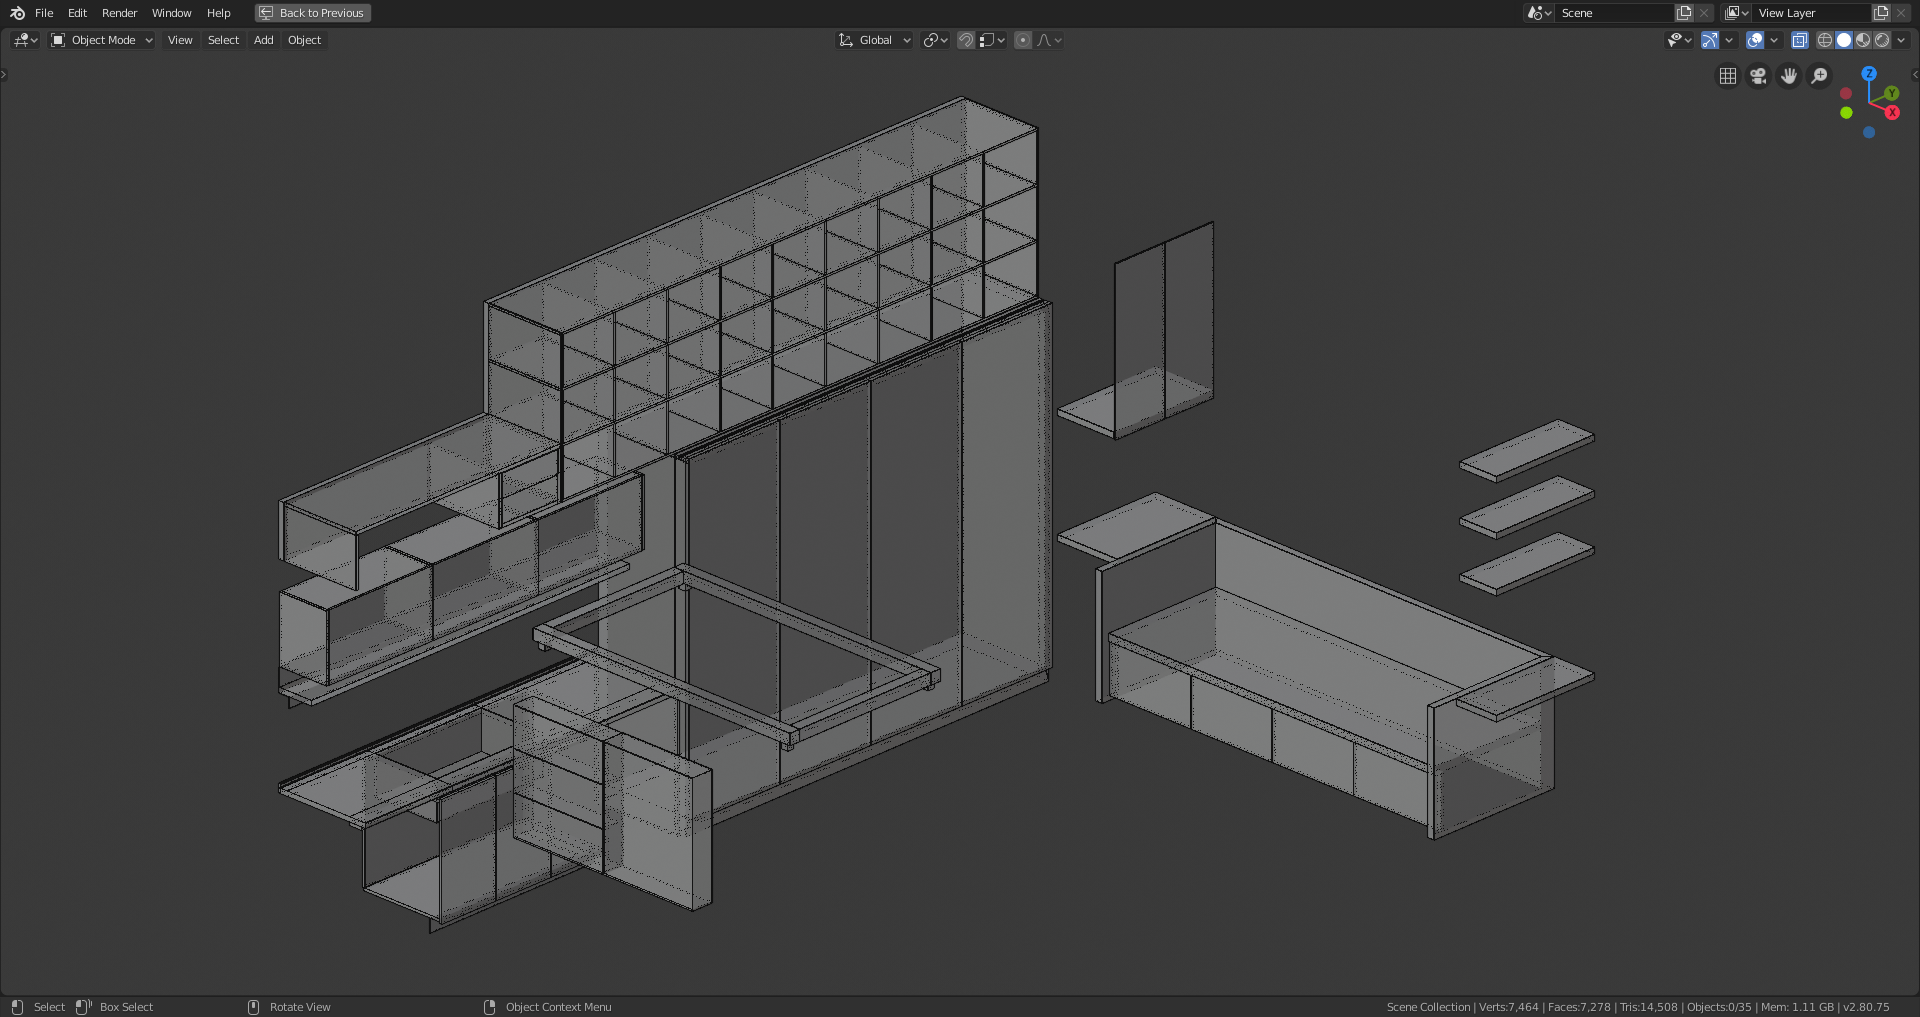
The next step was modeling the basic furniture, such as cabinets, shelves, etc.
And then, I went room by room and modeled some missing objects. Not all of the furniture was made by me; some objects are premade assets.
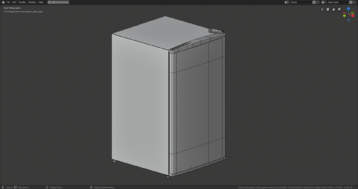
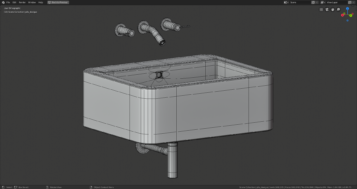
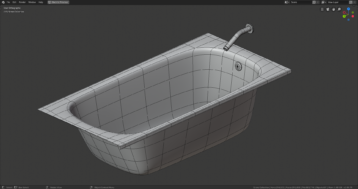
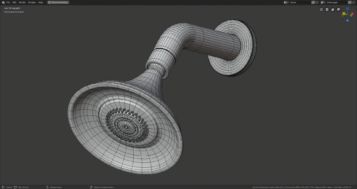
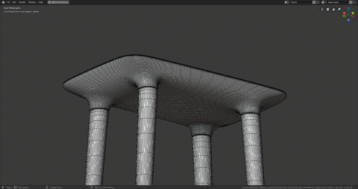
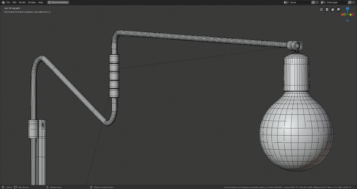
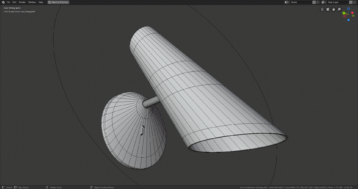
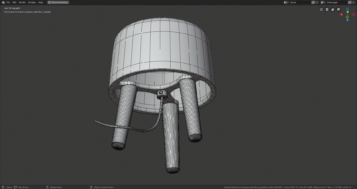
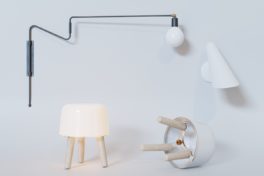
Here are some of the objects that I modeled:
Texturing and Shading
Once the modeling part was done, the next step was to apply the textures and make the shaders.
For that, I found the shading workspace pretty good, with the look dev mode being a great time saver.
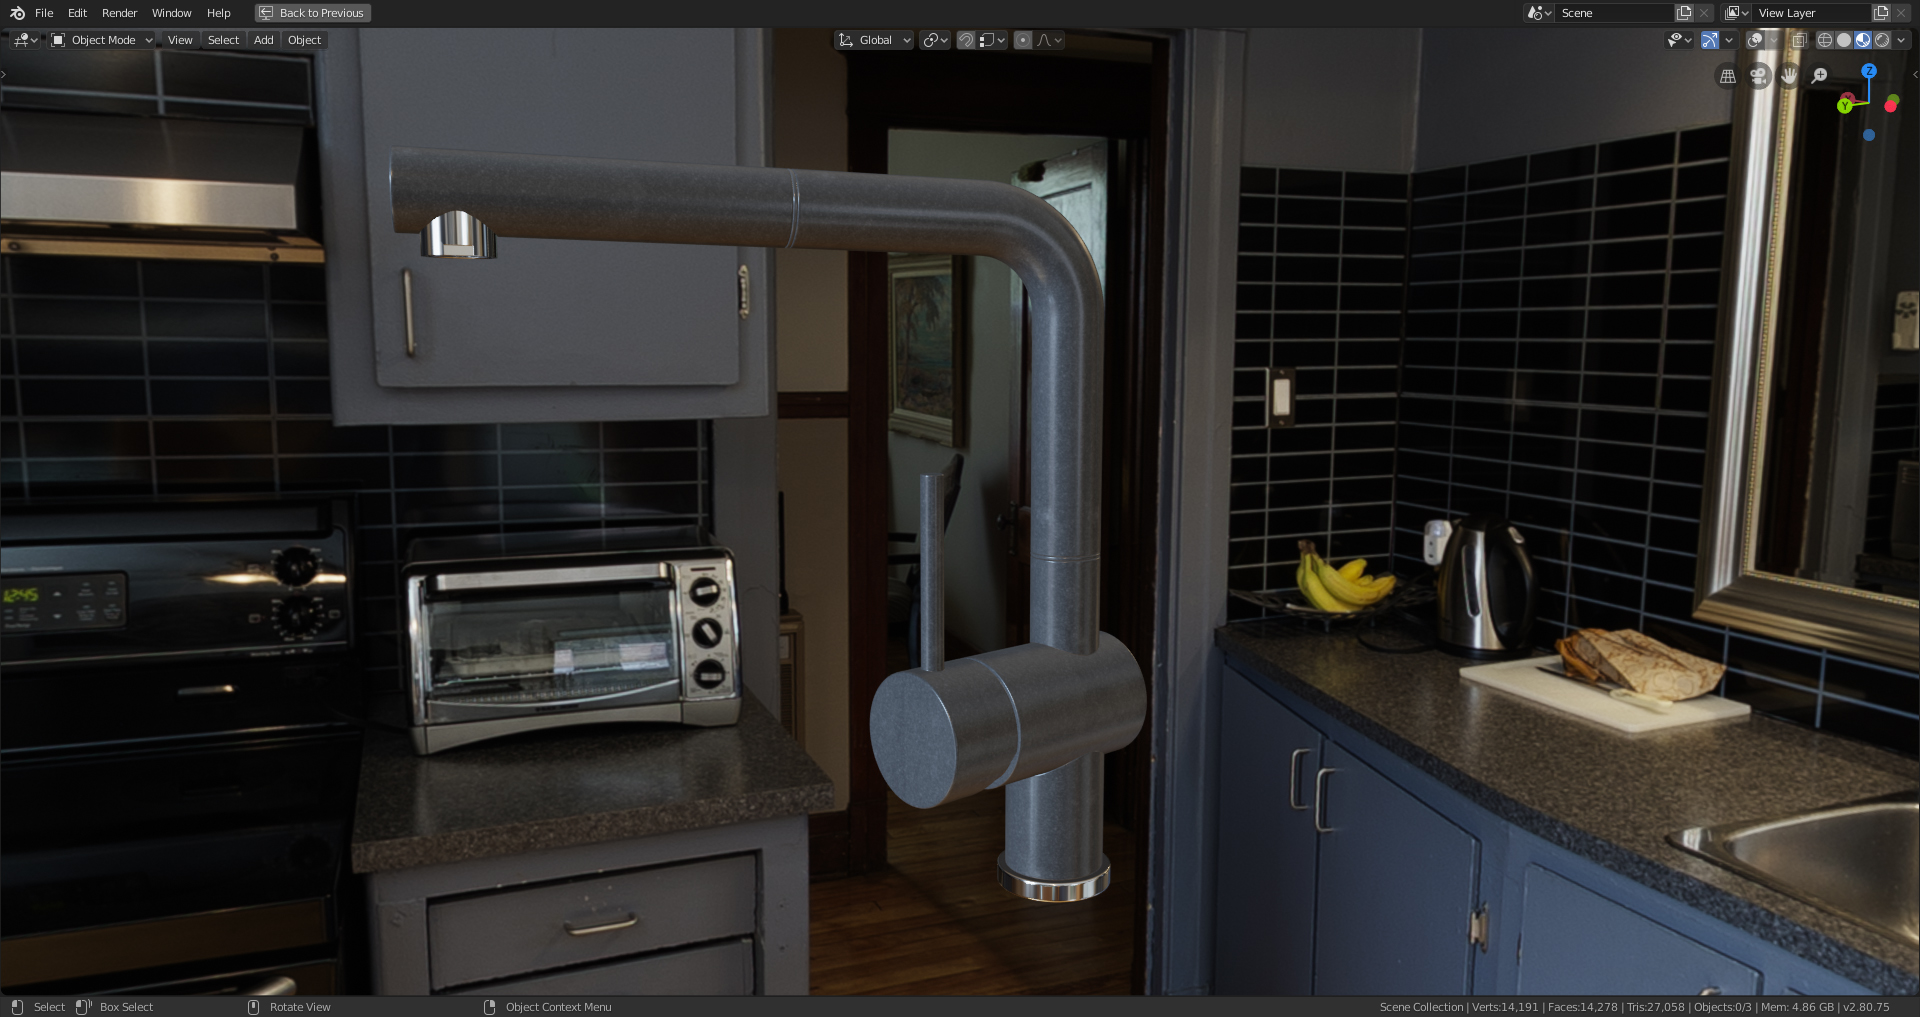
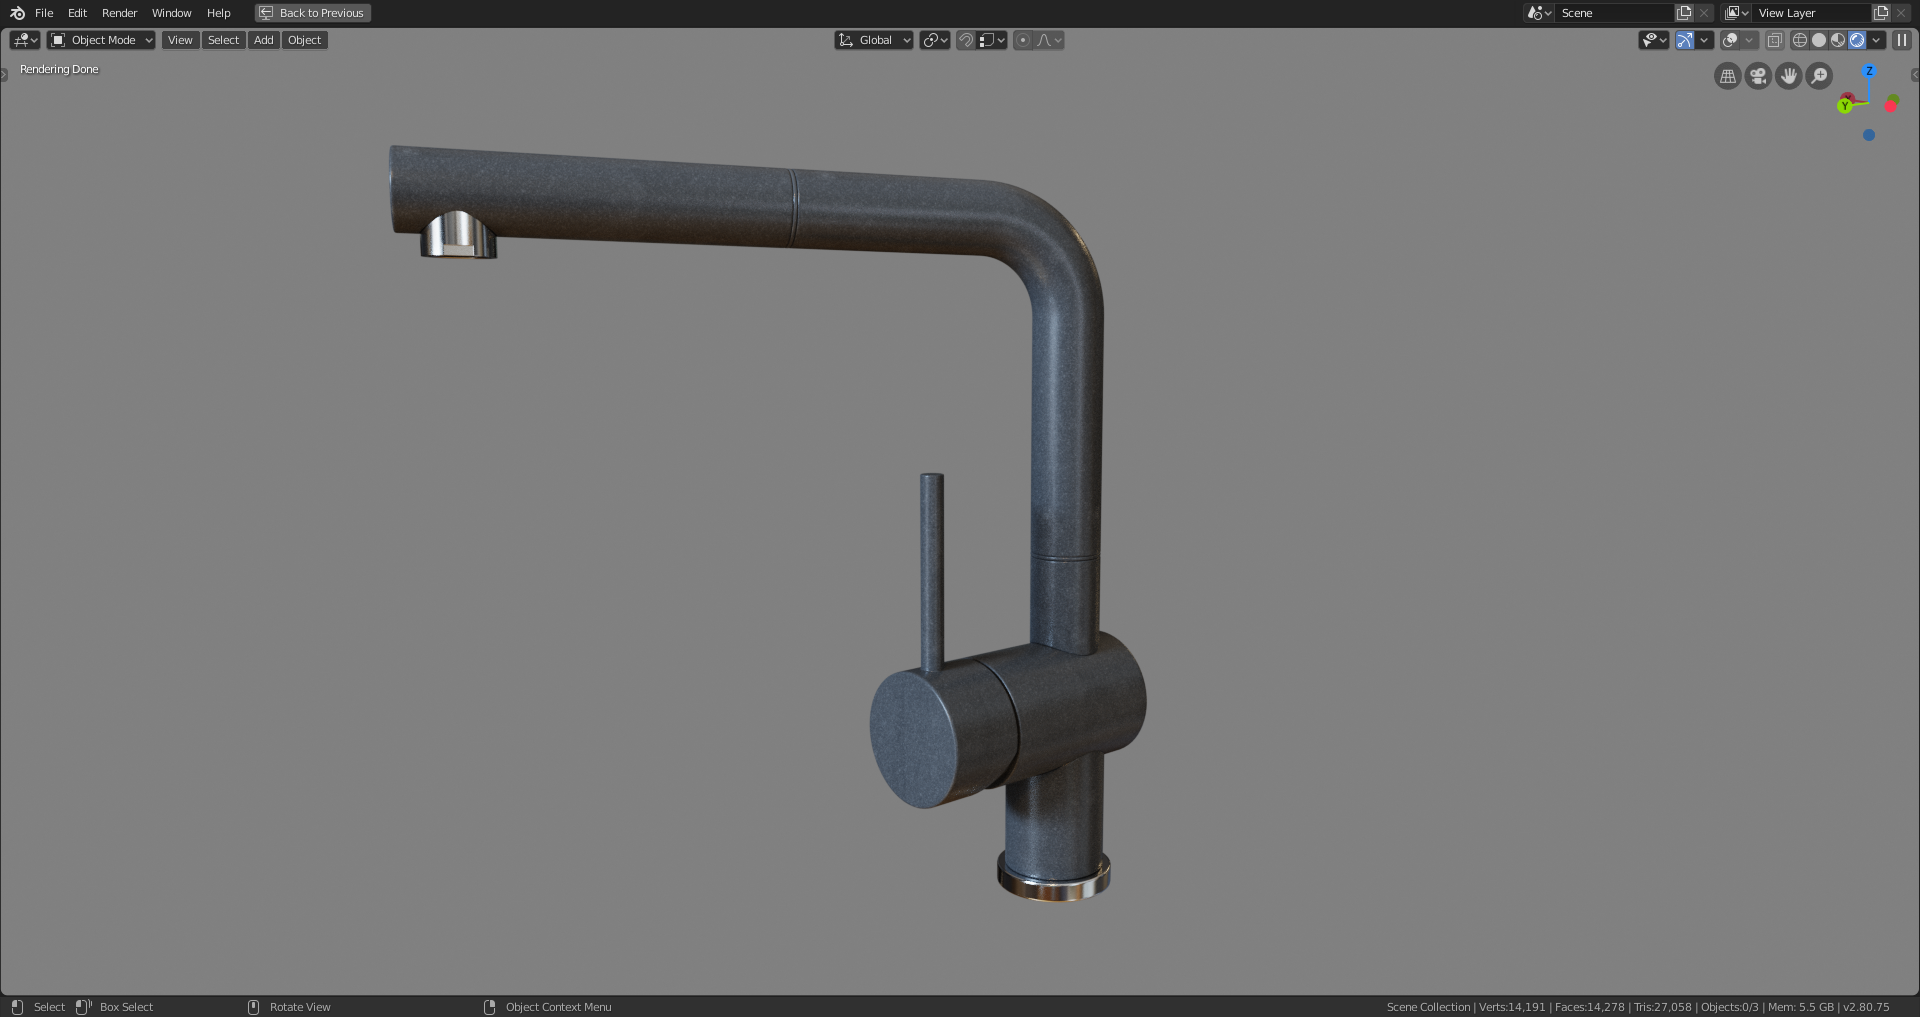
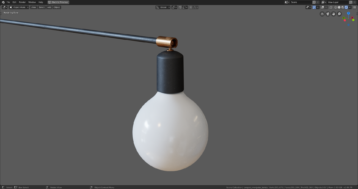
My workflow is to pick a good HDRI, well exposed and with ‘accurate’ colors, so I can compare with it and not get my saturation or albedos wrong. Here’s an example of the kitchen faucet:
Look dev:
Render:
And I repeat that process for every object of the scene. For the premade assets, most of them were created for other software, so I remade the shaders, and changed some textures.
Doing things this way can be really time-consuming, but I’ve found it a good way to be consistent with the materials. Then, when it all comes together and is lit, I don’t go crazy trying to correct things that I think should be darker, or more saturated, etc.
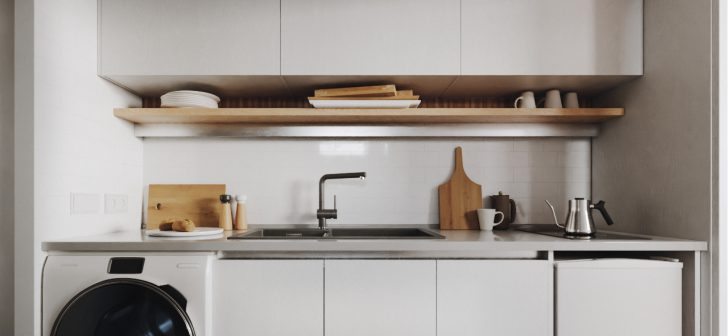
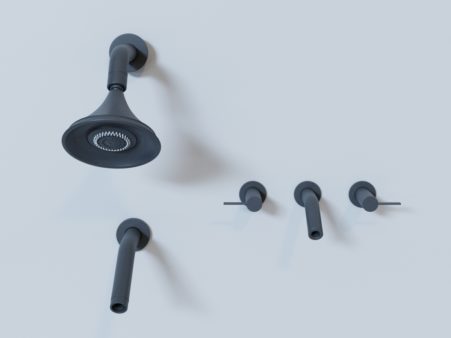
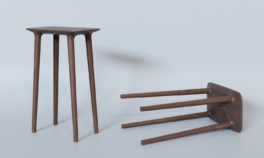
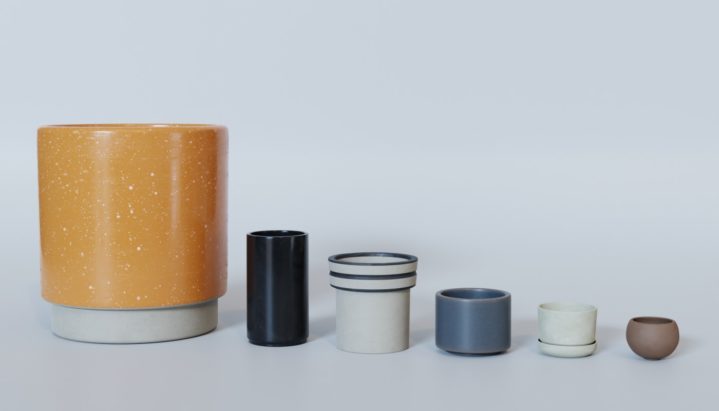
Here are some studio renders of objects modeled, textured, and shaded by me:
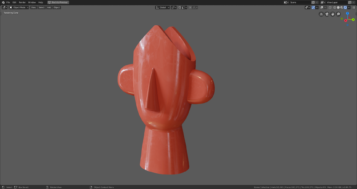
About texturing, I typically add smudges and scratches to the objects; here are two examples:
Another thing that I usually do is change some textures of the premade assets. I make the texture something that seems to me to be more pleasant, as you can see in the vase, with the black dots:
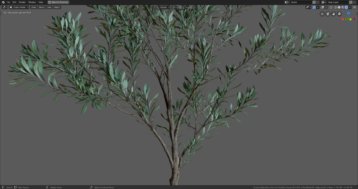
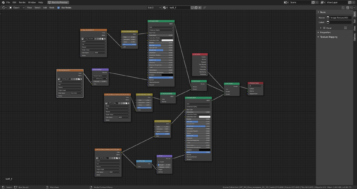
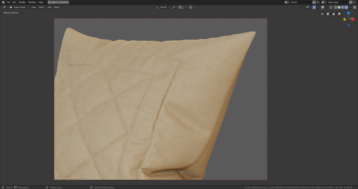
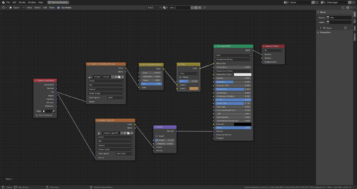
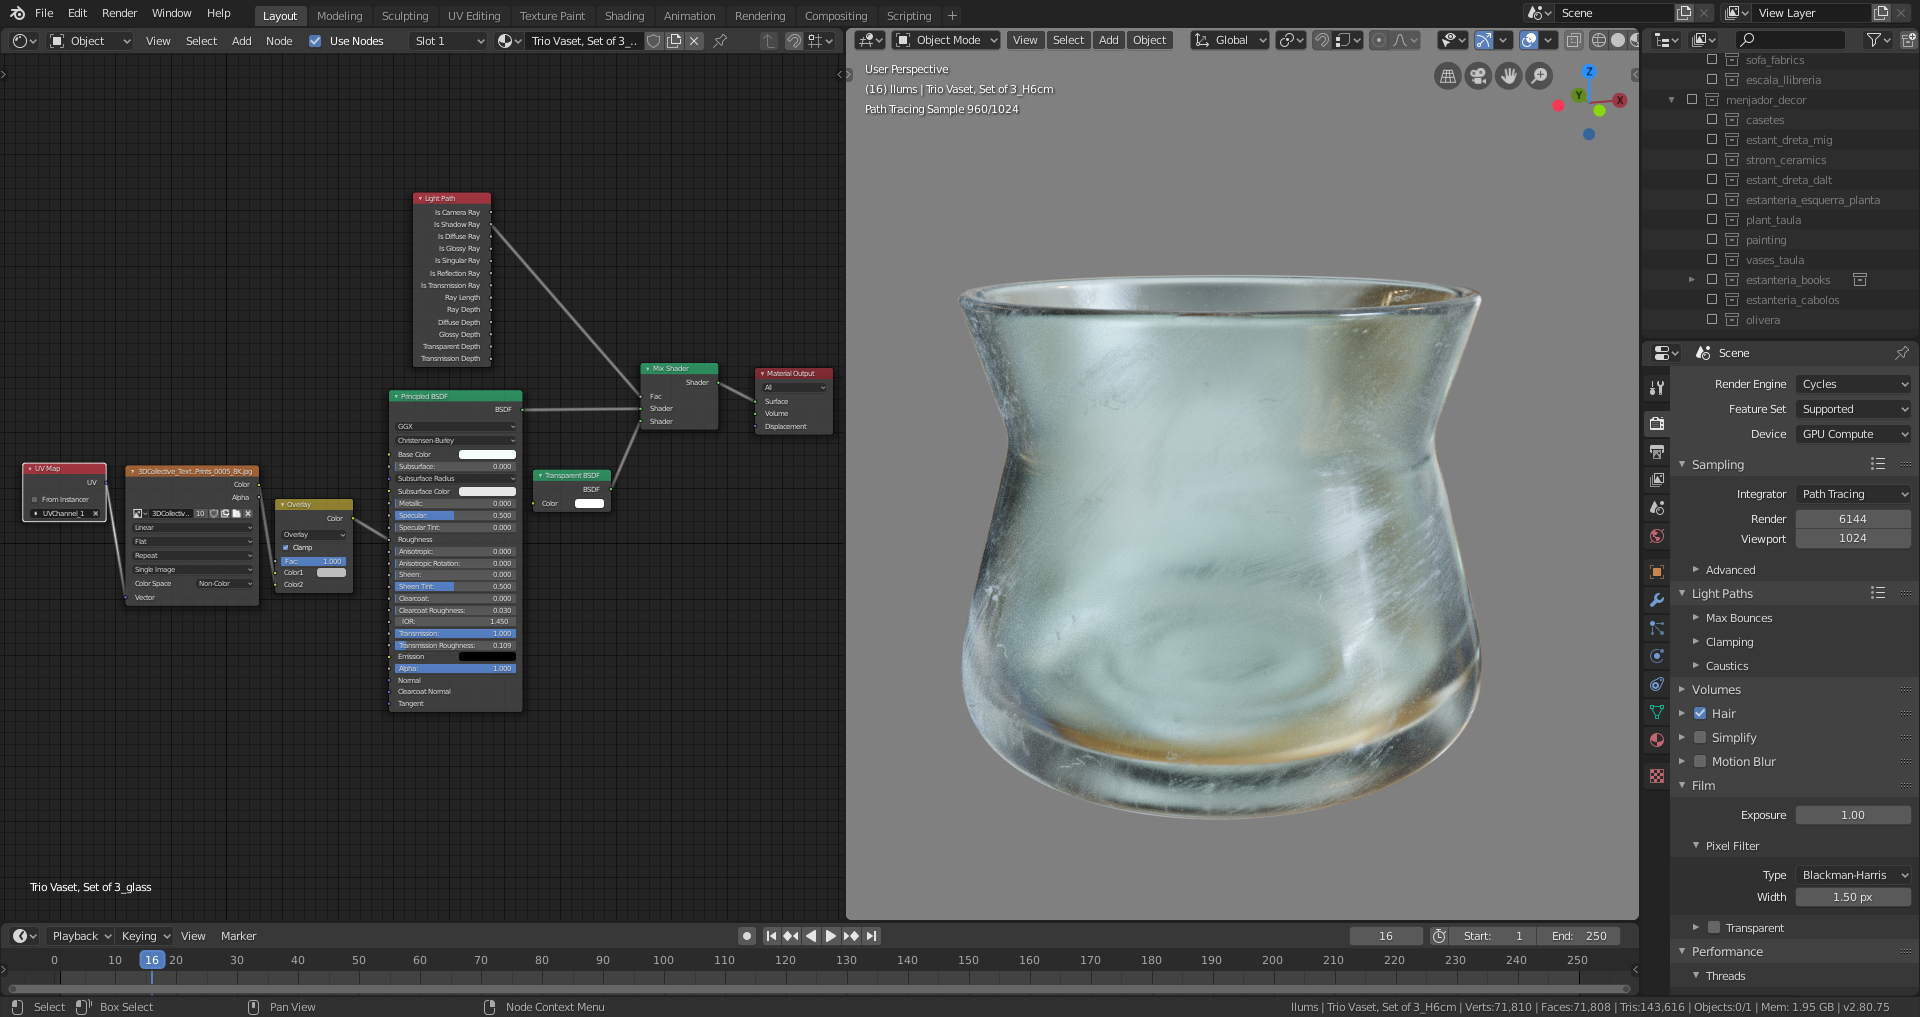
I have mostly used the principled shader in the shading process, so nothing too complex here. Here are some examples:
Leaves:
Fabric:
Glass vase:
Lighting
The scene has been lit mainly with an HDRI, a cloudy one. That gives me the mood that was I looking for. Apart from the HDRI, there is some artificial lighting to brighten the darkest areas of the rooms. For this, I used mainly spotlights and one area light in the kitchen.
To check the lighting, I used the false color LUT from filmic, so I can check the exposure. I usually put a sphere in the place that I want to be ‘well exposed,’ with an albedo of 0.18.
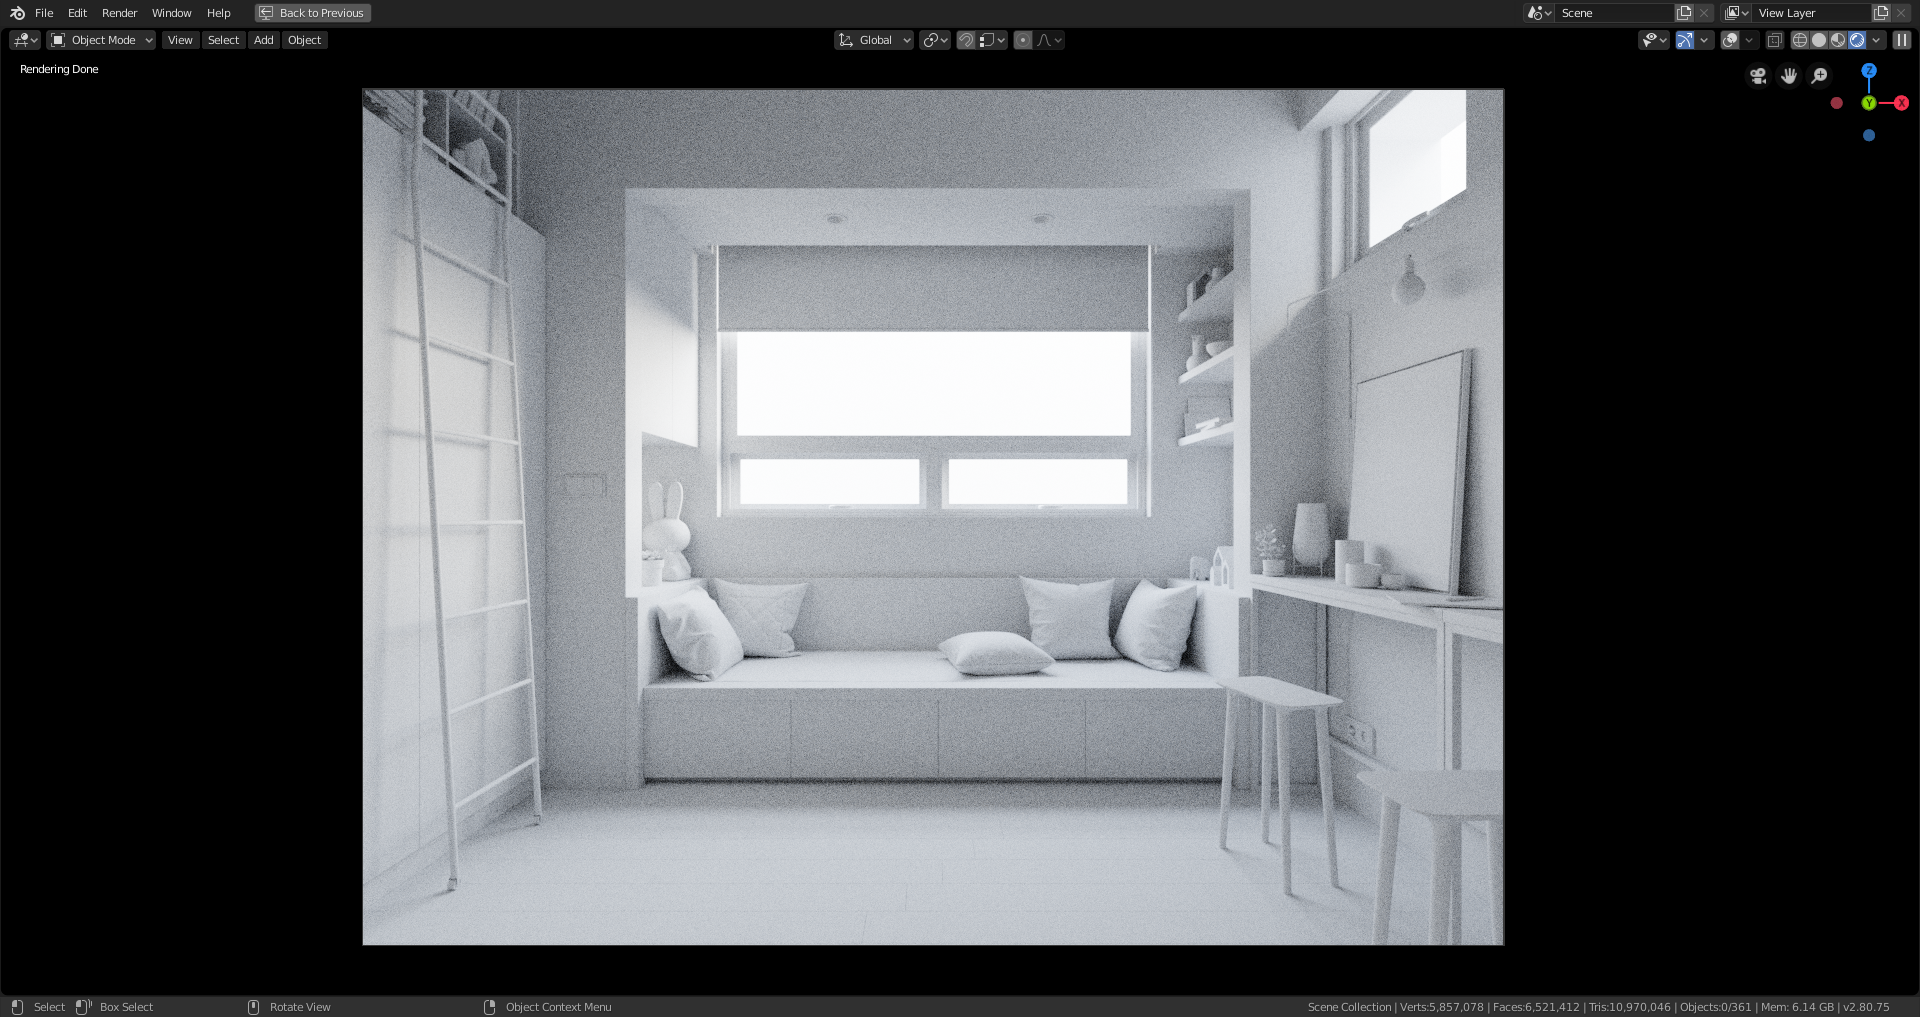
Here’s a clay preview of the living room with environment lighting only:
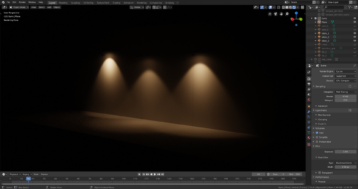
Here is how the spotlights look:
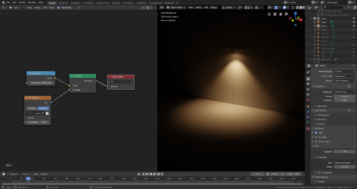
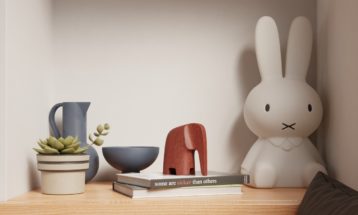
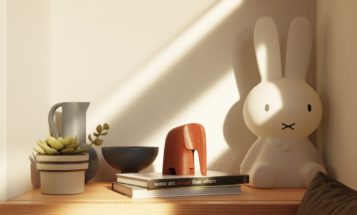
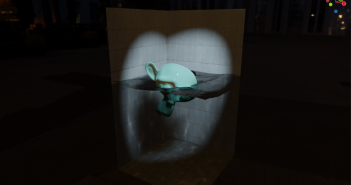
And here are some images of different lighting tests that I did during the project, just for fun, of a detail:
Rendering
The rendering setup was nothing special, the settings are the default ones.
Images have been rendered with a GTX 1060, and render times ranged from 2h to 4h per image, depending on the resolution and the sample count, which varied from 4096 to 6144. All of them used the Cycles Denoiser.
Post-production
This was the first time I tried Affinity Photo for post-production. You can use filmic Blender with it, and that’s really great. I didn’t want to do heavy post-processing for this project, so images are similar to the straight output from Blender.
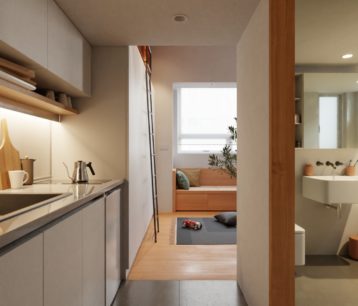
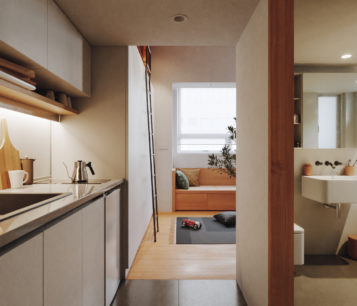
I’ve adjusted the exposure, the white balance, saturation, contrast, added a little bit of noise, and that’s all. Here’s a comparison, the first without and the second with post-production:
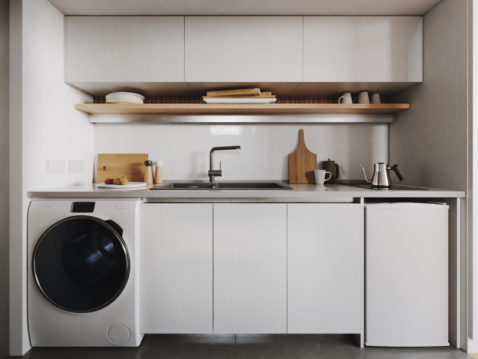
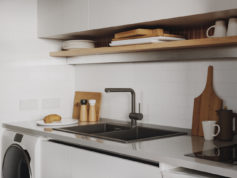
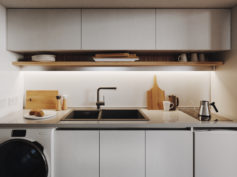
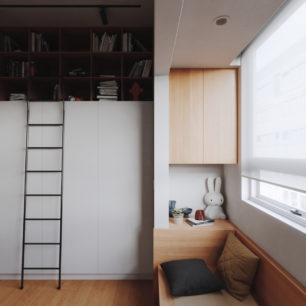
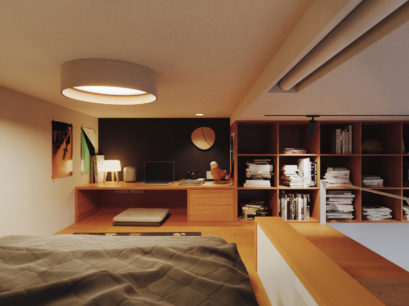
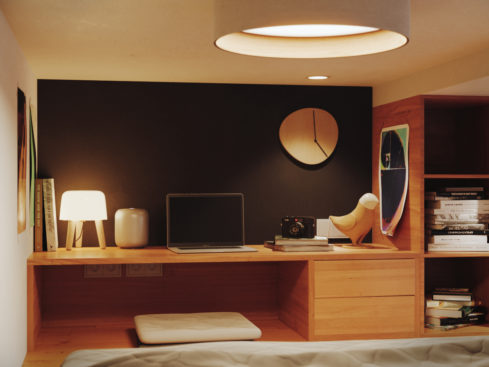
Final Renders
About the Author






7 Comments
Wow, very nice and meticulous! Wonder how long the whole project took?
Thanks MB!
I've been doing it in my free time... but may be about a month working on it full time....
Hi Smili. Really like you work.
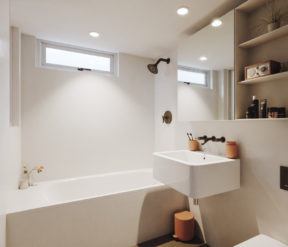
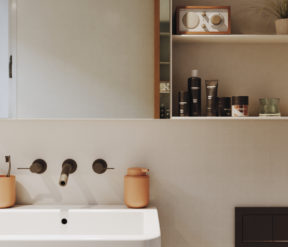
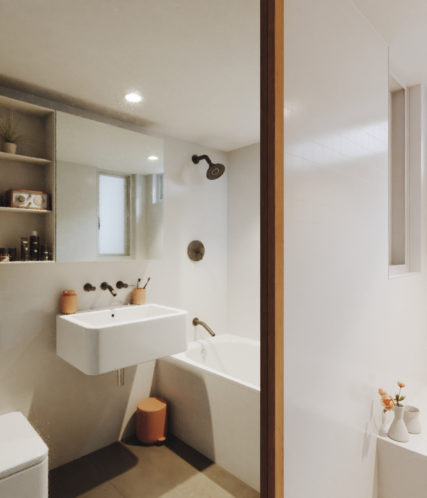
Escepically for the 3rd one of the bathroom, how do you make the lighting set up there. Since the window is very small, the HDRI light can get pretty hard to illuminate the scene. I find it hard to make it photo-realism using a lot of artificial light. Any tips on that ?
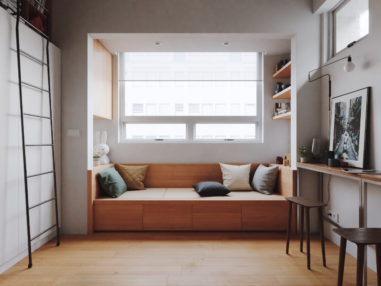
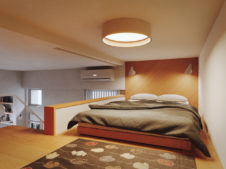
And same questions for the indoor-loft scene, where HDRI almost not working there..
Hi Richard! Thanks for the comment!
Regarding your question, one thing I've learned is to keep in mind the 'relation' between the lights. I mean, if the environment light is low, and you put the artificial lighting strength too high, this will result in the influence of ambient light being barely visible. So if you want to show the two sources of light, you can lower the strength of the spot lights and then setting up the exposure slider in the CM panel. Another 'tip' to check the relations between lights is to use the false color lut, that helps a lot to see what is over or underexposed, so you can set up a well balanced or the desired result. Hope that helps and sorry for my bad english!
Lovely render! Could you show more detail about using false color LUT in filmic for checking exposure? Thank you very much
Thanks Harumaki! Here's a link explaining it:
https://blender.stackexchange.com/questions/101481/how-do-i-calibrate-exposure-to-match-a-gray-scale
And there's a lot of information about that on that page and in blenderartists forum too, hope that helps!
Thank you very much! You help me alot! I appreaciate that!