Behind The Scenes: Casio G-Shock MT-G B-1000
My name is Bernard Wong, I am a Hong Kong Based self-taught 3D Generalist/Marketer with a strong focus on Product Visualization because I want to combine my marketing background with various 3D skills that I have learned over the years.
Besides clients’ projects, I also do personal projects like this one for my portfolio.
Inspiration
I was shopping at a mall in Hong Kong and I saw this big G-Shock banner ad. I couldn’t stop thinking about how I would approach it. I got so inspired and the only way to get it off my mind was to just do it. It was a challenge for myself.
Softwares I Used
I created the model in Blender, rendered with Cycles and post-processed in Photoshop.
Reference
I gathered most of the references off of various websites, for example, the Casio main site, a watch review site, a few videos, and Google images. I wanted to get a good all-around look at the watch before modelling it.
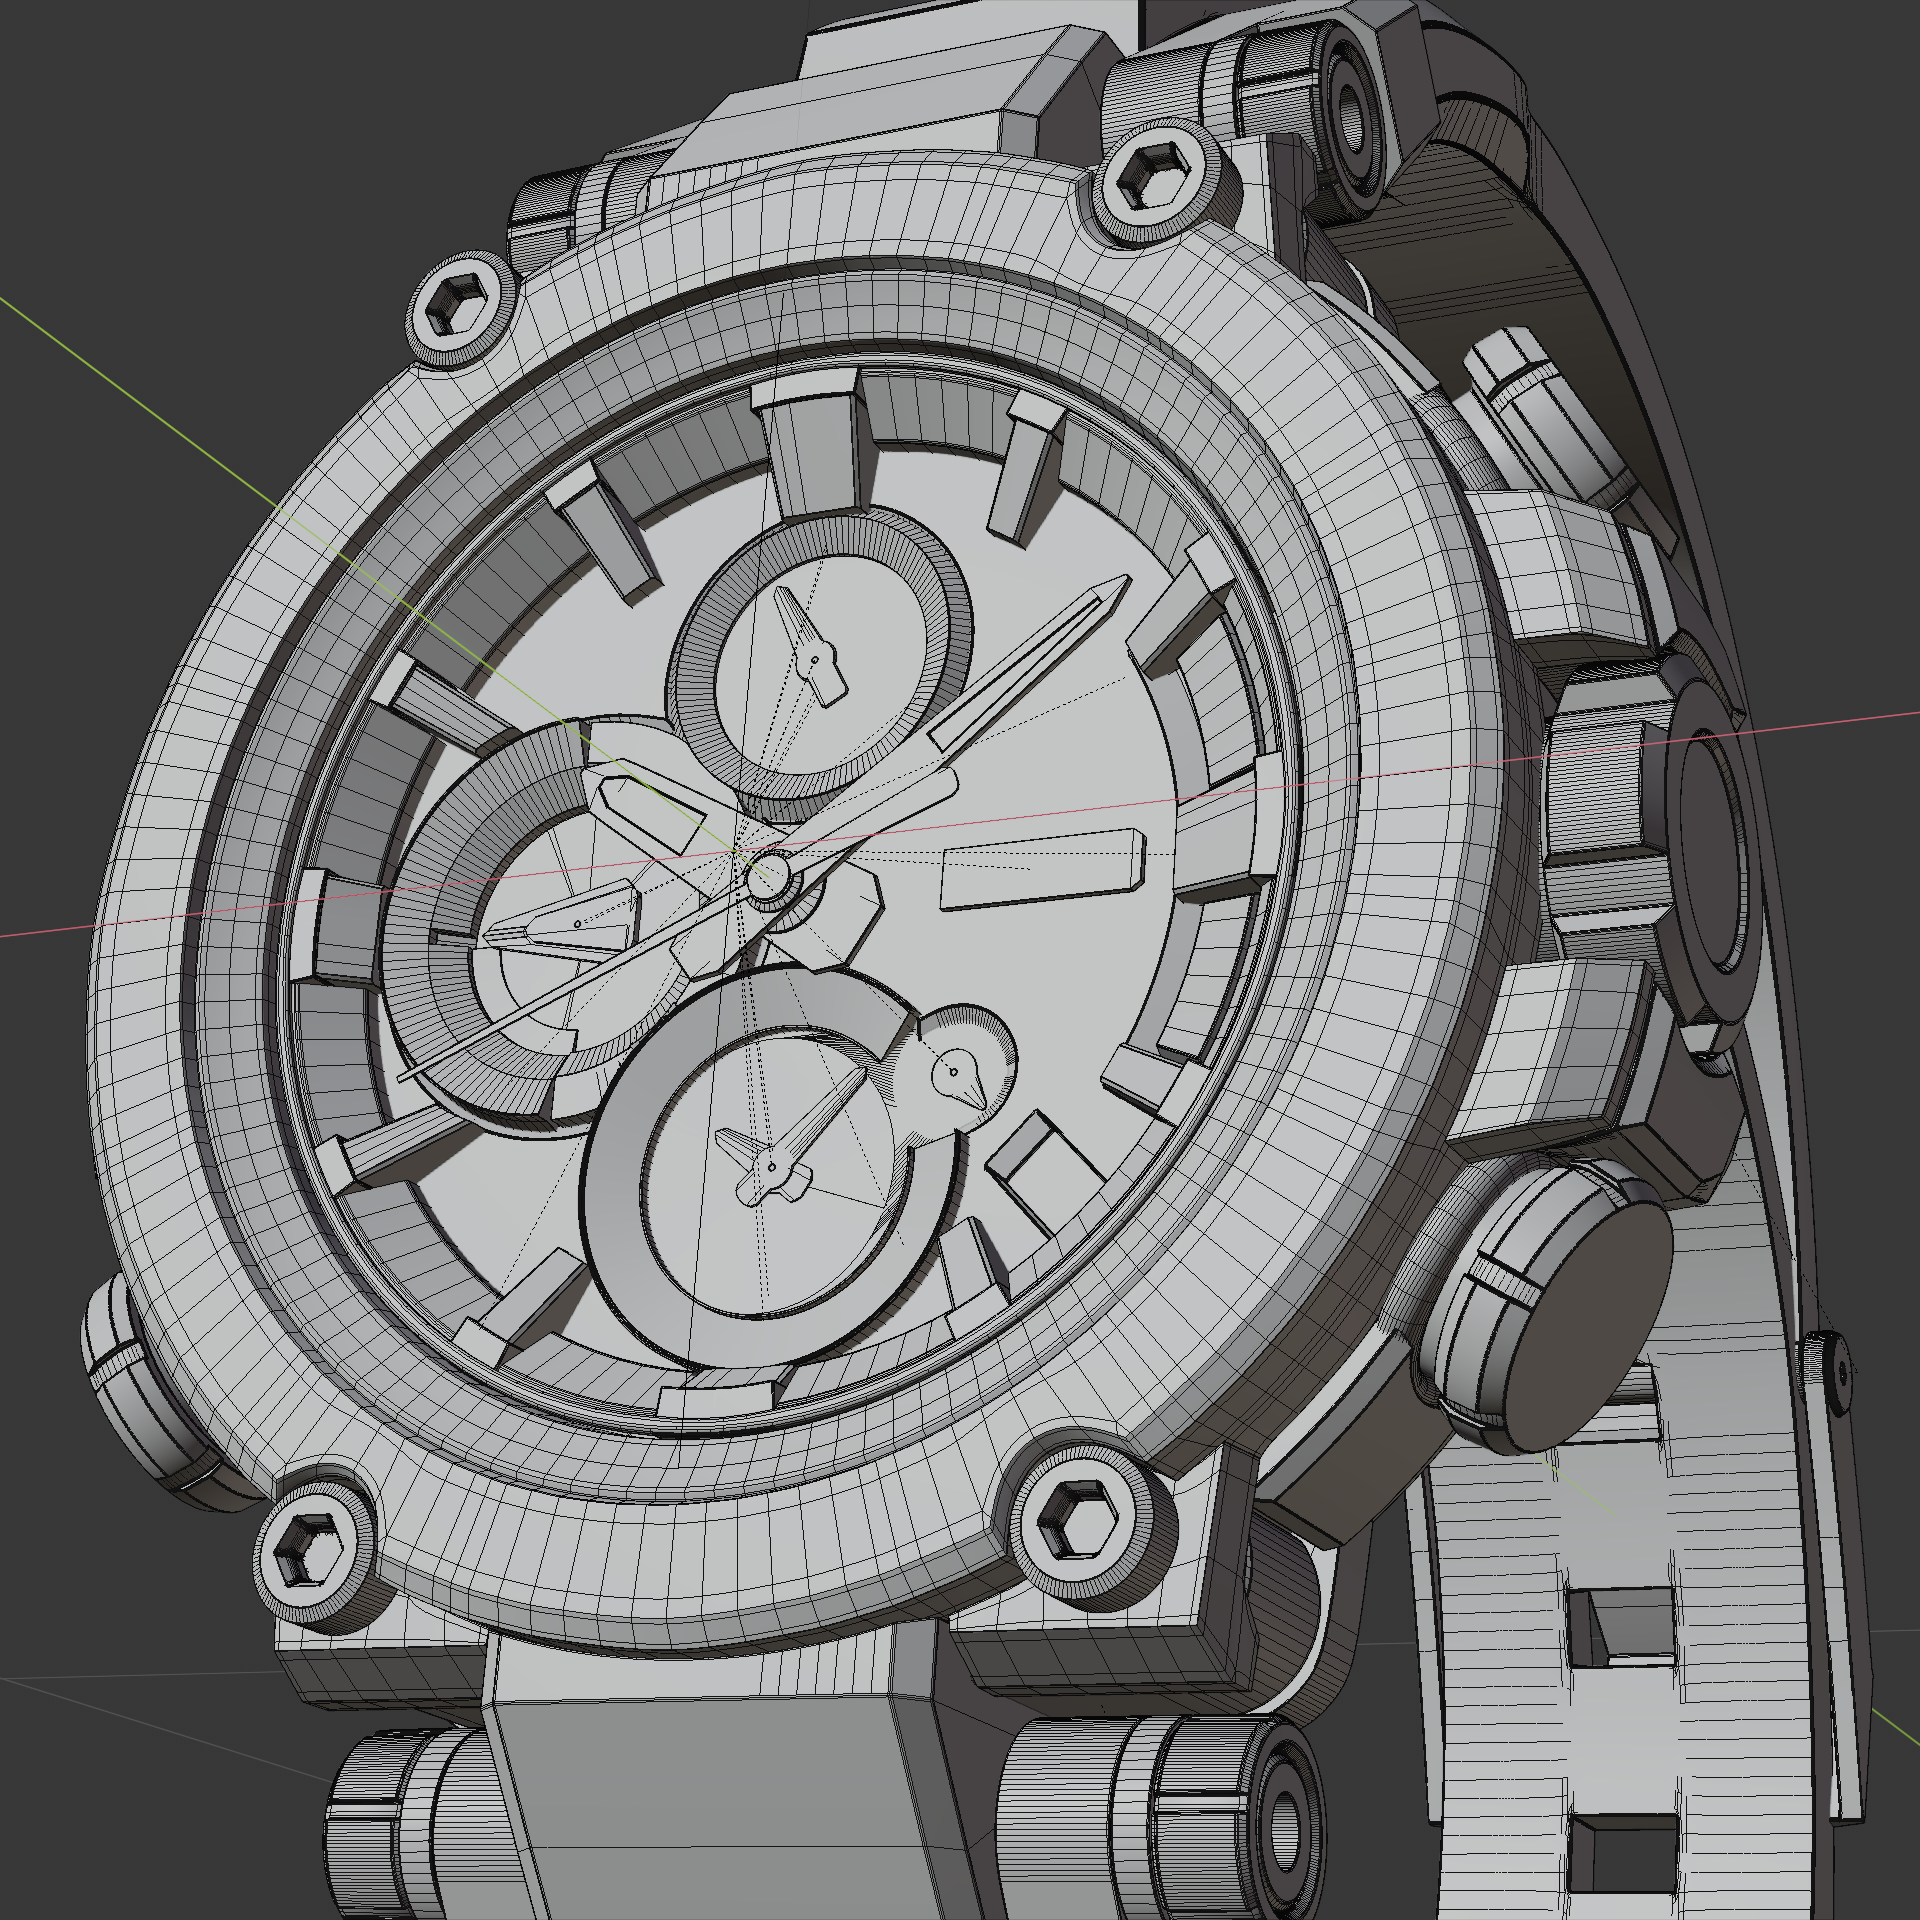
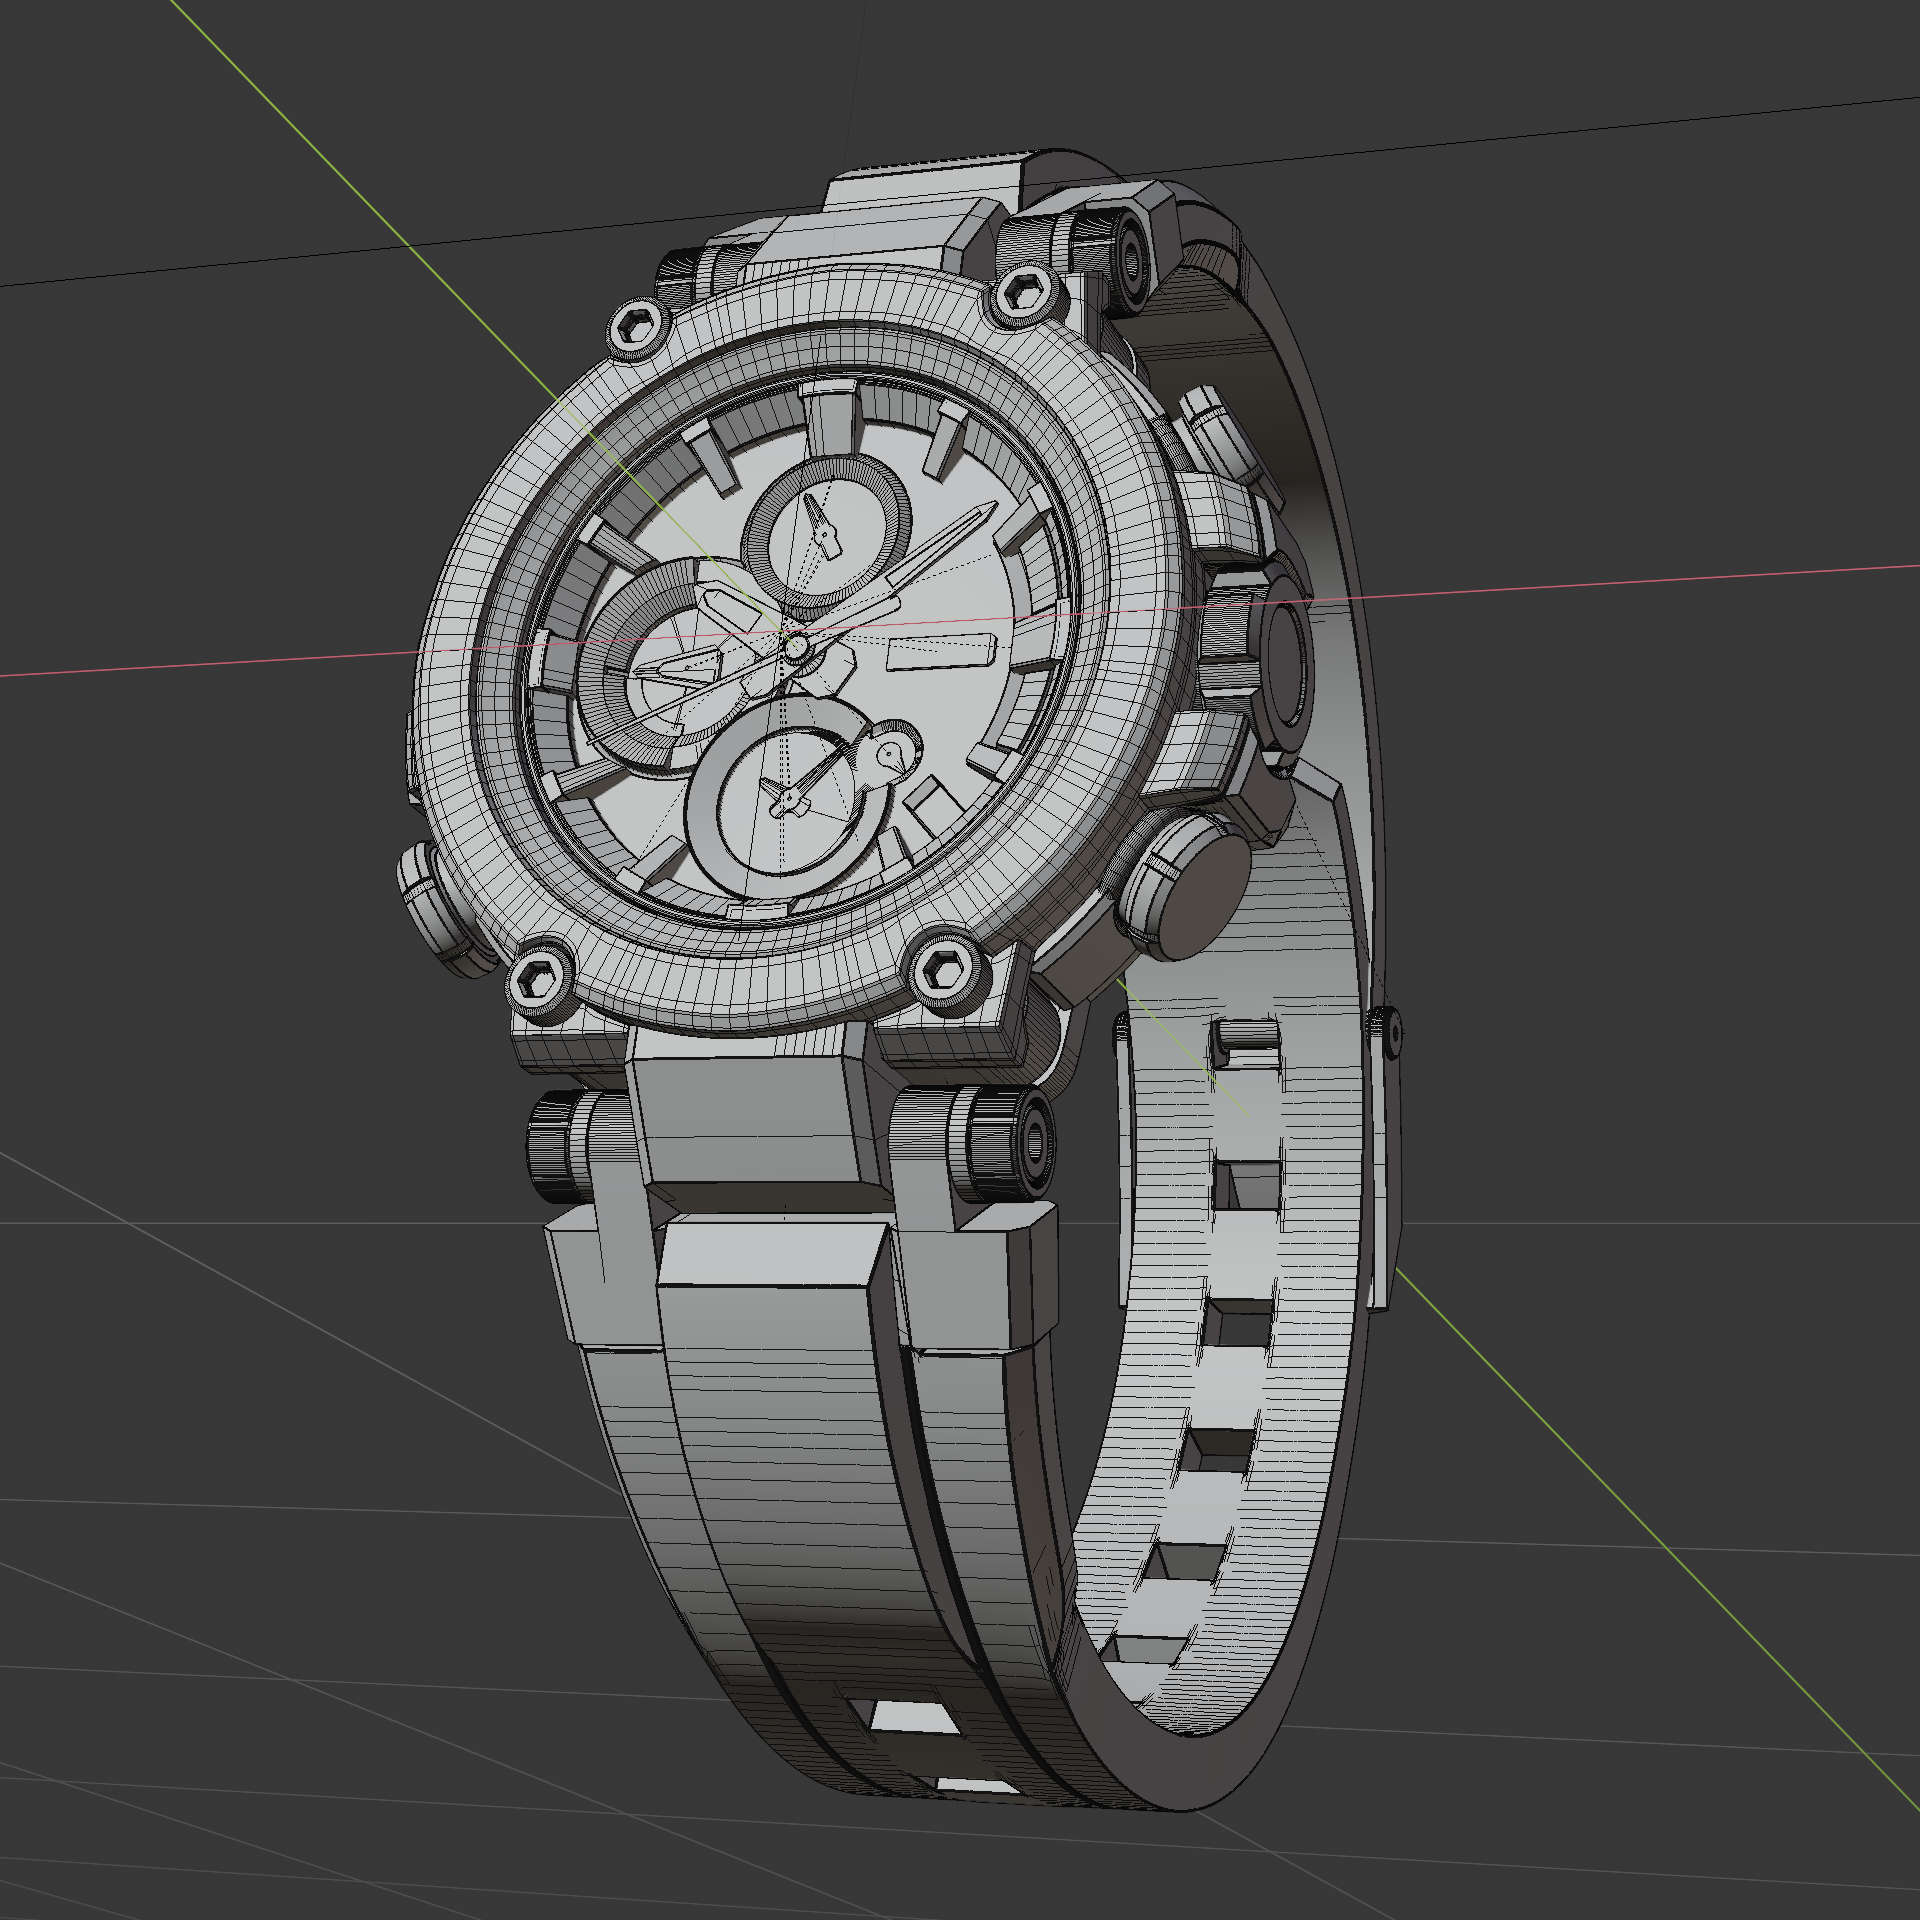
Modeling
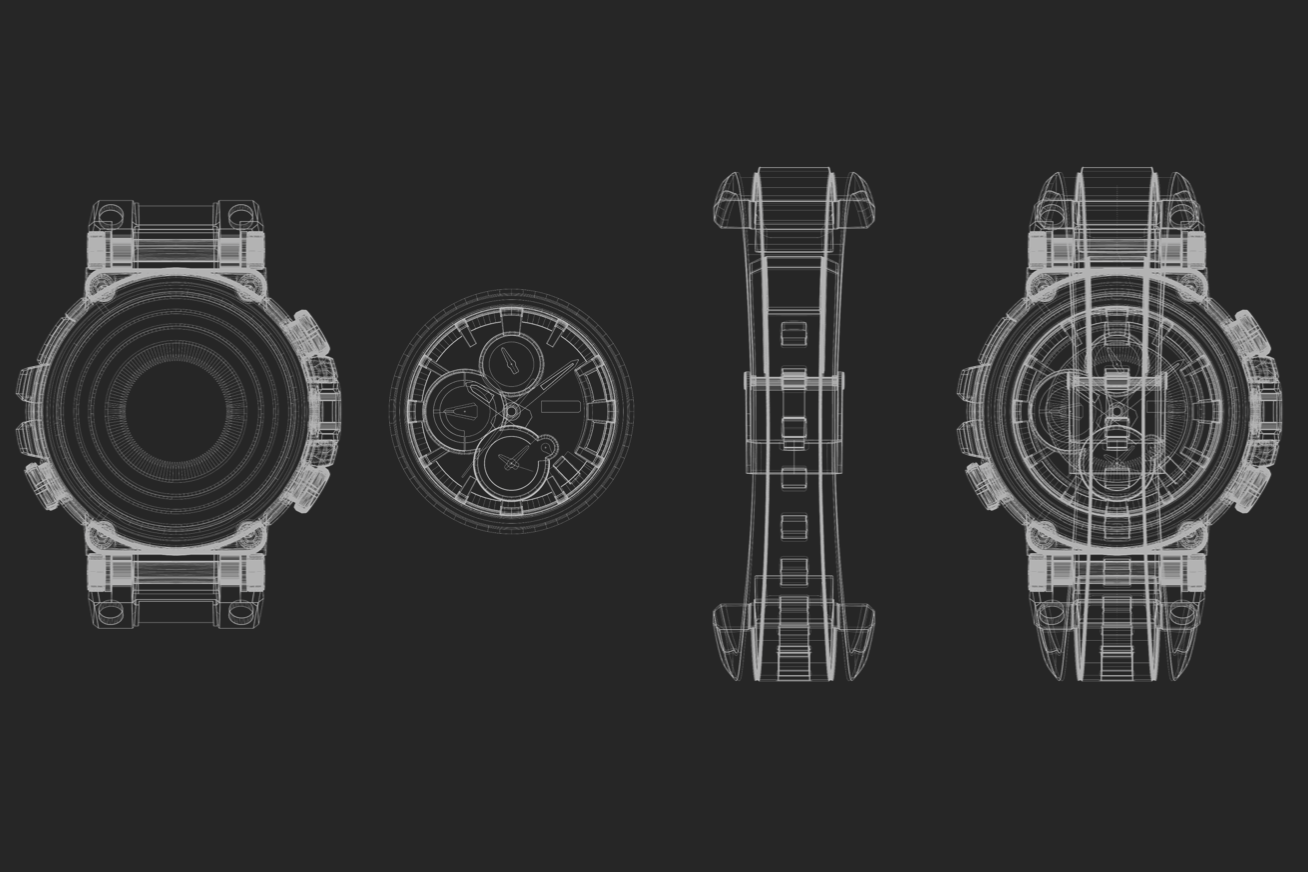
I usually don’t start until I have mapped out most of the process in my head. I model the biggest piece first and work my way down, biggest to smallest, outer to inner. Below is an exploded view of the model.

Texture
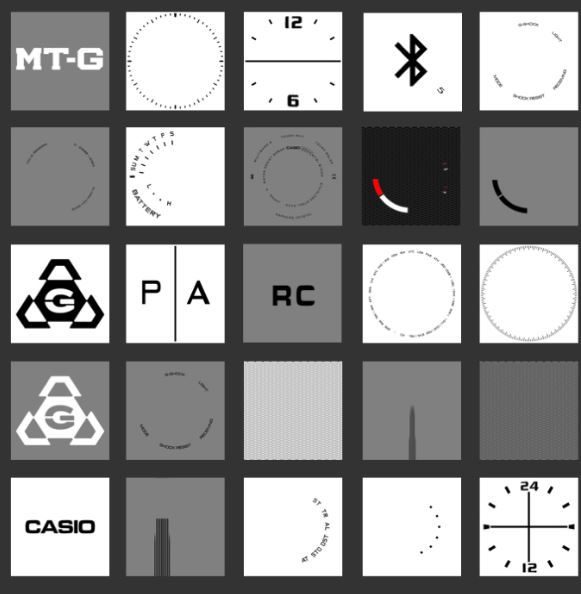
I created all of the texture maps in Photoshop (Diffuse, Normal map, Displacement map, Roughness map).
I also created a custom radial brushed metal texture because I was unable to find any good ones online.
For the fonts, I took some time to look for some free ones online that look similar to the one they use on the actual watch. They are close enough.
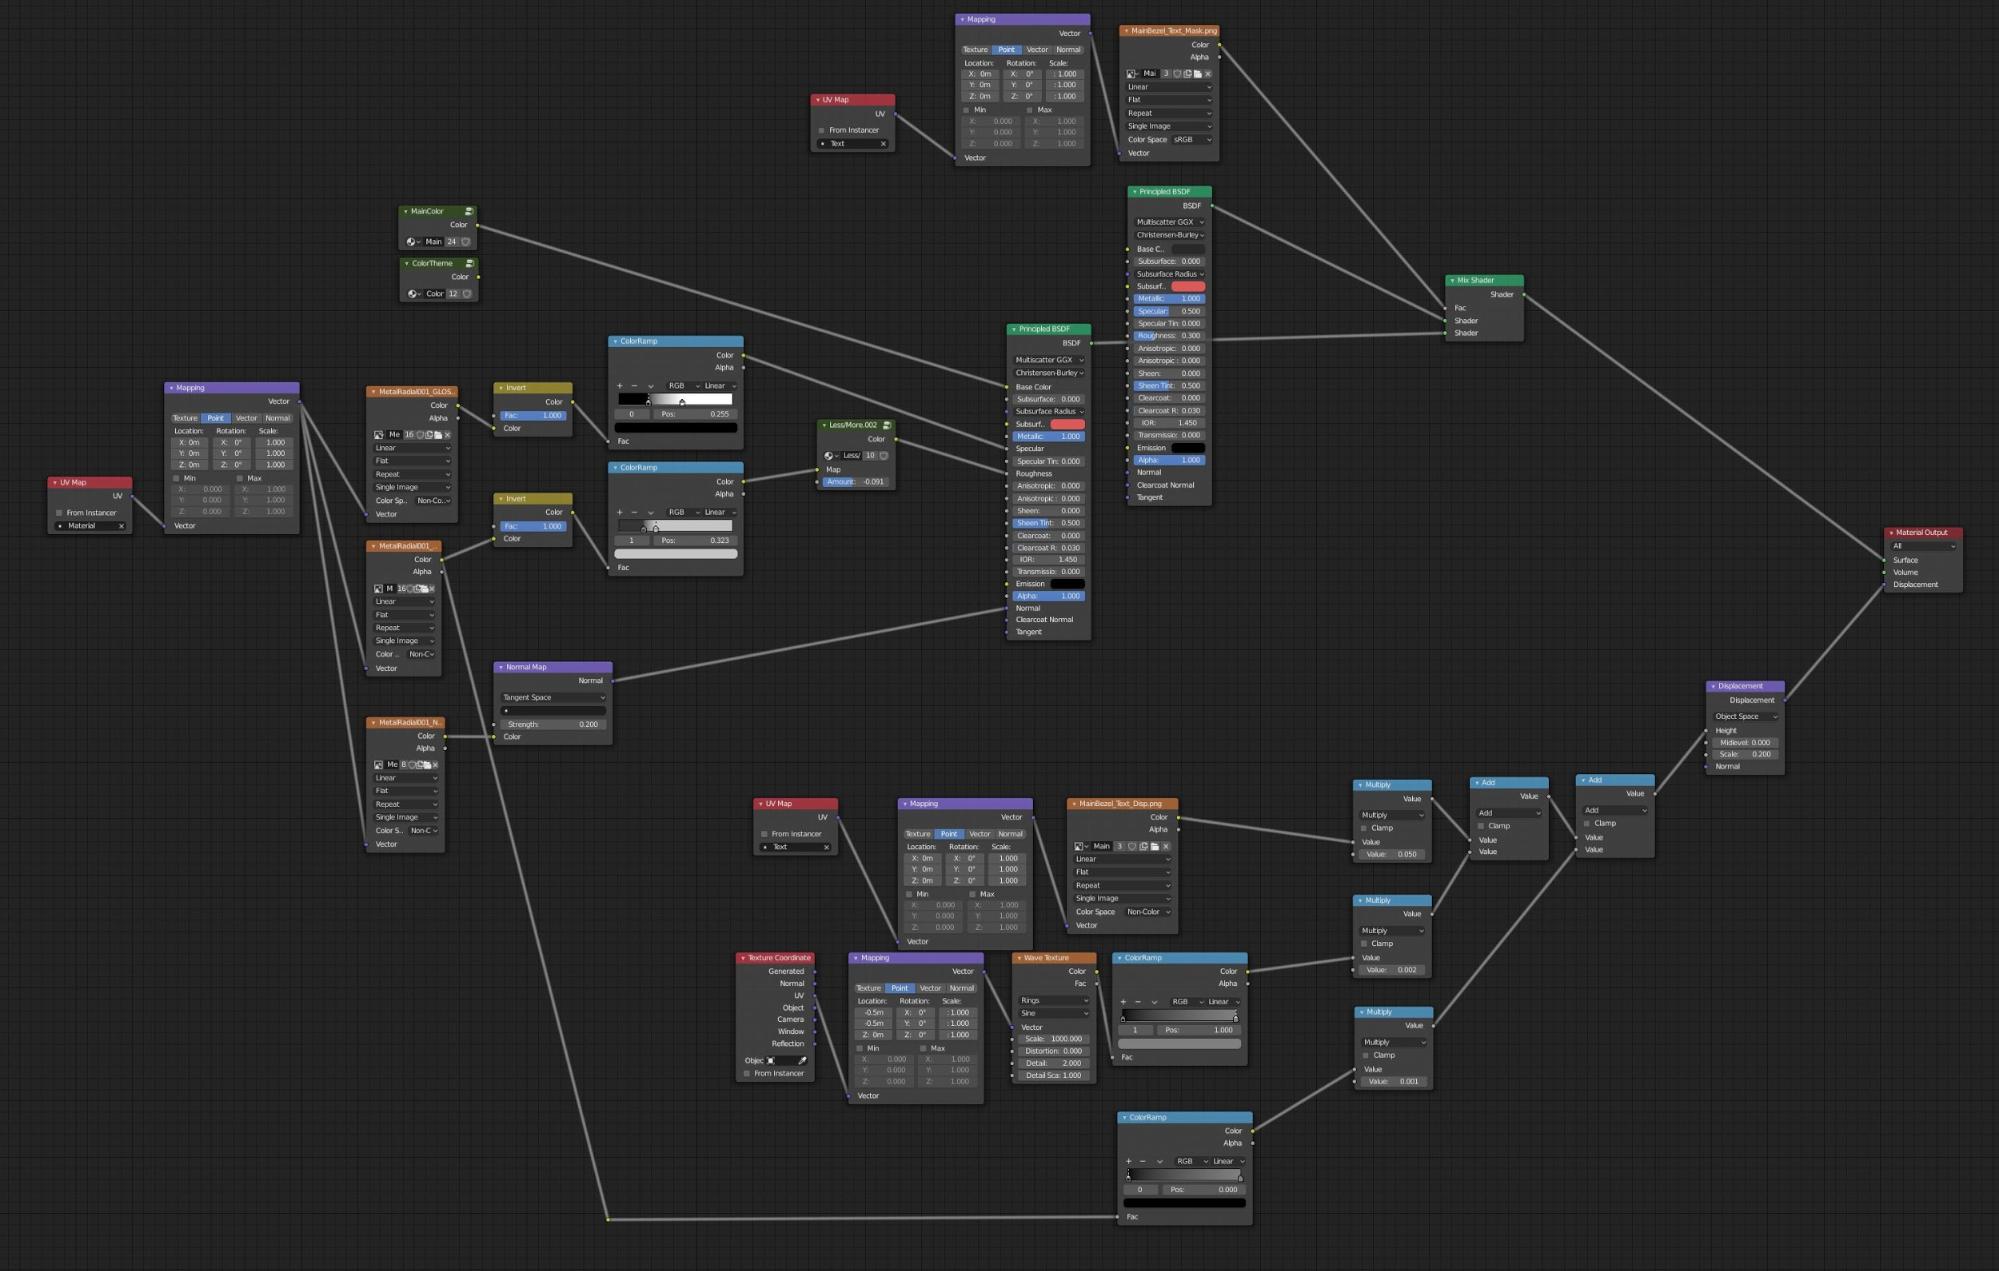
Material
I used the built-in principled shader, plugging in different textures that I made and some procedural textures such as noise, voronoi or musgrave where I saw fit.
Below is the screencap of one of the node setups for the main material.
Lighting Setup & Rendering
I used a few emissive planes with a gradient texture and a few point lamps for the highlight on the chrome bezel.
I created multiple renderings with different lighting and layered them in Photoshop.
To layer them up, I loaded them into the stack and changed the layer blending mode from normal to lighten.
Then I created a mask and masked out the parts that I didn’t like or masked in the ones I did like.
Below is what I mean by multiple renderings.

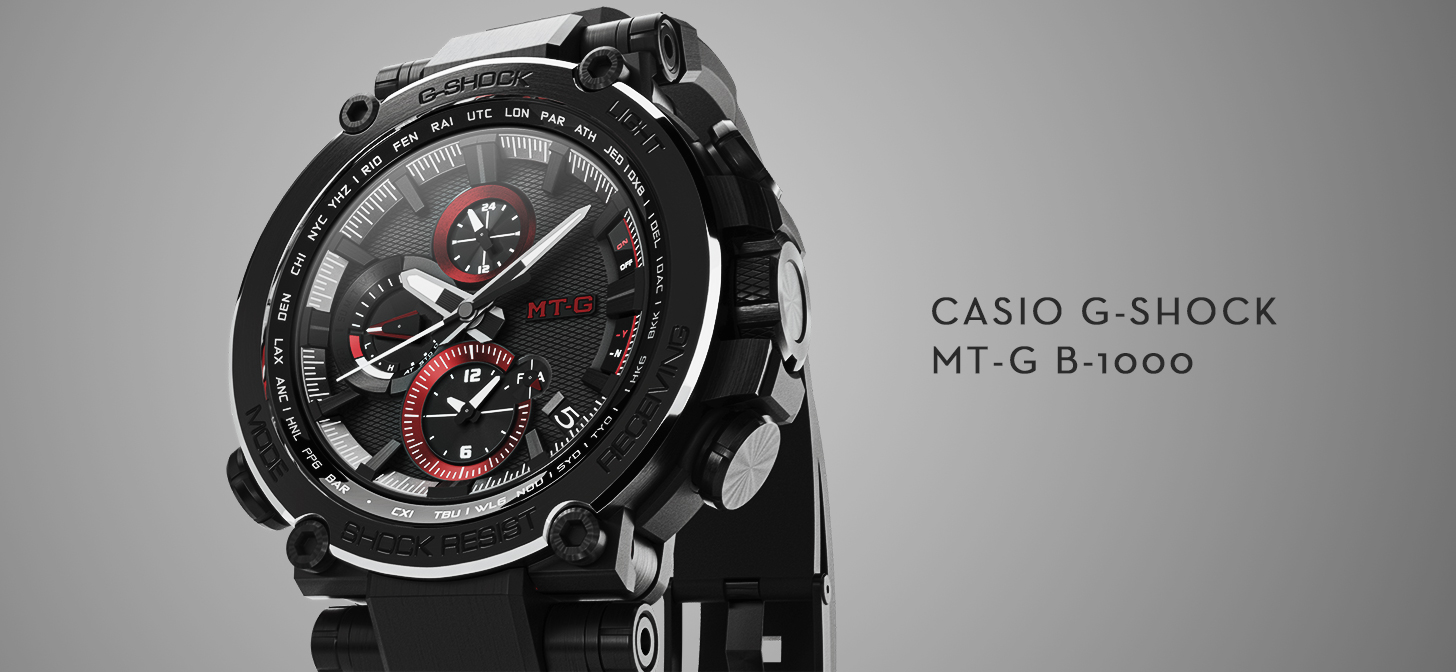
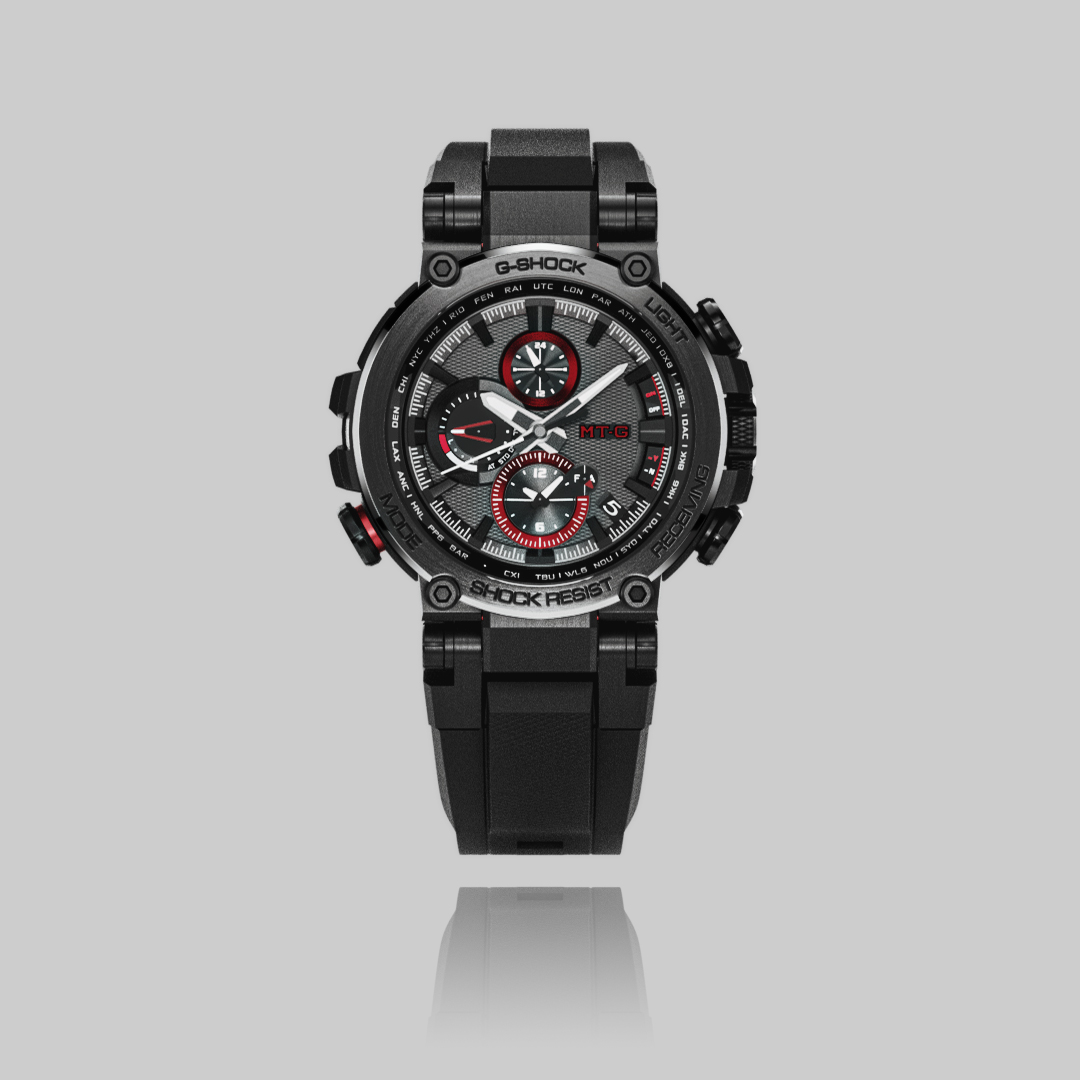
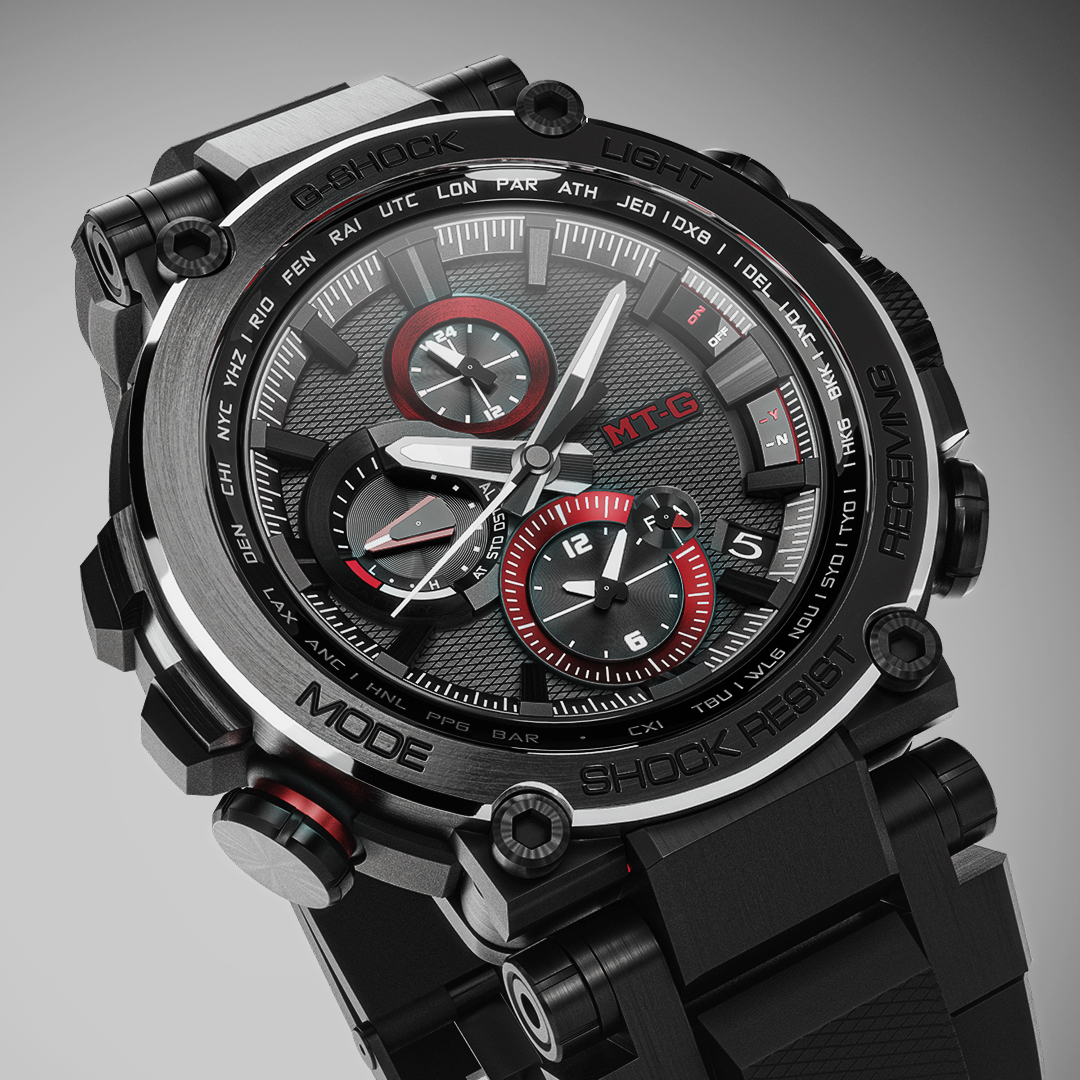
Below are some of the finished renders with the same concept.


Below is a little animation of the watch I made:
About the Author
 Bernard Wong, 3D Generalist


Woah! NICE ONE! Awesome detail, very nice materials and lighting!
One thing I would dial down on is the anisotropic effect on the big buttons (and some other parts) because it is slightly too pronounced… REALLY like it, though!
Thank you so much
Hi Bernard. Please do you have the full tutorial