Behind the Scenes: Mixed Colors Claymation Style Artwork

About Metin Seven
My name is Metin Seven, I’m located in a town called Bussum, the Netherlands, not far from Amsterdam.
I grew up with the 8-bit generation of computers and game consoles, which inspired me to become a 16-bit game designer around the age of 17, designing games for the Commodore Amiga, CD32 console, MS-DOS and the early versions of Windows.
After finishing education I started working in the studio of a Dutch agency for illustrators and animators called Comic House. In the years that followed I worked on multimedia productions, games and animation for national television. Next to this I still created commercial games with two partners.
Today, I’m still a freelance designer, illustrator and animator, creating visuals ranging from 2D pixel illustrations to 3D toy design and visualization.
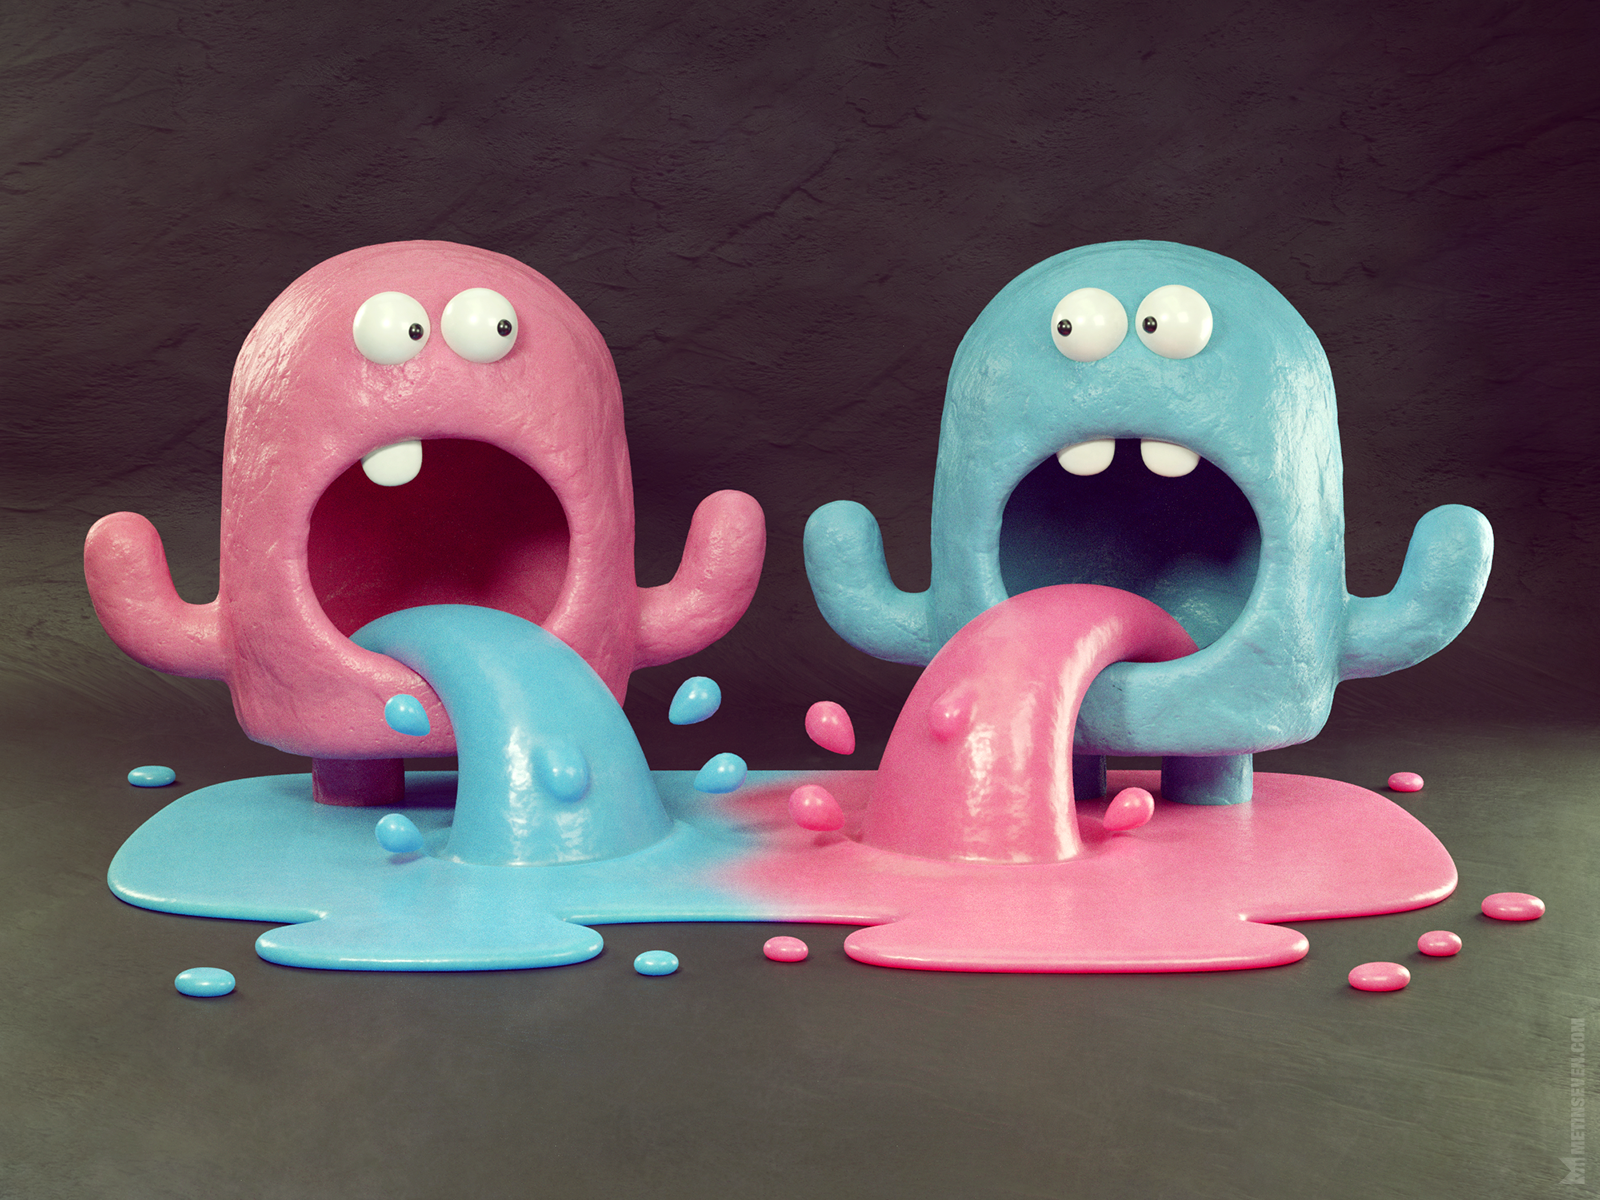
Inspiration for Mixed Colors
The concept for the Mixed Colors artwork came from the Japan-based art director Riki Fuhrmann (a.k.a. ‘Rikitiki’). I love his charming cute concepts.
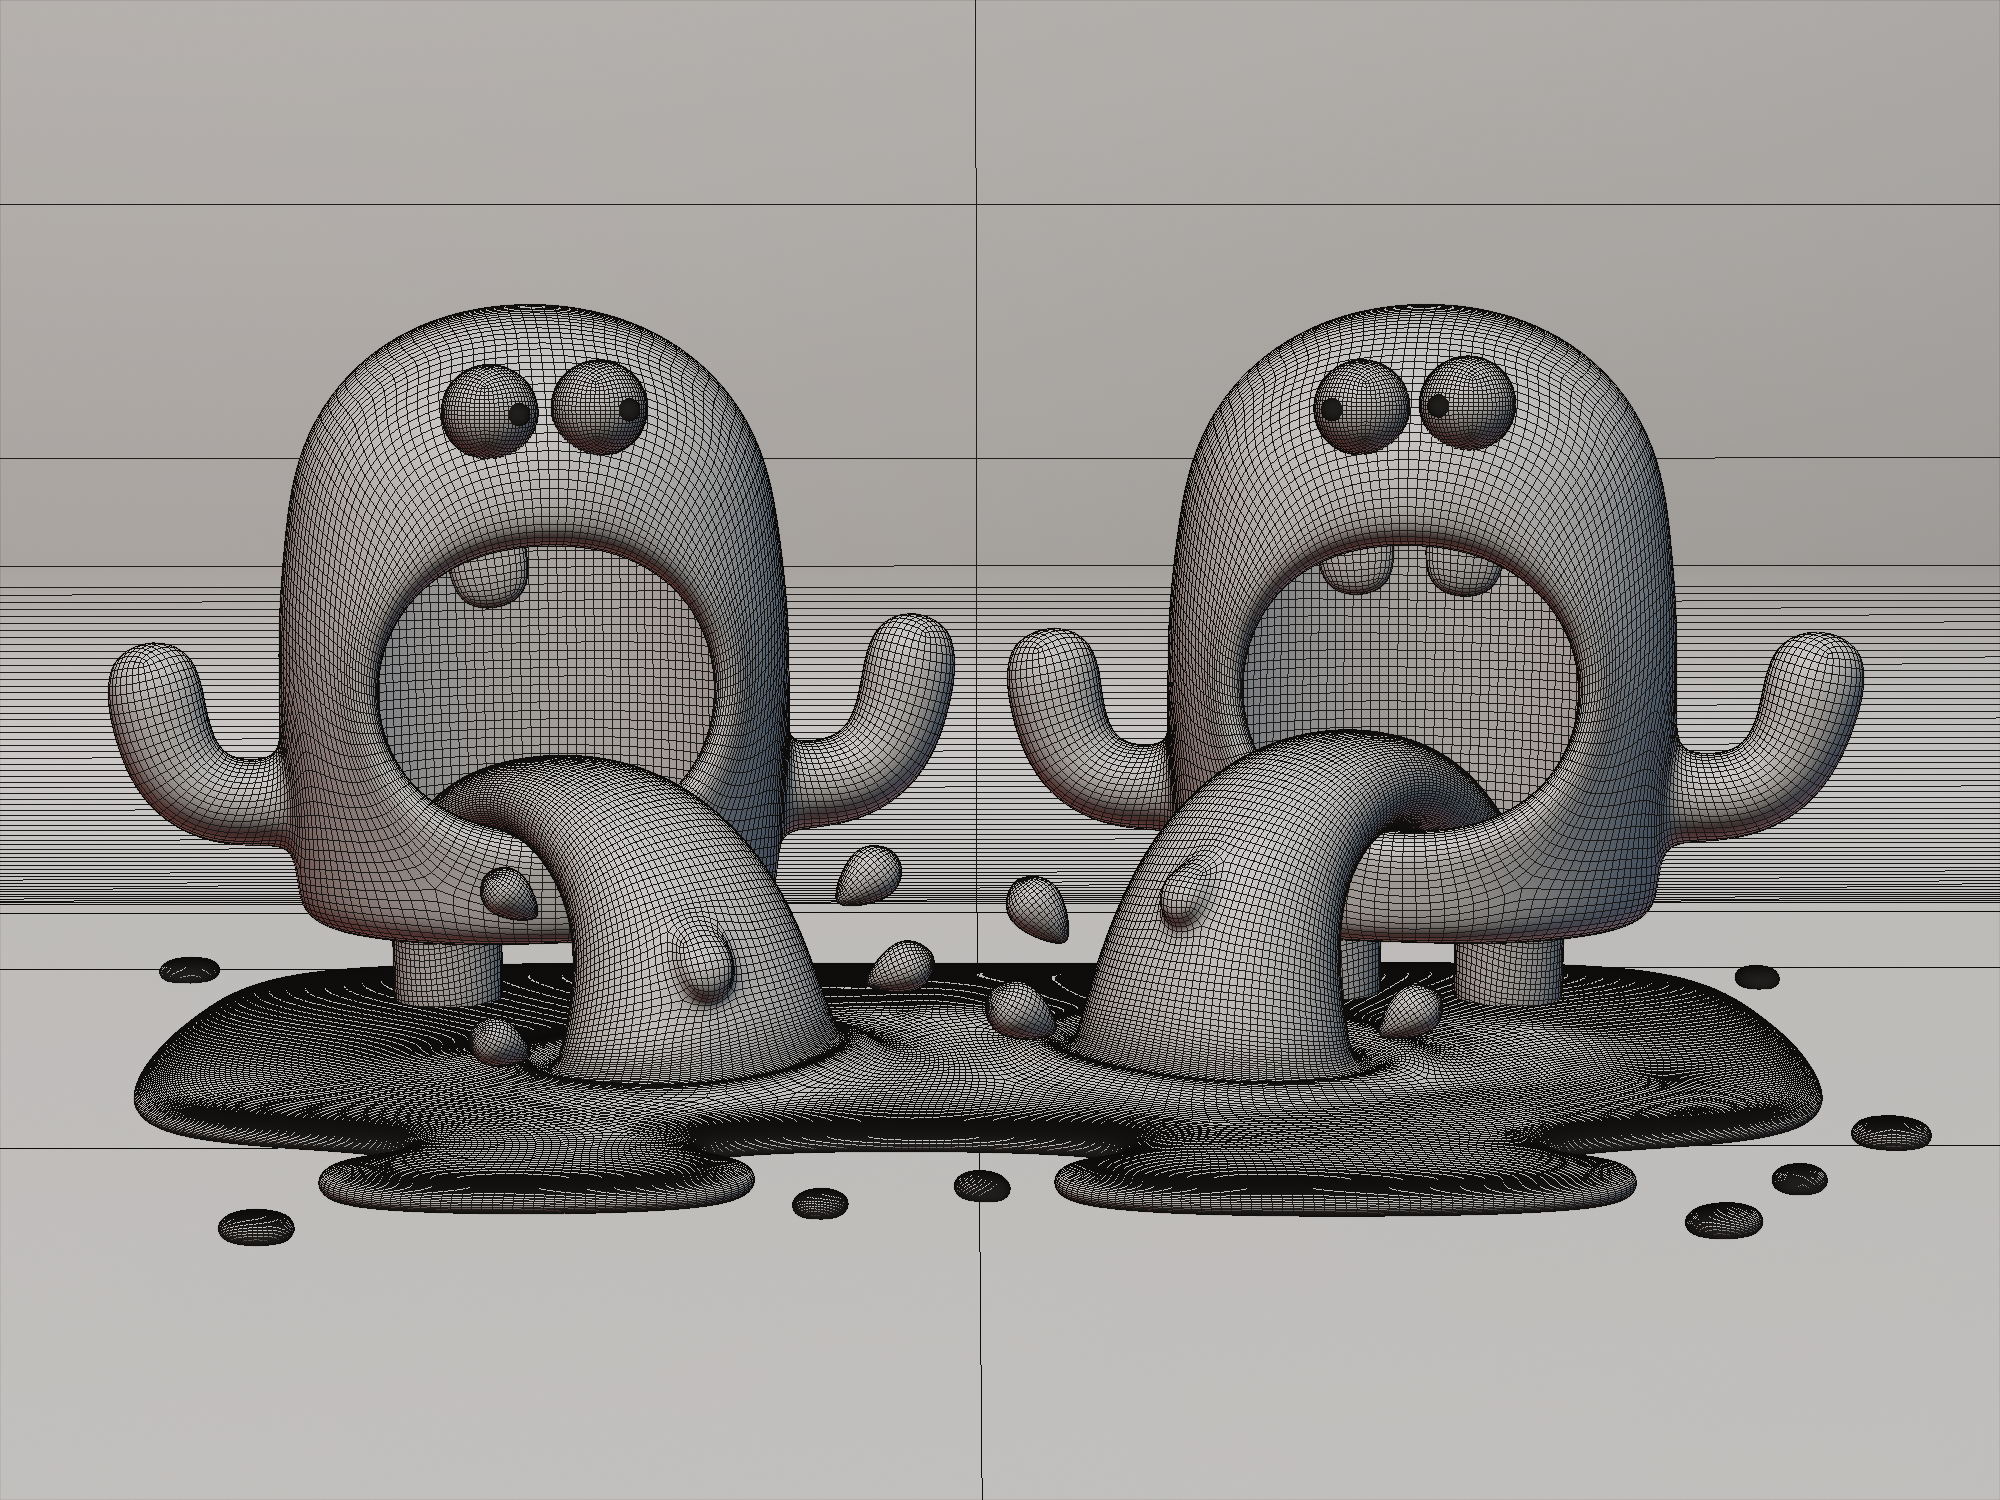
Sculpting
I wanted Mixed Colors to be a nice exercise in working with Pablo Dobarro’s useful new Sculpt Mode tools that have been transferred from his Sculpt Mode Features branch to the Blender 2.81 alpha master builds. I particularly like the Elastic Deform brush, Draw Sharp brush and the Pose brush.
Generally I like minimalistic design, an appealing, simple concept, without unnecessary fluff. This allows you to focus on quality over quantity, perfecting every detail, such as the colors, composition, lighting, textures, et cetera.
Textures
For Mixed Colors I had a ‘retro’ look of traditional clay animation (Claymation) in mind, so for the characters I used a PBR workflow with clay textures for diffuse, roughness, and bump. To make the clay surface a bit more interesting I also added some real micro-displacement.
I applied Sub-Surface Scattering to the ‘vomit’ to make it look more like a liquid. For the background I used a texture featuring rough, crackled paint daubs, and mixed that with some procedural noise for variation.
Rendering
The Cycles renderer was used for the materials, lighting and rendering. I love the look and versatility of Cycles. The lighting is a mix of scene lights for strong shadows and highlights, supplemented by HDR Image-Based Lighting for more detailed reflections and some fill light.
Once a rendering is finished I usually post-process it a little using an image editor like Affinity Photo. For example, I subtly color-graded the image to give it an extra retro touch.
About the Author
 Metin Seven, Dutch freelance visualizer • illustrator • animator • 3D designer


Nice work! I love it, I have seen this image on Instagram before. I do a lot of claymation style stuff if you wanna check mine out and we can chat. My account is the same as my name on here.
Thanks for sharing the behind the scene process, love your composition and character designs. Again, good work :)
Thank you very much Remington! The respect is mutual. I know your Blender tutorials and quite like your stylized work.
I’ve left Instagram and Facebook in 2018, but lately I’ve rediscovered Twitter (see link above). I’ve just followed you there. And I’m overly present at the Blender Artists forum. ;-)