Behind the Scenes: BMW M7 G12 2017
About Sami Altaweel
Hello everybody!
My name Is Sami Altaweel I’m 19 years old from Egypt. I’m still a Student in the Faculty of Arts.
I started my CG journey 8 years ago under the supervision of Ahmed Abdurrahman, CEO and founder of Gfx academy.
I was a motion graphics artist and I’ve worked with a lot of TV commercials. I started to take a deep step in learning motion graphics using software like Cinema 4D, After Effects, Real Flow, Vue, and Illustrator and that helped me to create 2D and 3D motion graphics and infographic shots.
I worked as a motion graphics artist at Skyforce Studio, but unfortunately it has since gone out of business.
And I spent 2 years freelancing, I gained a lot of knowledge and learned Blender, Keyshot, and Megascans.
Blender was a game changing software for me. I learned it under the supervision of
Oday Abu Zaeed, 3D Environment instructor at Nayzak Animation School.
After that I decided to shift my career into the vehicle industry under the supervision of Muhammed Hamed.
Recently I have done a lot of NDA projects, a lot of which involved modeling and retopologizing for Mercedes, Volvo, and Boeing.
Texturing the BMW M7 G12 2017
As usual I was exploring ArtStation, searching for inspiration, and I found exactly what I needed: the same car rendered by Mustafa Zaki, CEO/Founder at Voxels.
So I decided to simulate it in Blender using my machine.
- MB: MSI X370 Carbon
- CPU: Ryzen 7 1700 OC
- GPU: Zotac GTX 1060 3GB
- RAM: HyperX 16GB 3200MHZ DDR4
- SSD: Kingston 128GB
- H.D.D: Seagate 2 TB
- PSU: Seasonic 625W
I used Blender 2.79 and the render engine is Cycles. I used Hum3D’s impressive G12 Model and textured it in Blender.
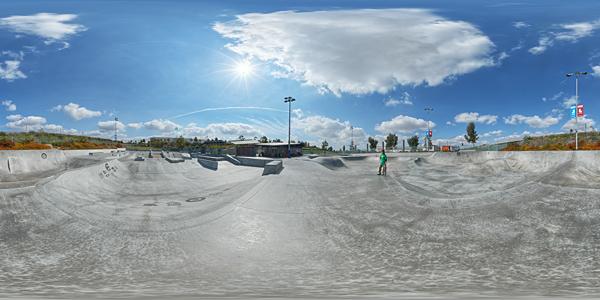
I used the Etnies Park HDRI from HDRLabs. All interior digital screen textures are from the I3 Guide.
*For artists who want to improve their Blender skills, what really helped me during that project was Chris Plush (Co-Founder of CG Masters). He did a full series of modeling and shading tutorials. It’s really a big help. Thanks, Chris!
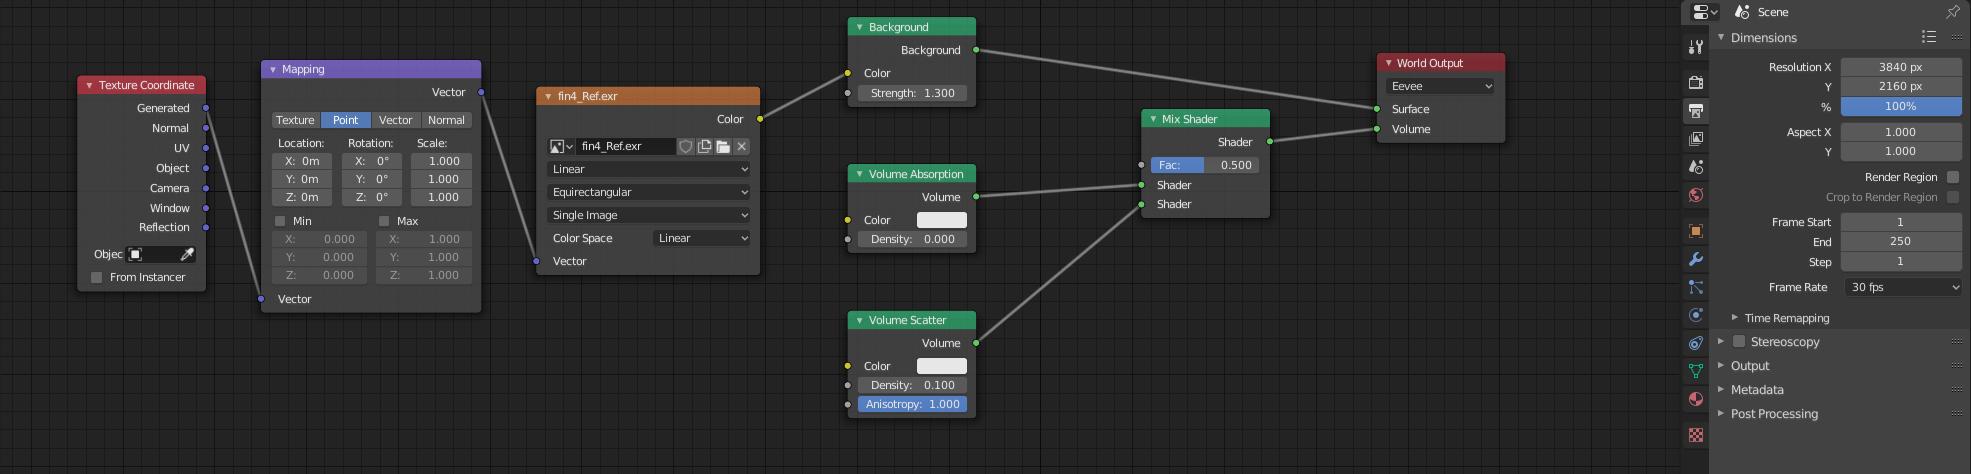
The first thing is setting up my scene dimensions and basic lighting.
Then I set up all cameras.
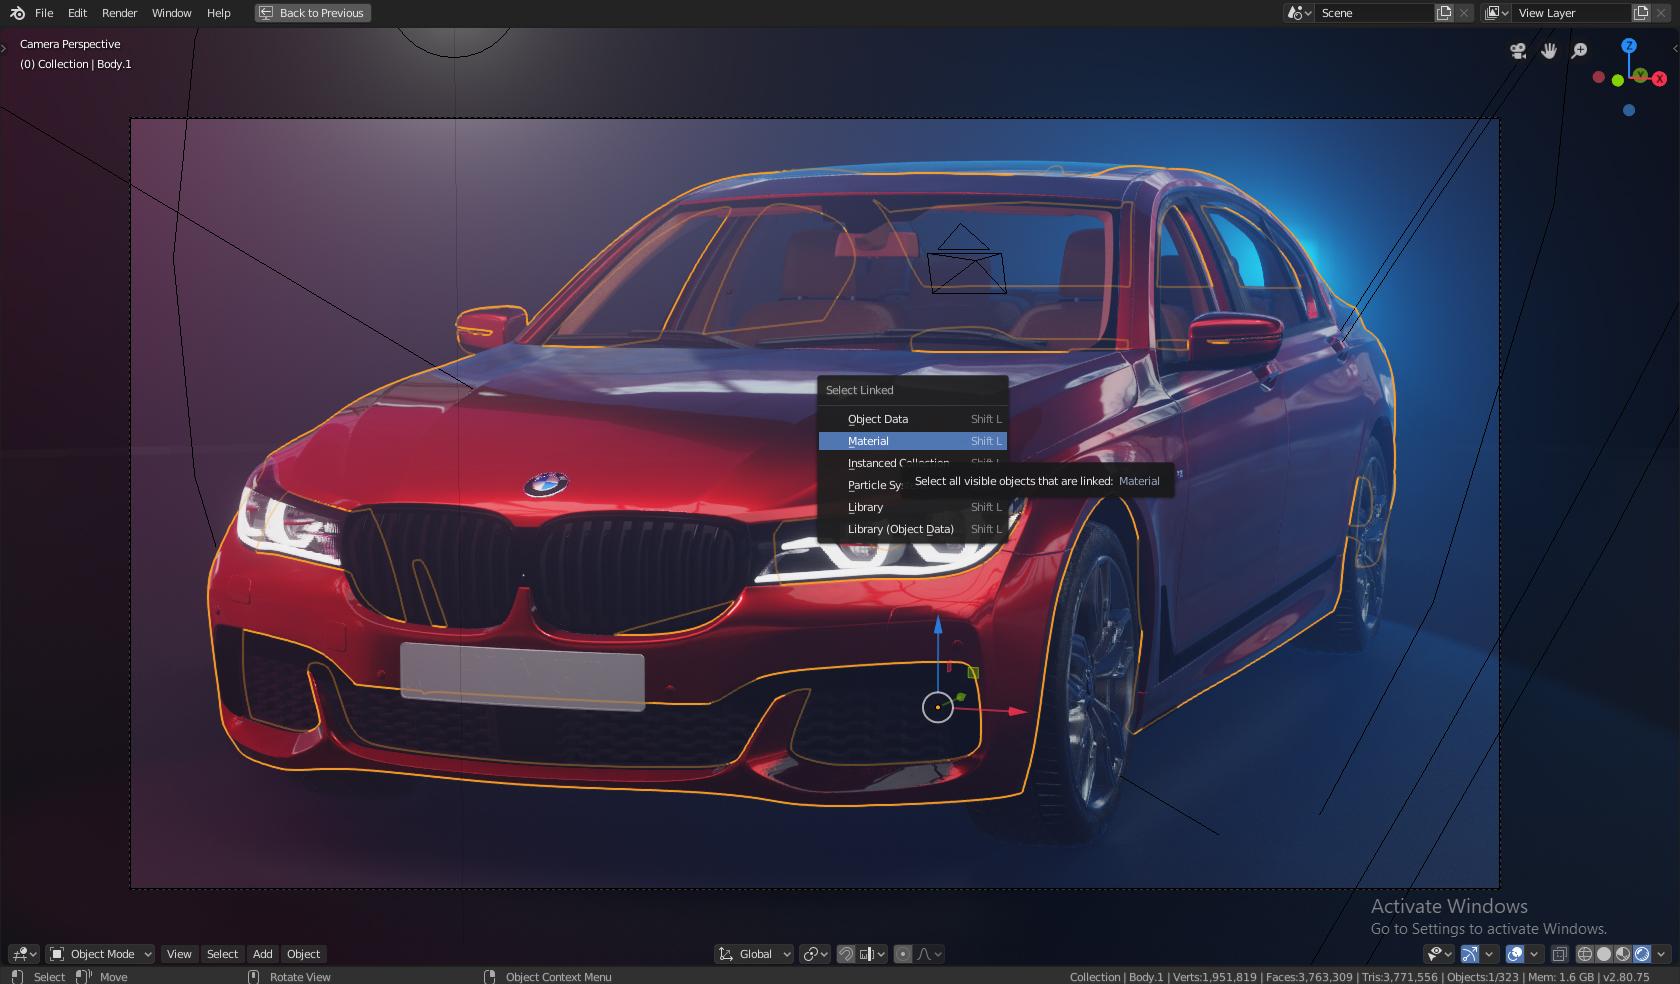
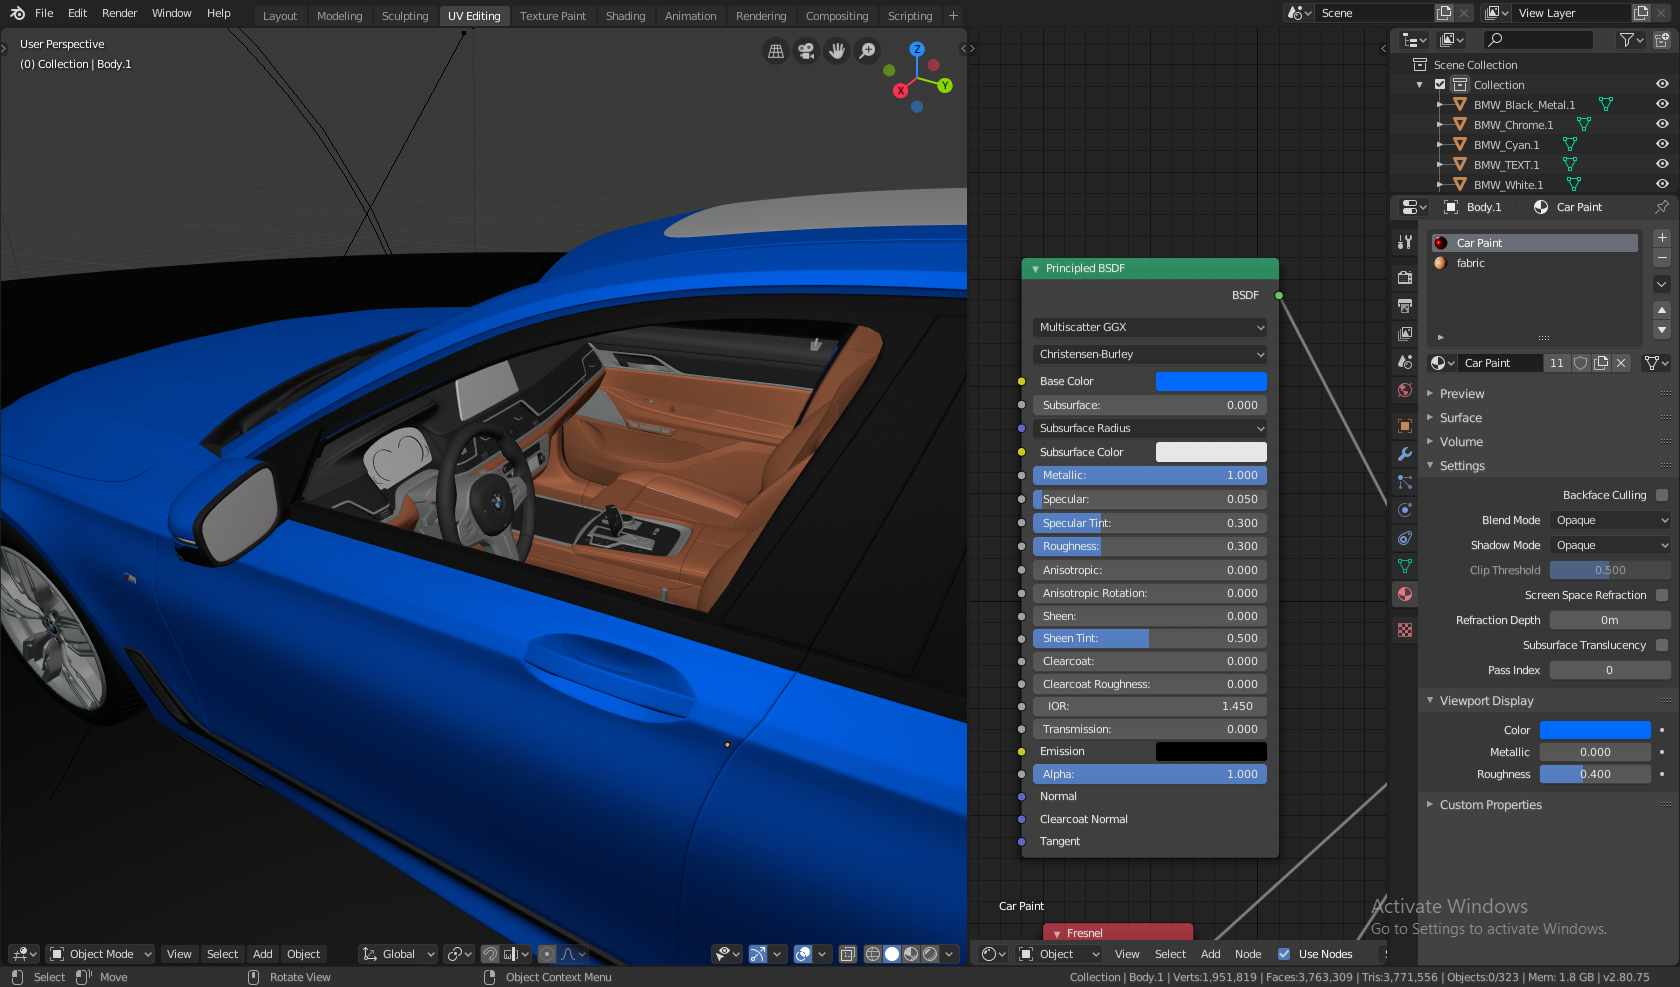
I usually link all objects with the same material for faster workflow.
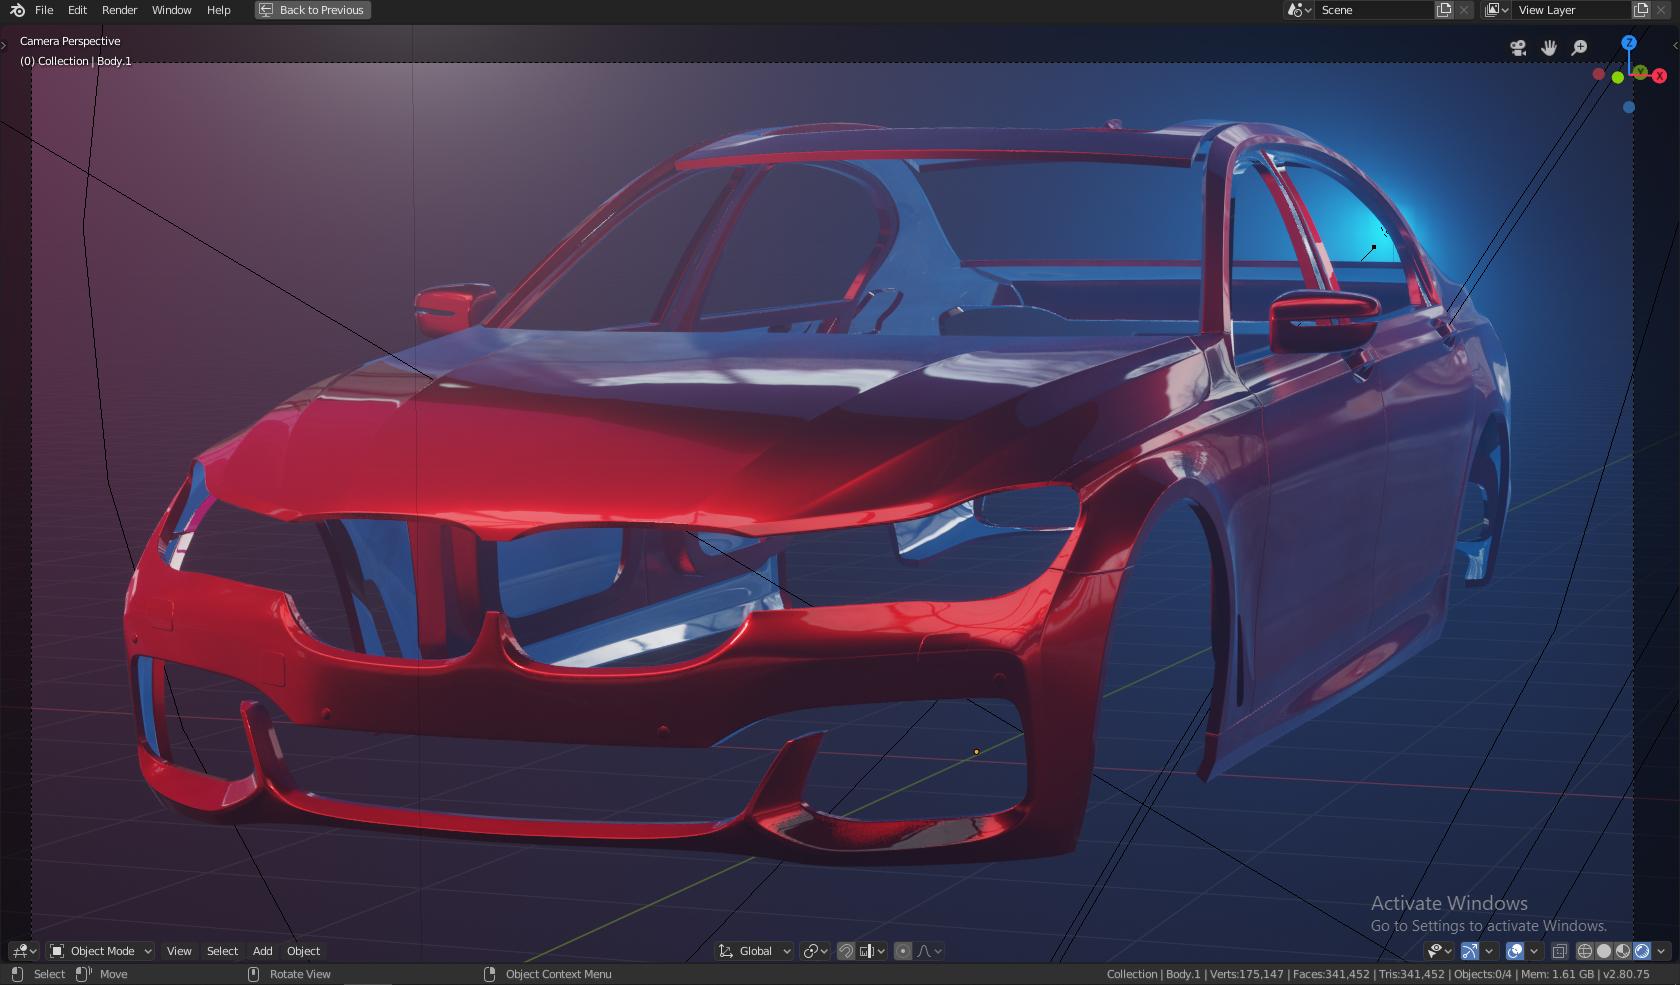
After that I isolate them for shading.
My custom layout helps me with shading while rendering.
Then I change the viewport object display color.
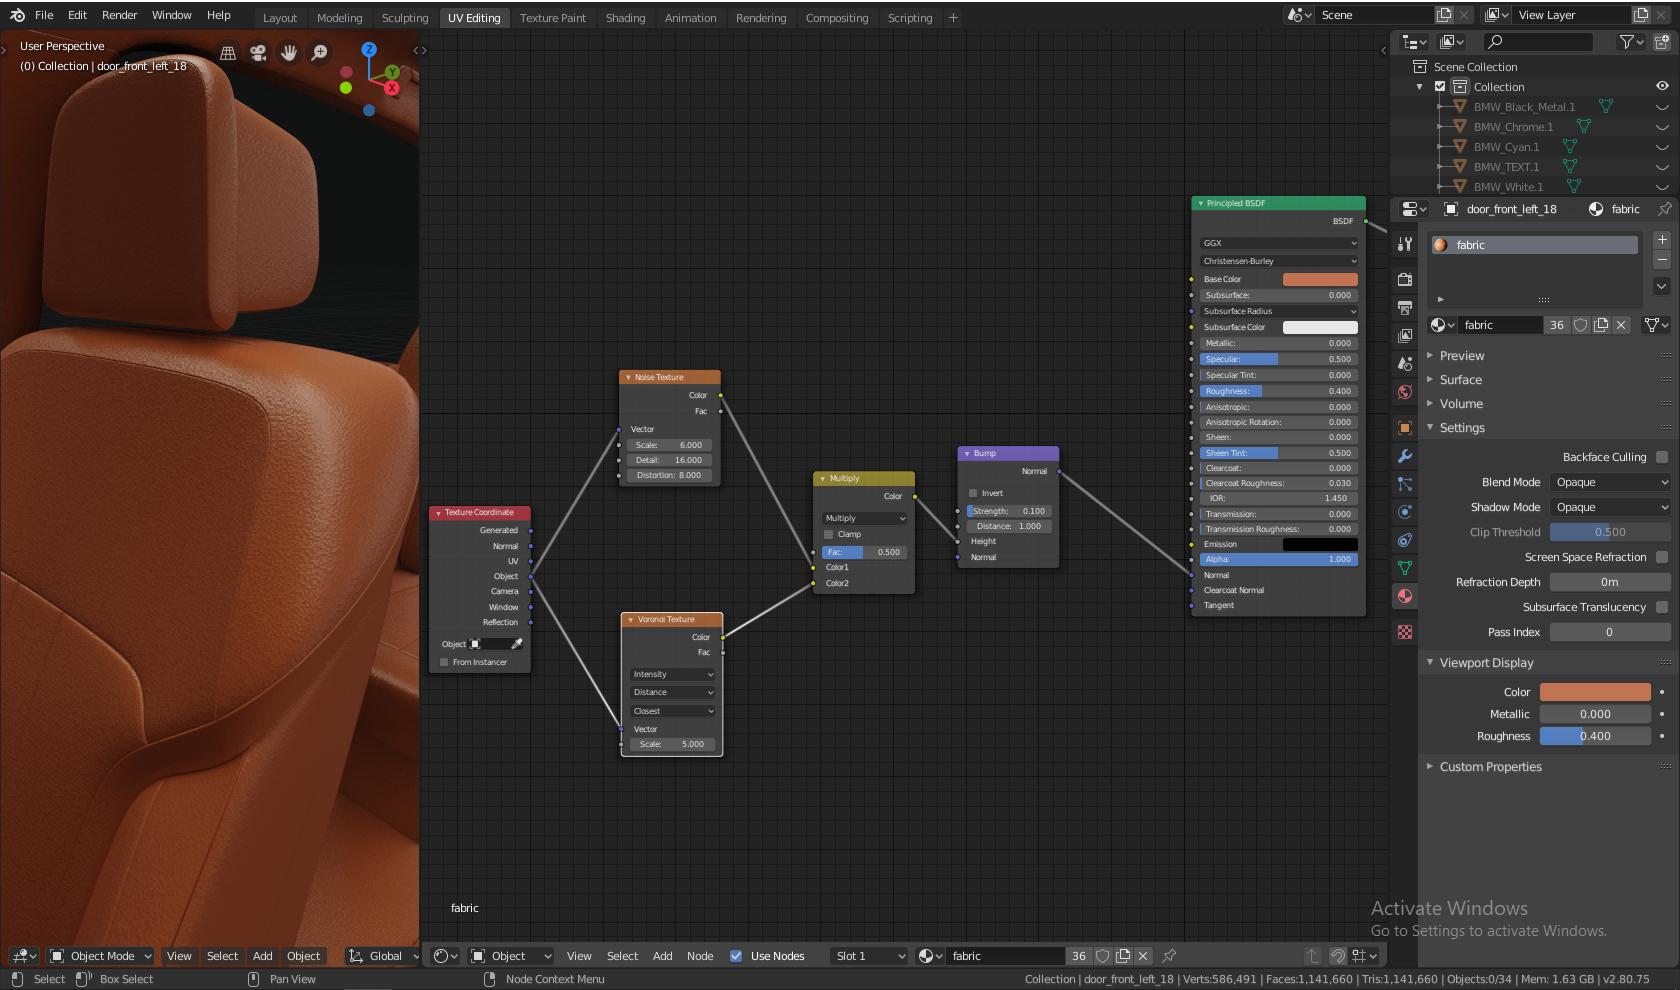
Leather material node setup:
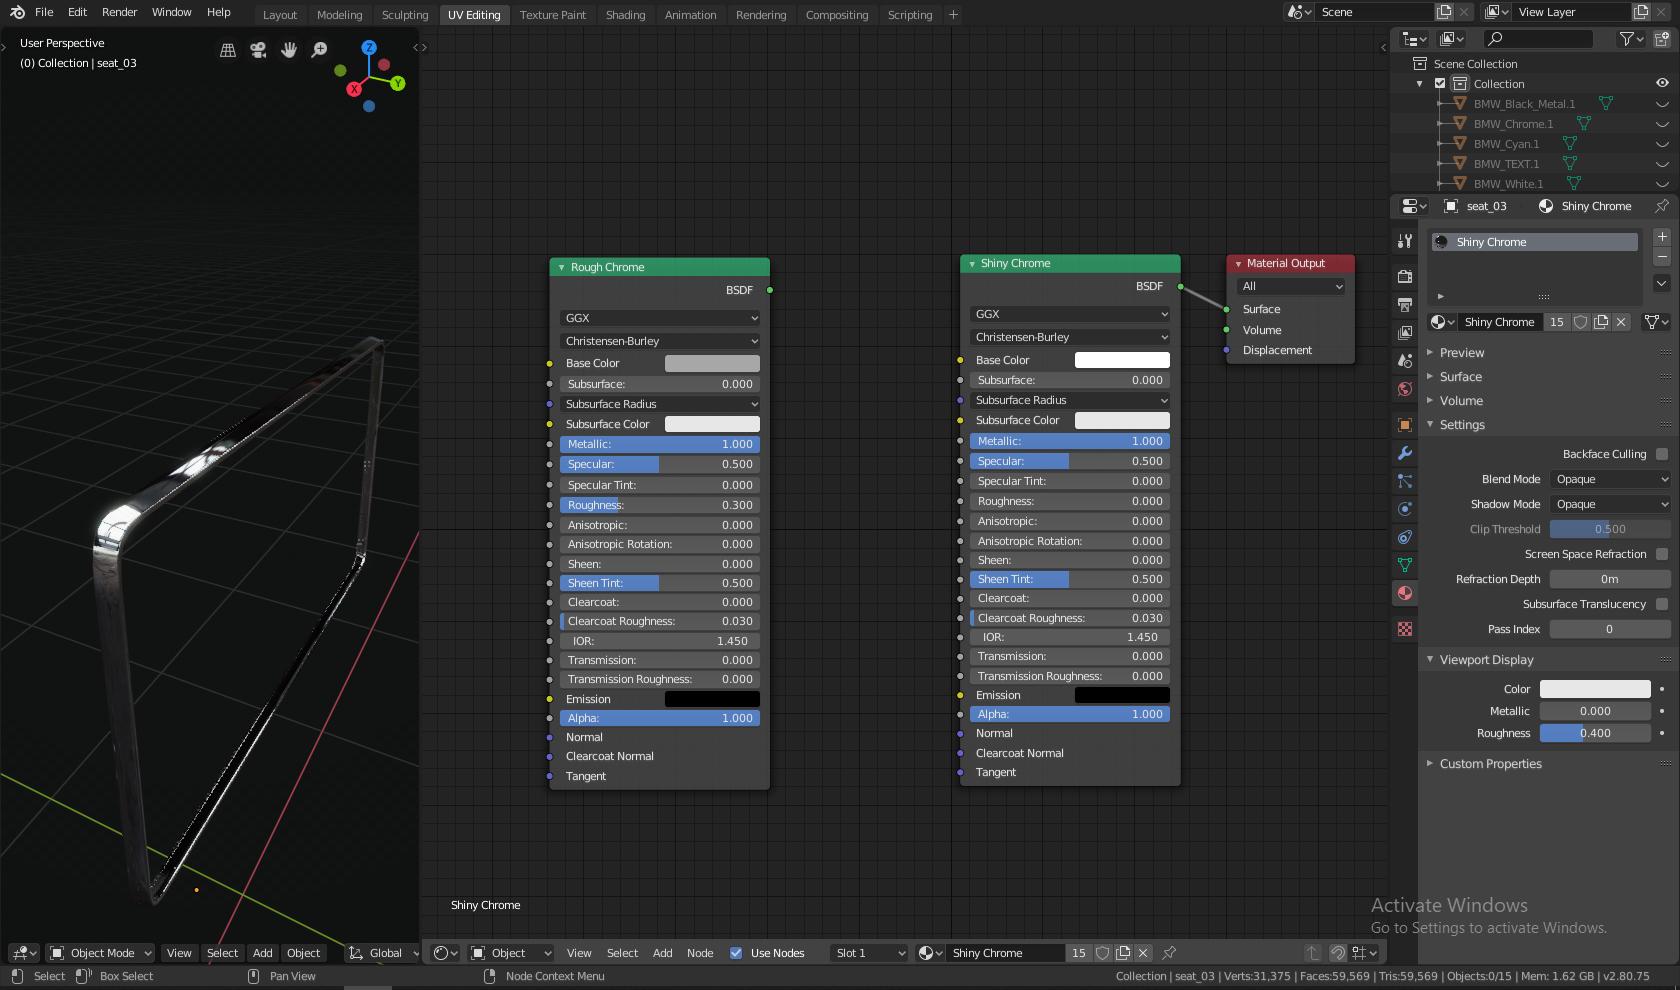
All chrome node setup:
Brushed metal node setup:
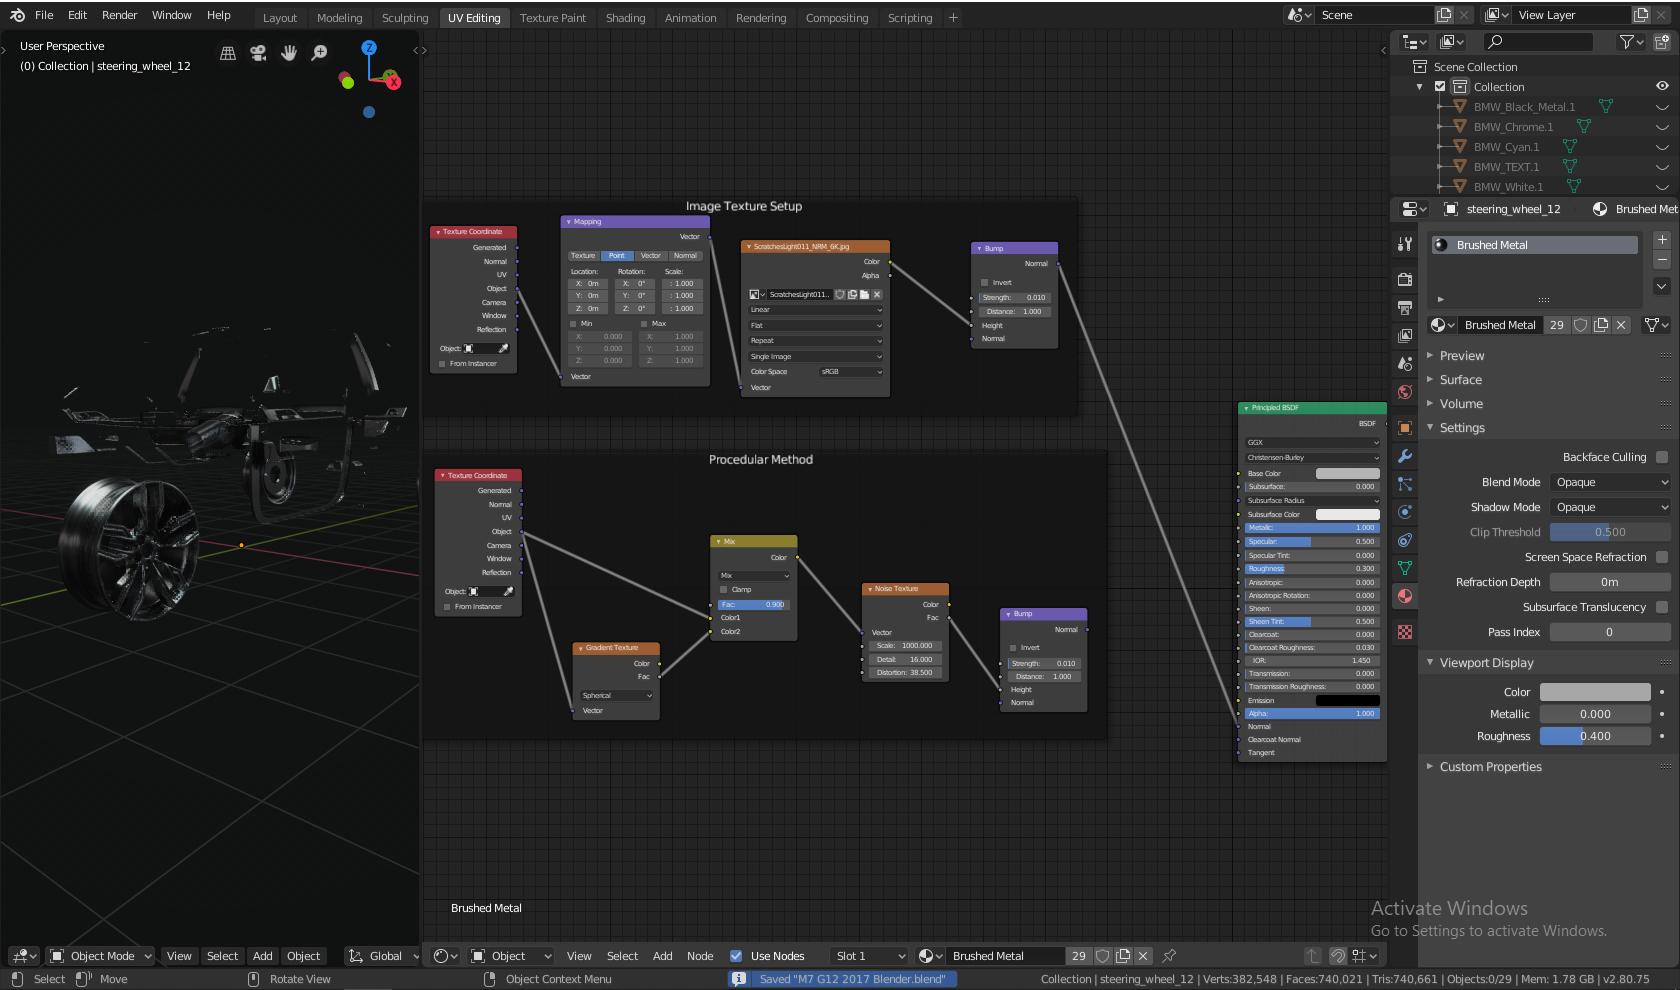
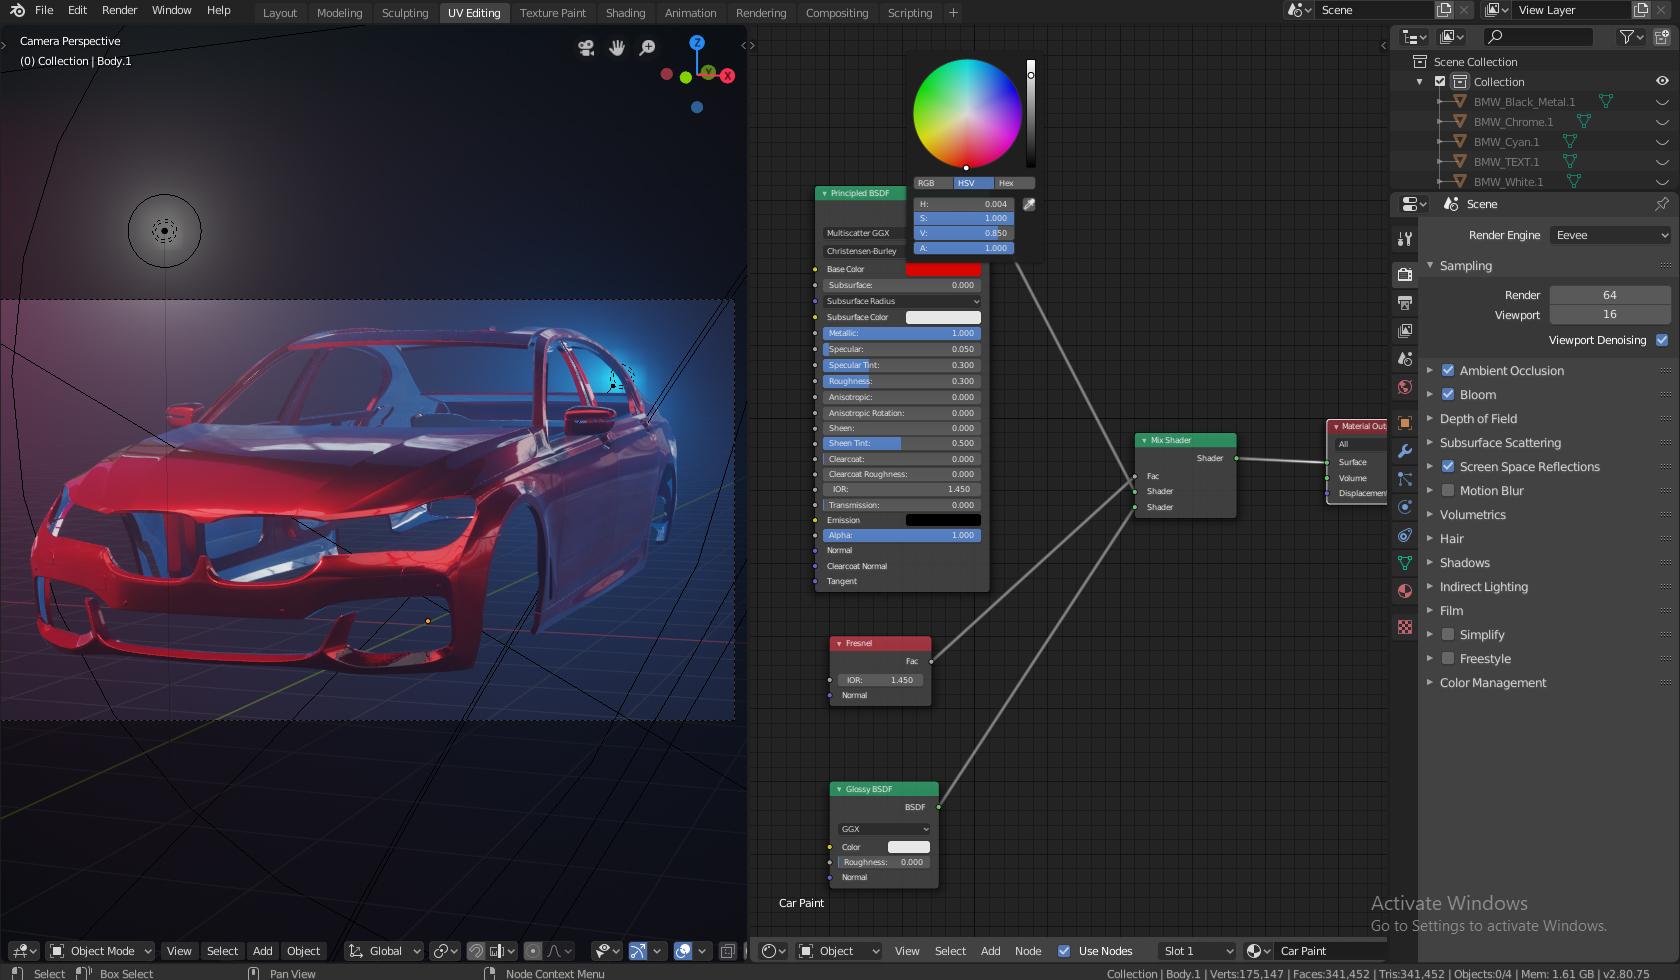
All node setups are basic only to preview my model.
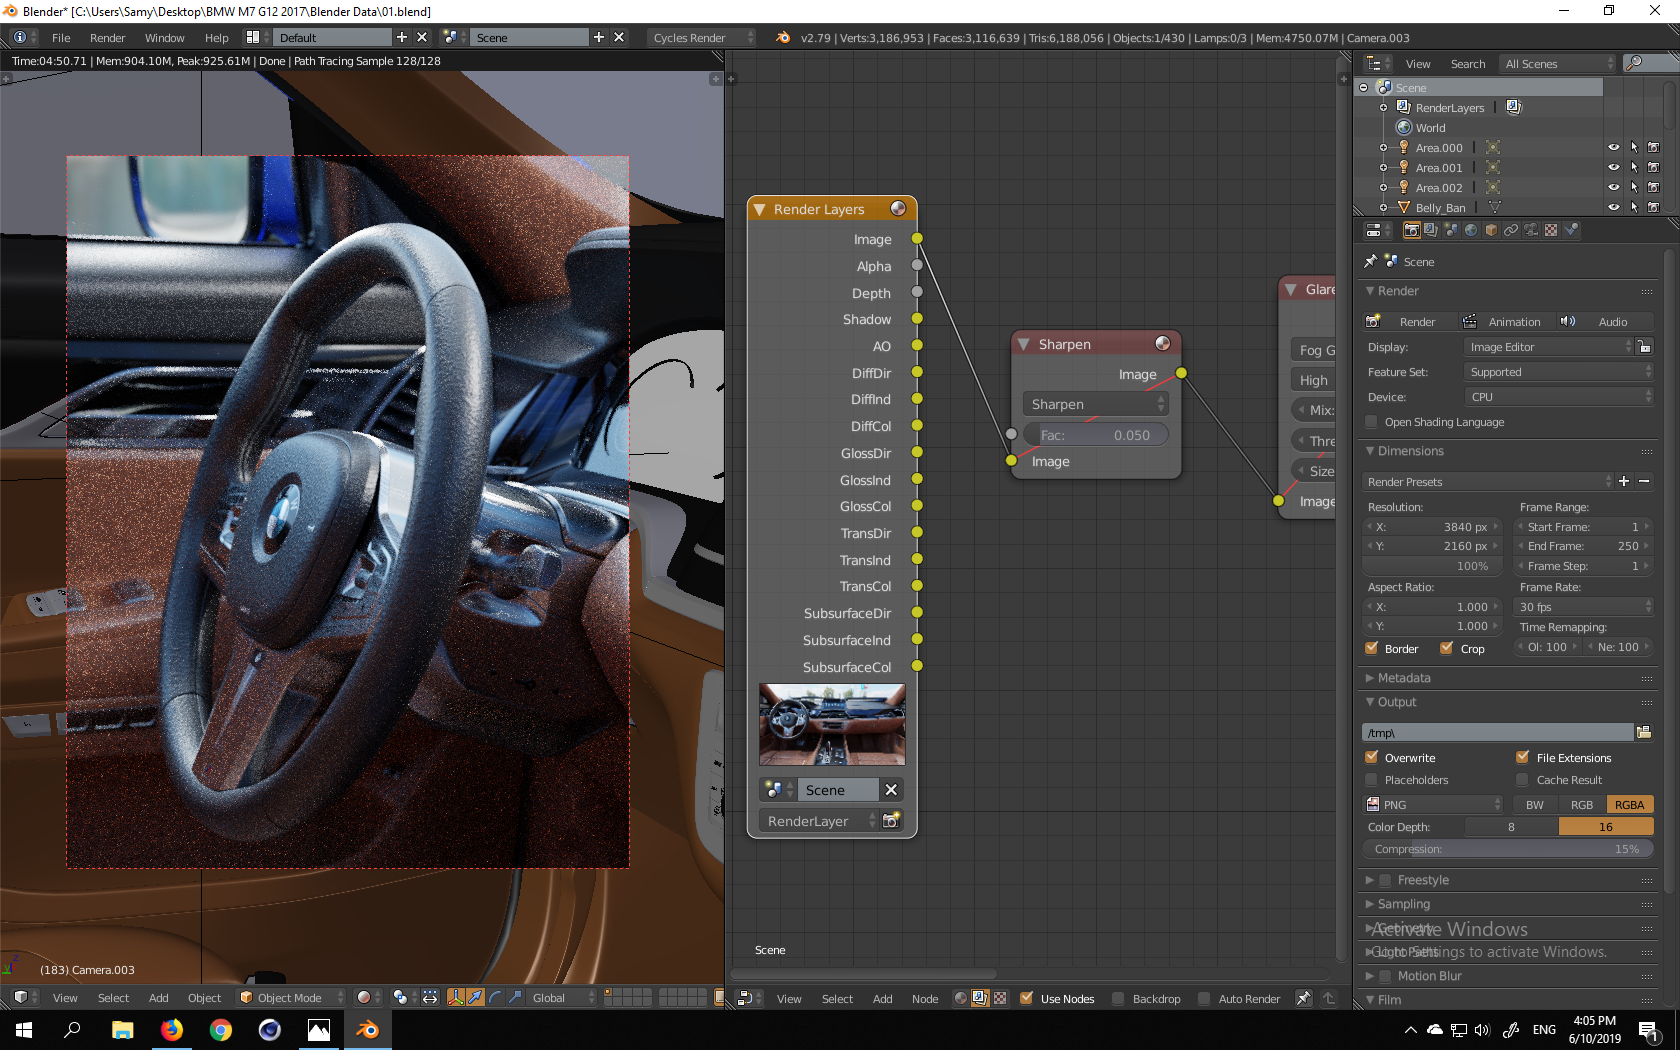
And I did some compositing work inside Blender, too.

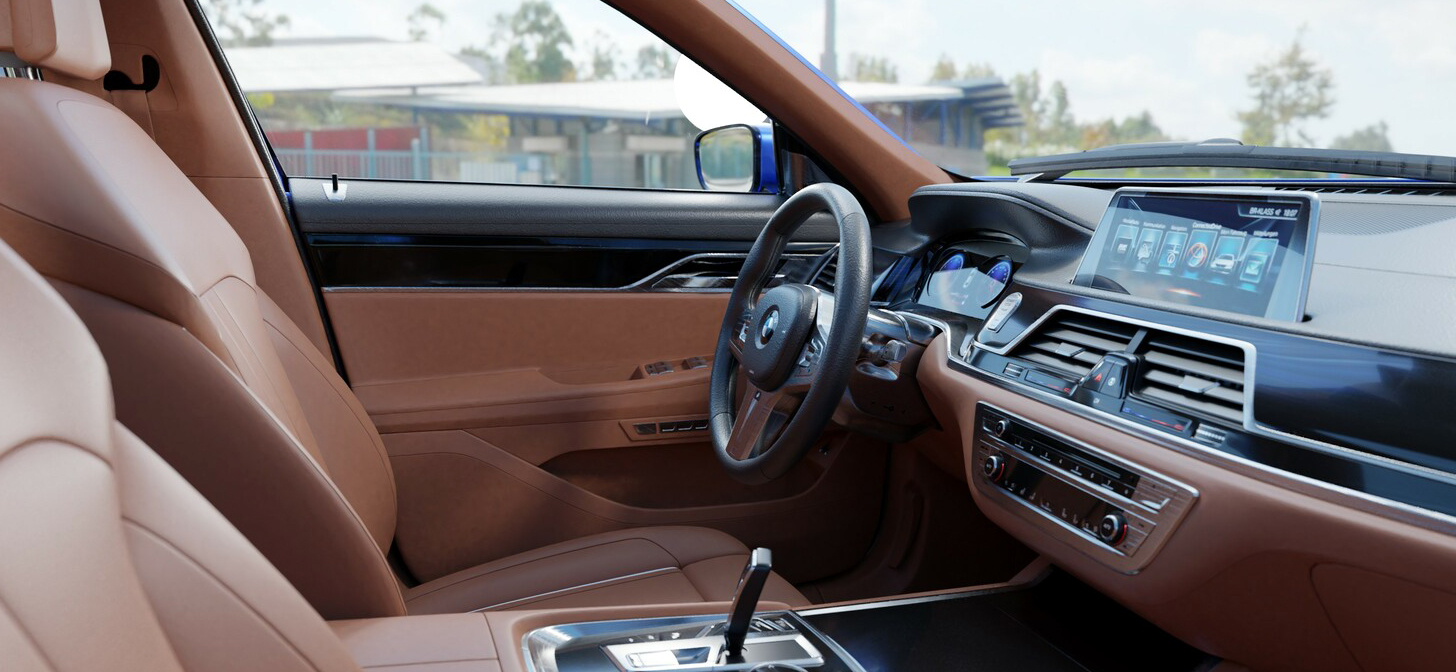
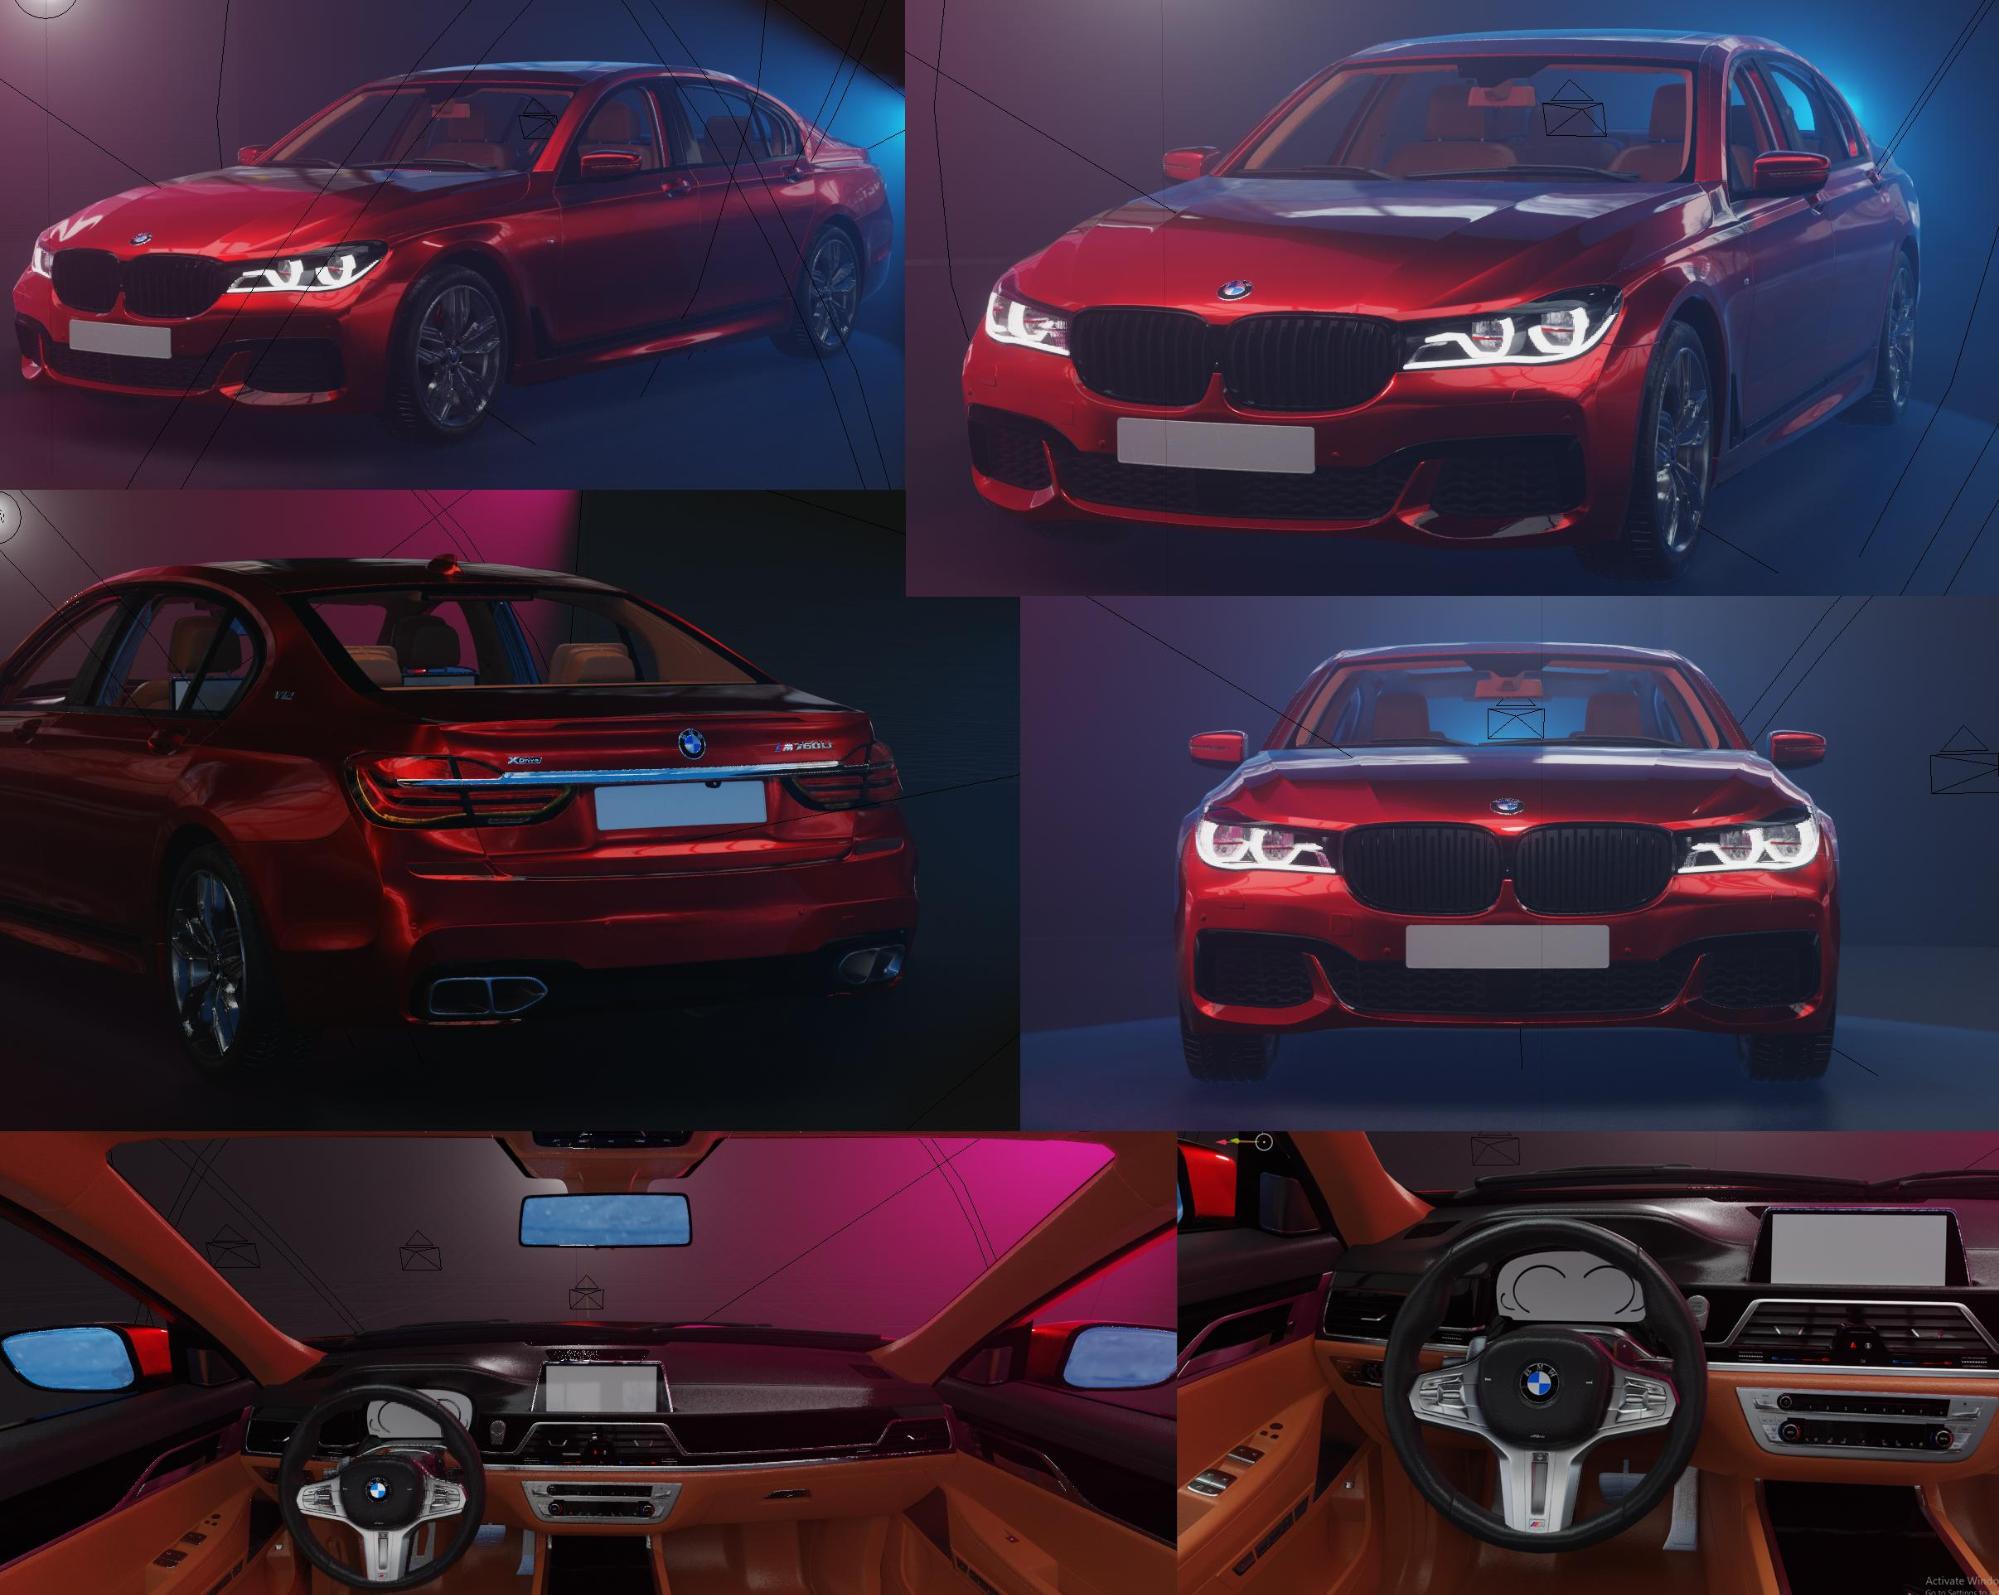
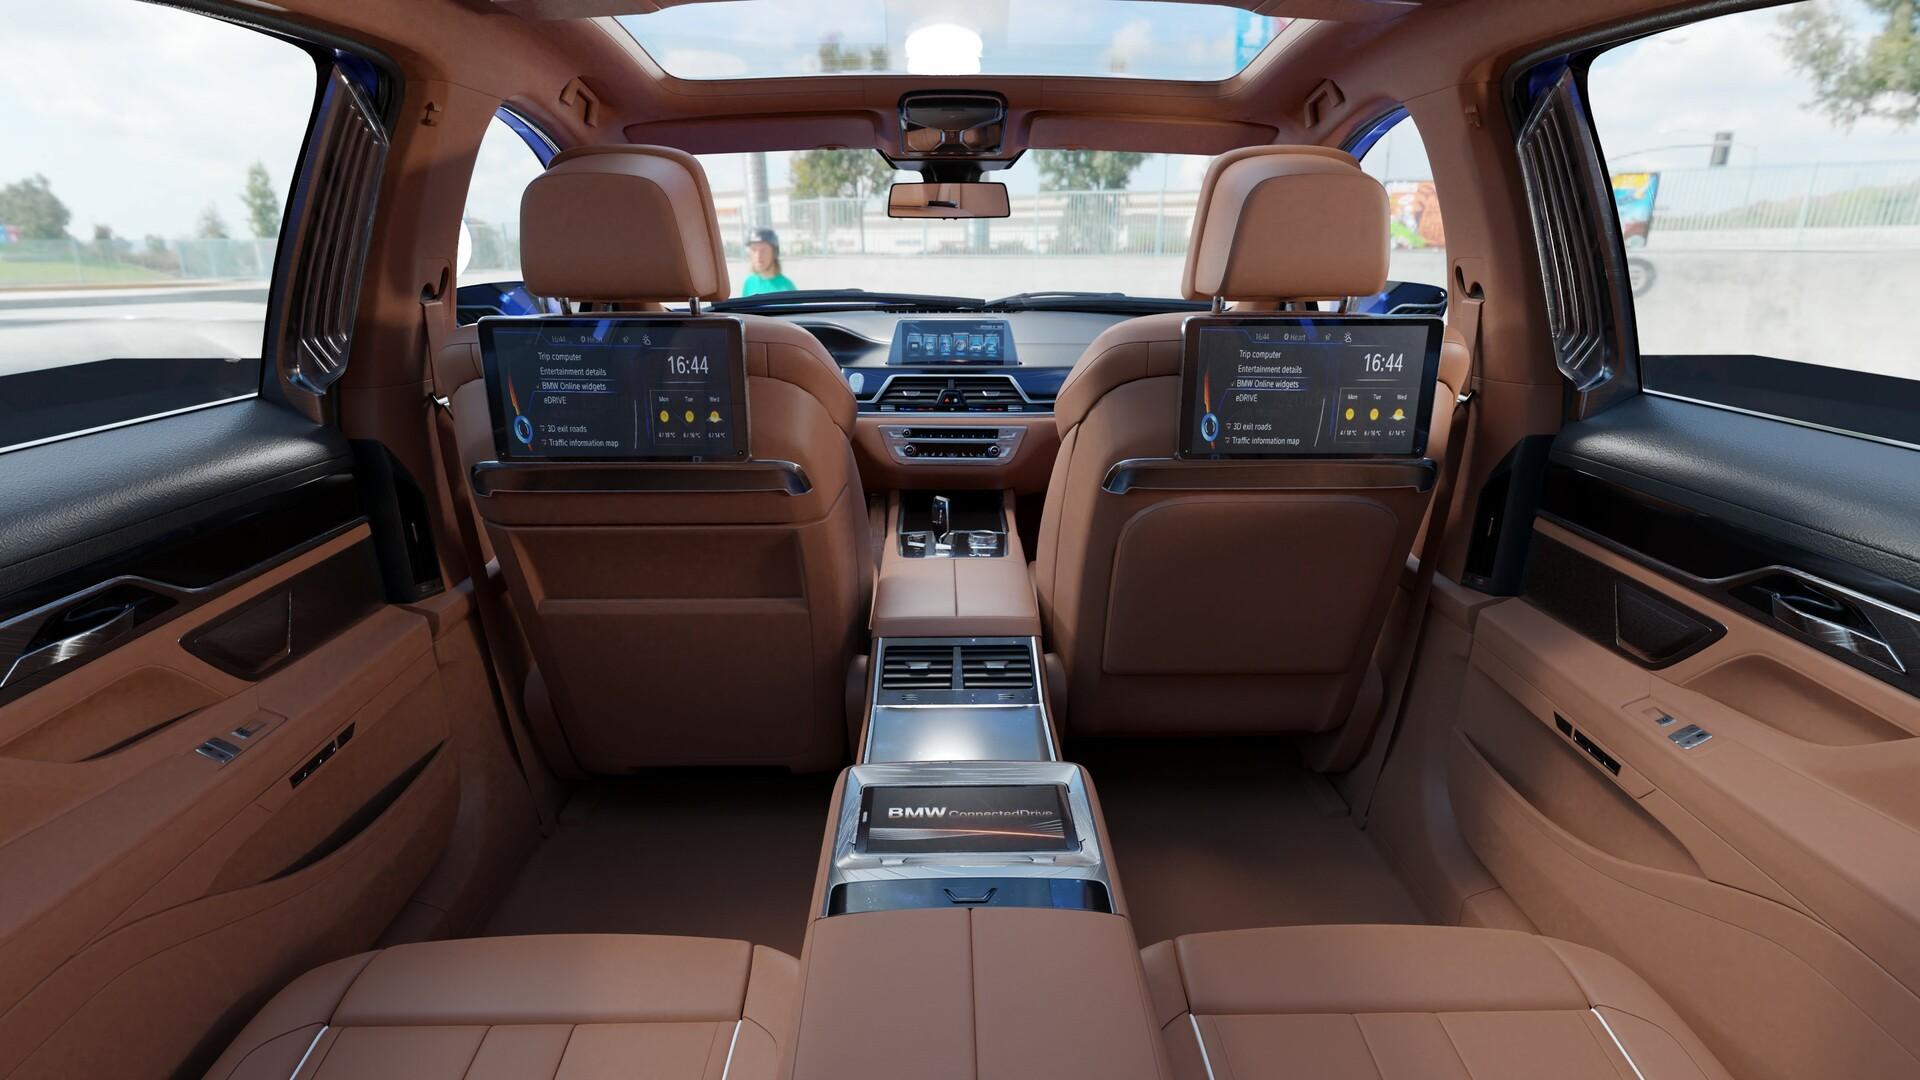
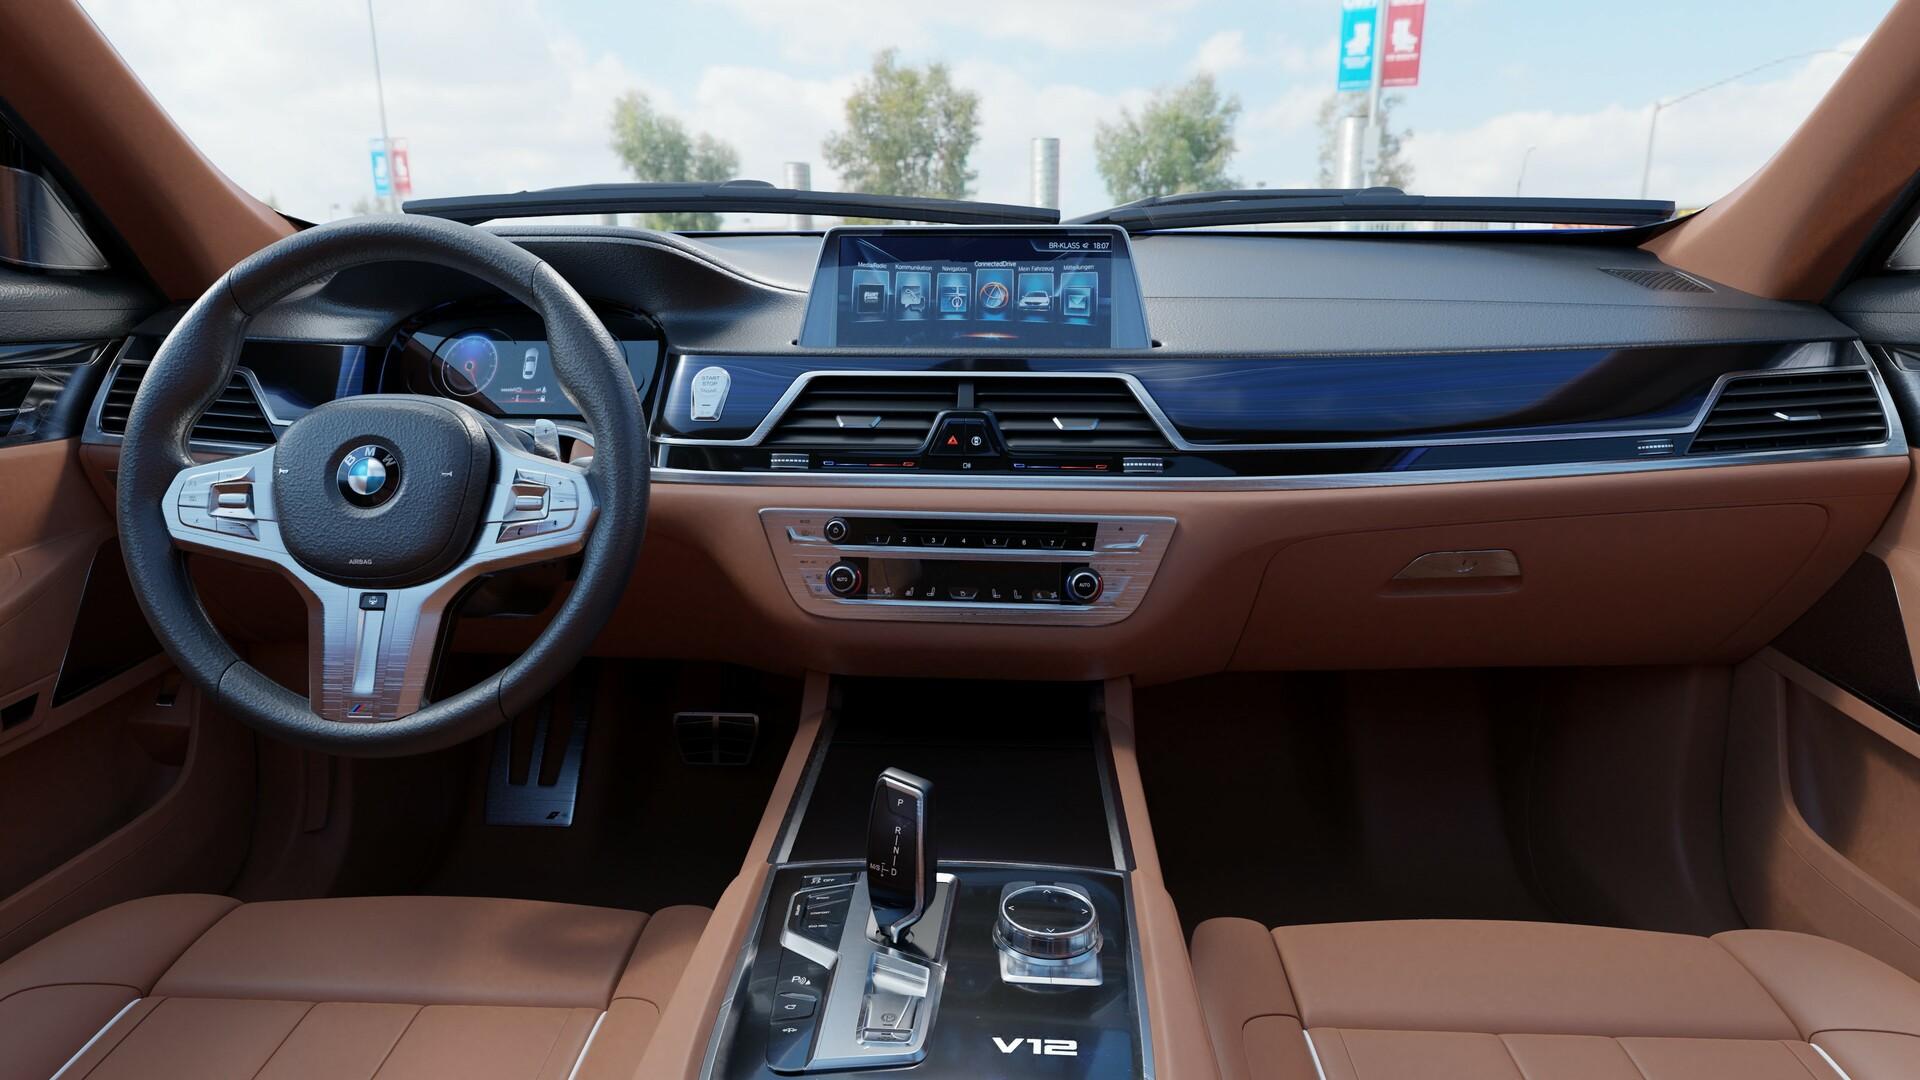
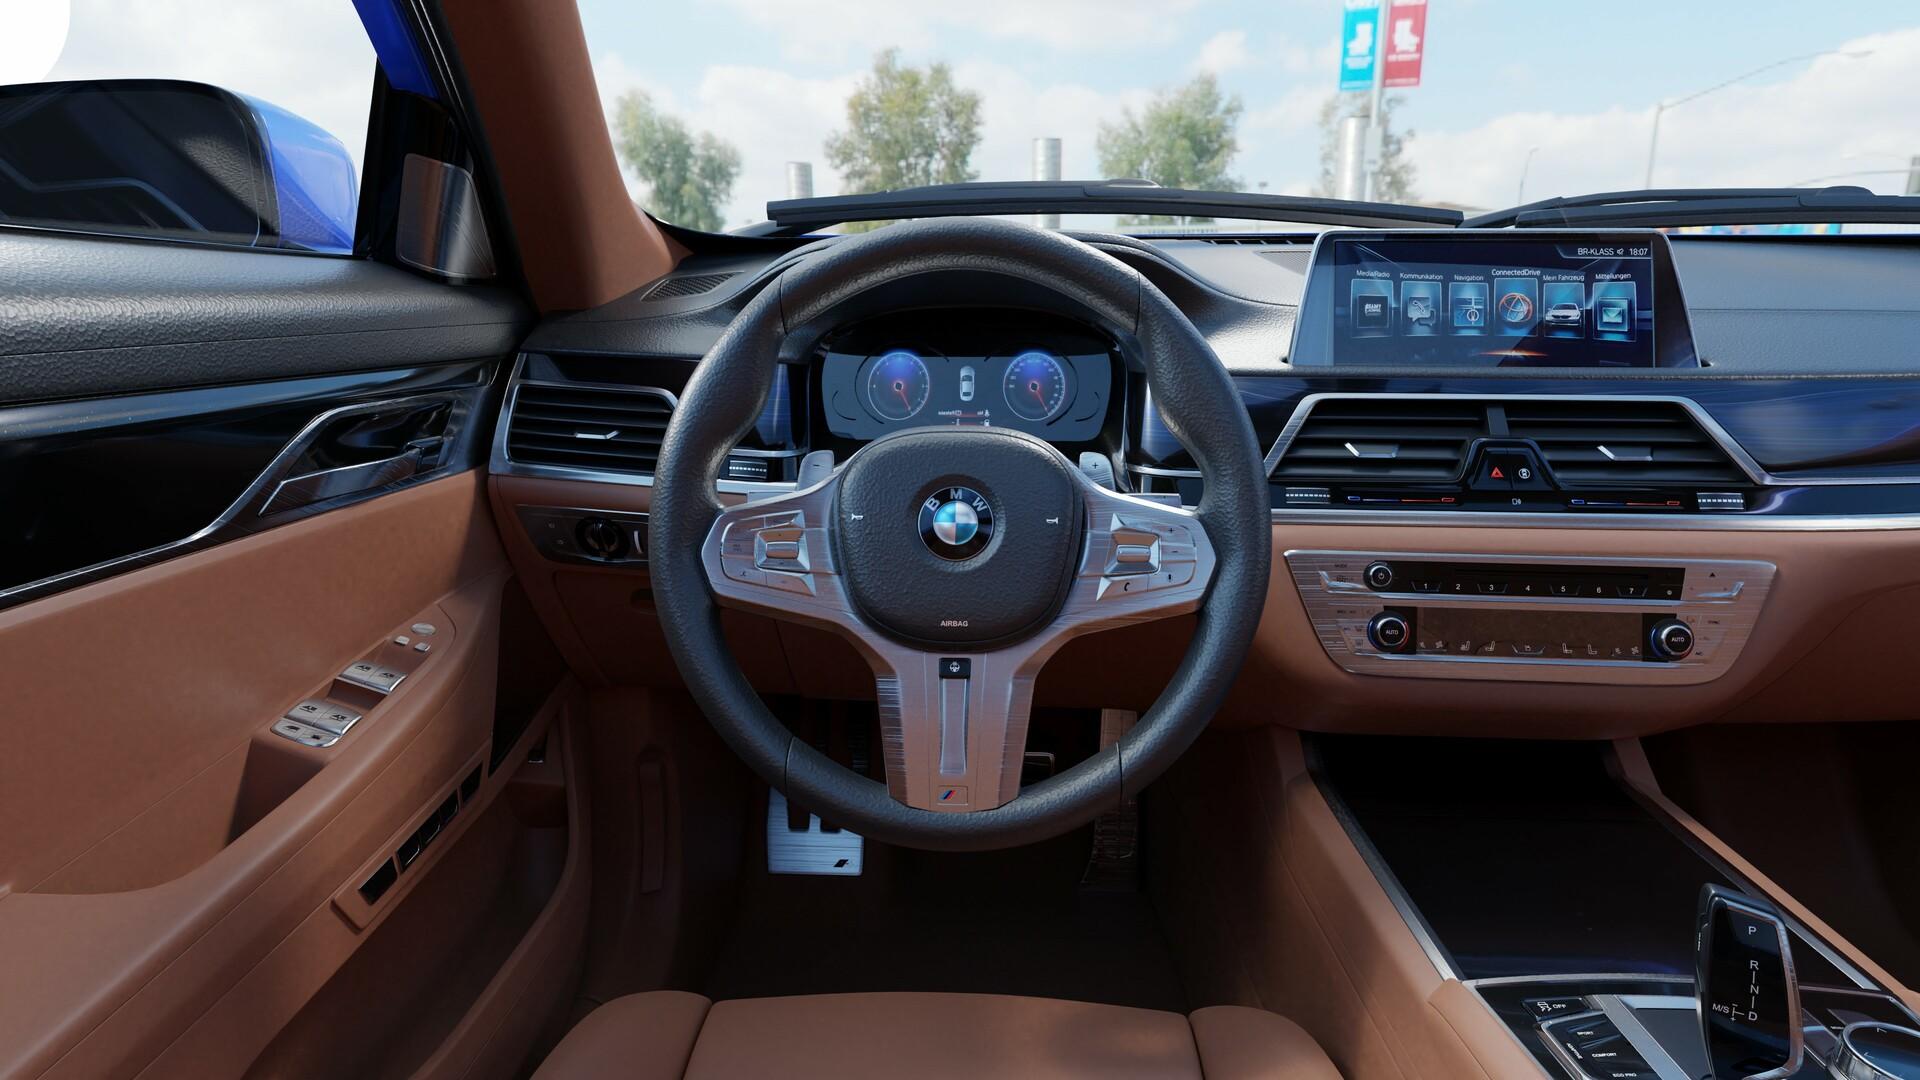
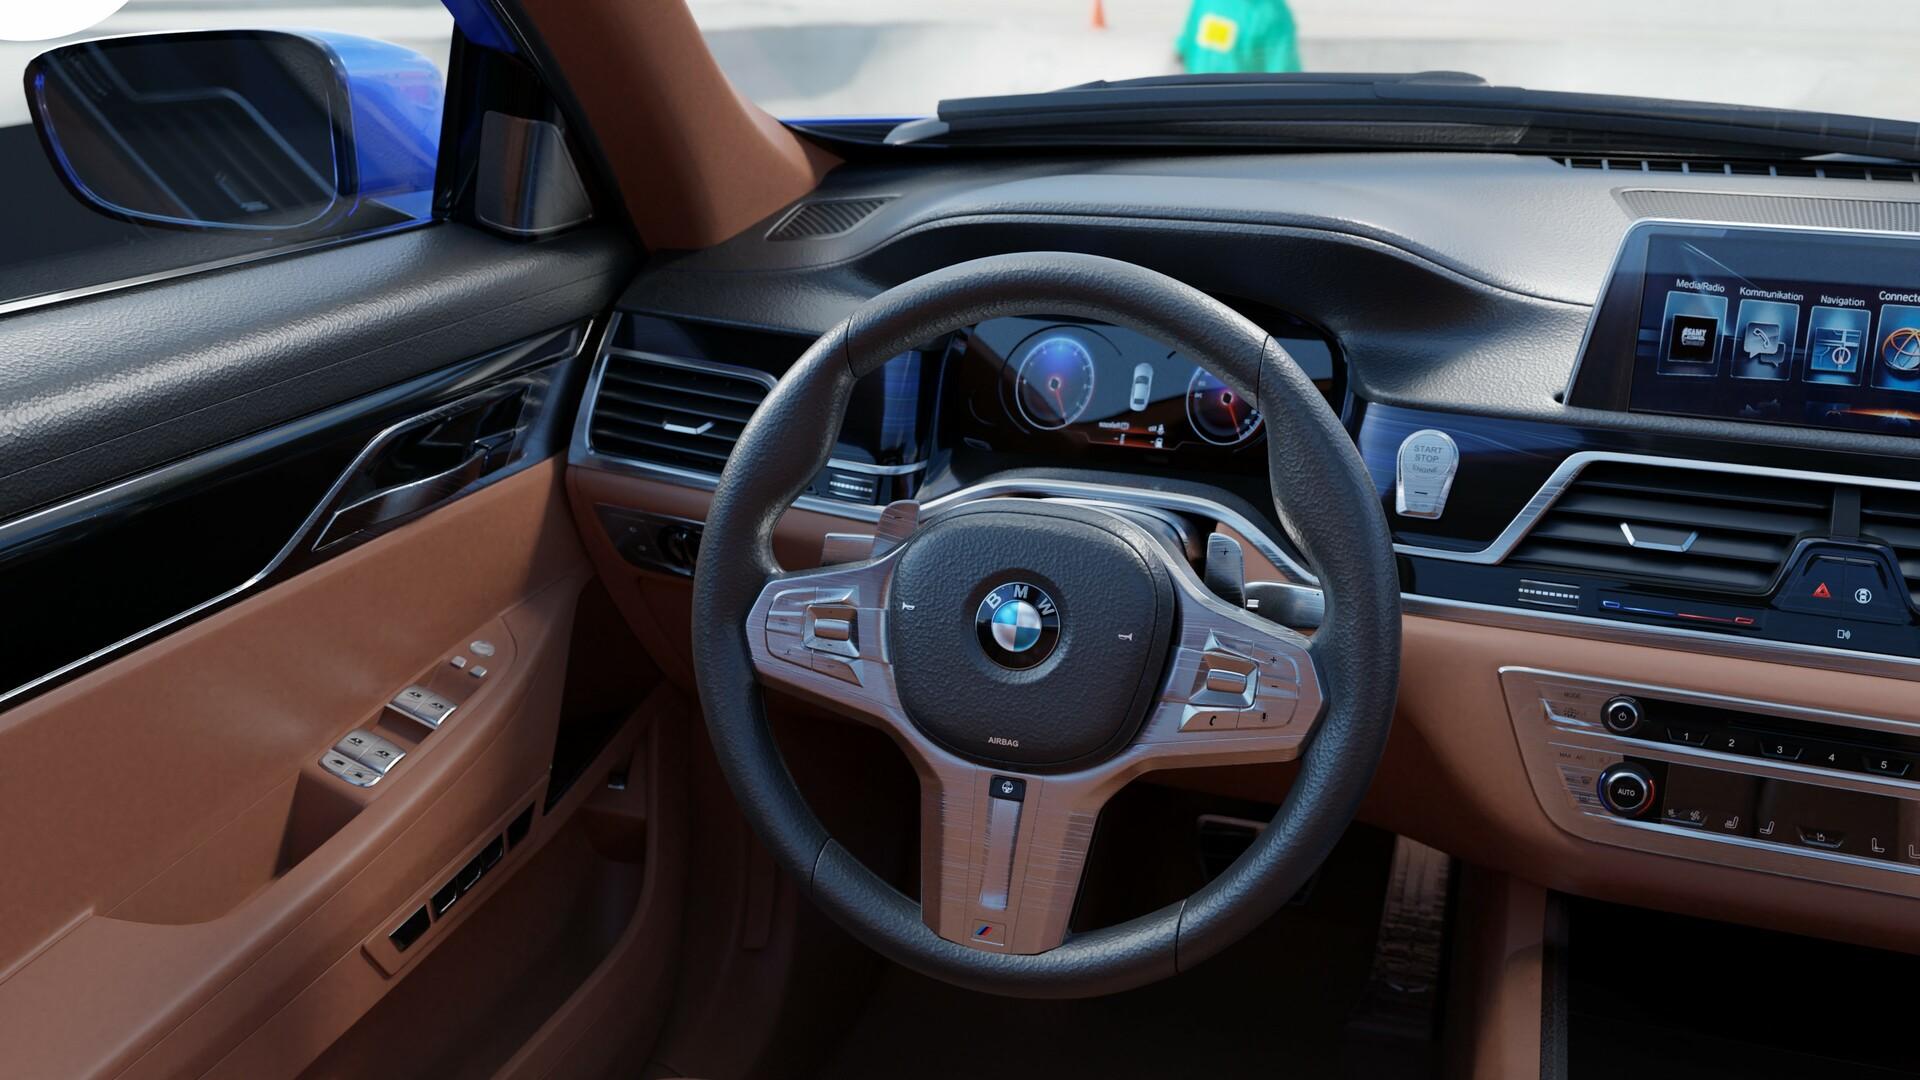
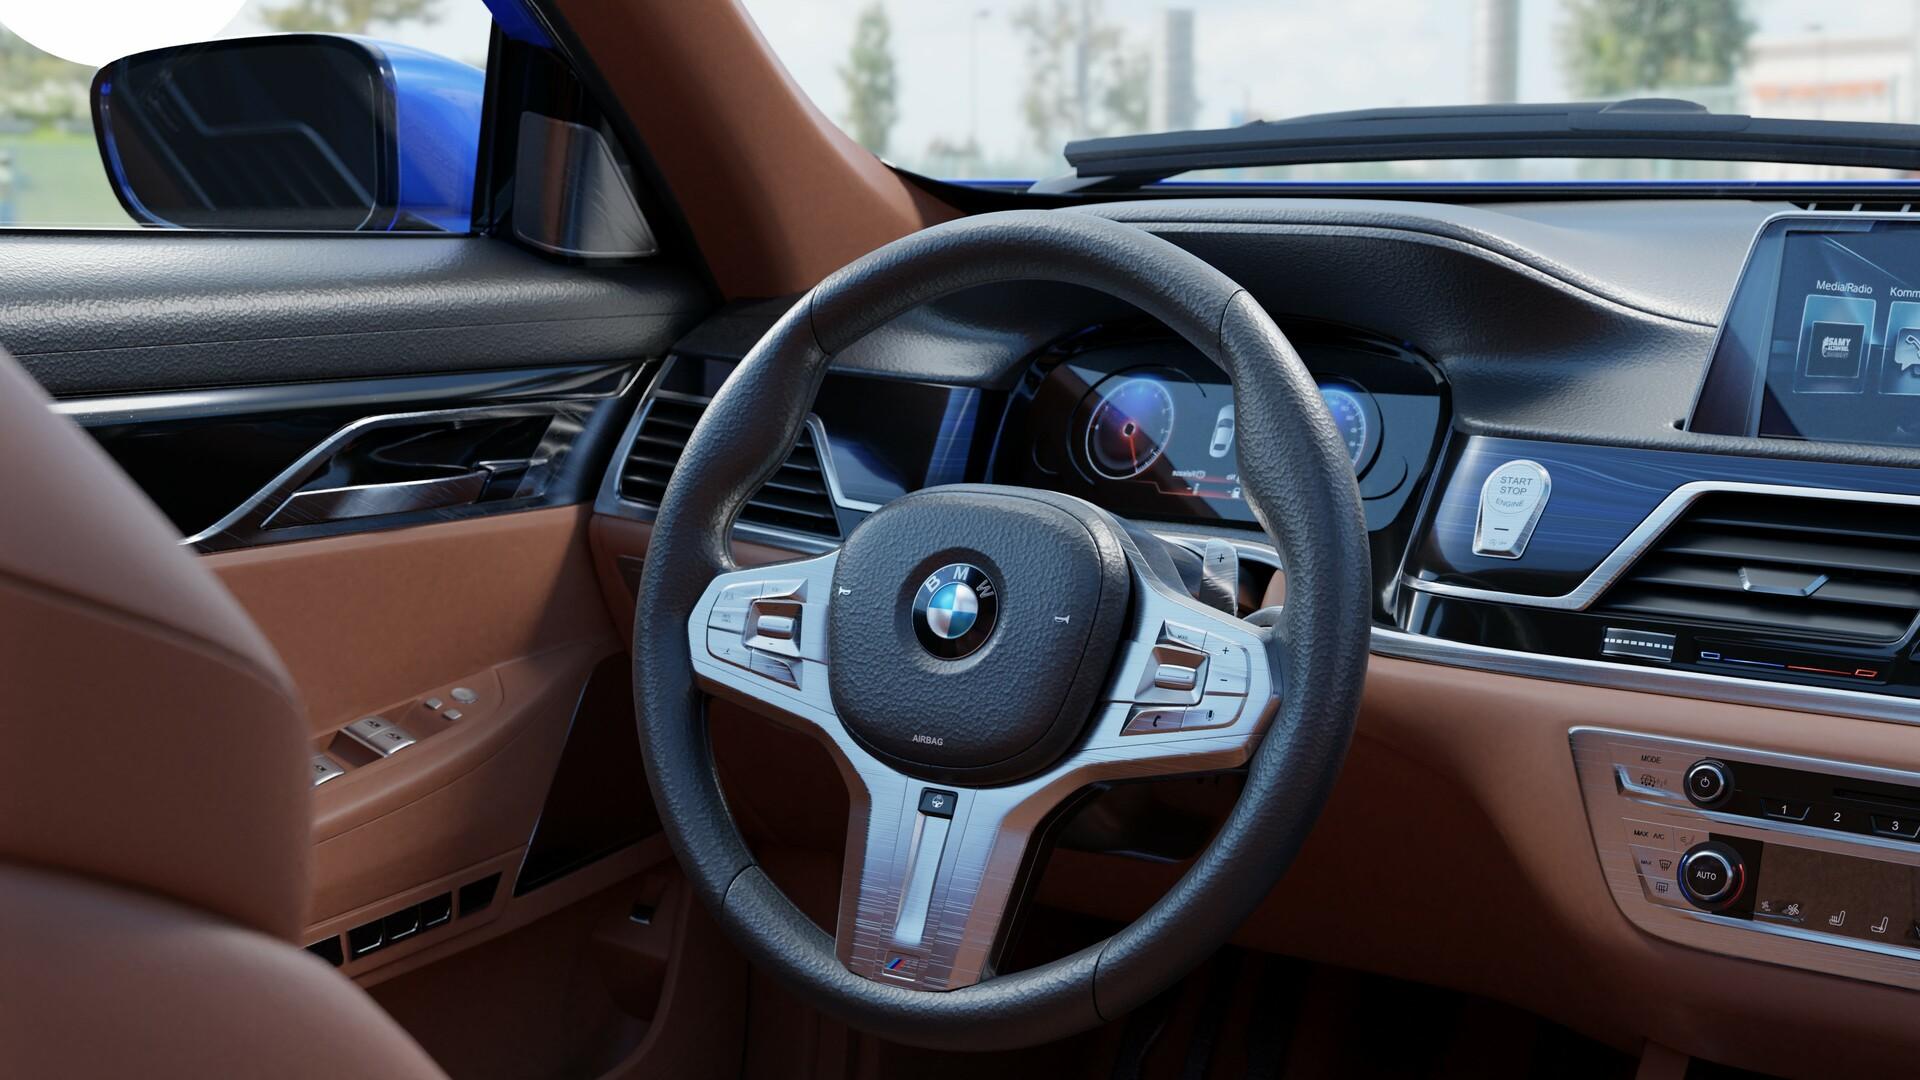
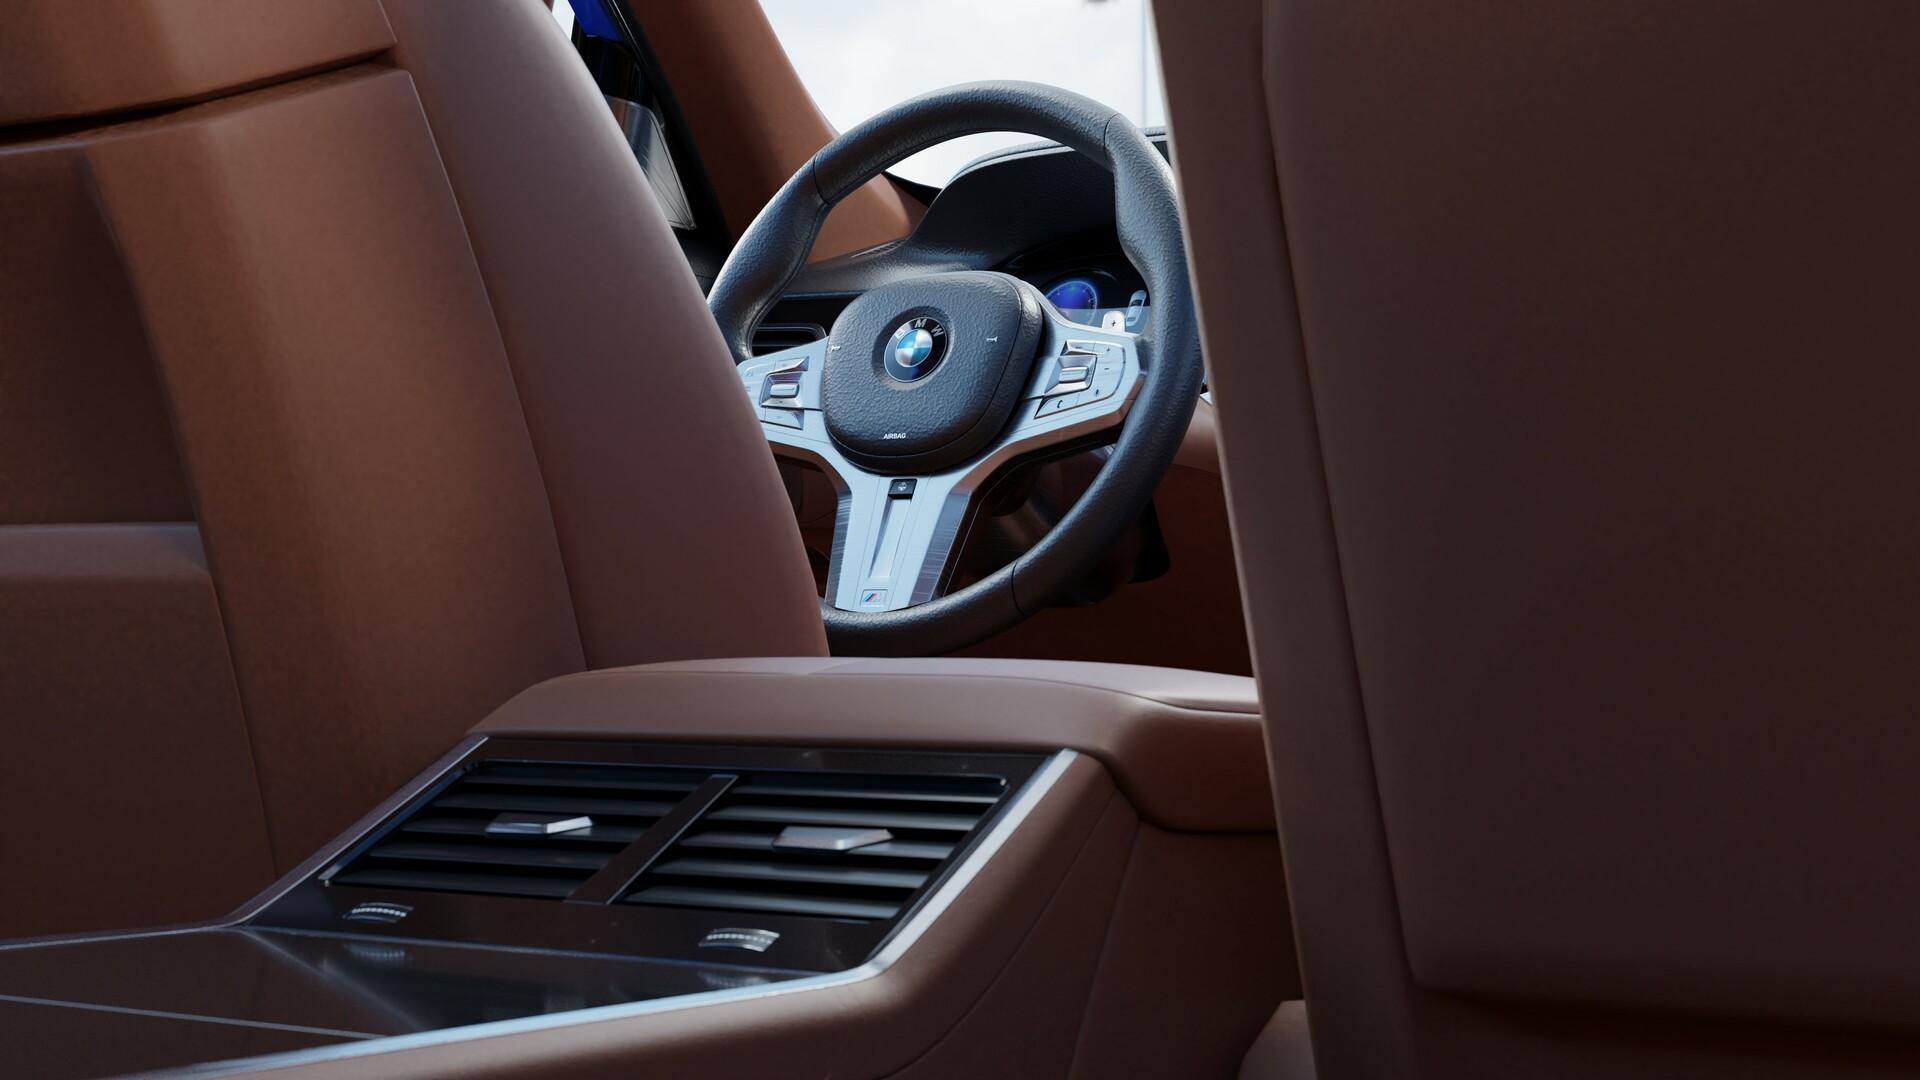
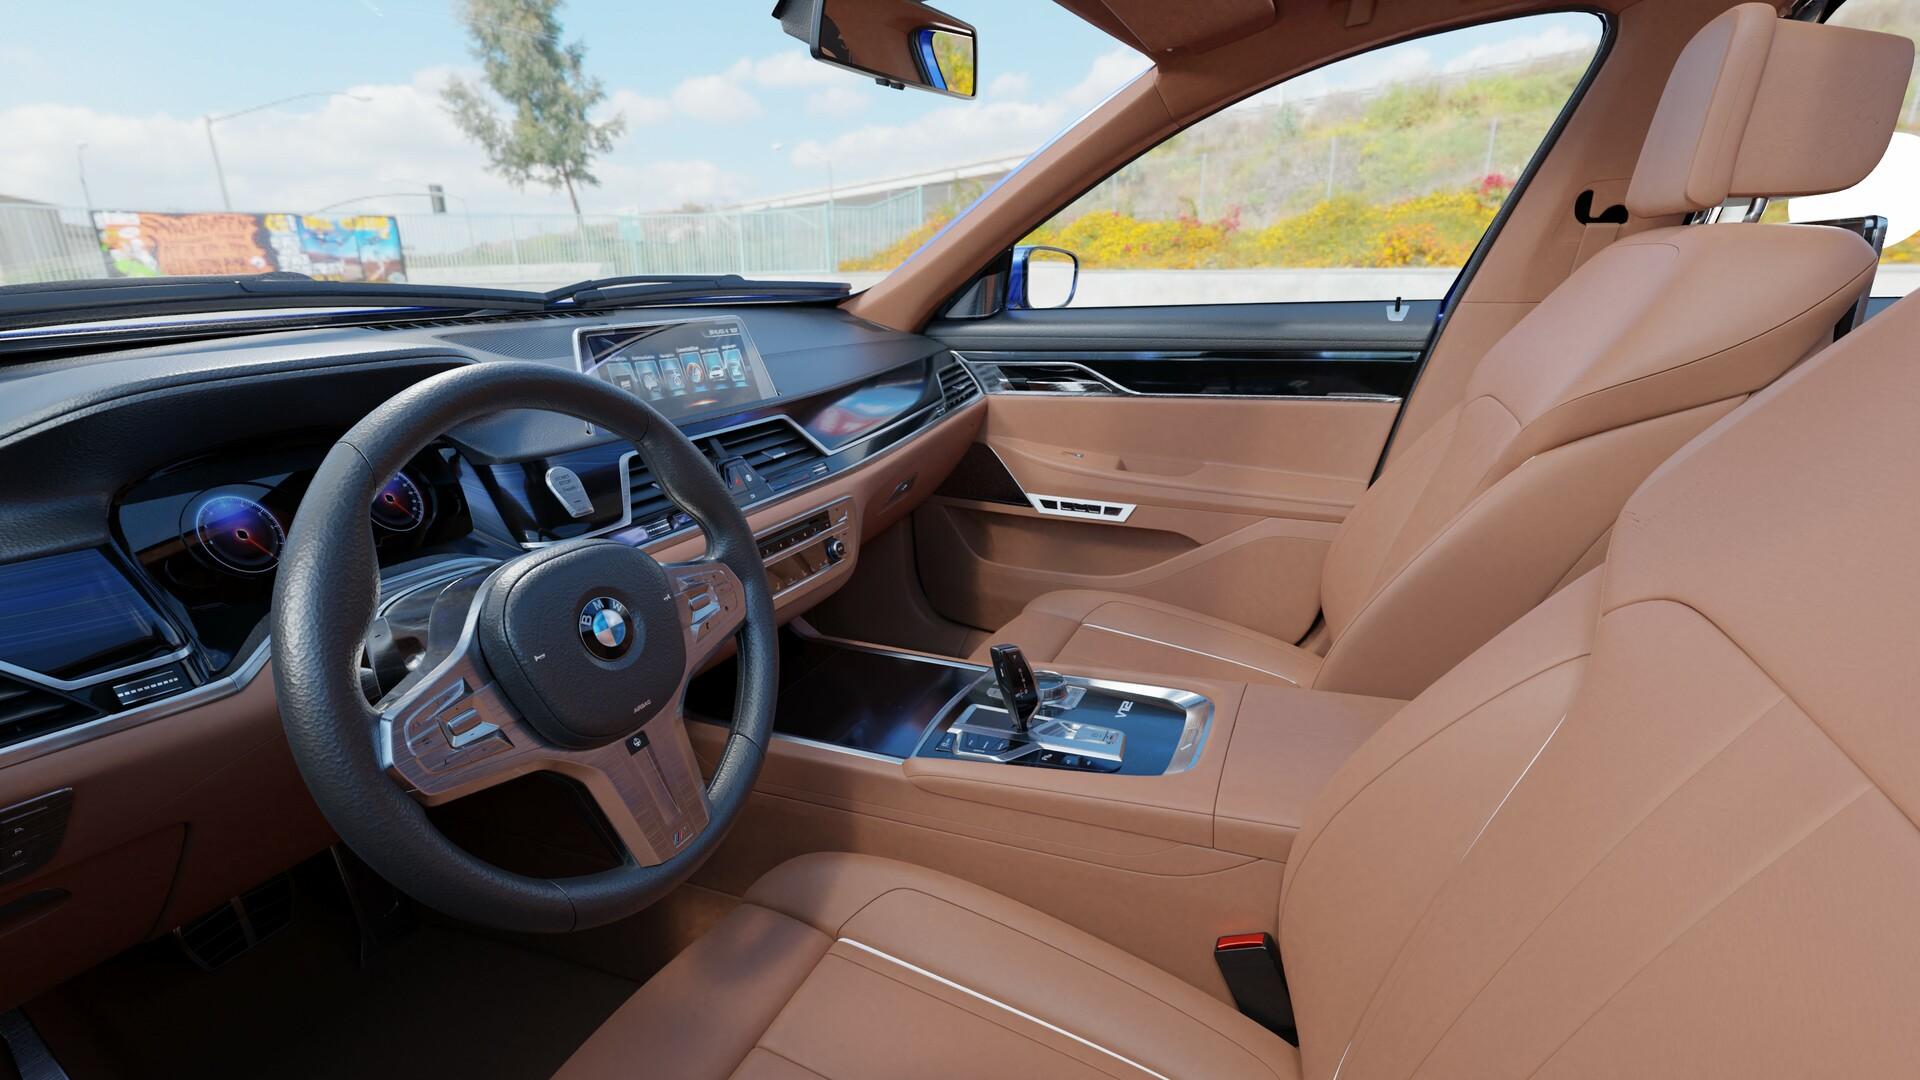
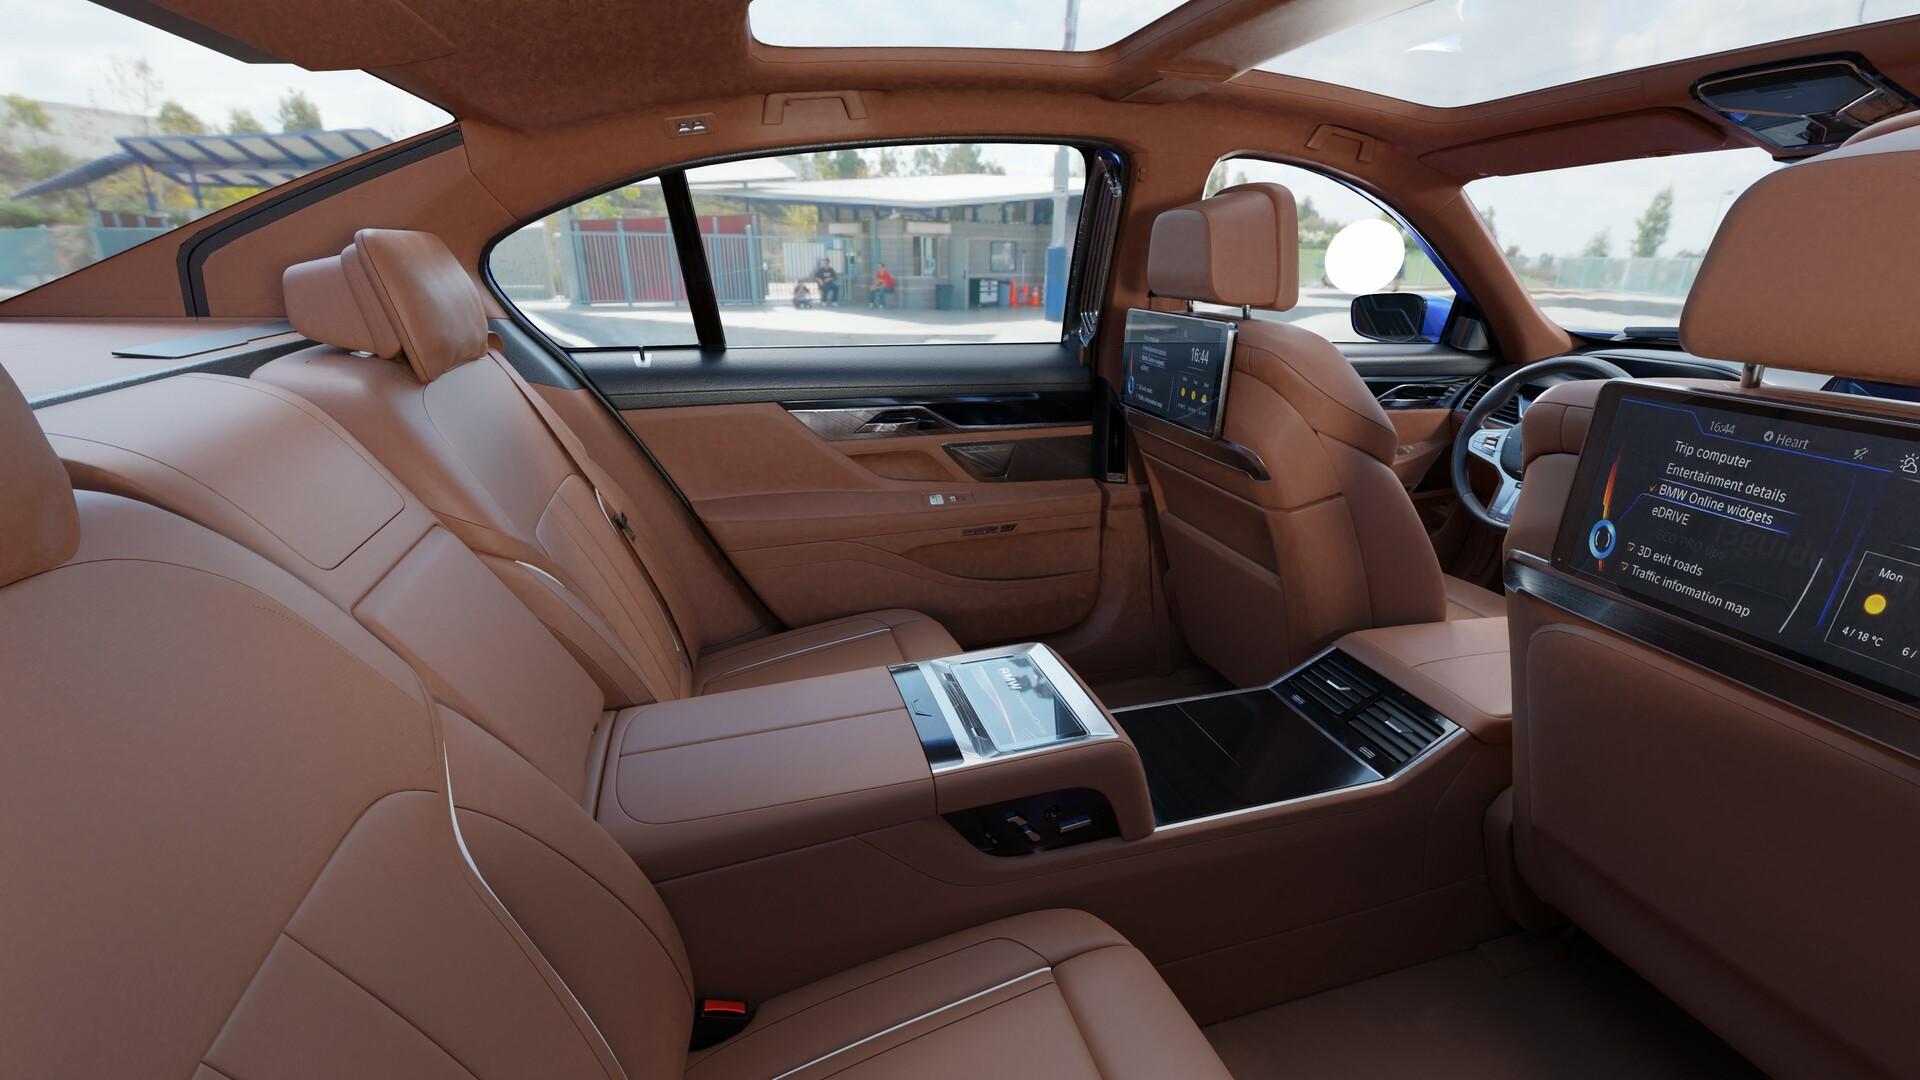
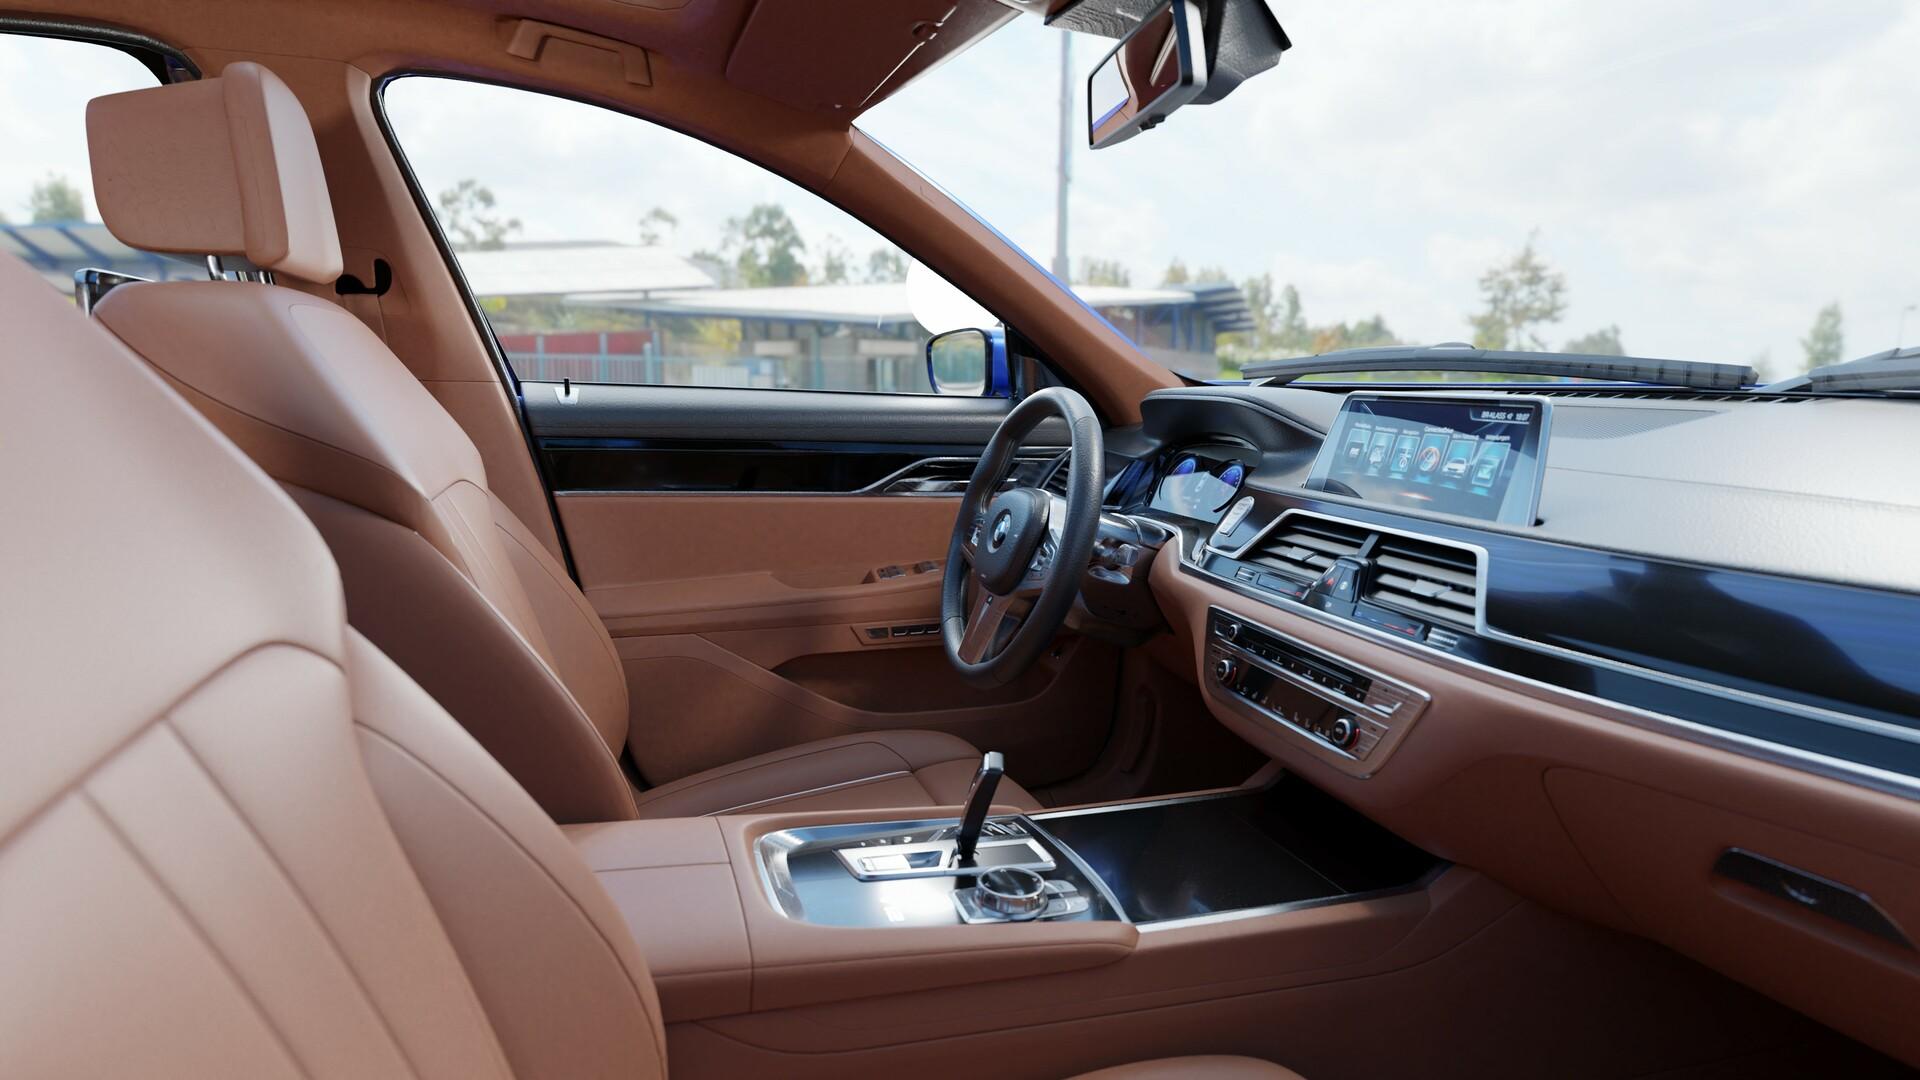
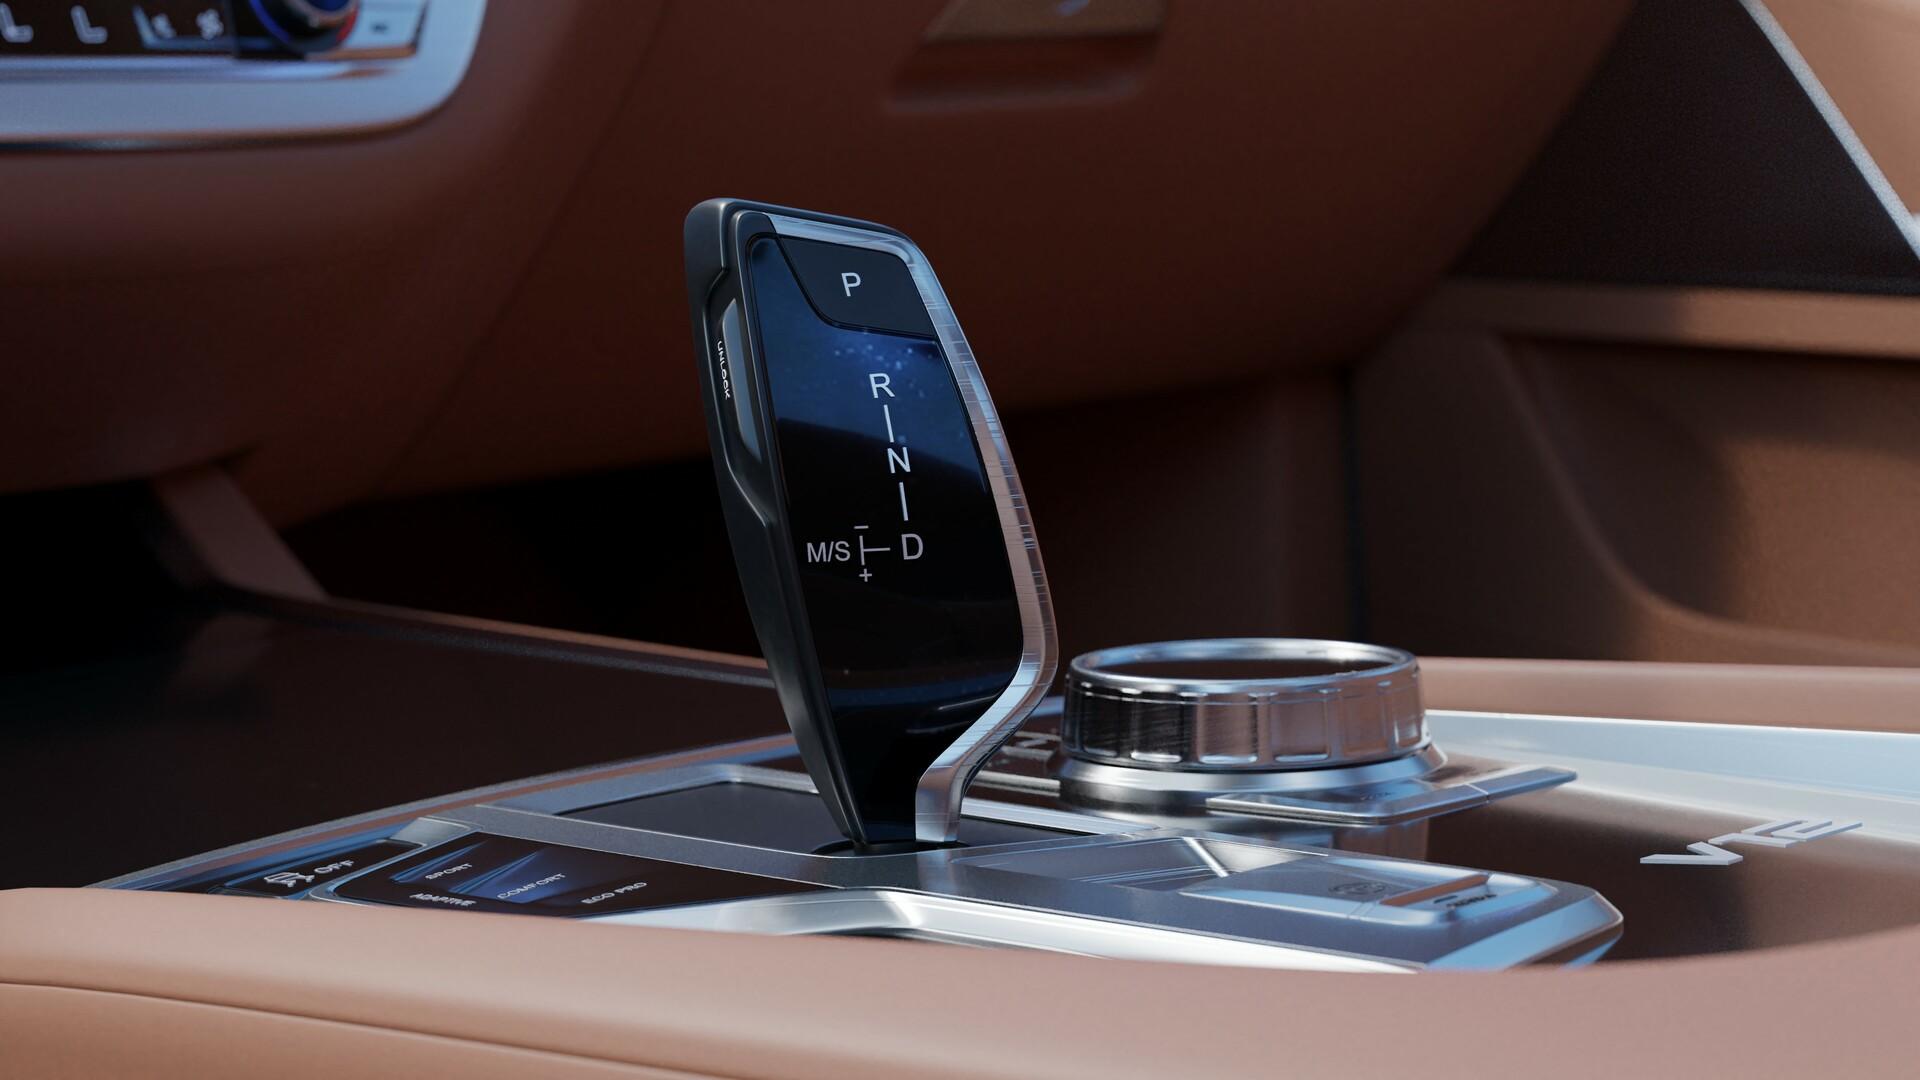
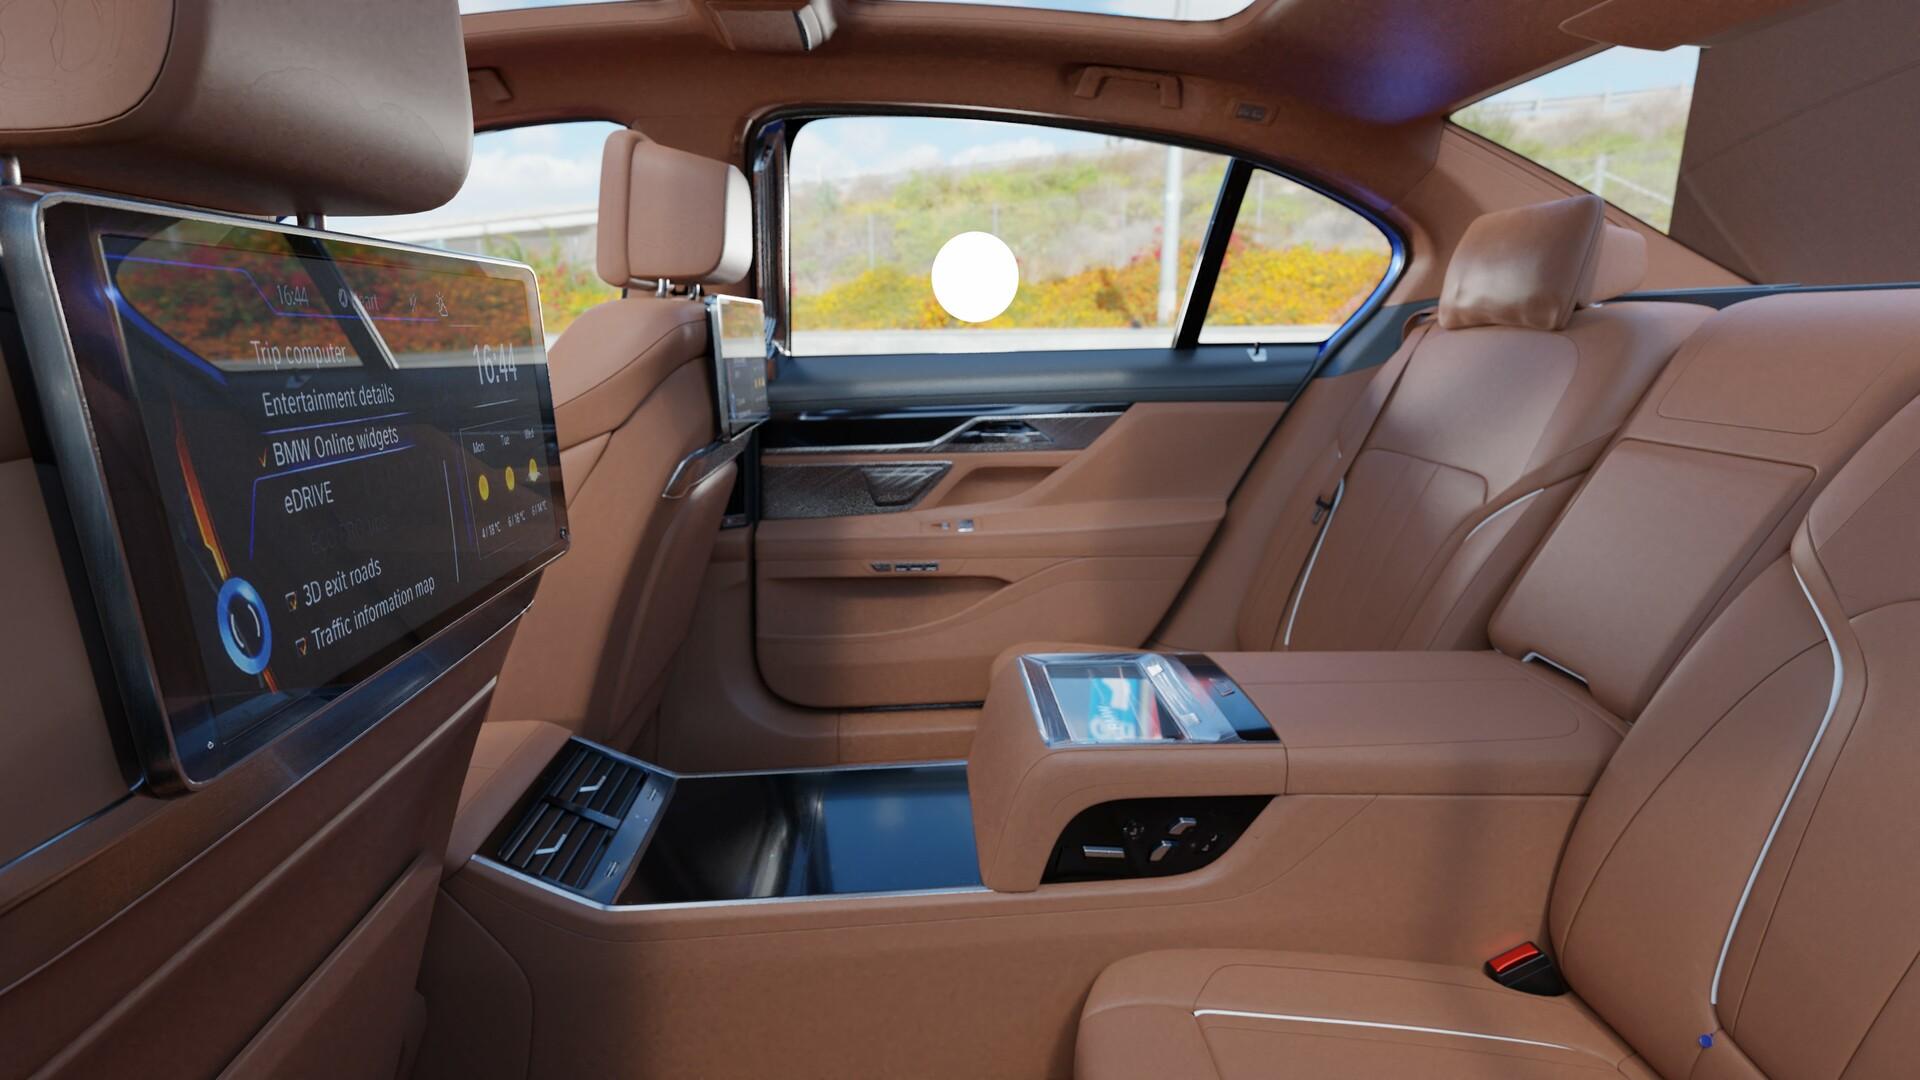
And here are the final renders:
I was so happy to write for BlenderNation. I really love this site! I am available for any questions, and jobs, too.
Thanks!
About the Author
 Sami Altaweel, 3D Vehicle Artist


Excellent work!
you got into the industry very early and that is a great advantage. What Chris Plush course both the jeep and corvette that you did?
wish you much success.
Really a good job, congratulations!
Wow your 19, how di dyou do all that work at such young age. Didnt you go to school at 16-17 age or so?
Well the car is not his work, he states he dowloaded it :
“…I used Hum3D’s impressive G12 Model and textured it in Blender.”
Textured it. No modelling. And as you can see, the node setups are quite simple, too (no pun intended).