Behind the Scenes: Contemporary Living

About
Hi there, I’m Foppe Smit, a 3D visualiser from Breda, the Netherlands.
Not originally… I worked as a P.E. teacher for 12 years, but since 2015 I have been the owner of Foppe 3D Visualizations, and since 2019 I have been in 3D business full time. I know, it’s quite a different cookie, but I’ve got a big and varied appetite.
I mainly focus on Archviz, as well as other challenges that have come on my path that I gladly embraced. I started 3D with an old version of 3ds Max (5) which I learned as an autodidact through books and tutorials online that took me further and further.
In November 2018 I was properly introduced to Blender and was immediately sold. The switch to Blender took some time and effort but within a few months I had the feeling that I had gotten a grip on the software. It is very user-friendly and intuitive. I especially love the many tutorials and community, you guys. I will never again be left with an unanswered question, nor will I get stuck for a long time. That’s why I am very happy that I can write this piece, hoping that I can help or inspire someone else.
Inspiration
I am a sucker for Pinterest, Houzz, ArtStation, and I have several Taschen Editions (architecture books), magazines, and so on. I save every picture that appeals to me in case I need inspiration or references. My favourite style is Scandinavian or beach style (interiors). I love wood and natural elements to show in architecture. I also like lots of green (plants and trees). But the contemporary style or a cutting edge modern style (interior and exterior) can blow my mind, as well.
I also follow a lot of blogs and YouTubers to learn new tricks and get inspired. (Blender Guru – Gleb Alexandrov – Aidy Burrows aka CG Masters – Arqui9 Visualisation – Blender channel itself of course – CG Cookie – CG Boost – Ducky 3D – YanSculpts – Wayward Art Company – Grant Abbitt – Mandala Motion and lots more, thanks all you guys for the great help and inspiration.)
I actually work far too little with good references, which can sometimes greatly delay the work process. Really an important point! I did use references on this project and that really gives a lot of guidance. Recommended! It is often underestimated. Also, if you use multiple references, PureRef is a great mood board simulator.
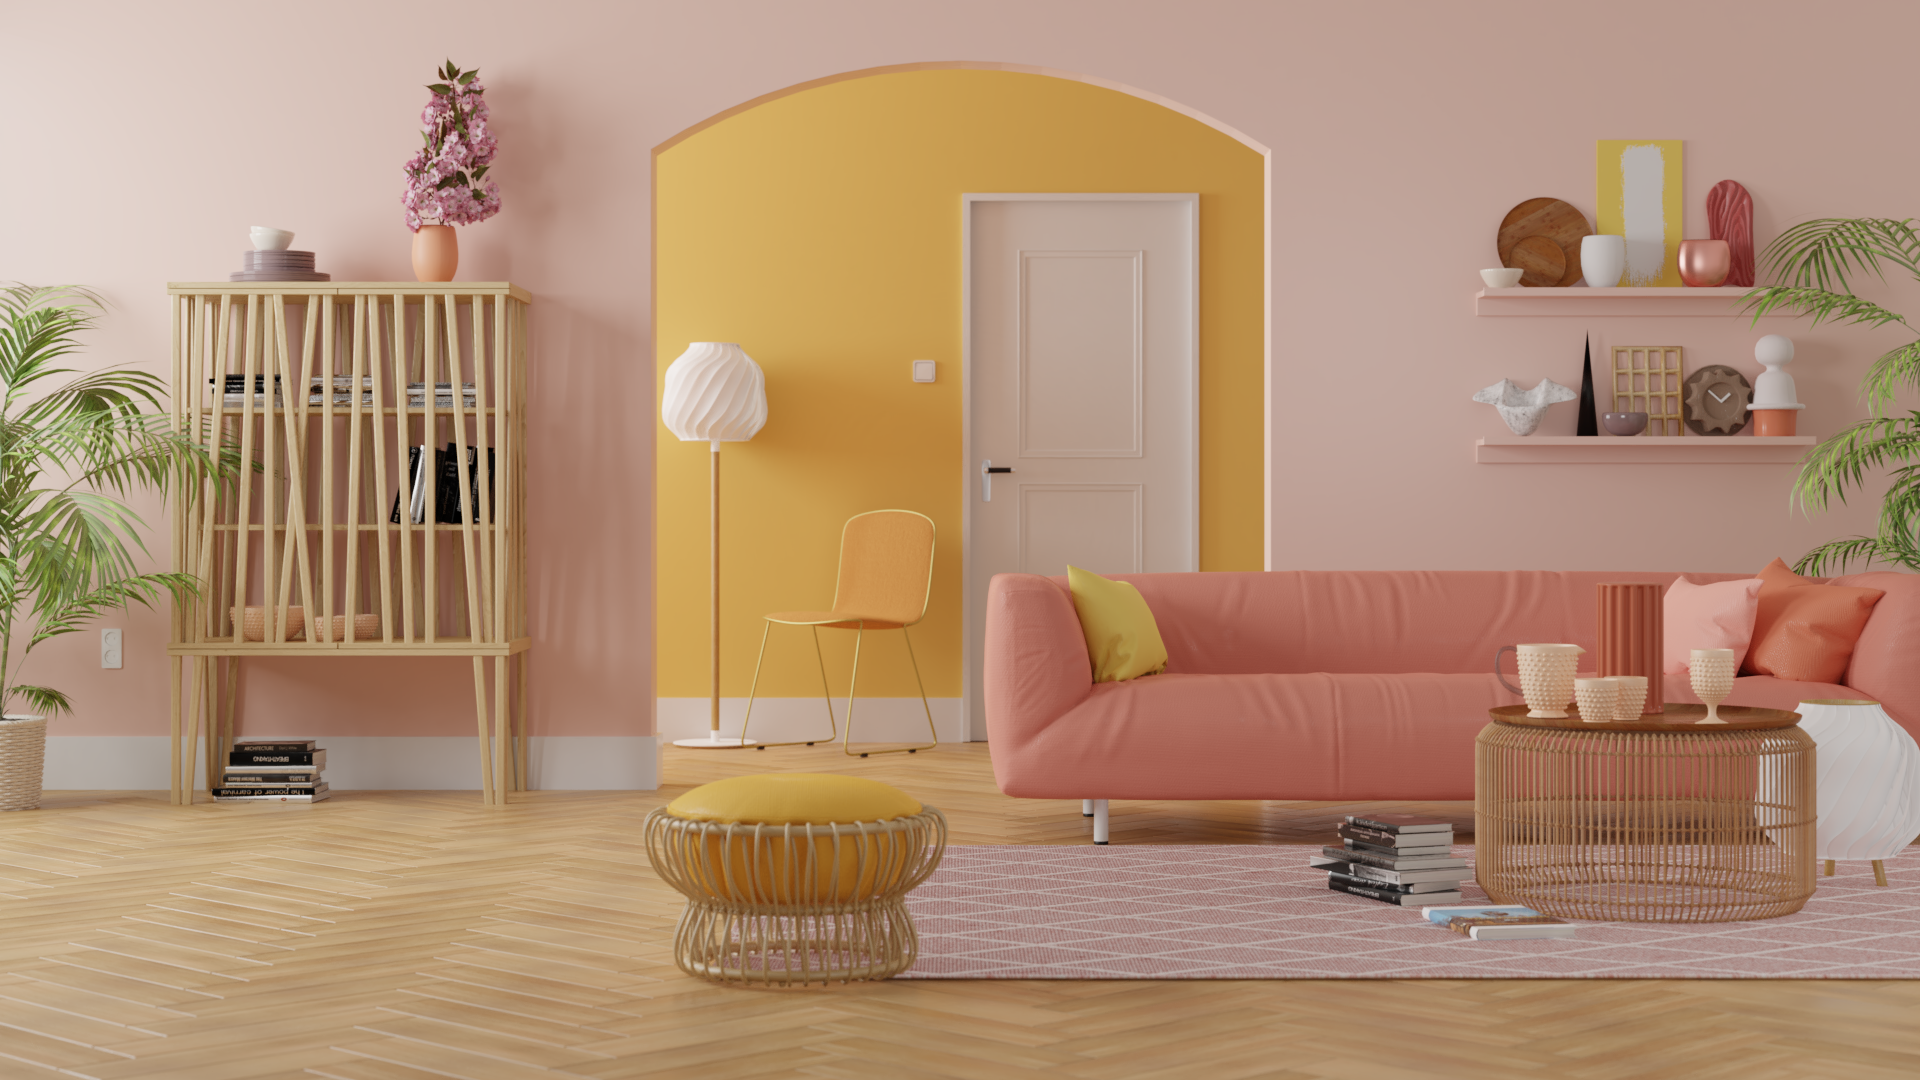
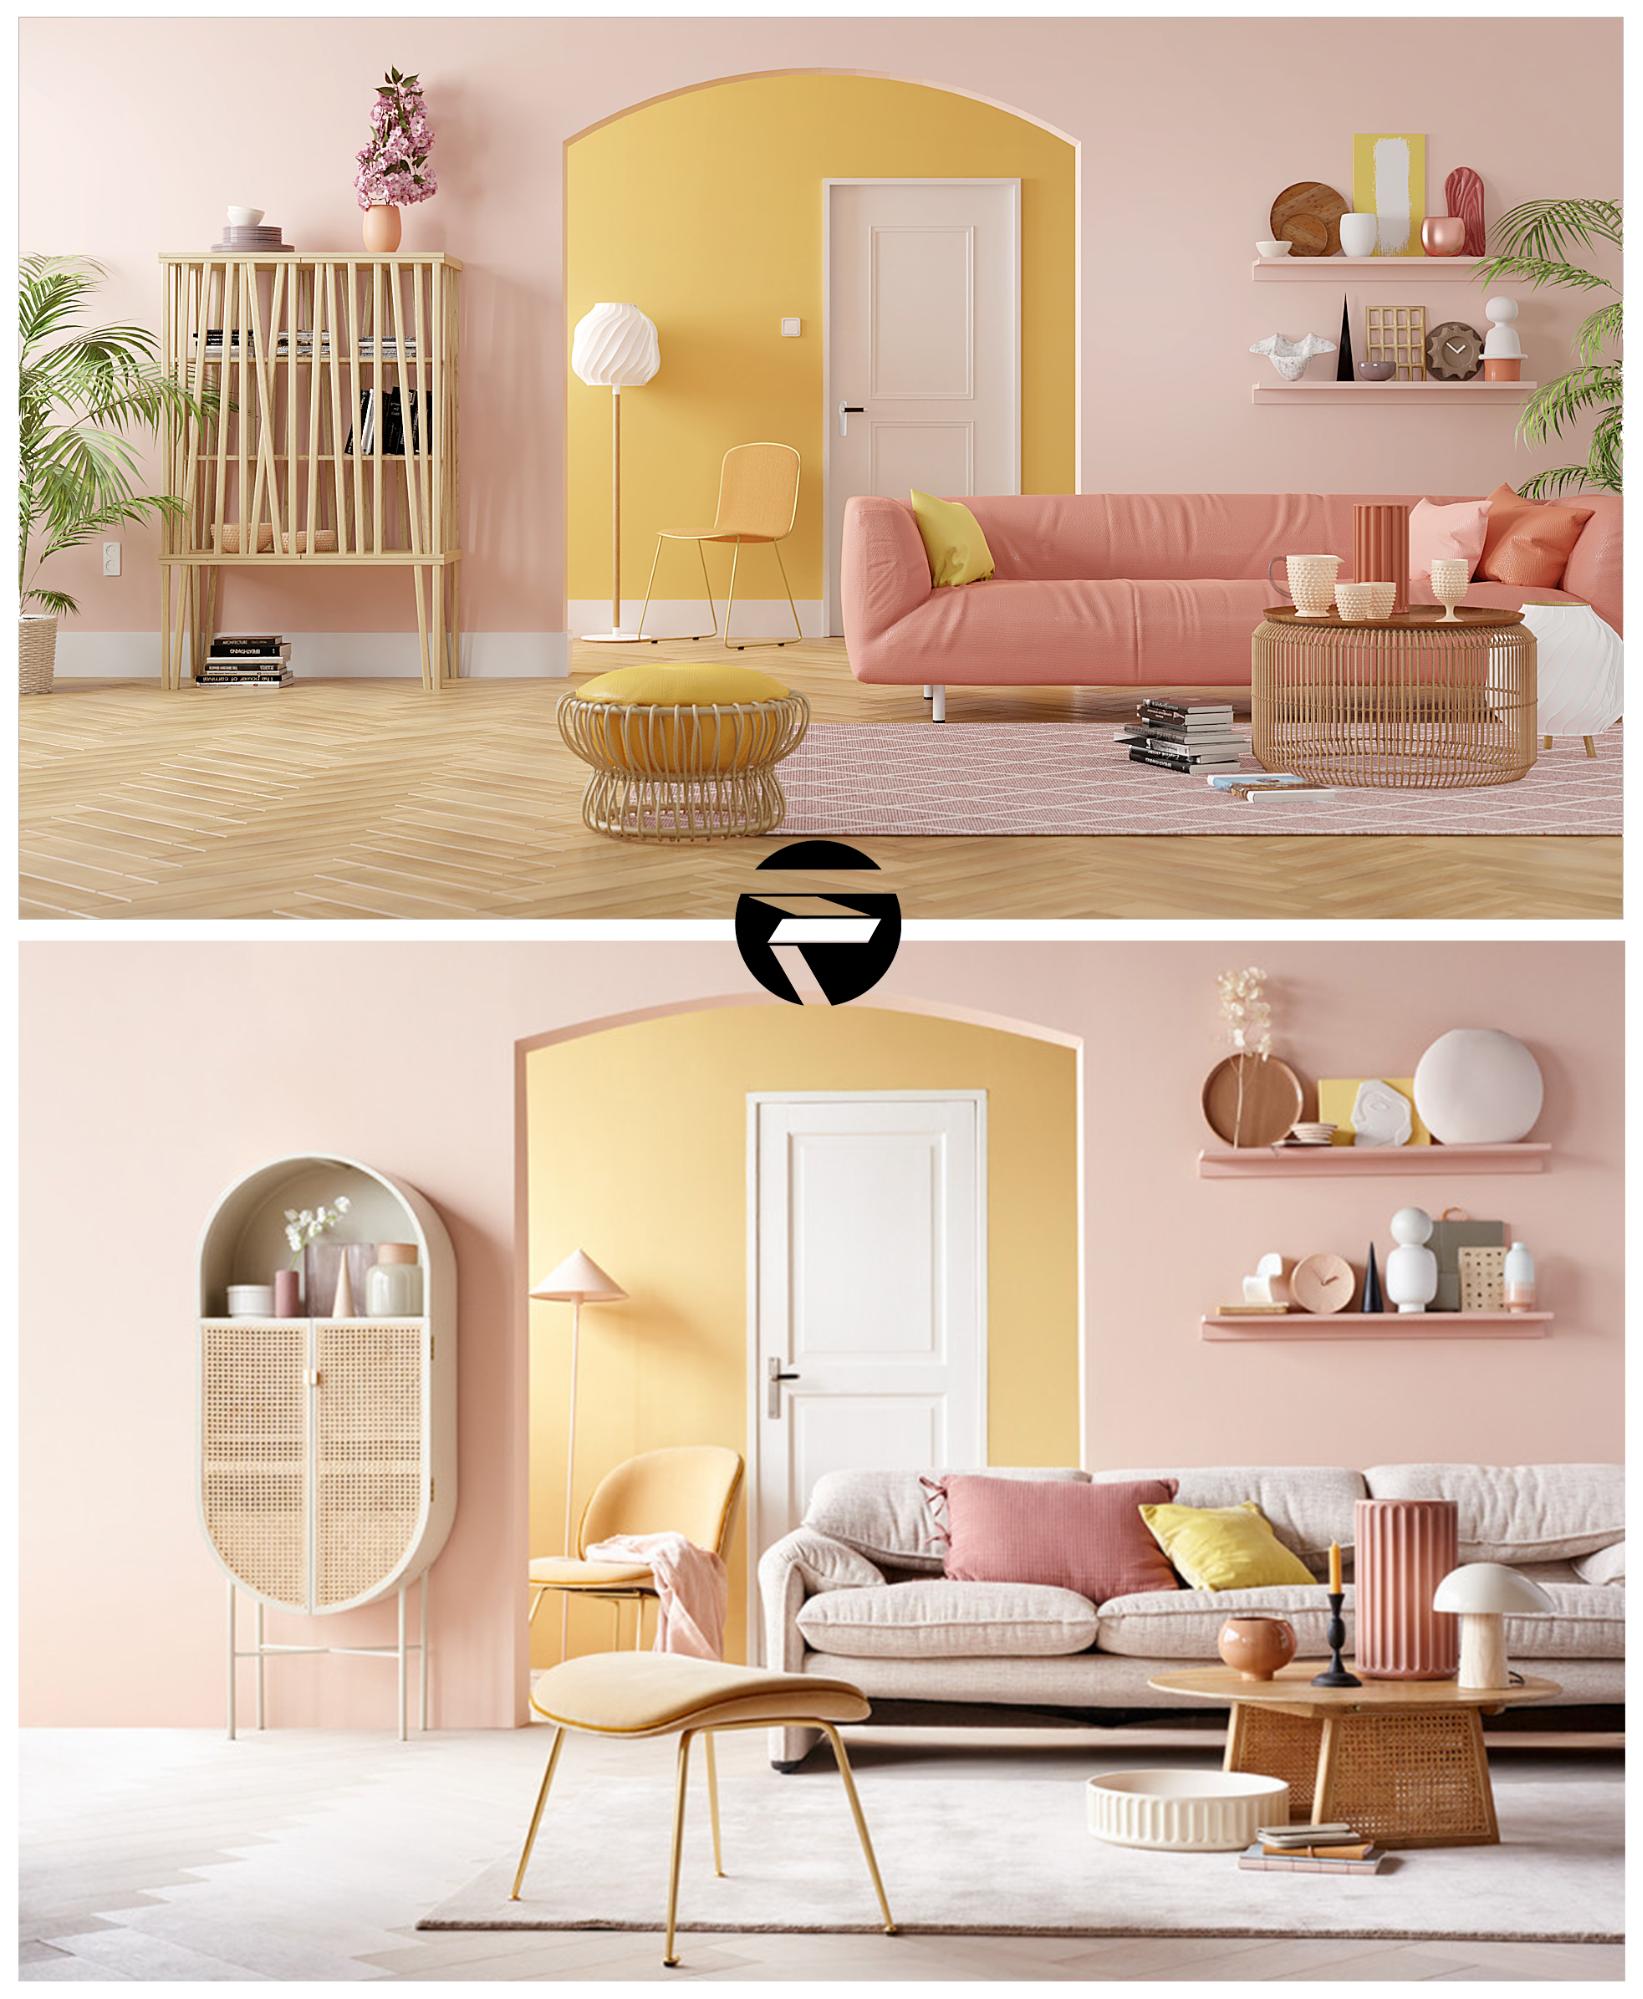
As an inspiration for this project, I flipped through living magazines and came across this catchy photo.
https://www.instagram.com/p/Bye3DfxnAUK/?utm_source=ig_web_copy_link
I was very drawn to the color scheme and composition. The end result, therefore, worked out well.
Modeling
This work originated from…the sofa.
I make models for furniture makers, including this new model. Just like the well-known chain Ikea, I try to place the models into photo-realistic environments so that the final images can be used in the media (magazines, websites, social media).
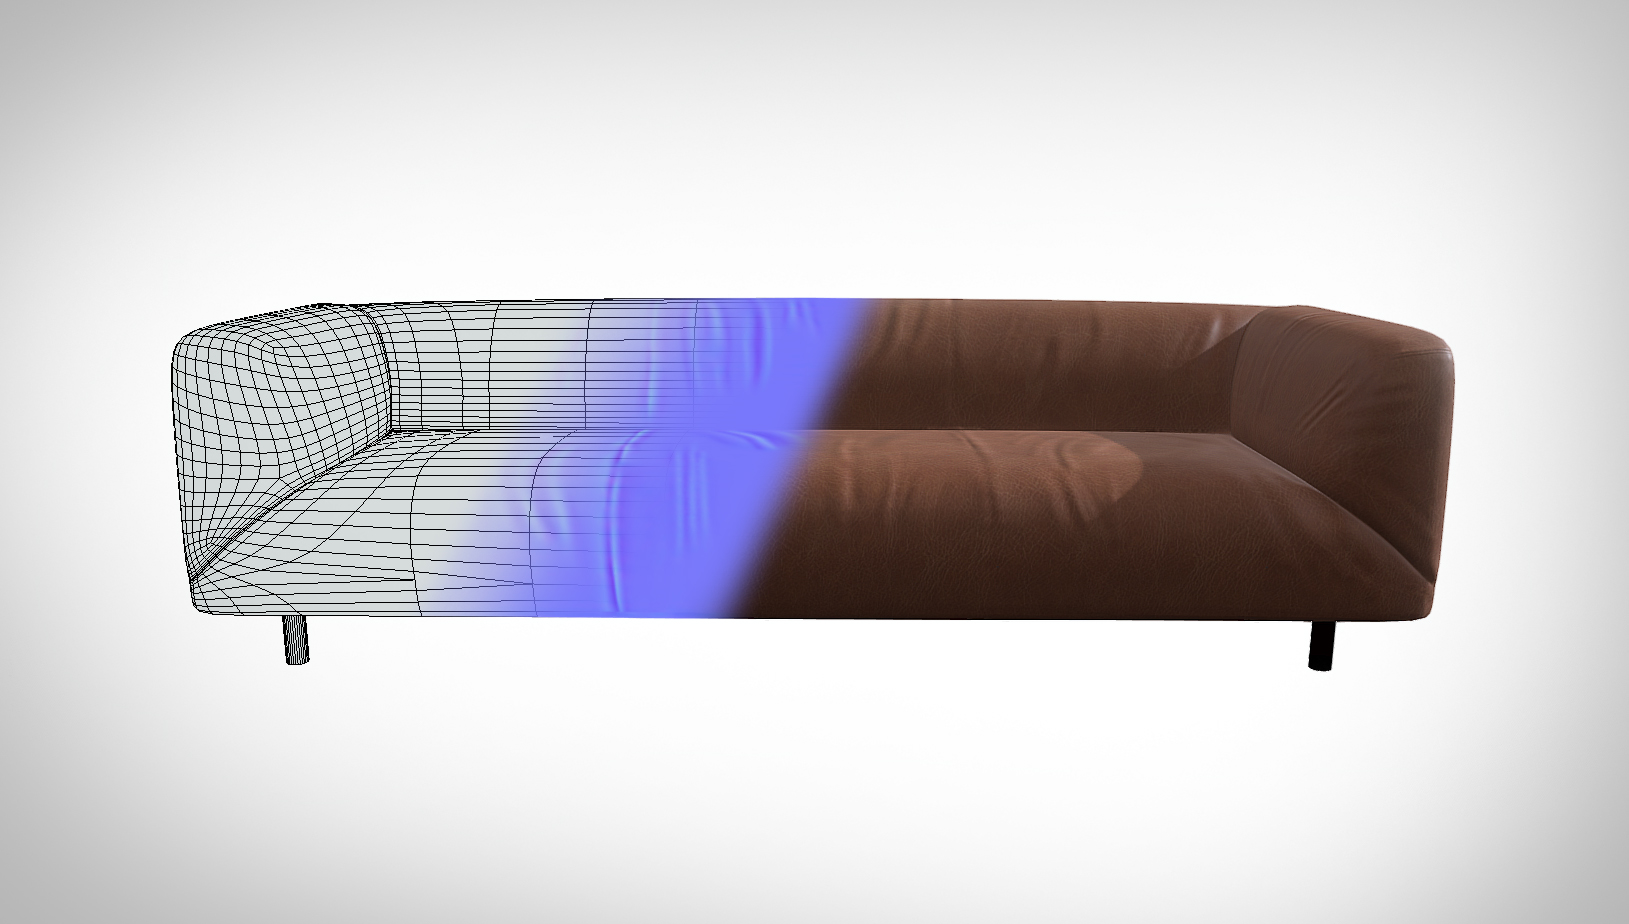
I first modeled a low poly sofa that had the same proportions as the existing sofa (not to be confused with the sofa in the reference).
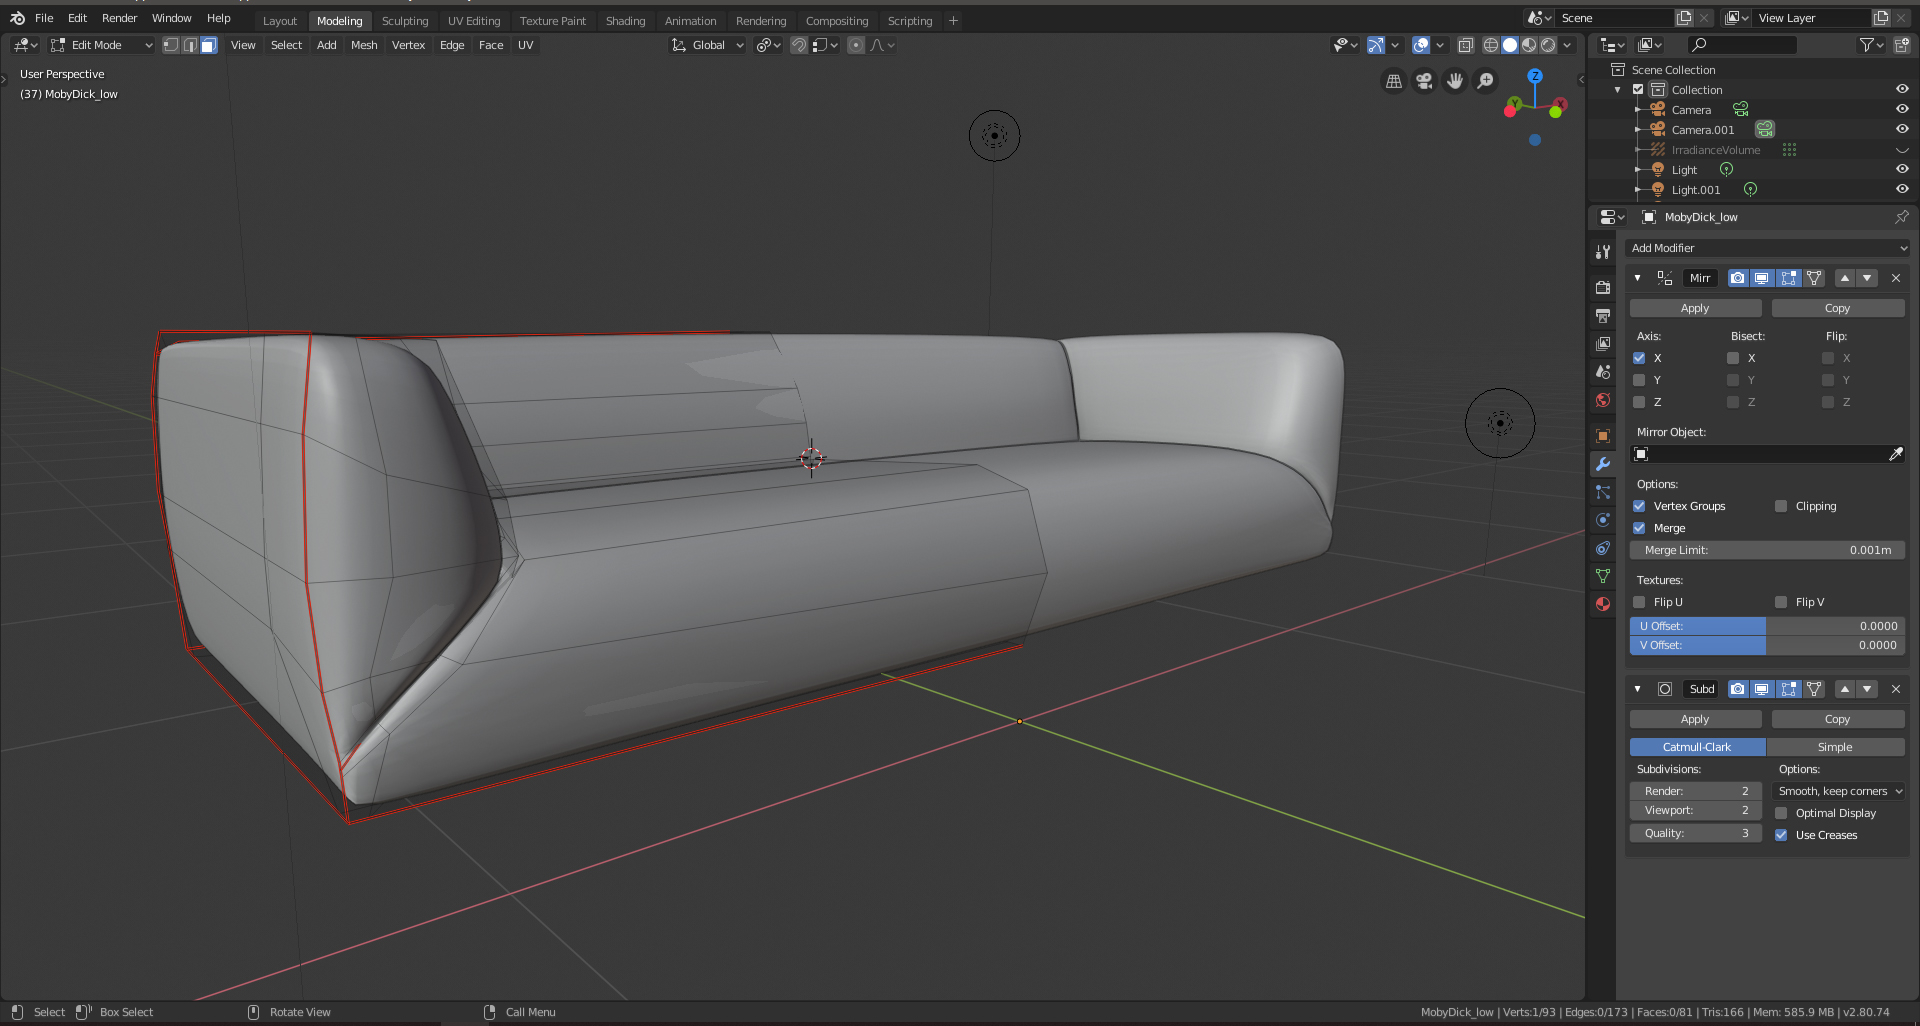
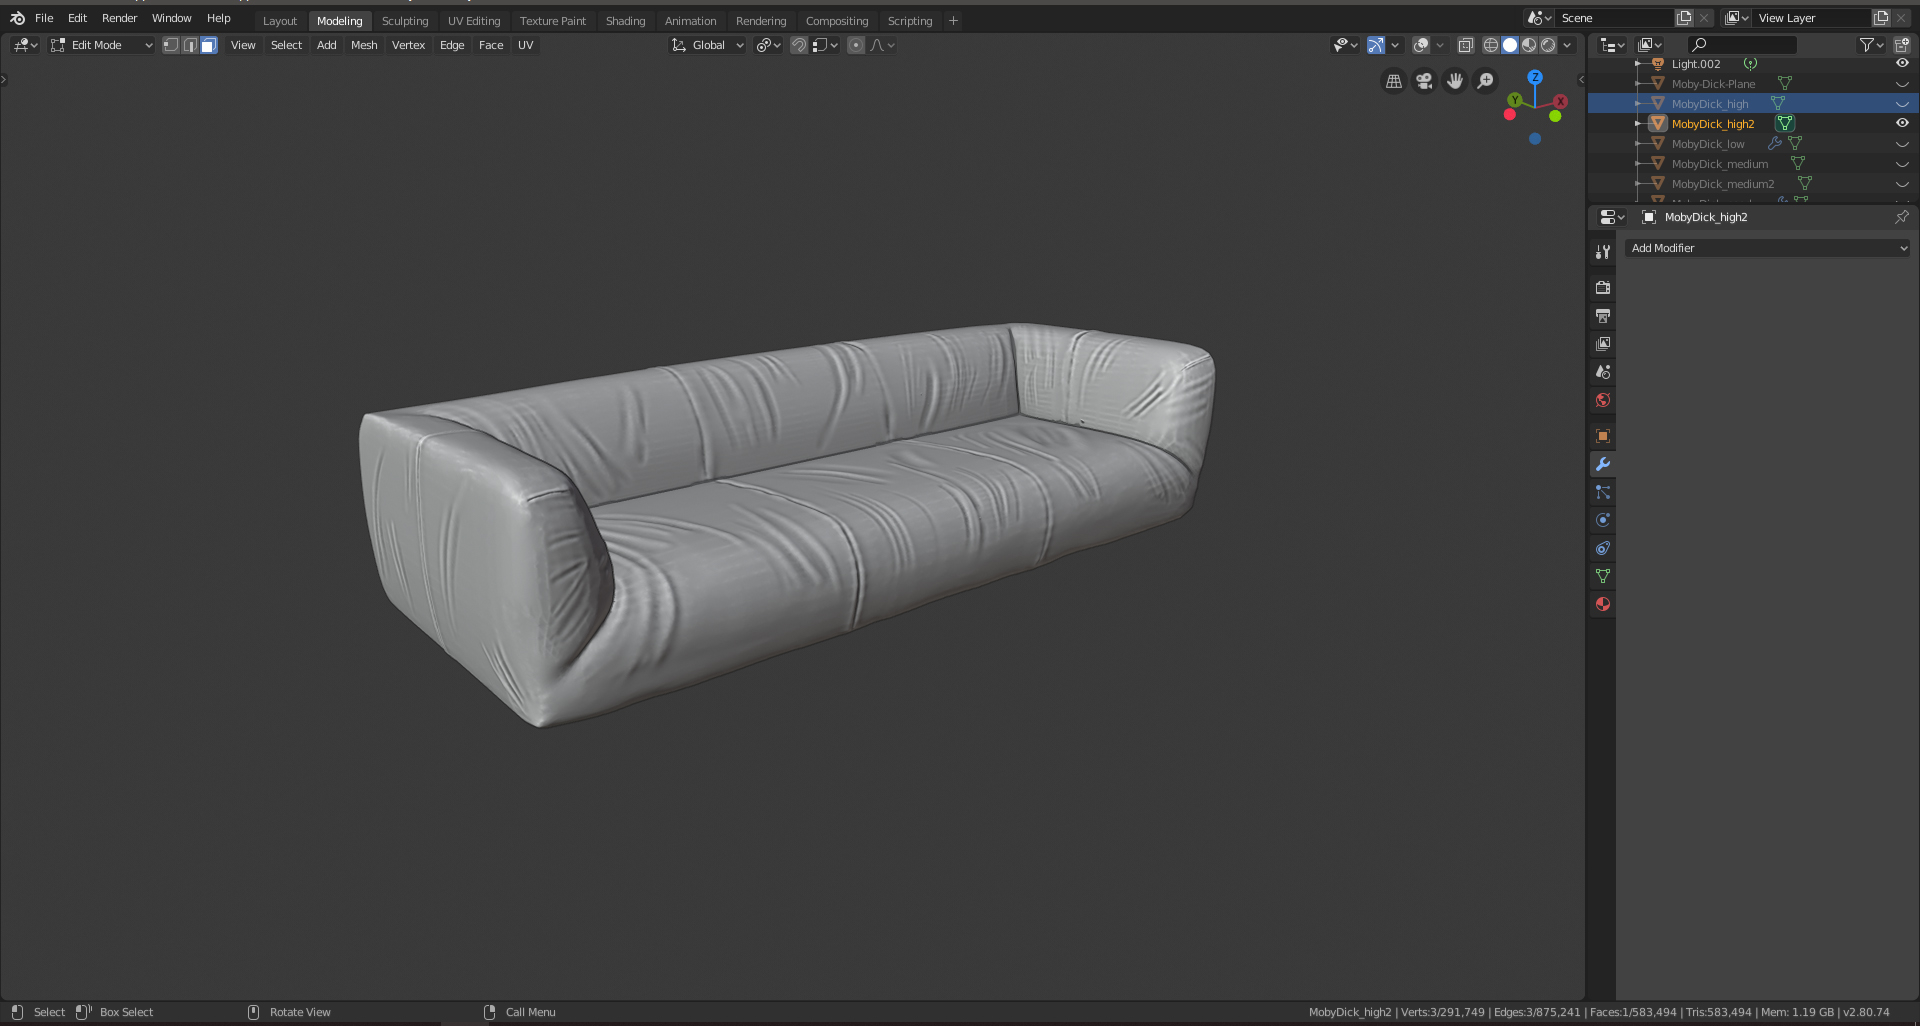
Then I UV unwrapped this model. I copied this low poly and turned it into a high poly by modeling seams and then sculpting the folds. This is very relaxing work (with a Wacom tablet).
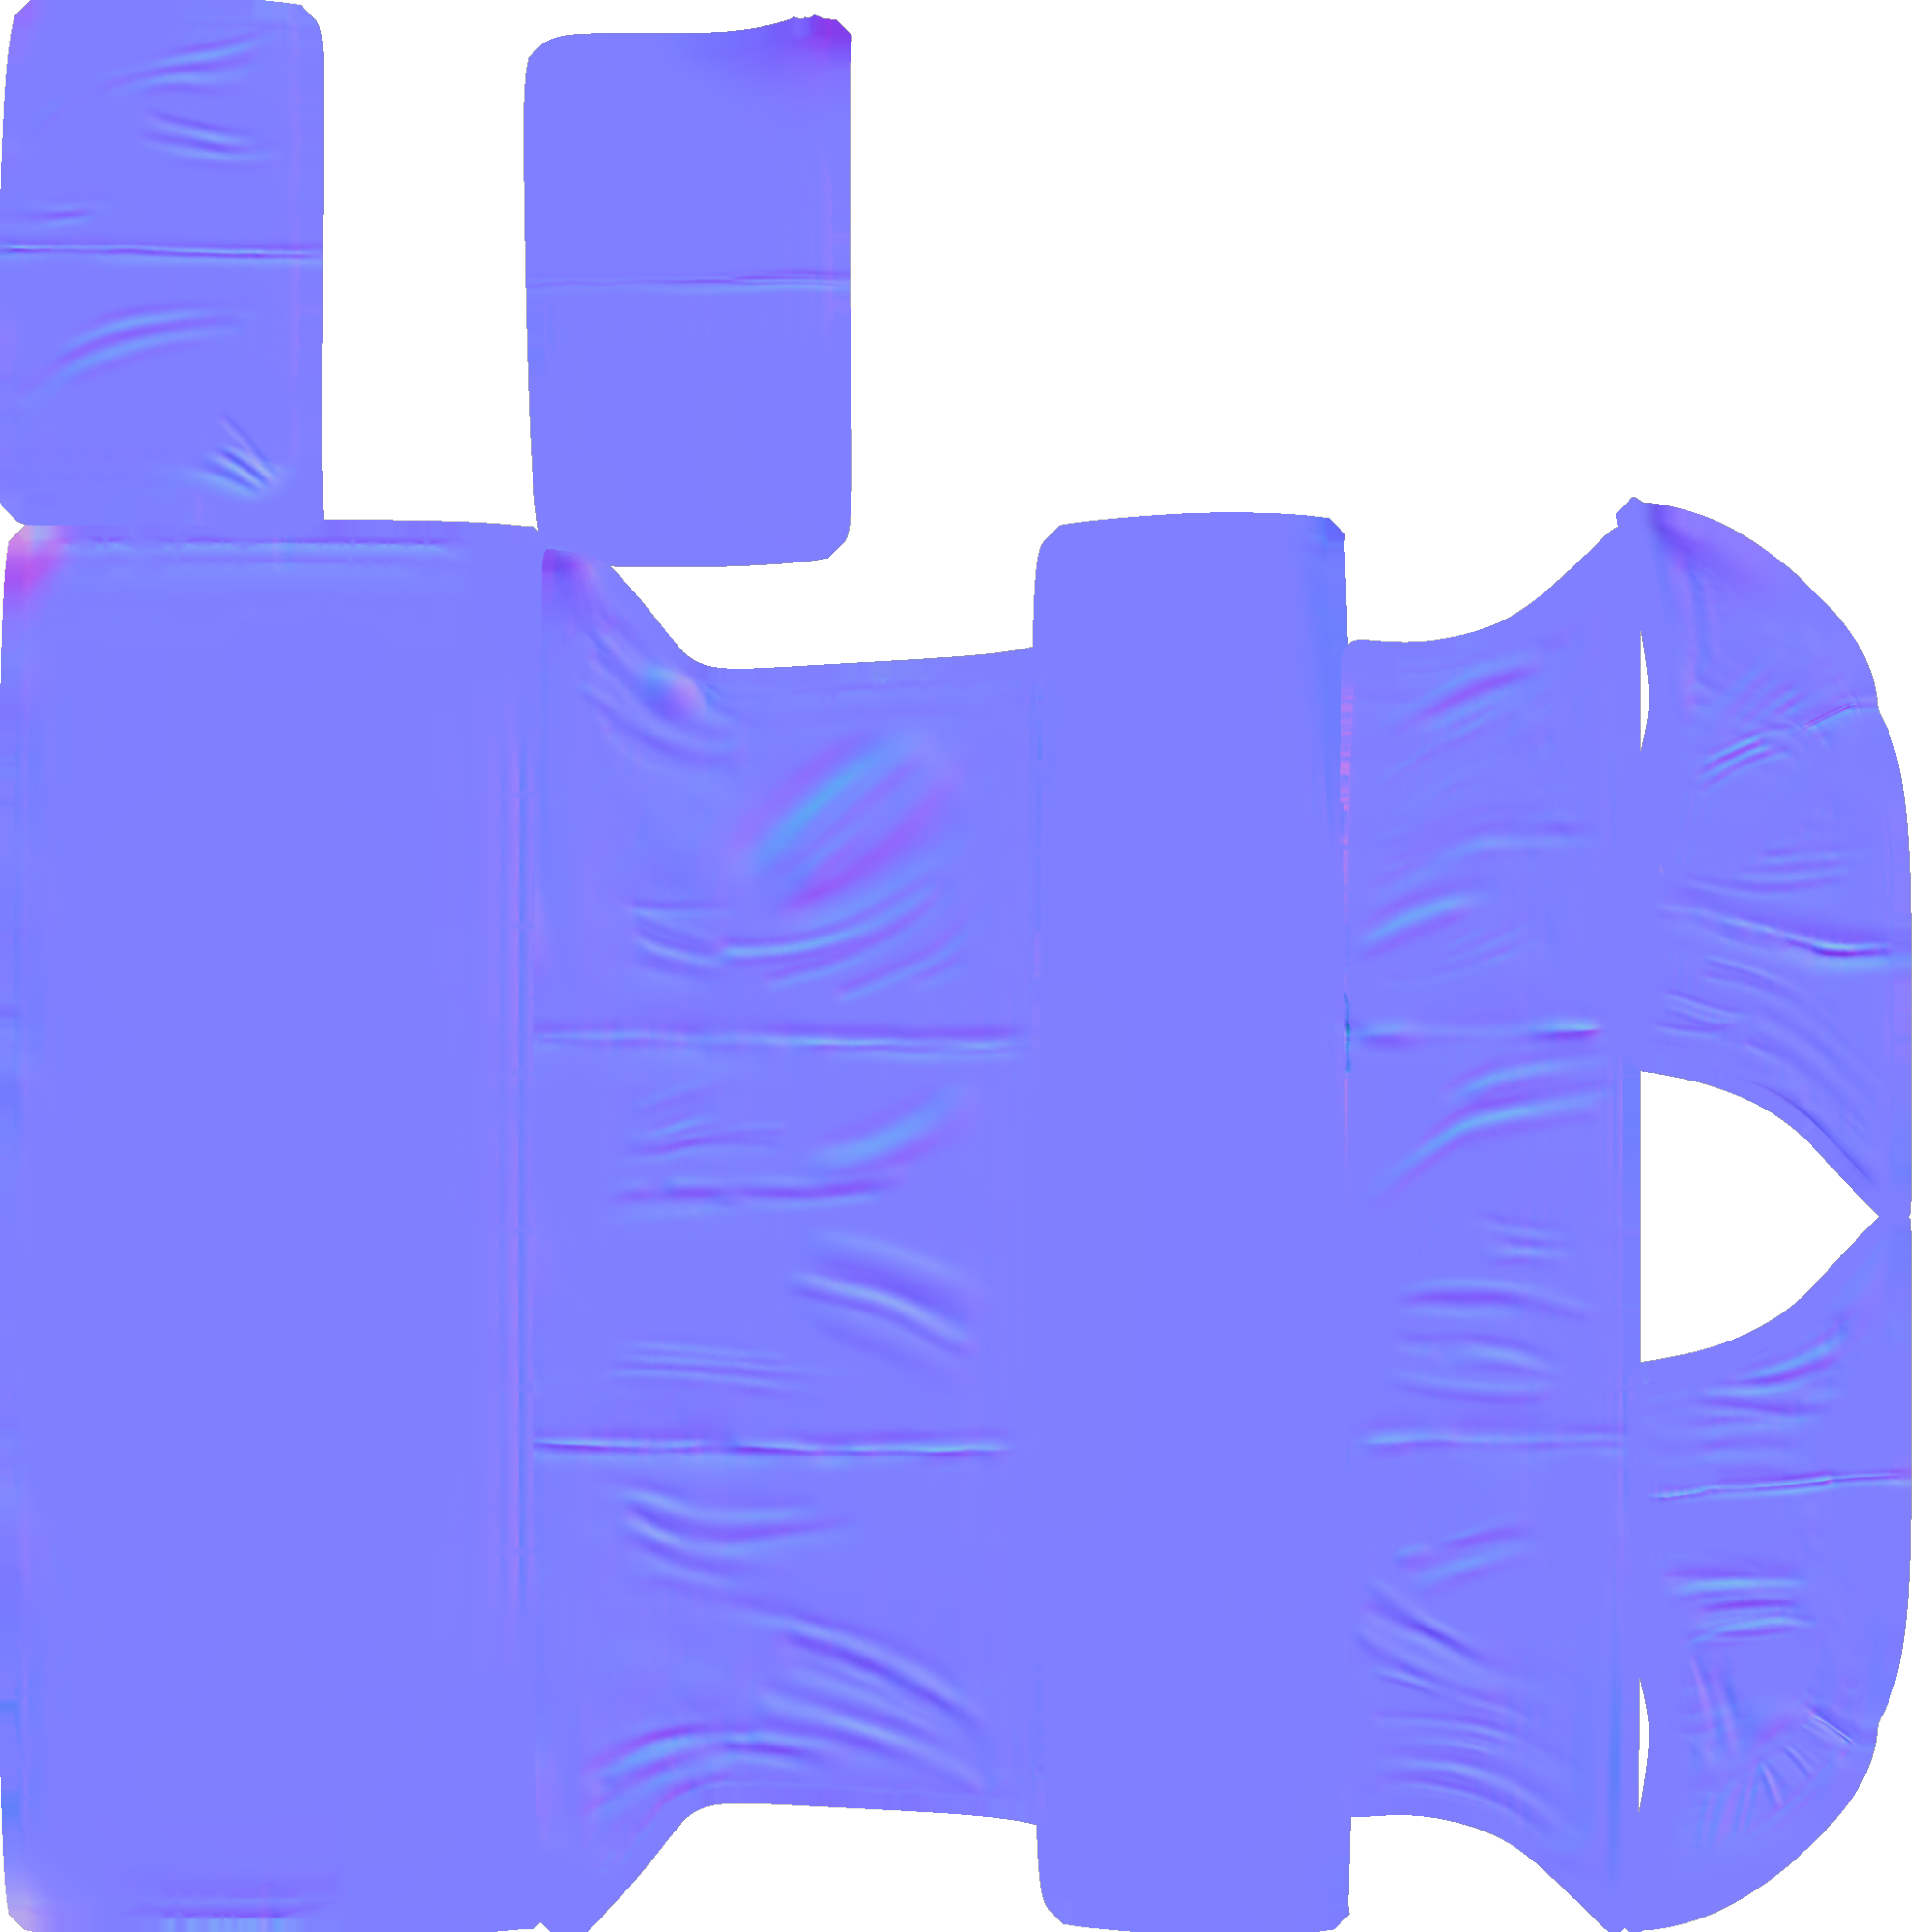
Then I baked the normal map from the high poly to the low poly, and voila: a realistic low poly model.
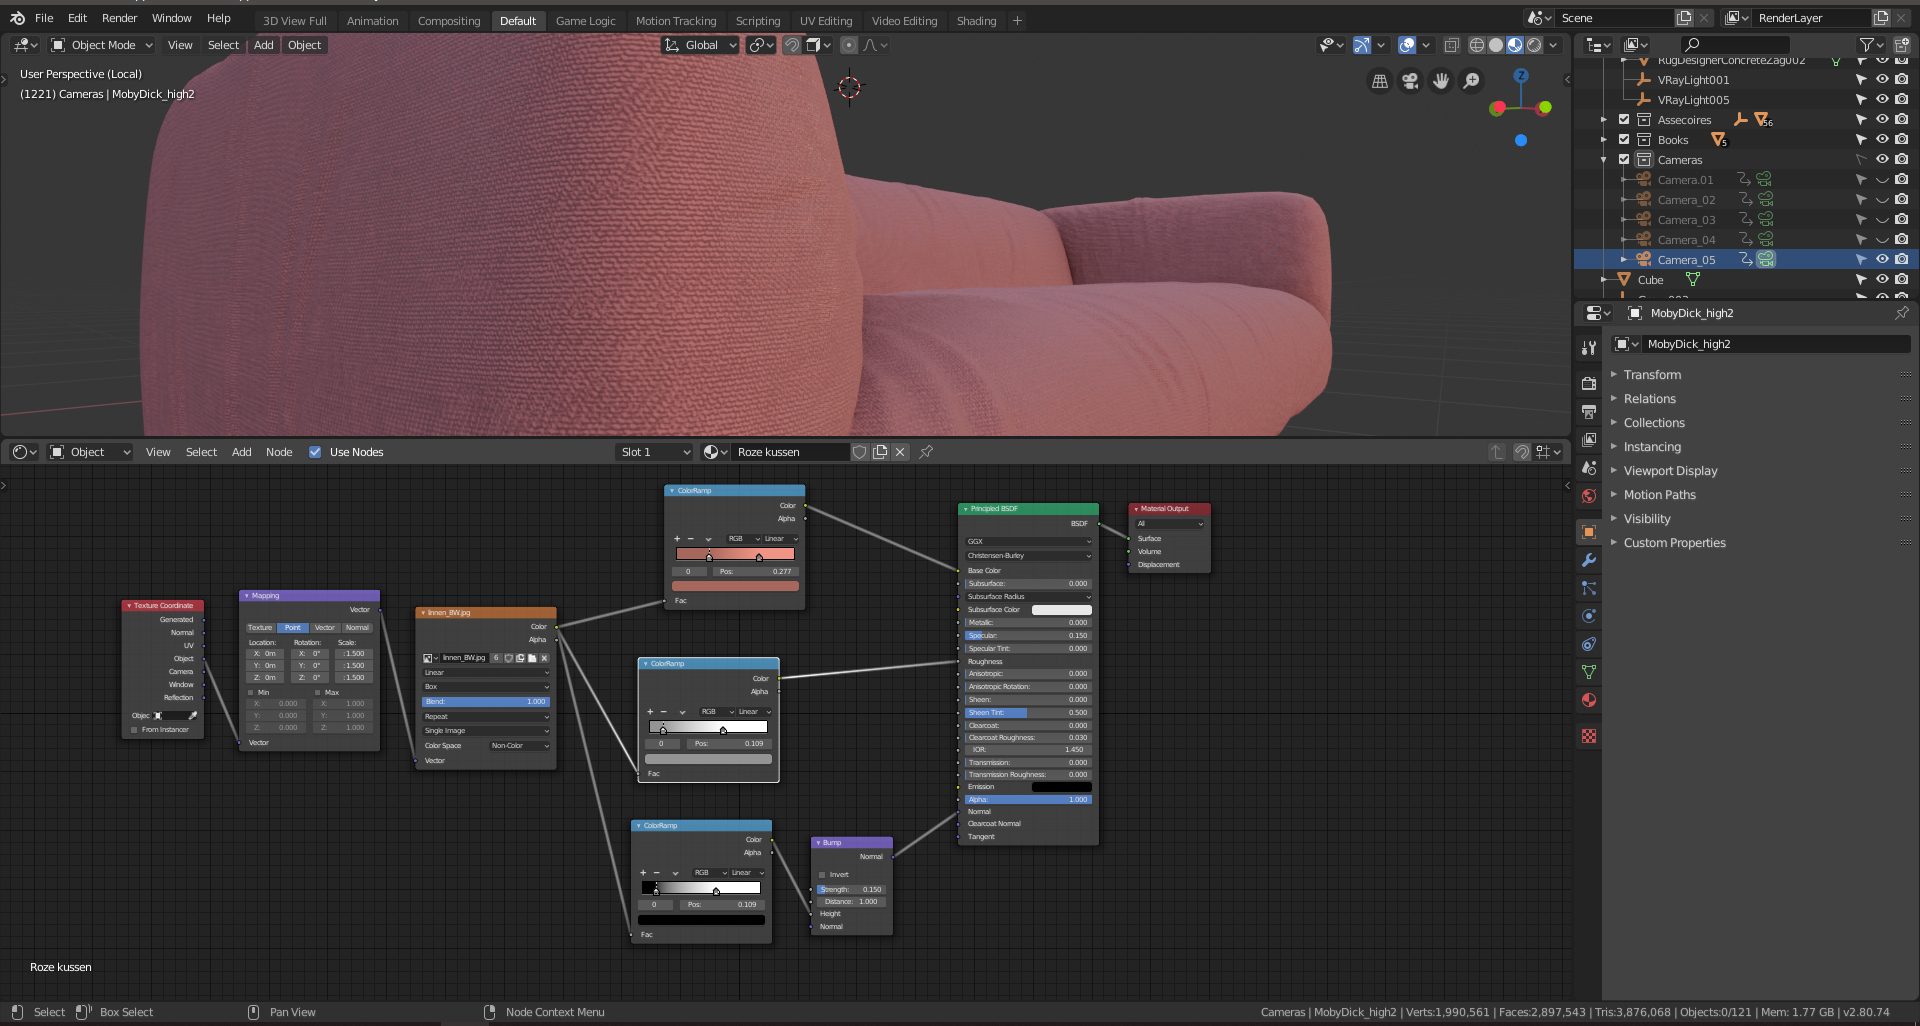
The color map and reflection map were fairly simple ones. I had a simple seamless fabric texture that I placed on the couch. Although I’d unwrapped the model, I put Object mapping and Blend all the way to 1. This mostly does the trick quite nicely in a very short amount of time. To give them a specific colour I added a ColorRamp in between and selected the colours I wanted. This same process I did for the reflection and bump, but then without colours. I turned specular down to avoid shiny fabric.
Creating the Scene
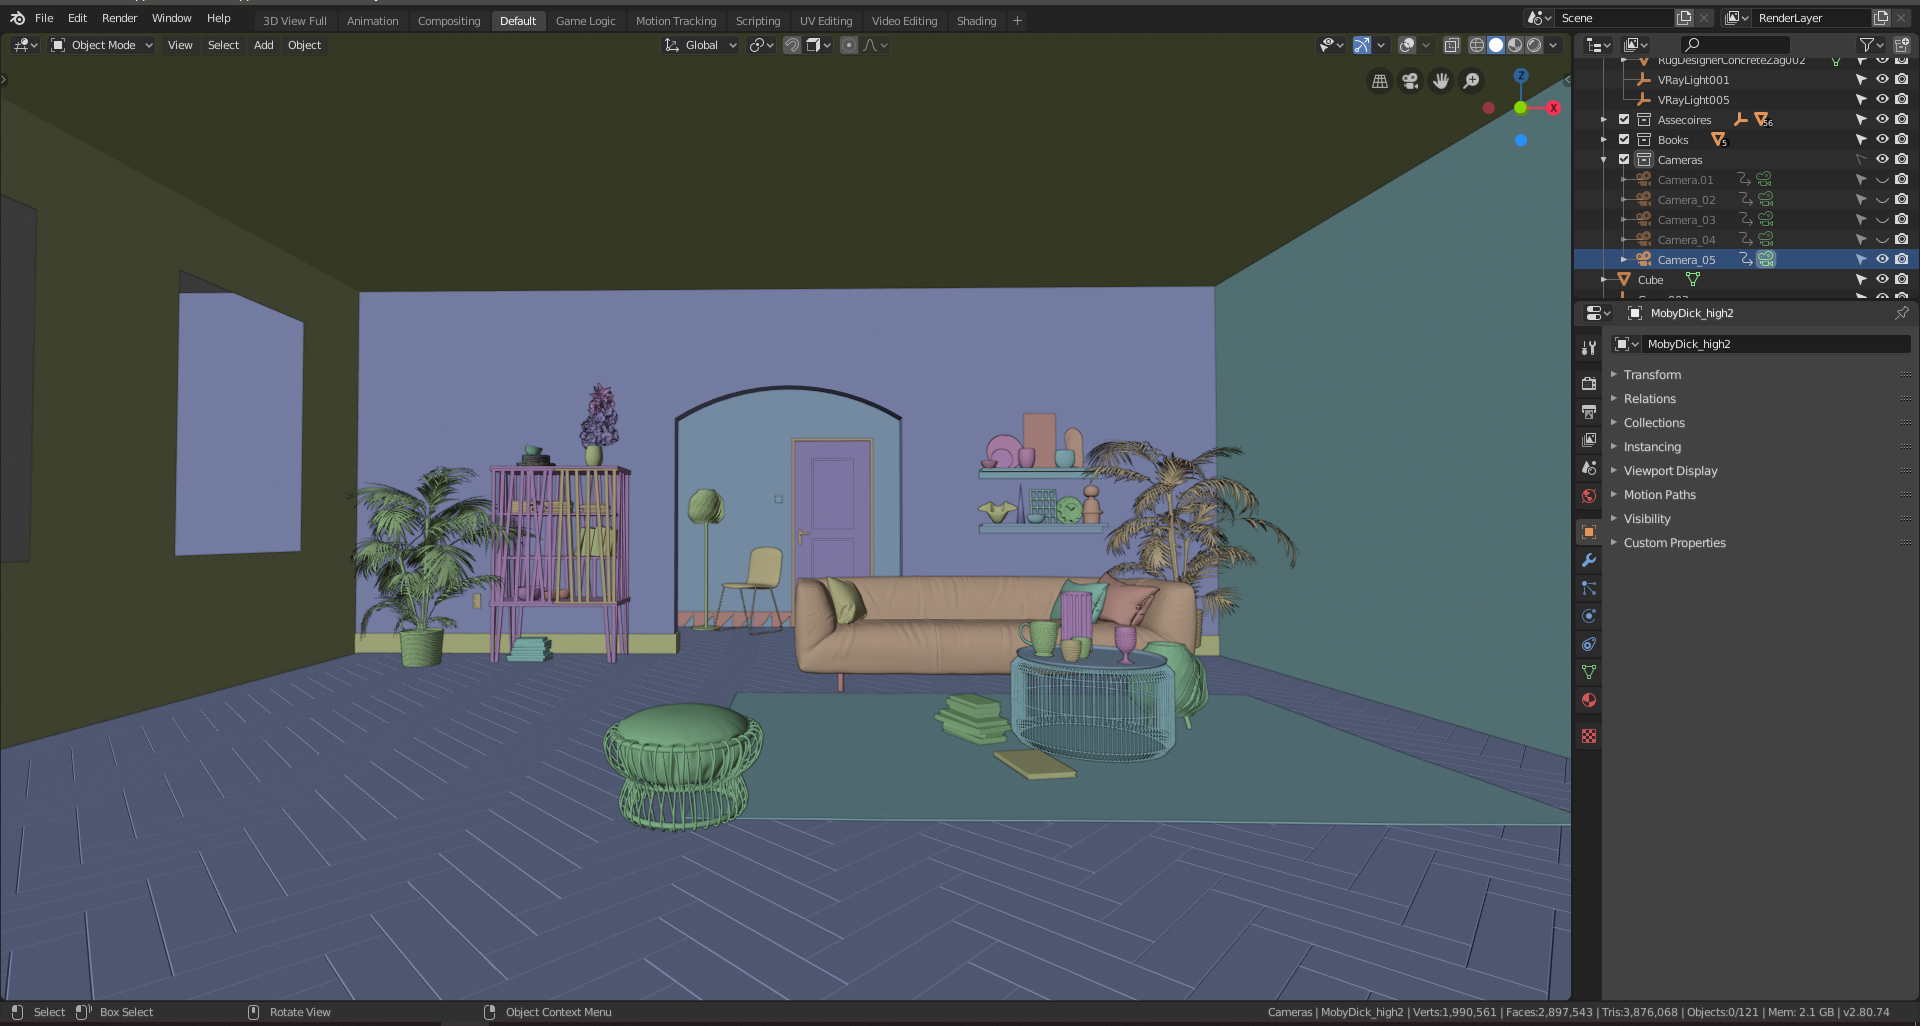
In this scene I used the high poly model, because it was possible and because memory did not have to be taken into account.
The base—the two walls with the door opening—was the first thing I made. Thanks to the Archipack add-on. From Andrew’s tip, I used different downloadable models, for which I am grateful, in this scene.
It is true what Price says, I could make the models myself, but that is very time-consuming and not necessary here. This scene was finished in one day, with the exception of the couch.
Now I placed the camera and the sofa in the scene and then topping up with decorative models. Every model I slightly adjusted to give it the right colour and material.
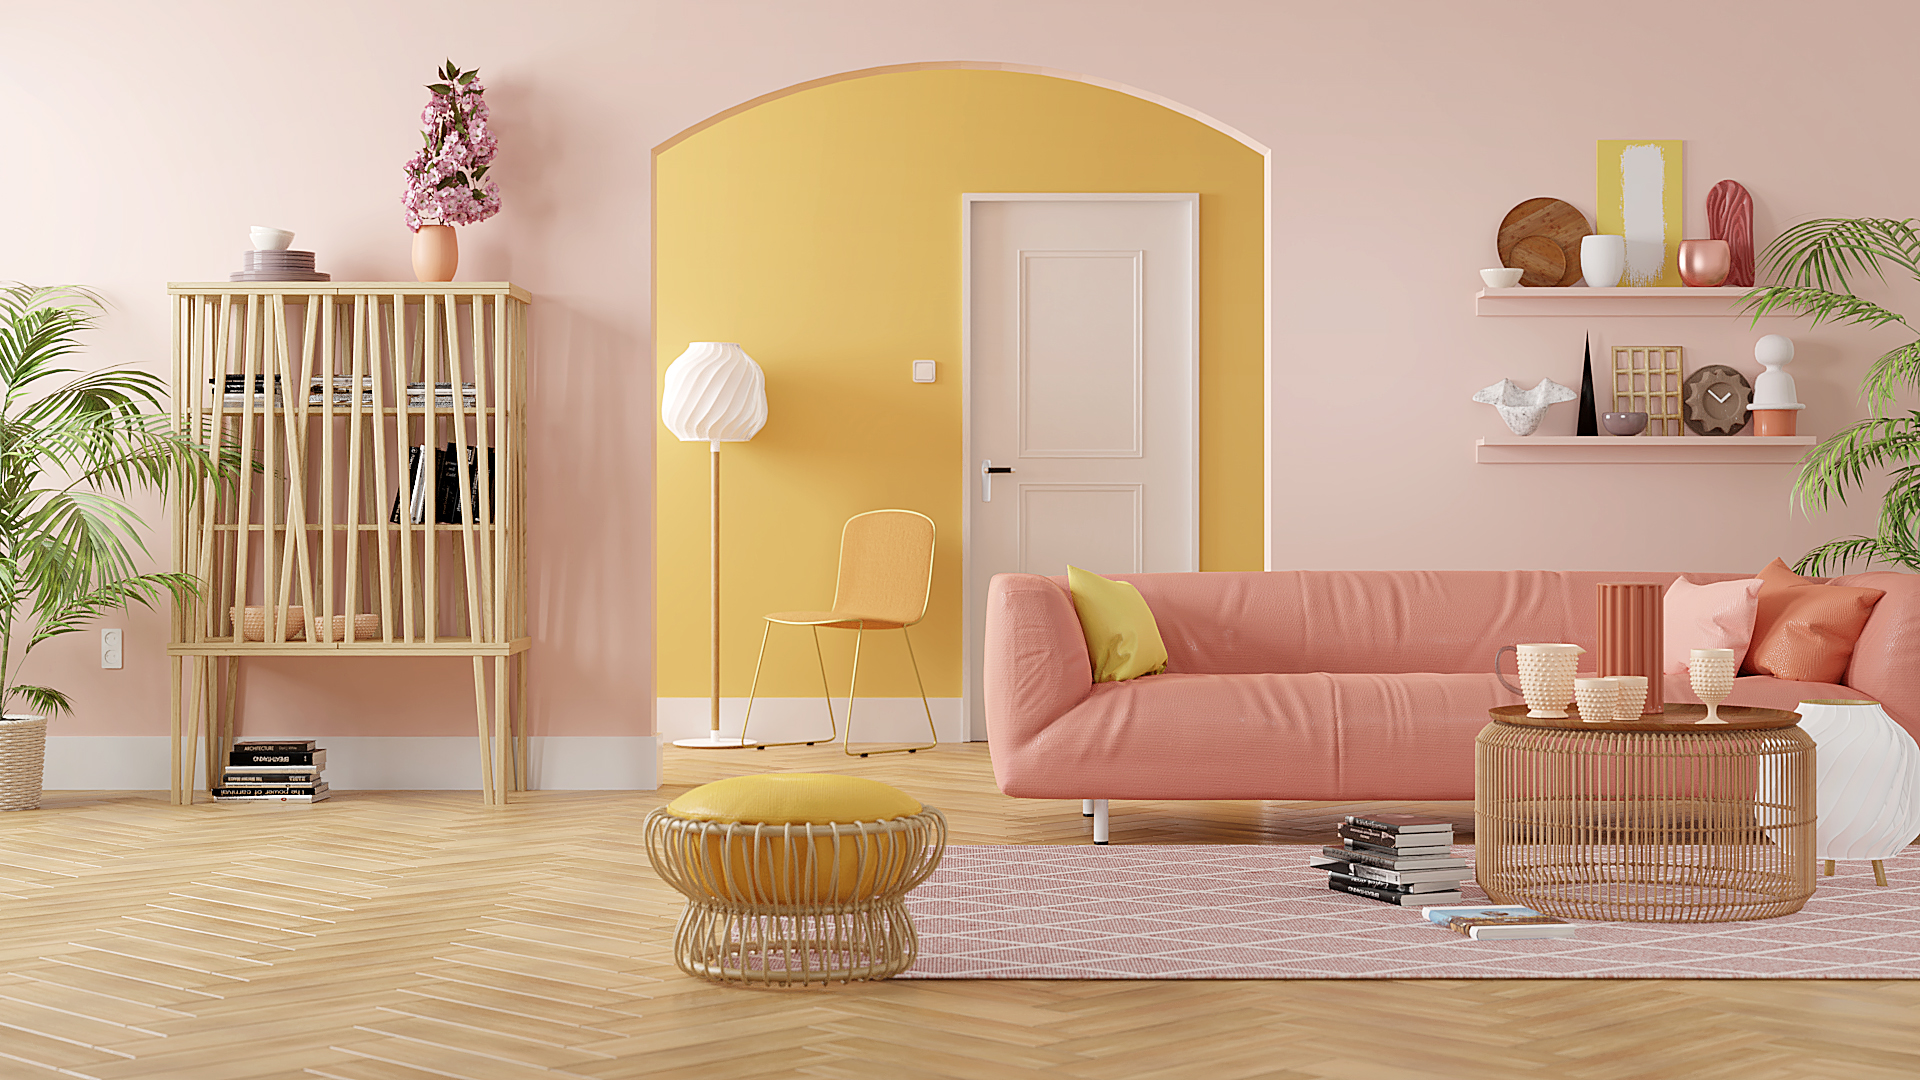
Rendering
For the stills during the project I used EEVEE, but for the final render I used Cycles (it came out just a little more realistic).
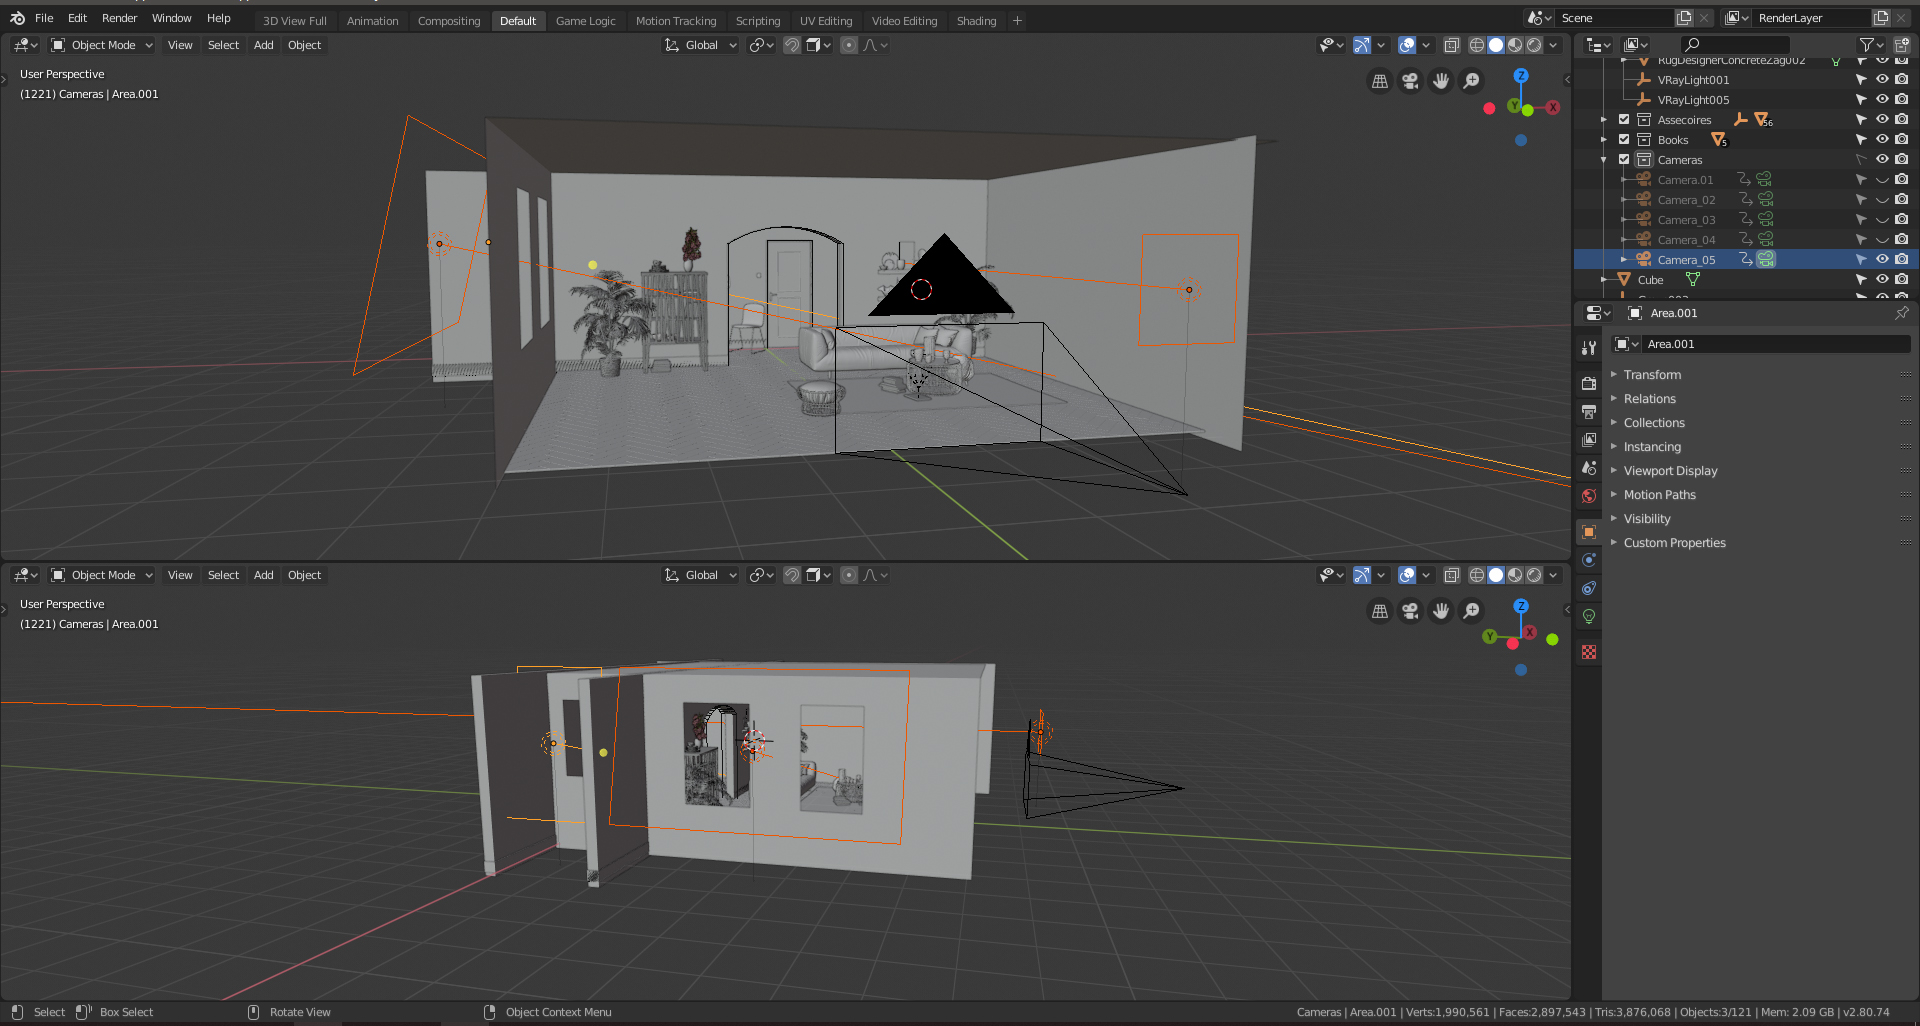
The lights are simple planes from the left and a fill light frontal/right to light up the very dark parts. I played with the intensity and warmth for a while and, thanks to EEVEE, quickly came to the right exposure.
I made some basic post-processing tweaks in Photoshop (or Photopea) and I was done…
RAW:
POST:
Animation
The animation was done in EEVEE, just because of its ridiculously fast render time. This makes animating so much more fun.
The animation is simple, just camera movement, well coordinated with the music…
About the Author
 Foppe Smit, A home made 3D visualiser, loves Blender and all that comes with it.
Links


Realy I love it, congratulation
Thanks you, Hassen.
Appreciate it!
Congratulation! awesome job. Could you tell me how did you create folds? on modeling right? and also how do you get this normal map? I’ve never see this process…
thx!
D
Thank you, Daniele! I’ve surched for a long time to create folds on a sofa without having a polycount going through the roof. Though the technique is not new (Andrew price thought me, thanks Andrew for that), I haven’t seen it before on furniture (yet).
First create the basic and lowpoly shape of the sofa > this is sofa A.
Duplicate is sofa – sofa B – throw a few subd surfaces over it so it isn’t lowpoly any more (but consists its same shape of course). Then, in sculpt mode, you can draw the folds wherever you want, as thick and as long as you wan’t till it looks realistic (use reference!).
Sofa A and sofa B still have the same location. Keep it this way!
Select both and bake the normals From Sofa B to Sofa A.
The way to do this, Andrew can tell better:
https://www.youtube.com/watch?v=0r-cGjVKvGw
Hope you’ll get it! And can use it…
many many thanks for your reply! really appreciated. I will try and then i will post the result! ;)
You’re welcome.
And good luck, like to see you result