Meet the Artist: Paul Chambers
Hey! My name is Paul Chambers, and I am a Games Artist hailing from Scotland. I am a lover of cute, colourful graphics and strong, simple designs!
I have been working in the Games Industry for the last 10 years or so. I currently work at Supercell, in Helsinki, and I am the creator of the Brawl Stars IP.

Who am I?!?
I’ve always loved video games. When I was young I spent most of my time playing my Super Nintendo … The likes of Zelda, Mega Man and Kirby had a huge impact on me and I immediately fell in love with the characters. They got me to start drawing and gave me the dream of working in the games industry.
I went to study a Computer Arts course at The University of Abertay Dundee, which taught a wide range of skills from 2D and animation to 3D modelling and Web Design. It was here I had my first experiences with using 3D and, shock horror, I hated it. I was using early 3ds Max and Maya, and found 3D very difficult to grasp with not so great results, so I focused on 2D animation. It wasn’t until years later that I came across Blender.
My Journey into 3D and Blender
I got started with Blender around 4 years ago. I had been putting off attempting 3D for years what with having a bit of an irrational fear of it… I found it a bit intimidating and frustrating to learn if I’m honest, especially coming from a 2D background. My partner @marcelaylucin suggested that I try Blender, as she had been using it for awhile, and was a massive help at the beginning. I still bug her with questions all the time.
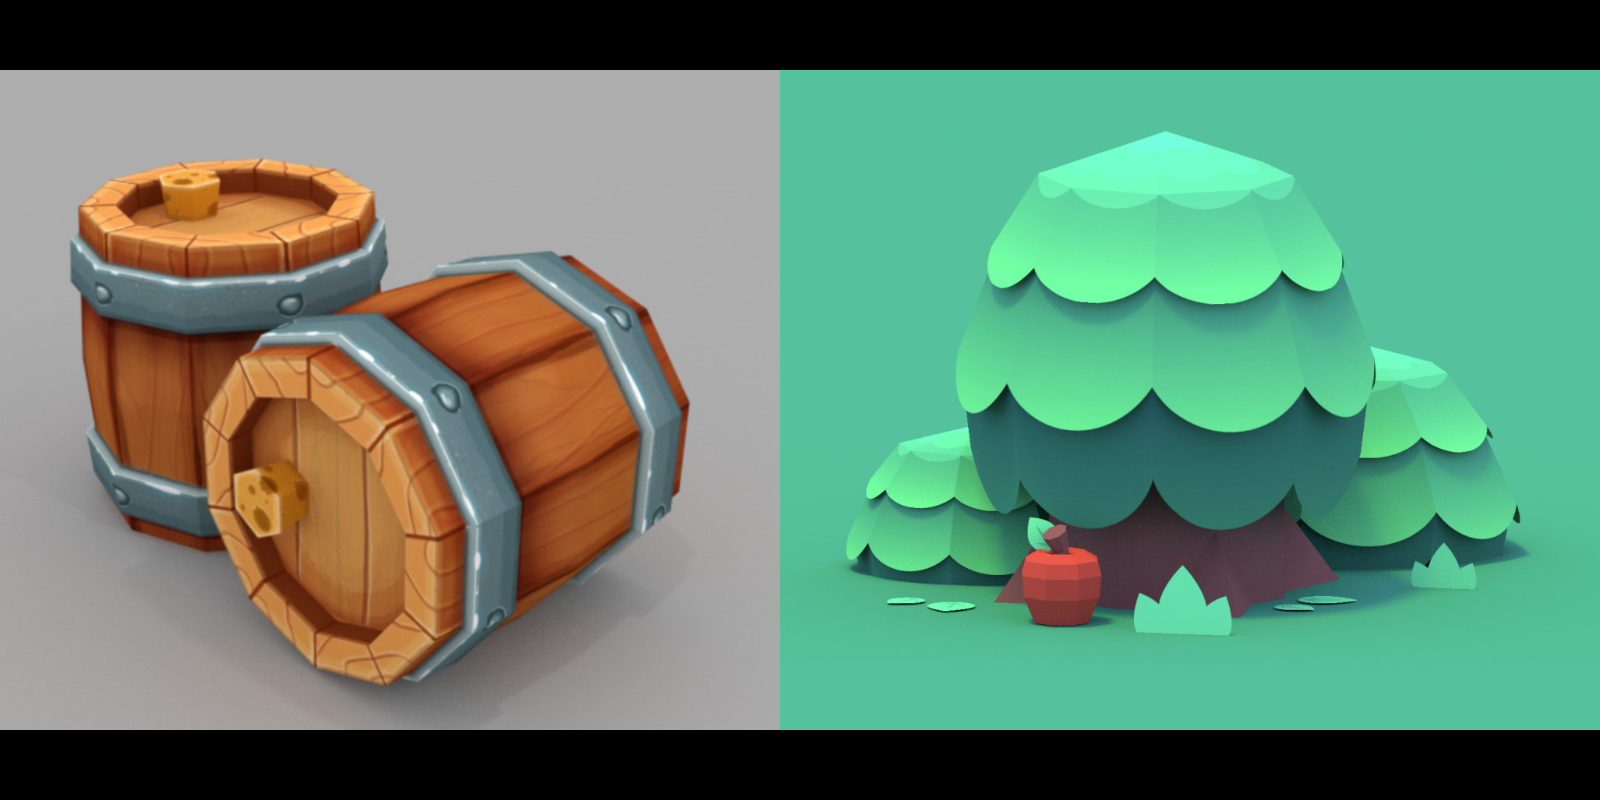
I figured that I would start with low poly models and make up for my lack of modelling chops with texture work, since they were going to be done in 2D. I started with the basics, like a barrel, a crate, a tree… just to get to grips with Blender without getting too overwhelmed.
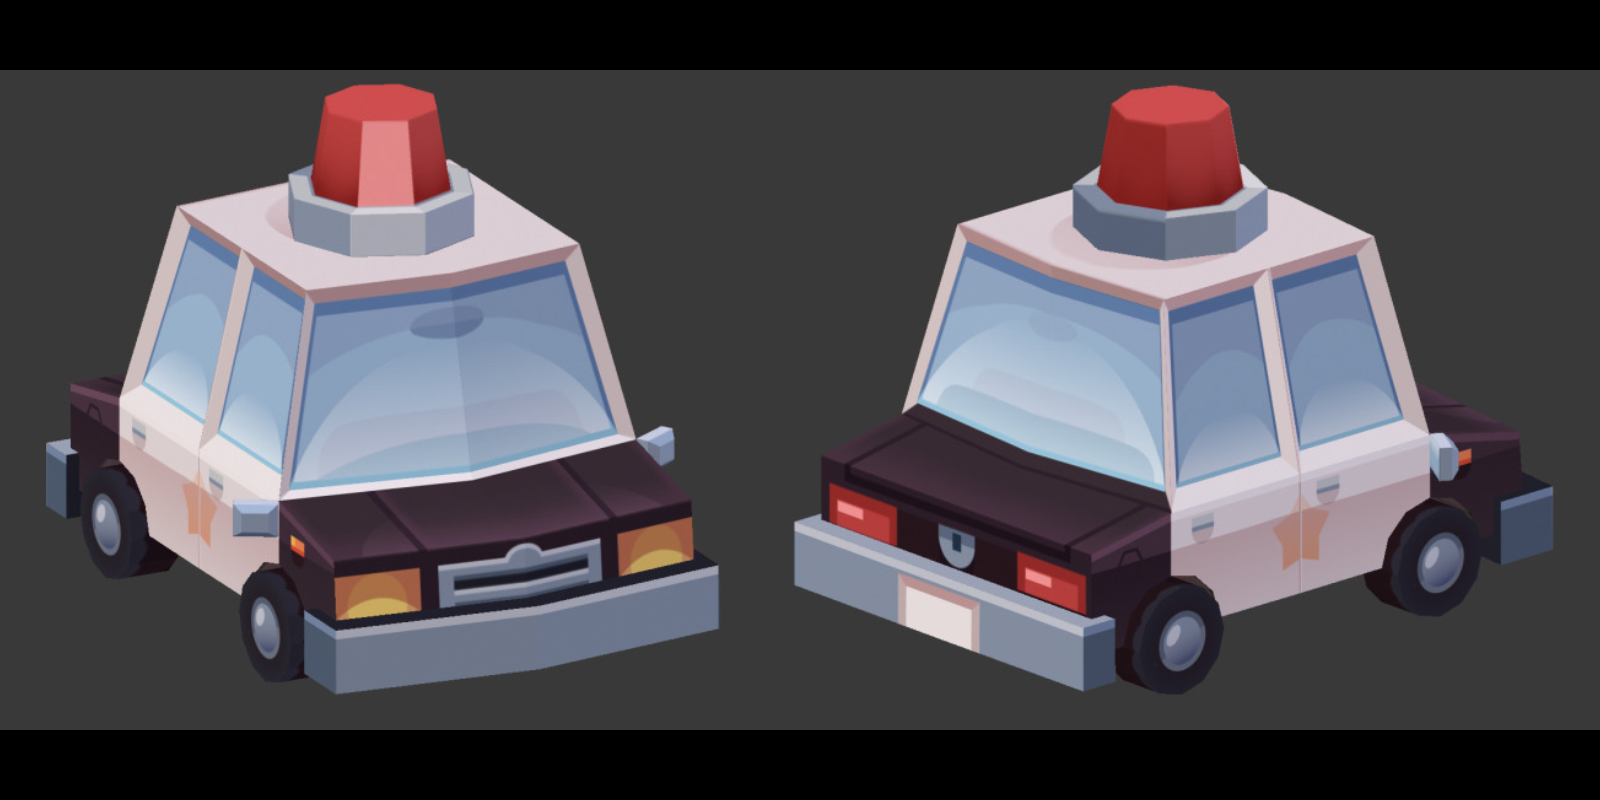
Once I had a basic grasp of the software, I began to explore the vast sea of tutorials on YouTube. One tutorial in particular that really helped me was this Low Poly Car Tutorial; it was nice and short and had some great tips for shortcuts and basic modelling. I highly recommend it to anyone looking to get into Blender.
To keep myself motivated, I always aim to keep my projects small with one or two learning goals. Some focus on modelling, others on UV mapping and texturing, then build up to lighting and more complex models.

Once I gained a bit of confidence with using Blender, I started to focus on creating bigger projects. I began a few indie game projects with the aim to learn more about creating tight low poly models and game ready assets.
With Tappy Trains and Post Haste I wanted to create the aesthetic of an old Nintendo DS game, with no lighting and pixel art textures. Setting some strict polygon and texture restrictions really helped me begin to think about efficiency of my modelling.
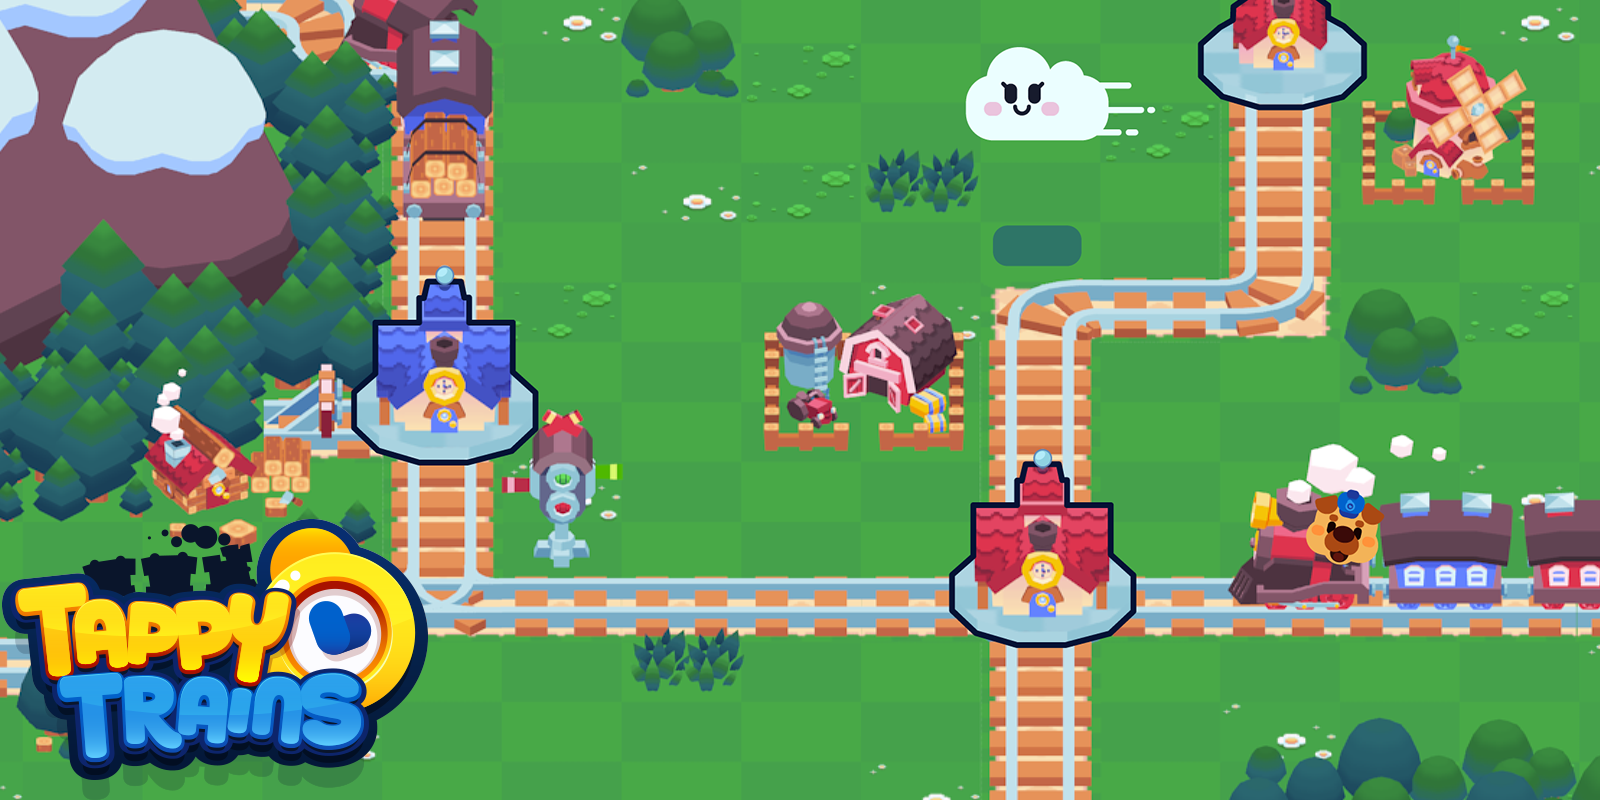
Unfortunately, the projects became massive time sinks with no end in sight… just endless asset building, with the majority of the assets created not even shown in the screenshots. I felt I had stopped moving forward with my learning of Blender and 3D, so I made the decision to stop working on them and go back to more manageable projects with clear finishing lines.
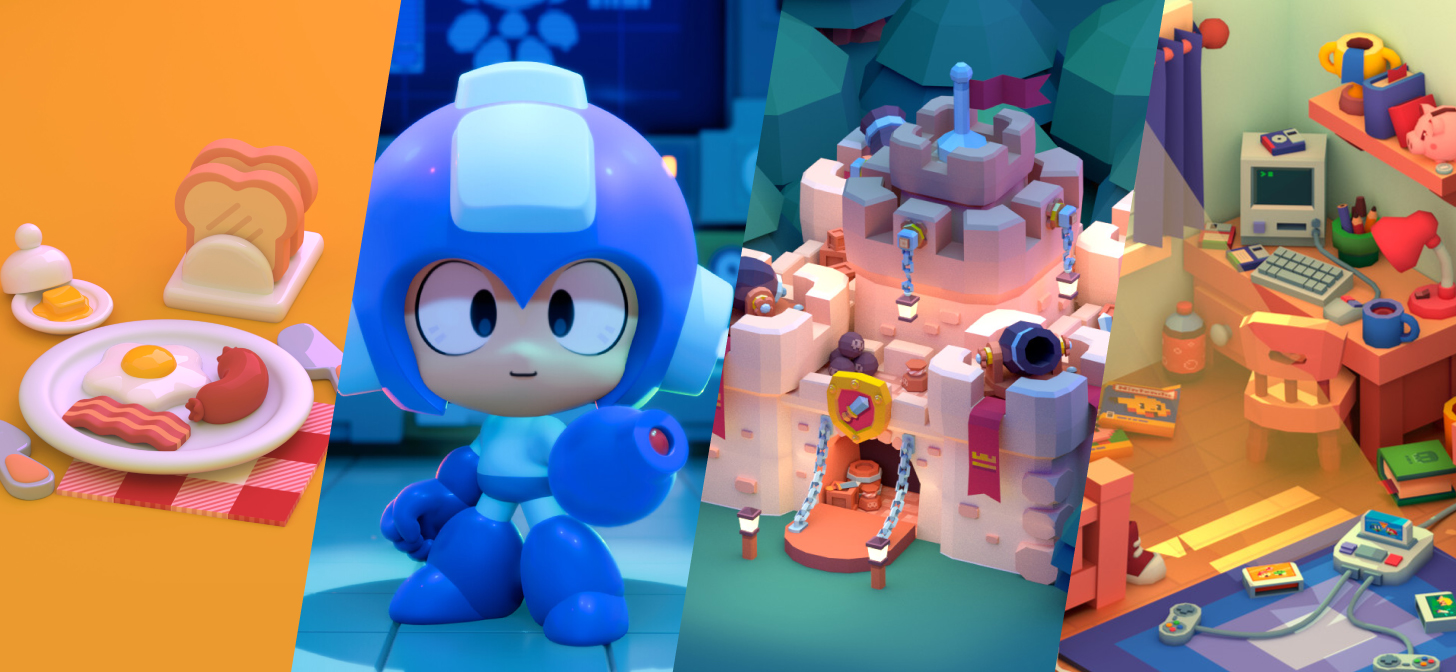
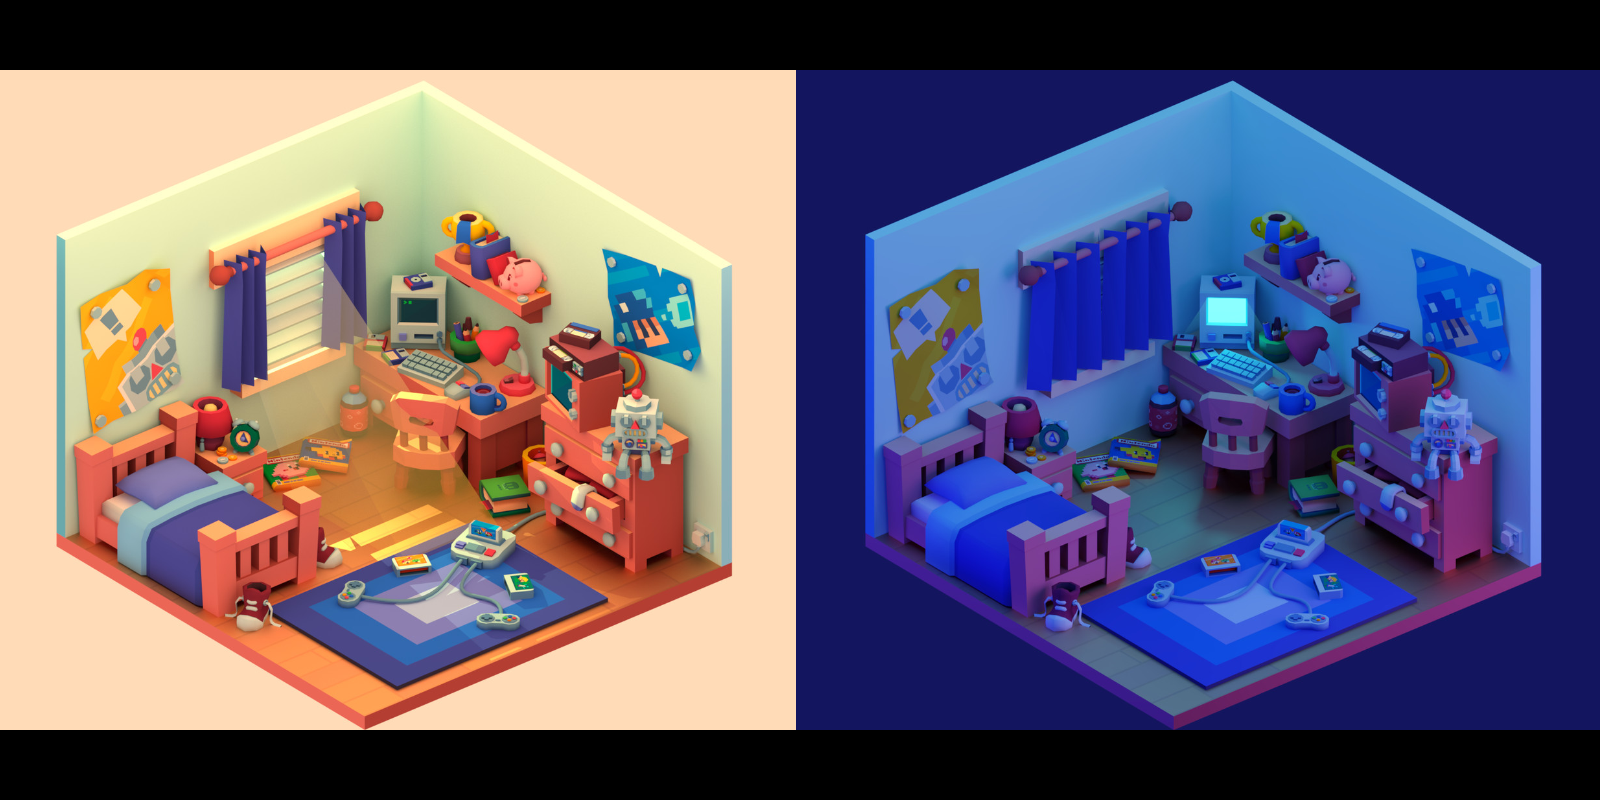
For my next project I was inspired by seeing a lot of environment dioramas on Pinterest. It’s a great image resource site that I use when I am looking for inspiration or motivation.
I started my low poly bedroom scene, mainly with the aim to actually finish something, but I also wanted to create something specifically for Sketchfab that viewers could explore. I ended up learning more than I thought with this project. I was stepping up my knowledge of environment design, touched on lighting a bit more and went a bit gung ho with the spline cables, once I learned how splines work.
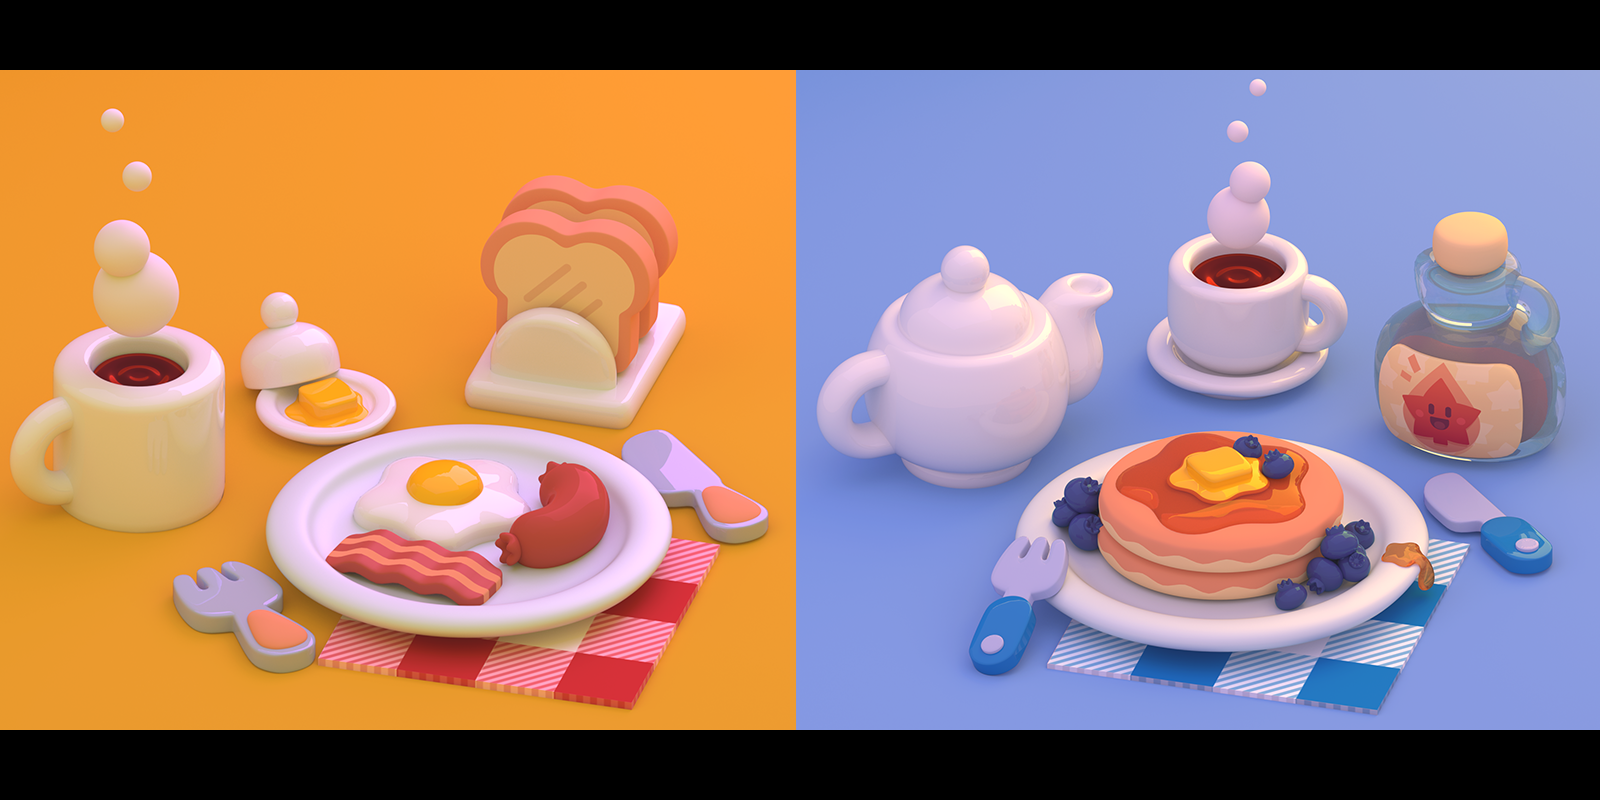
After my bedroom project I wanted to focus more on learning about materials and lighting. I got the idea for starting a breakfast scene when I was looking for a present for my niece. I came across toy food that came with a variety of materials and designs. I thought this would be a great project to learn more about lighting and textures. My aim would be to create a scene with a vinyl toy feel.
I ended up learning quite a lot from these projects as they were my first higher poly models using the subdivision surface modifier. I had only ever dabbled in lighting, and these were my first scenes that I spent a significant amount of time on, getting the lighting and materials just right. Getting a toylike glass material was a challenge.
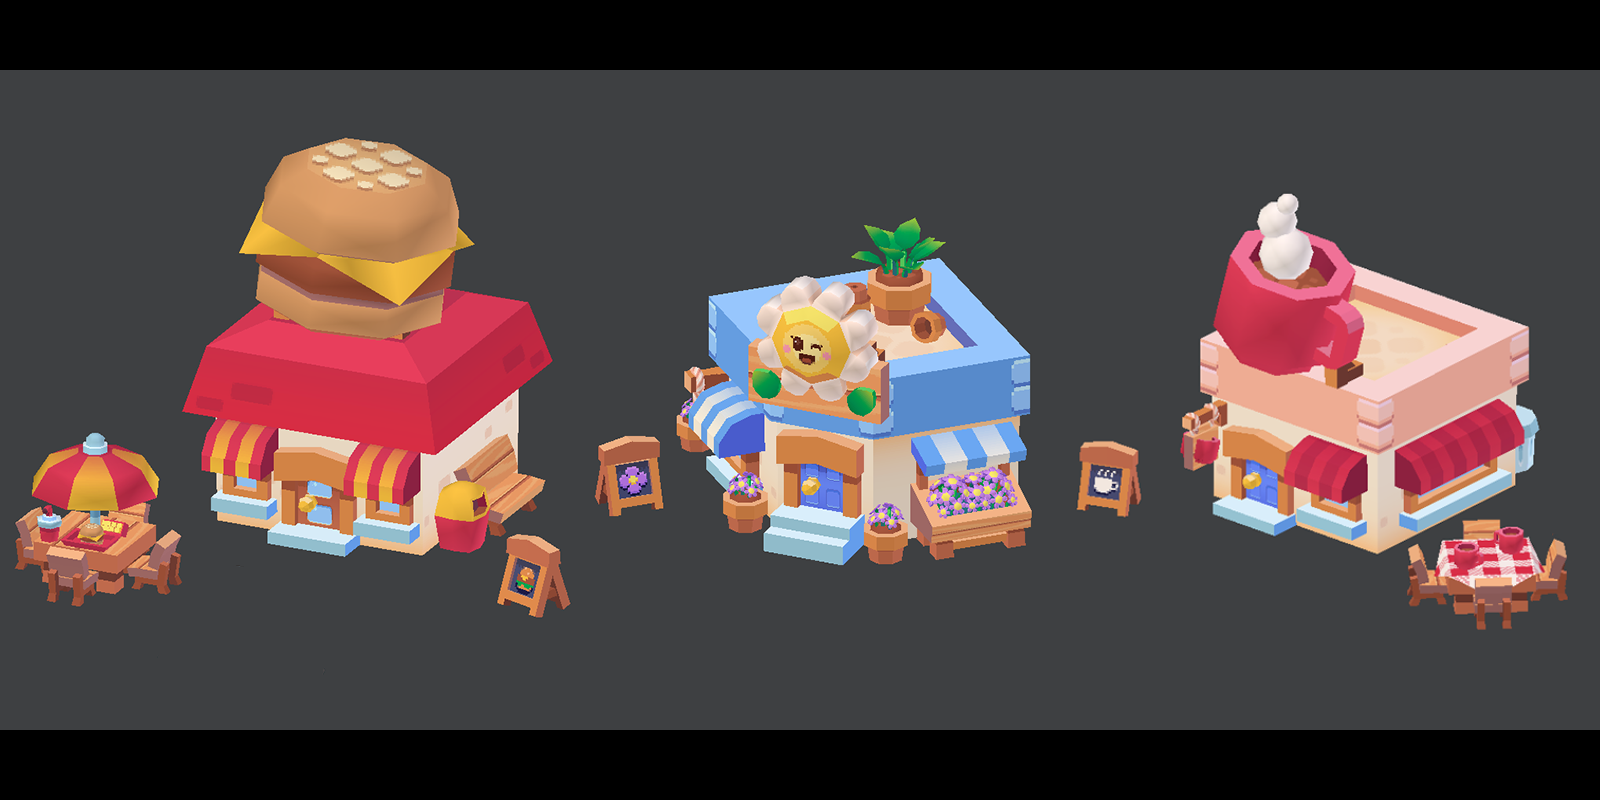
After my Breakfast scenes I continued exploring my newfound toylike style… I was finally happy with the results I was getting with higher poly models and softer rendering. I began to explore procedural textures (with some help from some colleagues) to increase my productivity and output.

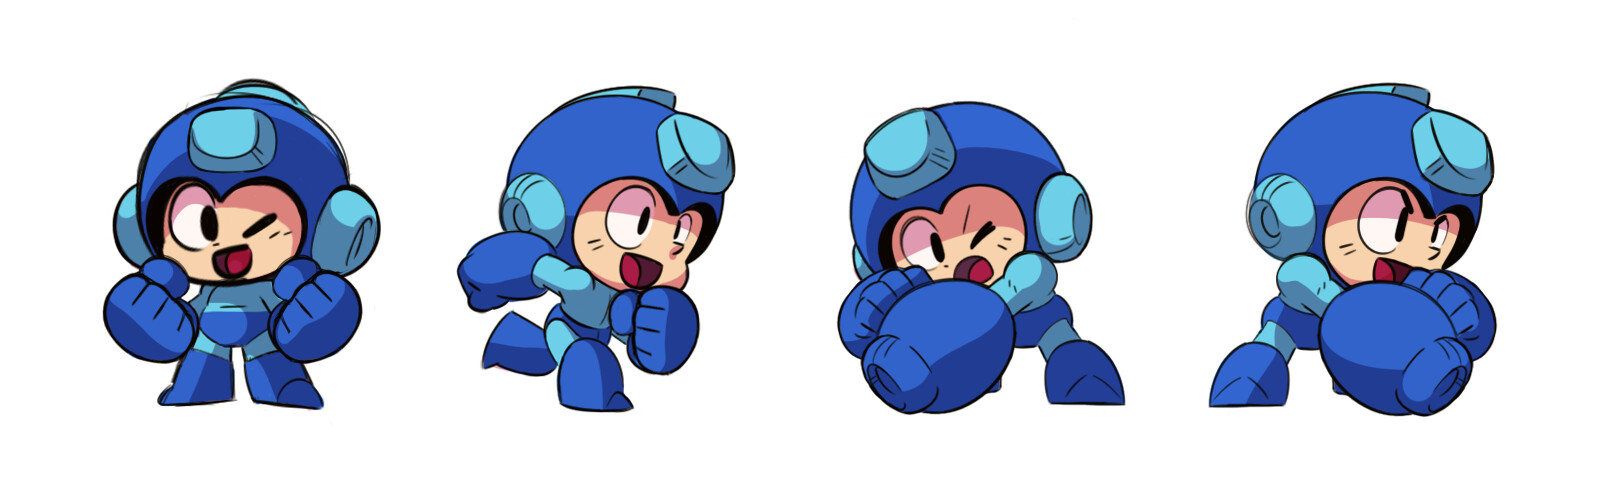
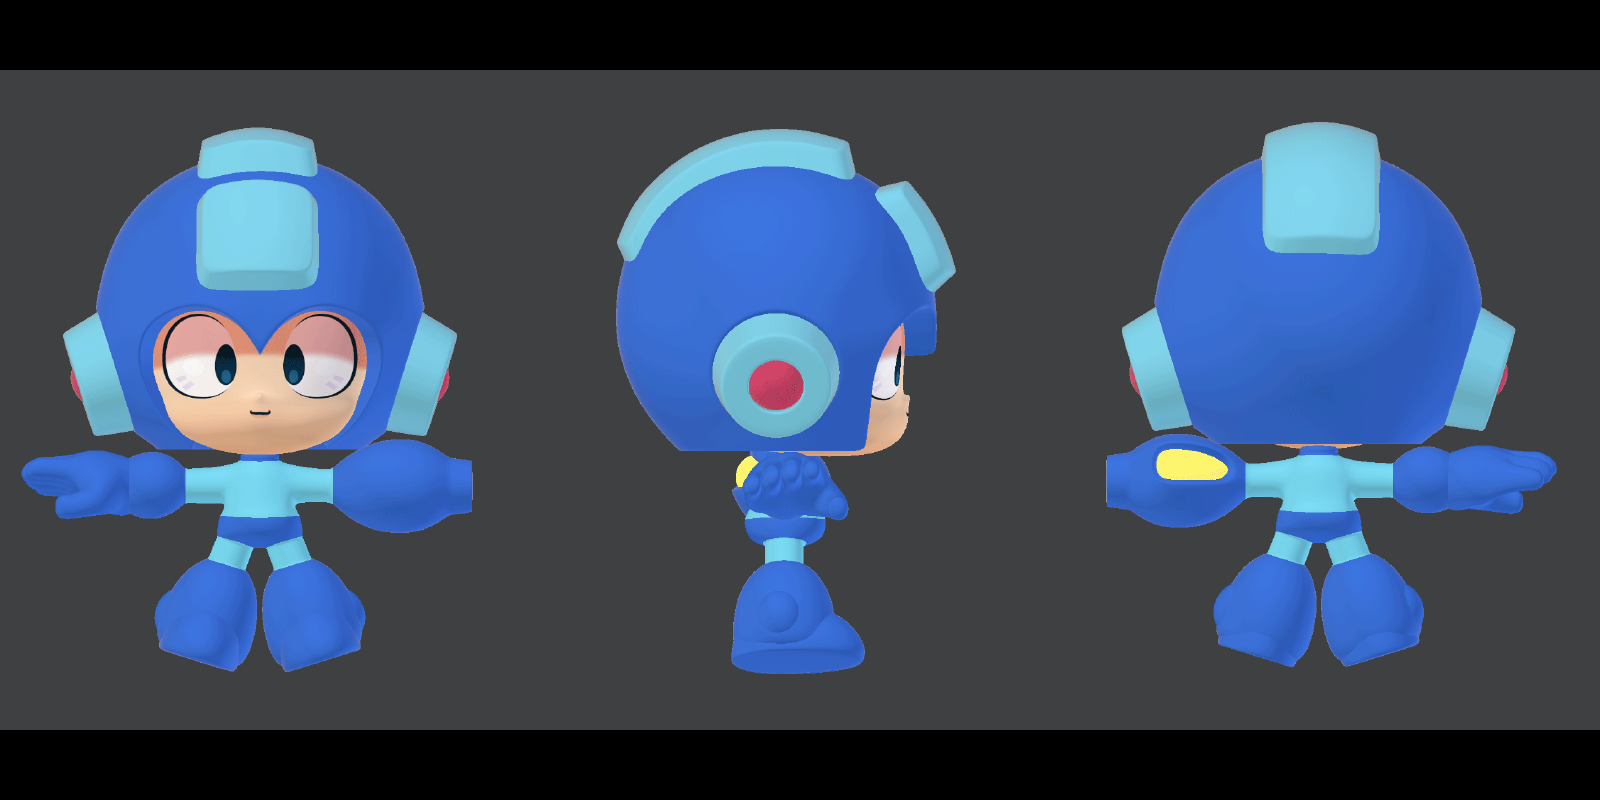
Favourite Project: Mega Man
My favourite project was my most recent Mega Man scene as it was a culmination of learnings from all my previous projects smashed together… it felt like I had levelled up!
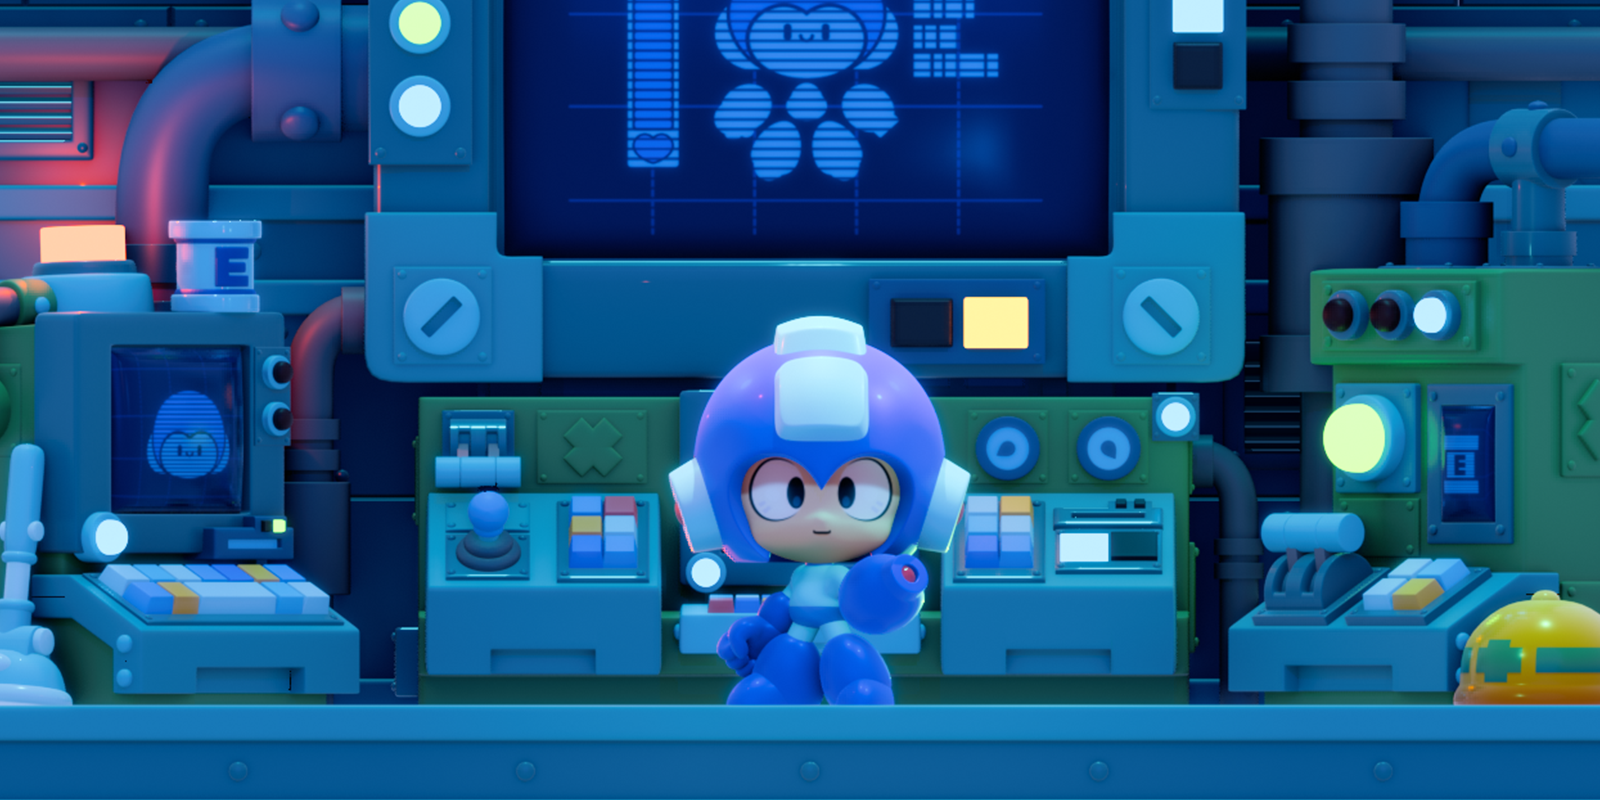
Originally it was intended to be a character only project and I never planned to add an environment, especially not to the level that ended up in the final images.
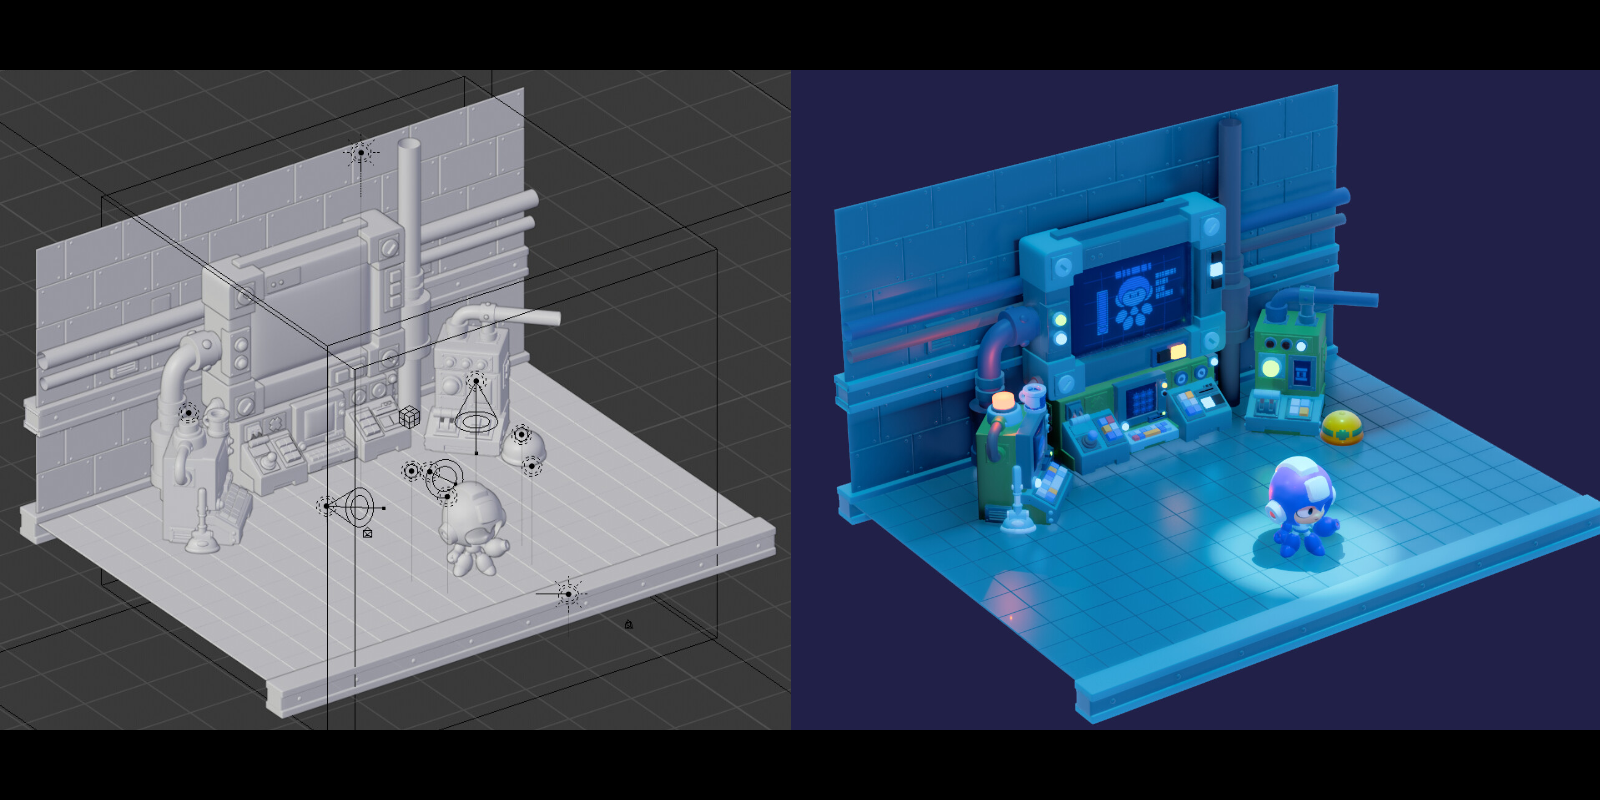
I was using Blender 2.8 EEVEE for the first time and its real-time rendering must have saved me hours of trial and error with the lighting and materials.
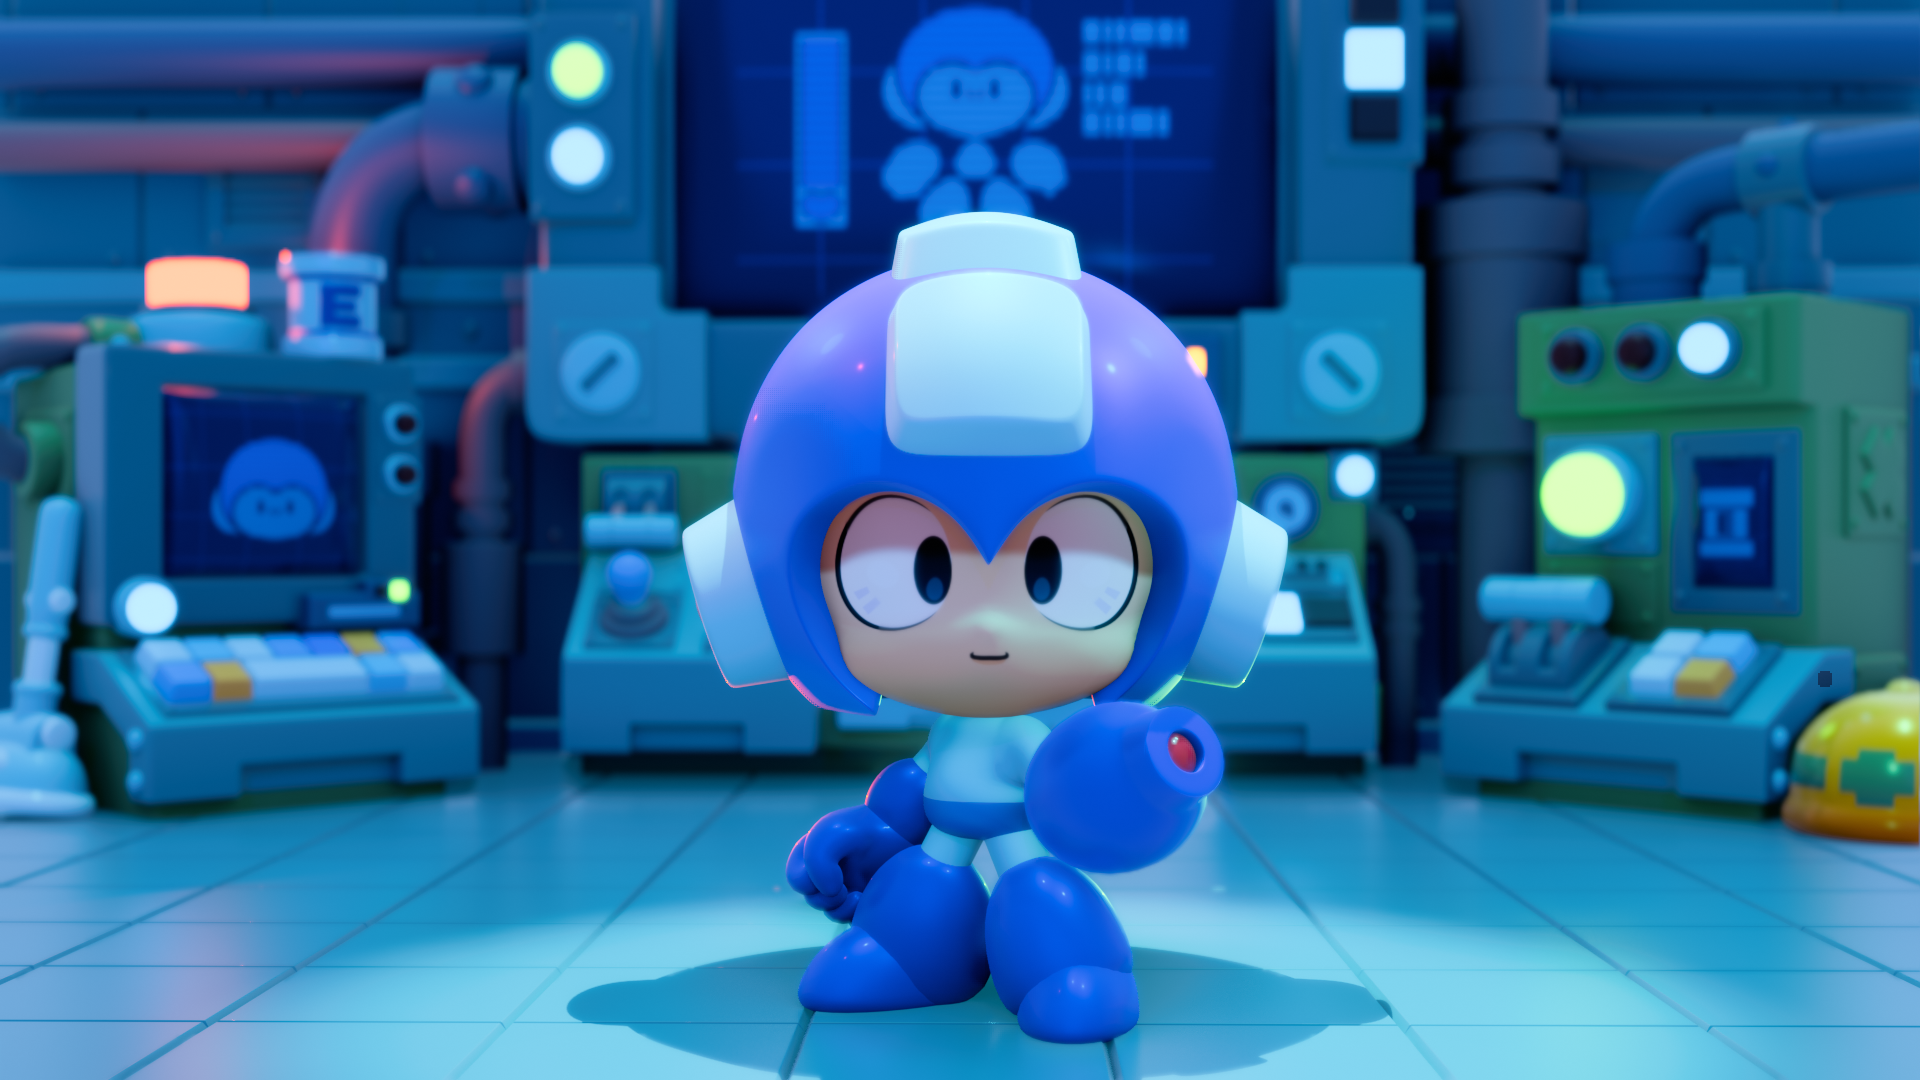
I ended up learning a lot from this project. It was my first proper character project, had the most complex lighting I had ever tackled and it was my first time using Blender 2.8 EEVEE Render. I will admit the change over from Blender 2.79 to 2.8 was a bit frustrating; there are a lot of changes to the UI and how lighting works, but by the end of this project I was blown away by how powerful it is. The real-time rendering is a total game changer, and being able to add Bloom or Depth of Field at the click of a button really took my final render up a step.
Inspiration
If it’s not already obvious, I am a huge fan of retro game characters. I just feel they have design qualities that you rarely see anymore. Everything I tend to see is about adding more complexity and details, which is why I love the simplicity of Kirby, Mega Man or other Nintendo characters.

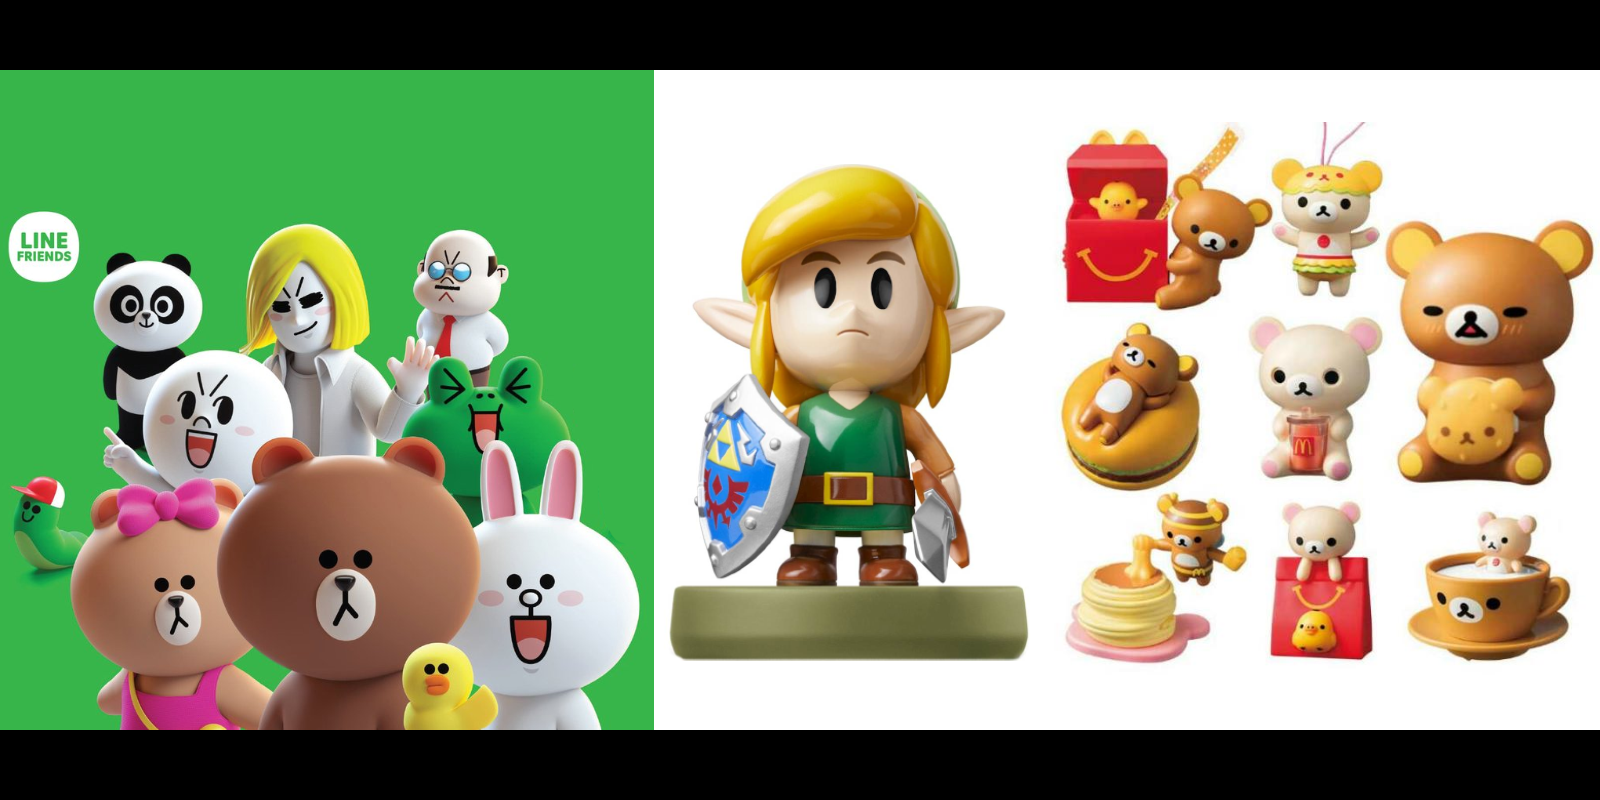
I am obsessed with the likes of Line Friends, Nendoroids, Amiibos and San-X characters. I think a character design has a different level of consideration when it will be made into a product. I love how simple and imaginative some of the designs can be, while still managing to look great. It is always something I try to add into my work.
Setup

I use a 2016 MacBook Pro, a Wacom Cintiq 13HD, LG 27UK850 Monitor and the all important Bower and Wilkins P7 headphones.
Software wise I use: Blender, Photoshop, Illustrator and Animate.
TL;DR Tips for Beginners
- Don’t be afraid to try, just get stuck in!
- Learning can be a bit intimidating at first so start simple! Keep projects small (try a crate, a barrel, or small props)
- Try and learn 1 or 2 new skills per project, don’t overwhelm yourself
- Aim to finish each project and try to not fall into the ‘perfection’ trap or you will never get done
- Set a style direction before you start each project so you avoid falling over yourself when it comes to choosing textures, lighting, materials, etc.
- Try a variety of styles… you will learn more in the end than sticking to one direction
- Join communities (Twitter, Blenderartists, Polycount…), ask questions, post your work and don’t shy away from feedback
- Pay it forward… pass on what you learn and support other artists!
THANKS FOR READING! If you have any questions feel free to send me a message on Twitter!
About the Author
 Paul Chambers, Game Artist at Supercell
Thanks for sharing your work, I really enjoyed the article. Paul + Bart
Fellow Helsinki citizen here just wanting to thank you for the article. Great work.
very inspiring. thank you for sharing a bit of your experience with us