Behind the Scenes: Indian Woman

About
My name is Jesús A. Olmos and I was born in Valladolid, Spain. I have dedicated a great part of my life to design, focusing on 3D modeling and animation.
I have received numerous national and international awards in my professional career in the fields of Drawing, Painting, Sculpture and Digital Illustration, both in traditional and 3D techniques. Currently I have turned to the production of picture books and comics of different genres.
On my website you can see more about me and my new works.
Here you can find my curriculum and my portfolio on PDF.
This is my showreel from 2016:
I learned how to use different softwares when I studied sculpture at the art school of Valladolid. At first I learned to use 3ds Max but over the years I switched to Blender. Currently I use several 3d softwares but the main one is Blender.
I am self-taught and with the internet there are so many possibilities to learn from your office.
Looking for Inspiration: “Indian Woman”
All cultures always have something new to contribute to our designs and artistic works. I like to implement or vary my works with elements from other cultures so that I can achieve a much richer work in all aspects. I decided to do the play “Indian Woman” to expand the possibility of working with people from other cultures, in this case, India. The woman is a way to expand my cultural knowledge and improve my skills in modeling people of various races.
If you only know how to make one type of character or you’ve only seen something very concrete, you’ll miss out on the opportunity to make much more interesting images.
I was inspired by images of Indian culture. On the internet you can find (fortunately) a lot of visual information on any subject. I didn’t choose any specific image, i look for a simple woman to place as if she were in a family photo. some time ago I made my own model of an Indian woman with the possibility of putting her in the right position.

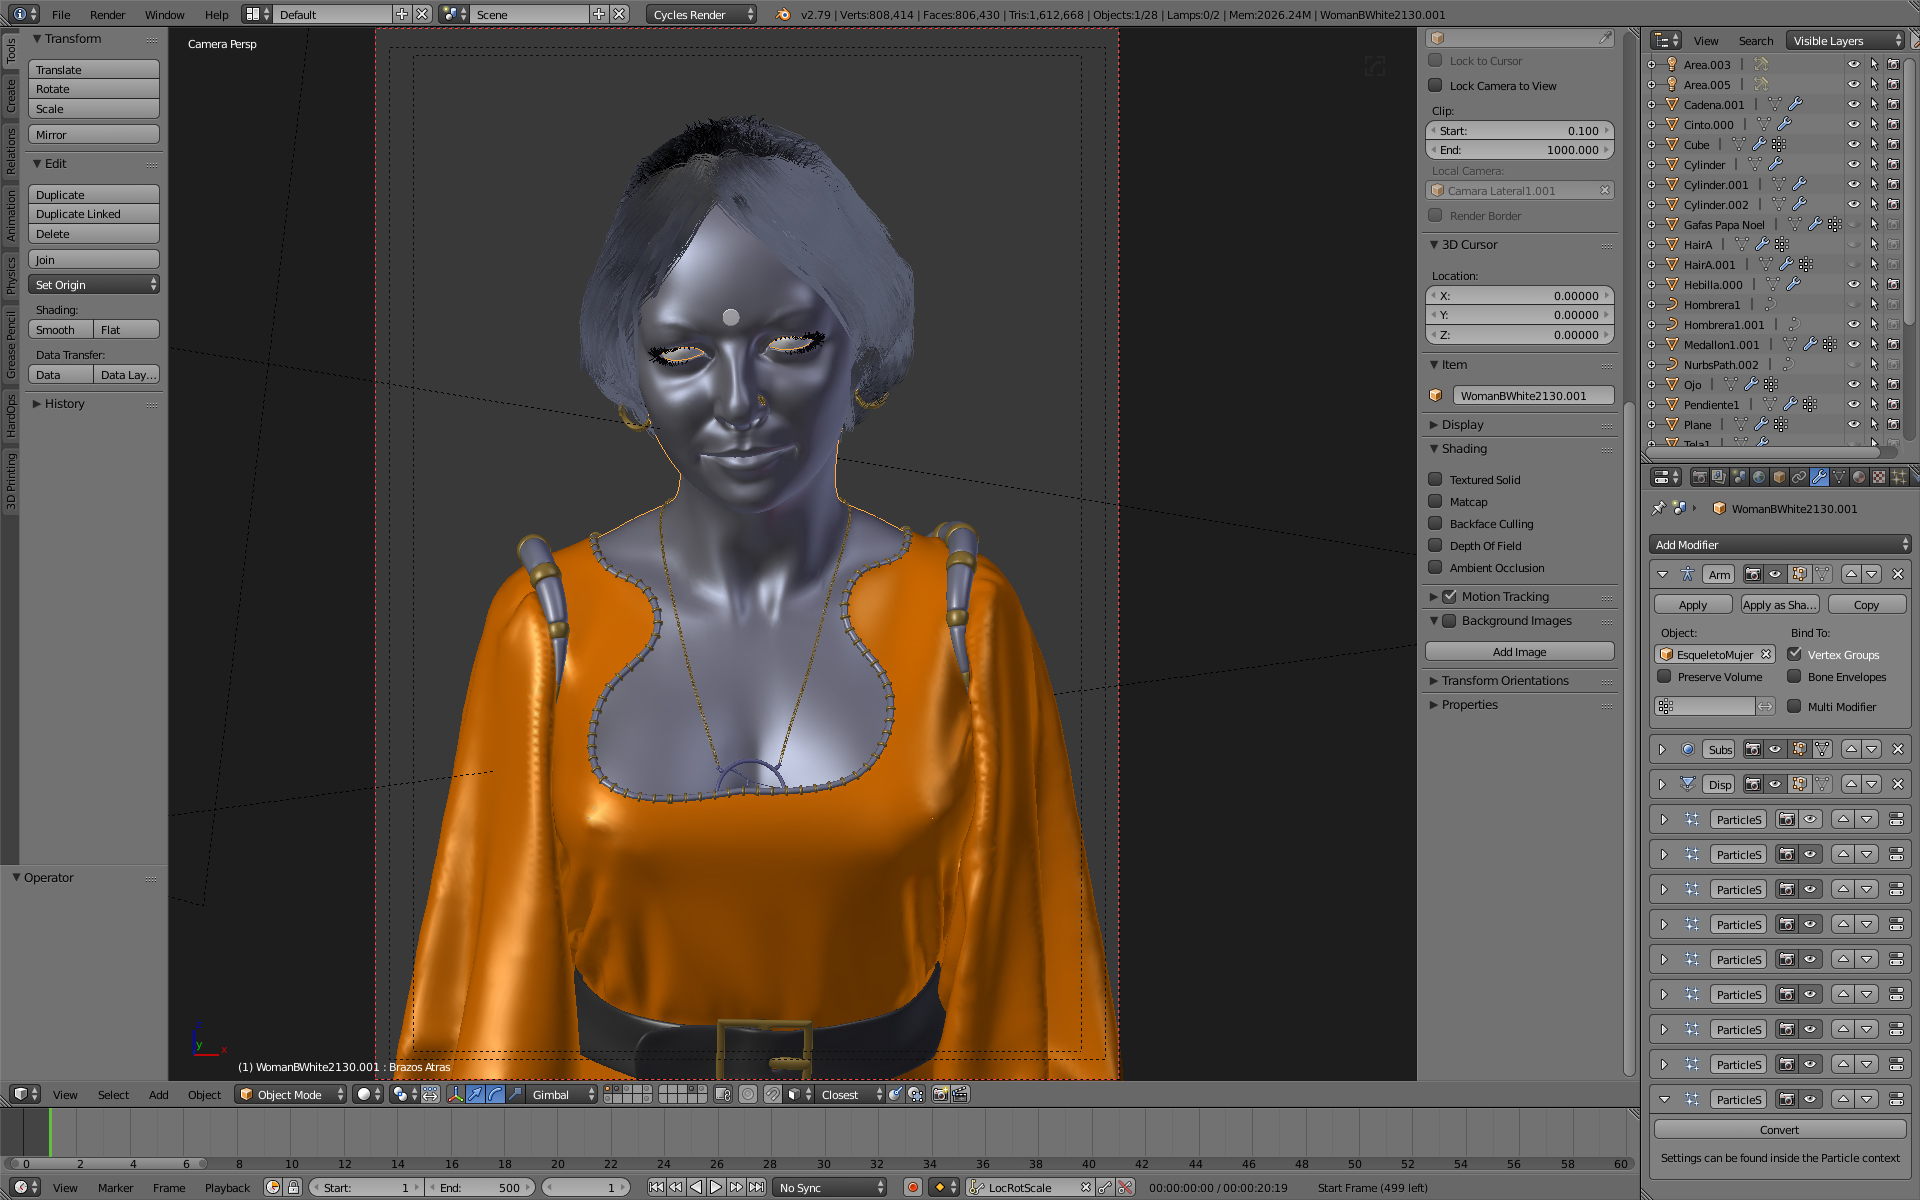
Modelling
Using the model of the woman with the mesh associated on a skeleton, I placed her in the proper position for the rendering of the scene. The camera used at the scene was almost frontal, with a focal length as 85.

Combining Other Softwares
Using the clothing software: Marvelous Designer, I put a simple dress on her. I export the model as OBJ file for Marvelous on two poses and later I did a transition between these two poses. I imported the clothing model into Blender.
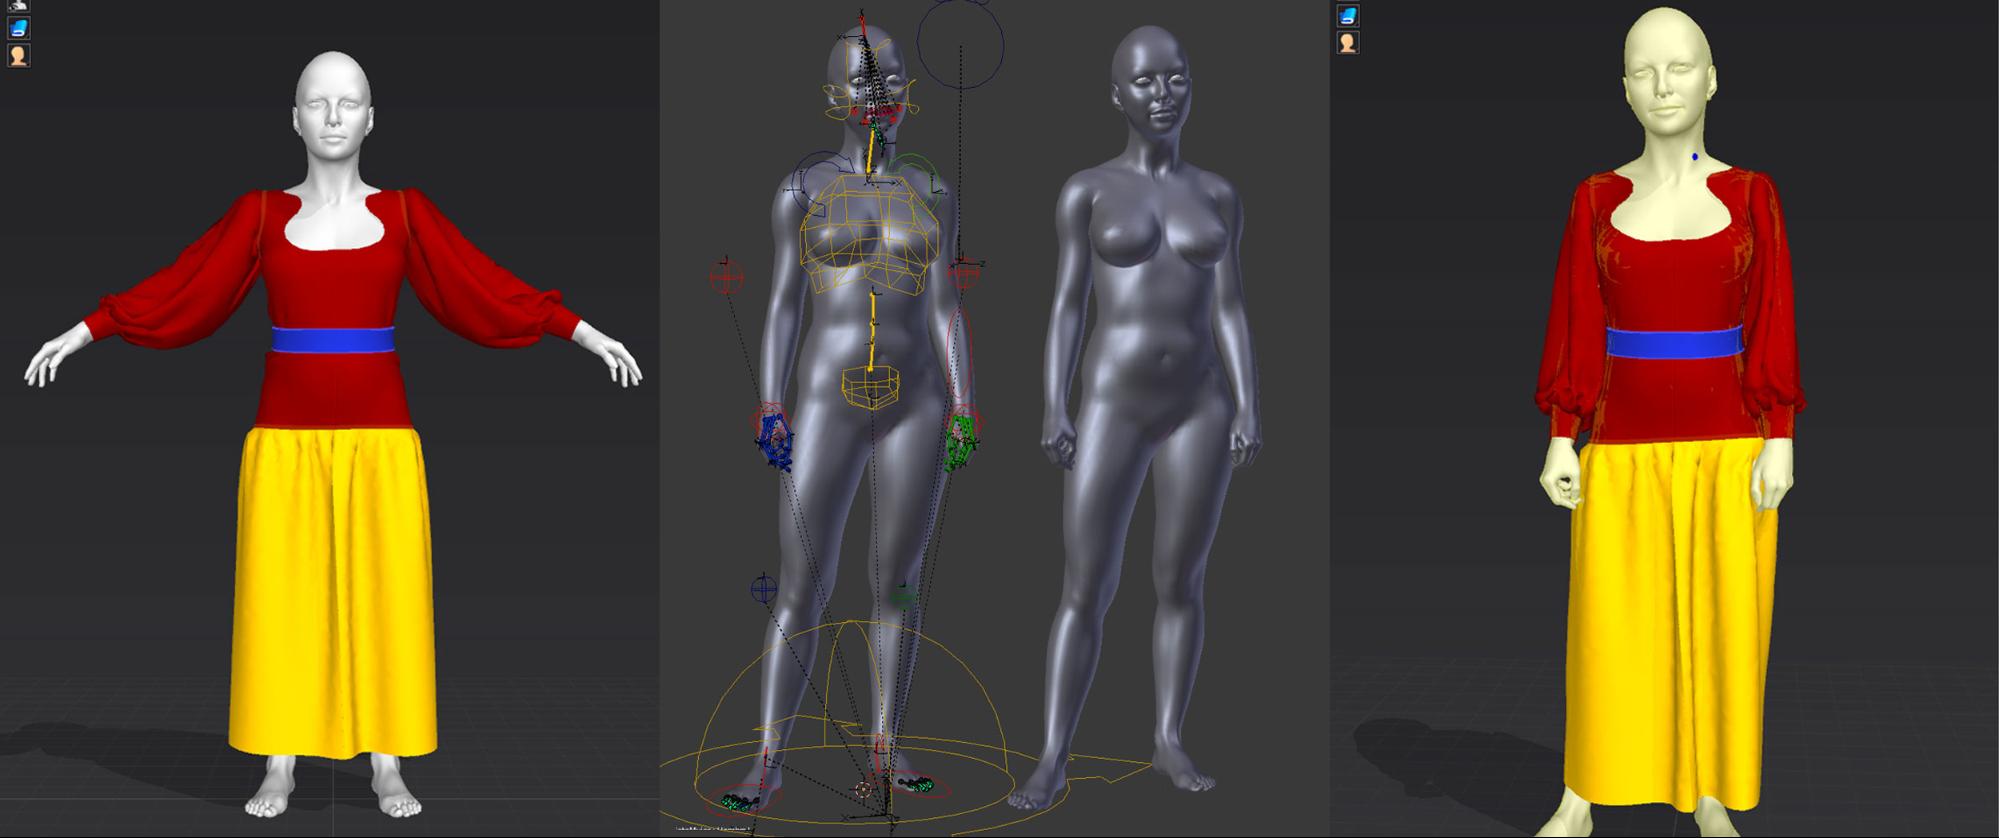
The hair was made with several particles of hair. I put a series of finishes on the model, such as earrings, pendants, a belt, and details on the dress.
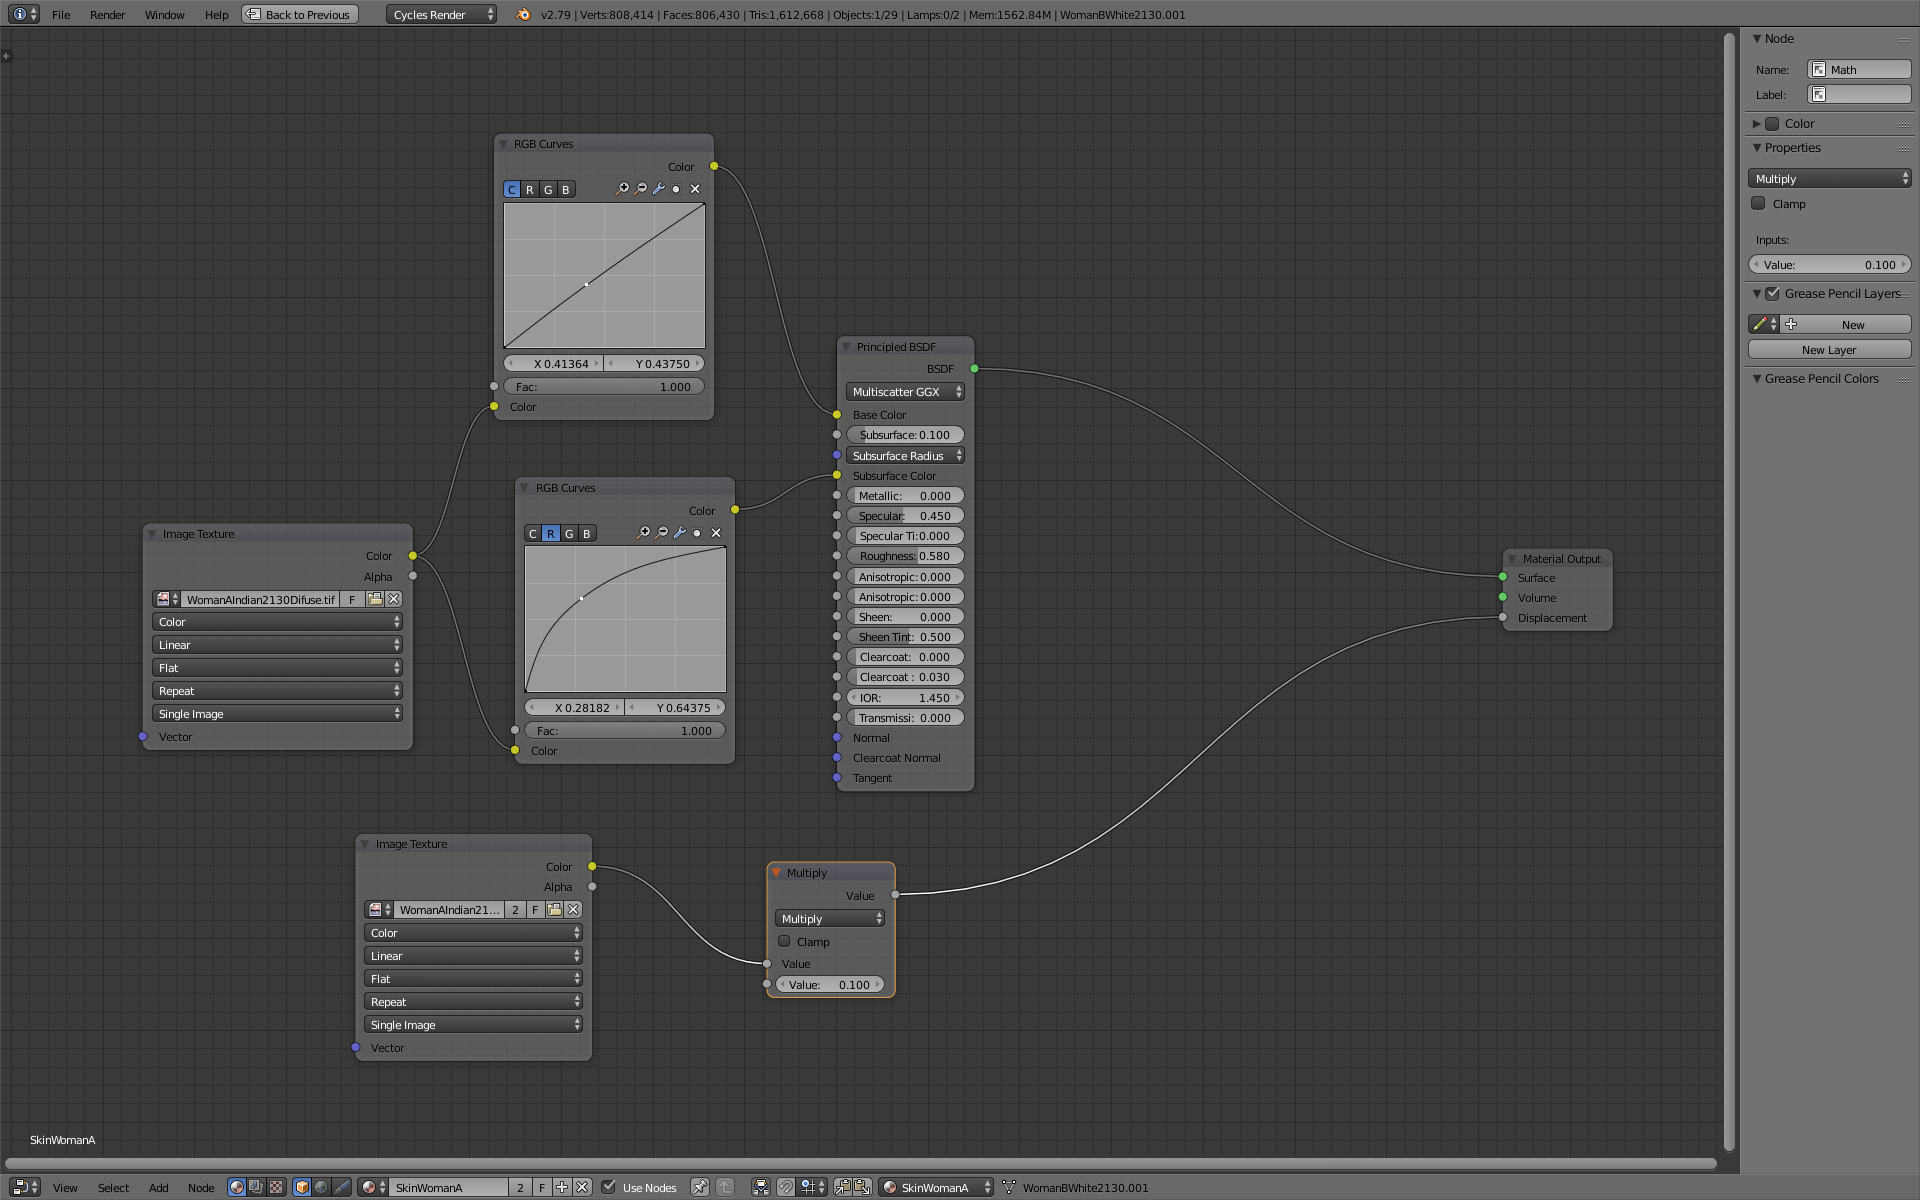
Shading
All the meshes has UV unwrapping. Blender is one of the best softwares for good UV unwrapping. The materials are not very complex. I didn’t make too many adjustments and the texture used on the skin, I just applied color texture and displacement texture. The texture of the clothes is quite simple compared to other models I’ve made before. It has a titled texture for the bump and a mask for two dress colours.

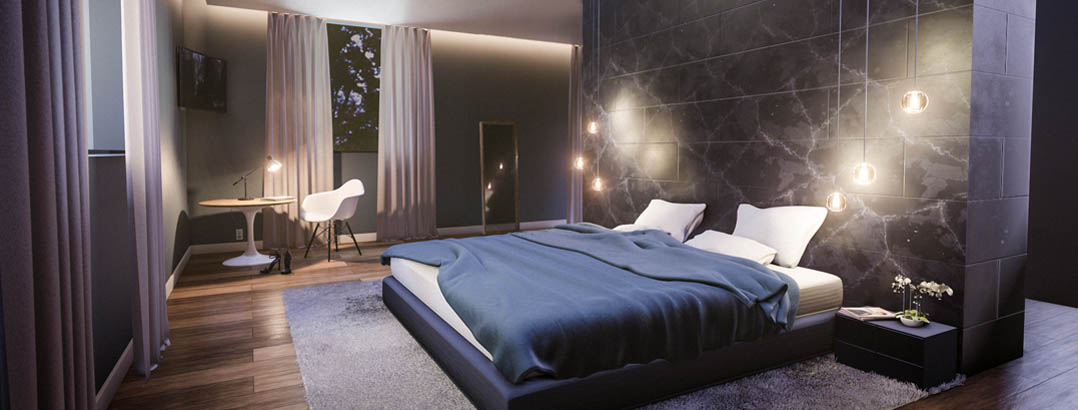
Lighting and Final Render
The light is made with only two area lights, one front to illuminate the face and thus get the brightness in the eyes, and another rear-side to create shadow contrast. For the environment, I used a hdri image and thus improve the lighting already created.
Post-Production
It is very important for me to start from a solid base and Blender is one of the most suitable. Blender gives me a lot of security with the files without losing the information, in addition to the many possibilities it offers. I also use ZBrush and Marvelous Designer in combination with Blender, and the three have a good connectivity between them. Finally I use Photoshop for post-production.
I have an I7 with a NVIDIA GeForce 1060 GTX. I did a high image as A3 size and 512 Render Samples. It takes about an hour of render. I exported the image as png with alpha and i did a little postproduction in Photoshop mixing ambient occlusion render, changin curves and illumination.
Here you can get the tutorial.
Here is an example on Marvelous Designer for clothing a figure:
About the Author
Jesús A. Olmos, 3D Artist


Lo he pasado a Facebook. Así antribuyo a tus geniales diseños. Te saluda un fotomécanico.
Muchas Gracias!