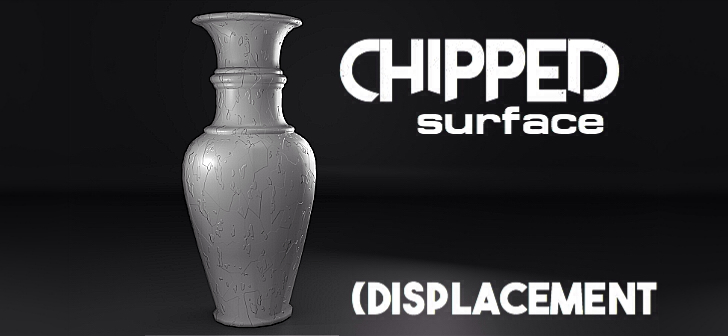
Combining 2 different Node setups to create a nice chipped/cracked surface displacement
JoshuaAutumn writes:
In this tutorial you’ll learn how to create a very easy chipped/cracked displacement on any surface in Blender. This can help create some really nice chipped paint material or some old cracked glass objects, or for tiny pot holes and cracks in the road for your 3D scene.
Wel’ll be creating a displacement set up, without the use of custom textures and texture maps. This set up only involves nodes and built in textures. One of the coolest things of this set up, is that we’ll be mixing different displacements, combining it into one set up, making the mesh have a professionally clean chipped or cracked surface.