Chris Plush writes:
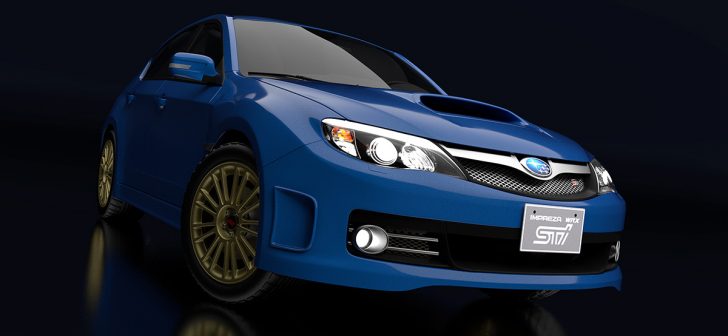
We’ve all been there. You’re using the subsurf modifier for hard surface modeling then you go to add details to a curved surface and it ruins everything by distorting the curvature. Some people call this creasing, or pinching, but whatever you call it it’s probably the most common and most annoying issue among subsurf modelers. In this tutorial I’m going to show you an advanced technique to achieve perfect curvatures while also improving your workflow speed. And it’s all done with the magical shrinkwrap modifier. Car model courtesy of lubomircenovsky on blendswap.


5 Comments
Awesome :)
Great technique! It gets even cooler with 2.79 though due to the surface deform modifier, which I have been having a lot of fun with. What you can do is model a detail, connect it to (typically) a plane then shrink wrap that plane to the complex curved surface (of your car or spaceship, depending on taste;-) ), deforming your more complex detail mesh to fit on the surface of the mesh perfectly. In other words, this technique is great for getting the panels of the car right, but with 2.79 there is also a technique to make sure the detailing elements deform exactly as well. In combination it's insanely powerful:-)
This modifier sounds awesome, I wasn't aware something like that was going to be in 279. I'm going to have to grab a 279 build this weekend and play around.
Outstanding!
Perfect timing! It gave me the idea of using the Shrinkwrap modifier to solve the opposite problem... where a bunch of connected angled faces all needed to be perfectly flat (co-planar), but where a few verts had slipped out of position, distorting the mesh's reflections. I just selected the four outer bounding (reference) verts, duplicated and separated to make a new reference face, then shrinkwrapped all the erroneous vertices to the new face. All done!