
Review: Cycles Material Vault


Hello fellow Blender users, today I’m going to be reviewing the Cycles Material Vault. I’ve been waiting for the release of the vault for almost a year now, and it’s finally here. Lets dig in to this treasure trove of materials.
First Look
The Cycles Material Vault (CMV for short) is a massive collection of both procedural and image based materials for Blender. Or more specifically, for Cycles. CMV was created by Reynante Martinez, a well known Blender artist known for his style and storytelling. In total, there are 110 materials, including anything from concrete to hedgehog hair (yes, i’m serious). Each material is neatly grouped into a single control node with all the options you need to adjust the look of the material for your specific needs.
When you first pay for and download the huge 3GB folder (Payments and Downloads for CMV are hosted by Gumroad), you are presented with three sections, Materials, Guides, and Bonuses. At this point, you can immediately start using the materials by appending what you need from the Materials folder, but I encourage you to check out the bonuses and guides for all the extra goodies. ;-)

Usability
To use one of the materials, you must navigate to the CMV .blend file, locate the desired material and append it. It’s a pretty straightforward process. The only problem I’ve experienced is a very slow file browser on slower computers, due to the large size of the CMV .blend. Reynante has mentioned that there will soon be an add-on for CMV. So hopefully that will clear up this issue. As well as make it easier to use the materials without having to navigate the .blend.
Once you have a material in your scene, you can apply it to a mesh. Some materials require UV unwrapping, you can differentiate the ones that need UVs by whether they have a UV suffix of the material name.
You can right out of the box start using the material and start changing settings. You can totally change the look of a material just by changing a few settings on the node. And if you’re not sure what a certain setting does, you can reference the guides folder, which has a neatly written guide for each material. It’s quite extensive.
If you need even more control over how the material looks, you can enter “advanced mode” by pressing tab while selecting the node group in the node editor. And unlike a lot of other materials for sale, the internals of CMV’s materials are very neatly organized. So you can clearly read, and change what you need to.
To finish up, there’s also a nice video explaining how to use CMV in the Guides folder. There is also a text version if you prefer reading.
Scene Compatibility
When you first start using CMV, it’s very clear that the creator has put in a lot of work to making these materials work well in various lighting situations. The creator has mentioned before that he has implemented PBR techniques in order to do so, and it certainly shows. In my tests, I never came across any kind of discrepancy between using different lighting setups.
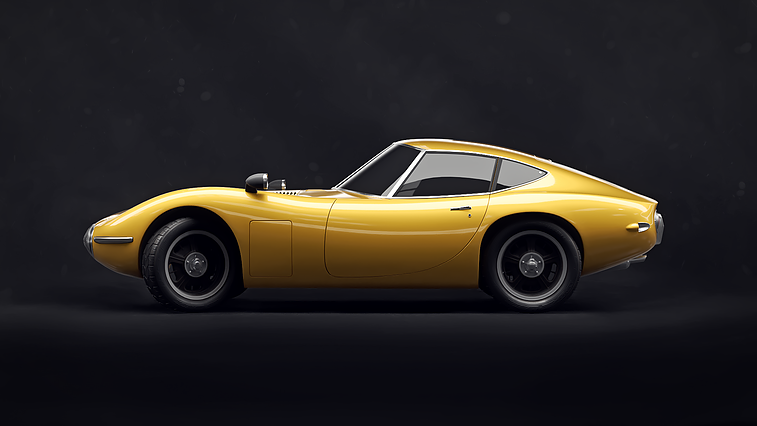
For most of the materials, there’s not a huge ability to change the look from it’s original state. Sure there’s a few options for tweaking, but for the most part, the materials are meant to be used “as is”. Such as the Car paint material, I tried fitting it with the style of my old Model-T mesh. But it just didn’t fit. The material is meant for a sporty hot rod, which a model-t certainly isn’t. Without changing quite a bit of the inner workings i’d have to find another material to use, that isn’t necessarily a downside, more of a fact.

Realism
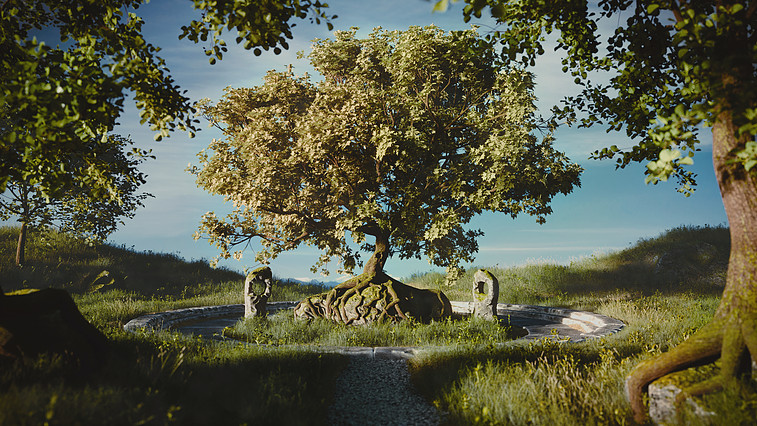
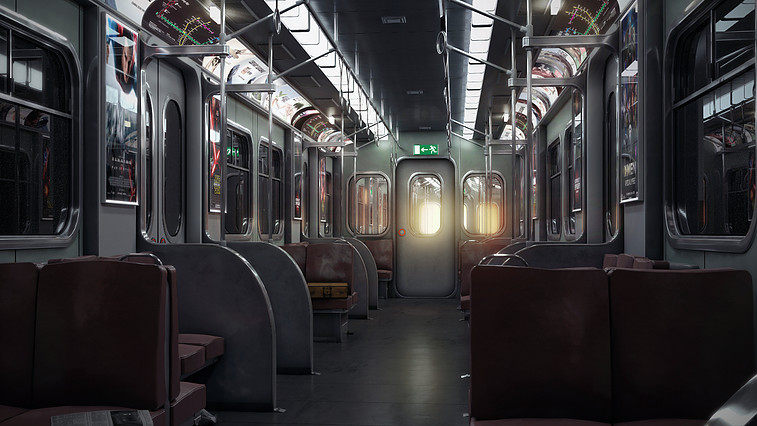
Overall, I was really impressed by the realism of CMV, the fact that both image and generated textures are used really helps in both the realism and customization at the same time. In the end, I really didn’t have any issues with the materials not being “real enough”, but I’ll point out a few materials I found to be not particularly real looking in my opinion. The Cork material seemed a little too dark overall, and from a distance looked very generalized and procedural. The bubble material was much too colorful, it would fit better in a cartoonish render, instead of a photorealistic one. The ground and tarmac materials had too much bump for anything less than actual displacement in my opinion, especially viewing at acute angles. The quartz looks very procedural, due to the complexity of quartz, I think it would have been better as an image based material.
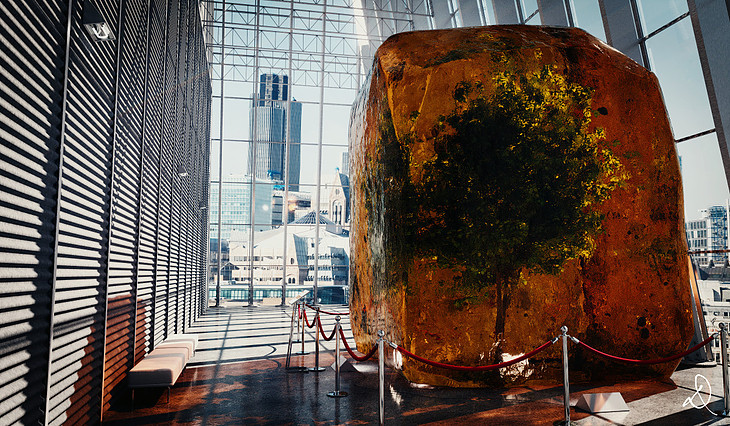
Now that I got the negative stuff out of the way, I’ll point out a few of the favorite materials I used. My number one favorite is the amber. It’s truly fantastic. So realistic and versatile, and planting objects inside of the amber is fun of course. Another favorite of mine is the aluminum foil. It’s incredibly realistic, and just looks great. And lastly, the clay material. The fingerprints add so much and makes me want to feel the clay in my hand and mold it. There’s so many more great materials, but I better stop before everyone stops reading.
Value
The price per material of CMV is about $0.77. Which is far below the current pricing of most materials on the market. But the cost is offset by the fact that you’ll probably never use all 110 materials, given that they are so varying in type. Also, considering that the customization of the materials is more limited than “mega shaders” you may find elsewhere. But even keeping all that in mind, It’s a great deal, especially considering the quality of each material.
Closing Thoughts
The overarching feature of CMV is that it makes it easy to make 3d scenes without spending hours tweaking materials. It speeds up your workflow, and gives you great looking shading if you aren’t that great at making materials. So far CMV only has one volume, but as it grows to two or three or even more volumes, it could grow into a collection of every material you’ll ever need. The tools like this that appear, the more great art well see from people that otherwise wouldn’t have the time, or skill to create. And that’s a huge thing for me.
Link
- Cycles Material Vault – $85


Good thing you didn’t rate their customer service. Tomorrow will be a week since sending a support email and I’ve heard nothing. No response on both FB pages either. :(
Customer Service is hard to rate when you have no problems. Witch I didn’t. And seeing as it’s just a material pack. I don’t think Customer service is very relevant.
I will be reviewing a render farm soon. And I will taking into account customer service.
I hope your problem is resolved. Good luck. ;)
If you’re going to run a business it’s very relevant.
Well, I wasn’t reviewing the business. Just the material pack.
Nicely biased review. Let me share some 2cents:
Most of the materials are build from textures. The nodes setups are very similar. Considering this the CMV is overpriced. You can get similar textures for free or much cheaper and you can reuse the nodes.
There is some customization available for each material, but most of the time you cannot get what you want and the sliders are just useless. It feels some are there just to fill space and look cool.
If it was a texture site and much cheaper, I would give full points. The textures inside materials are nice. But there is not much more value in those nodes added – the price is just laughable.
Thank you for your comments. I stand with my review. And believe it to be unbiased as possible.
Yes, maybe of the node setups are similar. But that’s true for most shading setups. 90% of materials are basically diffuse mixed with glossy. But that doesn’t mean they aren’t valuable. The appearance of the material is what matters. If you can match the realism of CMV, then that’s great. And I would personally encourage you to NOT buy CMV. But I believe many people CAN’T do what is done in CMV. And for them, $85 is very cheap. Have a look at other material sites for V-ray or even Blender. They aren’t nearly as cheap as CMV most of the time.
Ehm, excuse me guys,
Sorry to bust in, but I want to also donate my two Pennies…
As a material/shader artist I’d like to point out a few thing John, I understand where your coming from, most new and intermediate artist just play with textures and yeah sure textures play a big role in the materials but ones you join the big boys on the next floor where all the freelancers play textures alone won’t cut it, however, I do have to say that likely standard artists and hobbists are not the customer target for the CMV as far as I can tell, it’s aimed at the freelancers and the like that use blender for work and have a limited time schedule…
And yes $85 for +100 shaders is heavily UNDER-priced in todays CG world, professionally crafted shaders can get really expensive.
And before you suggest I’m biast, well as Reynante is my competitor I’d say yes…
Jim Morren
I am not saying textures alone cut a material. I am saying there is no value in the nodes that are there. They are basic! And most are the same.
What I am saying is I don’t need to pay to get 3 basic shaders 100 times. If those shaders would be nicely made with good customization I wouldn’t say a thing. But they are basic with artificial customization and the materials are defined by those textures – like you said – that won’t cut it for people that use Blender for work.
And I say this IS for newbies and hobbyist, because as a freelancer you don’t want to deliver materials that someone else is using and they all look the same – because they use the same textures and offer poor customization. Such materials are no use and you can spot them very easily. Same deal as with video-copilot tutorials and such – you can see them everywhere and you don’t want to deliver this to a customer.
That’s why I am not comparing the price with a material library but with a texture library! Legit? Because textures are the only value inside those materials.
For me it is hard to know if the materials presented are mainly texture driven or if the procedural aspect is also worked out.
Unfortunately this is not well communicated in the website.
Specifically with stone and such it is important to show how they will tile. Often what is called seamless is not really seamless in a visual quality sense.
There is also no breakdown between what will have traditional and what will have more realistic shading material design applied.
Also great and amazing renders don’t tell anything about the material used
because the viewer react to everything done to a rendering besides the material lighting camera post pro etc.
So maybe less usual community user based product testimonies and more facts would be a good thing.
After all 85$ as I stated with Andrews products are not much – work has to be rewarded! But customers should be better able to know what they will buy.
Maybe offer one free material or so.
Ah I see now where you are coming from John, totally agree!
And yes CLAAS I have not seen much documentation ether, that said, I myself suck at making documentation.
Maybe give Reynante a tweet, hes pretty active on twitter, he’ll give you the details I’m sure you’ll need ;)
Jim Morren
Reynante has already done some good docs inside the product. I think if he’d release them publicly then it would show what’s included better. Because i agree that outside of the paywall there’s not much documentation to find other than image renders.
Well it is not unique to him – it is a quite common approach I see in the Blender community and those who offer such material or other related packs.
The sales documentation does not even have to be much.
Maybe just a spreadsheet with key detail information and maybe a screenshot with a basic view of the nodes so you will know what you will buy. Nodes can be shown as closed elements so you do not give away you node setup values.
The CG Cookie market wood shader showed a screenshot of what can be adjusted and I knew his work anyway – so I bought it.
I think it is advertisement and fluffy words vs hard facts.
We need a library of open-source materials included in Blender itself. I read somewhere there’s someone working on it.
Oh how true! The lack of any preset materials is the most glaringly obvious omission from Blender, and possibly the biggest deterrent to new users. They get past learning the interface, model some nice geometric shapes standing on a floor, now they want to do the materials… and… where are the materials? Just 20 or so fundamental materials (metal, plastic, procedural wood texture, etc,) in a nice built-in customisable materials library pane would get people started and make Blender much more usable, but the designers stubbornly refuse to improve Blender in this respect.
That or what I would rather also like is like what Octane does an online library and you fetch down what you need.
procedural shaders are small – texture based can use up a lot of disk / dl space.
no thanks I don’t want blender to suddenly be 6 GB like C4d.
That is complete nonsense, and even if it were true, it wouldn’t matter since RAM is dirt cheap these days.
I think he means storage space – I think the full package is 3GB?
Maybe but there are so many possible solutions to it.
And I think honestly the best would be a cloud based central point from where you could download selected materials.
Ideally one wants to also be able to contribute to the cloud so send them materials.
I like that in Fusion 360 and Octane a lot.
Claas
And who said it will be 6 GB?
Seriously? Way to be extra negative before we even work on something like this.
Most times materials are very small man.
I use CMV all the time for setting my initial material and then enhancing it with other nodes or going into the cmv node and tweeking it. Being able to use the new 2.78 displacement option is also making it more versitile. Great job and well worth getting….also they have freebies for you to try and they are well worth getting and adding to your asset library