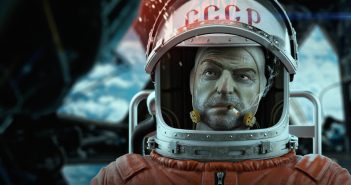
I thoroughly enjoyed watching the "All of Me" music video by Farewell Dear Ghost and to my pleasant surprise it turned out that a well-known Blender artist was involved in the project! Follow Mathieu Auvray (of Cosmos Laundromat fame, of course!) along as he takes us on a detailed tour of his latest production.
Me, Sebastien Fauchere and Alexandre Pluquet, co-directed a music video for the Austrian band Farewell Dear Ghost:
We are directors and CG artists, and we know each other for years. We’ve grouped our talents and efforts to make this movie : it’s the first one we do together. I was in charge of the 3D part (with Blender of course) and Sebastien and Alex took the 2D part (3D tracking, rotoscoping, and compositing) mostly with Nuke at Nod, in Paris.
It was quite a challenge since we had a very short amount of time to do it, only 5 weeks. We wanted to make something great, reflecting the spirit of the song : mixing emotion and digital components. We brainstormed and agreed on this concept :
"Like in a nightmare, a woman wakes up in an abandoned prison. As she escapes a grape of black balloons, she tries but can't run away from them until..."
I knew an old abandoned hospital we could shoot the video in. So we went scouting there. During the scouting we’ve decided to use this amazing building the most we can and designed a continuous take for the whole movie. One shot !
On top of that we wanted to shoot in slow motion. So we've speed up the soundtrack at 160% to make it almost twice the speed (so when you film 40 frames/seconds it goes back to 100% speed in 25 frames/seconds). Basically the camera operator and the actress would have to perform this take in 2 minutes to make a 4 minutes video.
We’ve marked 15 different key beats in the music and blocked the scene with them. One of us were running around the action, hidden, shouting the beats while listening to the marked speed up soundtrack (you're following ?). That way everyone knew where they were in the soundtrack and when the changes should happen. One steadycam operator and one focus assistant were running in front (or in the back) of the actress the whole take too.
Here is the realtime footage with a splitscreen of BTS footage:
This might help to understand our process better…
So we had only a few hours to make the take (very low temperature and no access to the set all day). We’ve managed to do 5 takes and the one in the movie is the third one. The miracluous one actually, because that’s the only moment in the whole day where clouds were kind enough to block the sun. It made the mood of the whole movie much more dramatic and nightmarish, especially in the beginning.
On the post-production side : we’ve placed 3D track points (75cm long thin steel axis with a ping-pong ball on top) in the first and last part of the set, where the ballons sould be. And we had to remove them of the final frames…
I have shot HDRI maps on location. unfortunately, since we didn’t had a lot of time, I couldn’t make on HDRI map per location AND per take as you should. Because the sun moves fast in winter and we had clouds on our second take that went away as soon as we’ve shot it!
I’ve also shared those HDRI maps with the Blender Institute and they should release them on the Blender Cloud soon.
The 3D track and compositing were made with Nuke, but all the balloons were made in Blender.
I had a hard time simulating them correctly. Those in the beginning had to be "clever" and once they’ve exploded, they had to gather again and move toward the actress, as they want to capture her again.
I started with particles and boids in the first tests I’ve made, but unfortunately, you don’t have collisions between meshes that way. So the balloons were penetrating each other. And since the camera could be very close to them, it was too obvious.
You can see it there:
So I went for rigid body simulation and I was surprised how fast and smooth it went, like this:
The Rigid Body simulation system has its flaws (not hyper threaded, a bit unstable in the results, obscure settings sometimes…) but it’s also very powerful when it’s used with force fields. Most of the simulations where in zero gravity, with standard 1.0 mass for the balloons. In the first scene I animated their path with force fields to gather them and move them in the set. It was a very slow process since you have to simulate 1200 frames everytime you want to change a setting and check all the 500 balloons are doing what you expect them to do. And if they don’t, you change a value from 0,001 to 0,003 and wait 10 more minutes…
Until you have something you like !
For the final scene, the difficulty was to make the balloons explode in a much more fast way, like real party balloons. And I also wanted to make a second burst when the couple looked at each other to reveal them on the last beat of the song. For the two explosions it’s actually a bug in Blender I’ve exploited. If you don’t enable the "split impulse" button in the "rigid body world" tab, you can have some extra velocity out of penetrations. So, I’ve gather the balloons in a way they all overlap an penetrate each other in the middle of the couple. Then at the first frame of the calculation, the simulation engine "explode" them far away from each other. The trick was to keyframe and enable the "dynamic" button in the Rigid body type for all the balloons to make them active at a specific frame : and boom ! 600 balloons all over the place. Also having low values in the "rigid body world" settings helps having fast moving balloons (and low simulation times). It was set on 60 steps per second and 15 Solver iterations only. It’s a bit low and I had to remove a few balloons afterwards because they were "lagging" when moving closer to the camera because of those low settings.
Here is an early test:
Here is the final simulation:
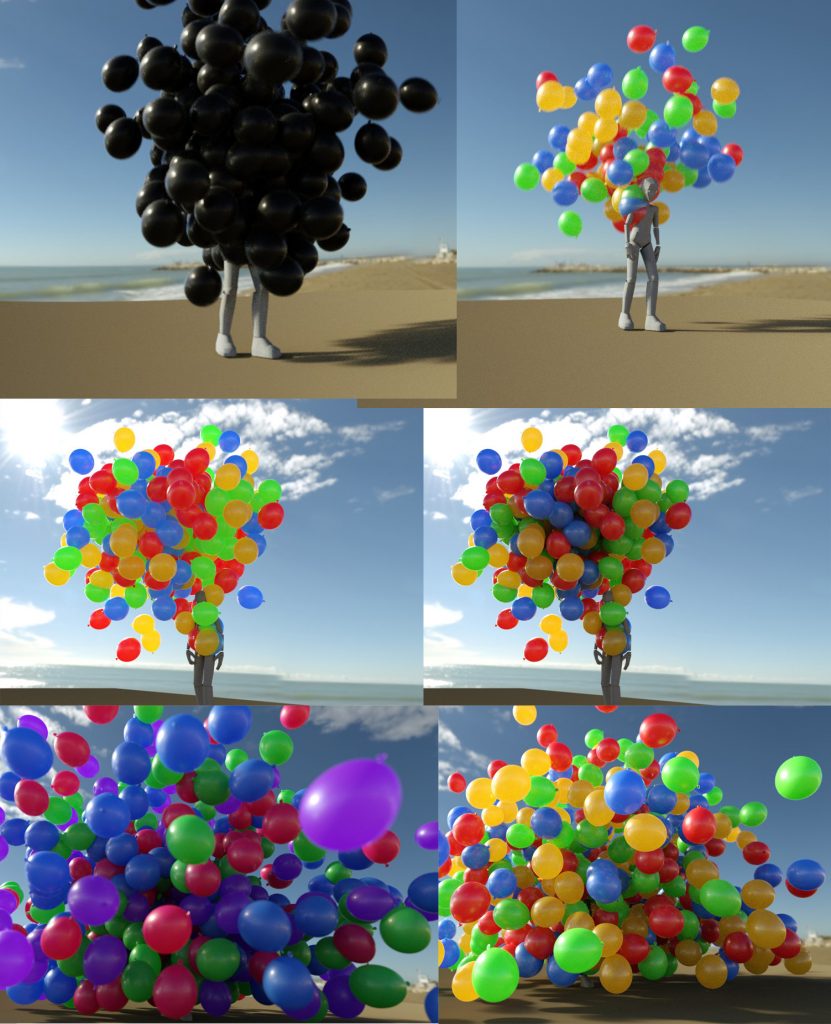
Here is a simple scene made out of the final part of the movie:
http://www.blendswap.com/blends/view/83930
You can take the balloon shader, the HDRI and the balloon themselves and have fun ! I strongly recommend the use of GPU for rendering ! It saved our render times by dividing them by 2 or 3…
The shading was quite long to get correct. A balloon is actually quite complicated, there is translance, transparency, diffuse and glossy !
Here is a gather of early attempts
The most tedious aspect was to mask the actors during the balloon scenes. For the first one we had someone working on it for two weeks ! And for the last one I’ve made a 3D model of the couple I animated roughly to match key poses (you can see an early version of it in the final simulation video before). So most of the work were done that way and then we just had to clean this mask in 2D, but painting or masking each frame…
Anyway, it was a great experience and we are very happy with the result !
I hope you liked it, feel free to ask any question !
Mathieu, Sebastien and Alex


3 Comments
Félicitation à vous Mathieu, Sébastien et Alex pour ce merveilleux clip.
J'aime bien le concept. Et l'exploitation du bug de la simulation avec blender
est superbe, comment tirer avantage d'un désavantage est magnifique.
Encore bravo pour ce clip.
Merci beaucoup !
Les accidents et le bugs sont toujours intéressant à exploiter.
felicidades por tu trabajo es muy interesante