Follow Angus Giorgi in this 'Behind the Scenes' as he talks about his latest music video project.
Music video for Australian Indie Edm artist Jesso, made in Blender
BREAKDOWN
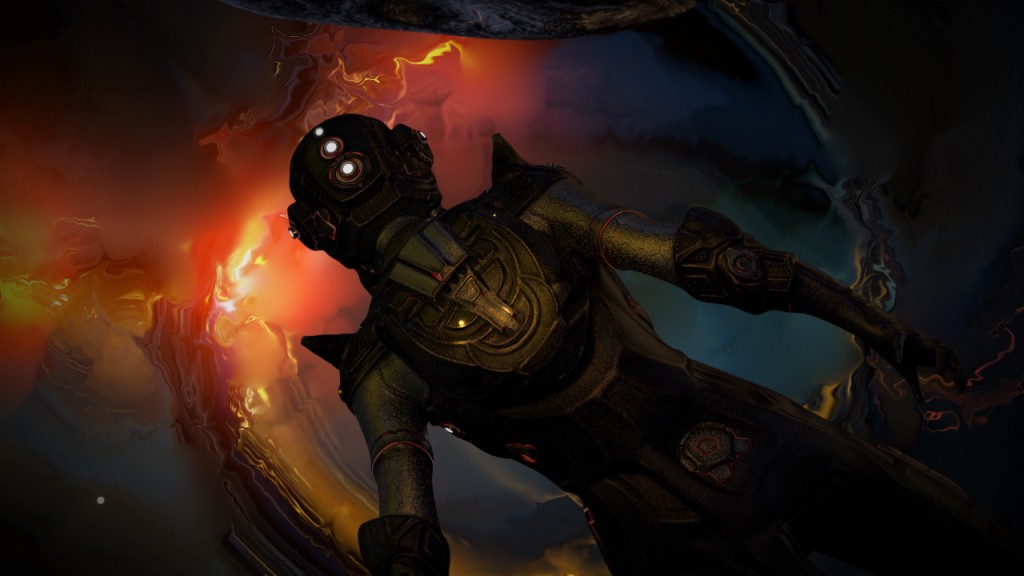
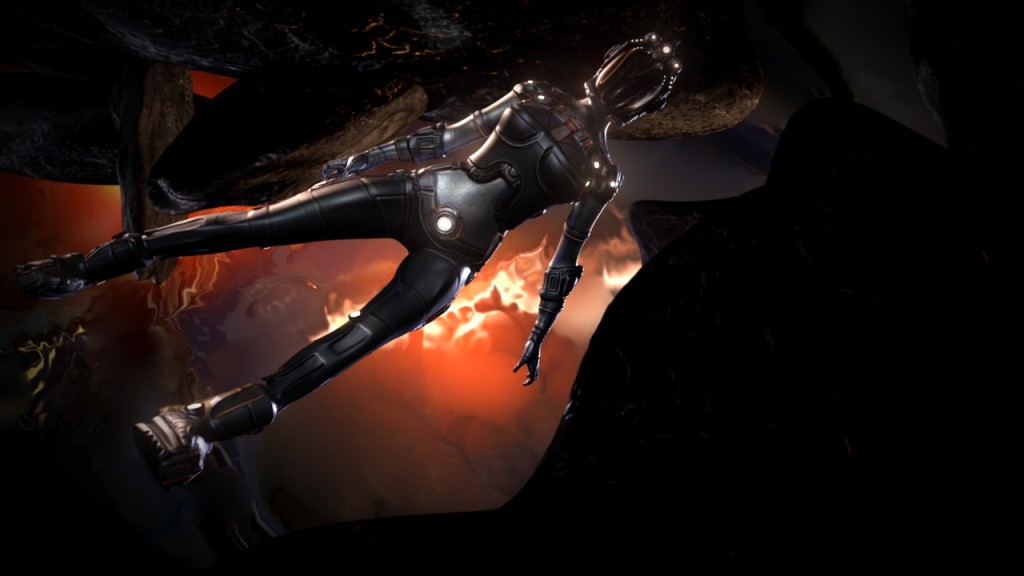
The video was compiled, art directed, rigged, lit, animated and rendered in Blender using Blender's Cycles rendering engine, with some additional modelling and texturing done in Zbrush and some After Effects post 3D effects work to finish the shots. All materials (shaders) and lighting were done in Blender. UV layouts were done in Blender and Zbrush for respective elements created in both packages.
The basic techniques/workflows in this video were:
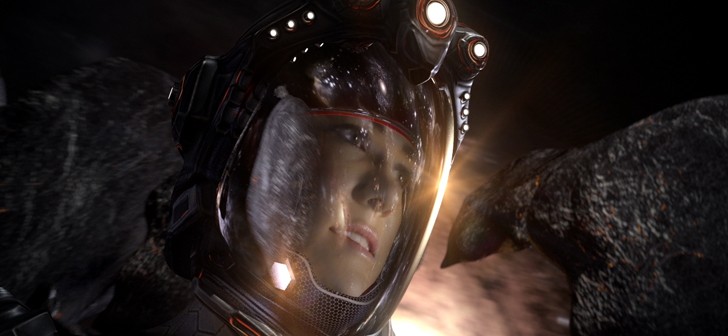
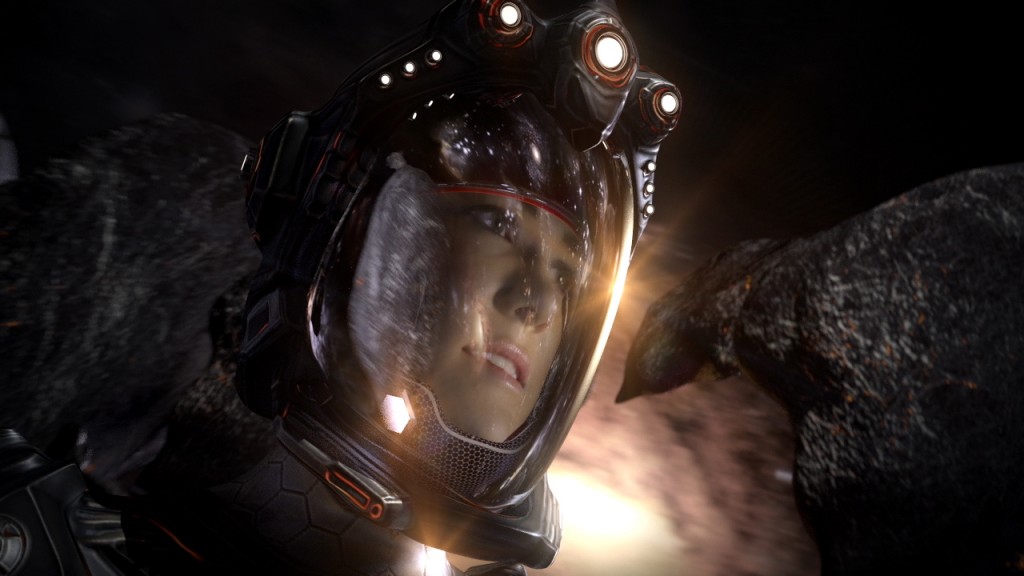
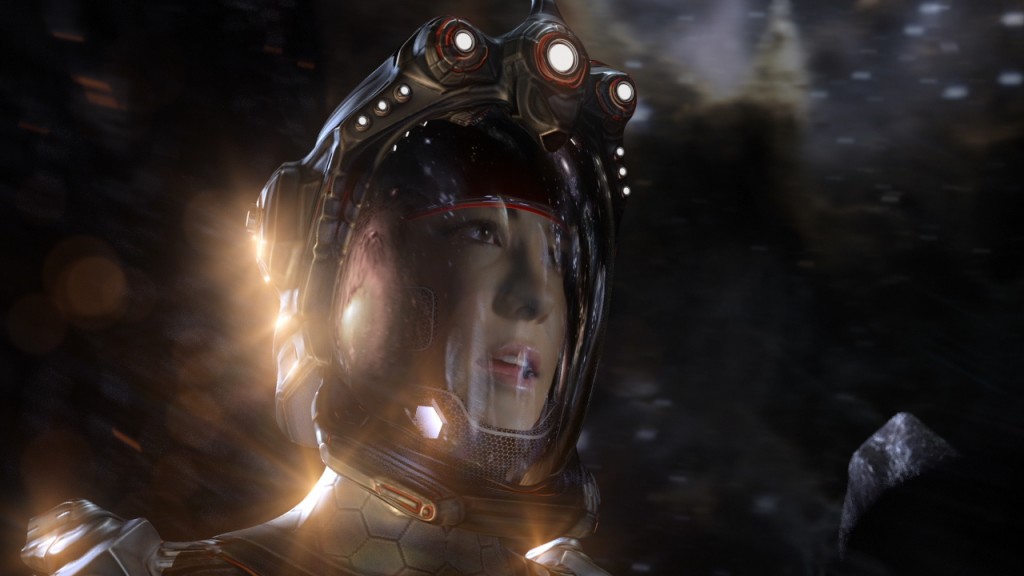
- Filming a green screen footage of the Artist's face (Jesso) and then pre-keying it in After Effects prior to bringing it into Blender. So Jesso was filmed performing the song from the shoulders up (face only) against green screen.
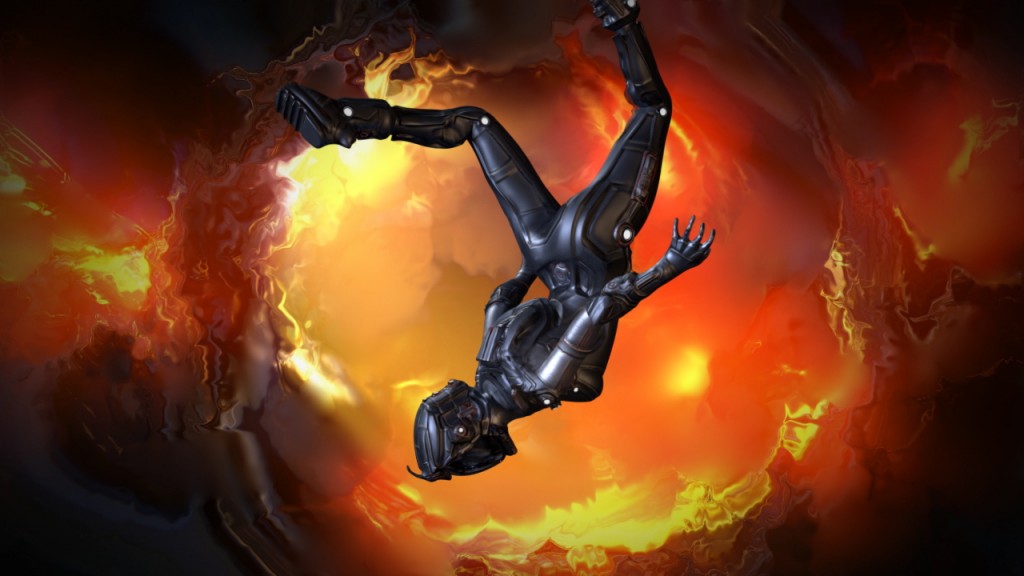
- Importing the pre-keyed shots into Blender via images as planes, then building all the 3D spacesuit elements in both Blender and Zbrush and fitting those together around the face element. Body reference shots and some performance pose shots were taken during the green screen shoot as a guide for building the suit to Jesso's shape and height. Jesso does a lot of athletics so these body references became invaluable in the modelling stage as the suit design needed to be realistic to her actual body shape/proportions which are sporty. In order for the suit to be believable it needed to match her face so it was modelled from real world reference poses taken from the artist.
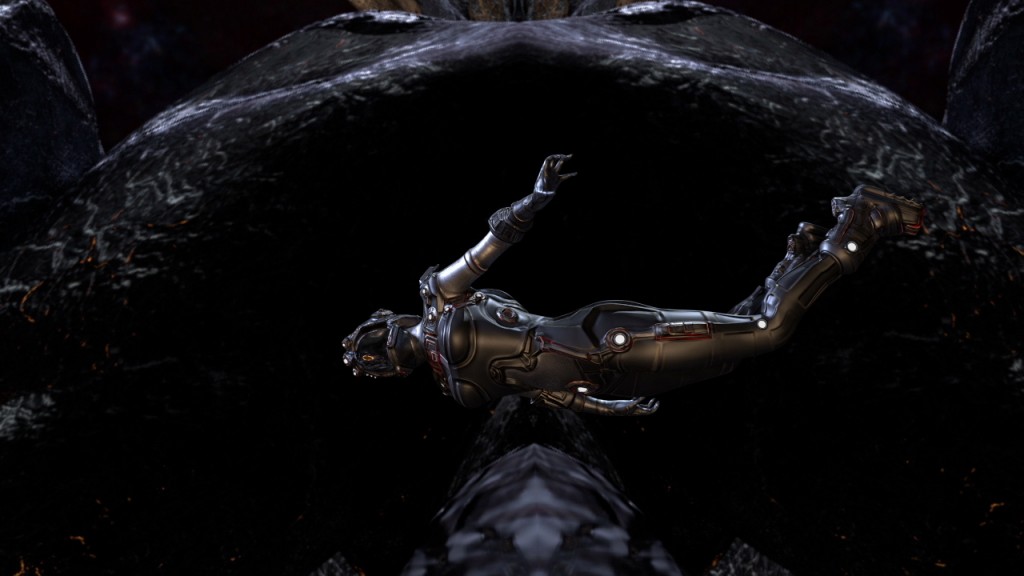
- Then adding a rigify rig in Blender and attaching all the various spacesuit parts and painting the weights etc and stress-testing it until it was all working.
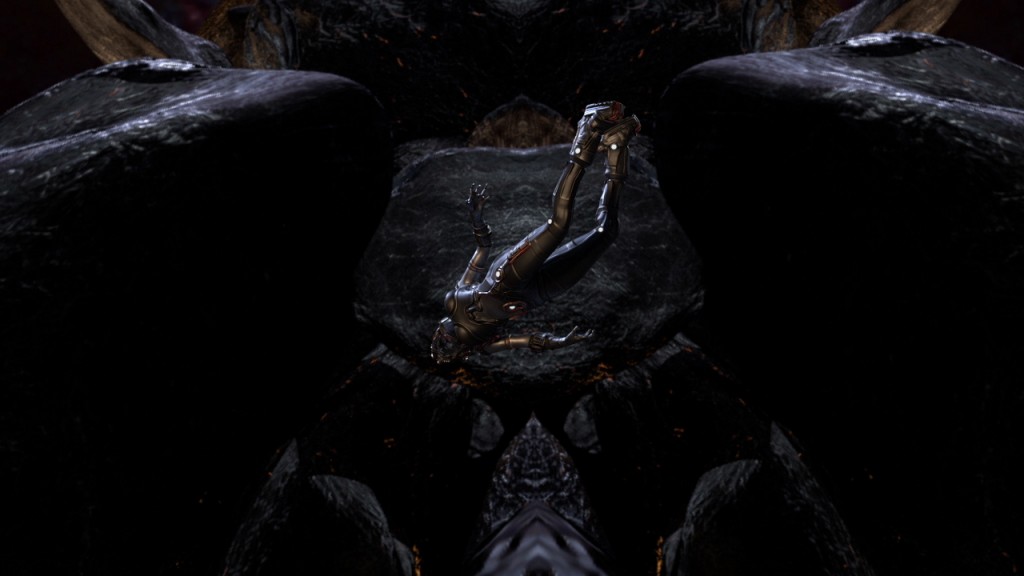
- Then bringing in all the other various scene elements and locking the background, asteroids and lamps together so that the 'world' would always move in unison,
- Then finalising materials, lighting - and finally doing the animation.
Blender was used therefore not just as the main 3D package but also as the package that compiled the elements from the other software being used. So Blender was was the core of the production and all outputs of the other software (After Effects, Zbrush etc.) were piped into Blender where they were incorporated into the Blender scene alongside elements built directly in Blender. All the materials, lighting and shading were created in Blender and rendered using Cycles.
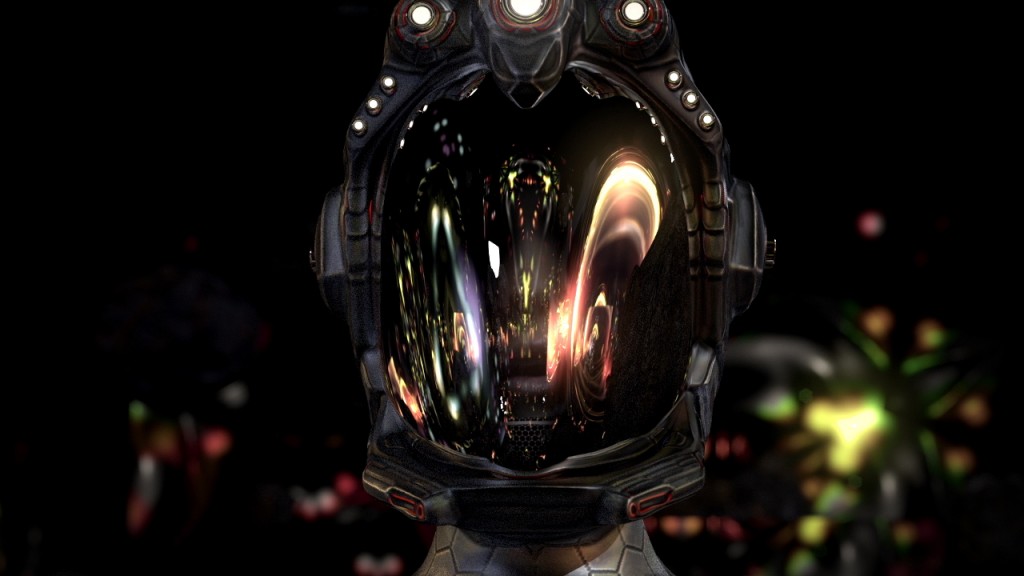
While Blender has its own inbuilt 2D post-processing compositor, we didn't use it that way and instead Blender's main 3D structure itself was used as the compositing engine. Much as one would use a 'true' 2D/3D compositor say Nuke or Fusion. So there was almost zero use of Blender's compositor to post process images, instead the focus was on getting all the elements that needed to be reflected or to glow in Jesso's visor into the actual scene so they would get picked up in the glass of the Visor. It's an old fashioned technique, essentially bringing in "cards" or images as planes with different precomposed lighting effects into Blender so that Cycles would pick them up and reflect them accurately in the real 3D geometry and movement of the scene, rather than trying to add things like light reflections or reflecting asteroids as post-processing effects.
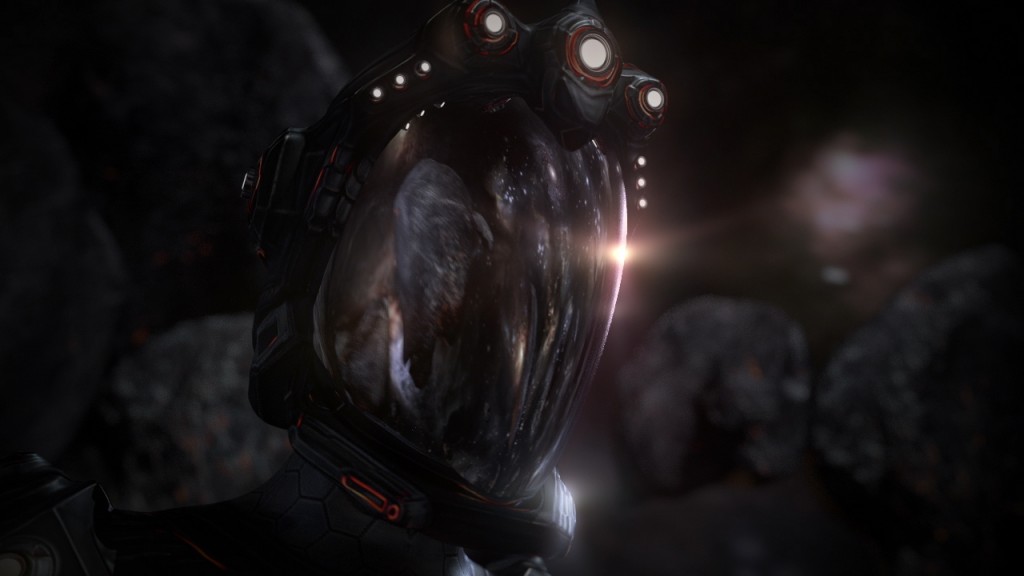 One of the strongest features of Blender is the quality of the Cycles and how it works interactively with everything you are doing. The insight gained during this video is that the whole concept of 2D post-processing compositing is a little redundant. In reality having the compositor as a separate module in Blender instead of as just another nodal function of Blender's main 3D offering is a restriction. Keying, glows, blurs, etc would be much more powerful if they were made available where they are needed (on the actual object in the 3D environment) and not in separate module. So for example if you bring in an image as plane that has a green screen element to it - Blender has a great keyer - why not be able to key it right there - where it is in 3D space right in its material node setup instead of having to go off into a different module. It would make Blender 20 times more powerful to be able to do things like keying, glows, blurs etc, right on an object in 3D space instead of reliance on adding those effects as a post-process.
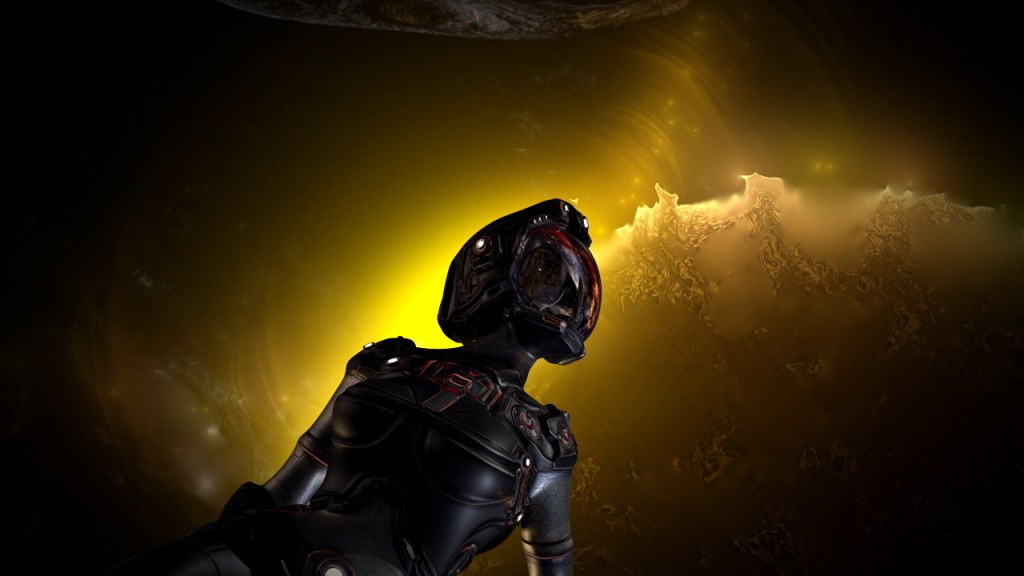 So in the way Blender was utilised for this project we tried to emulate this principle to use Blender itself as the compositor where you could bring in 3D elements, 2D elements etc. and all have them work together. In utilising Blender this way (as the compositor and compiler, not just the 3D package) it vastly outcompetes 2D/3D compositors such as Fusion or Nuke and even After Effects for what they can do. Trying to navigate in 3D space in After Effects for example is never fun or easy. Even the same for Fusion which has much more of a traditional 3D layout than After Effects - i.e it is becomes very clunky trying to navigate and move around any 2D compositor that is trying to be a 'true 3D' environment whereas navigating around an actual true 3D environment such as Blender is a joy. Additionally navigation and 3D scene setup in Blender is amongst the best there currently is. Once you get your head around Blender's right click, 3d cursor and keyboard concepts it becomes more fluid and much less restricted than most other 3d packages.
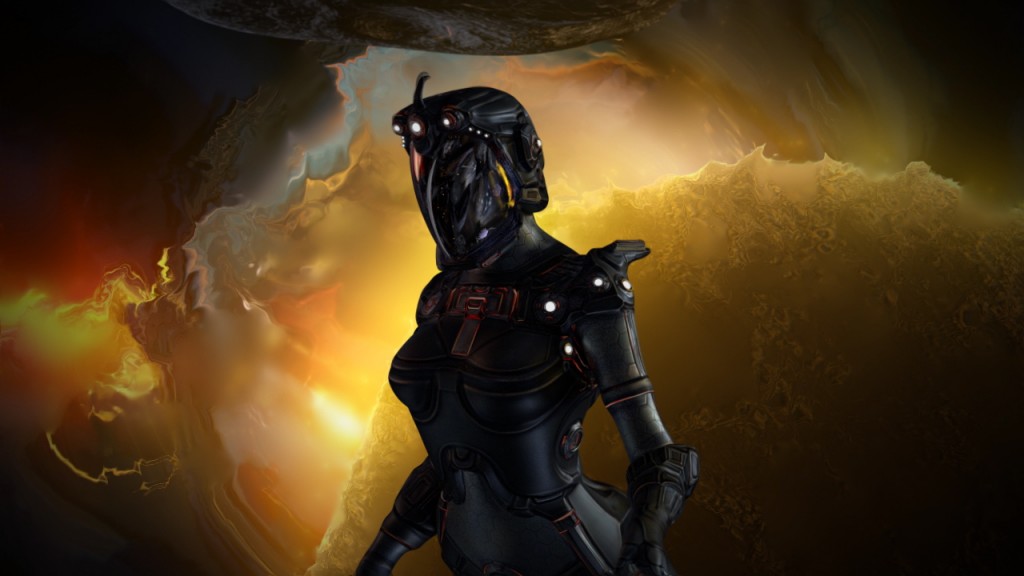 Even though the principle was to try and pre-render effects and have Cycles render them into the 3D scene, there was still the need for some some post-3d compositing finishing. So for finishing effects for the glowing stars in the background Video Copilot's optical flares plugin was used, and well as the Genarts Sapphire suite for certain combinations of glows and other filters that aren't currently available in Blender.
The animation was slightly tricky in that the body actions had to be co-ordinated with what was happening with what the Artist was singing.
The project could have used a dedicated animator, however it is a small indie label in Australia and there wasn't a budget to get an animator in. It's not an area I was that comfortable with (my strengths are layout, design, modelling and direction). So in the process of having to figure out and learn Blender's animation tools in a very short time frame I got a lot of working practice with Blender's curve (graph) editor and it is one of those features that once you start using it just becomes so useful in almost every aspect. The animation system in Blender, in particular the graph editor and how stable and reliable it is to work with, is a huge strength of the software. Even with hundreds of keyframes and objects in the scene, Blender handles large scenes and data incredibly smoothly and the animation was always a very stable process that never broke down or lagged.
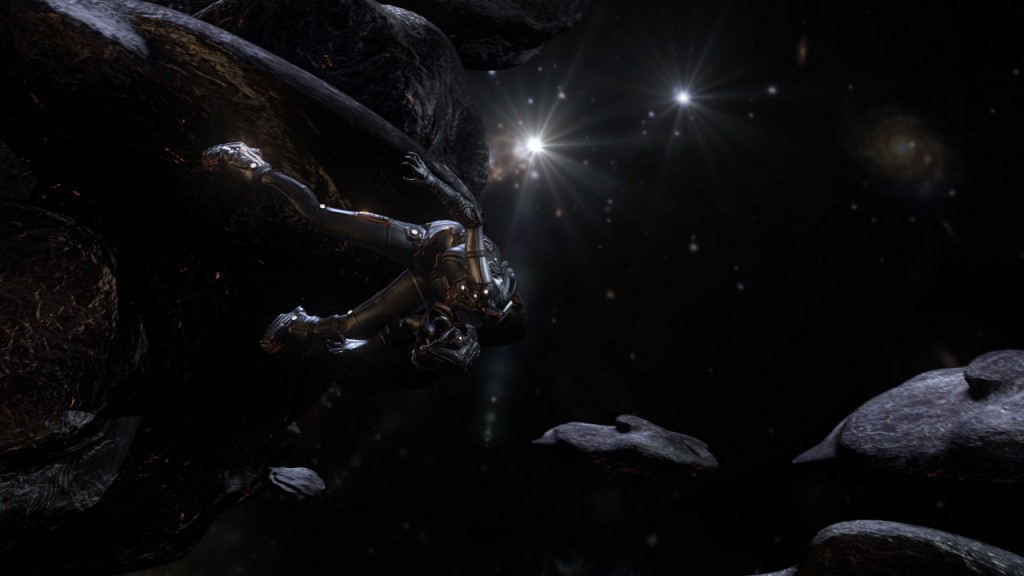 THE SPACE AND STARS BACKGROUND
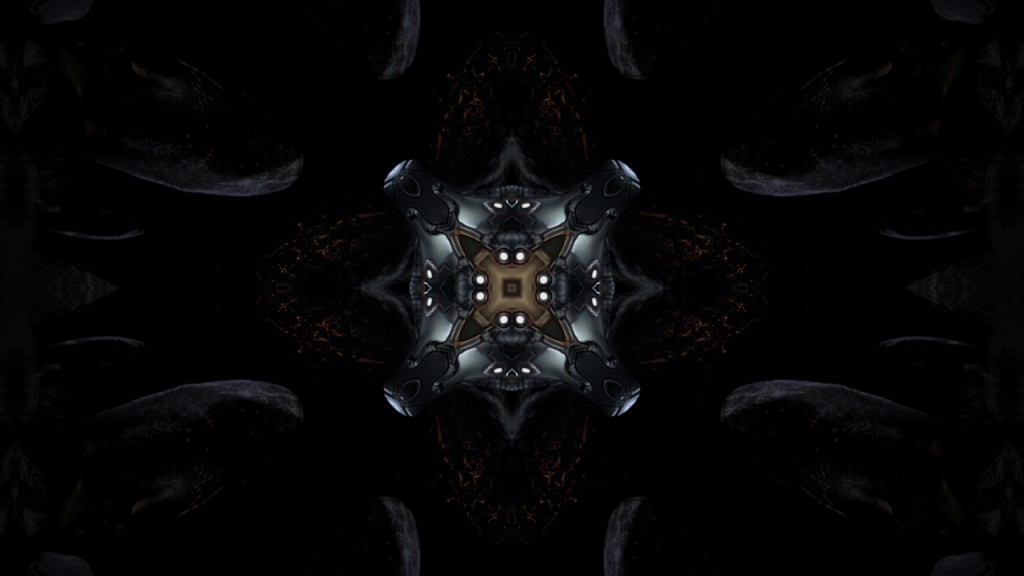
The world background was a cube that had uv/mapping applied and was then subdivided into a sphere and then painted from a combination of six or seven public domain Nasa images from Hubblesite.
By putting a sphere in as a world background it replaced the HDRI effectively and it's a much better way to do it this way because you get a sphere that is actual geometry. So it becomes much easier to do things like spin it, animate it, or lock it (parent it) to other objects to keep its behaviour respective to theirs. This world background sphere was painted with an 8k map for resolution which put a load on the Graphics card in every scene and all the other textures were at 4k (4096 x 4096) so the project did encounter the dreaded "Cuda Out of Memory" error a lot when we first started rendering.
Everything was done in Cycles after a lot of testing of resolutions, noise etc the magic number for the rendering was to render everything at 600 samples. Below 600 you'd still get a lot of noise in the black reflections in the glass even if you clamped noise etc, and at 600 samples everything just seemed to look right. Above 600 samples rendering became too slow. The video was rendered at 720P.
The video was rendered mainly on one I7 workstation with an Nvidia GTX 980 card. Rendering needs Vram so any cards under 4gb Vram weren't really able to render the scenes. Rendering was done on an i7 workstation with an Nvidia GTX 980 with 4gb Vram.
Rendering was a really hard process and took a lot of time and because of it a lot of things got dropped creatively because there just wasn't a way to get them rendered into the final output in time.
There were some nice fire and smoke effects created for different background asteroids but because of the rendering hit, especially with fire and smoke on CPU as opposed to GPU, none of it got into the render pipeline. Ironically a couple of days after the video was deemed "finished" Blender brought out Blender 2.77 with smoke and fire enabled for GPU. So on the next project we will definitely incorporate fire and smoke.
We commissioned Jacques Lucke to build a few animation nodes scenes for the video in order to create abstract space and asteroid animation (nine in total). Because of the rendering issues, and generally just running out of time, we also couldn't add his scenes to the rendering pipeline. The potential of animation nodes is amazing. There is an alternative club version of the song being released a little down the track and the label have undertaken to find the resources to do an alternative animation nodes centric version of the video which would use all of Jacques' scenes and would be much more procedural than its current linear incarnation. We are hoping that can happen because it is what was originally intended for the video and Jacques work is really great.
The artist, Jesso, is a female indie EDM singer called Jesso from Queensland Australia. She works out of her own label and has previously had songs picked up by Armada Music. You can read more about her on her Facebook.
You can also check out a previous video for her:
POSITIVE THINGS LEARNT FROM USING BLENDER IN PRODUCTION
- Blender never crashes. Blender almost never crashed throughout the whole project. To make software so robust and stable is a massive credit to Blender developers.
- Cycles is definitely a production class renderer. It is a phenomenal renderer.
- Blender is a joy to work with because it handles large datasets with ease. There was a ton of stuff (geometry, materials etc.) in these scenes and Blender handled it very smoothly with almost no lag times even on scenes with lots of animation.
 We really appreciate and would like thank the team behind Blender developing such amazing software.
 If anyone is interested in any tutorials about the processes used in this production please let us know in the comments here or on the youtube film's comment section.
Angus Giorgi
http://www.angusgiorgi.org


3 Comments
Amazing Project,
Thanks for the so detailed explanations.
Thank you Pierrick! I love your design and character work and when I was trying to figure out how to do certain things in Blender your exporting Z passes and Go B tutorials were incredibly helpful to me at one point when I was stuck on pipeline issues. So it is very nice to have a comment from you! I really appreciate the hard work you put into all your excellent tutorials as well.
Waw! thanks for your kind words Angus.
REally appreciated and I'm very happy my work helped you :)