Behind the Scenes: Salvation at Sea
INTRODUCTION
Hello, fellow artists and 3D enthusiasts. My name is Lawson, and I am an artist currently residing in Canada.
My passion as an artist is something that has accompanied me from childhood up. From a very young age, I was intrigued by recreating the things we see in our world in two dimensional drawings. For a long time, I had dreamt of being a 3D artist, yet I thought it was unobtainable or out of my reach. While I hadn’t done much research about it myself, I knew that the majority of 3D software was costly and not affordable for me as a kid. However, when I was thirteen, I discovered Blender. I was immediately obsessed with the software and spent hours day after day watching tutorials and working on my first three dimensional projects.
It has been five years now and I am still in love with the software and have not stopped learning! My goal is to eventually make a career out of this wonderful hobby.
INSPIRATION
The inspiration behind this project is related to my other hobby as a writer. This piece was intended as a book cover for a novel I recently completed. I may or may not use it, but that was what gave me the original motivation for the project.
PROCESS
Before I jump into the 3D aspect of the process, I have always found it beneficial to first draw it out in a simple sketch. Planning the shot angles and scene setup can be done in the 3D viewport, but so much time can be saved by simply sketching it out first.
Sketch
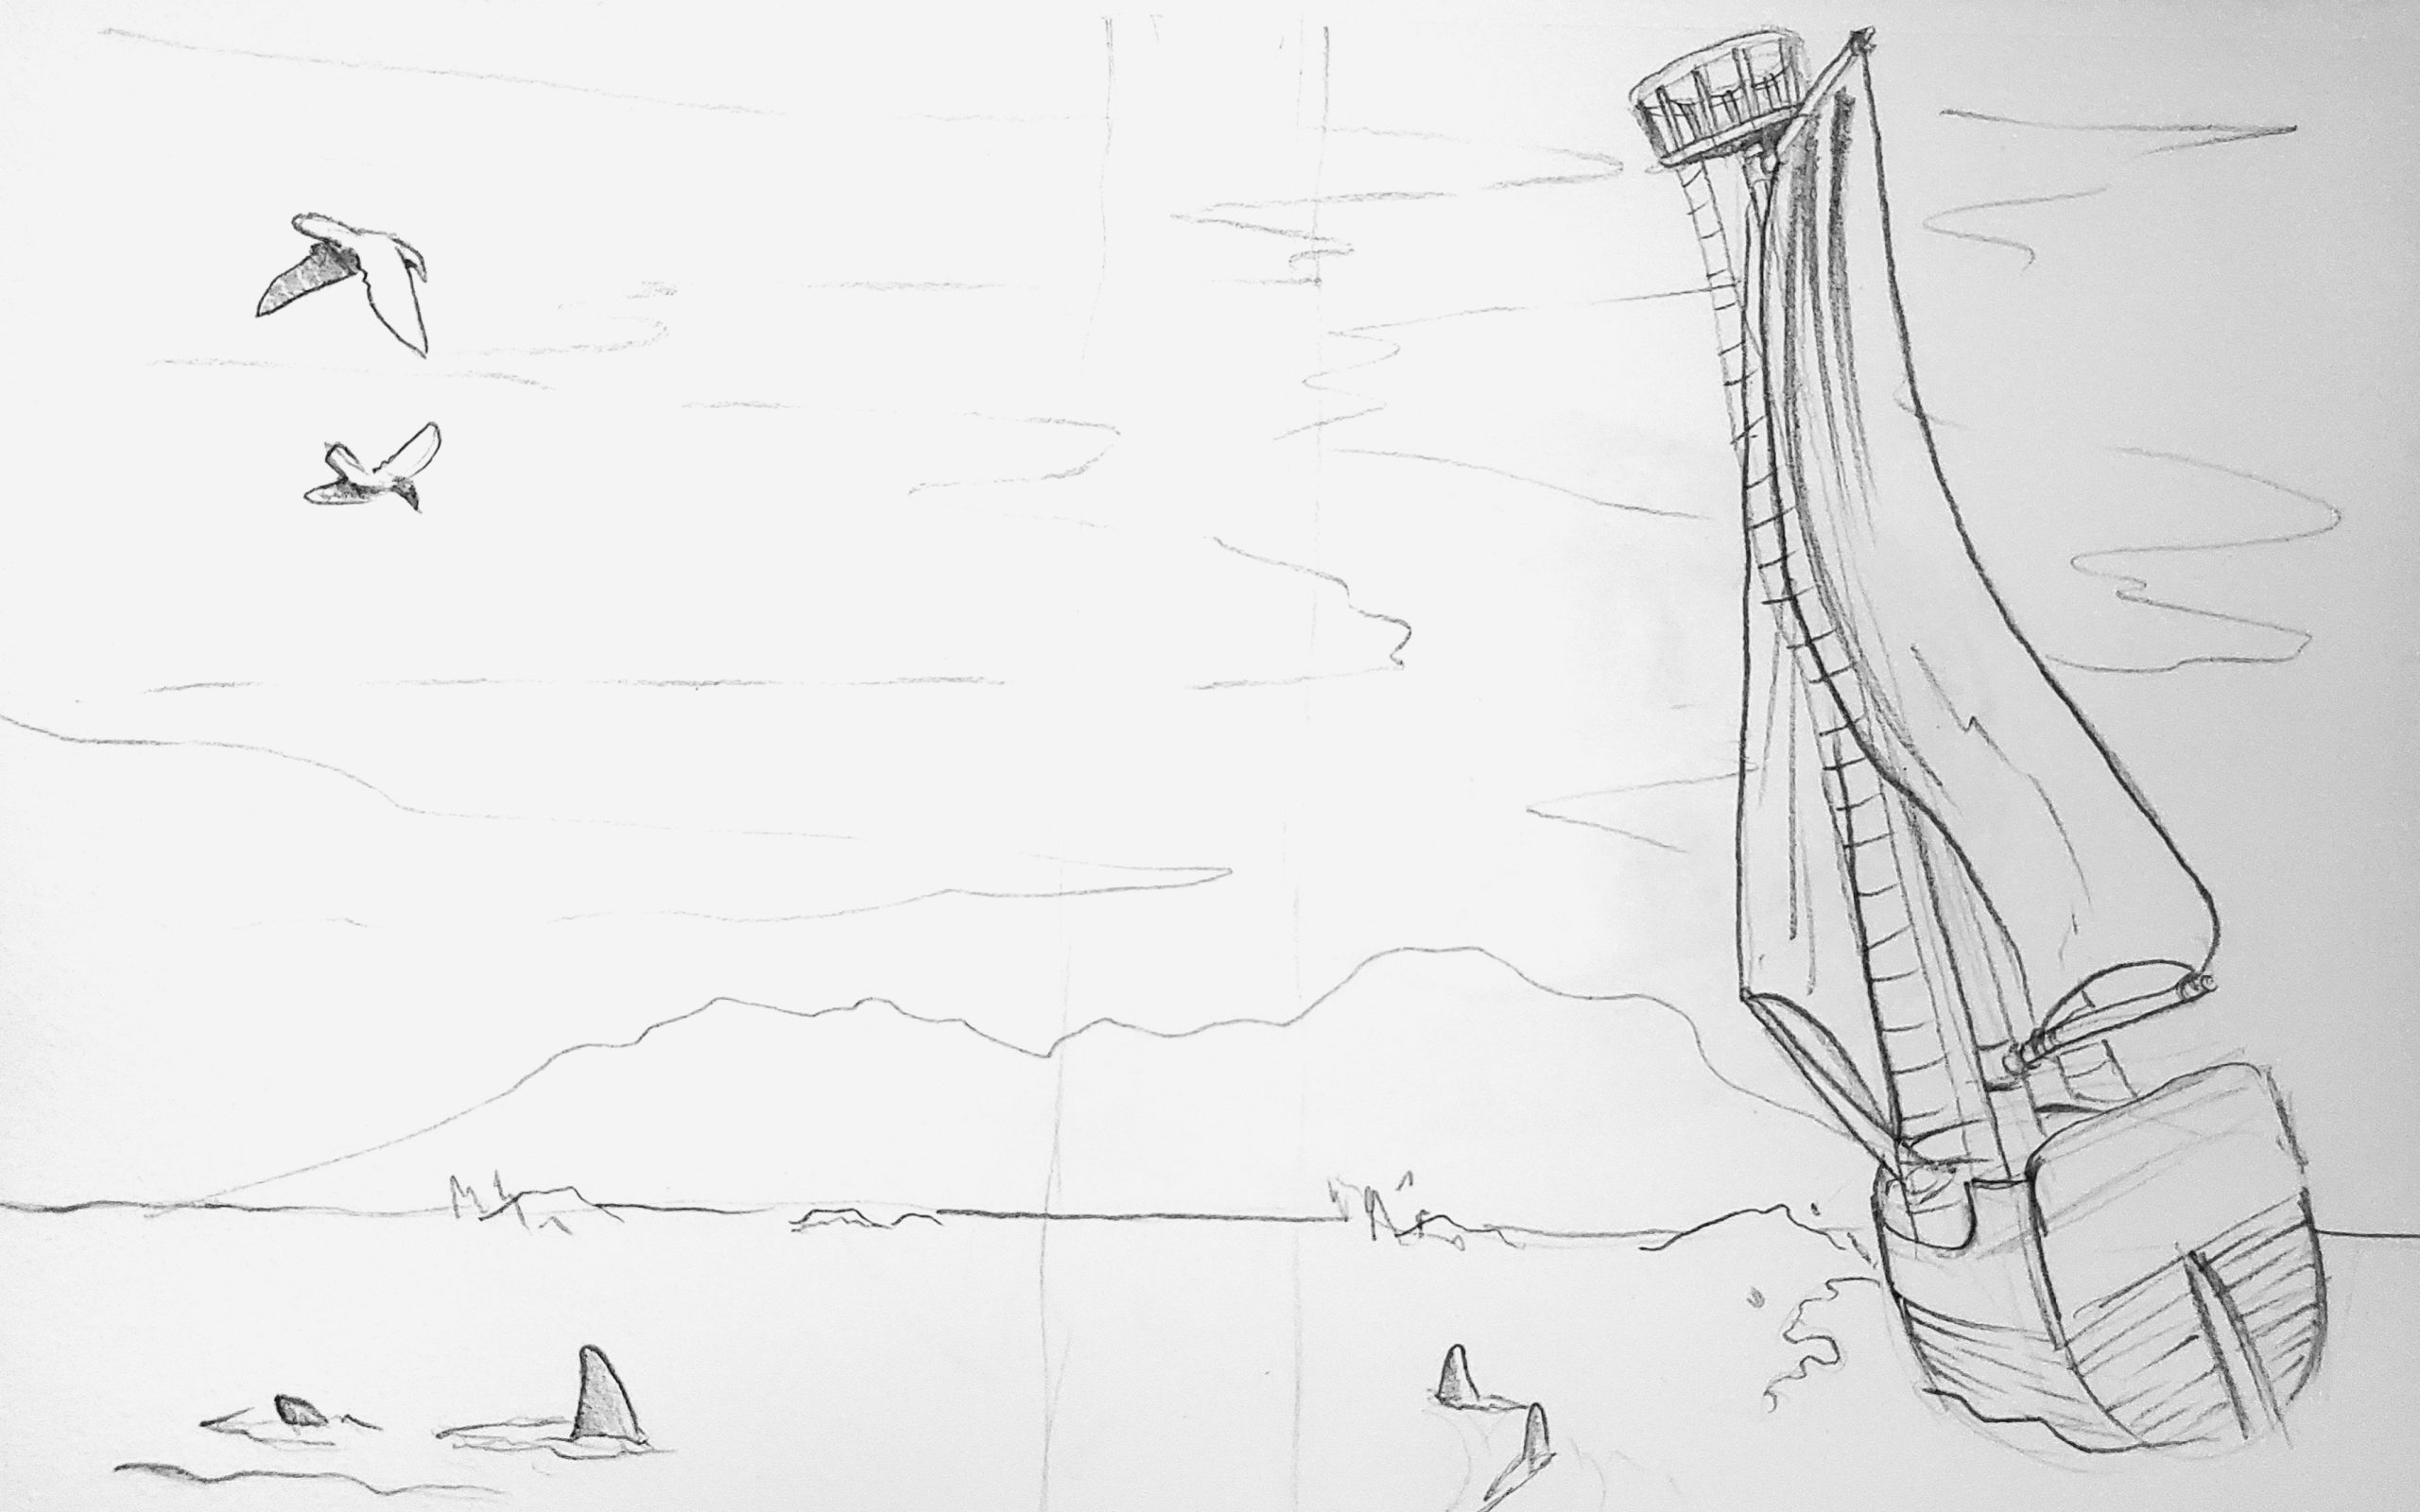
For this, I wanted to keep the sketch simple, especially since it is only for aiding the planning process. During this stage, there are often details that would have otherwise been overlooked or not thought out.
This is the sketch I drew for the project. It’s nothing fancy but simply served as a reference and gave me a good starting point.
Modeling
I began my journey with what I knew would be the hardest part in the scene—the ship.
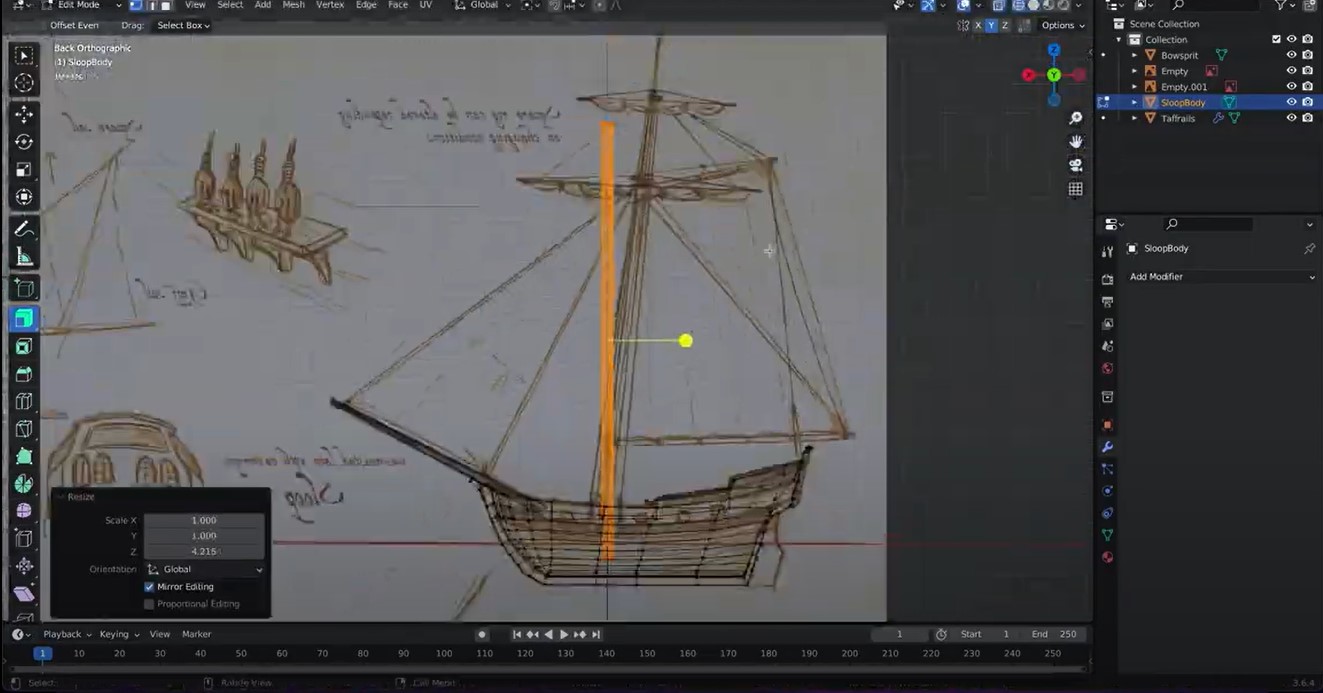
I had chosen the Sloop to be the star of the shot and before I even sketched the reference, I first found a diagram with simple sails. Diagrams are very handy and crucial in a lot of cases. Normally, if I cannot find a diagram for what I’m looking to make, I will draw one myself based on the reference images.
When modeling, I like to first roughly model the bulk of the object, and then work on the smaller details. So, I first created the hull of the ship and the mast.
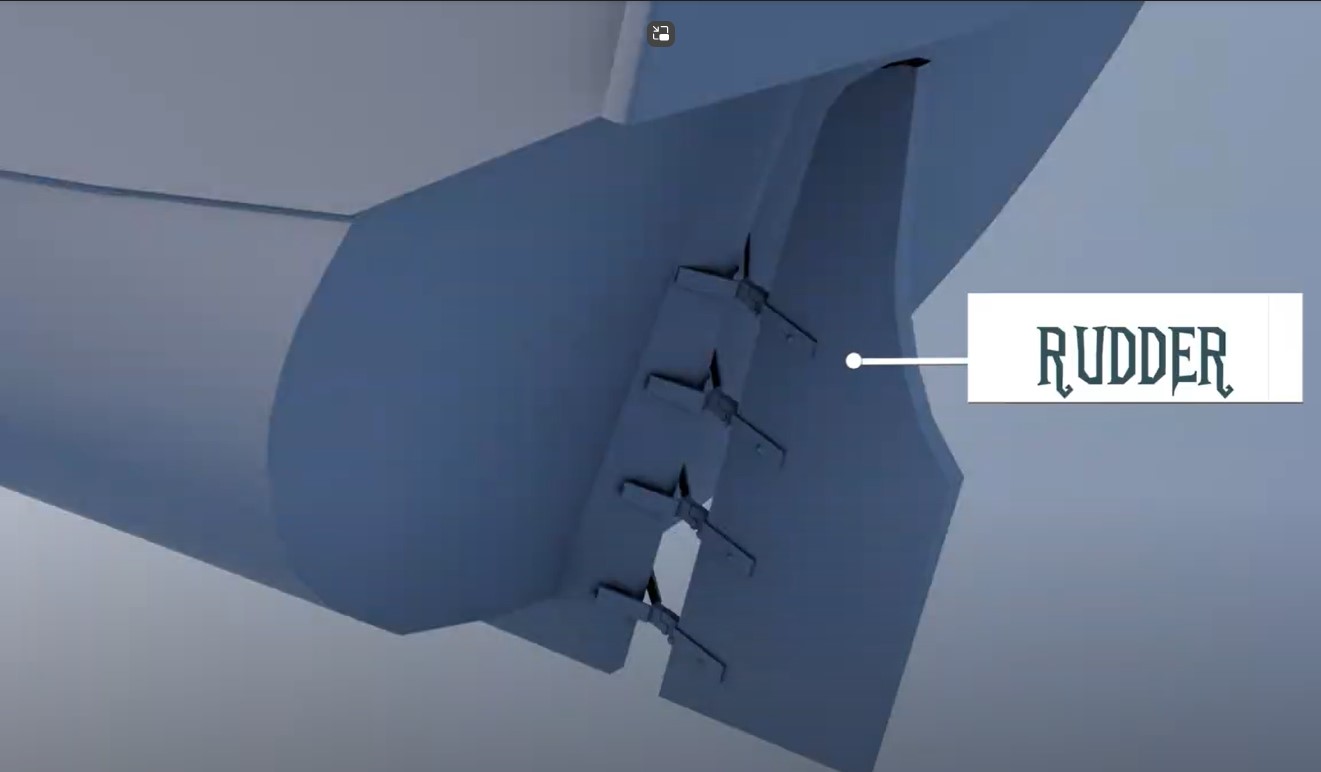
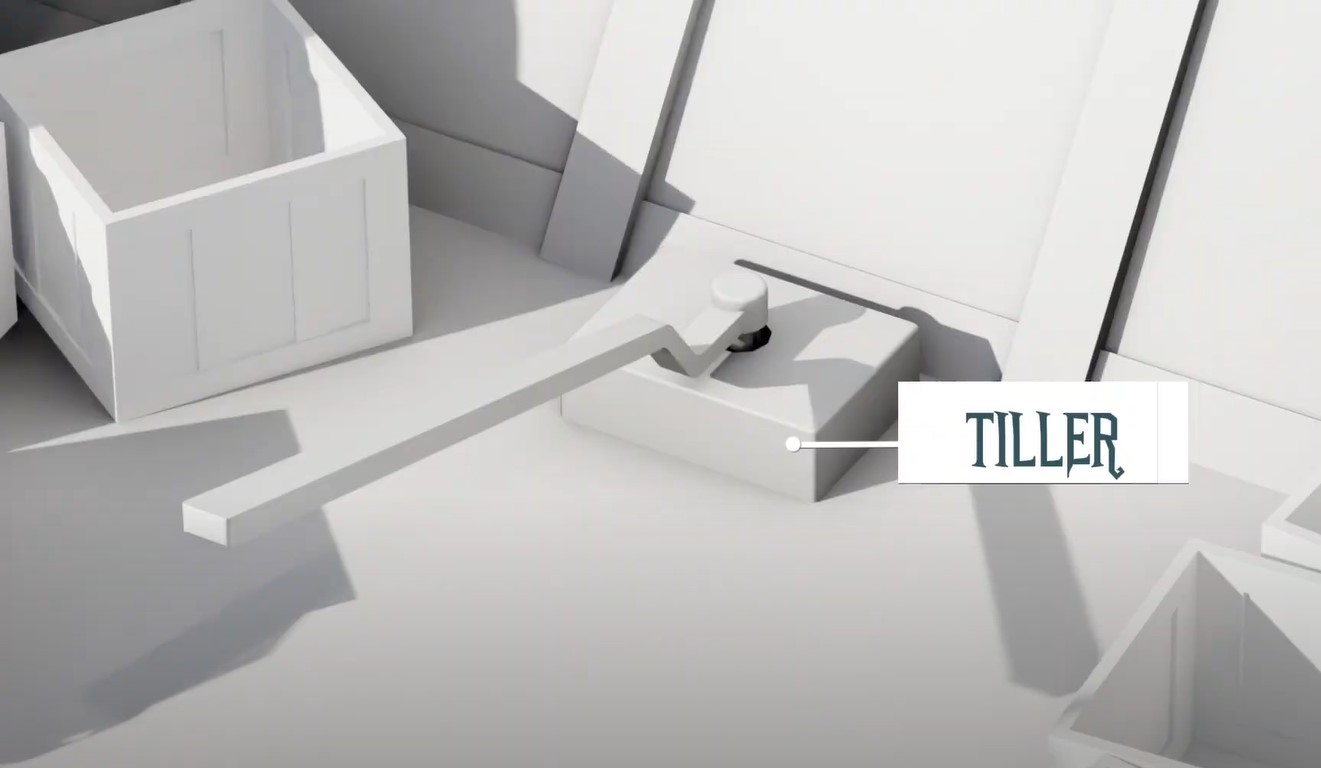
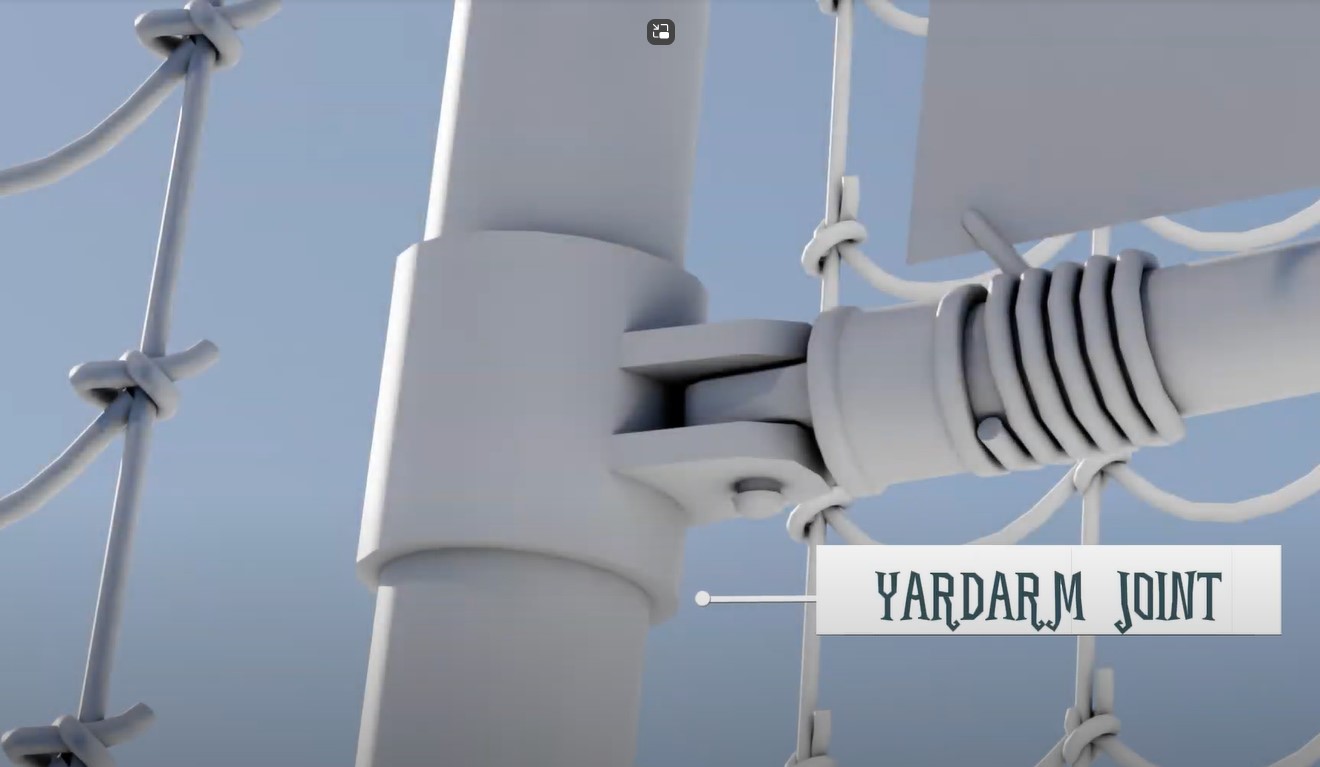
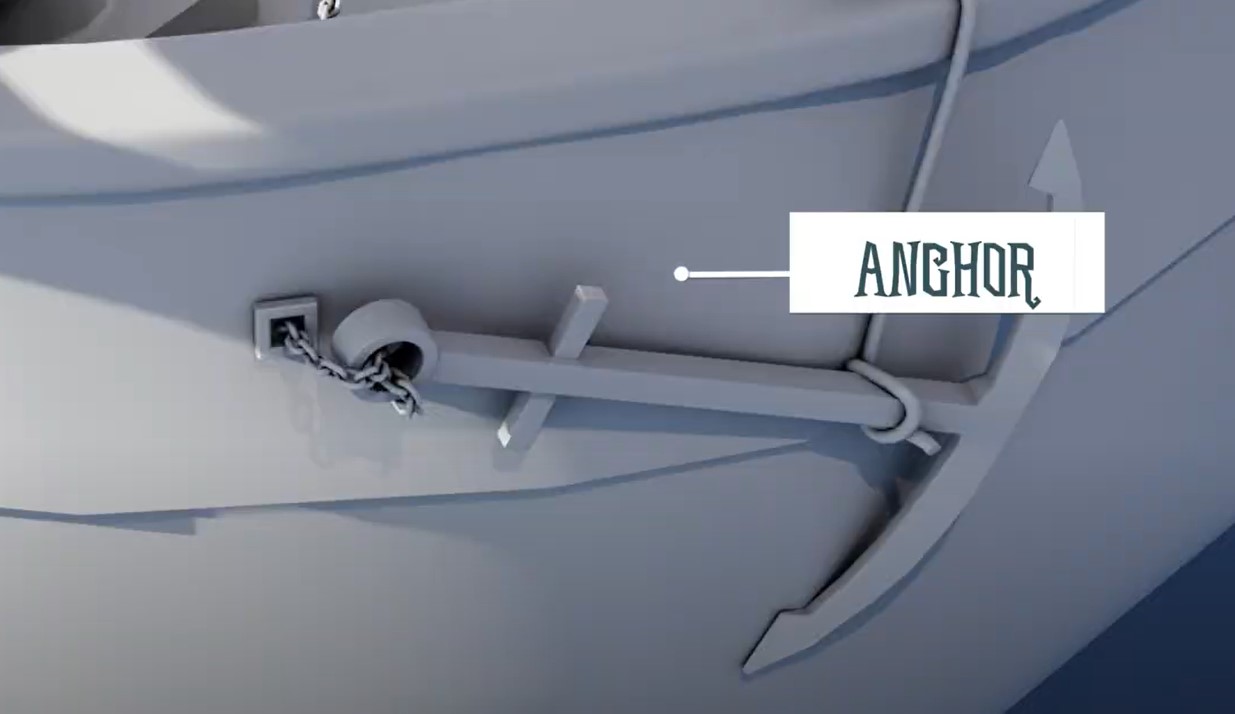
Then I was able to work on the details such as the rudder, tiller, anchor, rigging, etc.
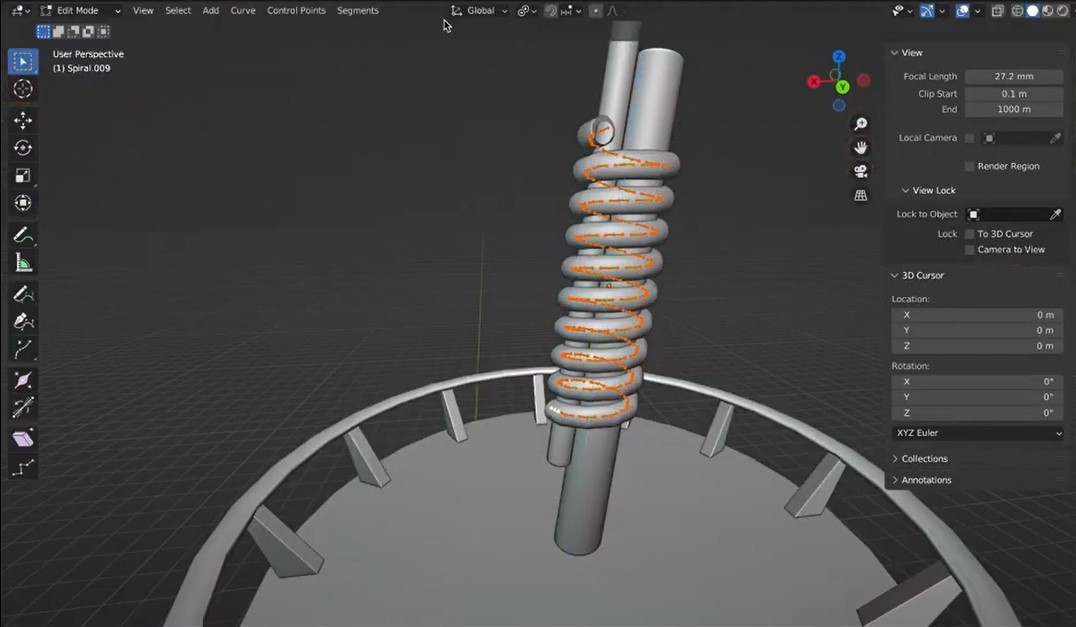
The chains on the capstan were done by creating two chain links, adding the array modifier and using the curve modifier to make it follow the curve.

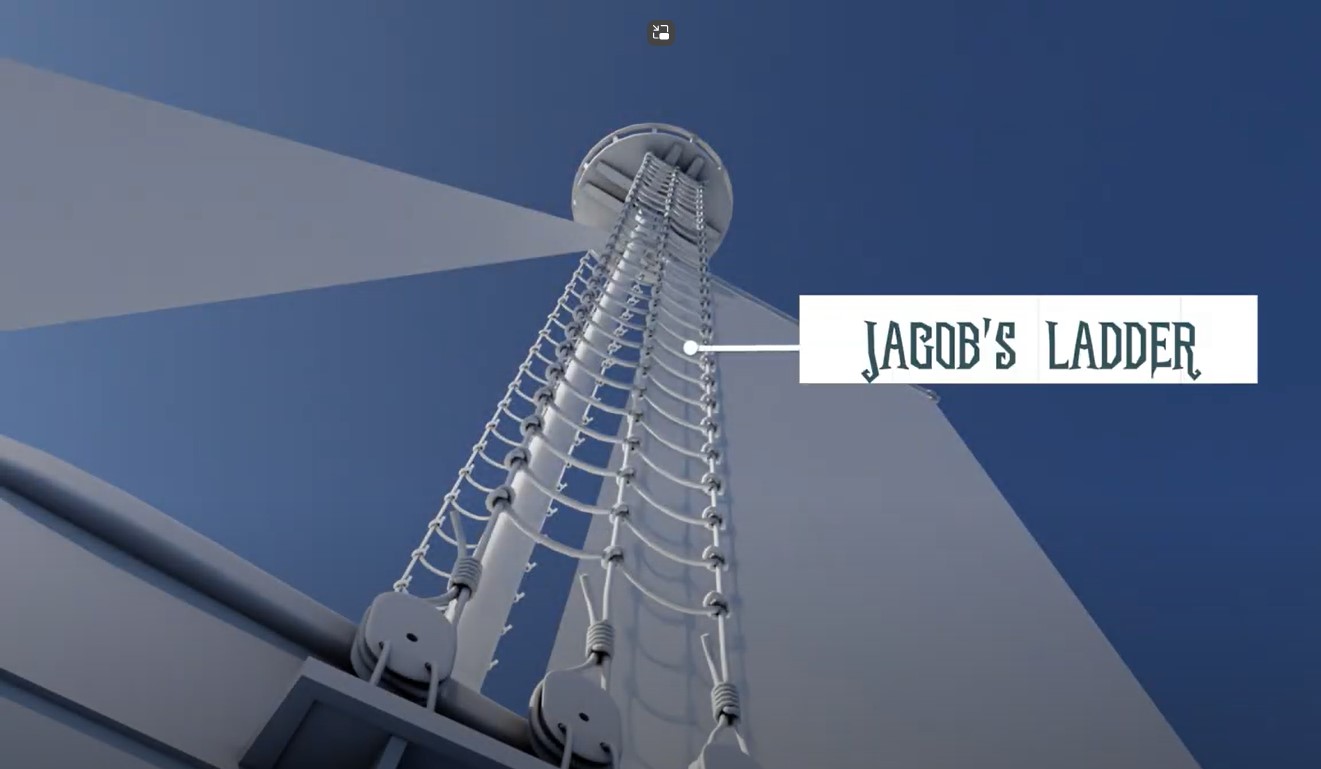
The Jacob’s Ladder was rather fun to build. I first created three vertical ropes out of bezier curves. Then I made the horizontal ropes and knots to mirror all the way up the vertical ones. But I wanted the ladder to shrink as it rose so I simply used a lattice to adjust it as I wanted.
I used curves quite a lot for the ship rigging so the Add Curve: Extra Objects add-on (included with Blender) came in handy often, especially when I needed spiral curves for the ropes as seen in the image below.
UV Unwrapping & Materials
Once I had completed the modeling process, I dove into UV unwrapping. This is the part of the process I very much despise and try to do as little of as possible, but I knew I had to do a lot of UV mapping on the Sloop so I just tried not to think about it.
I began to add materials to the ship piece by piece. For this, I used the Blender Kit add-on quite a lot. Some of the materials, however, needed some changes, e.g. for the hull, I wanted some green coloration below the water line.
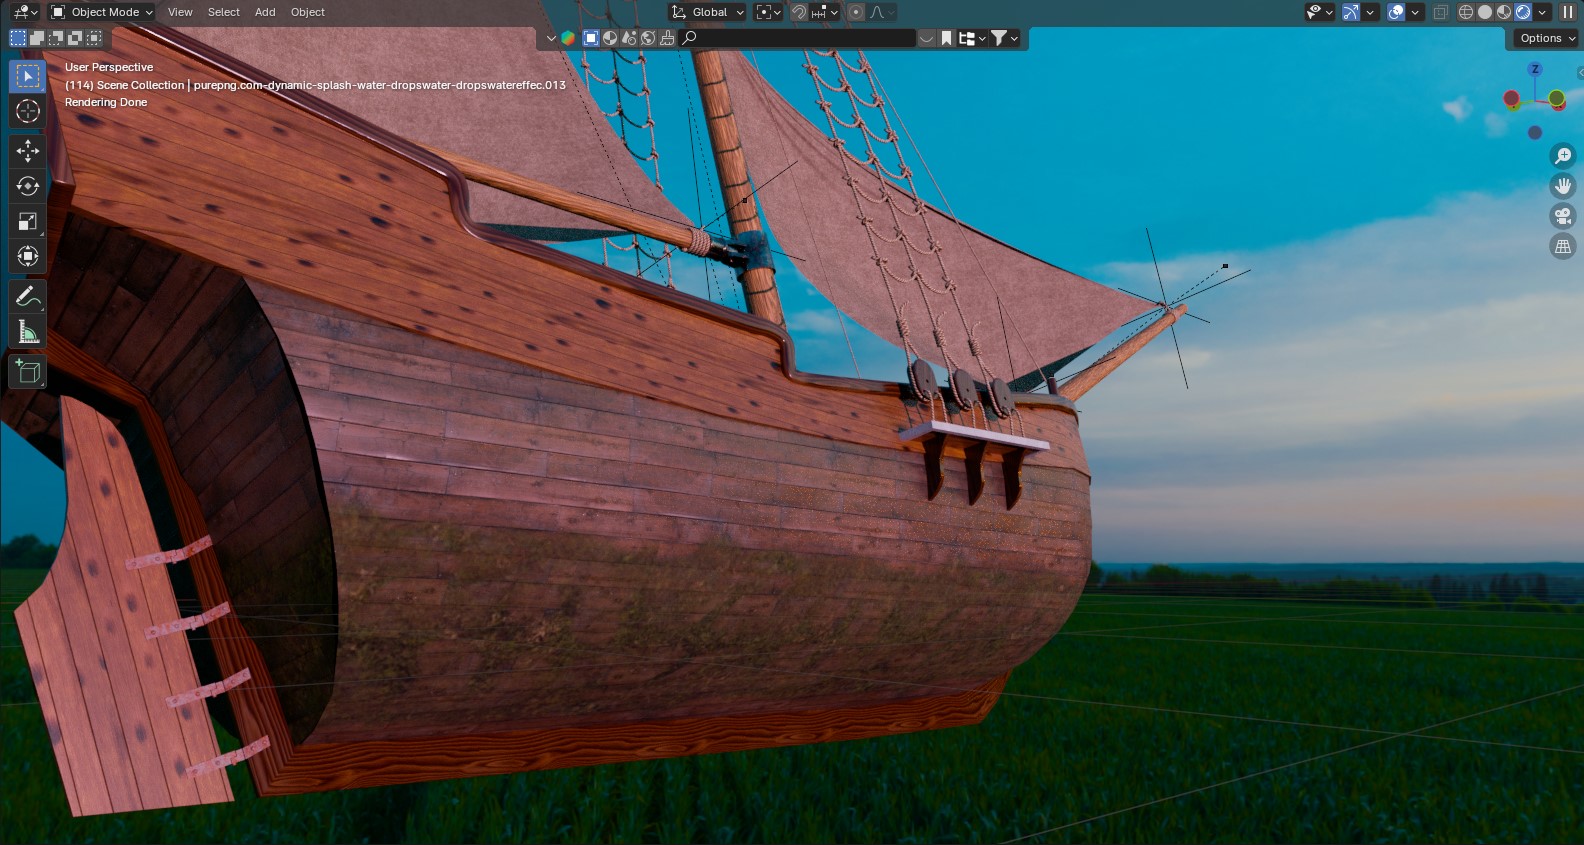
For that, I simply spliced the two materials together with a mix shader node and created an image texture to paint the moss on.
Environment
The ocean was done by adding the ocean modifier to a plane. I made a data layer for the sea foam that I then mixed with an ocean material from Blender Kit.

I made the island using the ANT Landscape add-on. After finding the desired landscape, I scattered the palm trees with a particle system controlled by a weight group. I used some rock pile models from Blender Kit to scatter around the island and throughout the ocean.
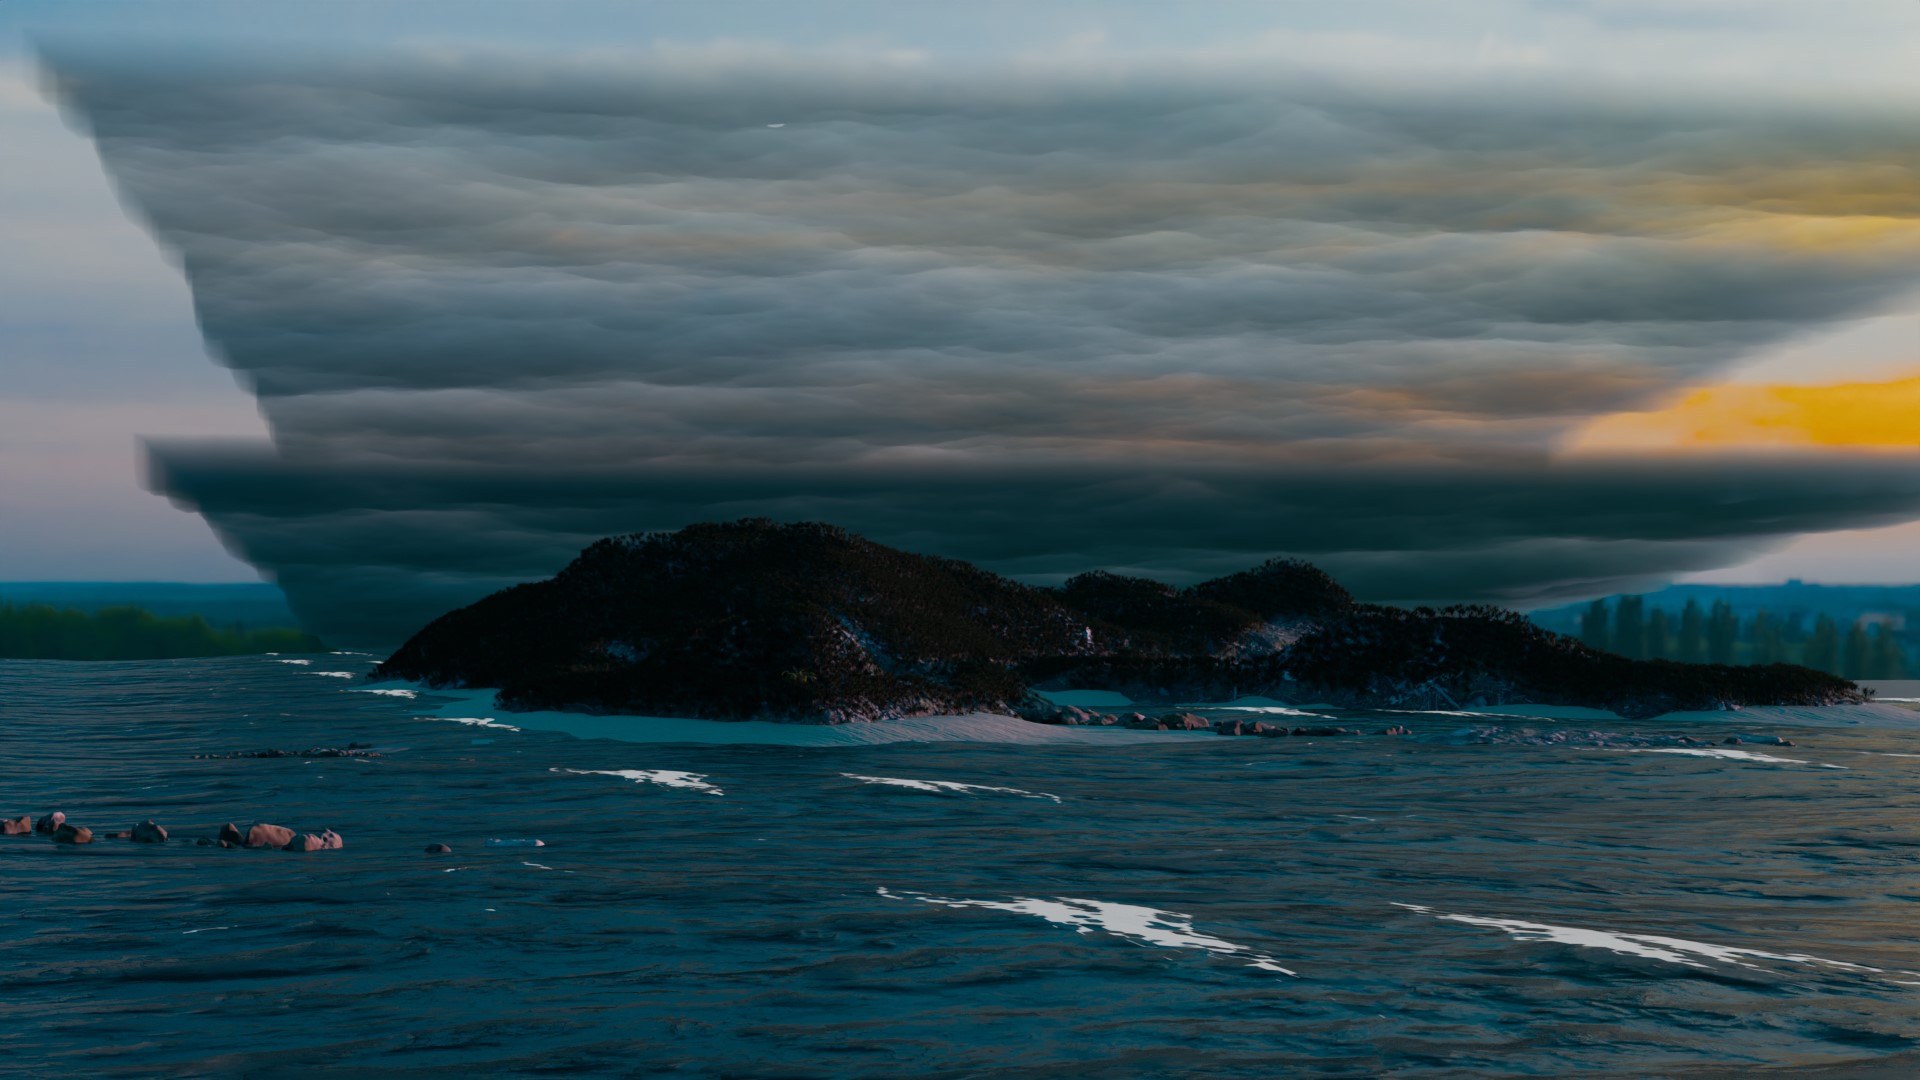
The clouds were made using the ocean modifier. I then assigned a principled volume material to them and added some area lights above for better effect.
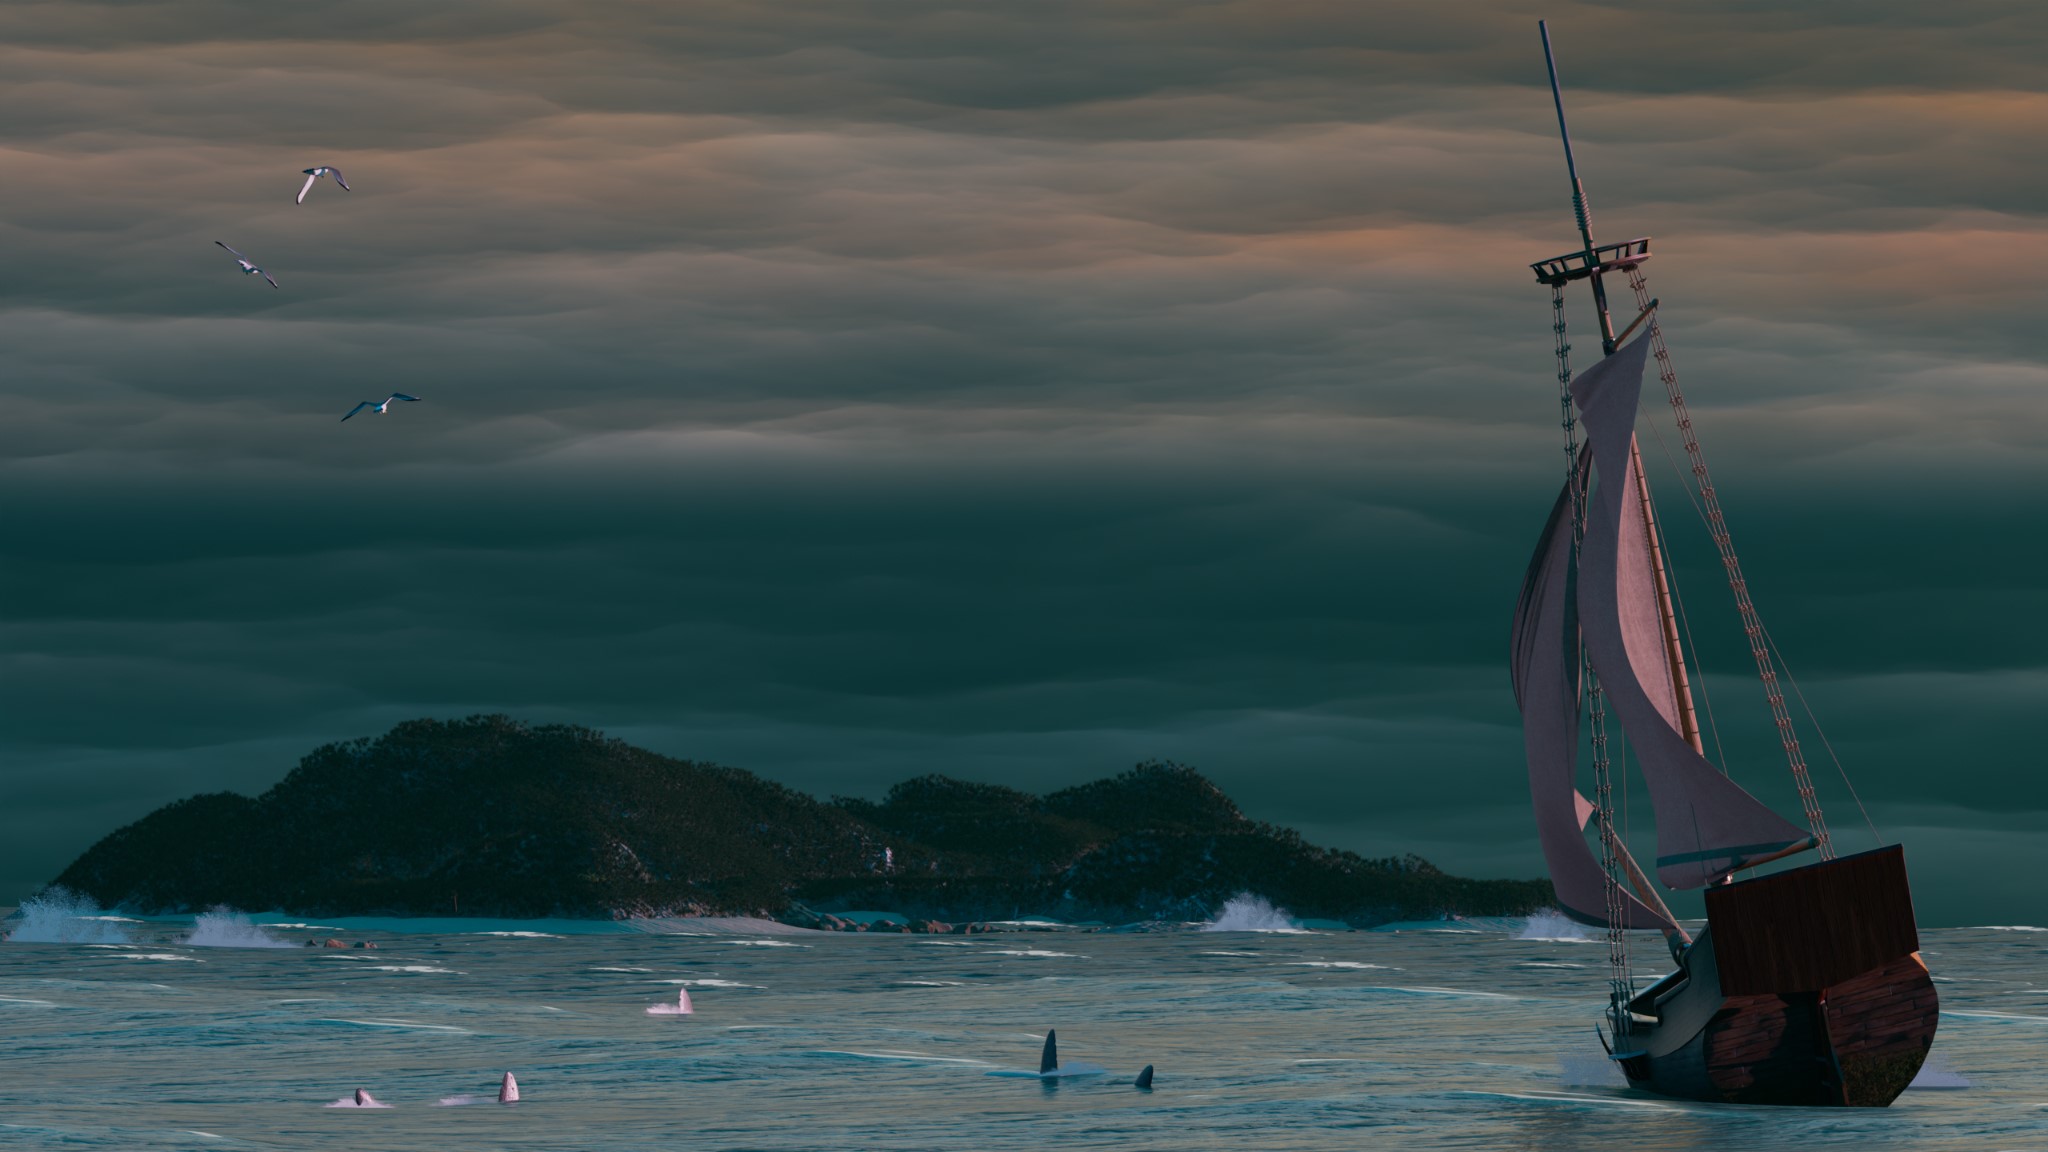
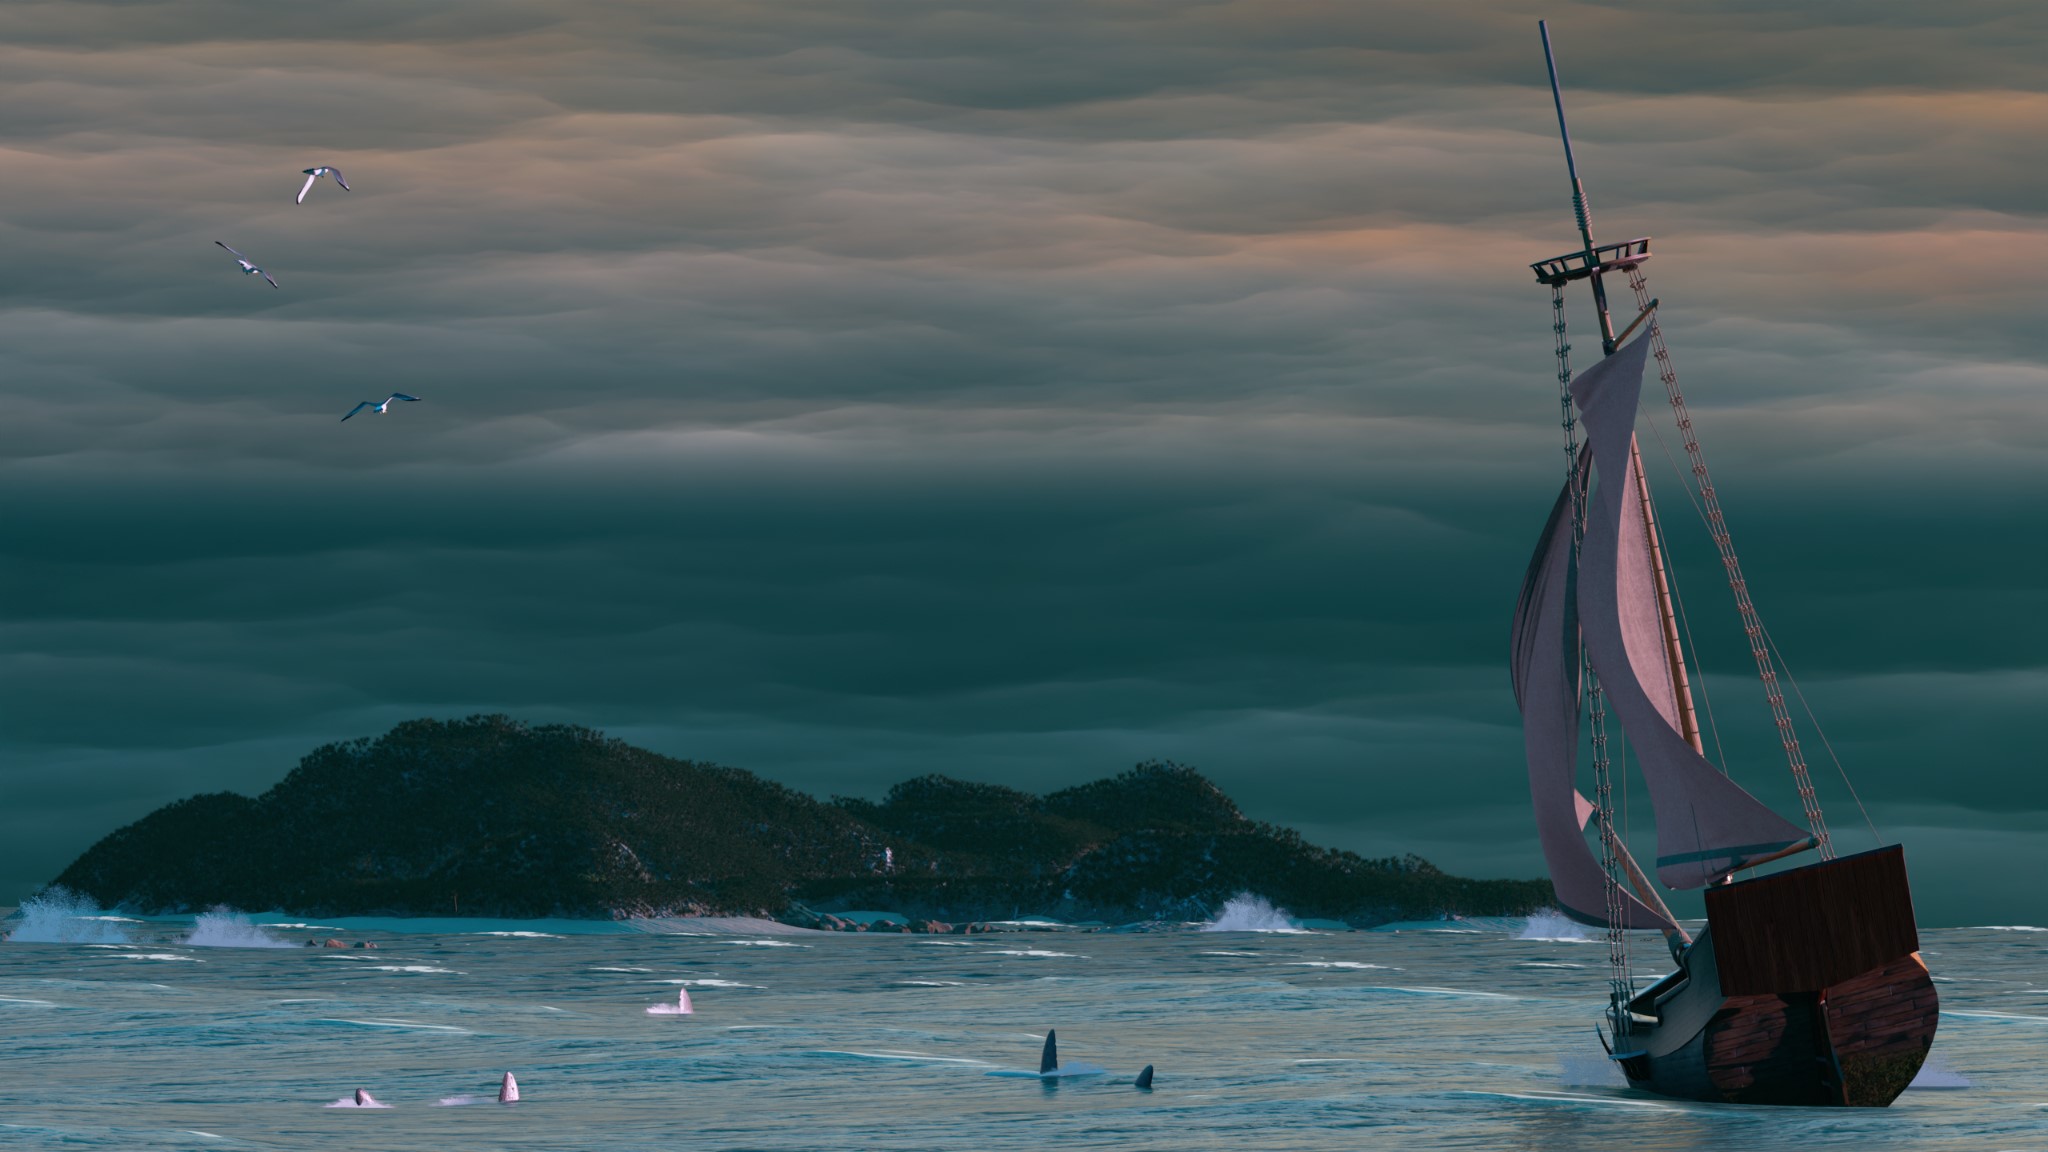
RENDER: Salvation at Sea
Thank you for reading! Feel free to check out and connect with me on my social media.
About the Artist
Lawson is a self-taught 3D creator from British Columbia, Canada. While the majority of his works are personal projects, he hopes to make a career out of his hobby some day.


Very painterly. Thank you for sharing your process.