Behind the Scenes: Attack on Titan remastered
Makhmutov Eldar single-handedly recreated a scene from ‘Attack on Titan‘, an anime series that aired from 2013-2023.
Greetings, everyone! I am Makhmutov Eldar, mostly known as Sintelaris, and I want to share with you my 15-month story of how I remastered 2 minutes of Attack on Titan. This was a hard path that took me a lot of perseverance and effort to complete – according to my approximation, I spent about 2500 hours to make it possible and 1500 hours of rendering. Hopefully, I will be able to deliver you the vibe I had during all that time
Before you start reading the story, feel free to check the end result:
I cannot say exactly when, where, and how I got the idea of remastering exactly this scene – when Armored Titan breaks the Wall, the only thing I remember is that I realized that this scene is perfect for my level to complete it – just 7 characters, most of the scenes in it feature either Armored titan or all others, number of simulations is moderately low. Honestly speaking, my standards were pretty low back then – I was supposed to make a balance between IT study at Astana IT University and 3D since my plans were to graduate as a complete fusion of a Computer Science student and a 3D artist. The funny thing is that destiny had other plans for me, but “I guess you can’t predict everything”.
My starting point was the “Human” course from Kent Trammel I preordered back in 2021, and that was the first course I have ever bought. As they say “You don’t need to ask me twice”, since I was completely sure that this is what I need. Unfortunately, considering the pretty active nature of my character, I was too busy diving into IT, OpenGL, and C++ with Java at Astana IT University, so my learning of 3D and “Human” was significantly postponed – down to late June of 2022.
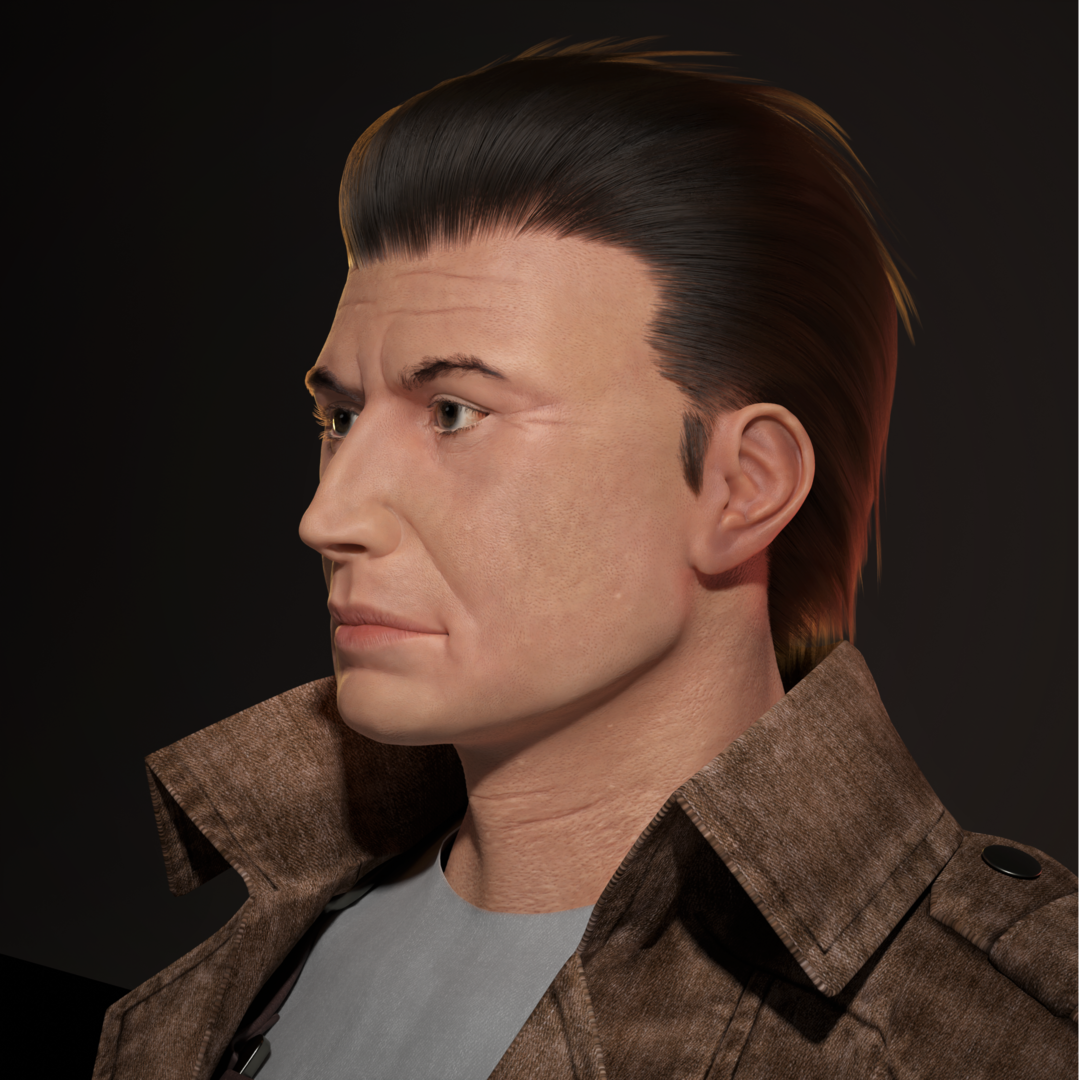
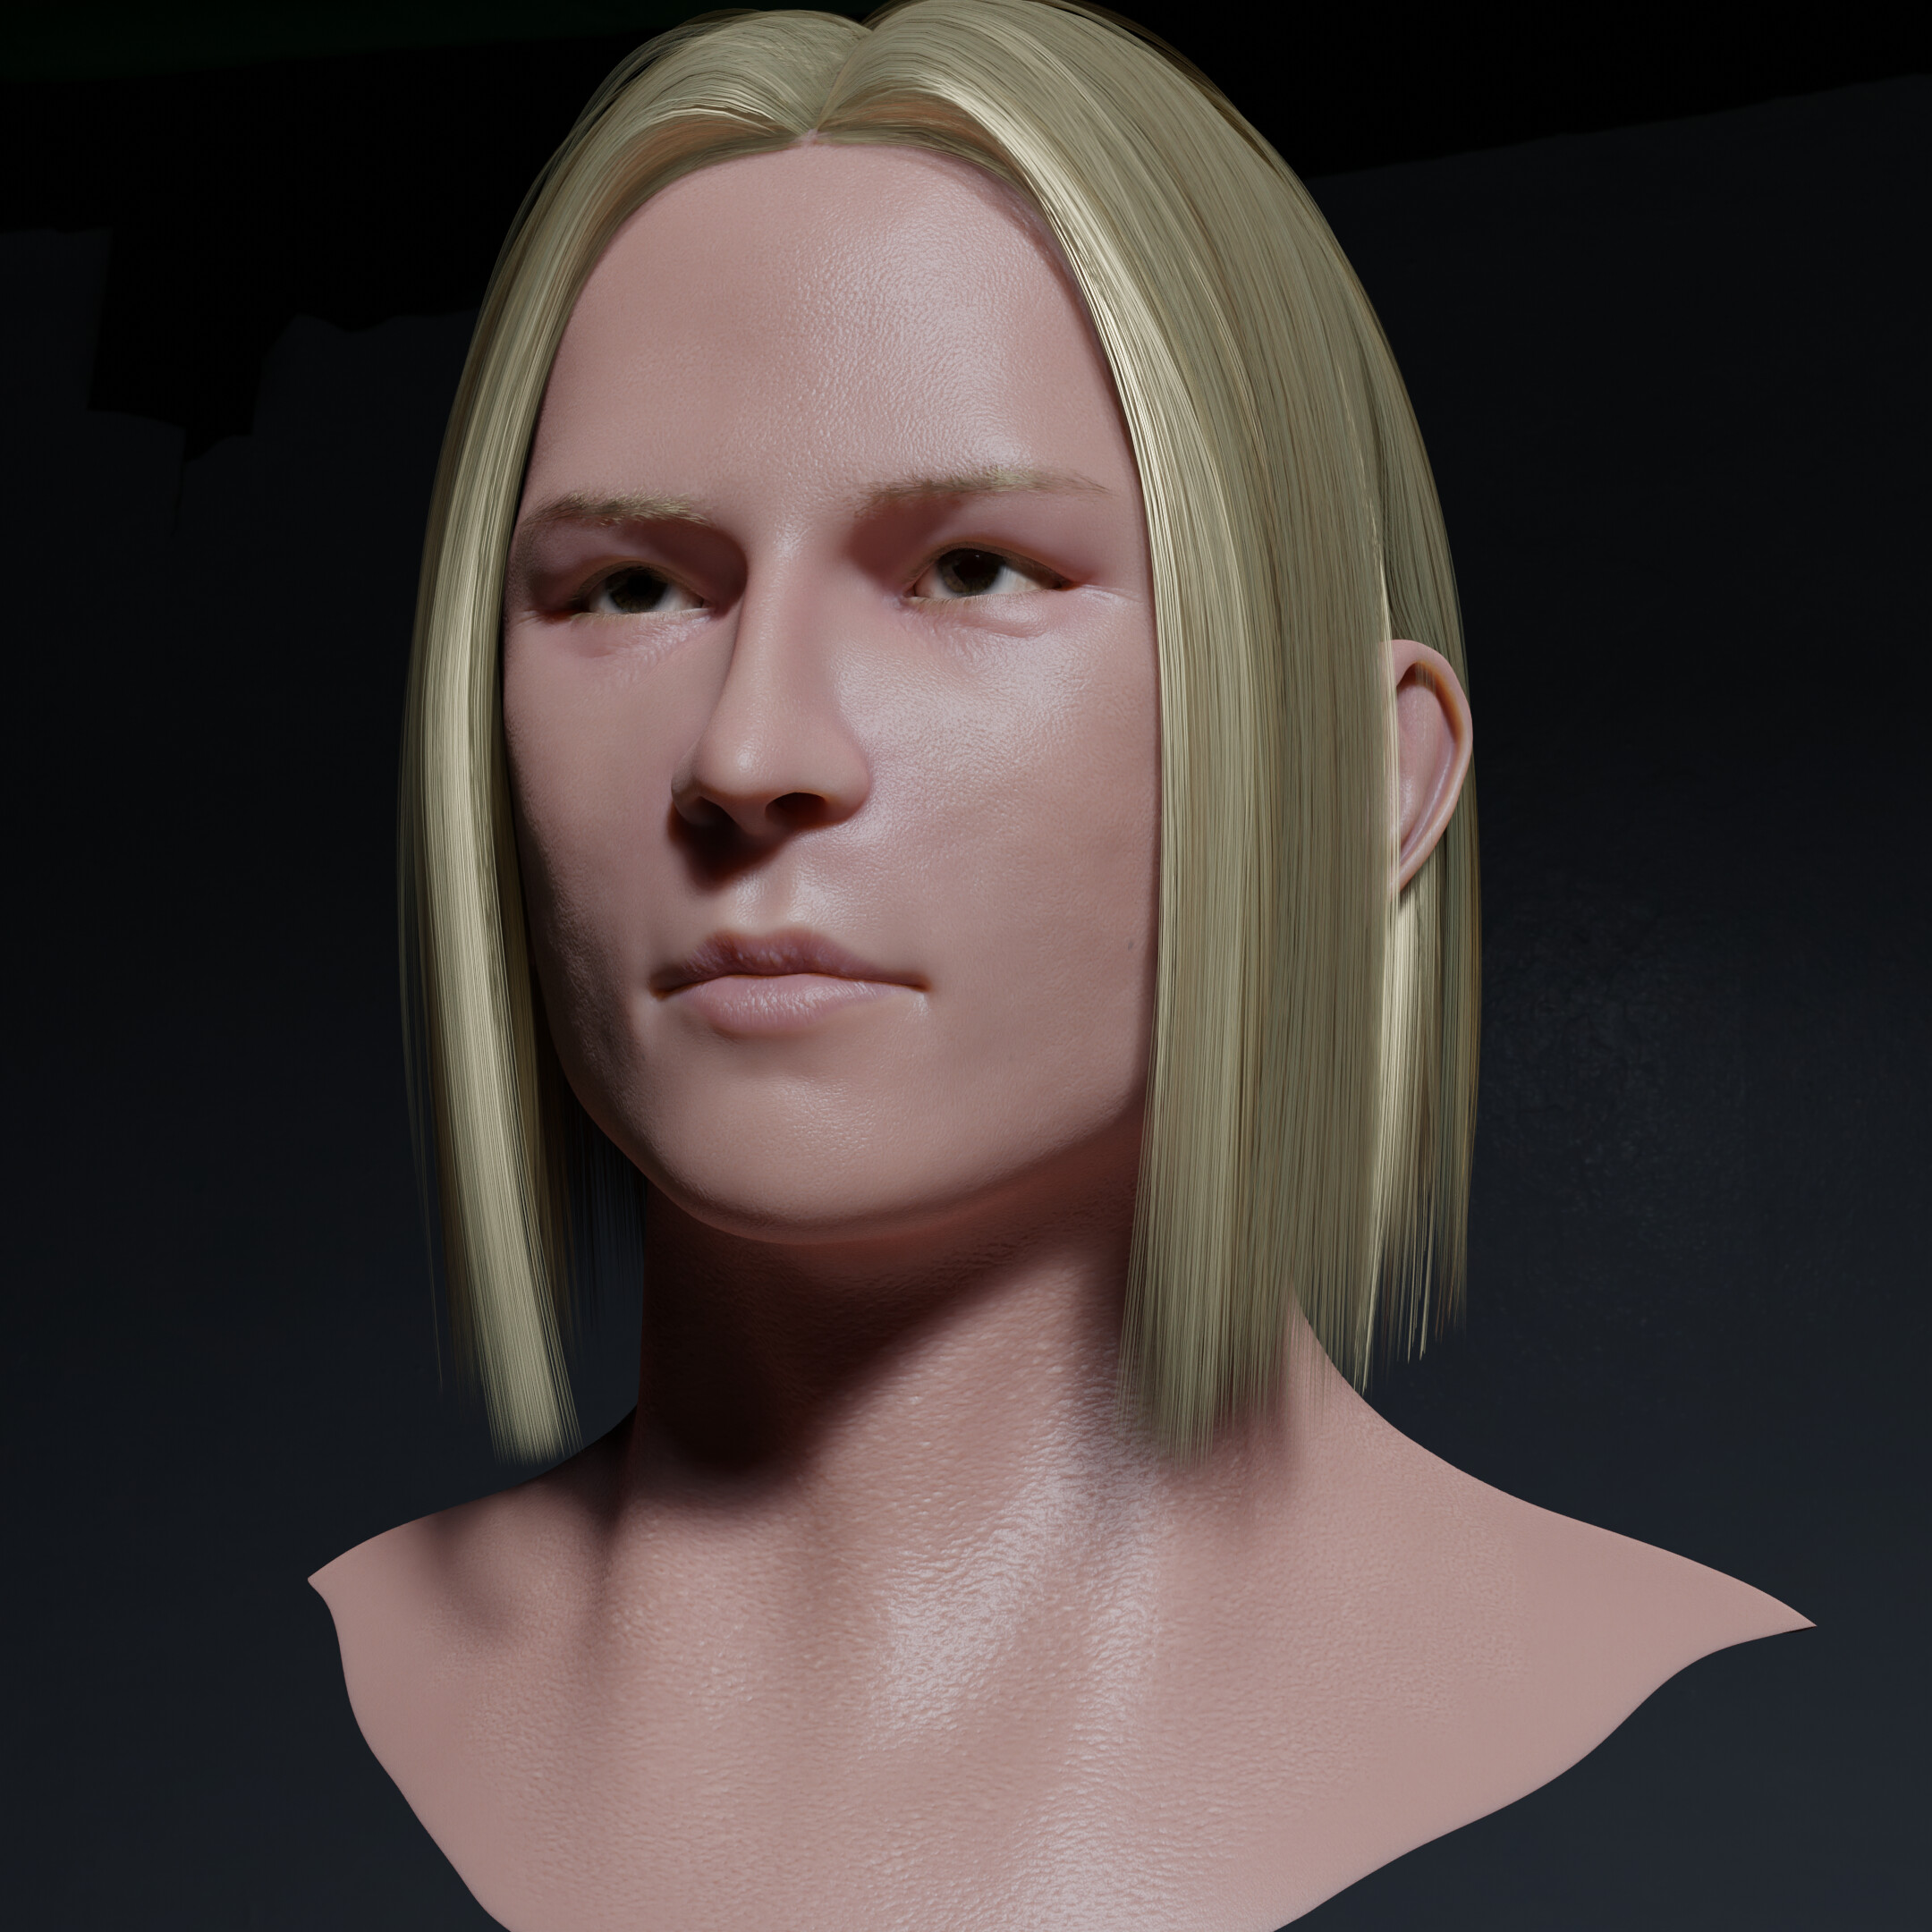
But that’s where all the things started to change, since two months later, due to sheer will and hard work I completed this course with significant (especially by that time) results for me. That’s how my “Character 1” looked when finished (that was not the final version):
Unfortunately, as soon as my study at AITU continued, things started to slow down again. Within 1.5 months I decided to leave the university since it was obvious that I could not possibly handle such a big and ambitious project alongside IT study, and lowering the quality was not an option.
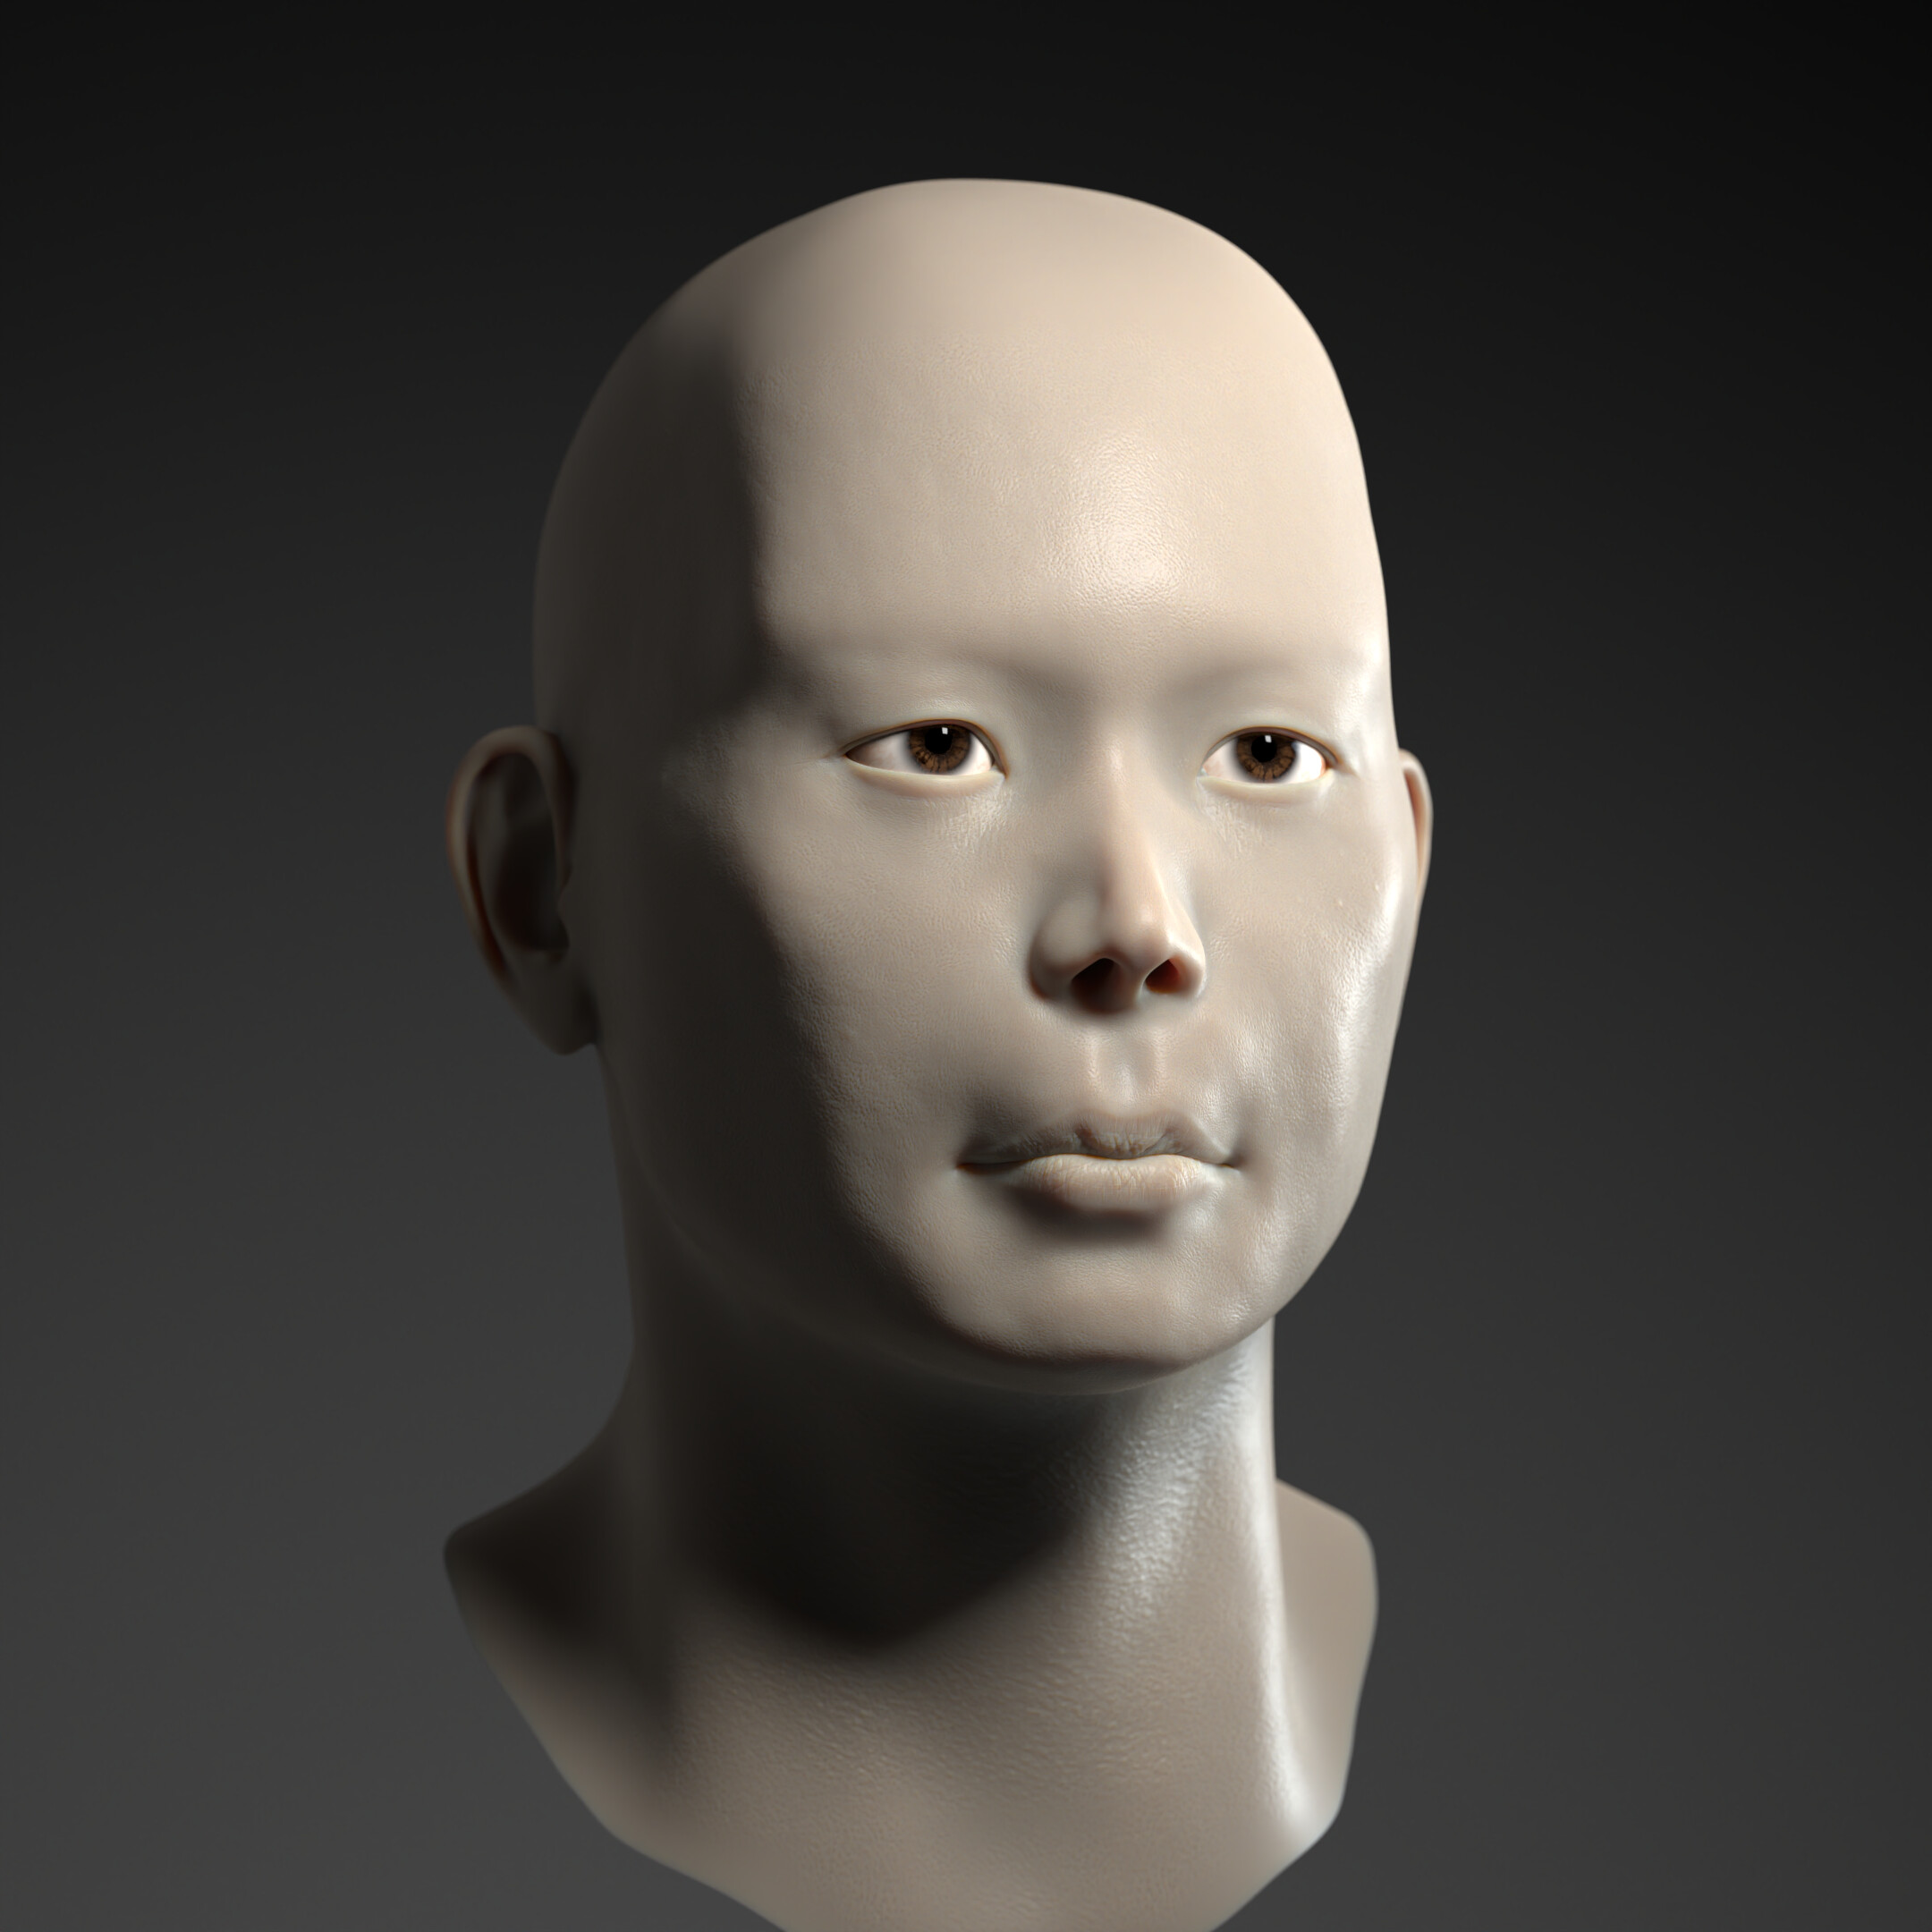
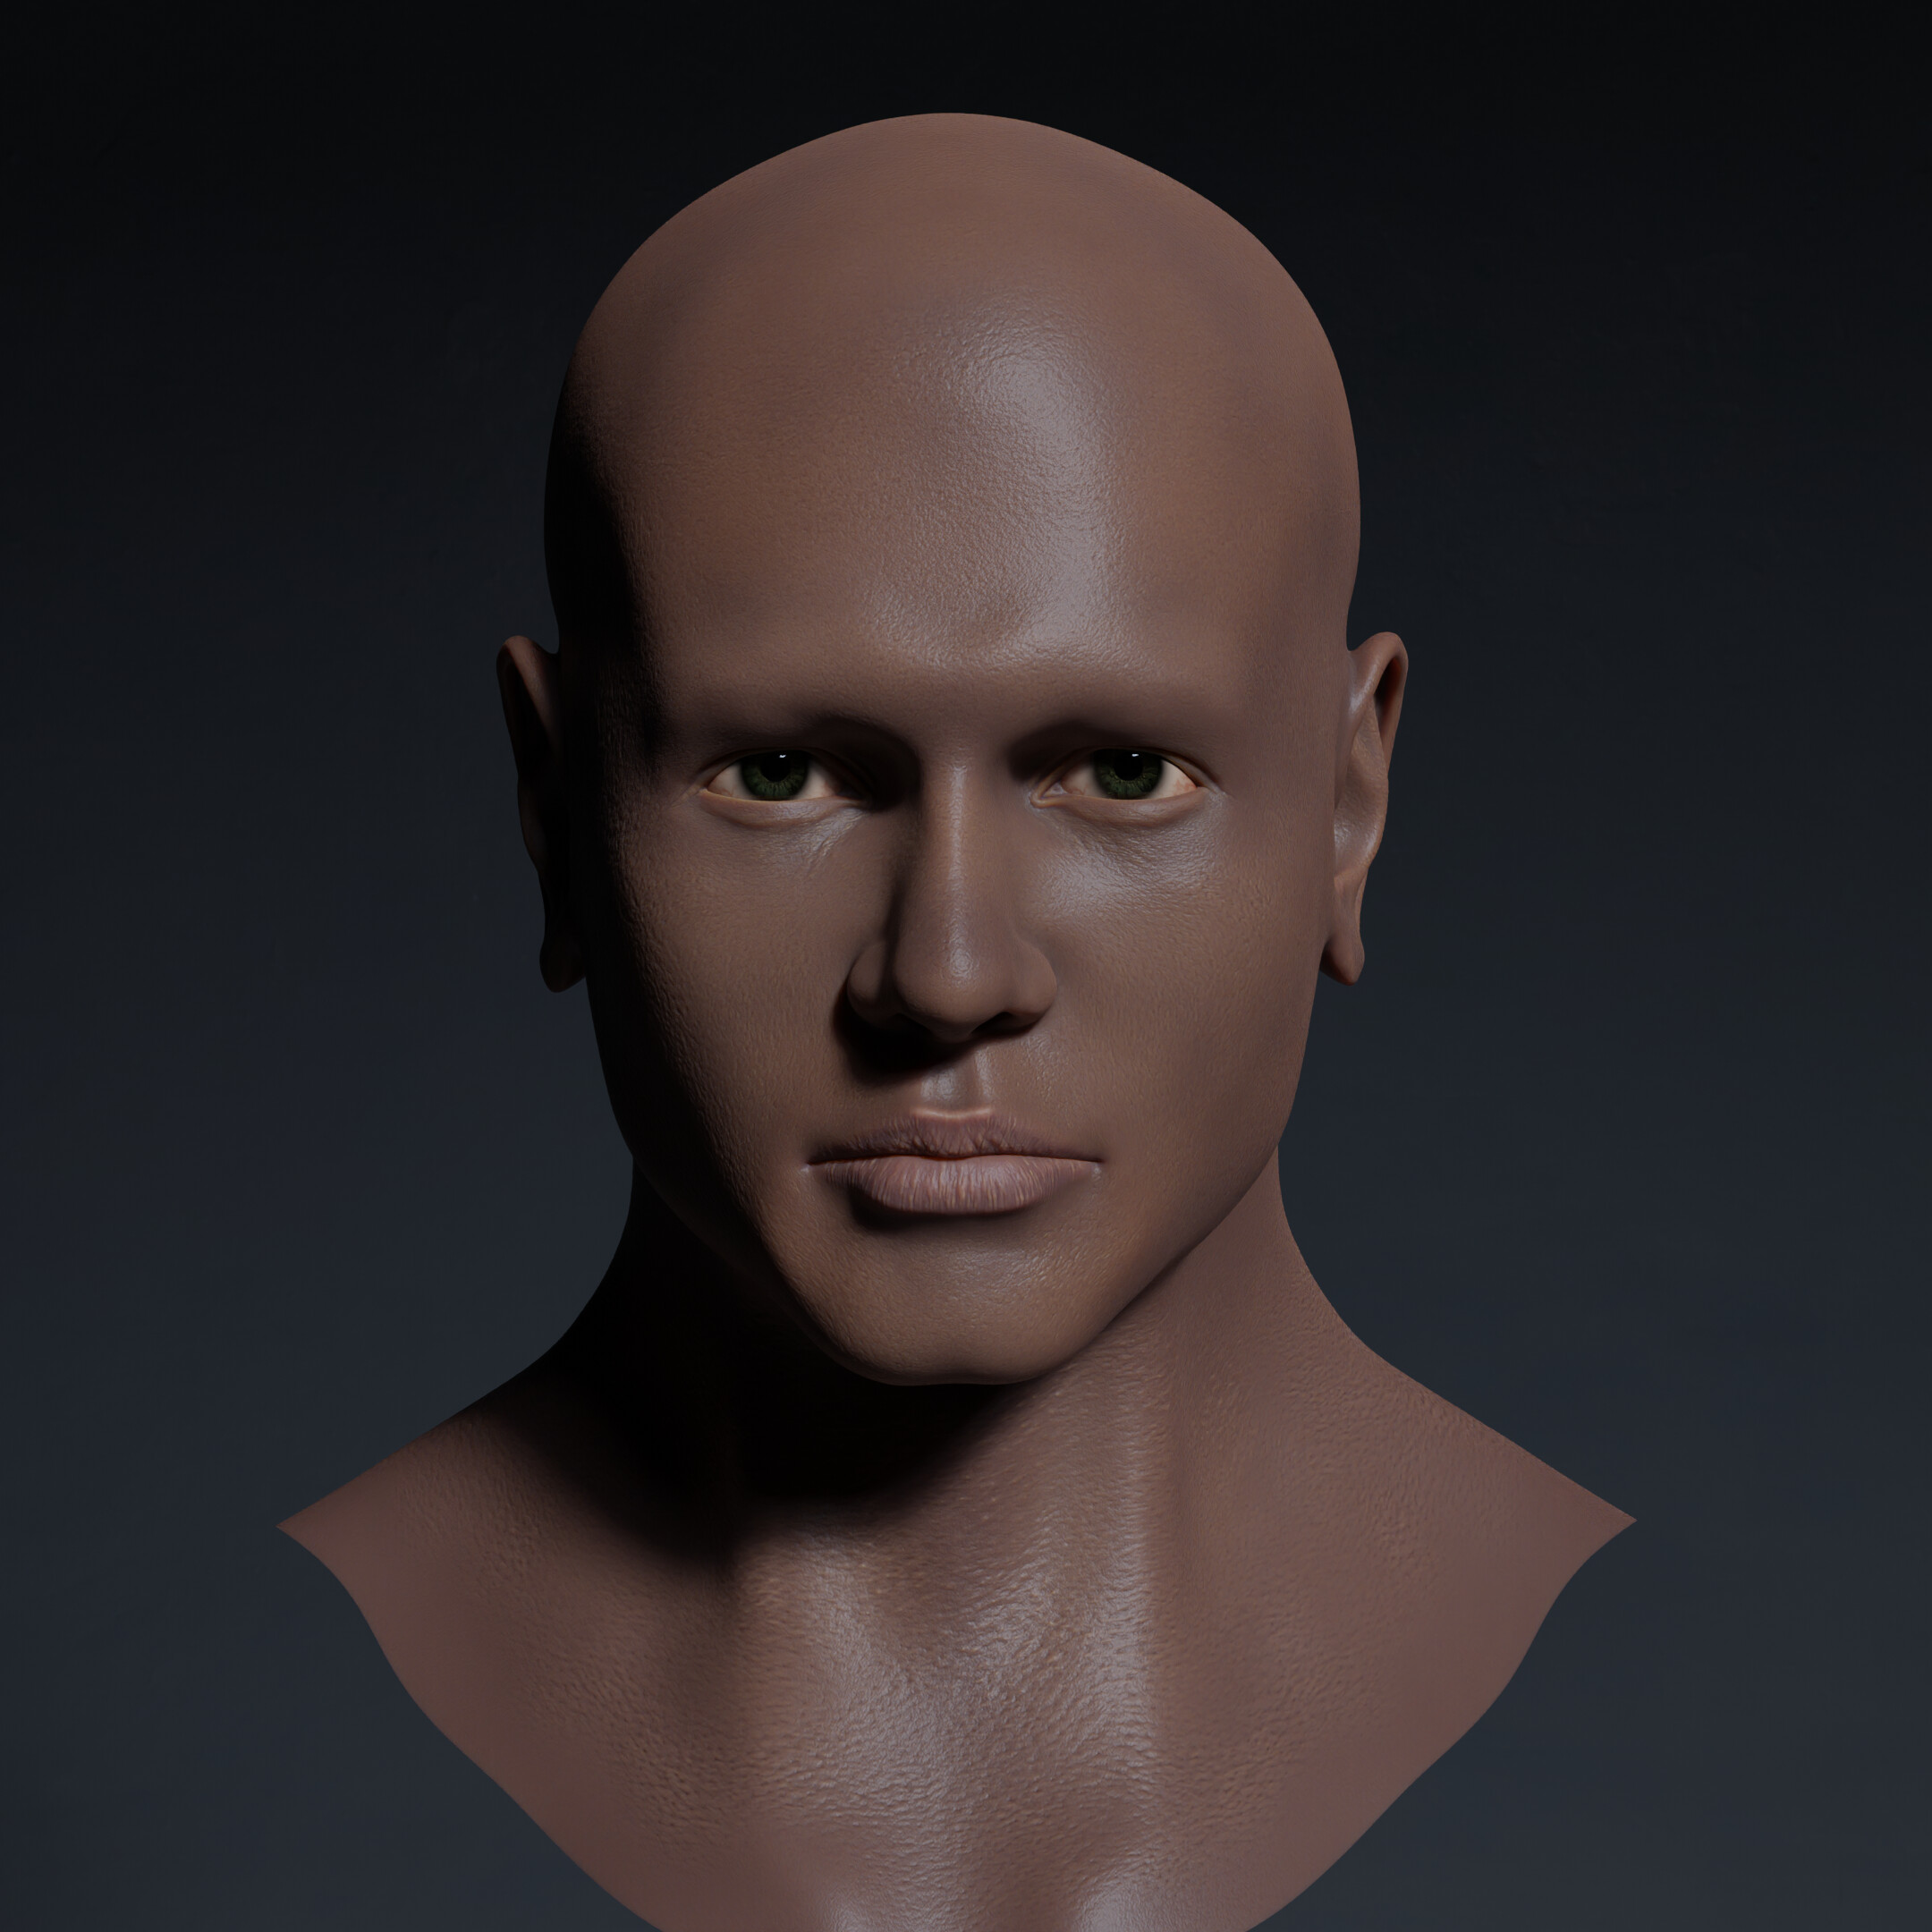
So, I spent the whole of October making “Character 2”. (Progress in October 2022)
And “Character 3”. This is the first time I made hair with hair cards. (Progress in October 2022)
As well as the beginning of “Character 4” (Progress in October 2022)
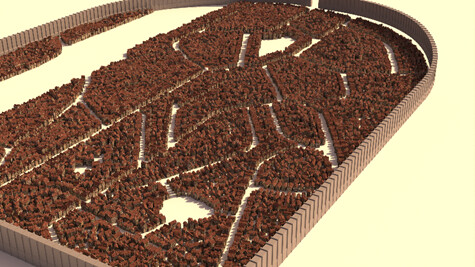
By the end of October, I got REALLY tired of making characters, so I switched to the creation of the Shiganshina. That was a tough one, but also a very fun one. At first, I wanted to use Python and its capabilities inside Blender to randomly generate buildings. But within several days I realized that there was a better, more convenient, and flexible option that would allow me to do that in the least destructive workflow – Geometric Nodes. To be fair, I didn’t have a lot of experience with GeoNodes, so I couldn’t figure out whether their capabilities were enough. From the current point of view, I can say that “Yes, and damn they have!”. So I spent the whole of November making assets, reorganizing, and optimizing the nodes to get a FULLY PROCEDURAL building generator!
Building generator, progress in November 2022:
Shiganshina, progress in November 2022:


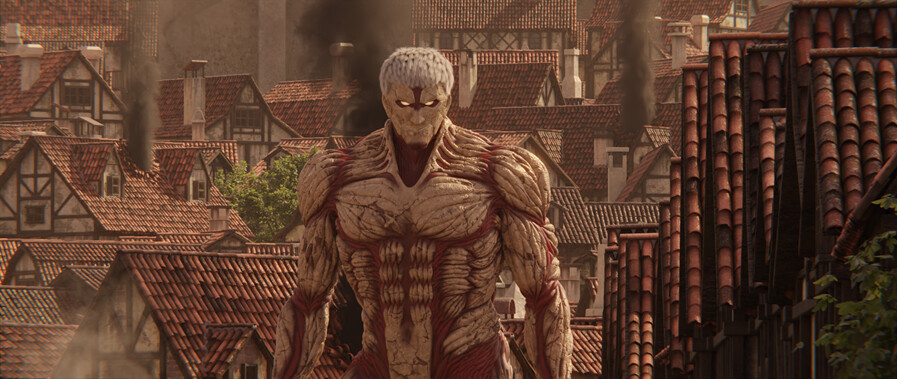
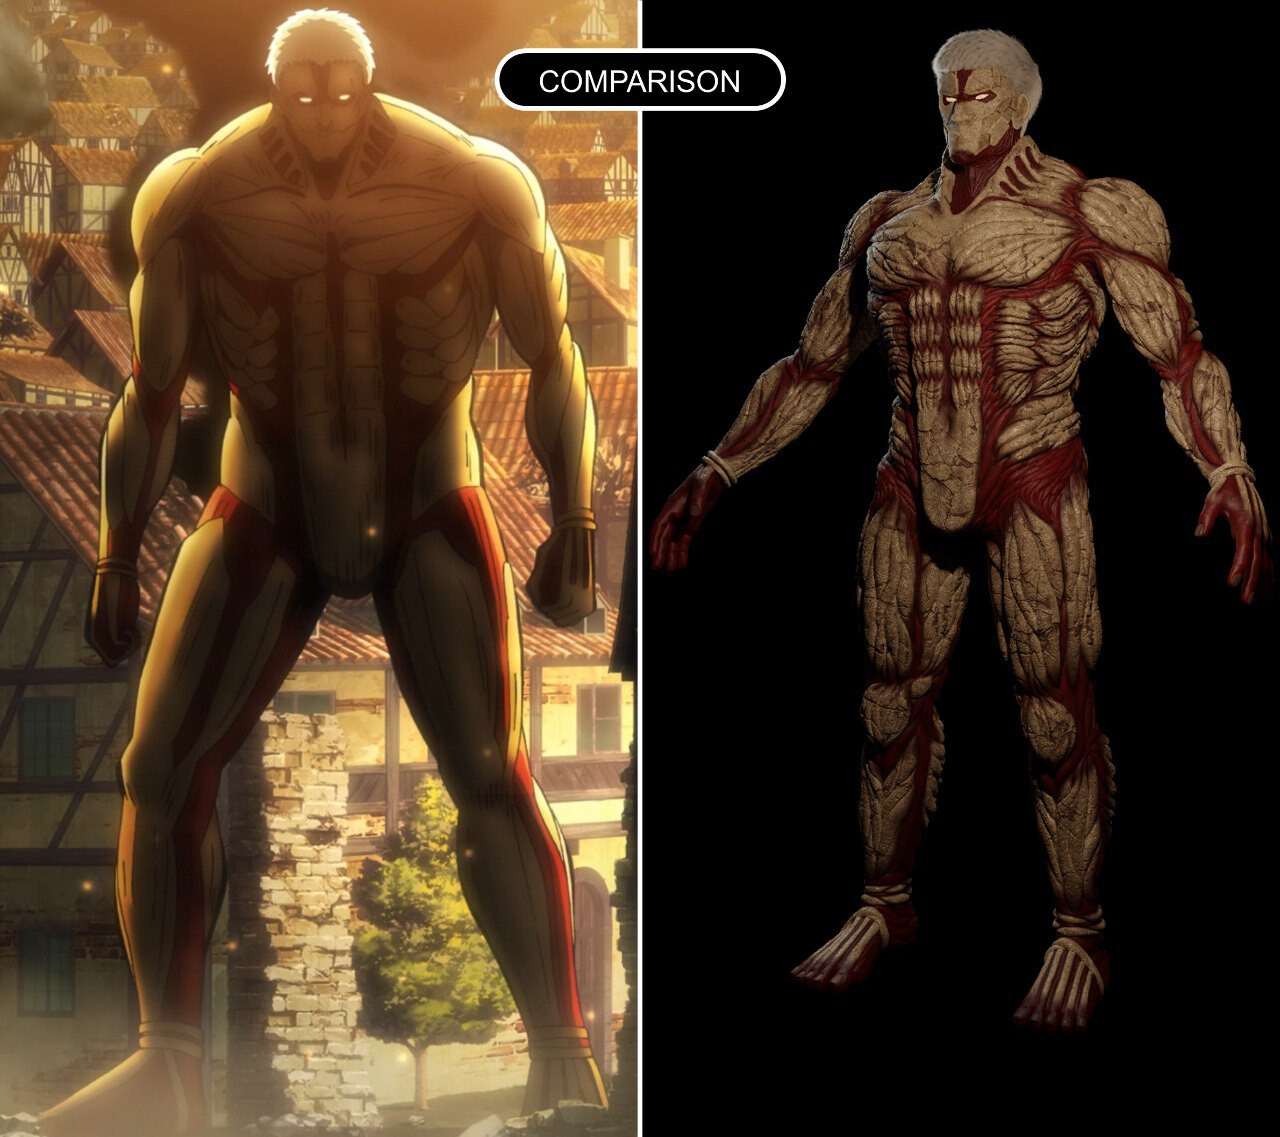
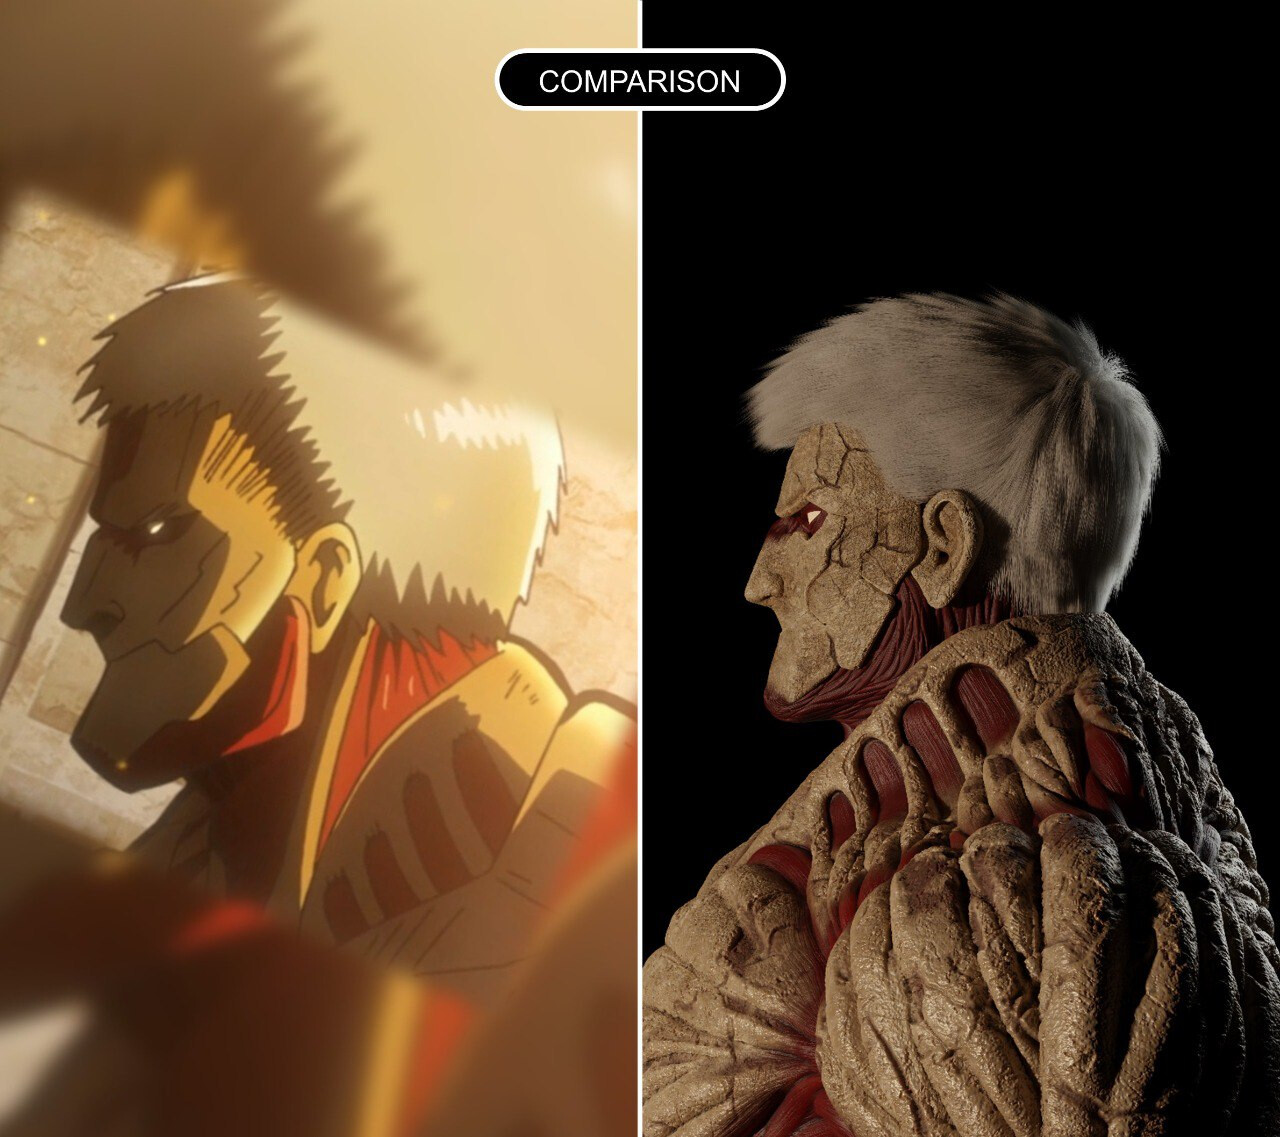
At the beginning of December 2022, I finally had a chance to start the main character of the project: Armored Titan! That was tough, not gonna lie, especially considering I had 2 iterations of it. I made a mistake planning it – since initially Armored Titan was supposed to consist of the main body and armor plates separately. My research and testing proved that idea wrong and I realized that it was better to make it as a single mesh and fuse it together. So the new idea was to make a transition from the bones to the meat with textures, not by physically separating meshes. There are many reasons why it is much superior of a way, but the main ones are:
- It is easier to animate it as a single mesh since weight painting would be EXTREMELY hard to deal with.
- Normals and topology would be wild.
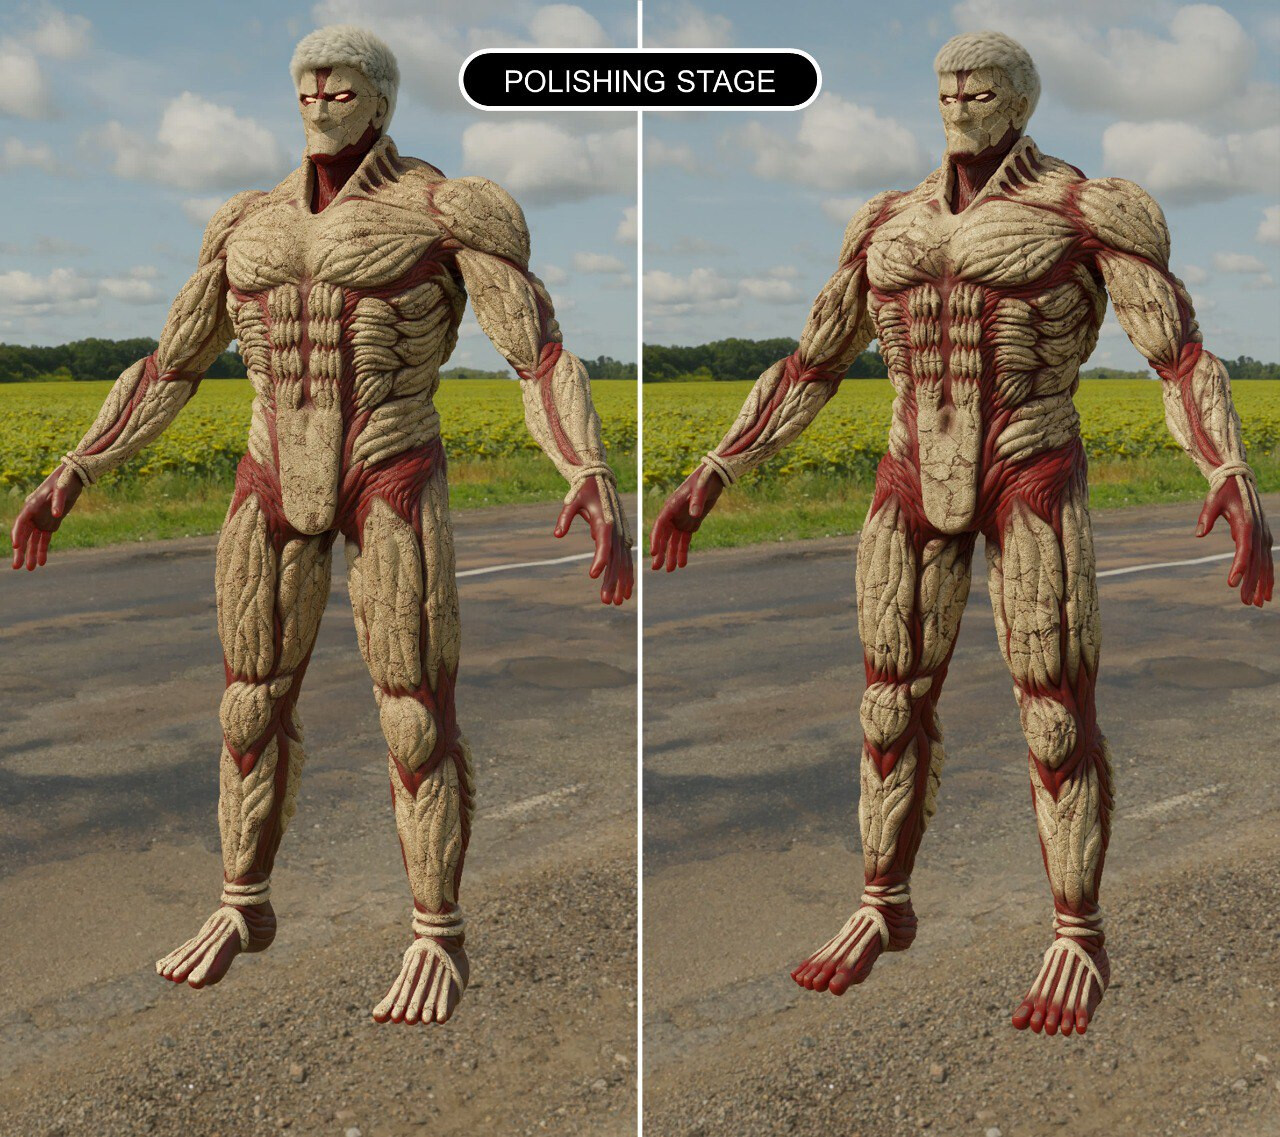
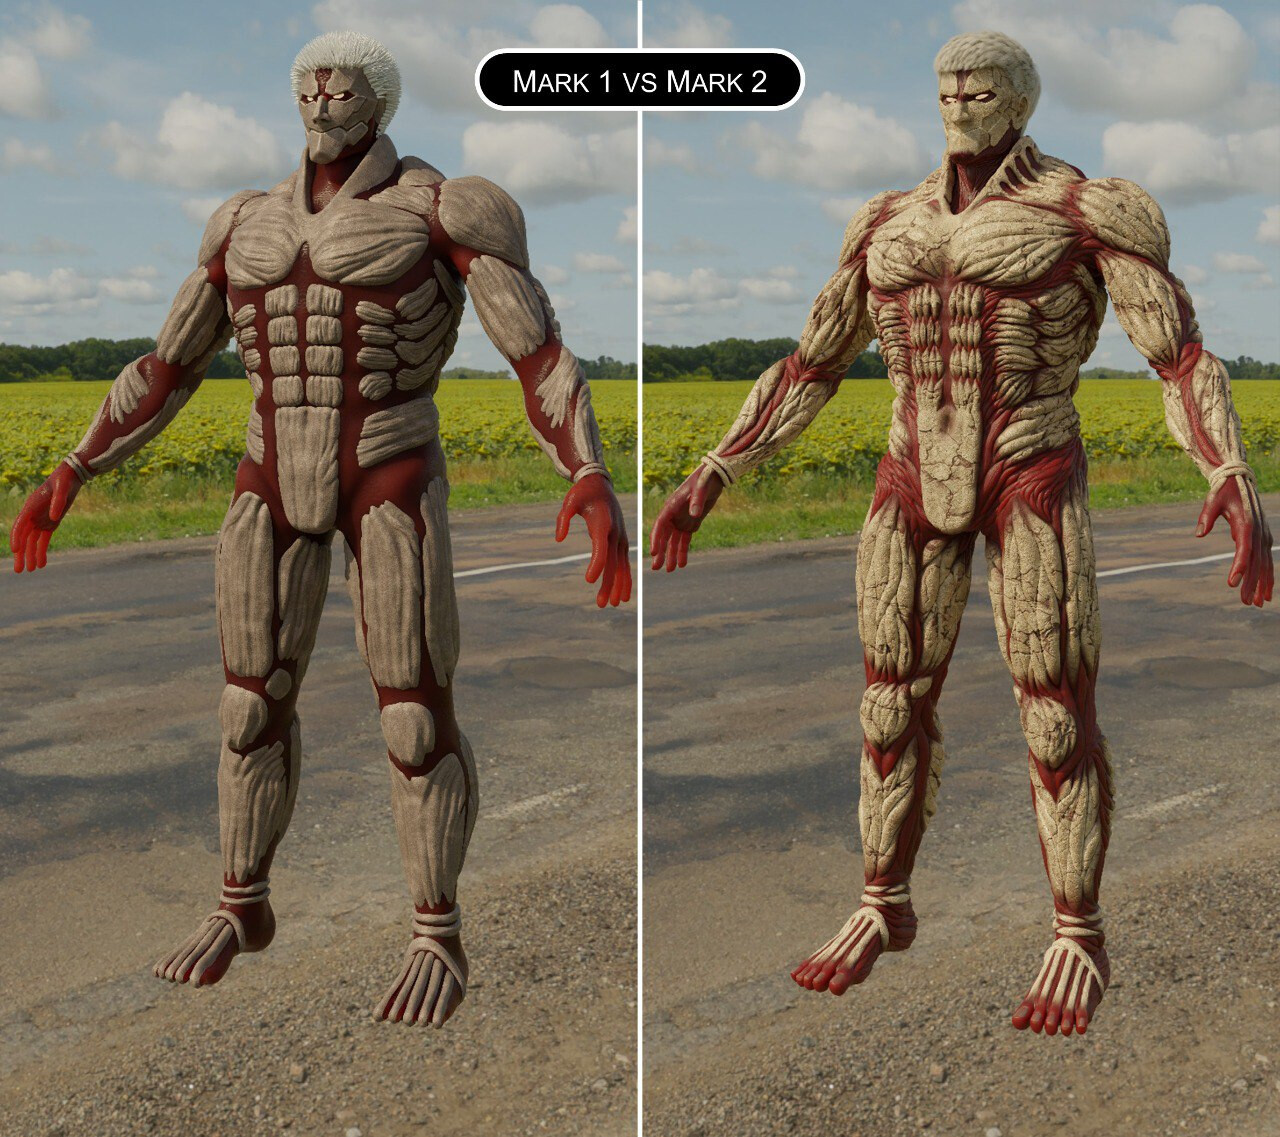
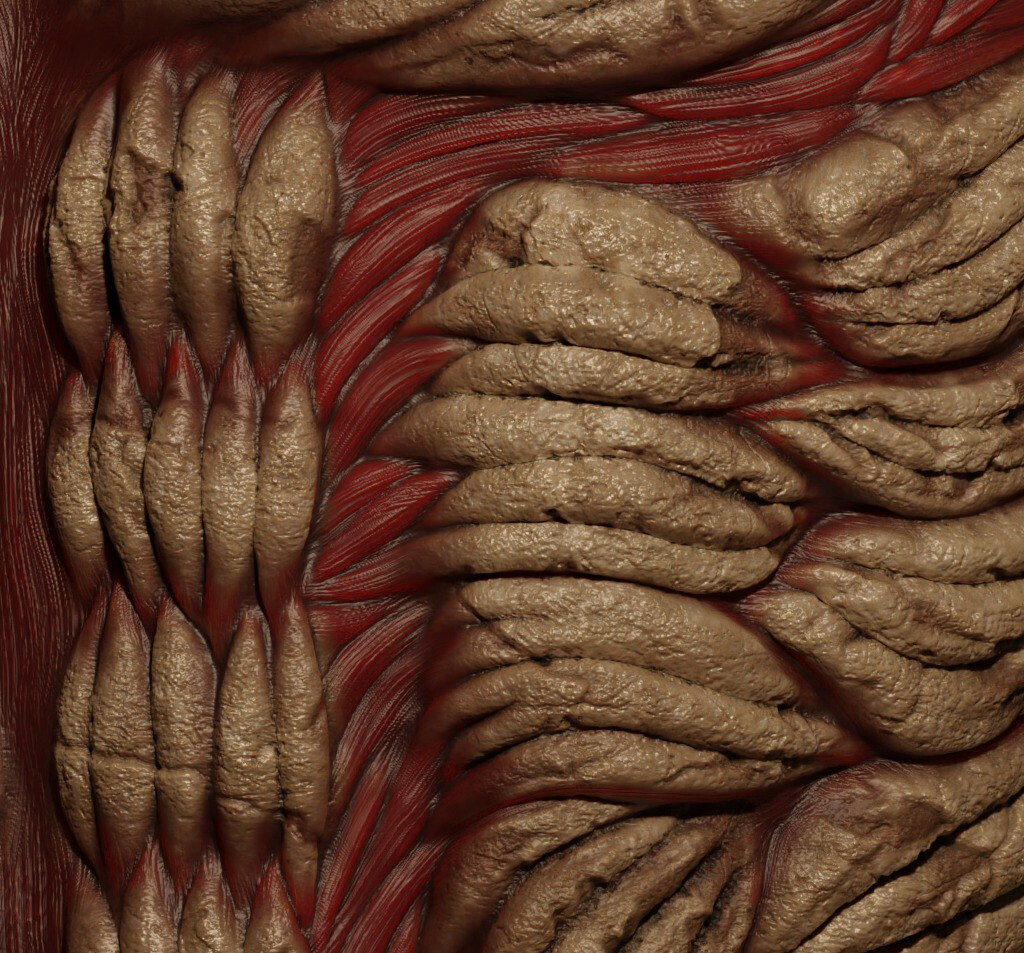
I spent 3 months making it (I was manually sculpting and painting all the transitions for every single muscle), and I think it was worth it (in comparison with the first iteration, progress in the middle of February 2023):
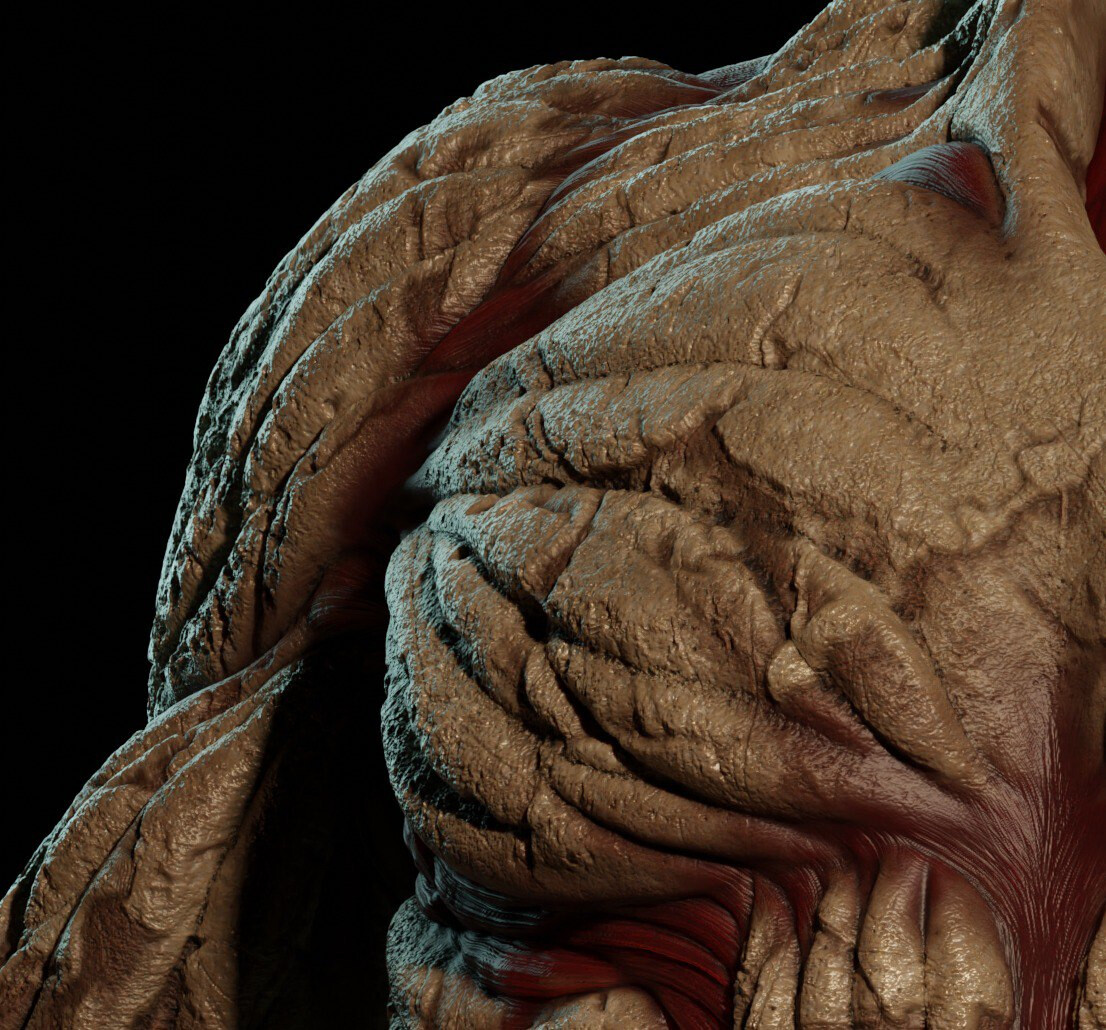
4 UDIM 8K textures for body; and two 8K sets for face, separately for armor and muscle parts, progress by the end of February 2023 (Unfortunately, I was forced to use 4k textures because my VRAM was not enough):
From March to the beginning of April, I have spent learning rigging and animation, while animating all the moments Armored Titan was present on the screen. Believe me or not, I basically had no experience in terms of rigging and animating characters before this project. Technically I had, but these were some basics without too much dive into the details.
Scene 2 and Scene 3 were done and rendered in March 2023.
Scene 2:
Scene 3:
Thanks to Pierrick Picaut and his AMAZING “Alive!” and “The Art of Effective Rigging in Blender” courses for making it possible to learn all the needed basics and beyond that, so if you are wondering where to start, then stick with it. My personal suggestion and preference is to watch it with 1.5x or even 2x speed, but again – that’s my personal preference.
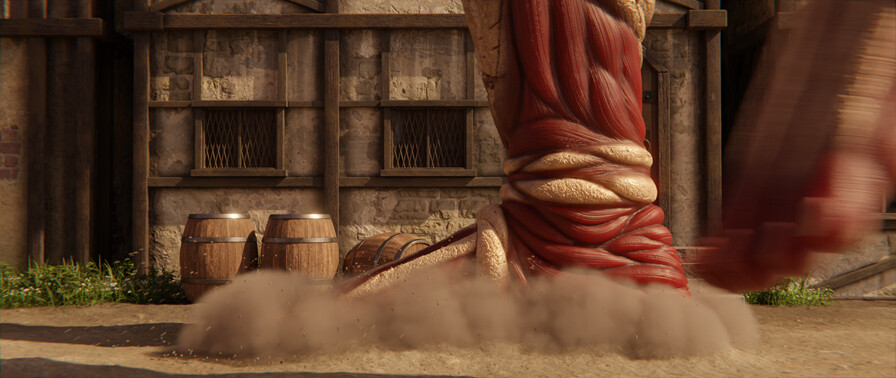
From the middle of April down to the end of May I was making all the fire, dust, particle, and rigid body simulations, as well as making bridges, cannons, Wall Maria Gates, remaking Wall Maria itself, remaking grass distribution, remaking ground texture and a lot of other stuff.
The Mill:
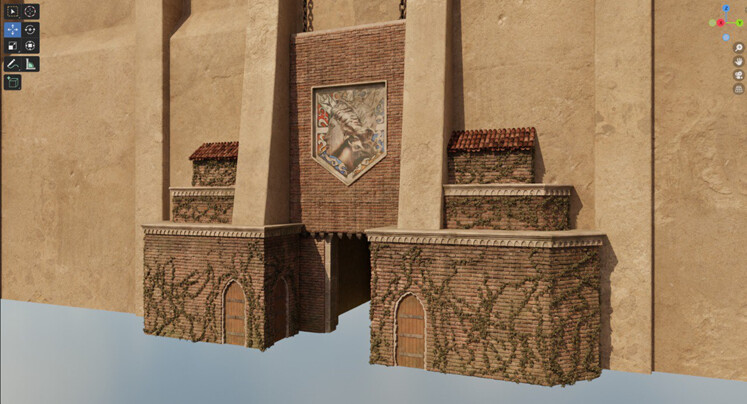
The Gates:
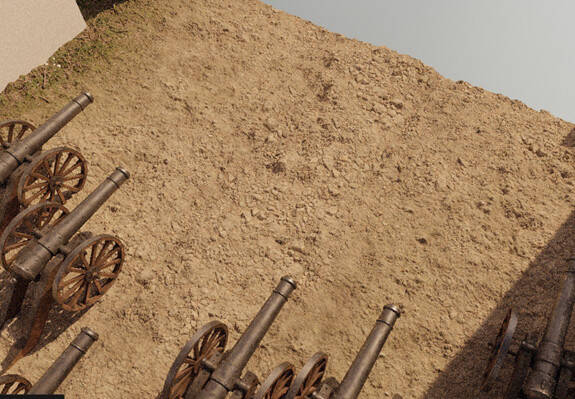
It is possible to spread this ground infinitely without noticing even a single tile:
That was the most productive “season” of the project since I left for later the easiest parts of it that I was the most confident about finishing. Also, EmberGen is a beast of the software, to say the least. The amount of speed it can give a user is hard to comprehend.
On the other hand, any type of simulation in Blender is pain… Hopefully, new Blender GeoNodes simulations will cover that aspect of Blender in the near future. Well, it’s never too late to learn Houdini – and that’s what I am going for: I want to learn all the software that is possible to learn.
Summer 2023 was tough for my laptop. During all the days I was working, during all the nights it was rendering, and all of that with a high weather temperature on top. I was remaking Characters 1-4 (Their skin and hair to be exact), I made Character 5, optimized all the Characters by putting them into a single Blender file and making instances of similar meshes where it was possible, rigged their bodies and faces. I did some animations too.
I do not think that’s a really good rig, but it gets the job done (In my mind it is better to make it semi-good right now and polish my skill later, with a next, new project):
By the end of summer, most of the Armored Titan scenes were done. I want to thank B-Renderon for making rendering much, MUCH cleaner, and stable. My laptop specs are not perfect (Ryzen 5600H, RTX 3060 6G, 64 GB of RAM), especially in terms of VRAM, which makes stability really low. B-Renderon solved most of the problems and automated a lot of tedious processes.
By the end of August, I had made “Average Titan”. This was a very fun and chill character to make. At this point, my confidence in character modelling was much better. I love the feeling when you know what you are doing and what NEEDS to be done. Lowering quality did help as well. This character has less than 10 seconds of screen time, so had less pressure on me.
“Average titan”, progress by the end of August:
This helped me to experiment with shape keys and their animation – turns out that when you do not need to switch between ZBrush and Maya to make a single blendshape and you can immediately test it on the fly in the animation, it speeds up the process really fast. That was basically the reason why I switched from ZBrush to Blender sculpting capabilities since it makes these interactions much more comfortable. What I also needed to do is to add a variation of it with destruction from a cannon.
Here you can check with destruction and the shape keys:
September 2023 was the finish line of the project. I animated all the characters and made all the cloth simulations for them in Marvelous Designer while putting everything that was ready in a render queue on the fly. Some additional project details are in the YouTube video and its description.
Hopefully, that article was interesting for you, and the project is inspiring. If you have some questions or want to follow my personal telegram channel where I show my WIPs or simply keep in touch, you can find me by searching “Sintelaris” on any possible platform:
Instagram: @sintelaris
Telegram: @sintelaris
The same goes for Gmail, LinkedIn, YouTube, Reddit, Twitter and so on.
Good luck, have fun!


