
Behind the Scenes: Fantasy Female Character for RPG
INTRODUCTION
Hi! Nice to meet you all! I am Jay Choi, a 27-year-old 3D artist from South Korea. I majored in Sculpture and Education at KNU University. Currently, I am working as a team leader on amzstudio.llc!
I grew up in a regular family with too much focus on academic grades. Since I was young, I remember toiling everyday away just to finish one academy and move to another one. Not very interesting, I know. Things changed when my family and I suddenly moved to California in the US. Being an introverted Asian boy with a language barrier in the way, it was difficult to fit in. However, I finally had something I never had—my own time. Ever since then, I made a habit of writing and drawing alone. Of course, my parents weren’t thrilled about it, but they couldn’t keep me from my drawings for I used to hide them underneath my bed which I still have!
One day, I believe it was the middle of ESL class, and I couldn’t understand a single word the teacher spoke of so I just kept on drawing in the corner. The teacher saw me and took my drawing, and made a gesture to follow her.
I thought I was going to be in serious trouble. So she took me across to the other side of school, and I saw a place what I could describe as a run-down factory. (Later I knew, it was just art class with metalwork class, and wood-shop classes on each side.)
There, I was frightened, for I saw the ESL teacher and the art teacher talking. Before I knew it, I was being mentored by him everyday in the end of school. However, I didn’t get any formal training as an artist. That was until I was able to enrol in the Department of Art at KNU University, which I think was when I really took off!
Now, here I am, doing what I love!
INSPIRATION
The original artwork was never intended to be amazing; it was just supposed to be good enough. But when a certain Korean online academy reached out to me, asking if I was interested in making an online course on character art, I immediately hopped in and said yes!
If I was going to make a course based on a character, I wanted it to be a damn good one!
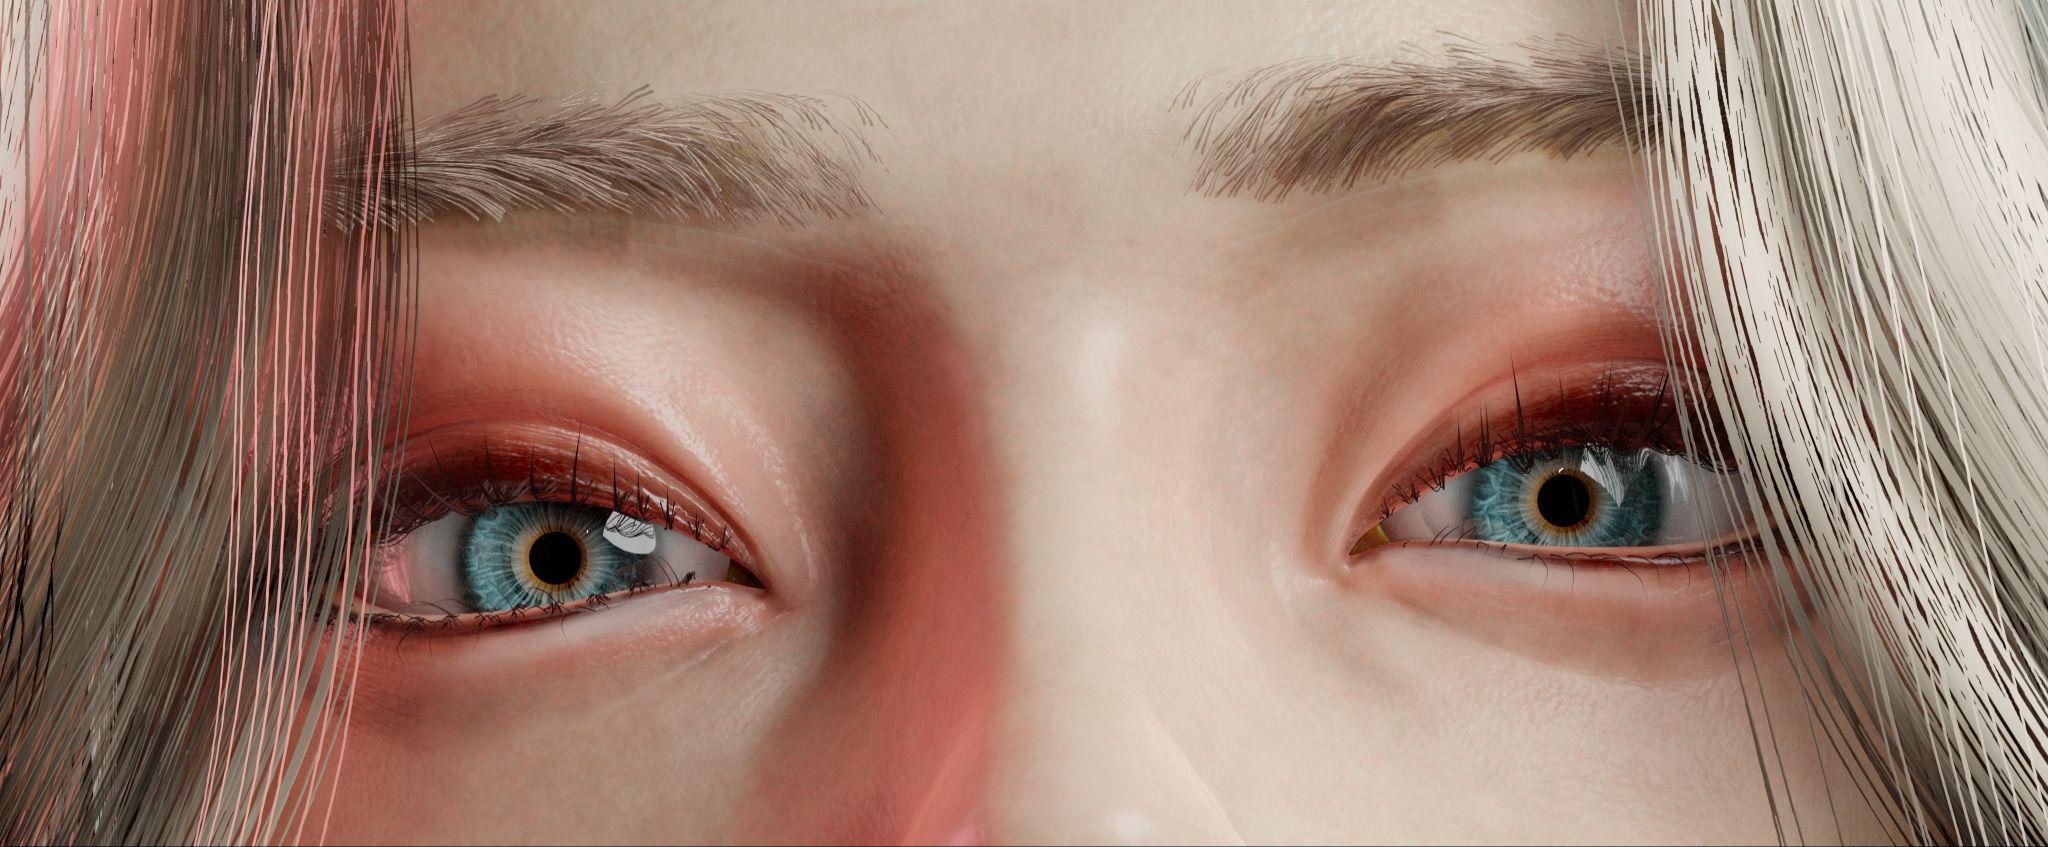
First, I started looking at traits that could make this fantasy-based character stand out. For me, it was the eyes. So, I gathered as many as images I could and with that done, I gathered facial features that I would like to create.
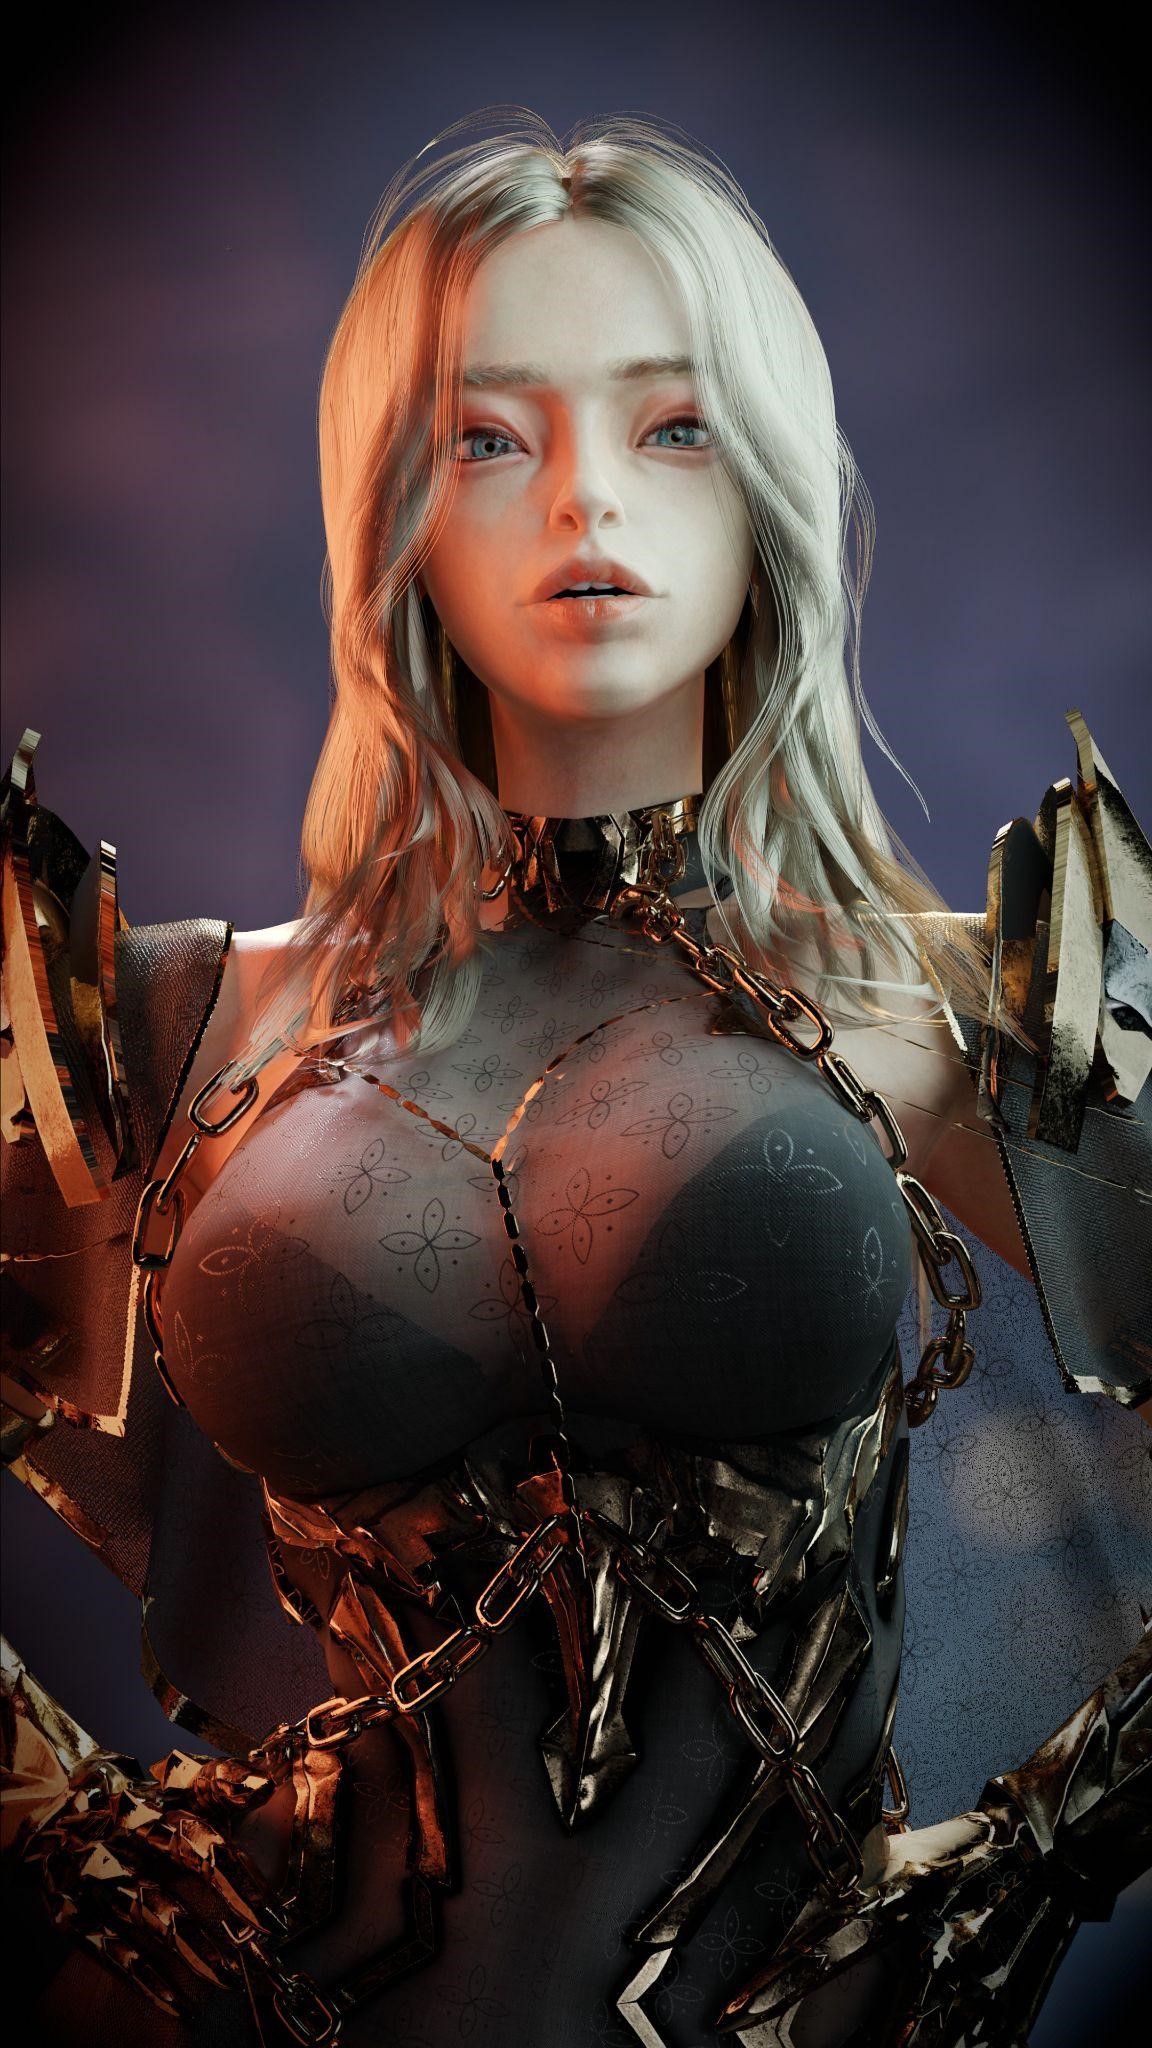
After that, I sketched what attire she would need to wear—I wanted her to have that Korean RPG look. It was mostly inspired by Korean MMORPG game, Black Desert. Then I made a simple moodboard.
PROCESS
Block-out
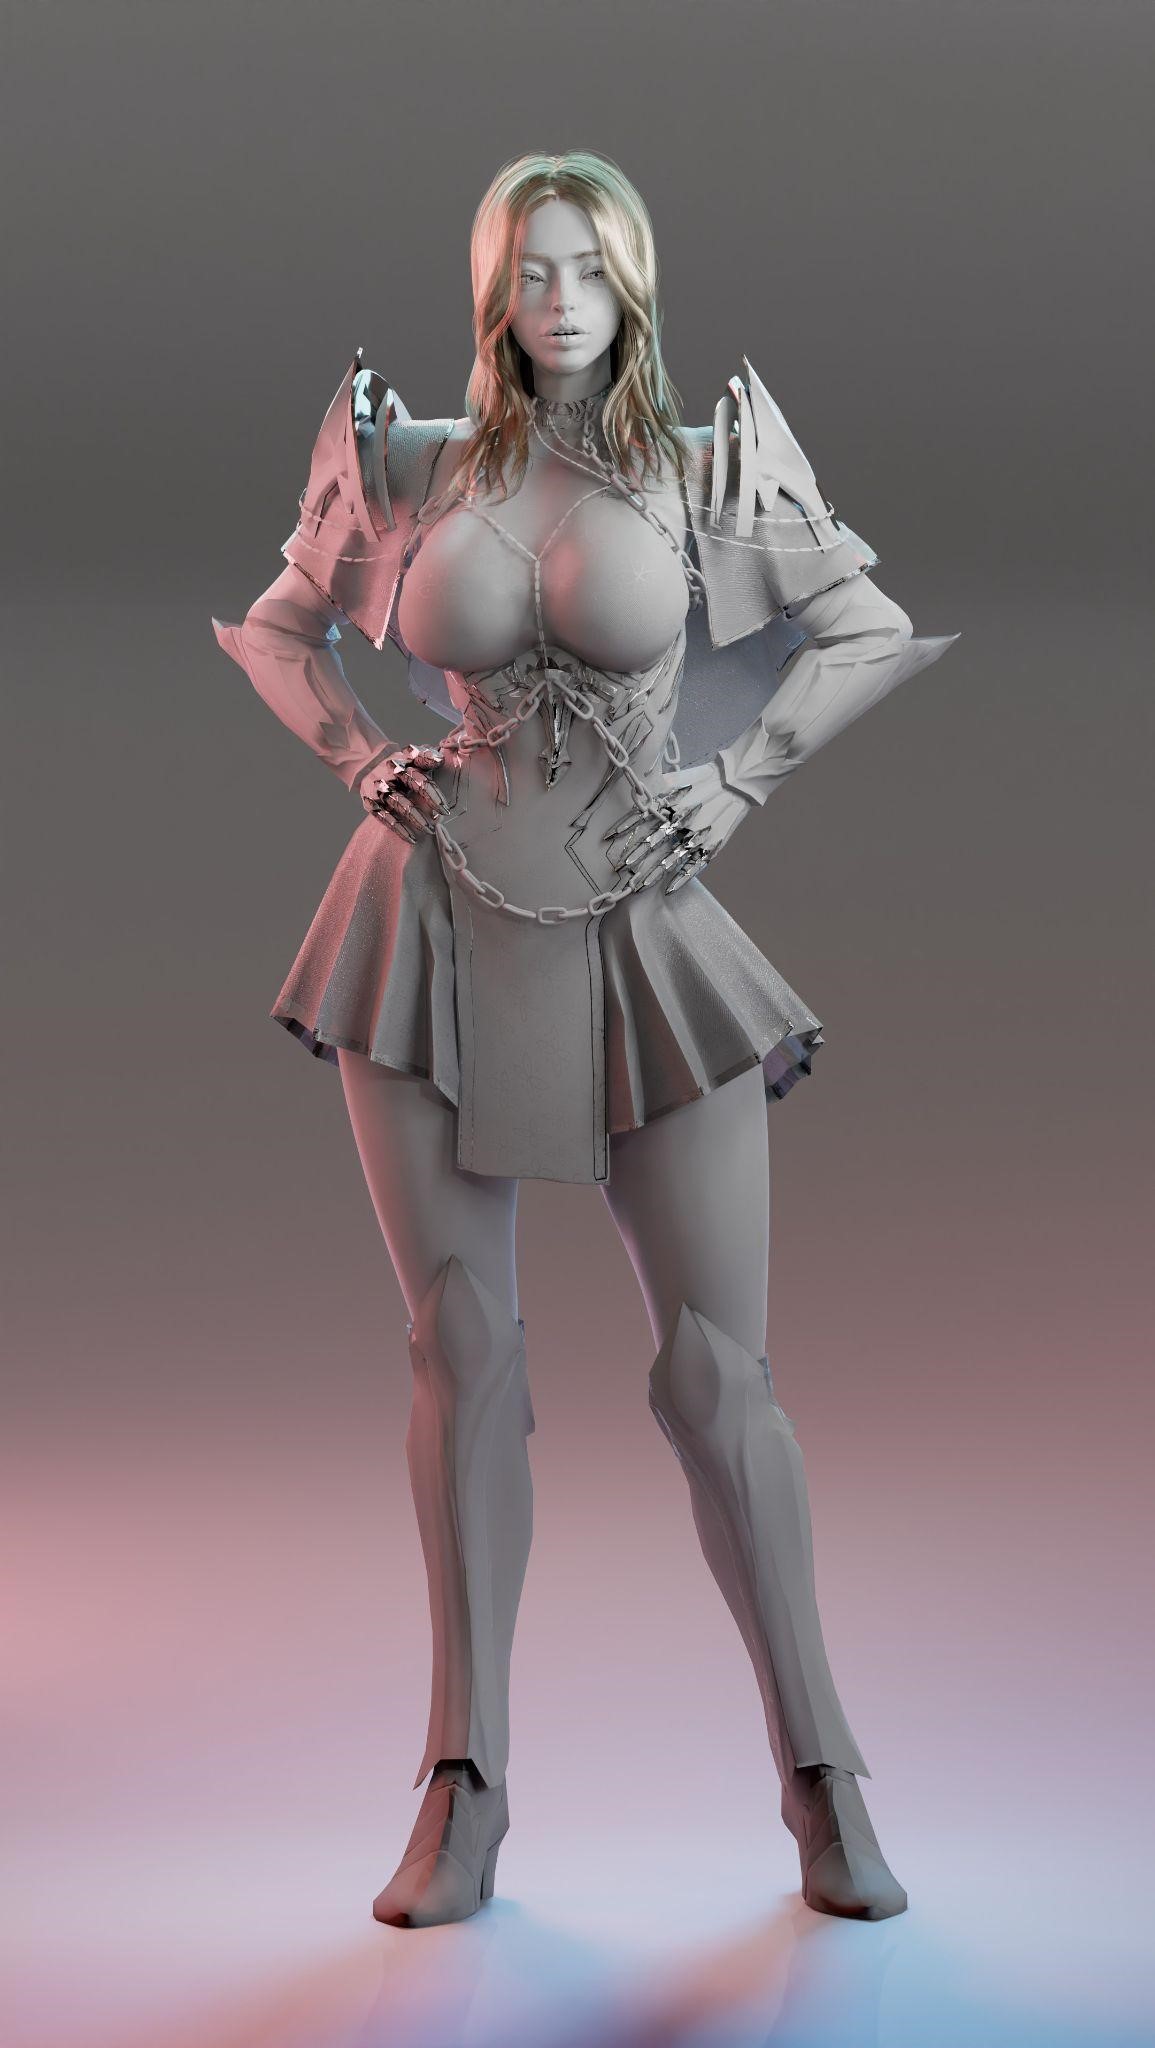
I started to block the character’s body, and then merged them all together with a re-mesh. I added details on her face, her chest, and her abdomen. I made sure that certain areas had more fat, and some other areas where muscles were more prominent.
When I had the sketch to shape what I like, I used Retopoflow 3 to retopologize the mesh. Even though I could do this at the last step, I decided to do this now for multiple reasons.
- Retopoflow 3 and Blender struggle with a large amount of polygons. So, I wanted a base mesh that could be separated into multiple parts which will allow me to sculpt them individually without Blender crashing
- I wanted to get the UV done as soon as possible, so that I didn’t have to worry about the UV when I merged the meshes into one.
- I wanted to have a clean base mesh for detailing.
In case for anyone following my character course, I also added a part where I used good old shrink wrap and snaps for retopology as well.
Modelling
After I got that part out of the way, I focused more into the forms and shapes of the character’s facial/body features. I sculpted out some more muscle and fat to make her look more believable while maintaining the idealistic Korean RPG look. I also made sure not to dig myself too deep!
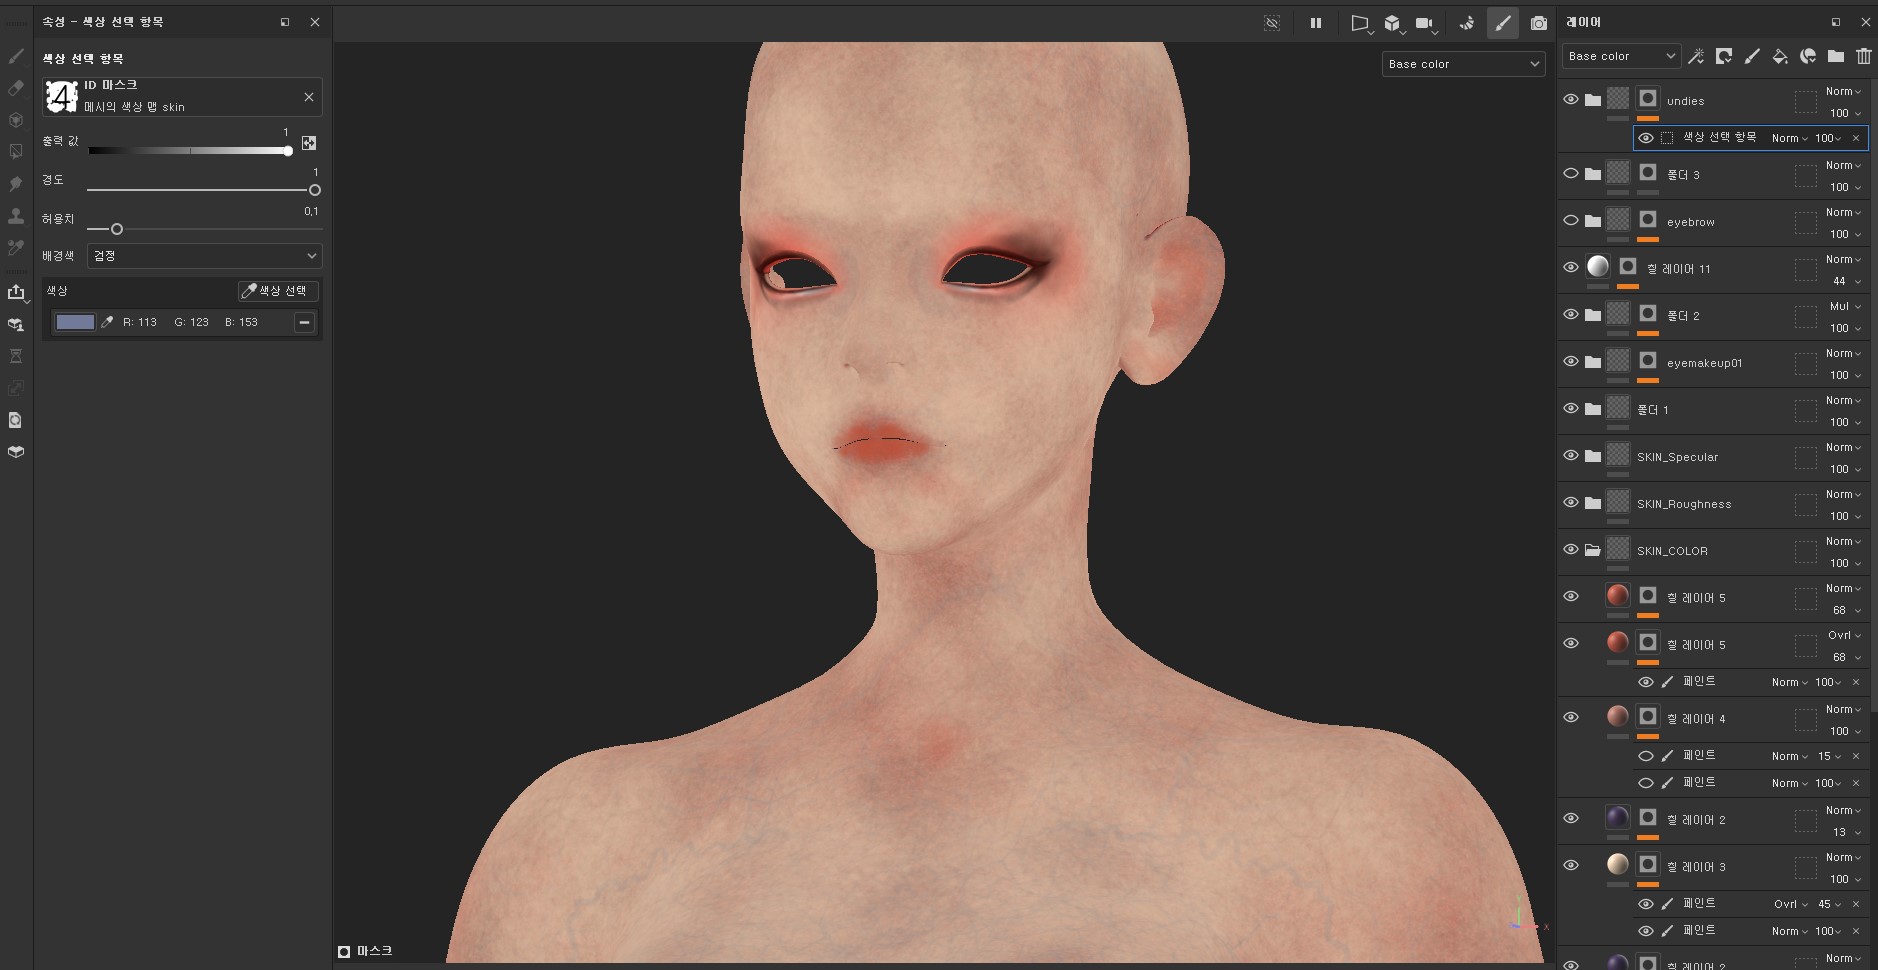
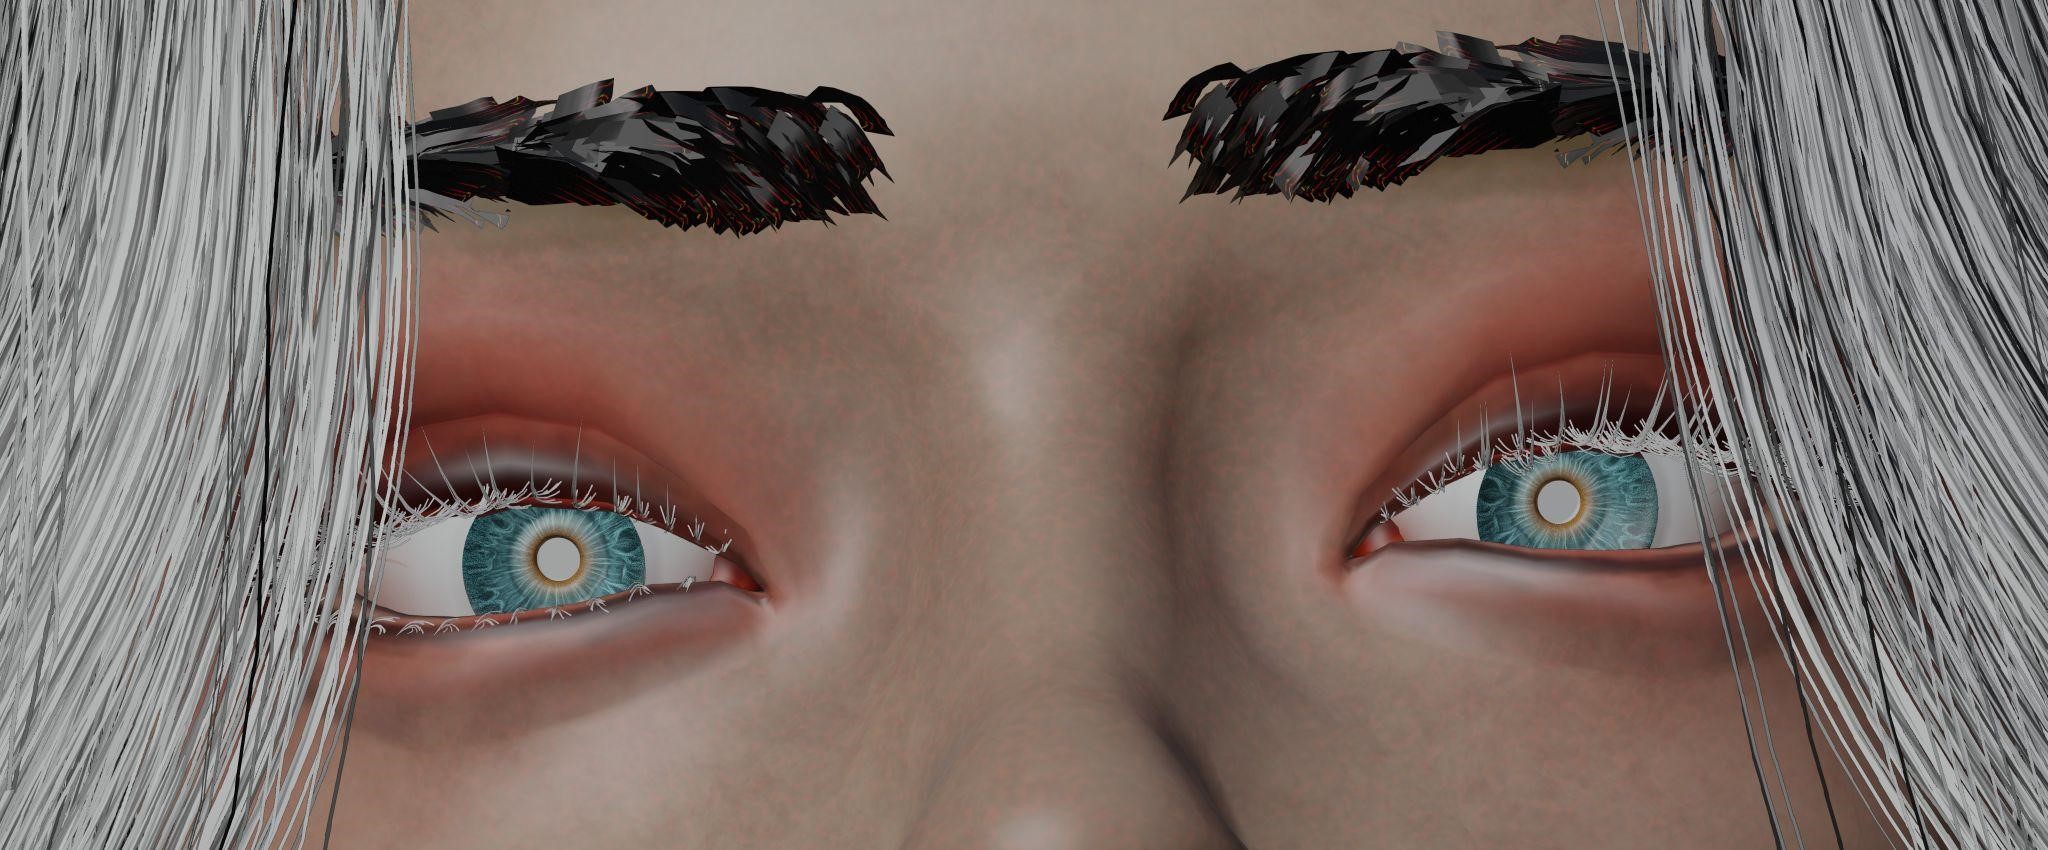
It was time for the skin complexions and details. I decided to make my own brush for her pores and wrinkles. Wrinkles were easy—some steady lines which were good enough. Pores were another problem. I did not want to rely on xyz scans or head scans; I wanted everything to be hand-crafted with no sources used or purchased.
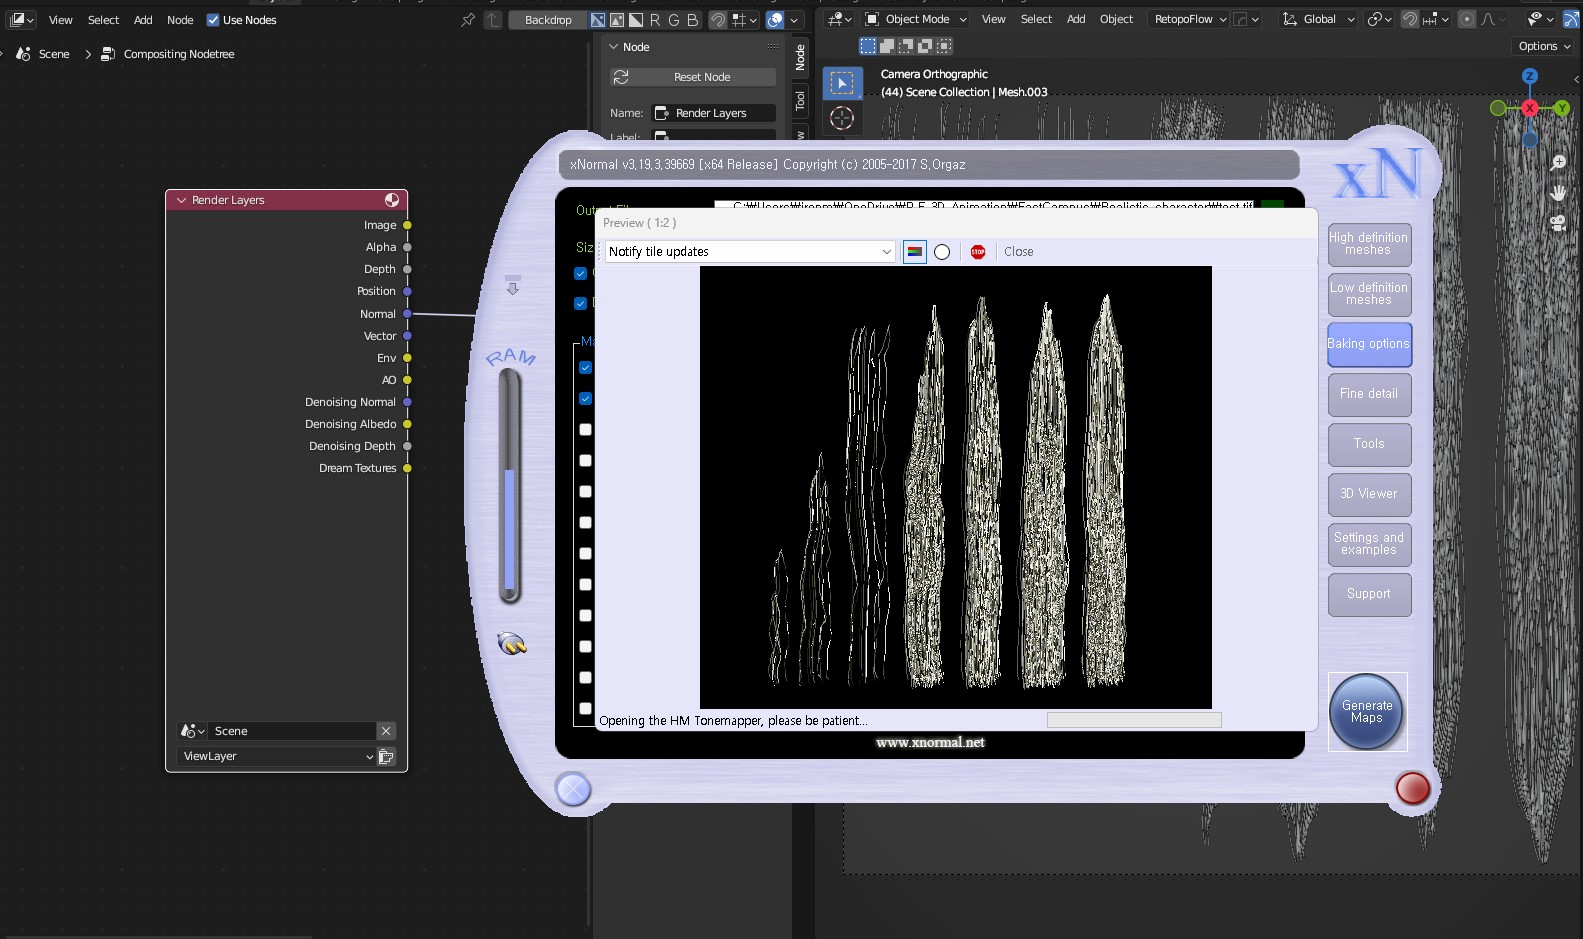
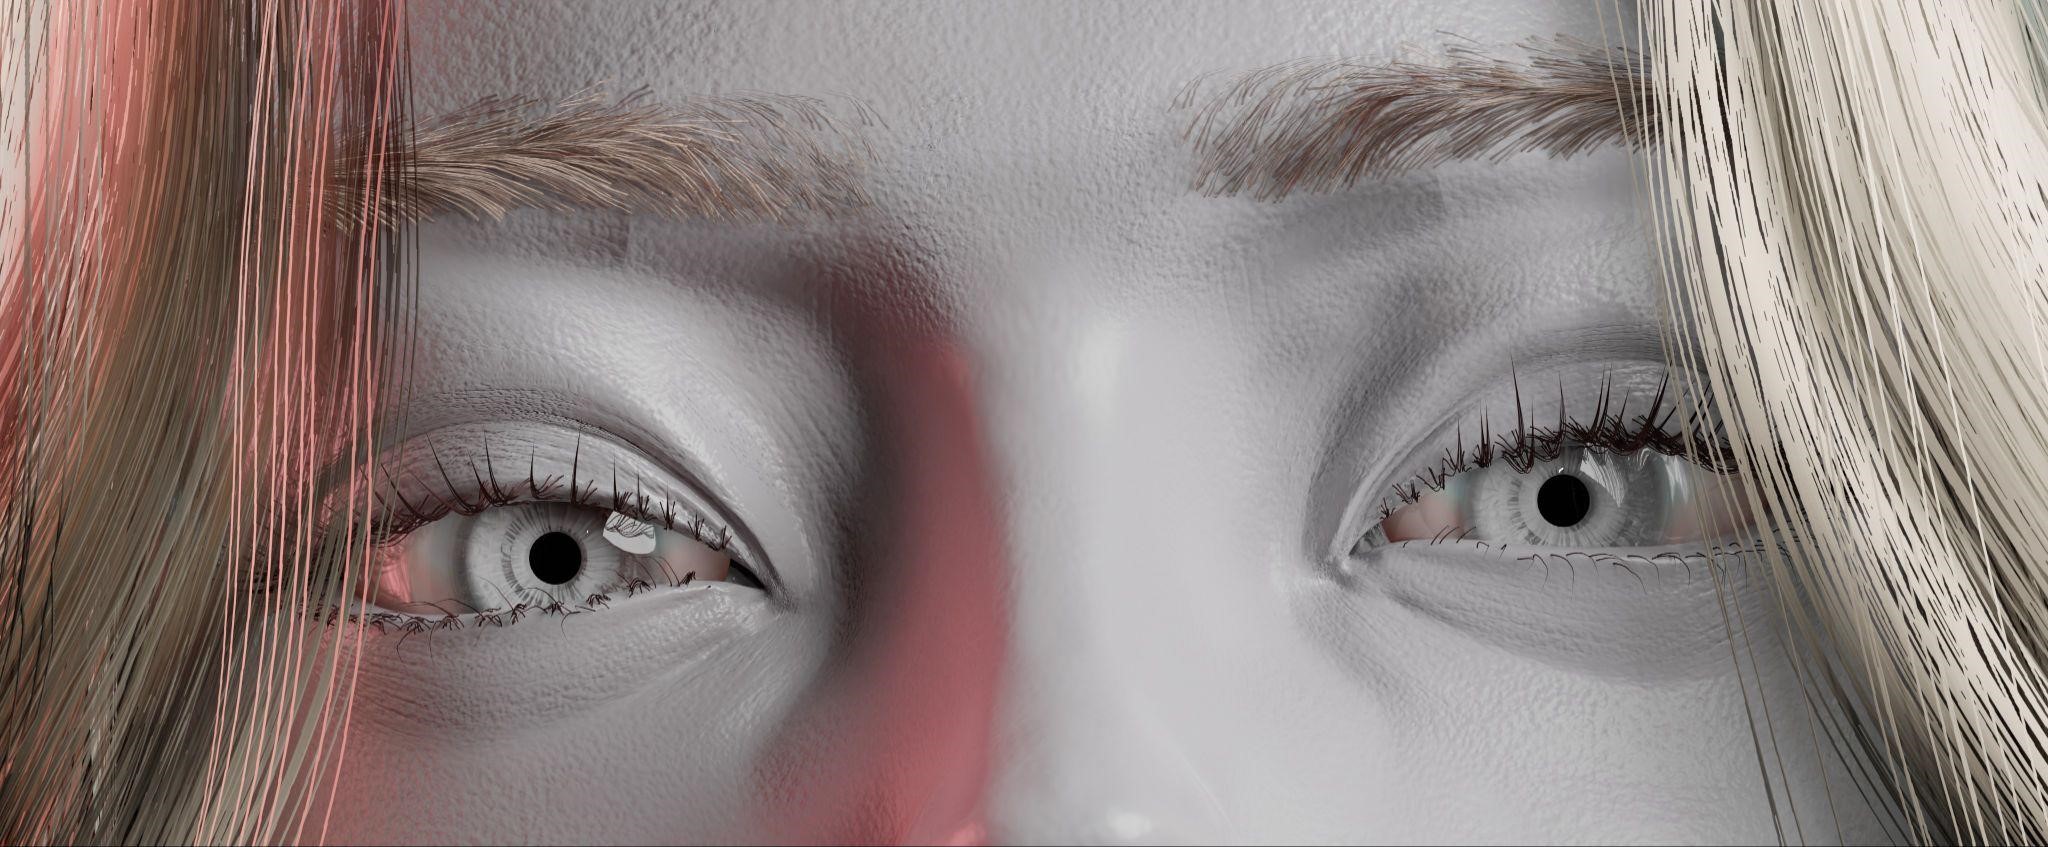
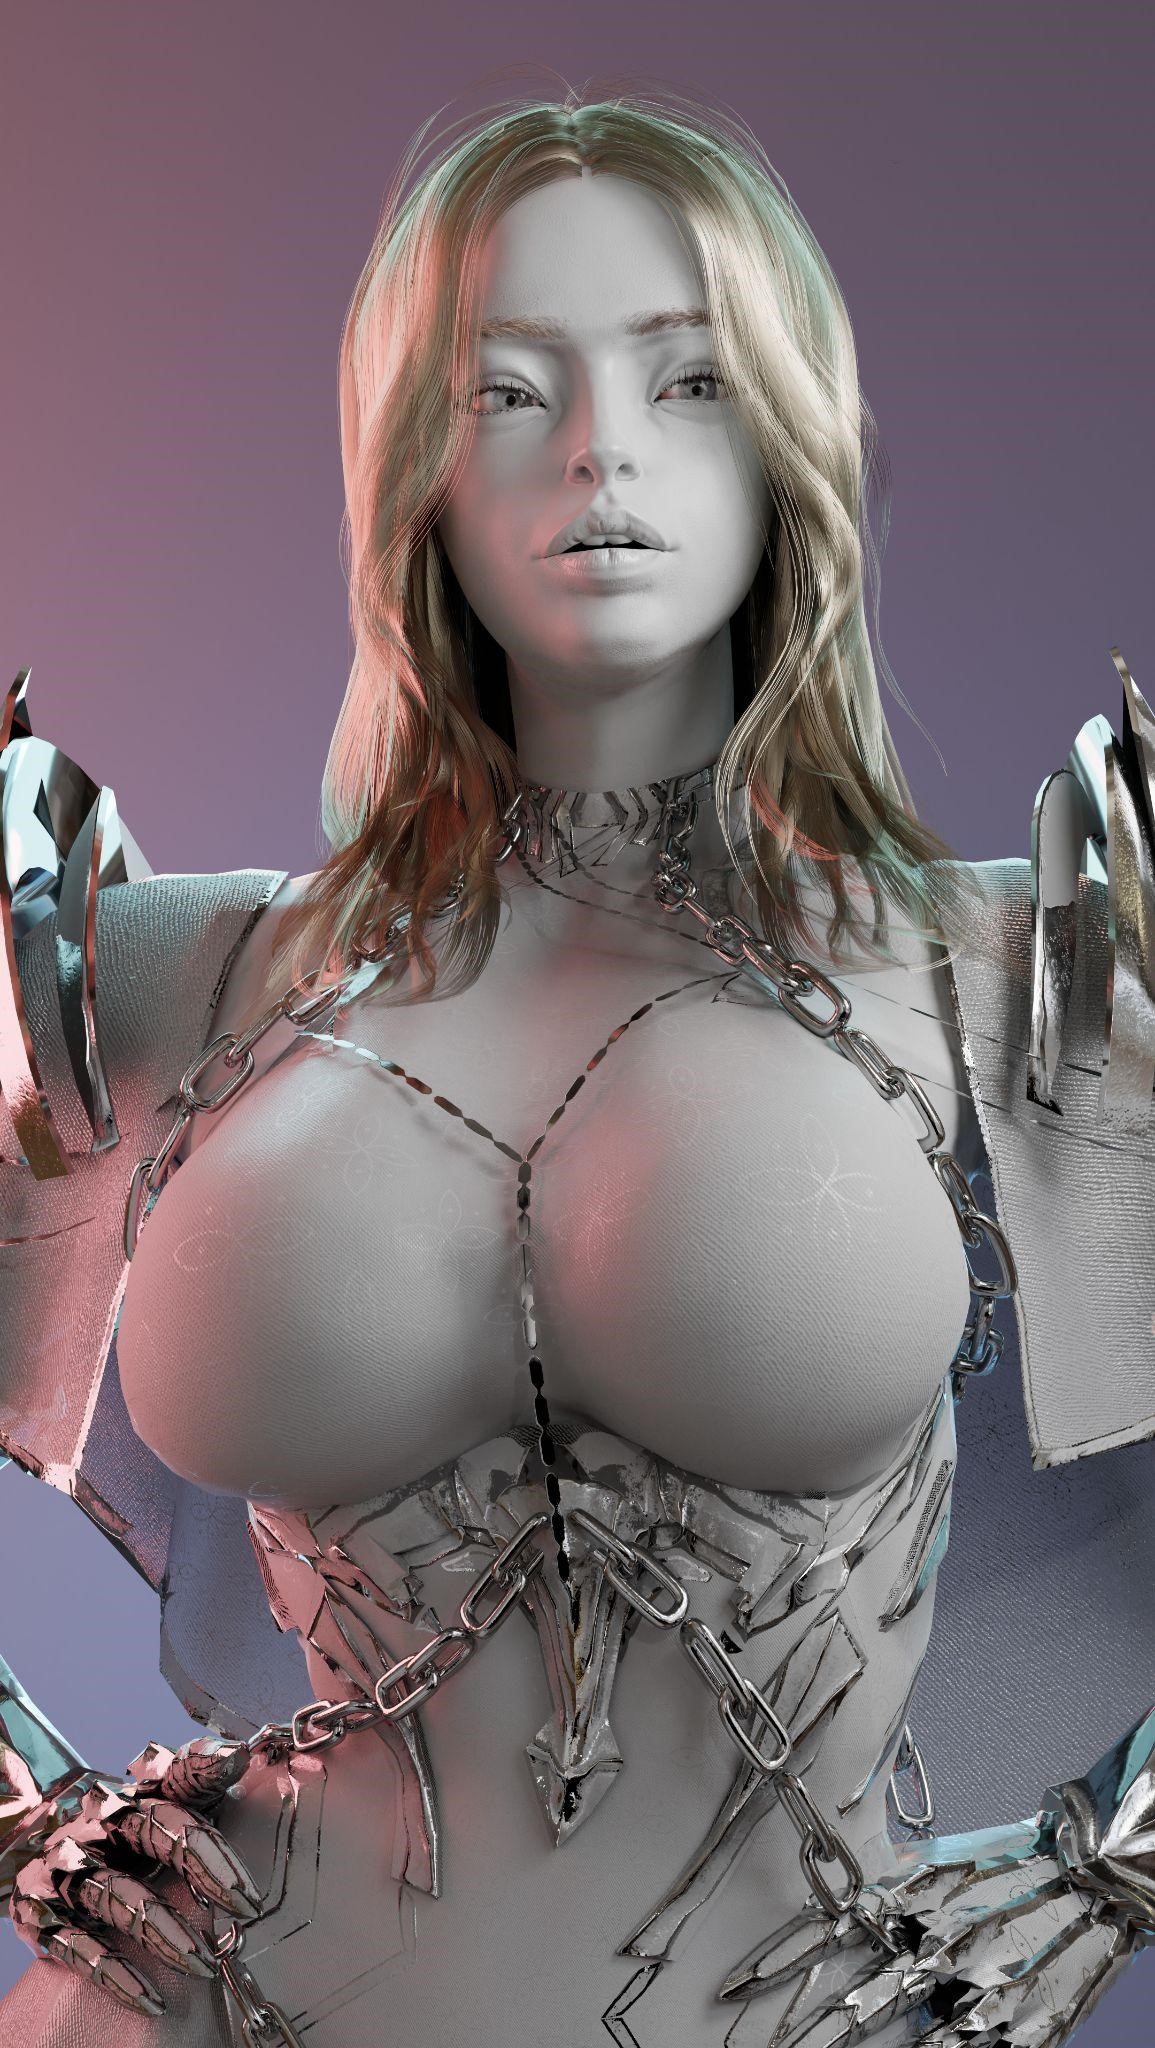
For the pores, I was heavily inspired by another artist—I referenced a lot of his settings and added some other things to bake the pore to make it repeat seamlessly. With the texture baked, I subdivided the character 7 times, but that was where I hit the limitation of Blender sculpting. While ZBrush could undoubtedly handle this much of detail, Blender couldn’t. So I decided to divide the mesh into four parts, and allocated each of their own UV’s. 
After I made the subdivision up to 7 again, things went smoothly. I baked the normals and displacements, and merged them back with a copy.
I deleted the multi-resolution modifier and converted the UV spaces to UDIM.
Texturing
Now that I have the modelling part done, it was time to move on to the texturing part. I used Substance Painter to do heavy lifting.
One strange thing however, maybe it’s a bug or I am missing something, is that whenever I export the normals with the clone layer on, Substance Painter exports the DirectX normals instead of OpenGL. I got around this problem by changing the document space to DirectX, and then it correctly exported as the OpenGL format. The second time I tried it while filming the courses, it exported just fine. I have no idea what caused it.
If your normals look awful, maybe that’s something to keep your eyes on.
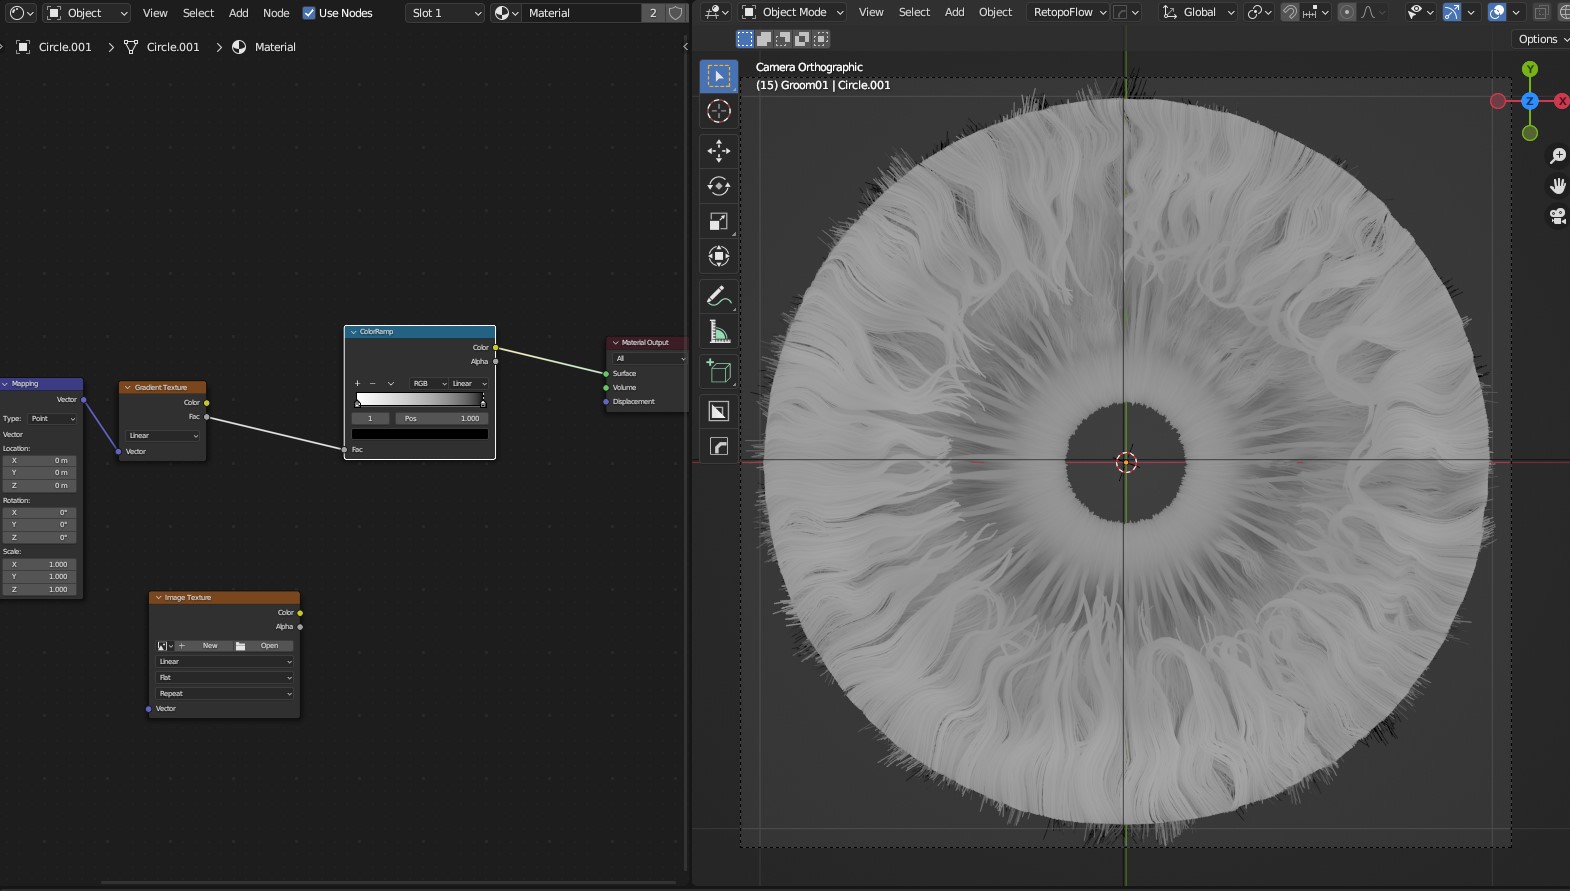
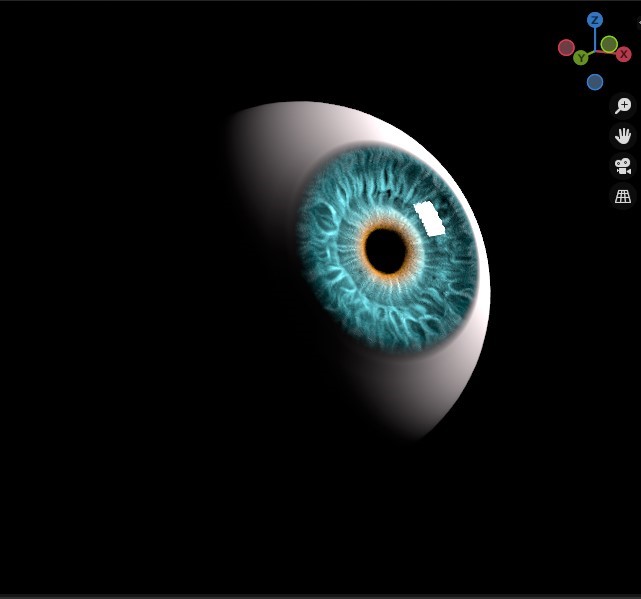
After I textured them all, I got to work on the eye!

Hair
After tuning down the complexions and skin tone, I readied some hairs to bake.
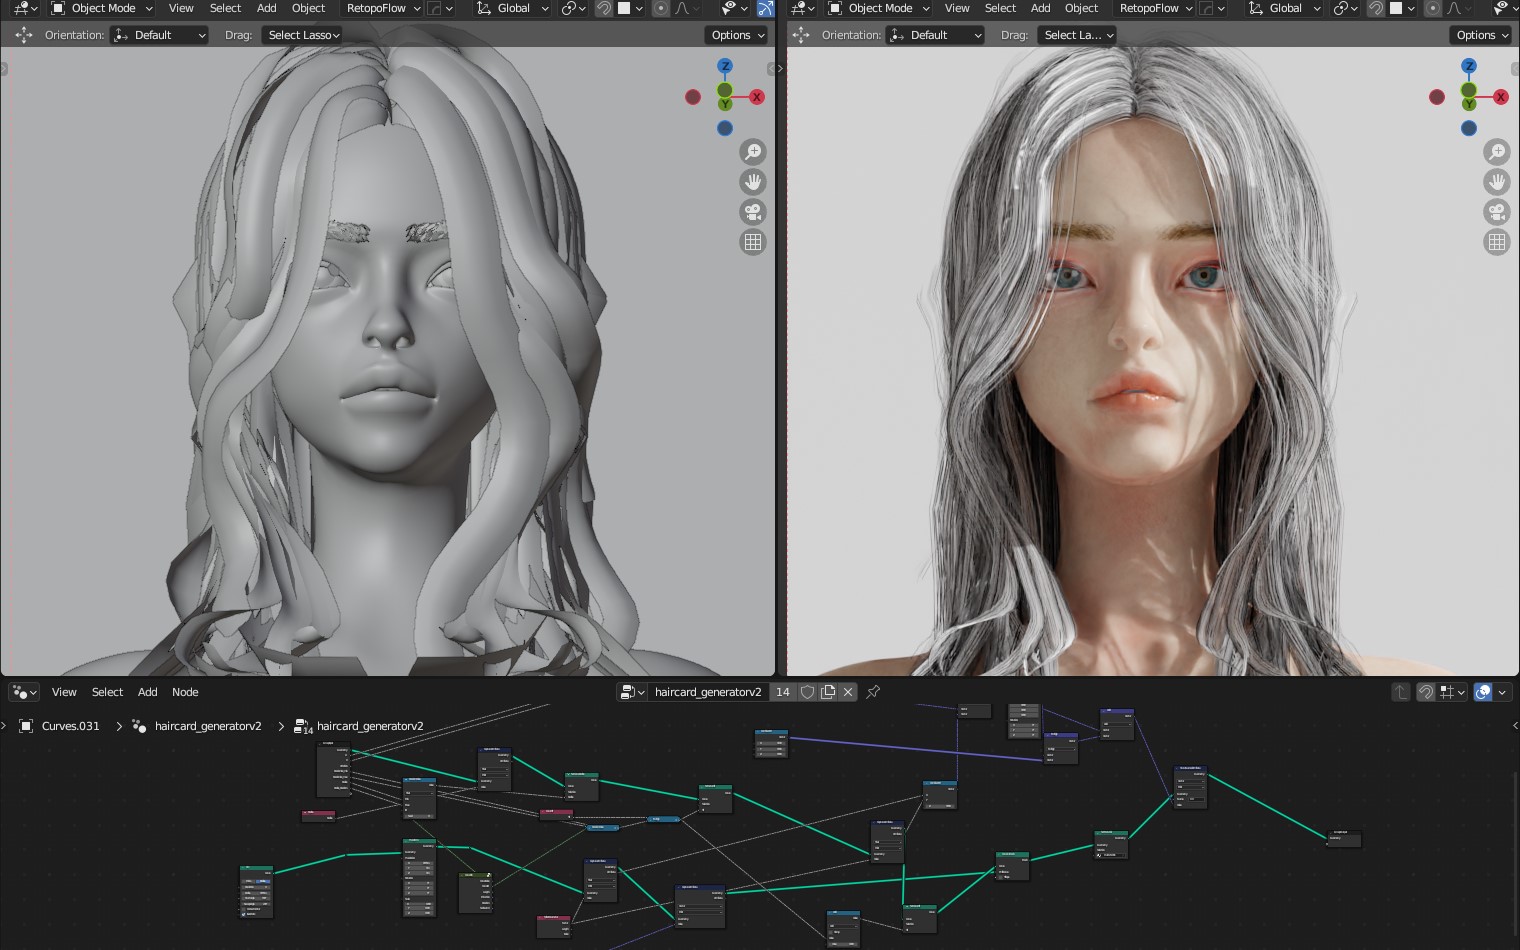
I recommend watching Creating hair for games in Blender on flipped normal. But as for planting the hair itself, I used geometry nodes. The node setup is a toned down version of Randy González’s work!
Basically, I needed a way to easily control each hair card while matching the hair curve so I could utilise Blender’s own sets of hair curve asset libraries. Yes, I could use the hair tool and in retrospect, that could have been so much easier.
However, I just wanted everything to be done in Blender without costing me any further, and if anyone was following my character course, I didn’t like the idea of viewers having to purchase all those different tools.
Rigging & Lighting
After arranging the hair the way I wanted to, I cleaned up the character and started rigging.
Some simple lighting, and done!
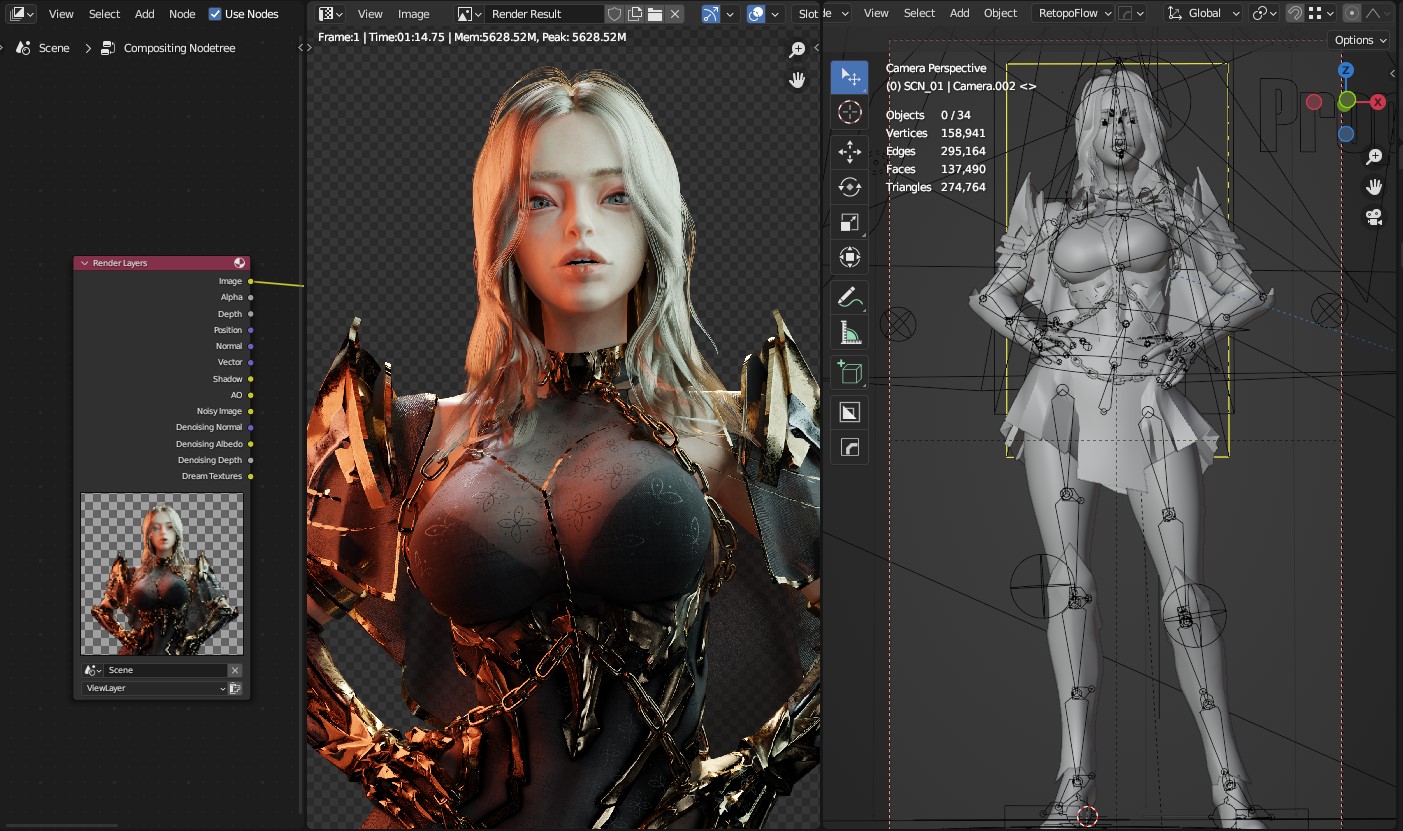
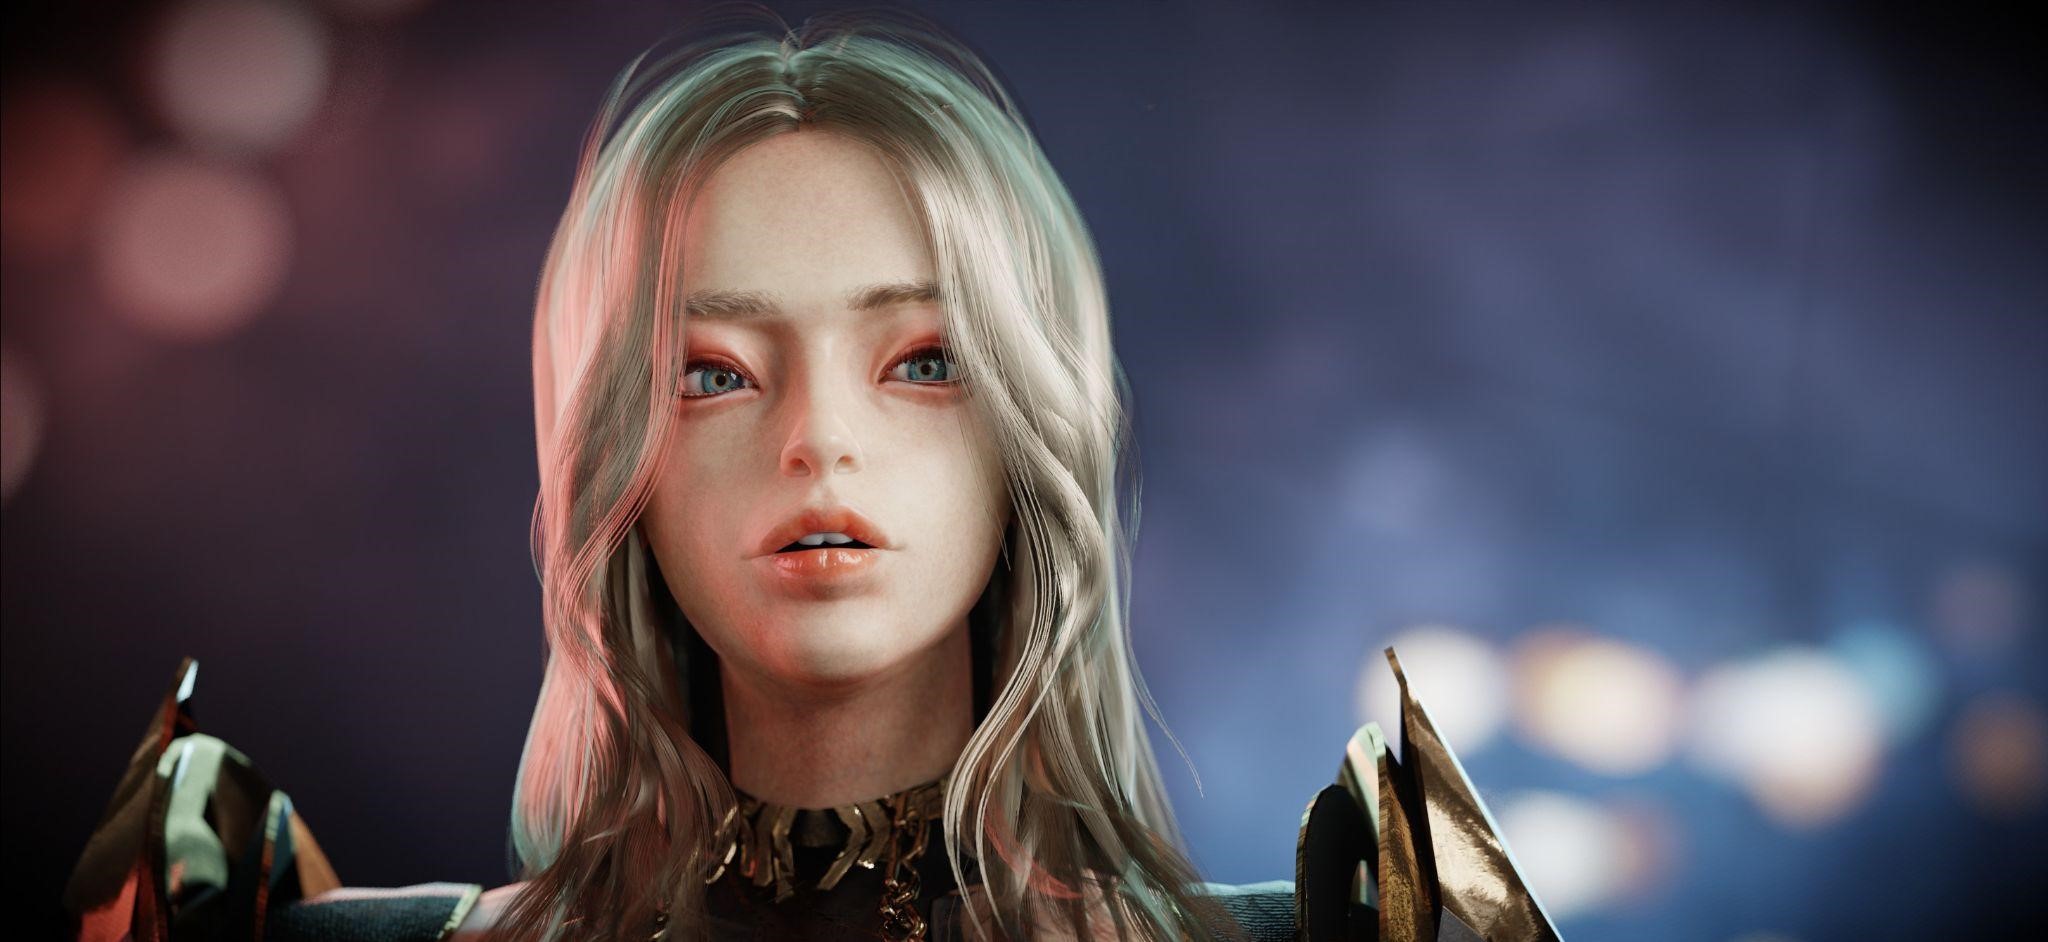
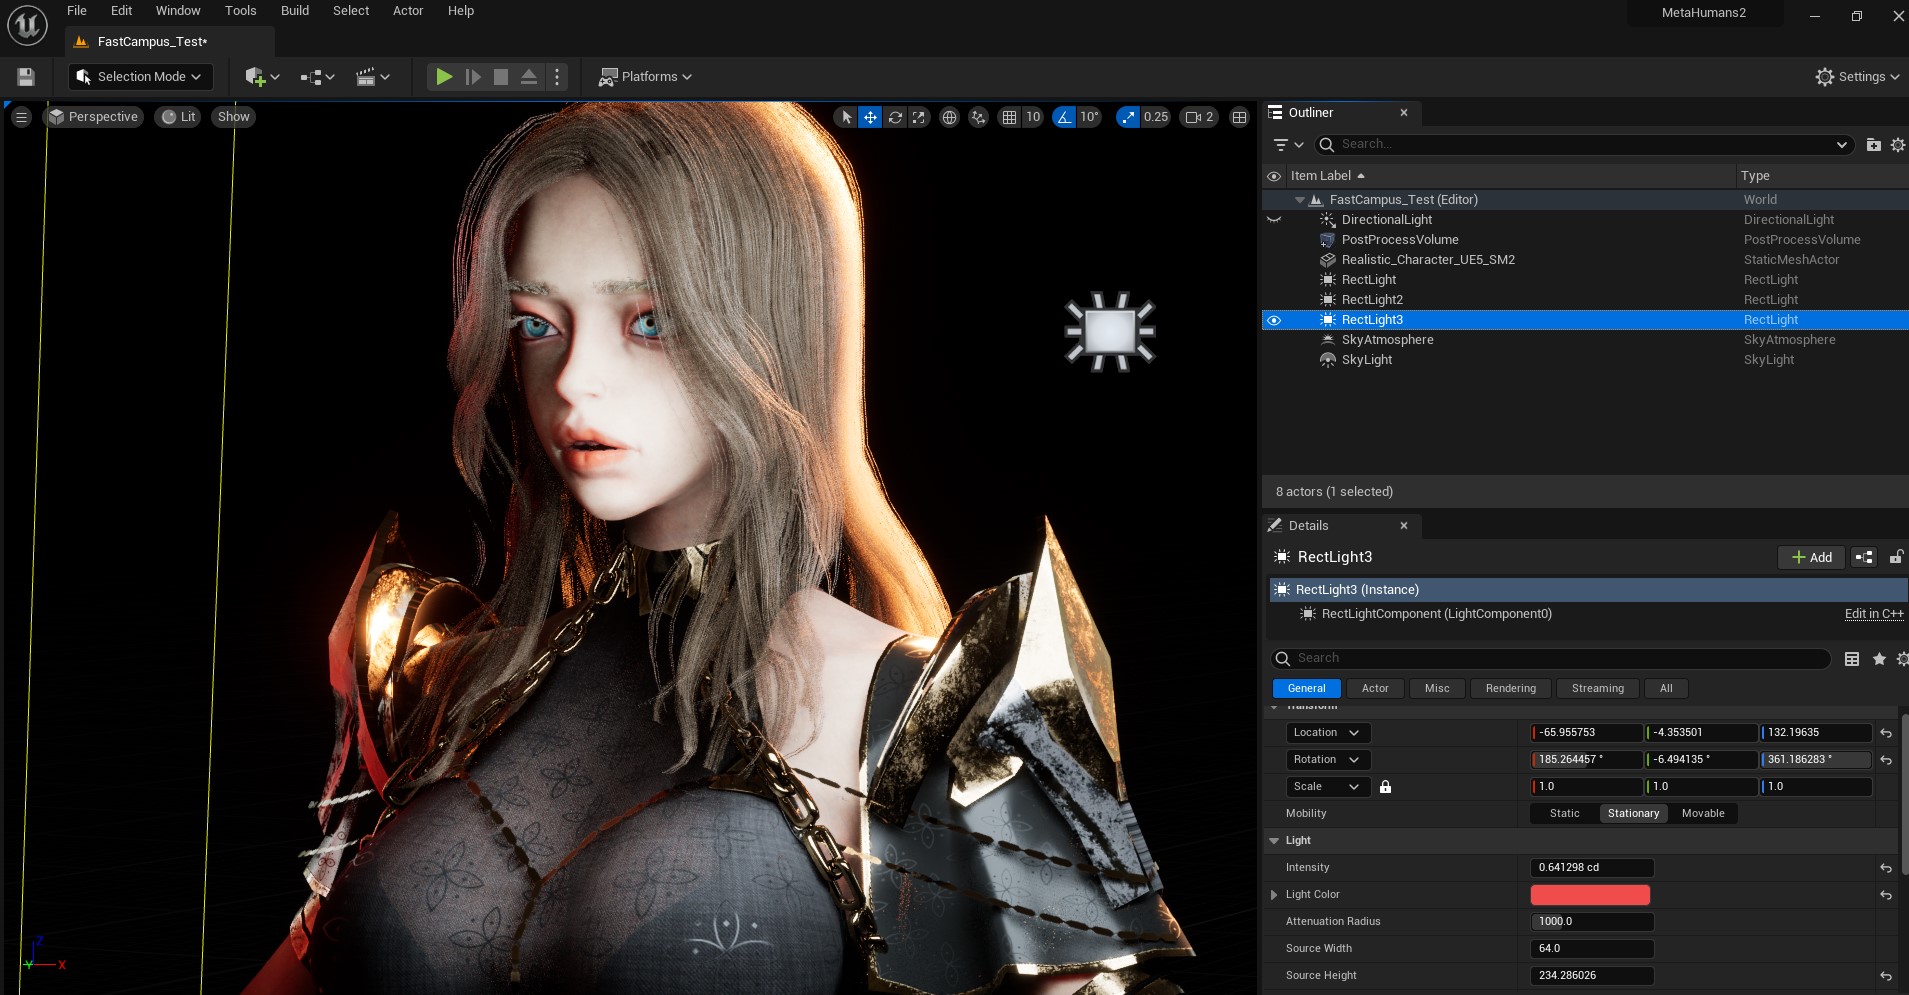
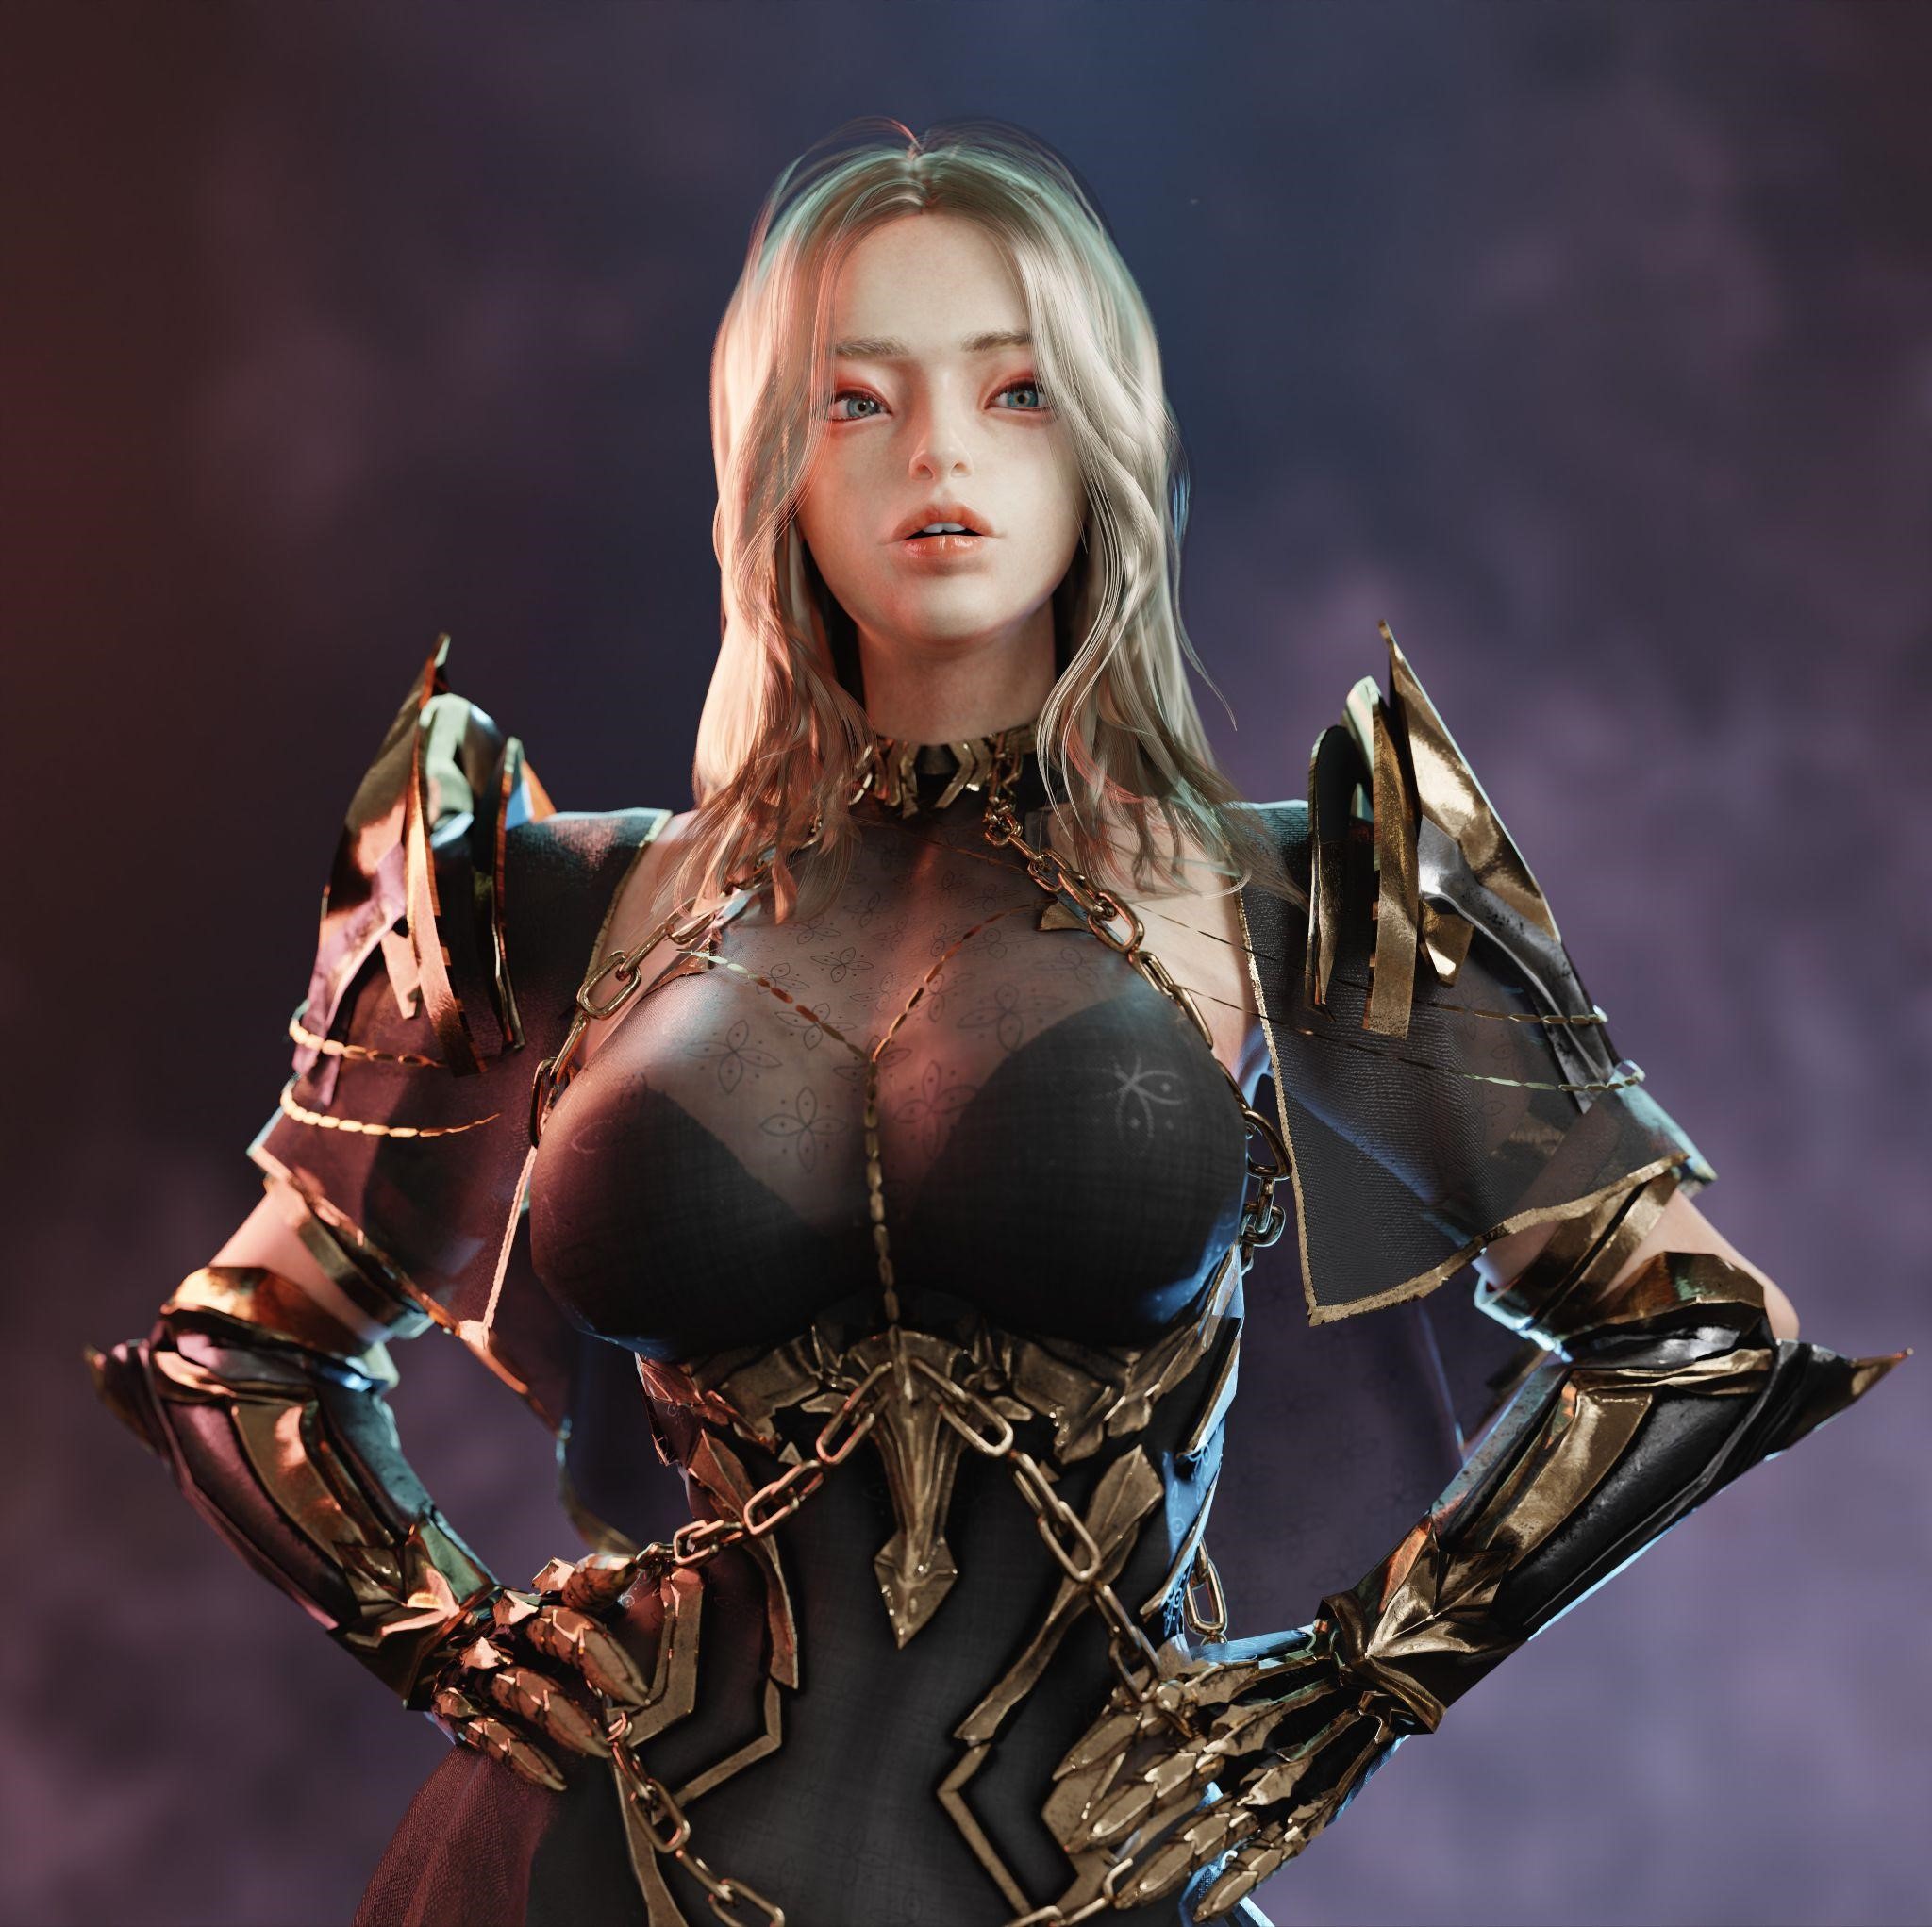
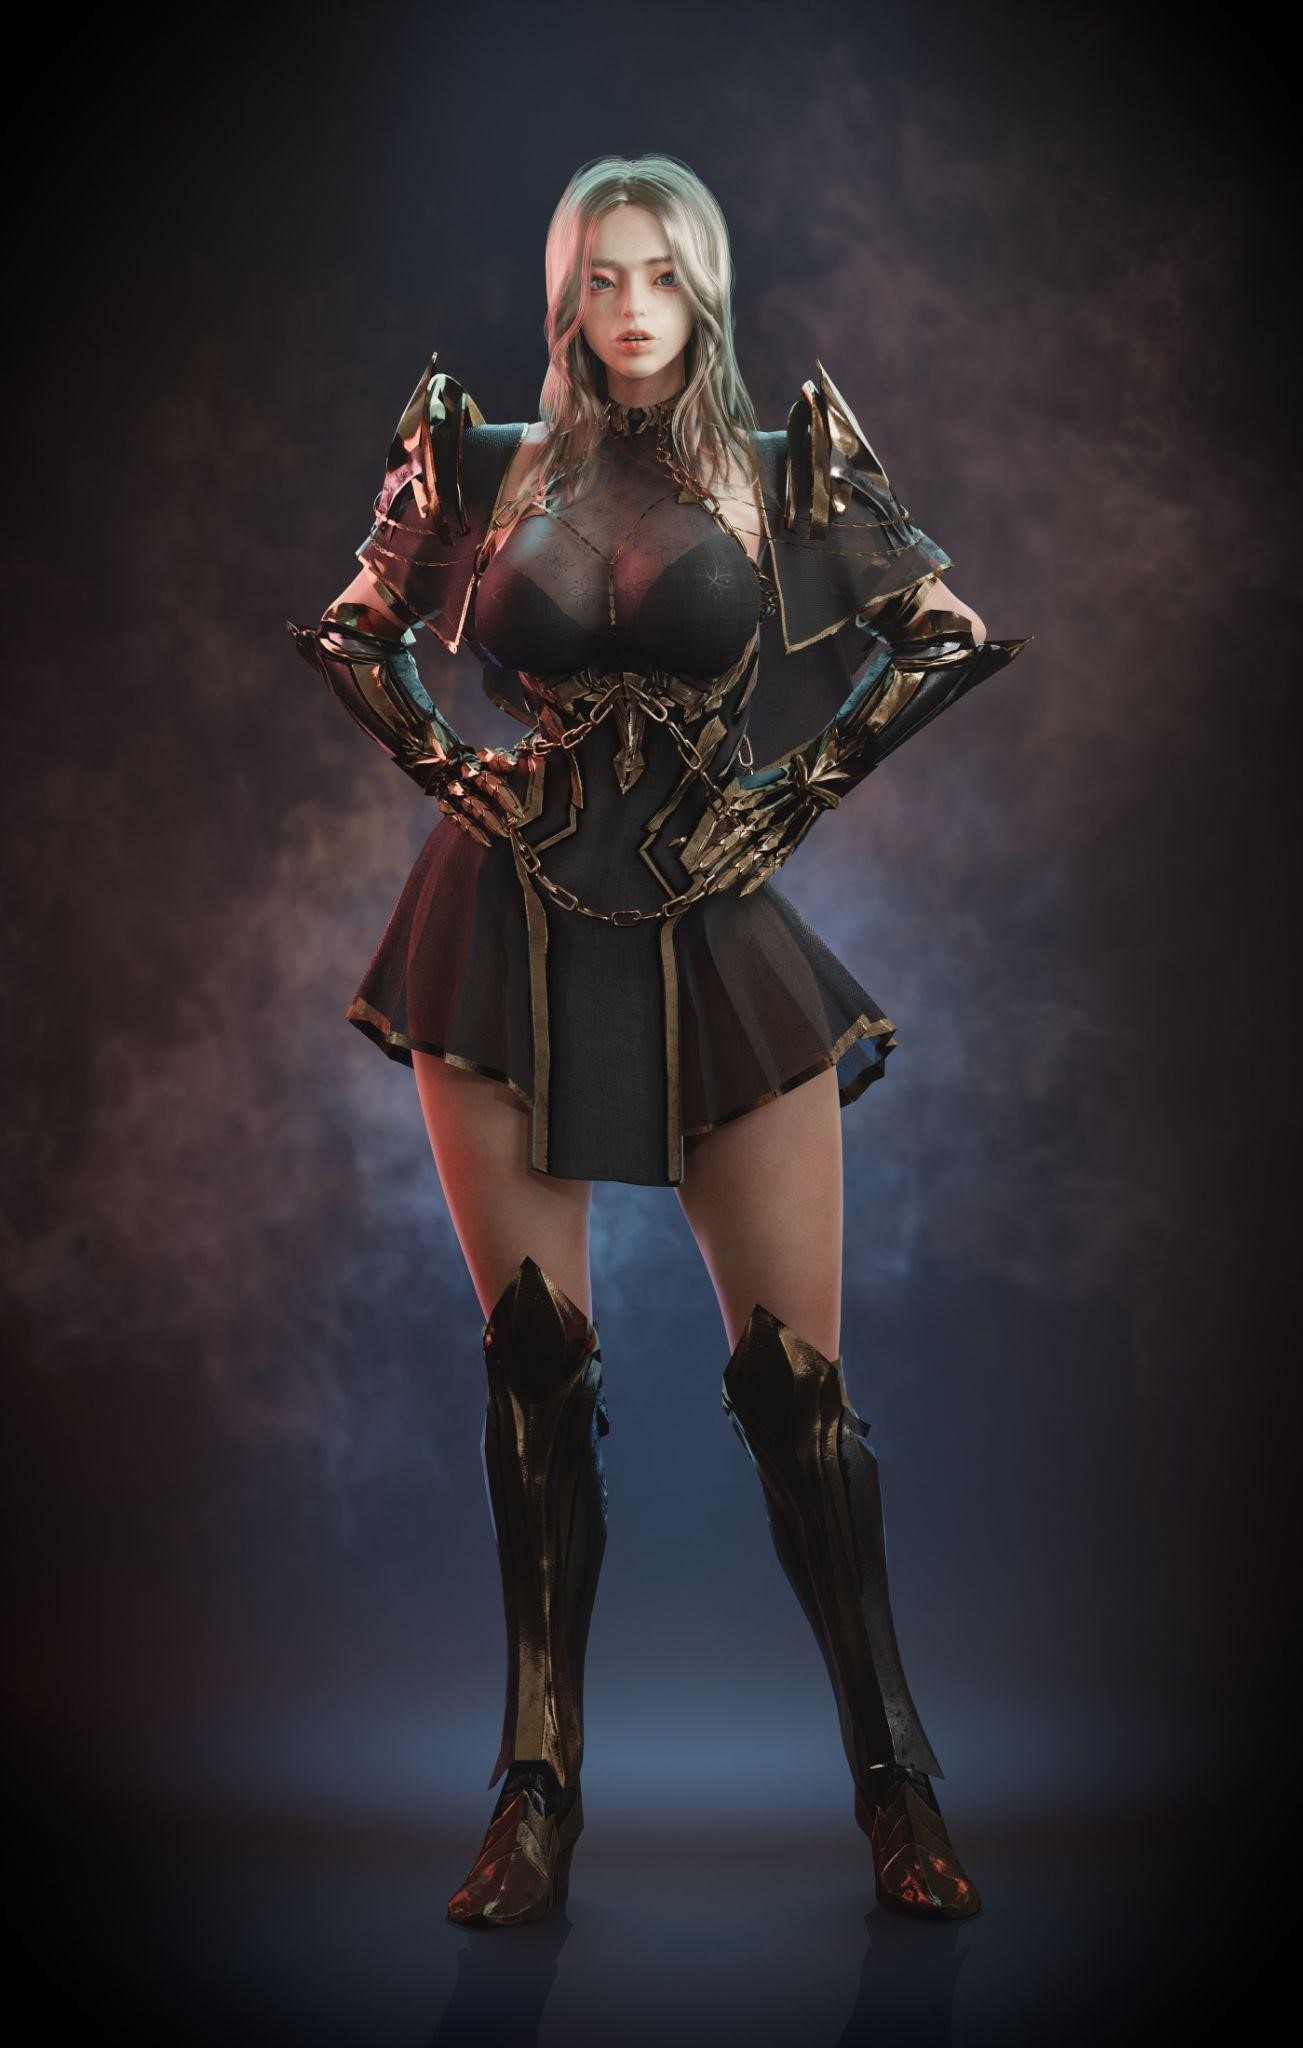
The character was made with Unreal Engine in mind, so here is the one rendered on Unreal Engine too!
Everything about the character was made with no external assets—the eyes were sculpted, the skin assets were generated, and the hair textures were baked!
RENDER – Fantasy Female Character for RPG
Thank you for all the support. Feel free to ask any questions, and if you like my work, follow me on social media. Have a good day!
About the Artist
Jay Choi (최재영) is a 3D artist from Seoul, South Korea, currently working as a team leader at amzstudio.llc (어메이징스튜디오 주식회사)


Hi Jay Choi! I feel like the head is a bit to small, compared to the rest of the body. Keep on the good work. Luc