INTRODUCTION
Hello, my name is Pierre Le Blond. I’ve been using Blender for years, and have made some video games in the past.
INSPIRATION
For this project, I wanted to create an anthropomorphic creature in a night scene.
Z-BRUSH
References
I collected some images about frogs and anthropomorphic frogs, and then imported them into ZBrush with Spotlight.
Modeling
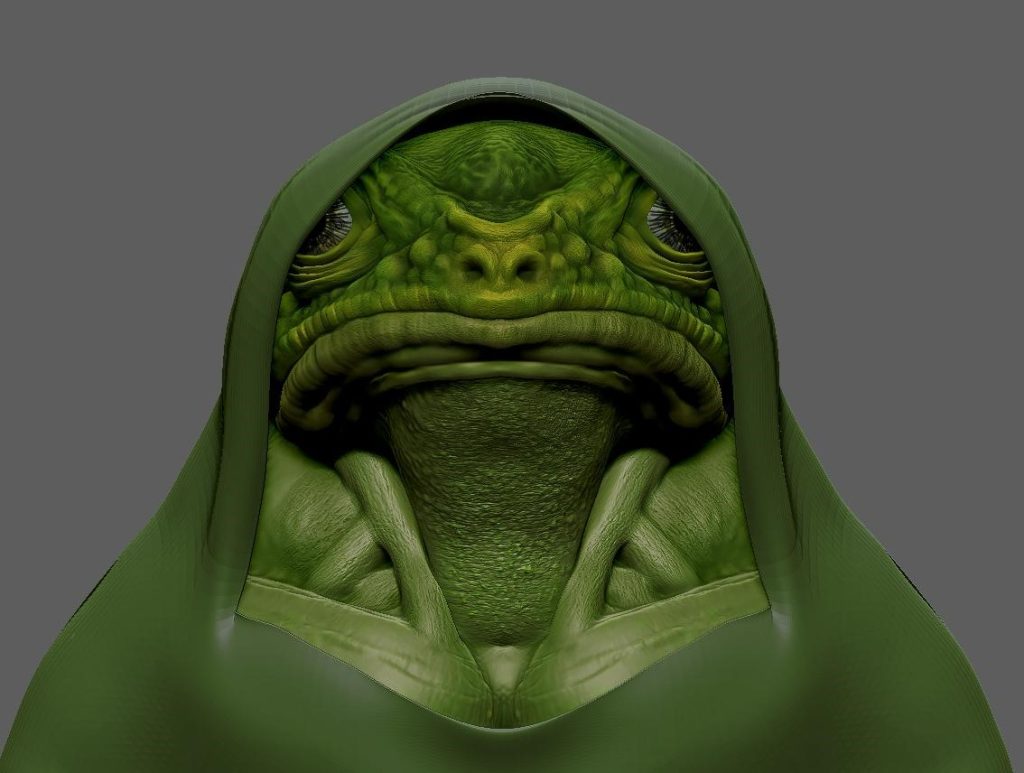
The frog was sculpted from Zspheres, with which I used a lot of Dynamesh. I started with the bigger shapes, and then the details. The skin was detailed with custom brushes. The colors were simple poly-paint; I didn’t use any textures. You can use a mask by cavity, blur it, and then paint on your model to reveal details.
The hood was made like this:
Mask a portion of the mesh with the MaskPen, then extract what would get a basic t-shirt. Use the Move tool to shape the hood, then use Dynamics, activate Collision Volume, and set the Firmness as desired. Run Simulation, and you will get a hood.
Texturing
To get a lighter model in terms of polygons, you can use Decimation Master and use “Keep Polypaint” to keep the colors of the model.
Then finally, export the model as .obj, which will contain the color data for use in Blender.
BLENDER
Shading
The shader of the frog is quite simple. I used a bit of subsurface and connected the Attribute node to the base color to get the vertex colors of the model directly from ZBrush. I used a low value for the roughness to get a wet look.
The clothes were made with textures from BlenderKit.
Lighting
I used 3 area lights to light the scene but decided not to use an HDRI. One of the lights is red to give the impression that the frog is near a red light. The photo in the background is from Unsplash (Lenonn Cheng), using emission in the shader.
Environment
The rain was made with the Baga Rain Generator, which is a nice plugin. You have to activate Motion Blur in the render panel. I then used Add Rain Shader to the hood to give it a wet look.
The camera used depth of field with a F-Stop of 0.1 to make the background plane blurry.
I used Blender's Cycles to render this scene.
Affinity Photo: Post-Processing
In Affinity Photo, I added noise, for I find that it makes the image more photo-realistic and sharper. To get an even sharper image, duplicate the base layer and set it as Vivid Light. Then: Filters => Sharpen => High Pass.
RENDER - Under the Rain at Night
Thank you for all the support. Feel free to ask any questions, and if you like my work, follow me on social media. Have a good day!
About the Artist
Pierre Le Blond is a 3D art hobbyist from France.


