Behind the Scenes: Lego X-Wing

INTRODUCTION
Hello, I am Who. I am a self-taught 3D generalist and have been using Blender for around 6 years now, my main focus being mostly on lighting and materials.
INSPIRATION
Since I first saw it, I have thought that The Lego Movie is one of the most beautifully lit animated movies ever. The imperfections and sub-surface scattering on the bricks come through so well, it feels like you could reach out and touch them. Combined with the fact that I really like Lego, it has served as an inspiration for me to pursue making realistic Lego renders and animations since I began working in Blender.
The inspiration for this particular scene was mainly the introduction of the “Volume to Mesh” modifier into Blender. I wanted to see if I could make a Lego Movie-style smoke simulation, and the rest of the render just grew out of that.
PROCESS
Modeling
I always begin by building my models in LeoCAD, a lego building CAD tool. This is much easier than manually modeling and building everything in Blender.
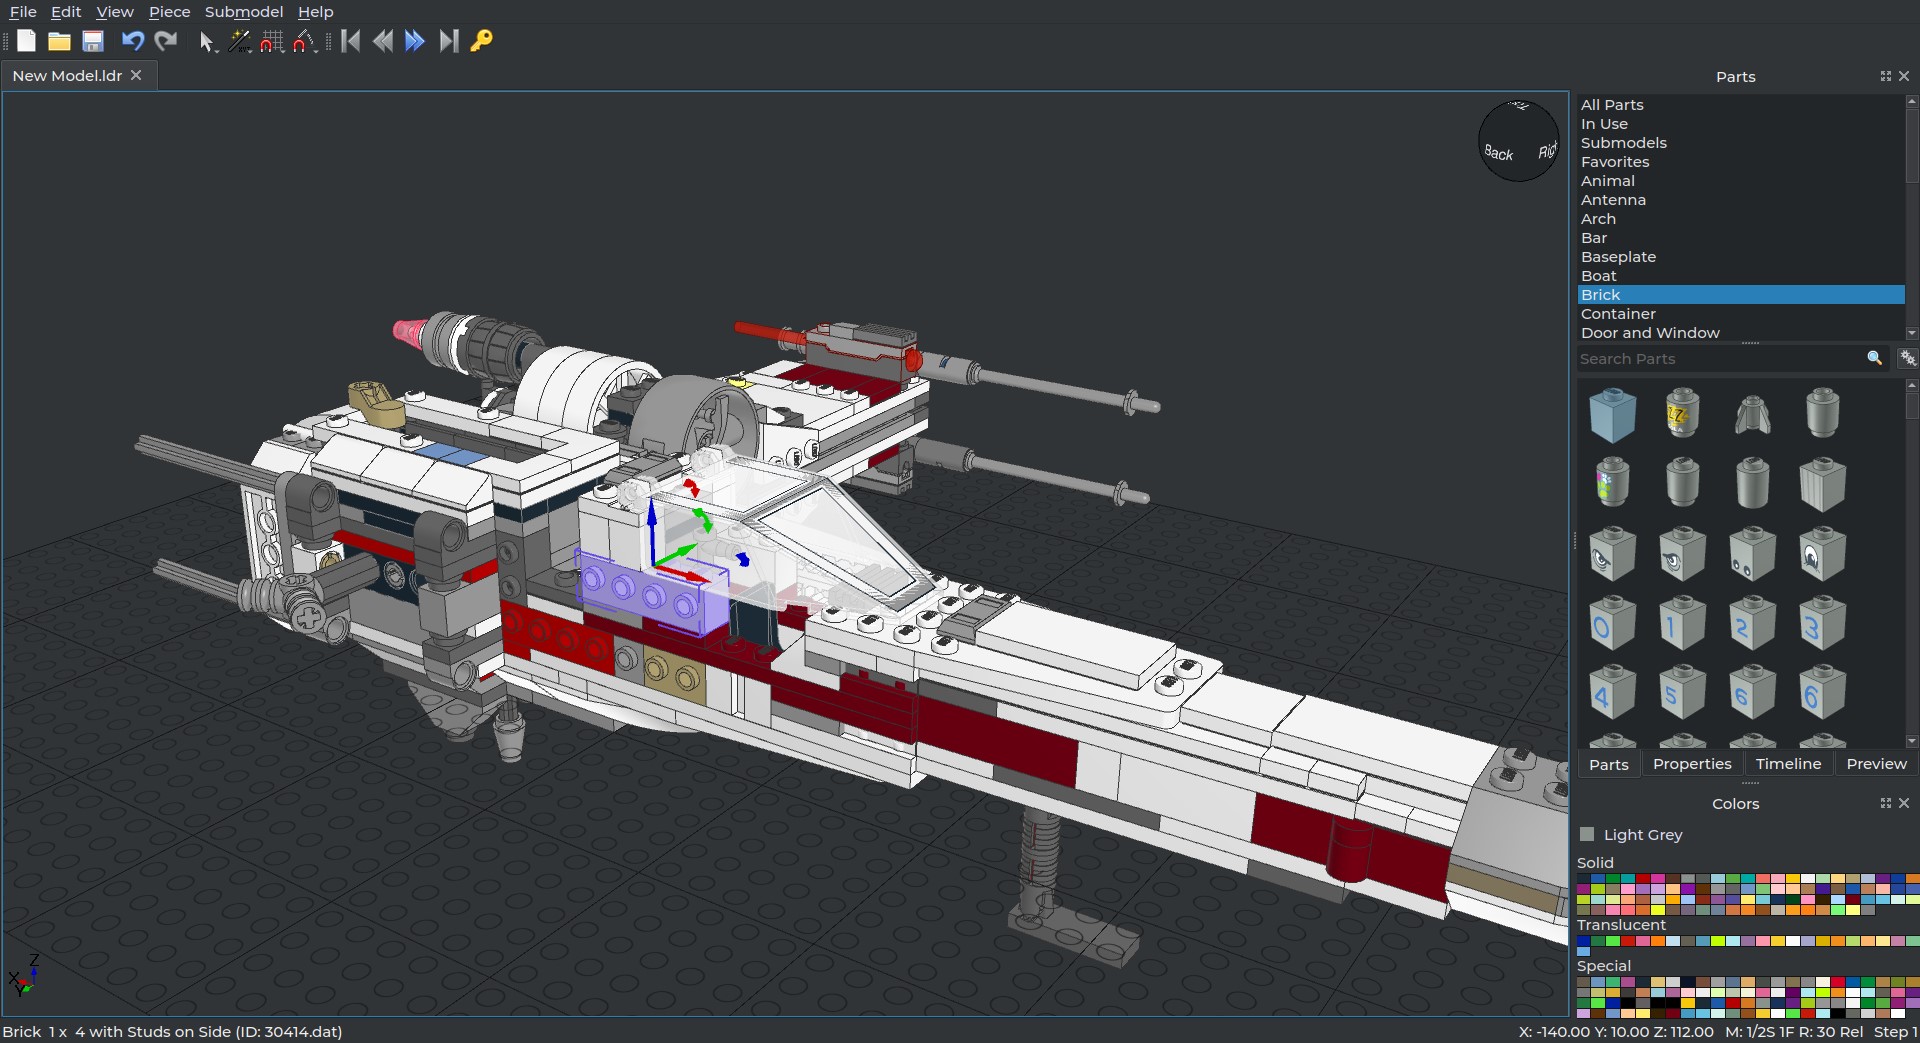
Once I finished building the models, I exported them to Blender as a Collada. I cleaned up the meshes, as the models that come out of LeoCAD are low-poly. I then applied some bevel modifiers to round off the edges, and applied the Lego material I use. I made it myself, and you can download it for free on my website.

Ground
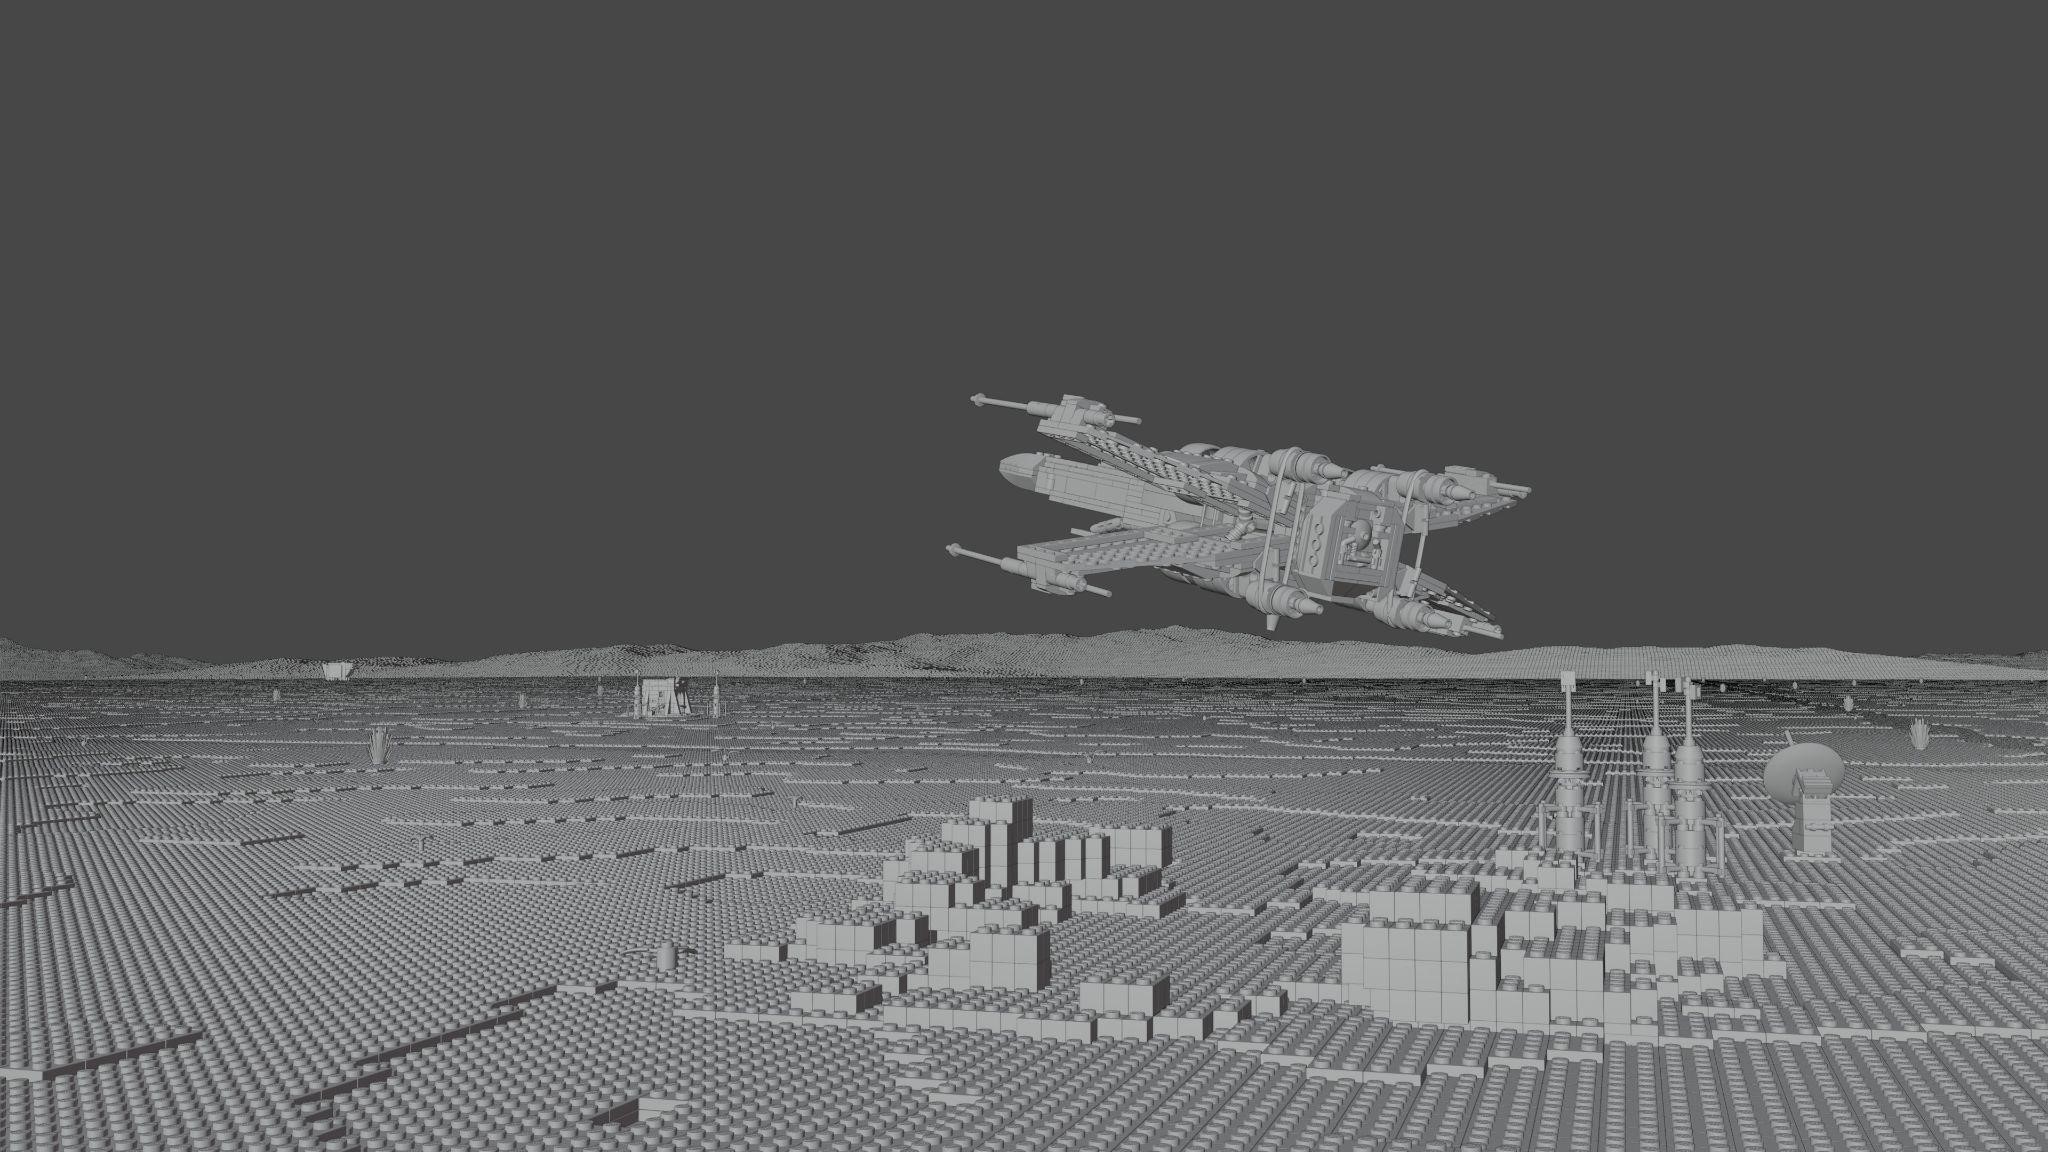
For the ground, I generated a landscape using Blender’s built-in A.N.T. Landscape add-on, added a remesh modifier to turn it into blocks, and applied a lattice to squeeze the blocks to the right height.
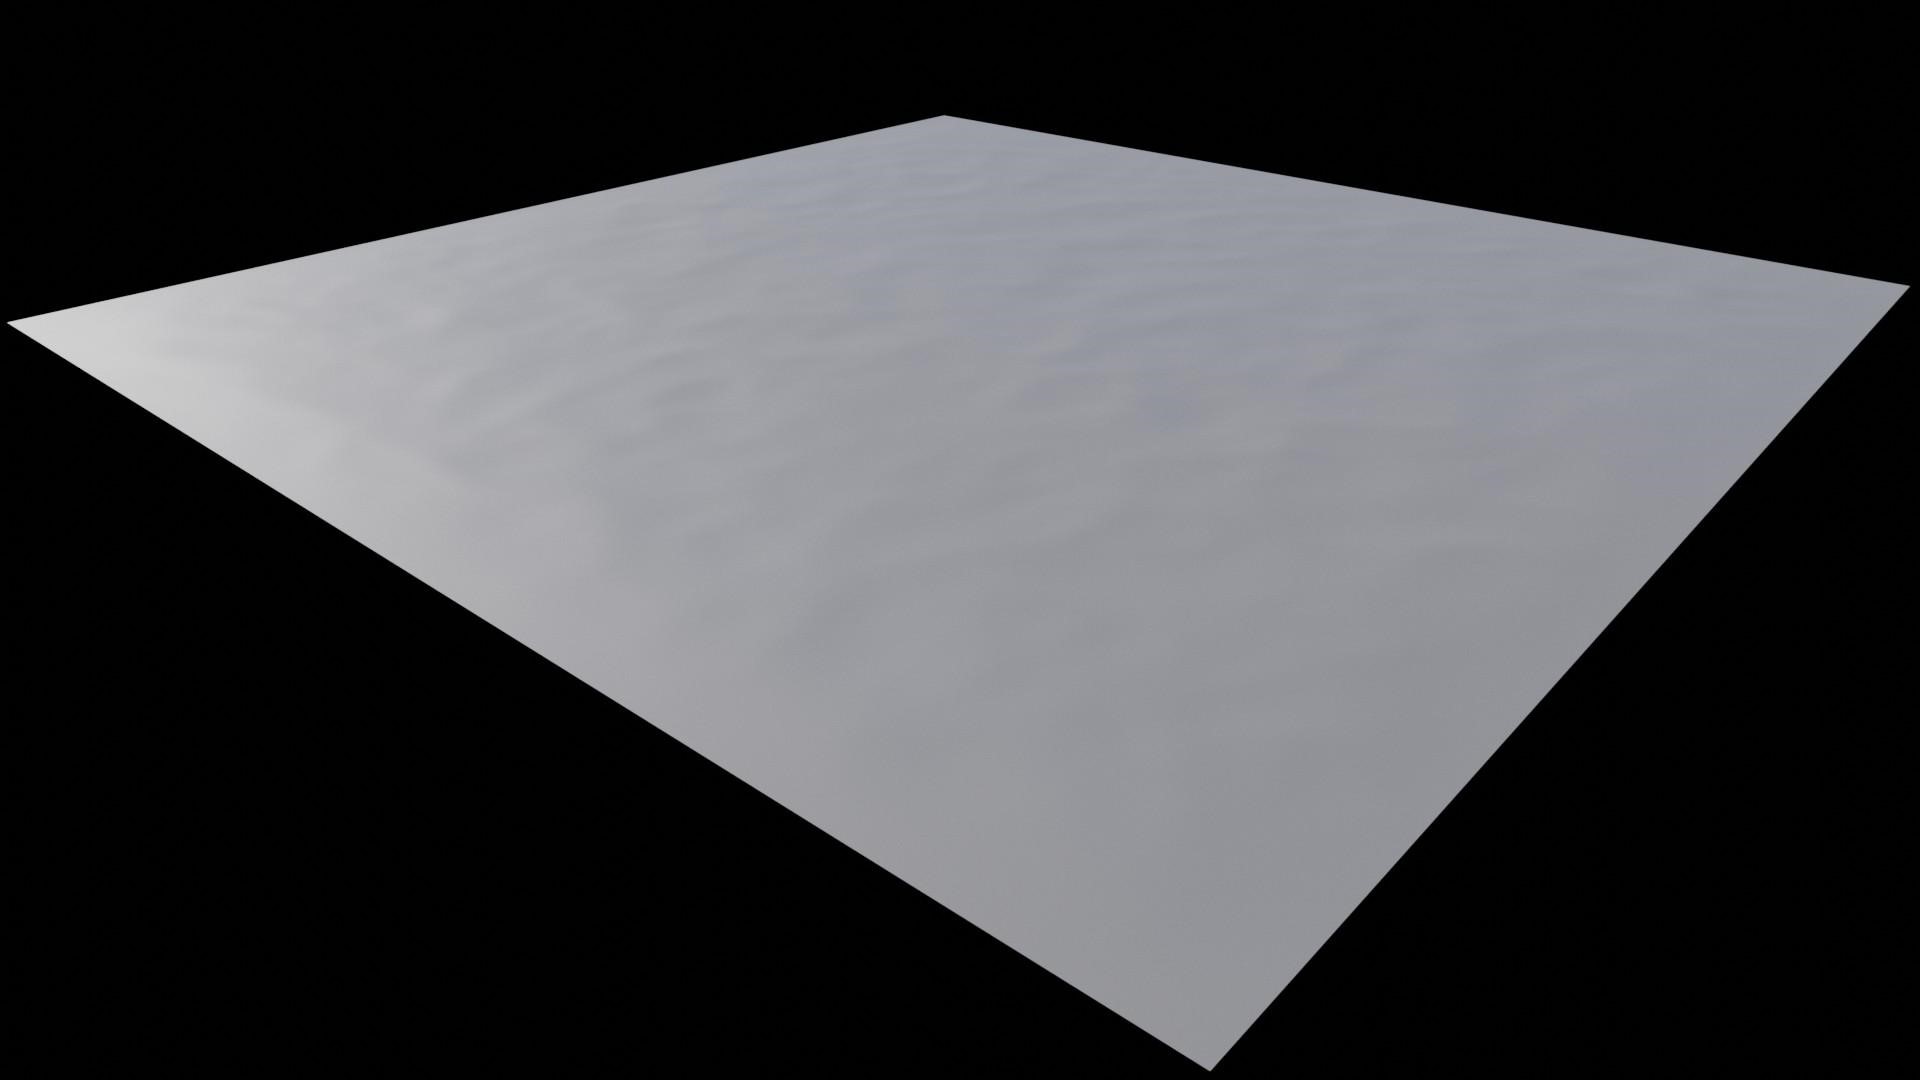
I then used Blender’s old instancing system to add a 2×2 Lego plate to all the vertices.

This created an uneven desert surface that I could scale to however big I needed, using array modifiers.

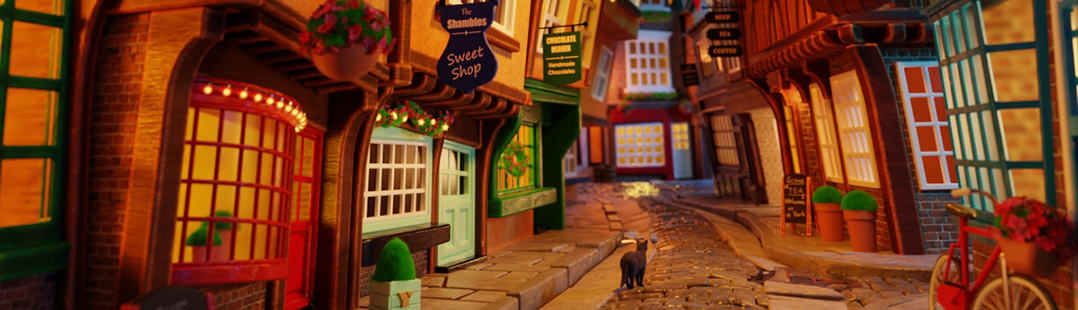
To fill out the scene, I used a quick geometry node setup to scatter some plants across the landscape. I also added some mountains to the background to help break up the flatness of the scene. They do not have bricks instanced onto them, as I figured they were too far away to notice, but they do have a remesh modifier to give them a blocky outline. For some background props, I added a building, a radar dish, a sandcrawler, and some moisture vaporators.

Smoke Simulation
The main technical achievement of this render was the brick-ified smoke simulation. Although this would have been easy with geometry nodes, I had been working on this scene since before they were released, so this solution is much more complicated.
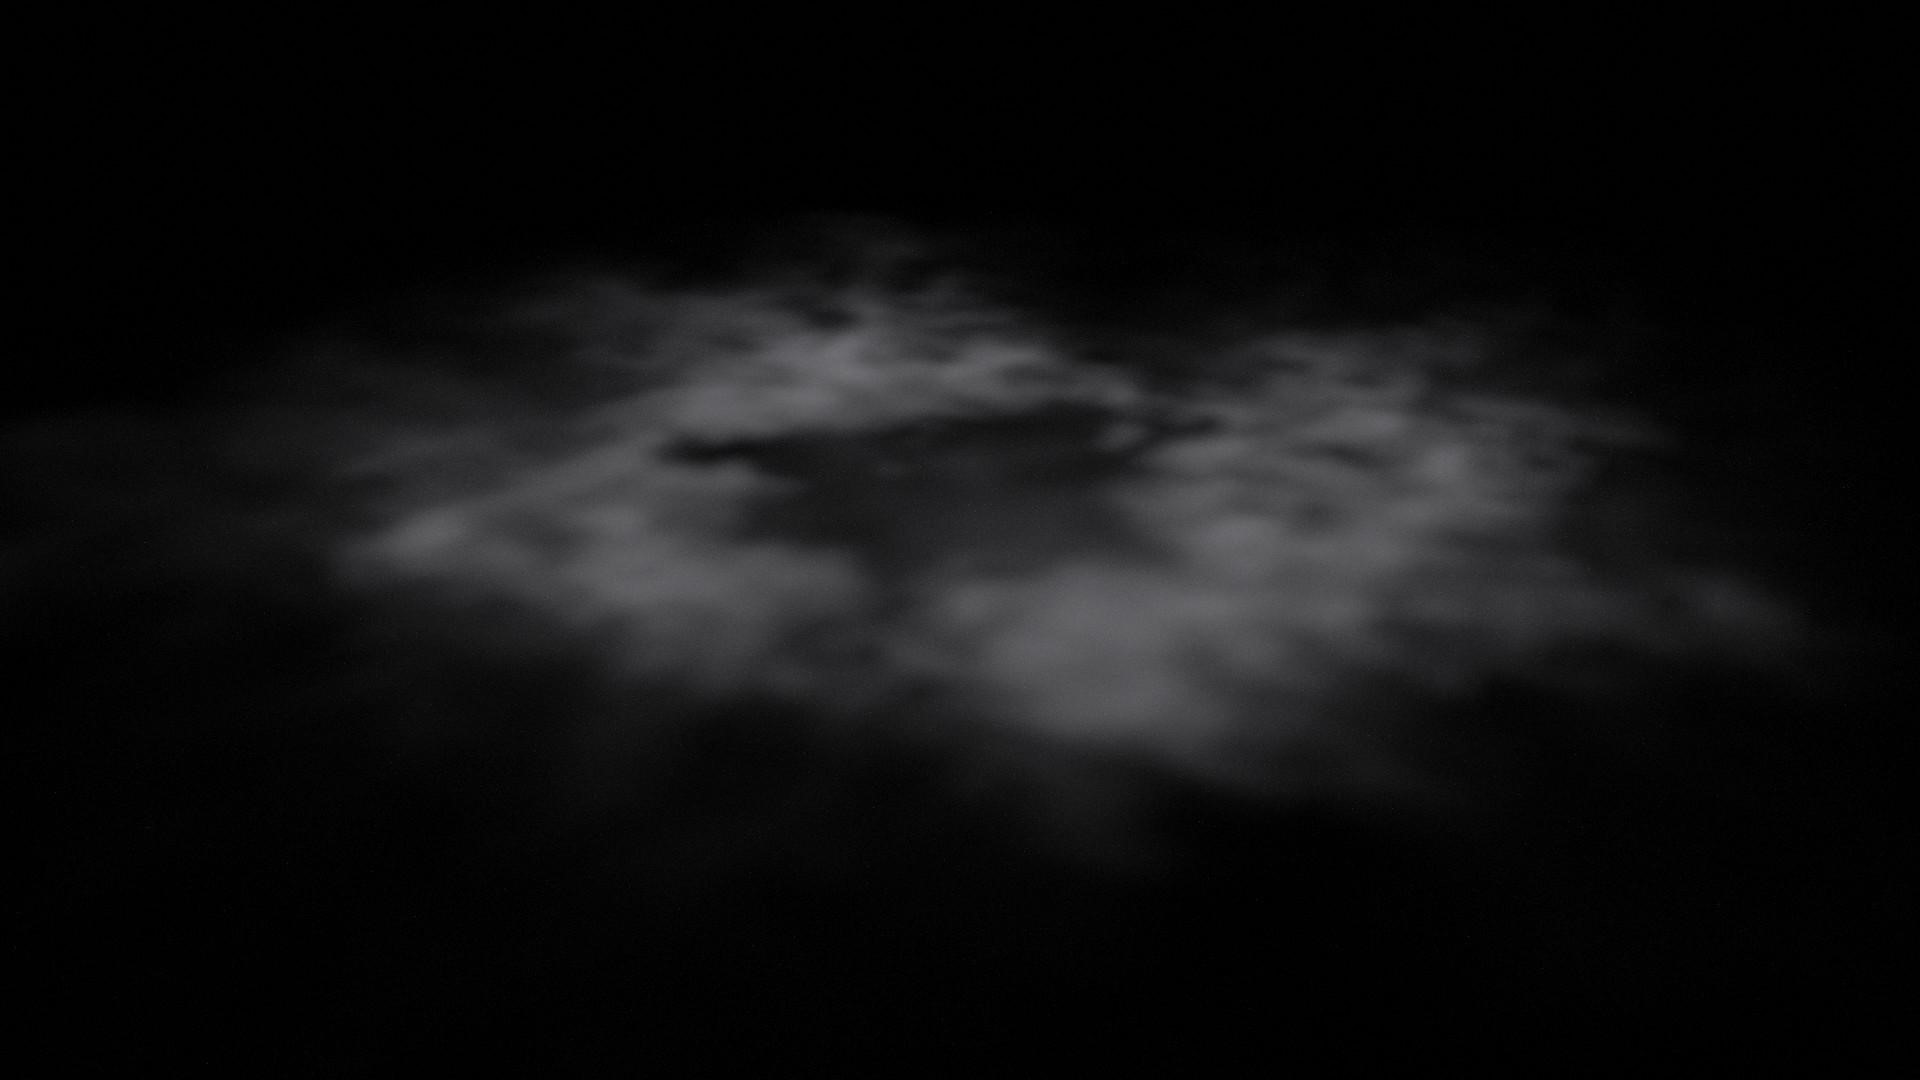
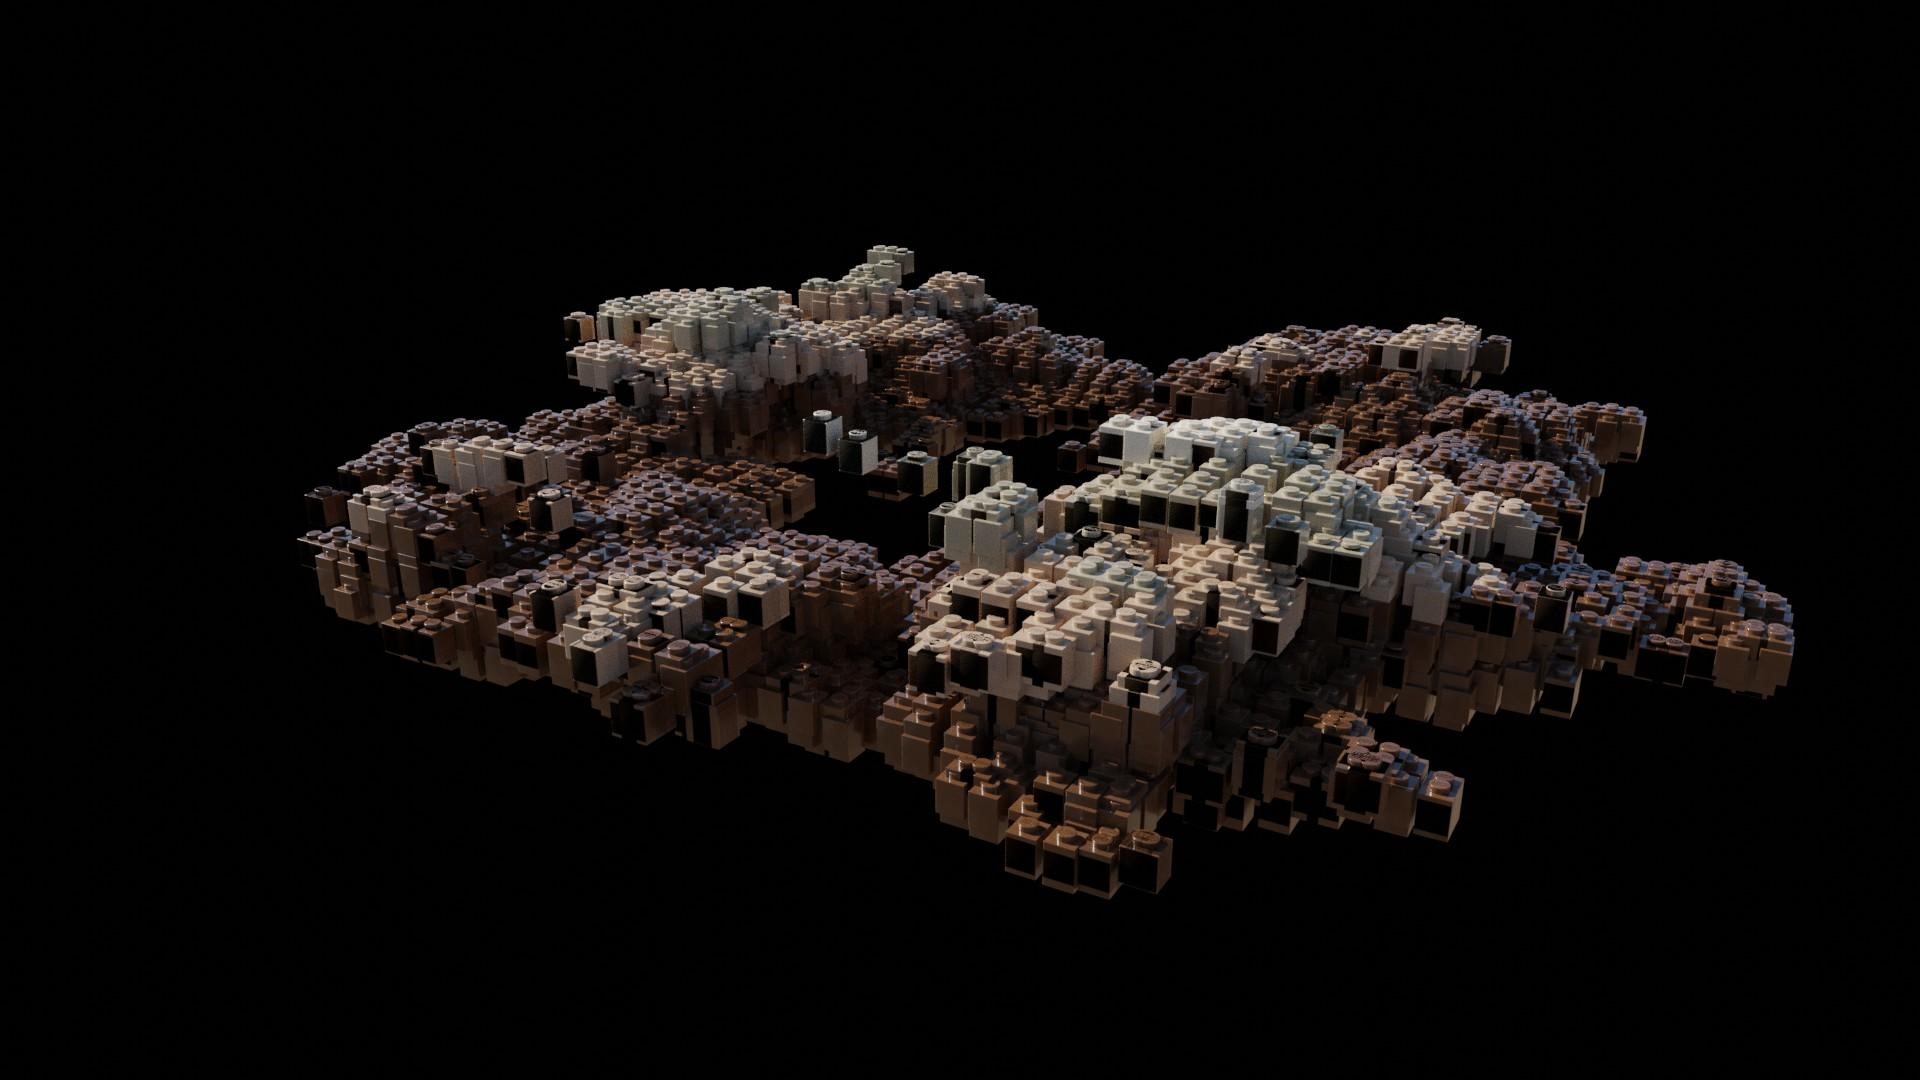

It builds off the concept in a Ray Mairlot tutorial about how to create a Lego fluid simulation from back in the 2.7X days.
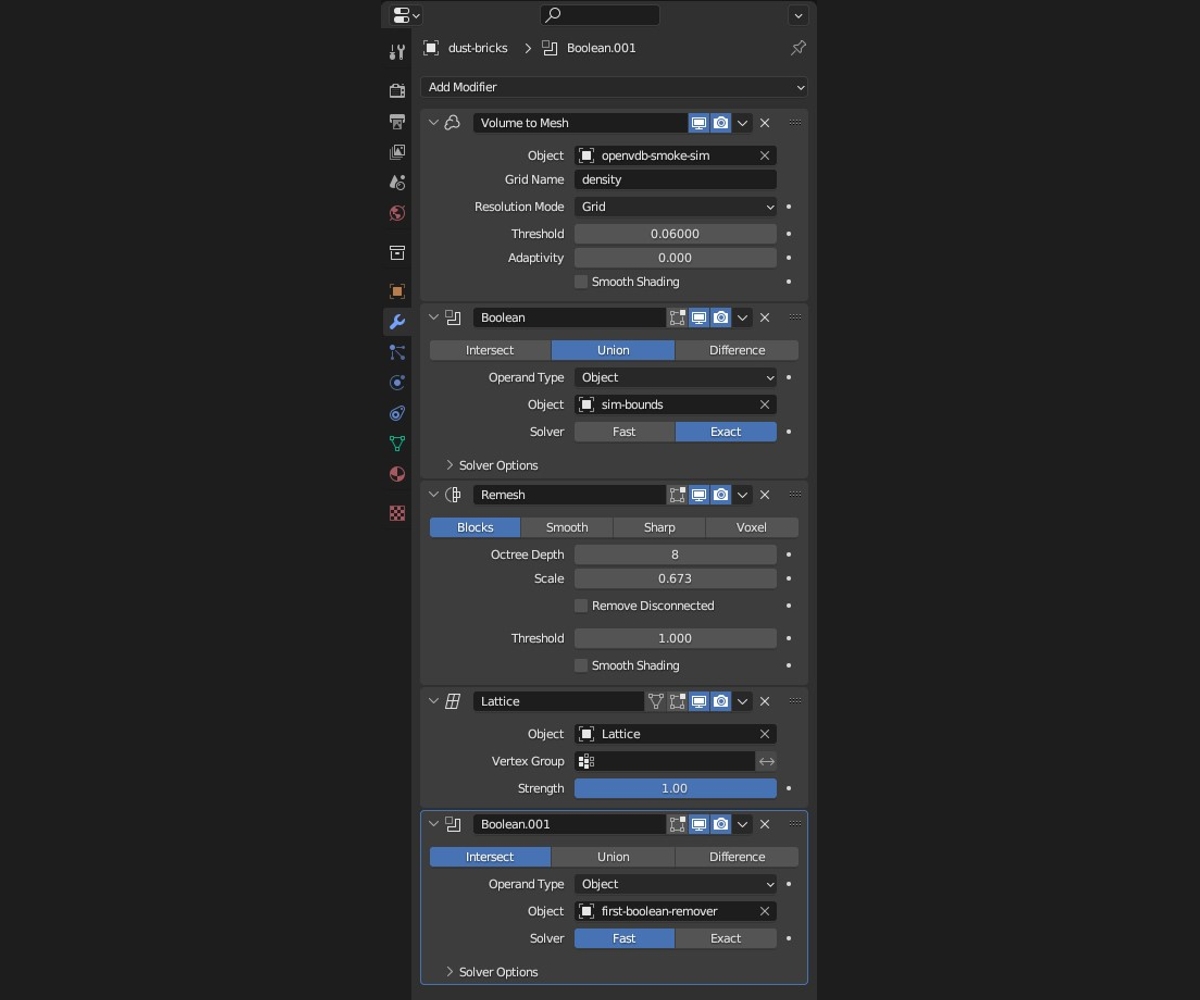
I applied the concepts from that tutorial, but used a smoke simulation and volume-to-mesh modifier instead of a fluid sim. For the material, I used a color ramp with different colors that was mapped to the height of the object. This was done so that as the bricks got higher, the material would change color. Here is a video of how it looks in action:
Here is the modifier stack I used. The boolean modifiers are just for creating a bounding box to make sure the remesh modifier does not change spacing over time. If you want more details, you can check out Ray’s video.
Lighting
I used an HDRI from Polyhaven called Drakensberg Solitary Mountain for lighting, and added a tiny bit of volumetrics to give the scene a dusty feel.

Once this was all done, I animated the X-Wing, camera, and a couple of background elements. When rendering out the animation, I used Blender’s frame step feature to only render out every second frame, so I could mimic the look of traditional stop-motion animations. This also allowed me to cut down on render times, as I only had to render half the frames.
Compositing
For compositing, I did most of it in Natron, with glare done in Blender’s compositor. This is just because when I started this project, bringing filmic EXRs back into the Blender compositor wasn’t possible, but it was in Natron.
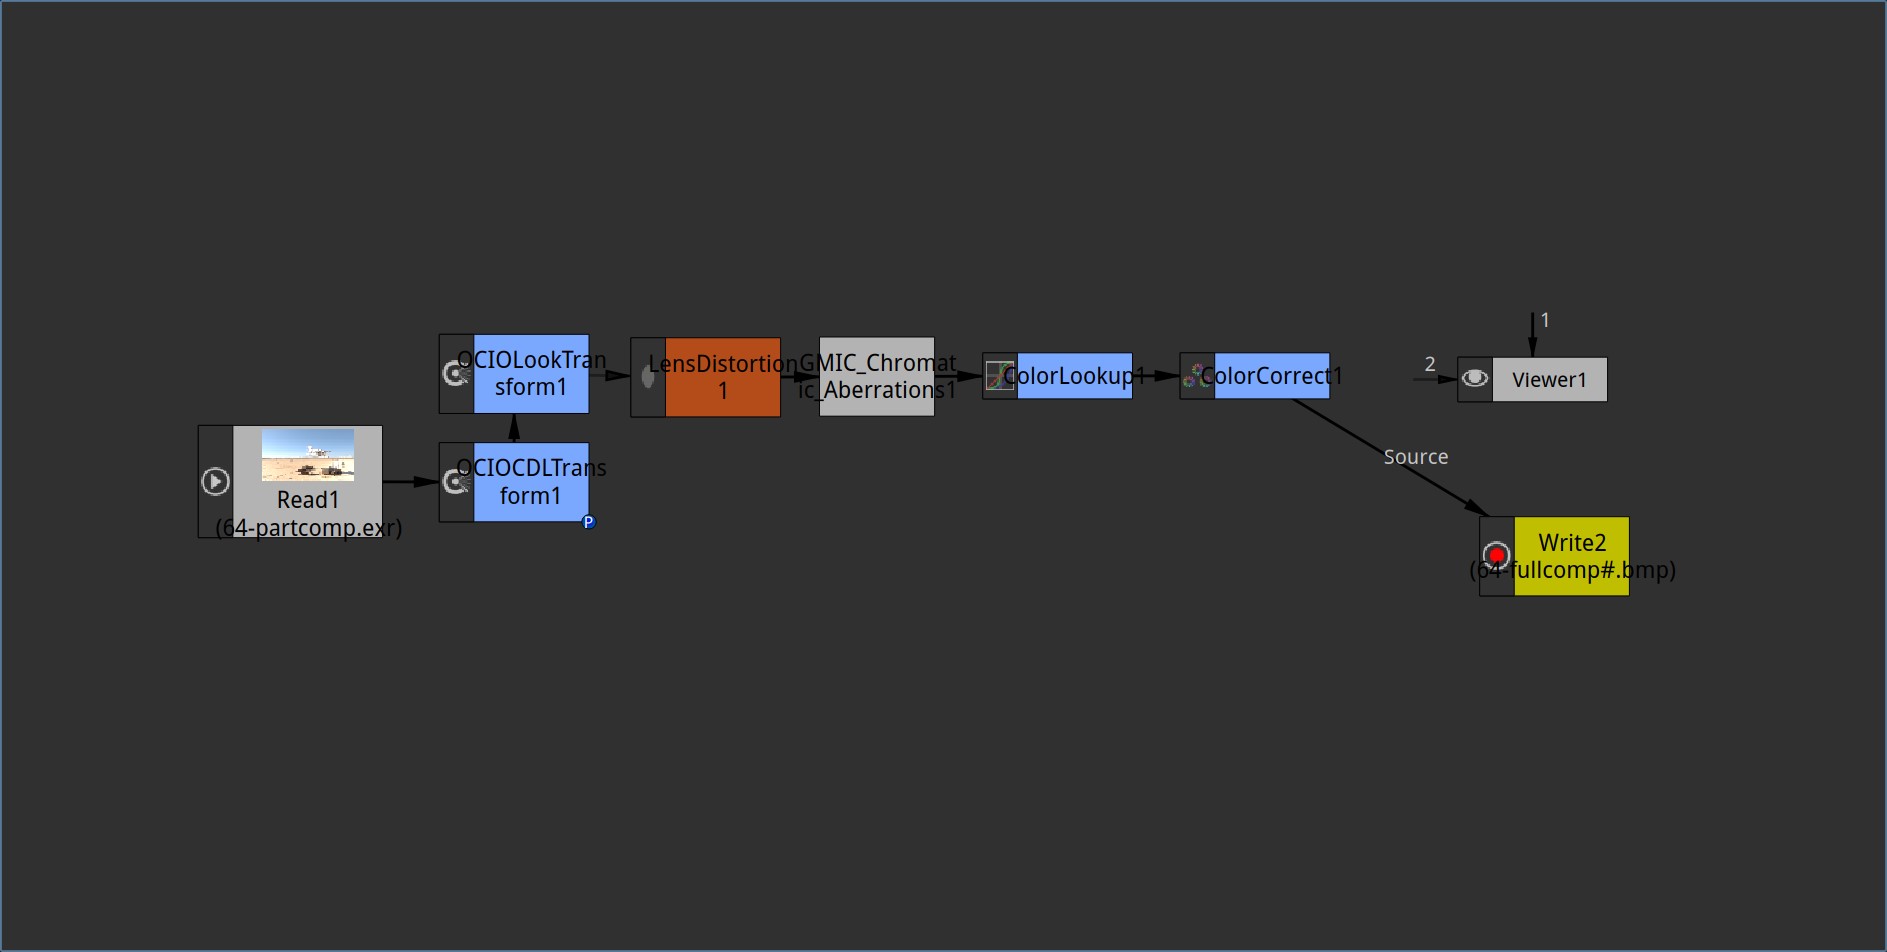
However, Natron doesn’t come with any type of glare nodes. So in the end, I did all the color grading and distortions in Natron, and the glares and mist in Blender.

And that was it! Below are the renders and the final animation.
RENDER – Lego X-Wing

Thank you for reading the article. Feel free to explore more of my work on my social media accounts. Have a good day!
About the Artist
Who is a self-taught freelance 3D artist, mostly specializing in Lego renders.


