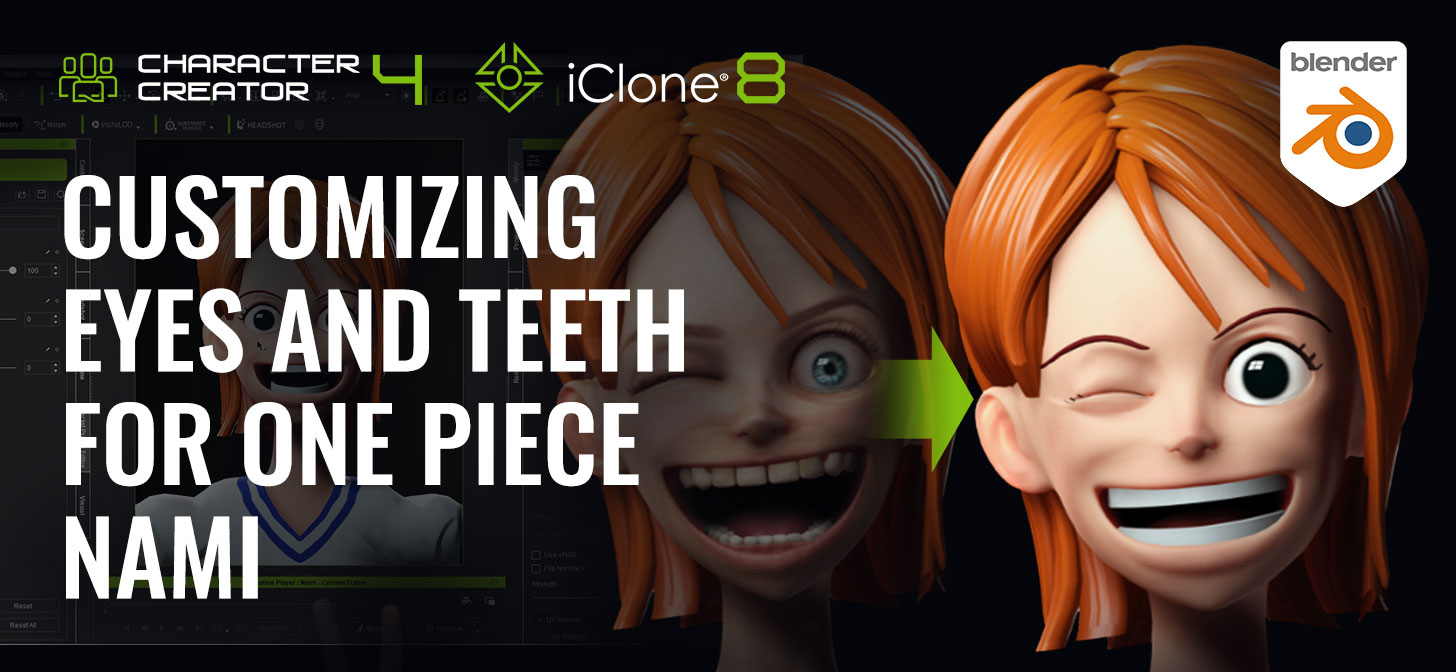
How to Customize Eyes and Teeth in Character Creator for One Piece Nami
Introduction
Greetings, I’m Peter Alex and in this article I will demonstrate some advanced tricks in creating anime-style toons in Character Creator (CC). The problem I was facing is that CC’s design is focused around realistic characters; Yet, I was aiming for the imaginative style of One Piece. The areas I’ll be focusing on are the teeth, eyes, eyelashes, and skin. I’ll also be adjusting the facial profile, creating a Head Preset, and applying elements of the newly created components to another stylized character. So I encourage you to read on to equip some of the core concepts that can be expanded upon for your own projects.
To start off this tutorial, you’ll need to download and install the “CC4 Blender Pipeline Tool Plugin” for Character Creator 4 (CC4). >> Download here.
Then you’ll need to download and install the “CC/iC Blender Tools” plugin for Blender. >> Download here.
Creating New Teeth
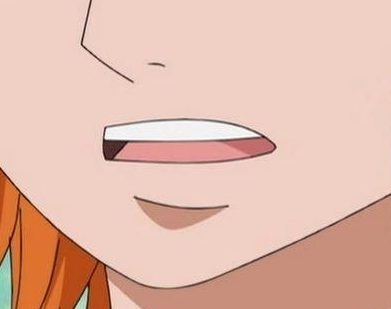
While some cartoon styles do comprise realistic teeth, I’m specifically going for a very simplified, anime style.
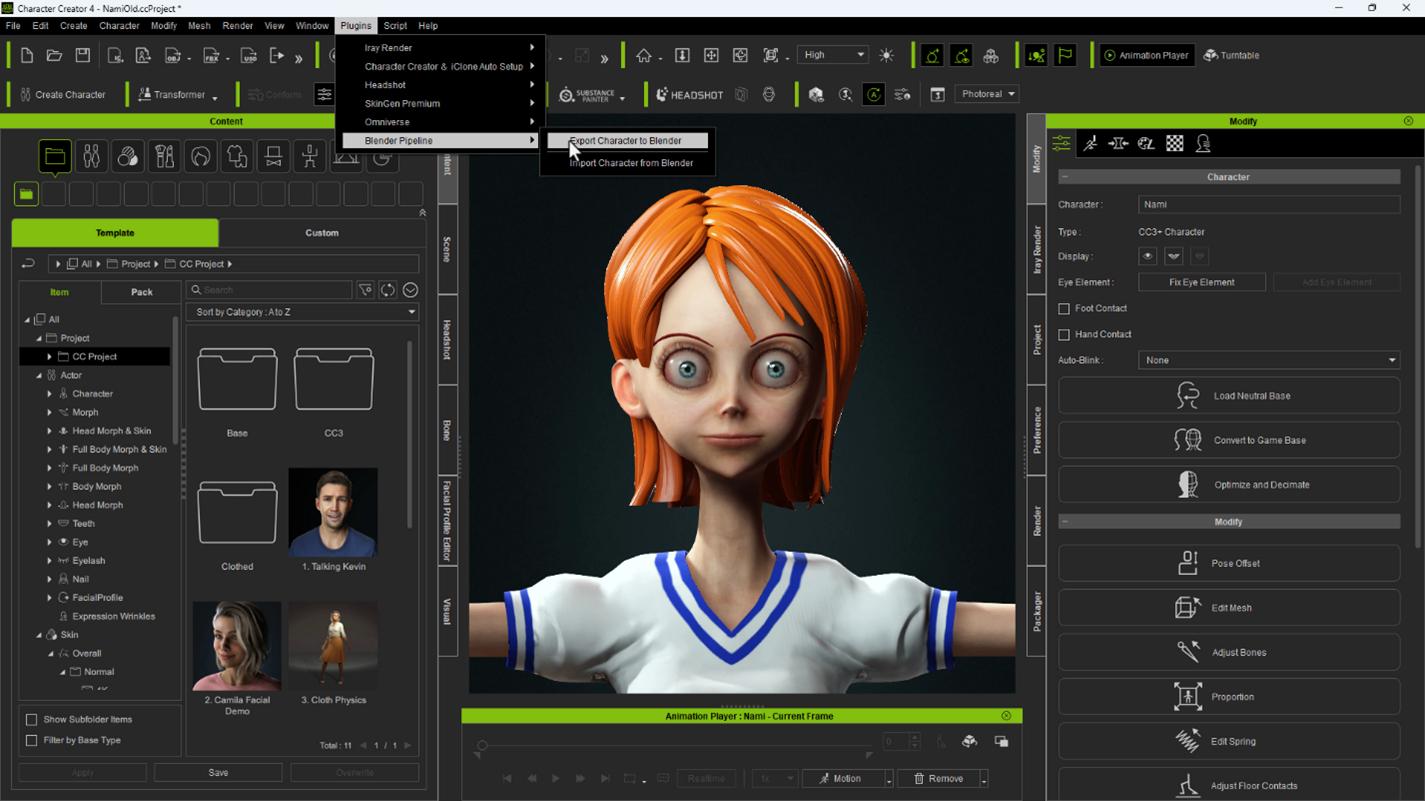
I’ll start by exporting the character using the Blender Pipeline Add-on in Character Creator.

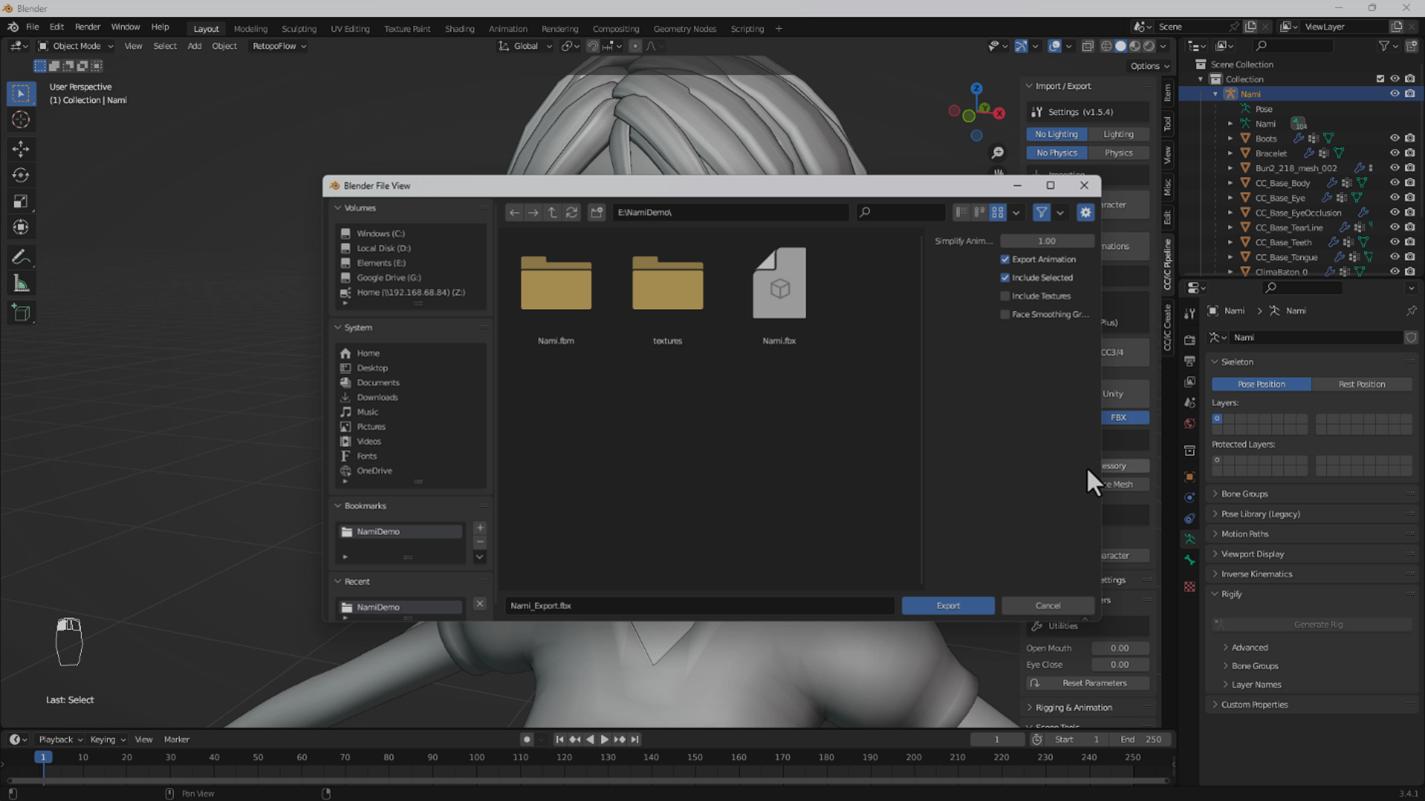
Then, I’ll import the FBX file using the CC/iC Add-on in Blender.

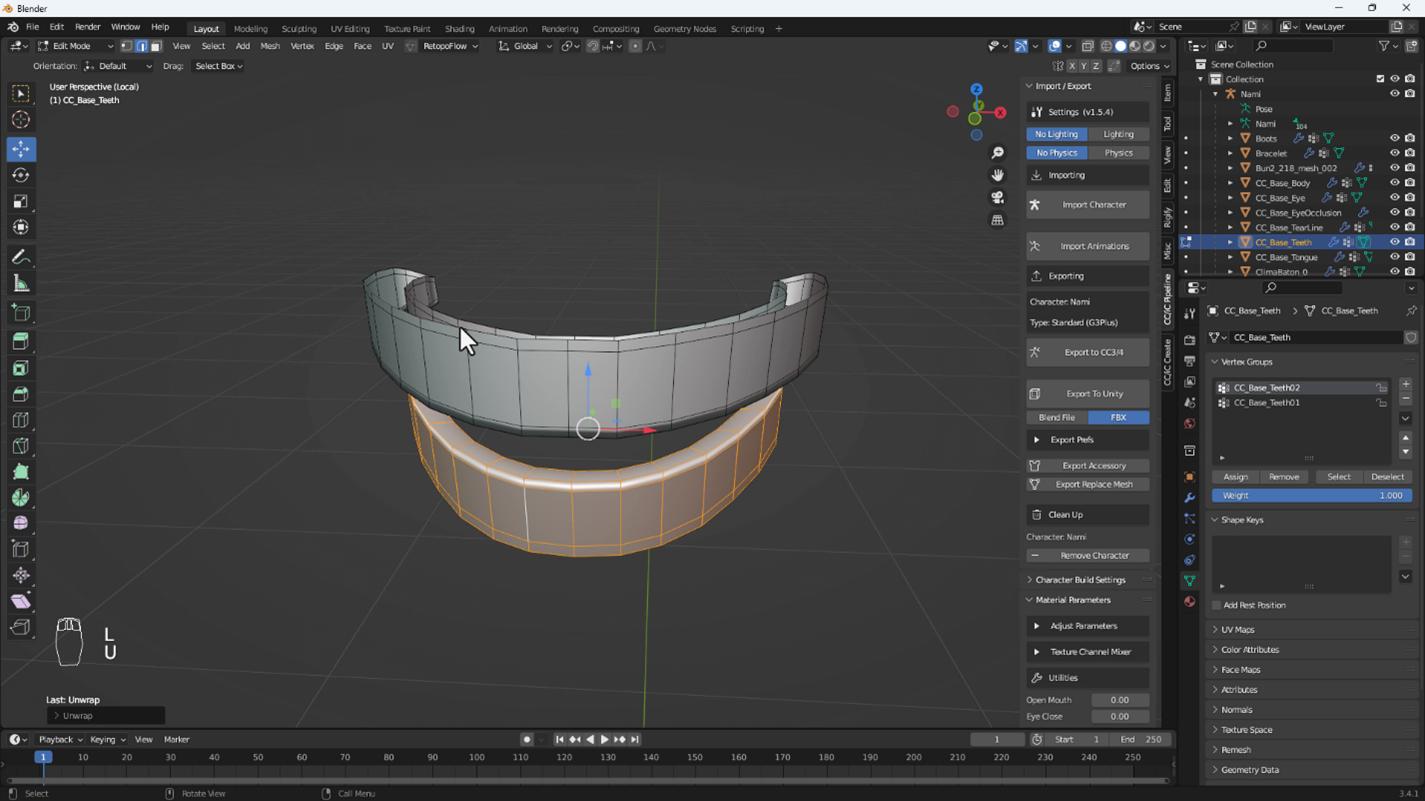
With the avatar imported, I’m going to use the geometry of the original teeth to build the anime teeth. I’ll grab an edge loop from the top of the gums and extrude a simple shape for the top teeth. Then I’ll extrude and add some depth. I will then delete the top row of polygons, which will allow for easy UV unwrapping.


I will repeat this for the bottom teeth, then combine the teeth into one object.
Note
Since the geometry has been extruded from the original teeth, I do not need to add vertex groups or weight maps. These teeth are also bound to the armature by default, using this method. If you create more complex teeth using another method, you will need to assign the appropriate groups and weight maps and bind it to the armature.
- For the Top Teeth, the vertex group must be “CC_Base_Teeth01”.
- For the Bottom Teeth, the vertex group must be “CC_Base_Teeth02”.
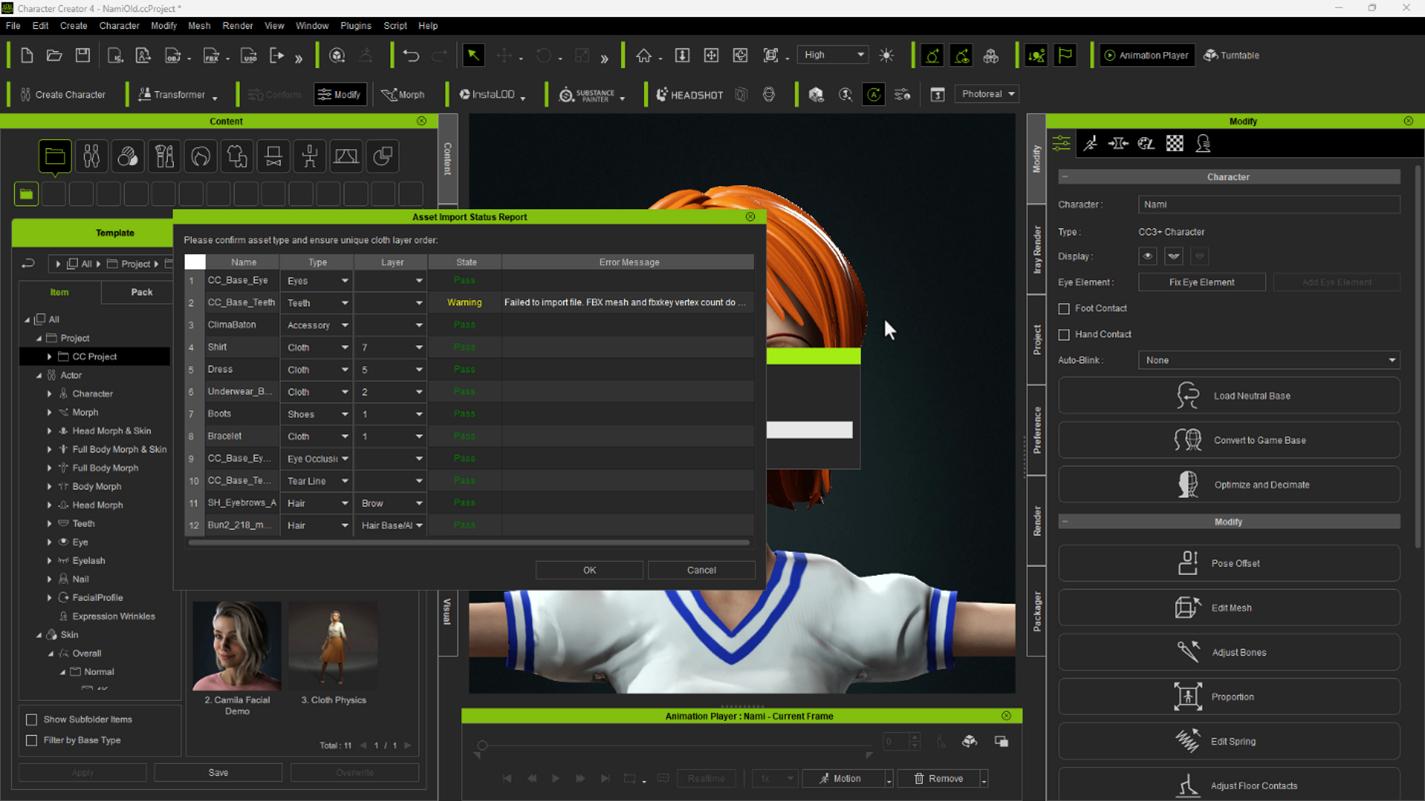
With the teeth created, export the character using the CC/iC add-on and import the FBX using the Blender Pipeline Plugin in Character Creator.
Note
You may experience a warning during the import process, but the import should otherwise be successful.
Adjusting the Eyes
With the teeth created, I will work on the eyes. This is a simpler process than the teeth, as I’ll mostly be altering the textures. You will need an image editor for this process; If you do not have Photoshop, you can use an alternative such as Krita.
Clicking on the material channel and initiating the texture launcher will send the texture to your image editor. I will be editing the diffuse texture.

In Krita, I will be creating a very simple texture to replace the realistic version. Just a white to pink radial gradient for the sclera and a black circle for the pupil and iris. I will save the texture, which is linked to a temporary file. Unless the link is broken, saving the file in Krita will update the texture in Character Creator.

I will then manually copy this eye texture over to the other materials for the eye, as they are not linked to the saved file.
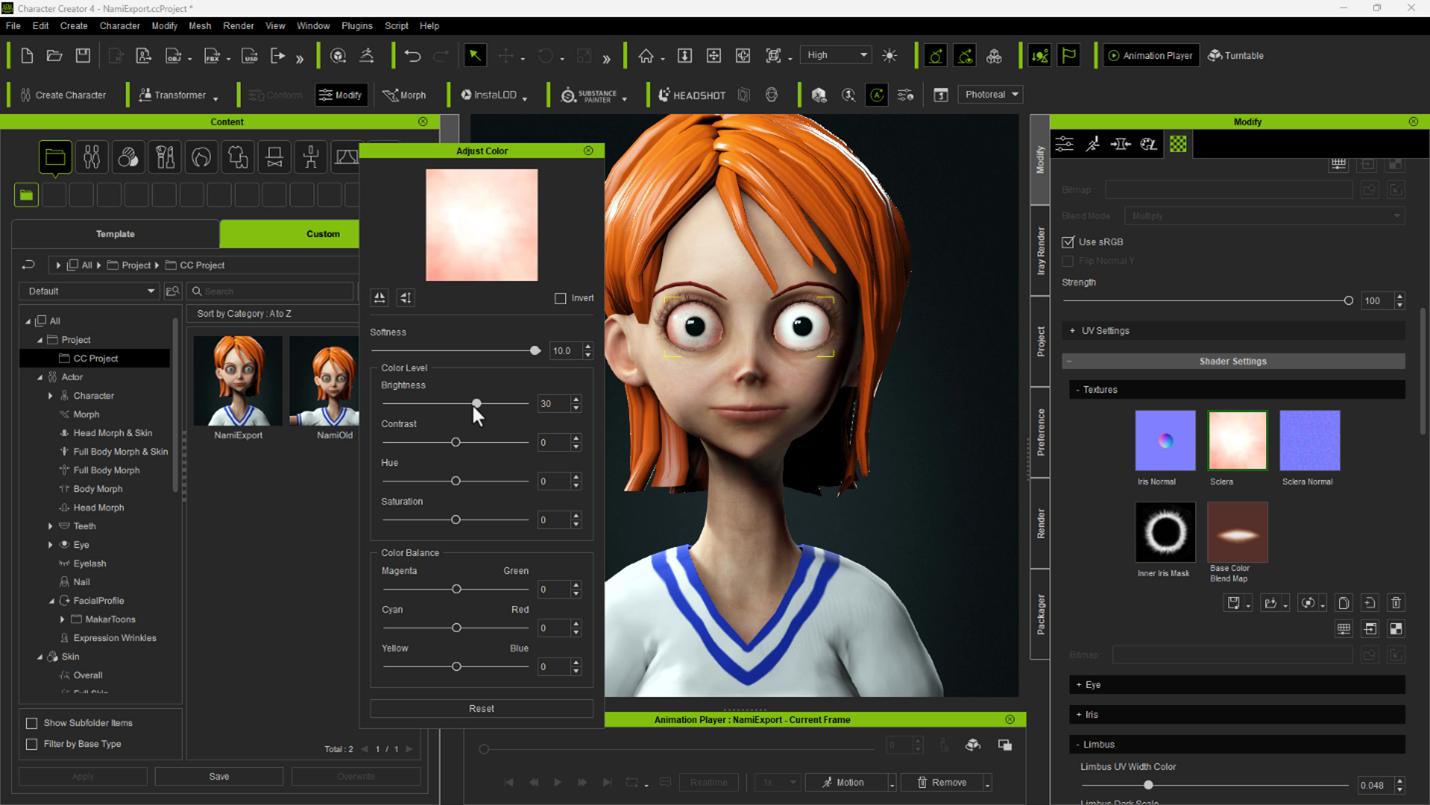
I see that this is still insufficient, due to the properties of this material, so I will adjust the Sclera brightness.
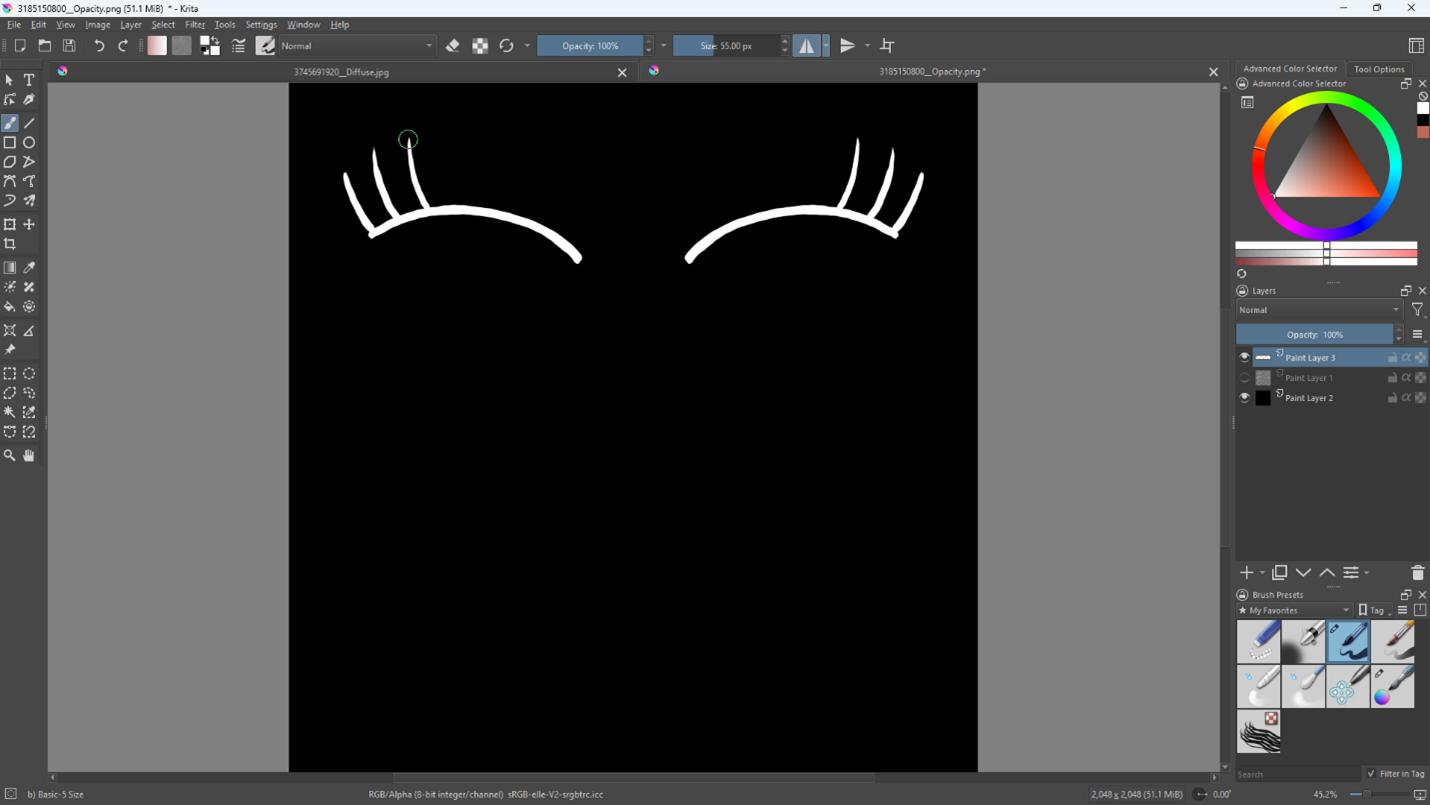
I will use this same process to create stylized eye lashes. In this case I will edit the opacity map, and use it as a reference when making the adjustments. Opacity operates on a black to white spectrum. Black is invisible, white is visible.
Creating New Skin
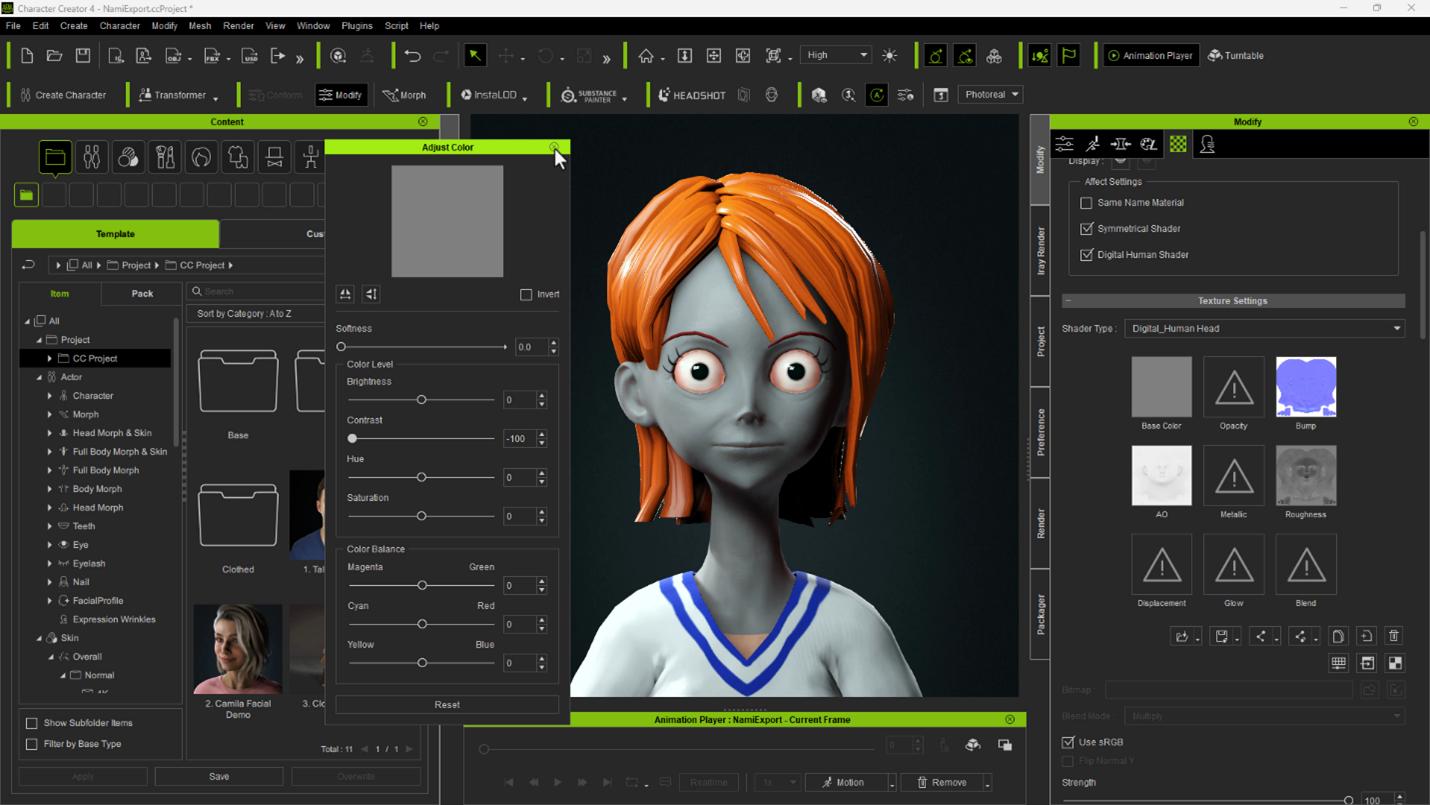
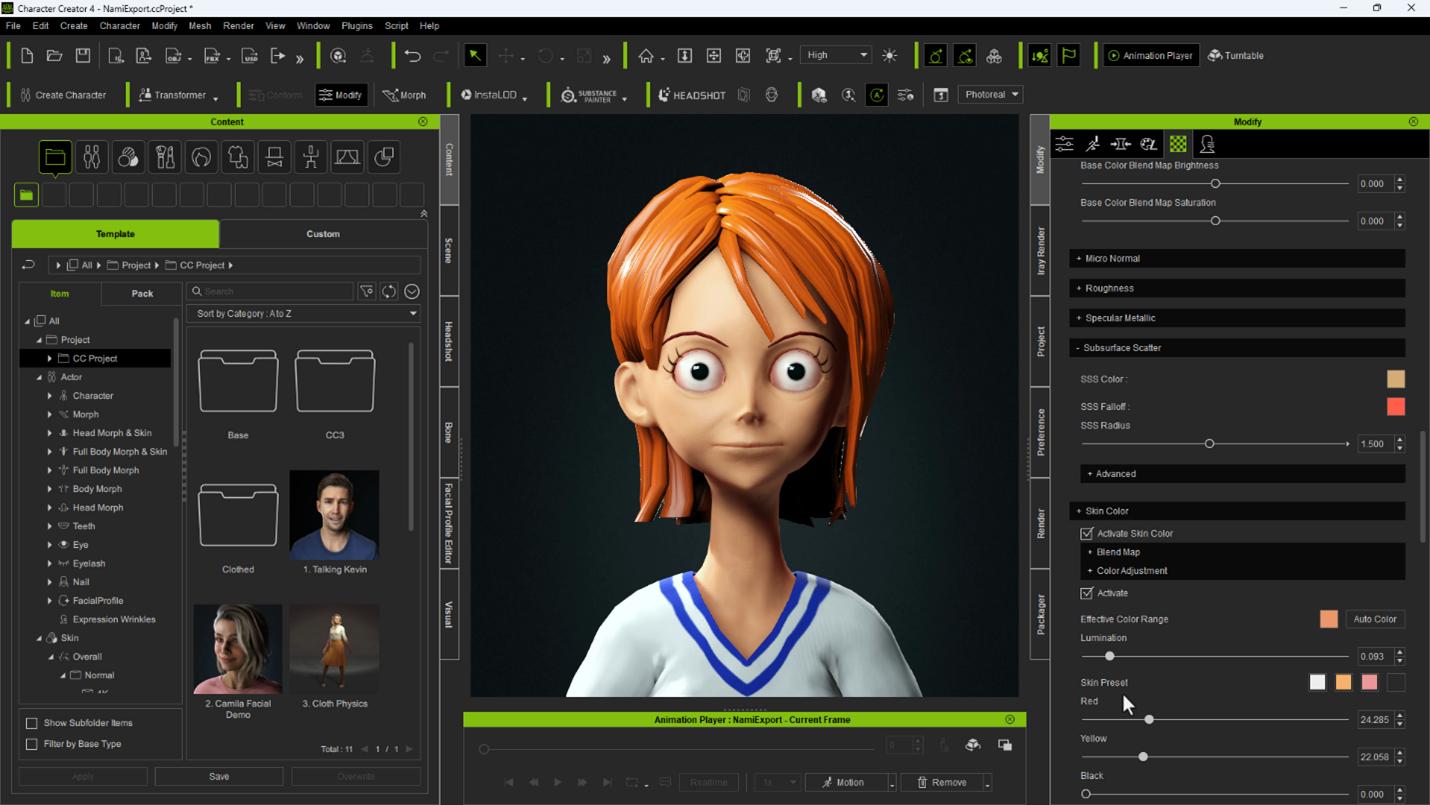
Next, I will simplify the skin texture. There are a few ways to do this — I will use the simplest method. Select the diffuse texture slot for the head. In the Adjust Color dialog, dial the Contrast to -100.
Copy the texture then save it in the same slot. This will be the same as importing a gray texture. Adjust the Saturation, Hue and Brightness until you achieve the desired skin tone.

Copy this texture and place it in the slots for the Body, Arms, and Legs. This will create a simple foundation for your skin. If the normal maps are providing too much detail, dial down the normal intensity.
You can make further adjustments to the skin by activating the Skin Color options. I wanted to subtract some detail, so I didn’t use it initially.
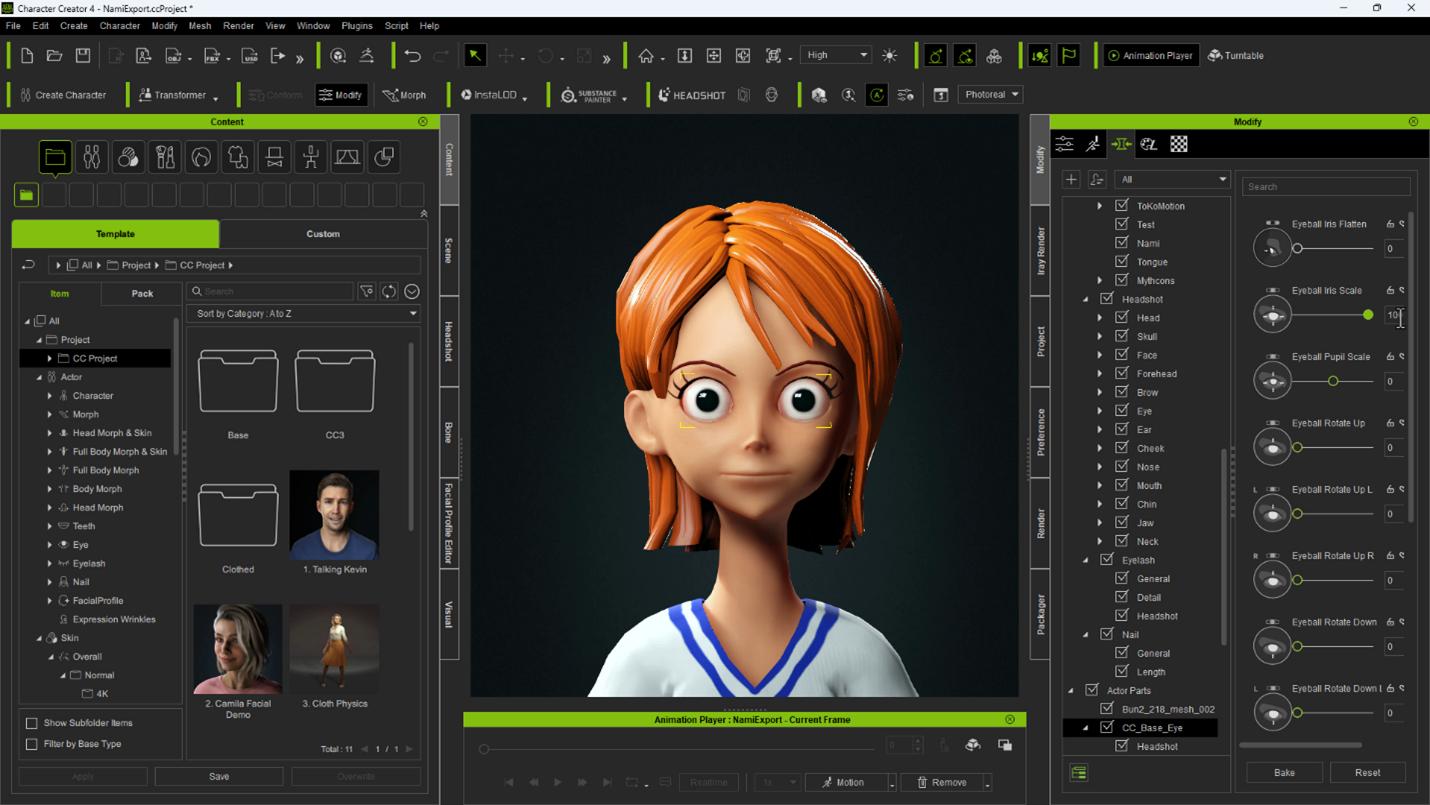
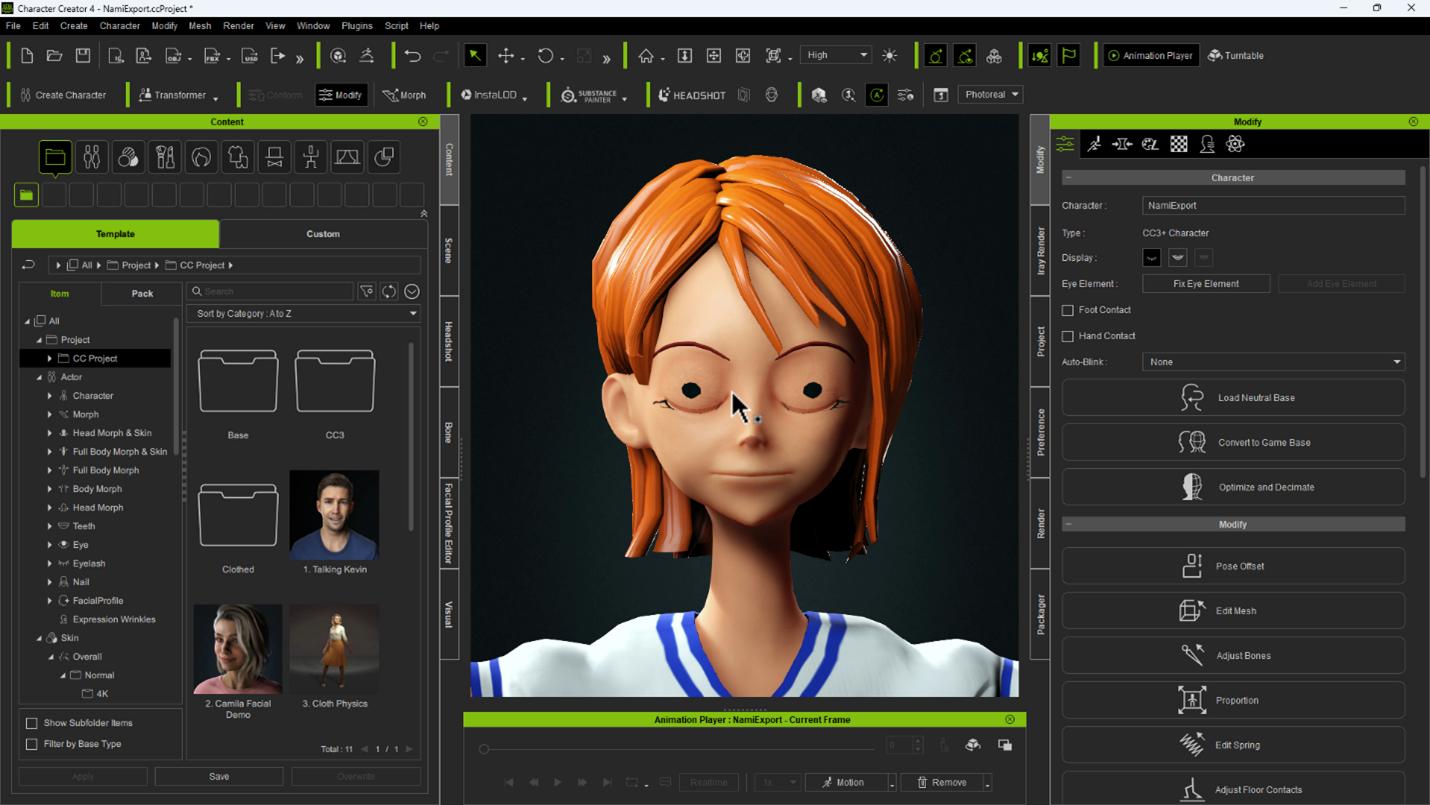
I’ll make a few other adjustments before I start altering her facial profile. I will increase the scale of her Pupil and Iris. This can be done through the Morph Editor if you have the Headshot plugin, and can be done to a limited degree by manipulating the materials for the Cornea.
Adjusting Stylized Teeth
Next I’ll adjust the placement of her teeth. Although first I notice that the stylized teeth have odd normal effects. You can fix this by selecting the teeth and smoothing the normals in the Edit Normals options.
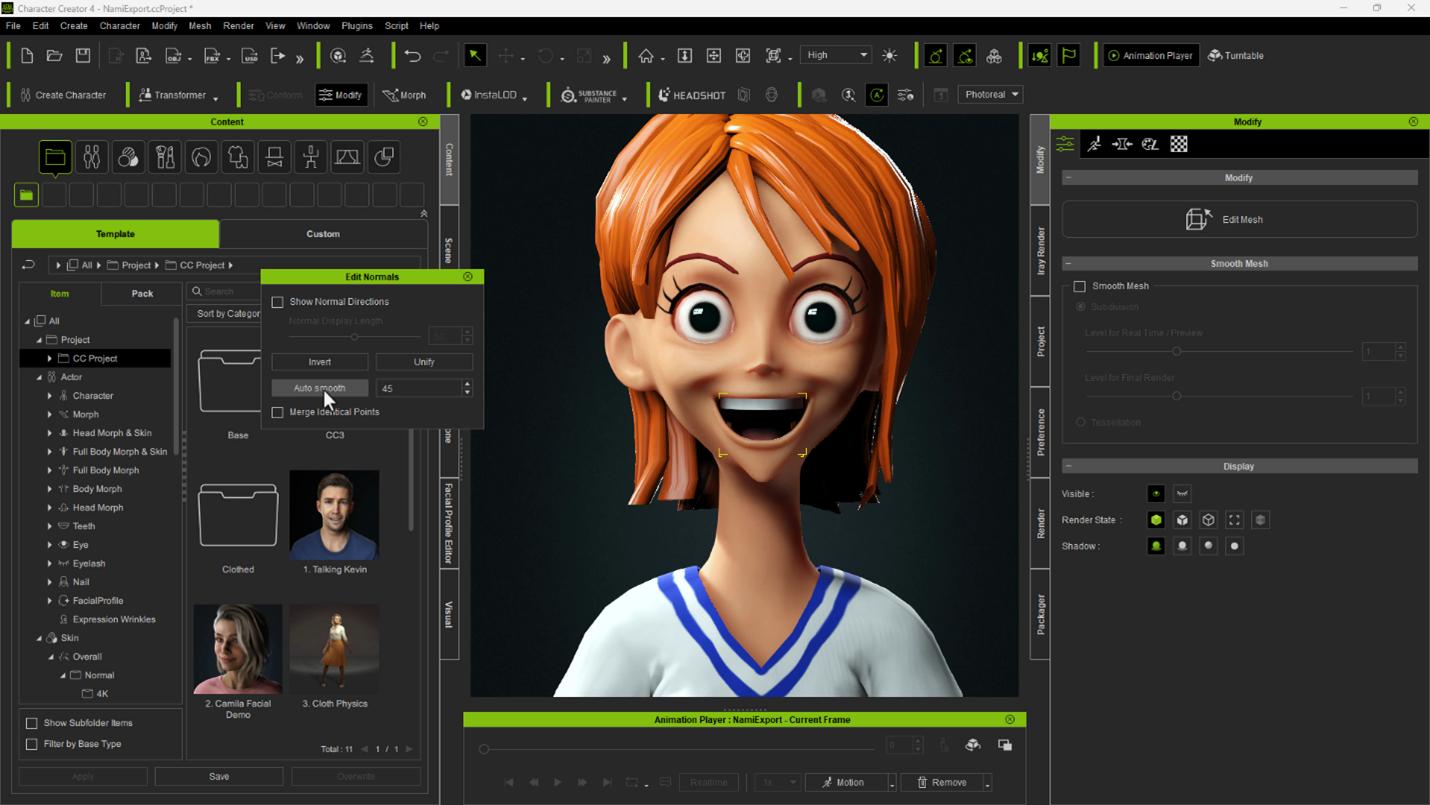
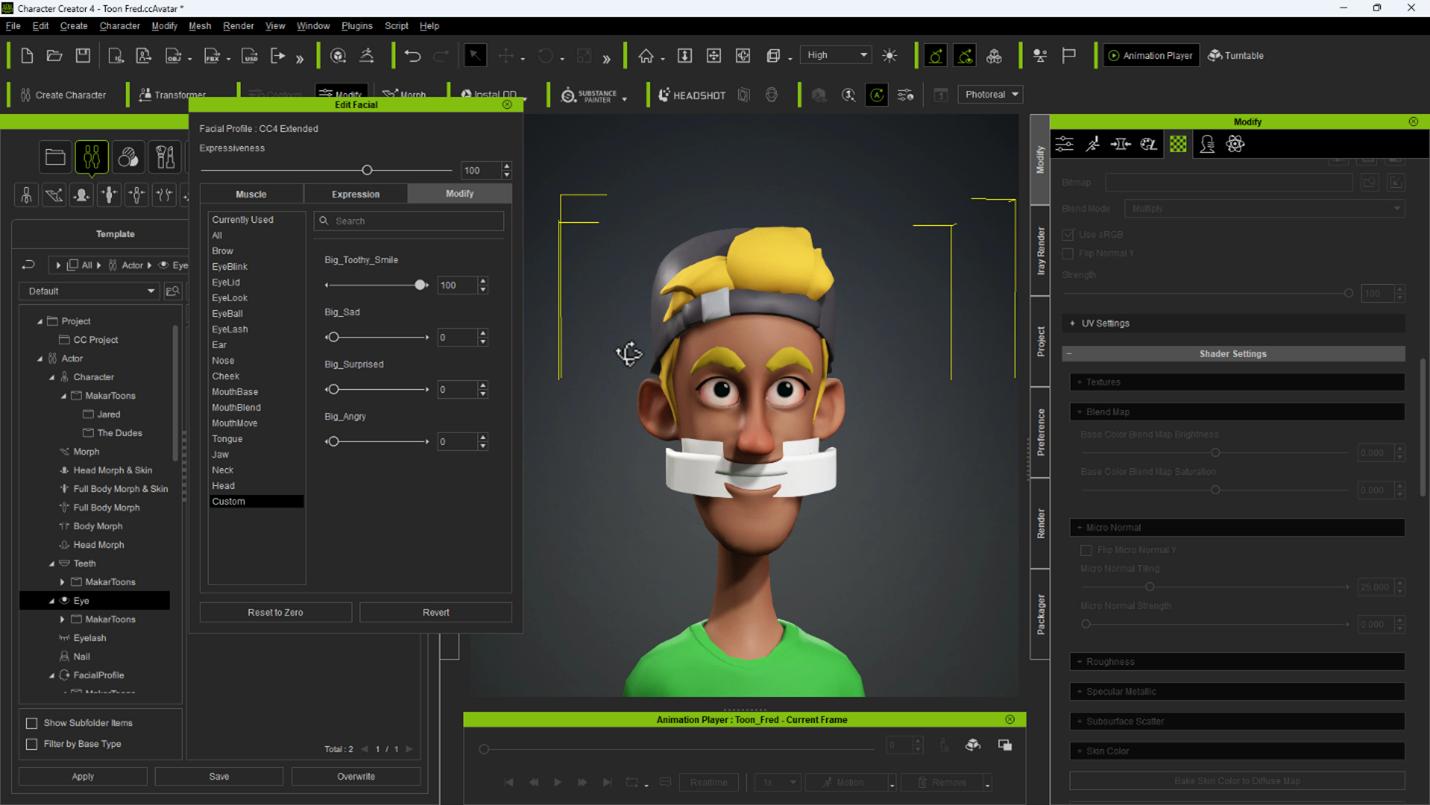
Now I will adjust the teeth by referencing the thumbnails of each major expression.
I will make additional corrections such as the placement of the eyelashes and eyeballs. Make these adjustments prior to using the facial profile editor so you don’t have to redo them.
Using the Facial Profile Editor
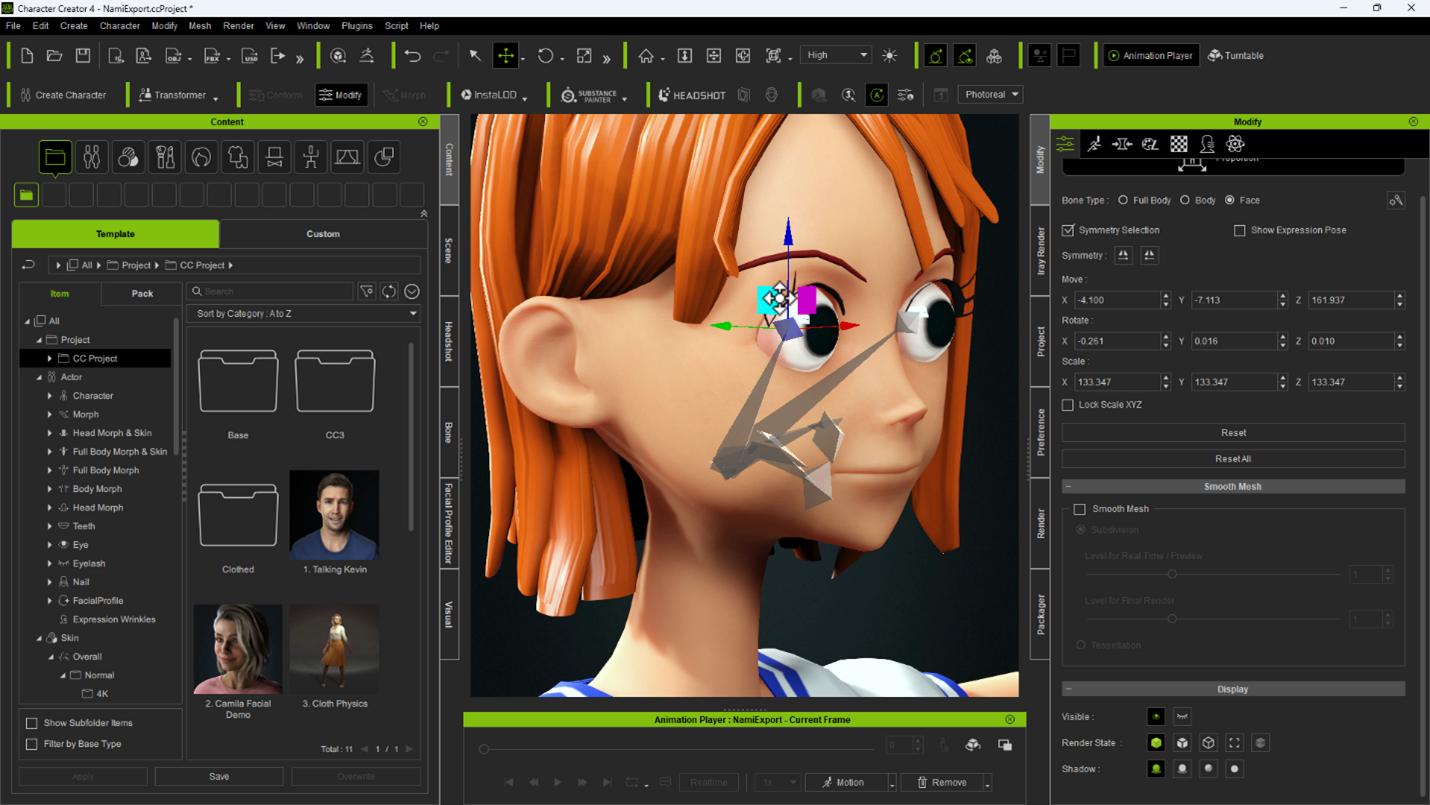
The next step is to modify the facial profile. But first, I will adjust the eye elements by selecting Correct Eyeblink in the Character menu. Often the eyelash will need to be manually corrected, especially for stylized characters. In addition, eyes this large present a problem since they bulge beyond the elasticity of the eyelids, causing them to clip through the geometry when the character blinks. There are two ways to correct this problem: deform the eyeballs for the blinks or adjust their positions. For this character, I chose the latter method because the eye positions can be mirrored as opposed to deformations.
To reposition the eyes, I used the Proportion Editor and switched to Face and made sure that symmetry was disabled. When needed, I checked Show Expression to reference the current expression.

I then selected the eye bones and translated them slightly backwards and baked the expression. The eyeballs will now retreat to mitigate the clipping during the blinks. In all but extreme cases, this should resolve the issue.

Accommodating Custom Expressions
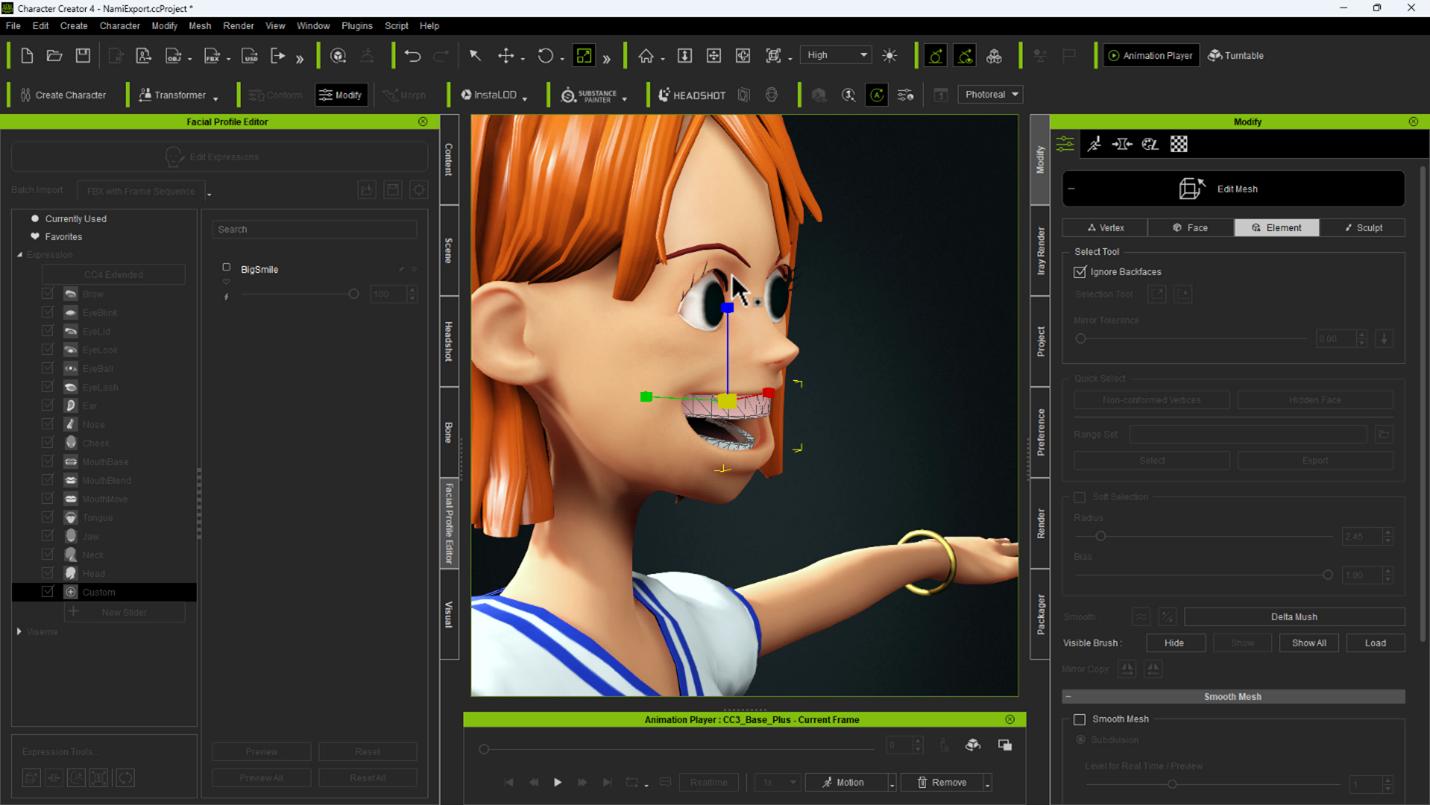
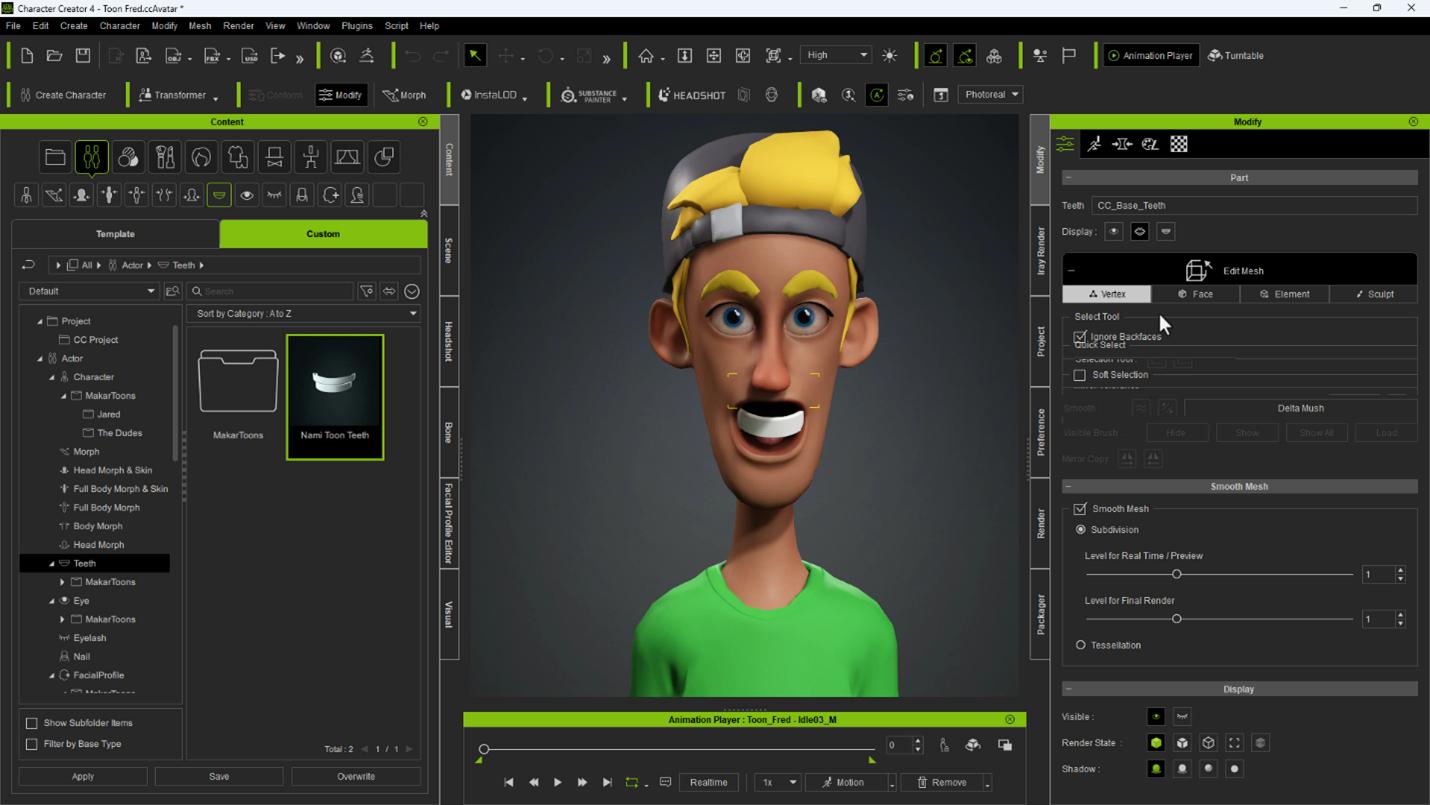
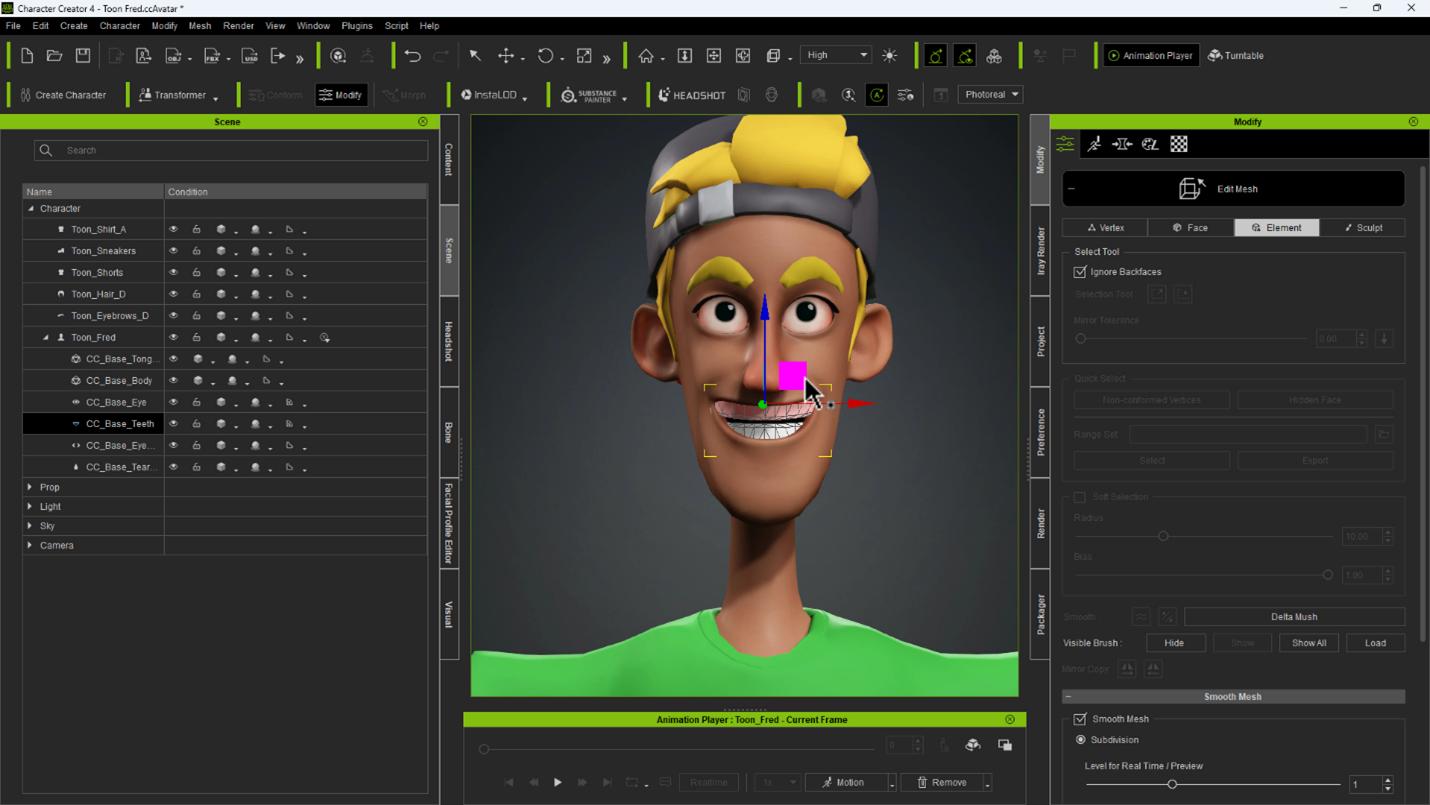
I previously created custom expressions for this character, but the teeth were not compatible with the original data. To fix this, I will dial in the expression and adjust the teeth to fit, then rebake it so that the new teeth will acquire the new data. Adjusting the teeth is surprisingly easy with the transform tools while in the Edit Mesh window.

Saving the Edits to the Eyes and Teeth
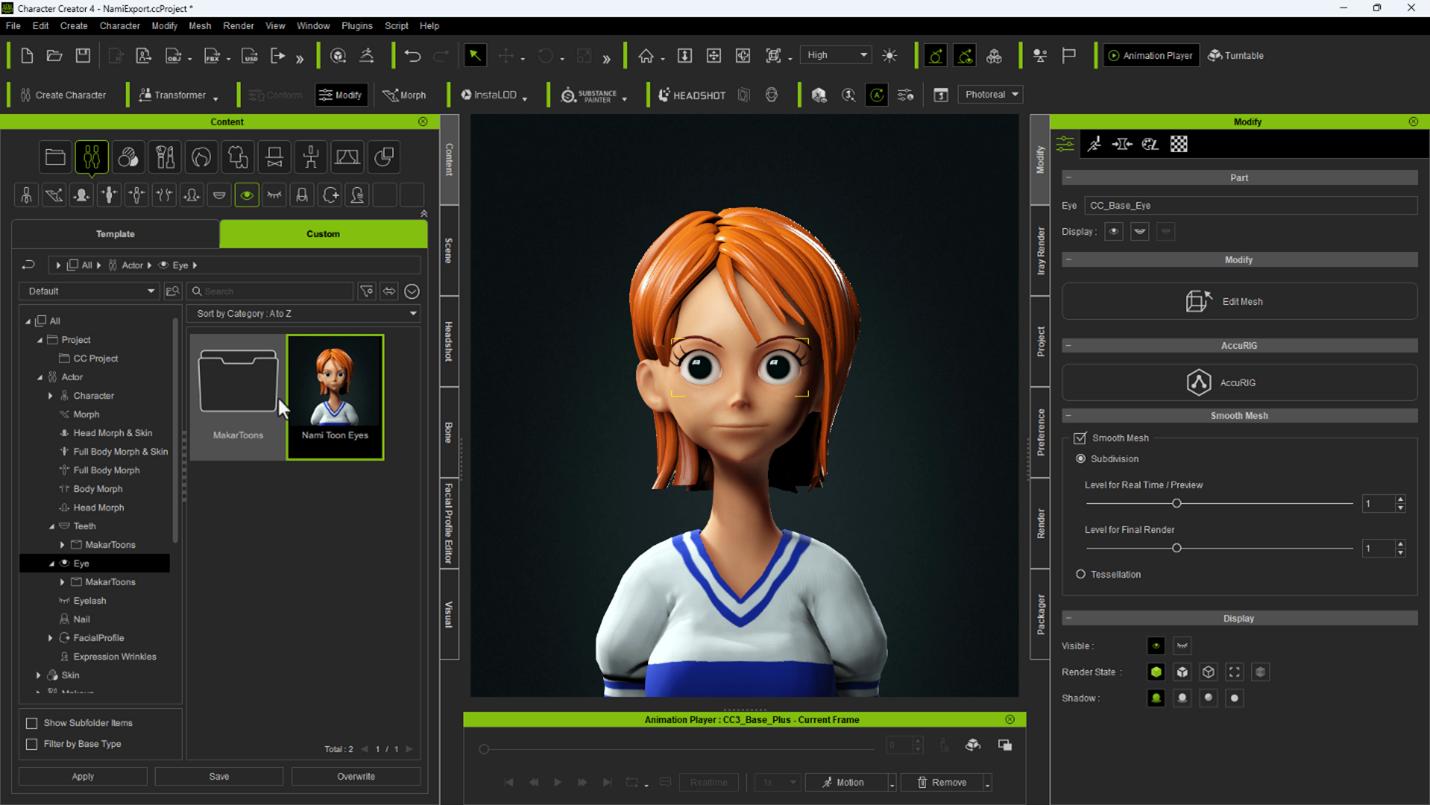
Saving an asset generally requires two steps. Select the asset you want to save and go to the designated category in the Content window and click Save. A thumbnail will be automatically generated for you based on the current camera. You can replace it with another image at any time.

Creating a Head Preset
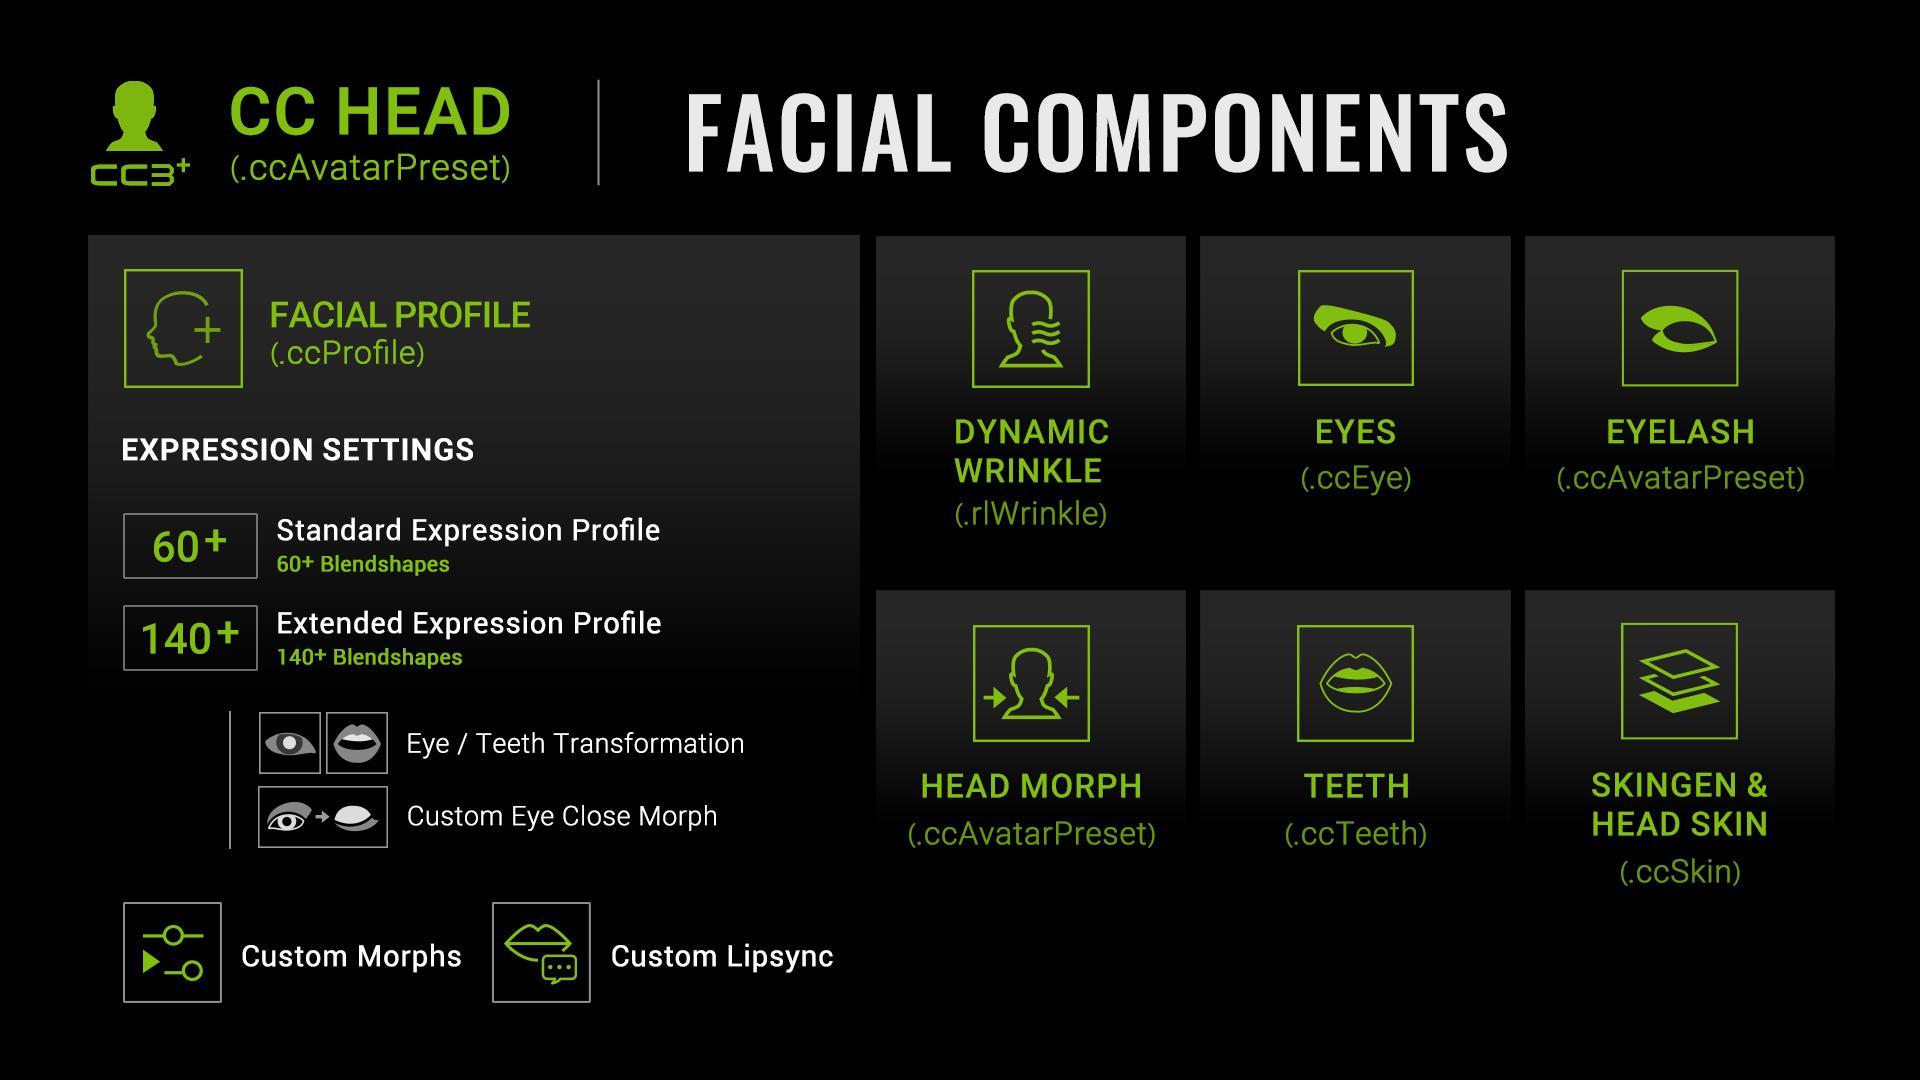
The head consists of several components: The morph, facial profile, eyes, teeth, eyelashes, skin and material settings — and now the wrinkle settings with the latest update (I’m sure in the future it will contain even more components). Each of these components can be saved as a preset, and the Head preset unifies them.
Creating a Head preset is relatively easy. First, you must separate the body and head using the Create > Head & Body Morph Sliders command. Next, go to the content window, select your character, and click save while in the Head Morph & Skin category.

A body preset can likewise be saved, although it contains less components.
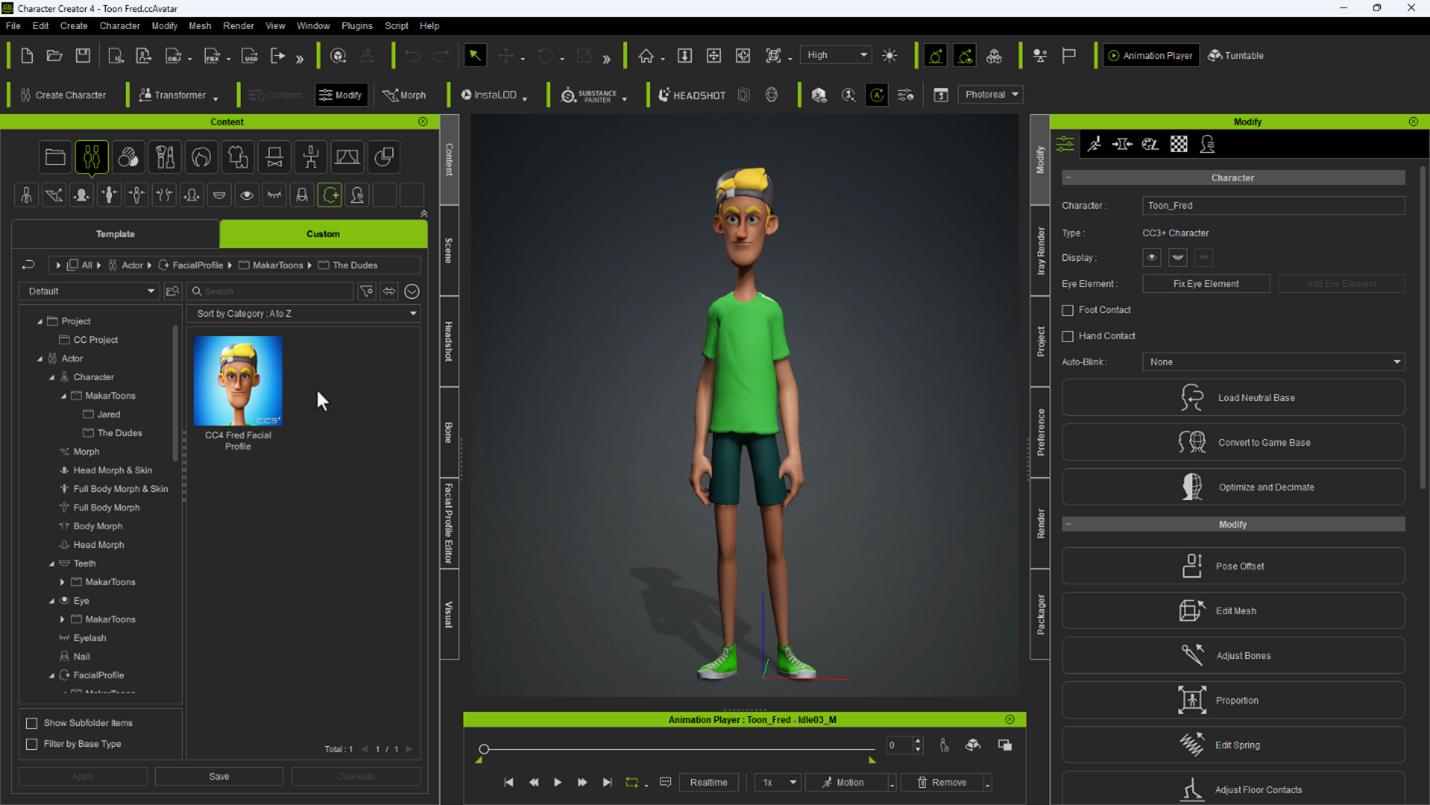
I will demonstrate the presets I’ve created on a new character. I’m going to load a demo character and use it as a base to apply the presets I just created. I’ve cleared the existing morphs, leaving the character in its default neutral state.
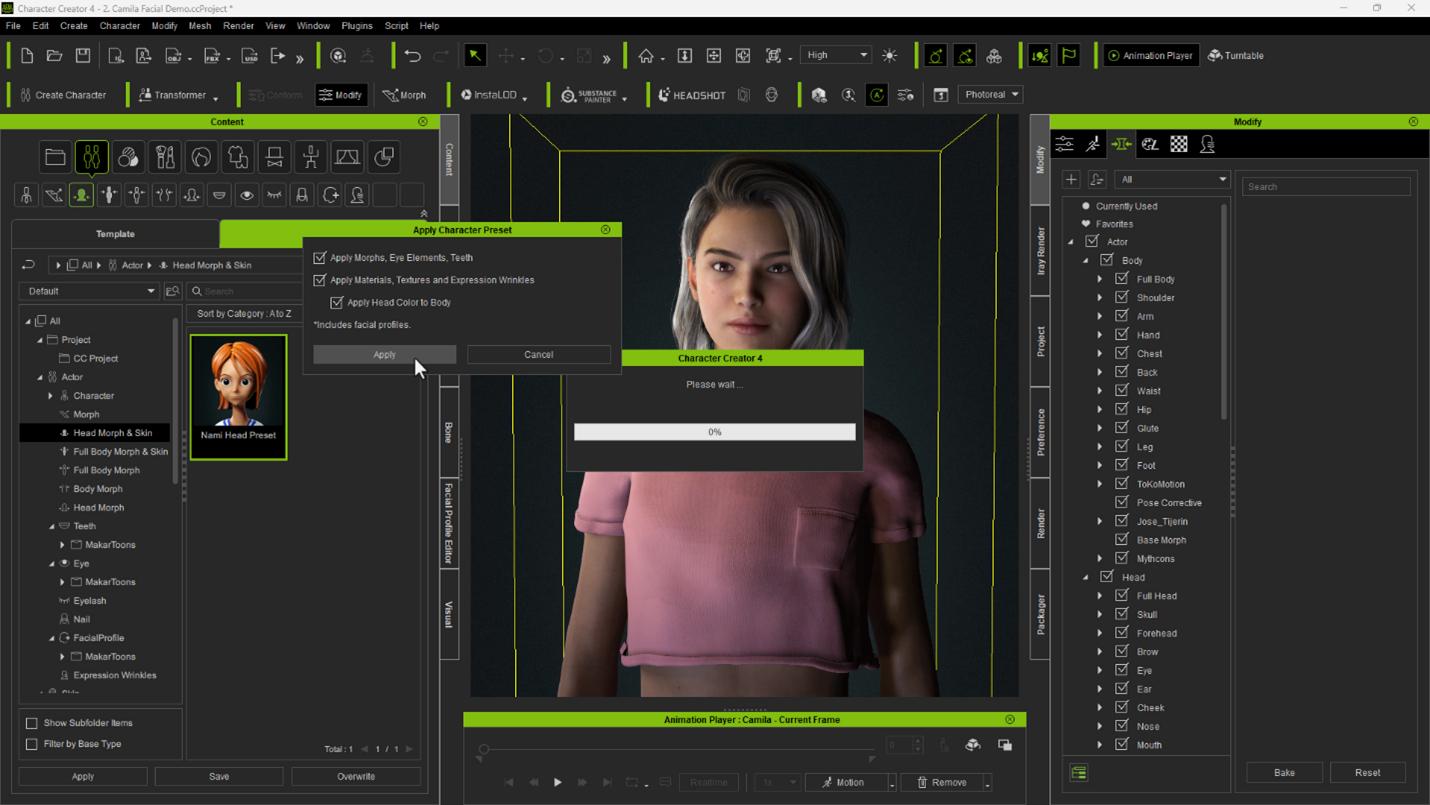
Any preset or accessory can be applied by double clicking or dragging the item onto the character from the Content window. The preset loads fine, although there is an obvious clash between realism and cartoon styles. Loading the body preset and stylized hair minimizes this.
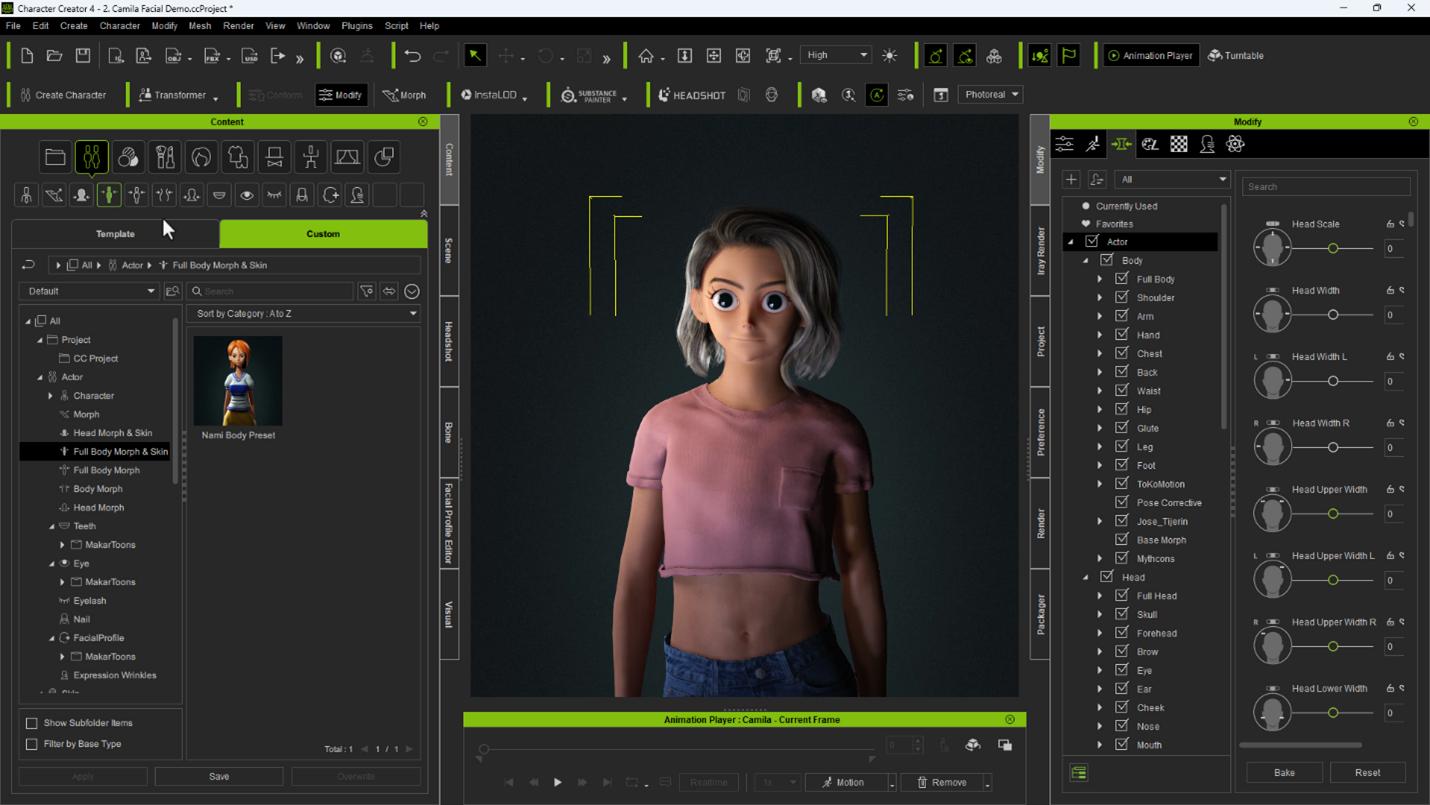
All of her presets are now loaded to this demo avatar, including the facial profile, which is part of the head preset. The ability to load an entire head setup helps with mixing character designs.
Finally, I will apply the teeth and eyes to another stylized character, so I can explain the issues you may have to solve with your project. First, note that your character must have the same tier of facial profile for the custom teeth or eyes to load. For example, these teeth were created with the Extended Facial profile, so the character must have an Extended Facial profile applied for the teeth to load.
You can see that the initial alignment with this character is off, but it can be easily corrected using the transform tools in Edit Mesh. After which you can align the teeth better by comparing the position with the icons in the Facial Editor.
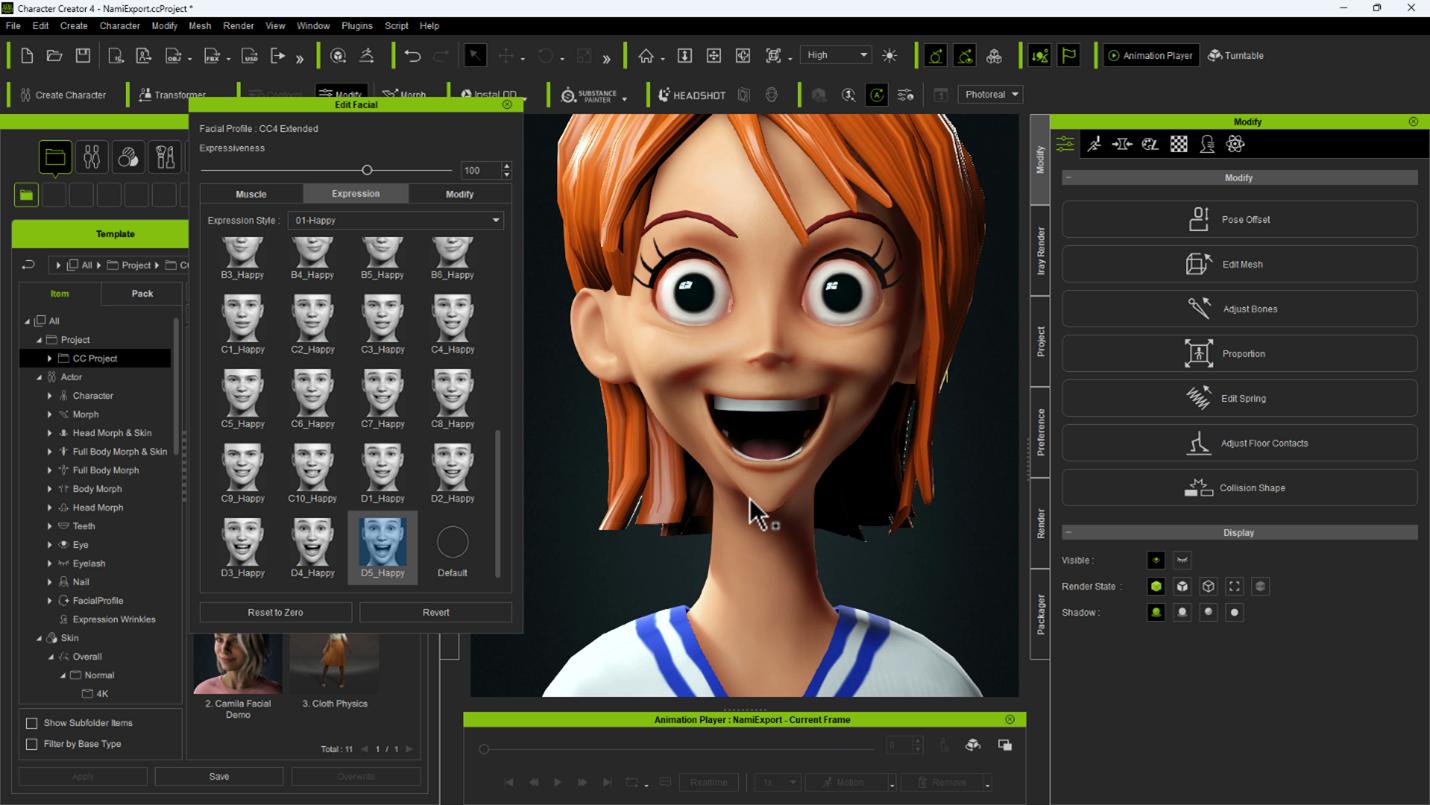
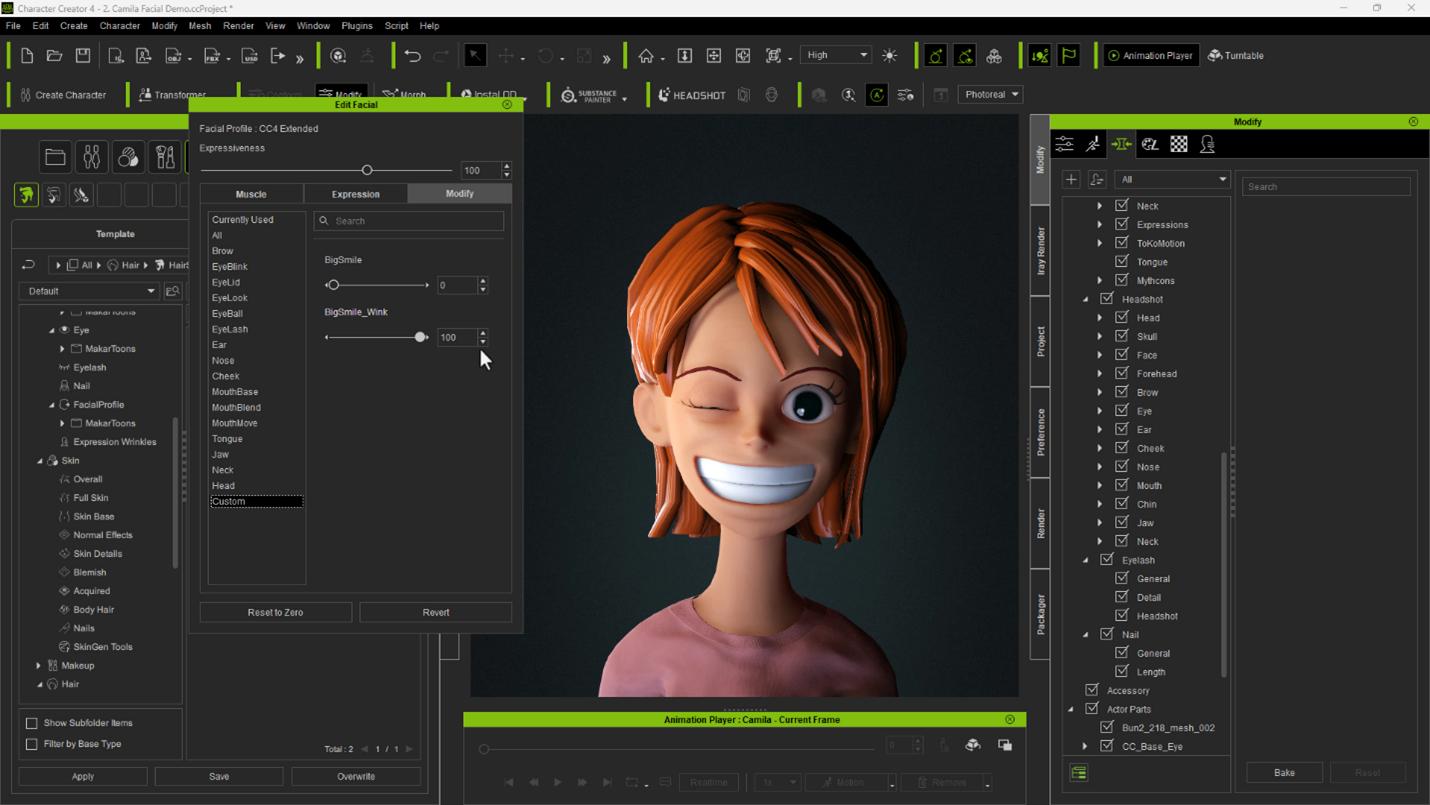
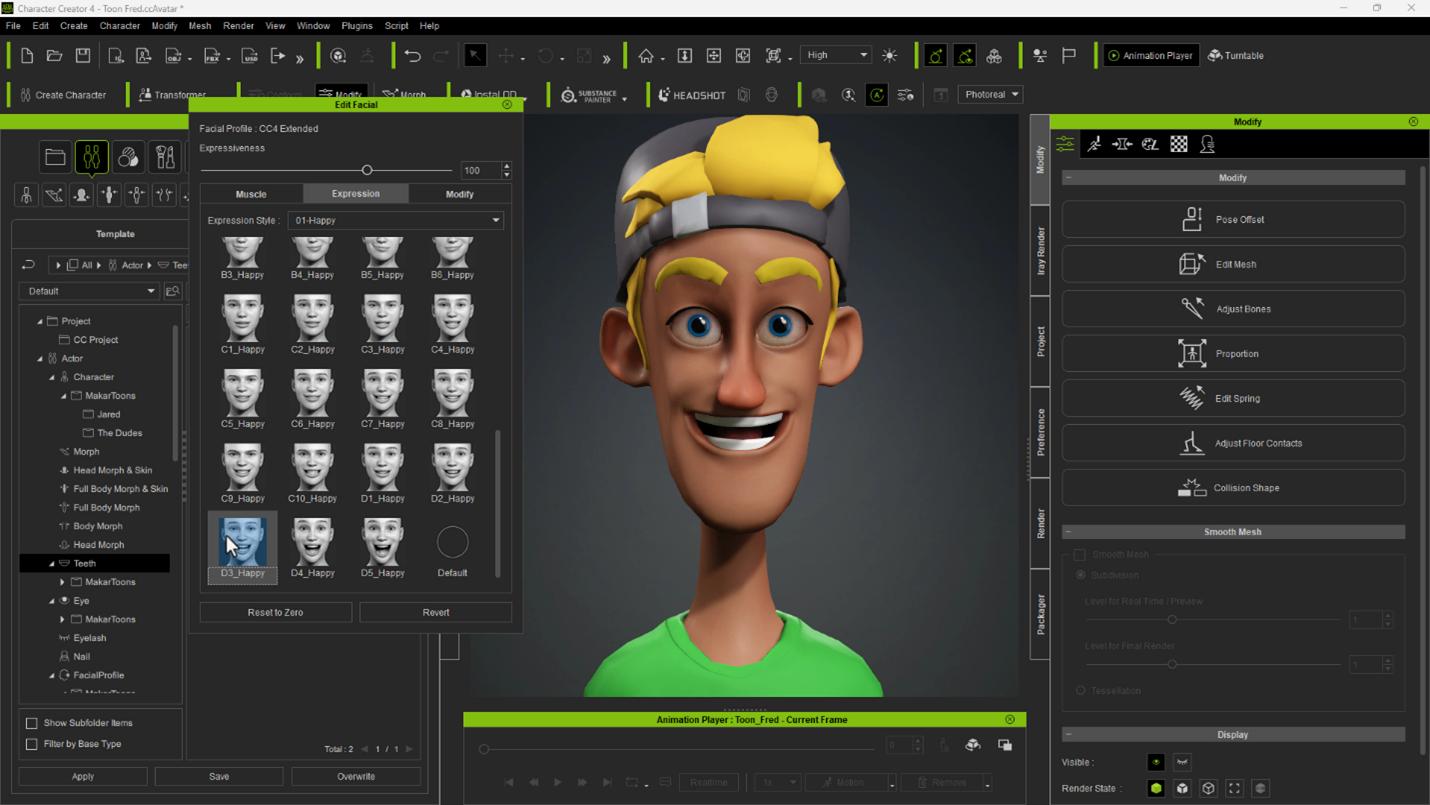
Using the Facial Editor to examine expressions is an important part of adjusting the facial profile. This menu allows you to go through common expression combinations and see if there are any issues, such as geometry clipping or misalignment with other assets, such as the teeth or tongue. Ideally you want the expression to match the thumbnail, and adjusting the teeth to match key expressions is an important step.
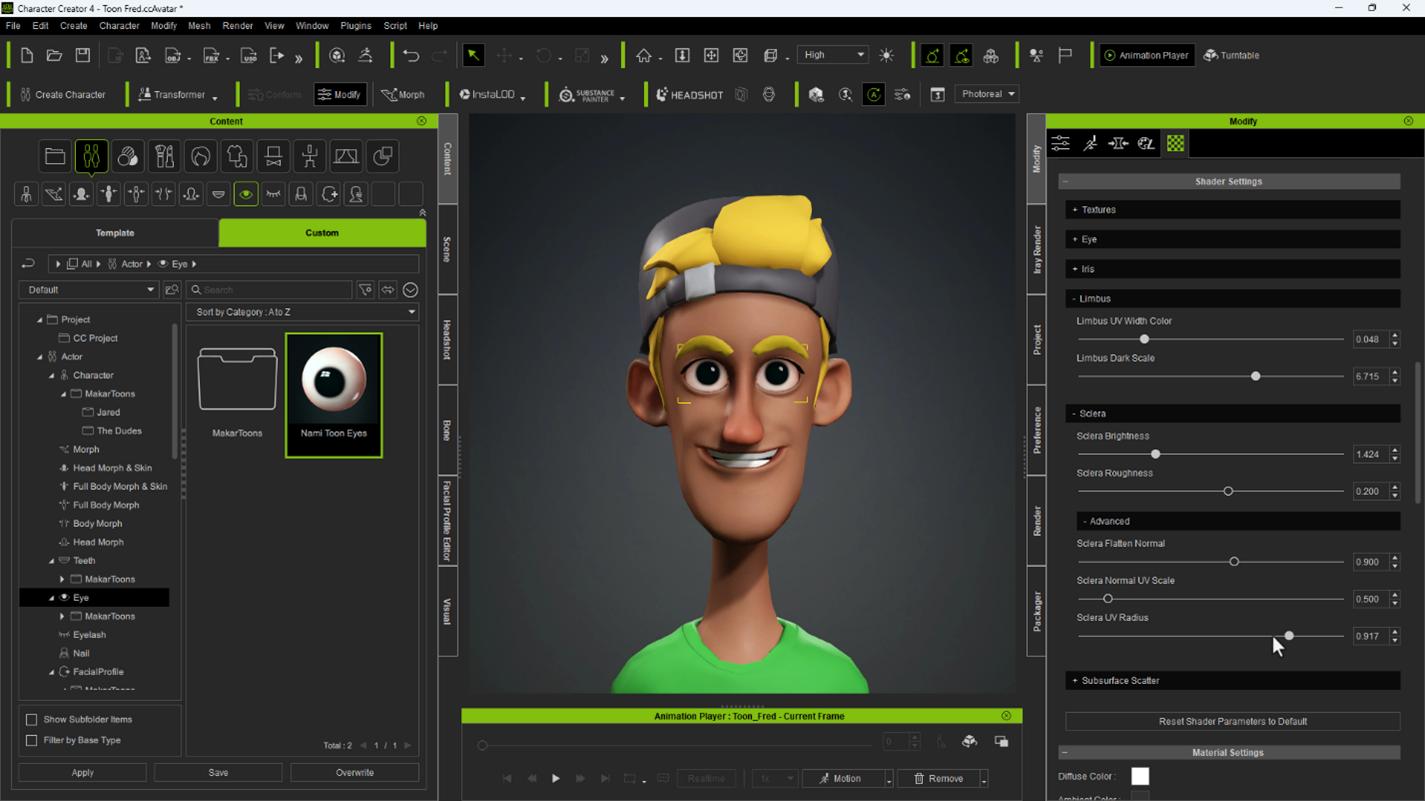
I’ve scaled down the iris size a bit, as I find them to be too dilated. Previously I had used both the sclera UV radius and the morphing options to achieve a large iris, but I can use just the Sclera UV option to decrease the Iris scale. The difference is that adjusting the UV radius impacts the texture, whereas the morphing options impact the geometry.
These teeth were aligned with the previous stylized character, so the offset was based on her teeth’s initial position. For the best results, design your teeth around the avatar’s neutral shape.
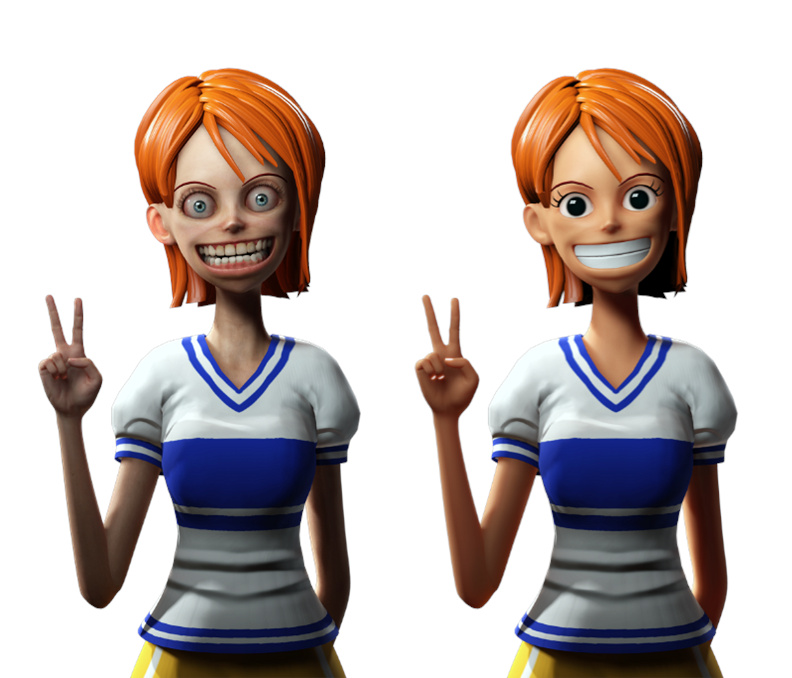
The biggest issues are with the custom expressions for this character. The rest of the expressions work well.
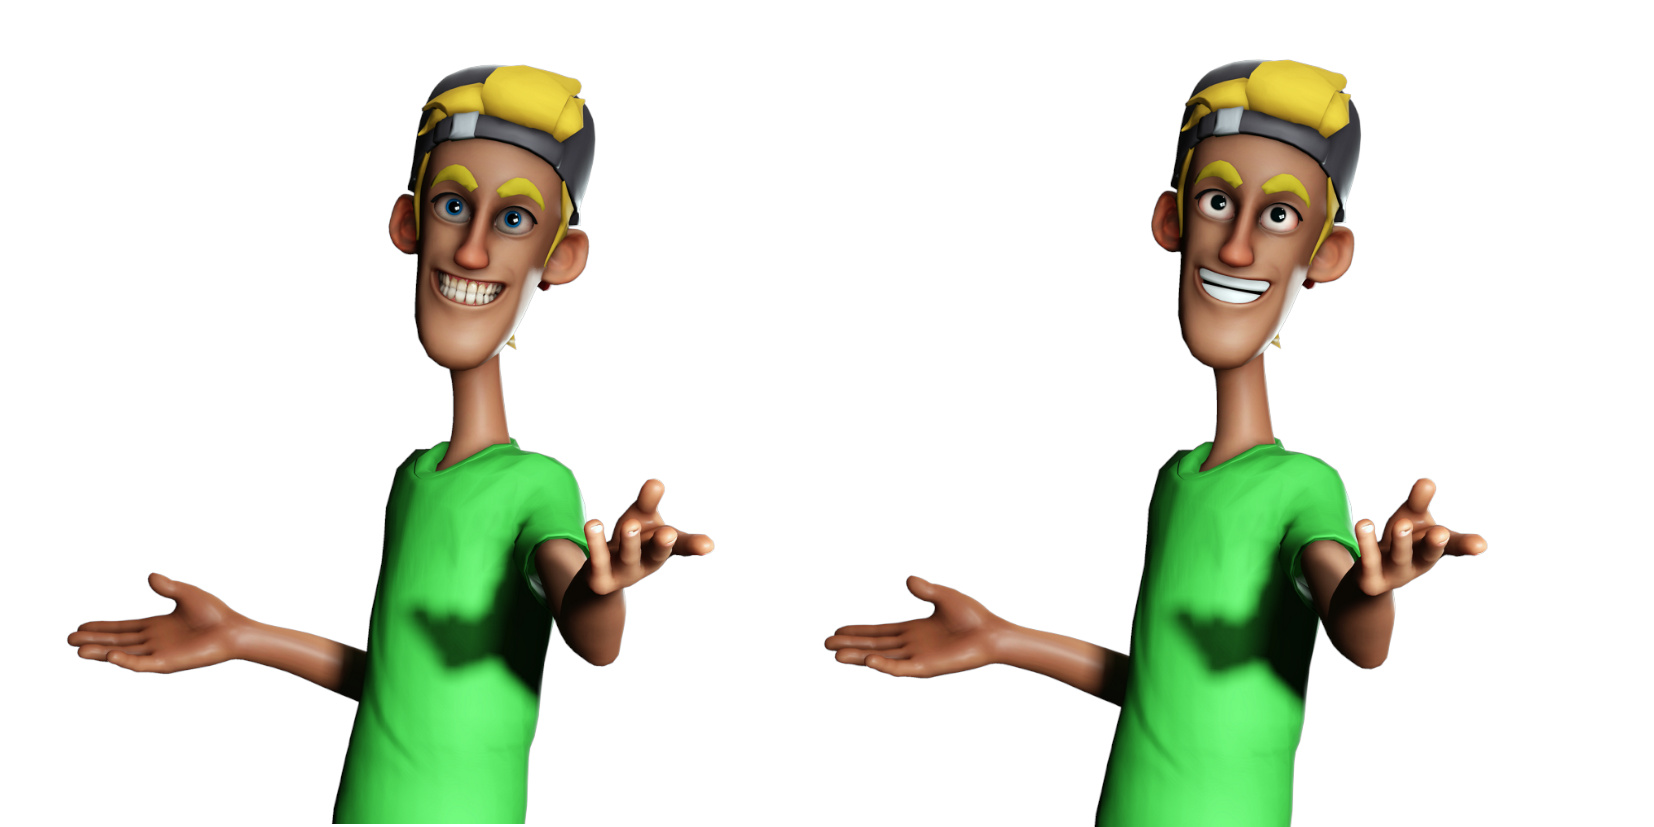
You can see the side-by-side comparisons here. As I mentioned, you may not need toon assets to convey a cartoon style, although I think for the anime character it would be difficult to do without.
Conclusion
The presets in Character Creator are extremely powerful and can be leveraged for many different styles, including cartoons. While the base avatar is designed with realism in mind, the ability to save facial profiles and import custom anatomy can push the software into other categories. Character Creator becomes powerful with every update, and I encourage content creators and artists to add this amazing software to their pipeline.
Free Download:
- CC/iC Blender Tools (addon installed in Blender)
- CC4 Blender Pipeline Tool (addon installed in Character Creator 4)
- Character Creator
Learn more:
- Peter Alexander (Mythcons): ArtStation. Facebook
- Blender-Character Animation Pipeline