
Behind the Scenes: A Date with Poco
INTRODUCTION
Hey there!
I’m Evgeniy, also known as poco_rocko, a 3D sorcerer from Rostov-on-Don, Russia. I’ve been creating 3D magic for over a year now, learning on my own as well as taking some specialized courses.
INSPIRATION
My fascination with isometric scenes began years ago after discovering Guillaume Kurkdjian’s breathtaking artwork. Since then, I have been keeping tabs on a handful of talented artists who specialize in creating stunning isometric dioramas.
To aid in my current project, I have compiled a reference board consisting of artwork from my favorite artists, as well as a selection of random pieces I came across during my research, and even AI-generated images.

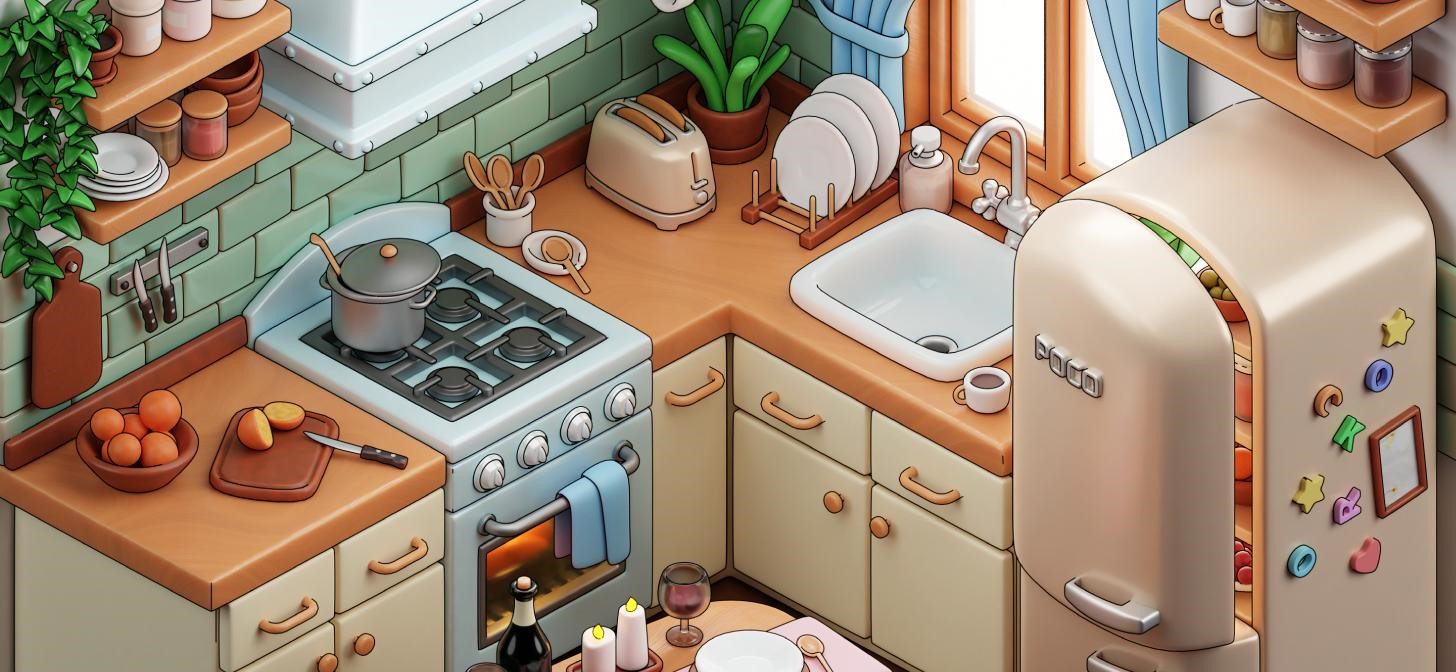
Through the use of MidJourney, I generated the primary reference for my work by inputting prompts such as “cozy kitchen” and “isometric room.”
CAMERA
Before I start working on a specific reference that serves as my foundation, I always ensure that the camera is set up to capture the basic proportions.
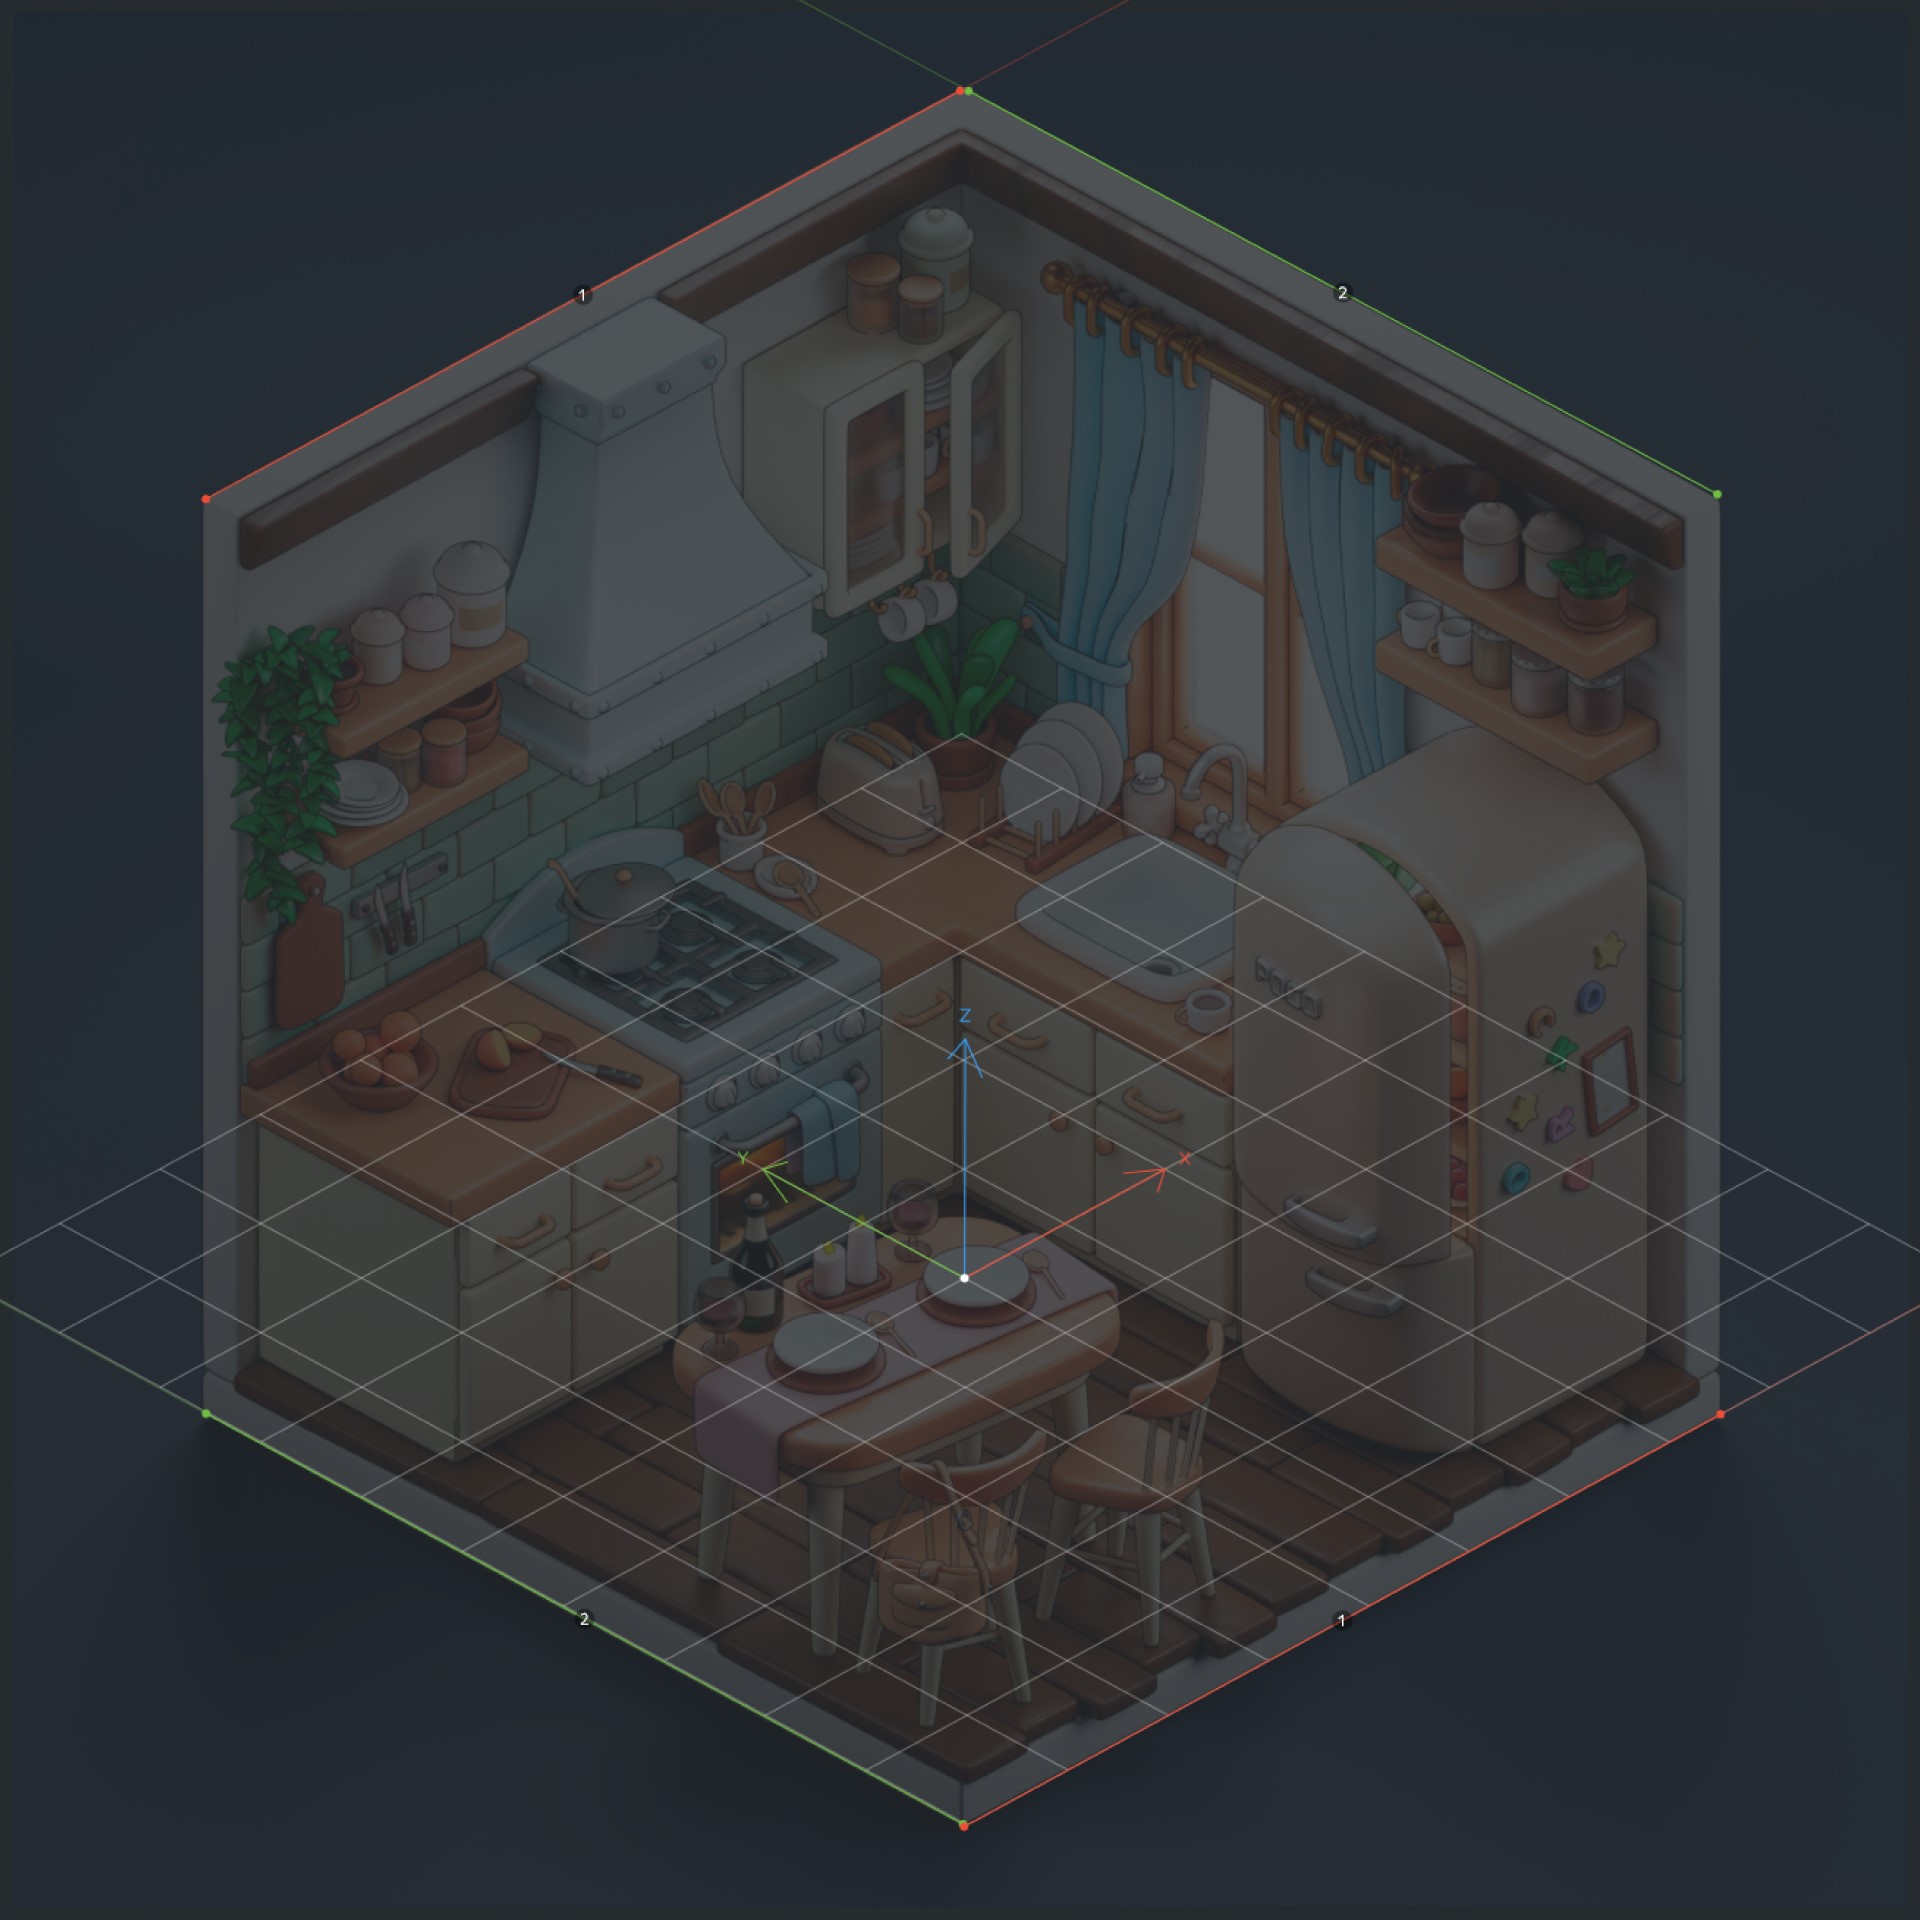
To achieve this, I use a free application called fSpy, which helps me get as close to the reference as possible.
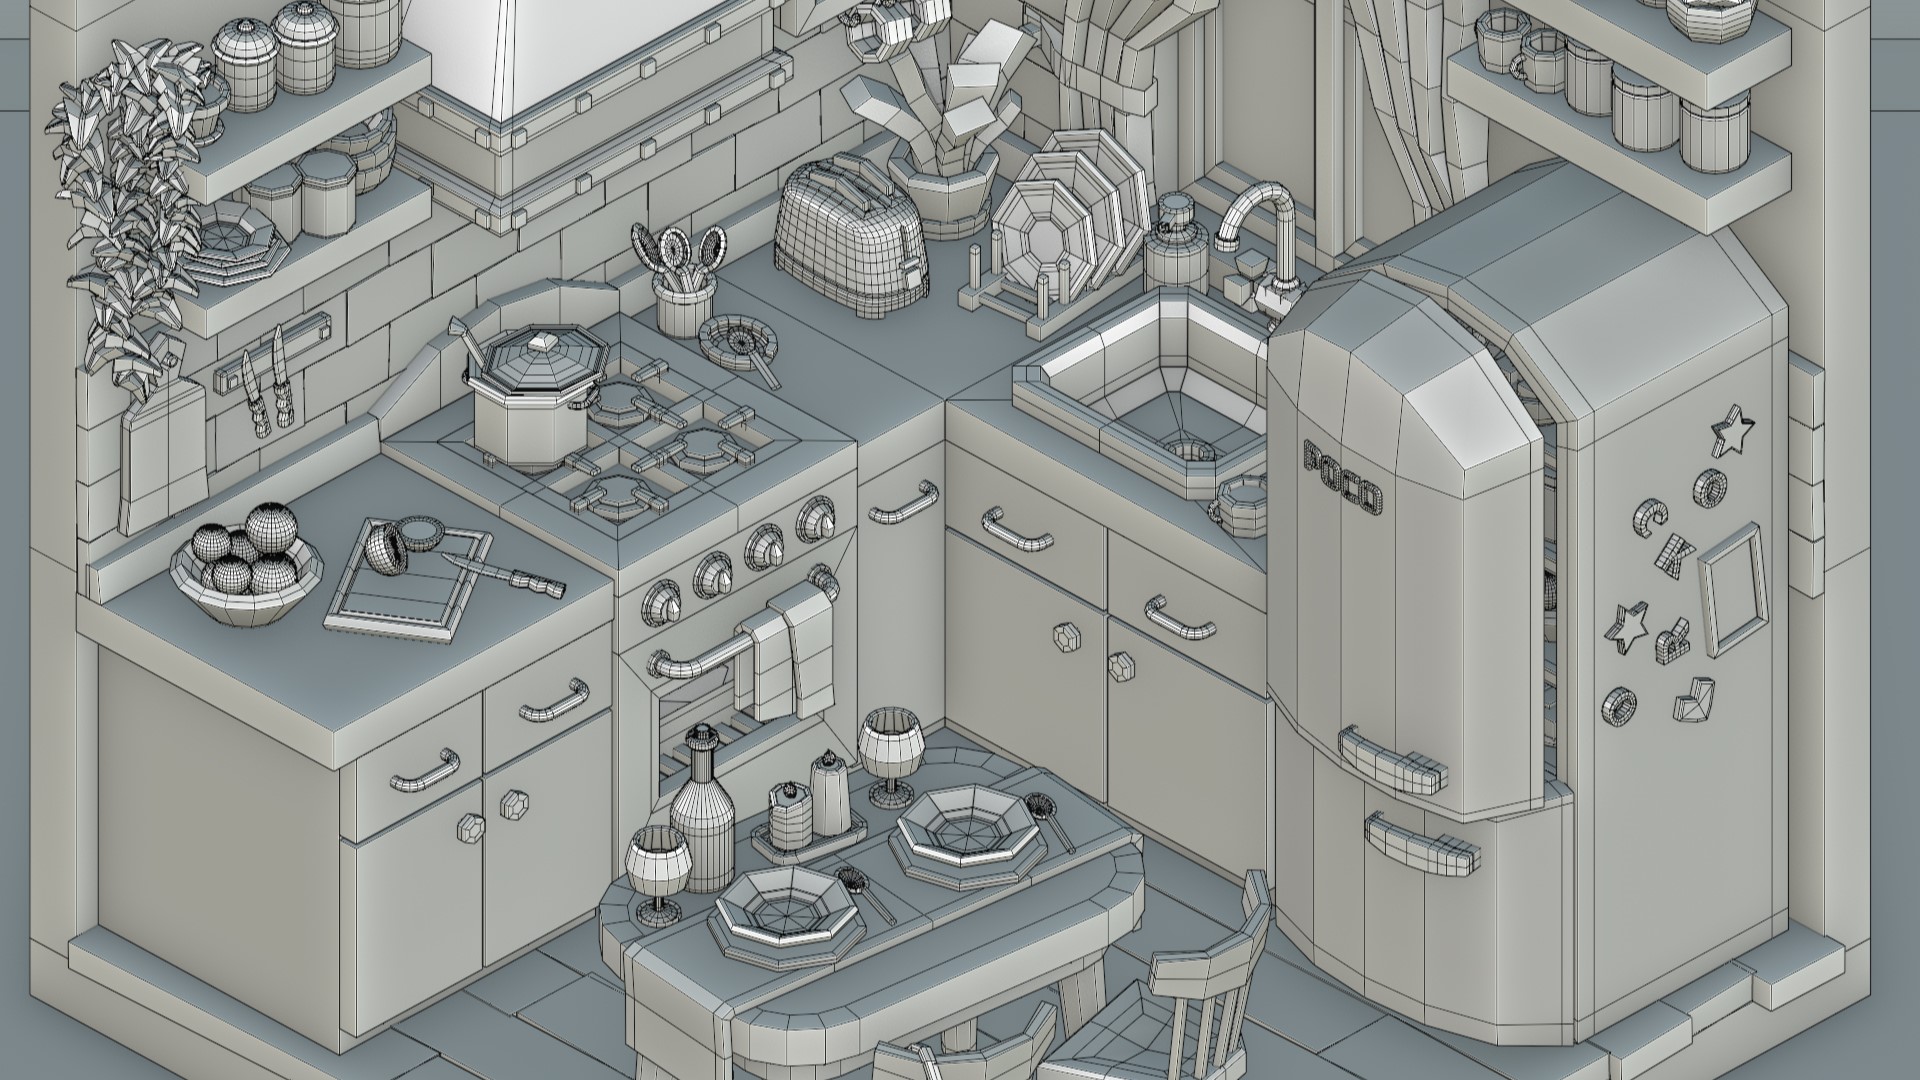
MODELING
I used Bevel and Subdivision as the primary modifiers for creating a model of this scene. To maintain consistency in style across all objects, I attempted to employ identical Bevel settings on each of them.
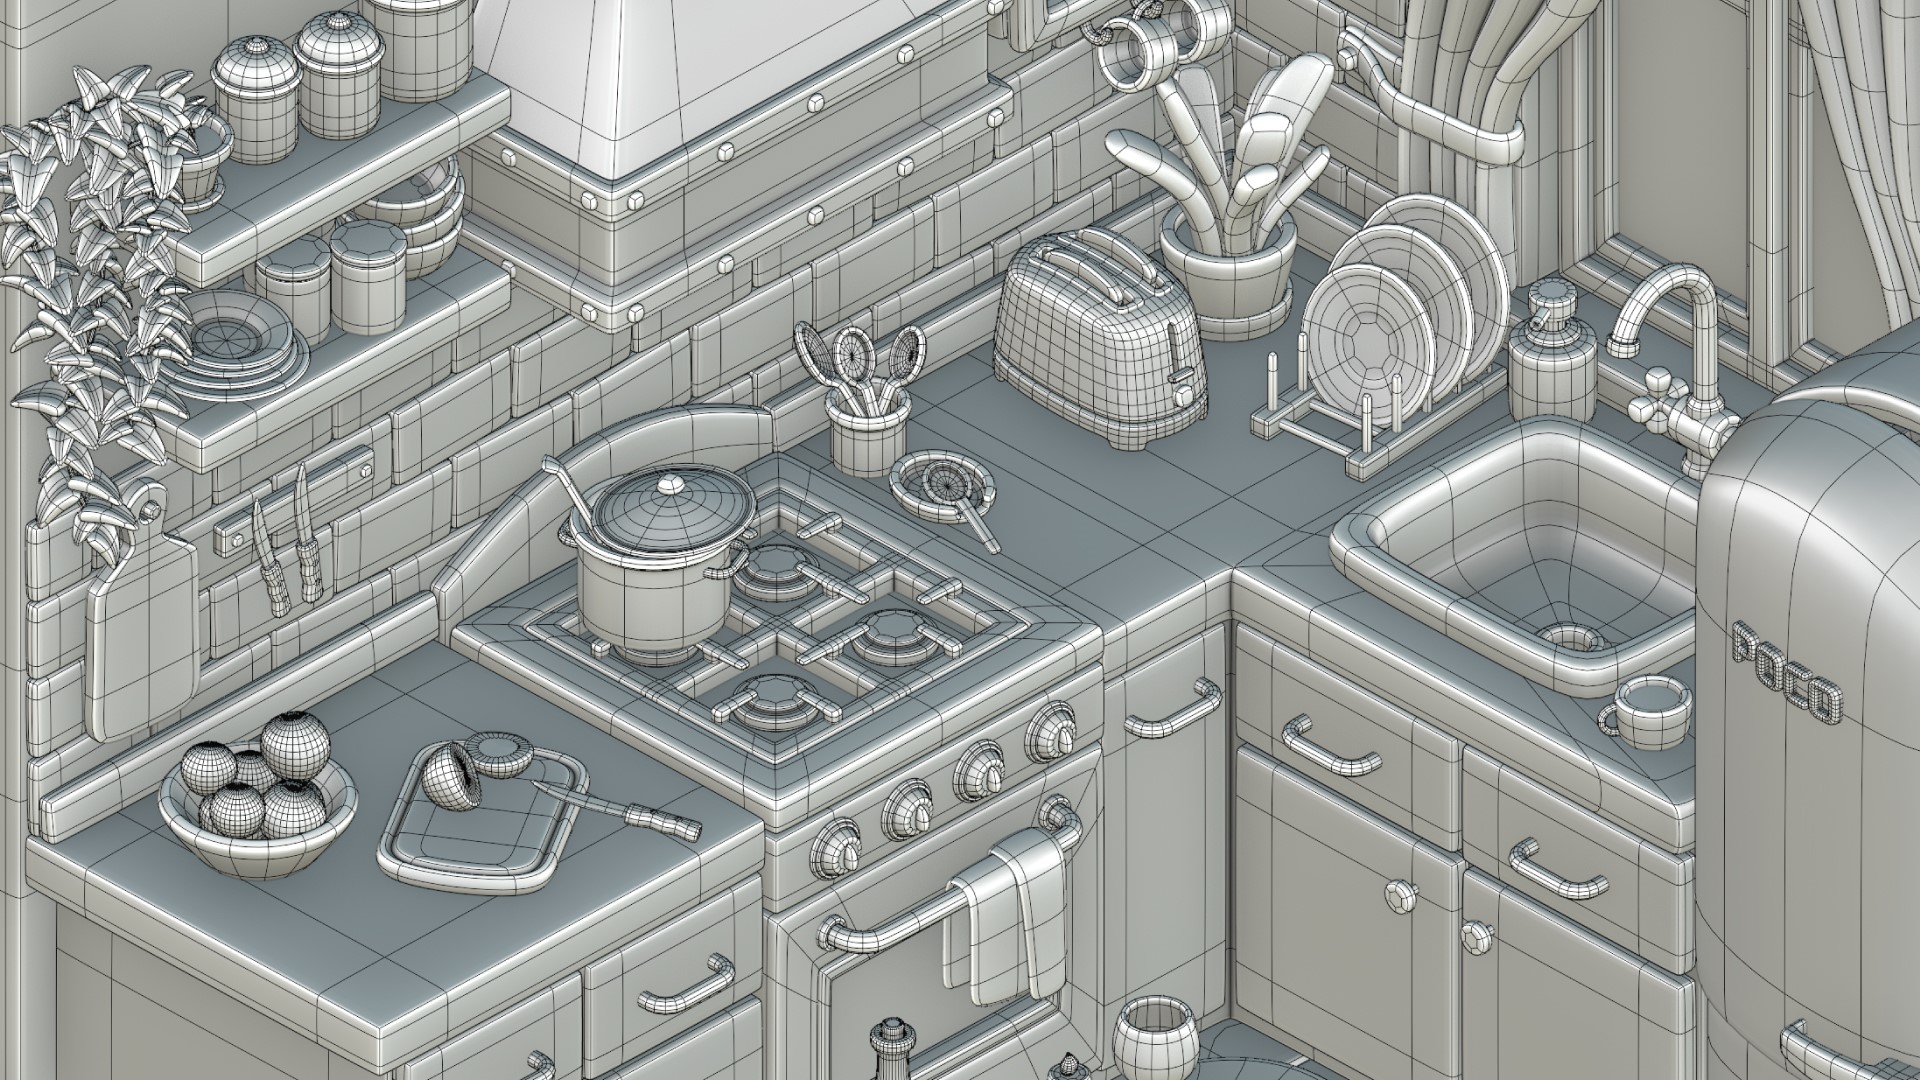
However, for a few objects, I used Subdivision exclusively without any Bevel modifier.
TEXTURING
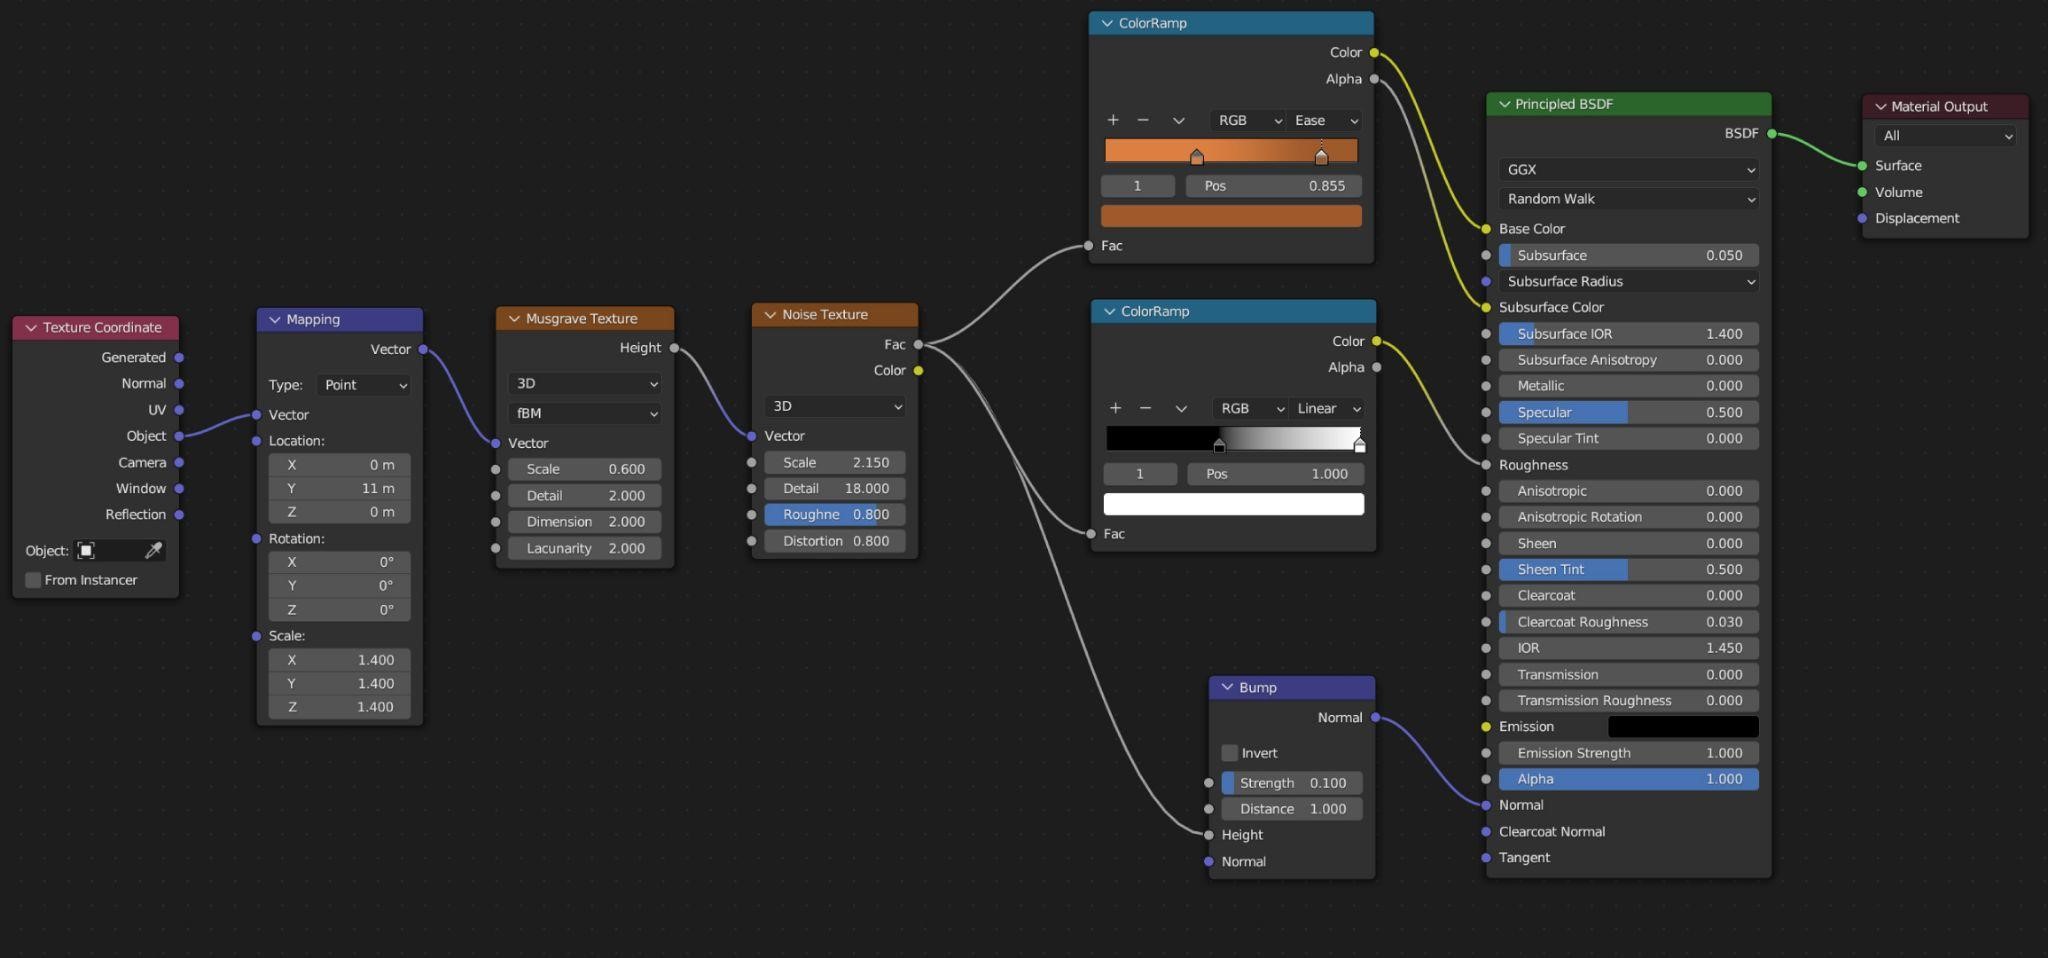
Typically, my texturing process entails modifying the Base Principled BSDF by adjusting its Color, Roughness, Metallic settings, and adding Subsurface (to make object edges look more interesting). However, I used unique settings, especially for the wood textures.
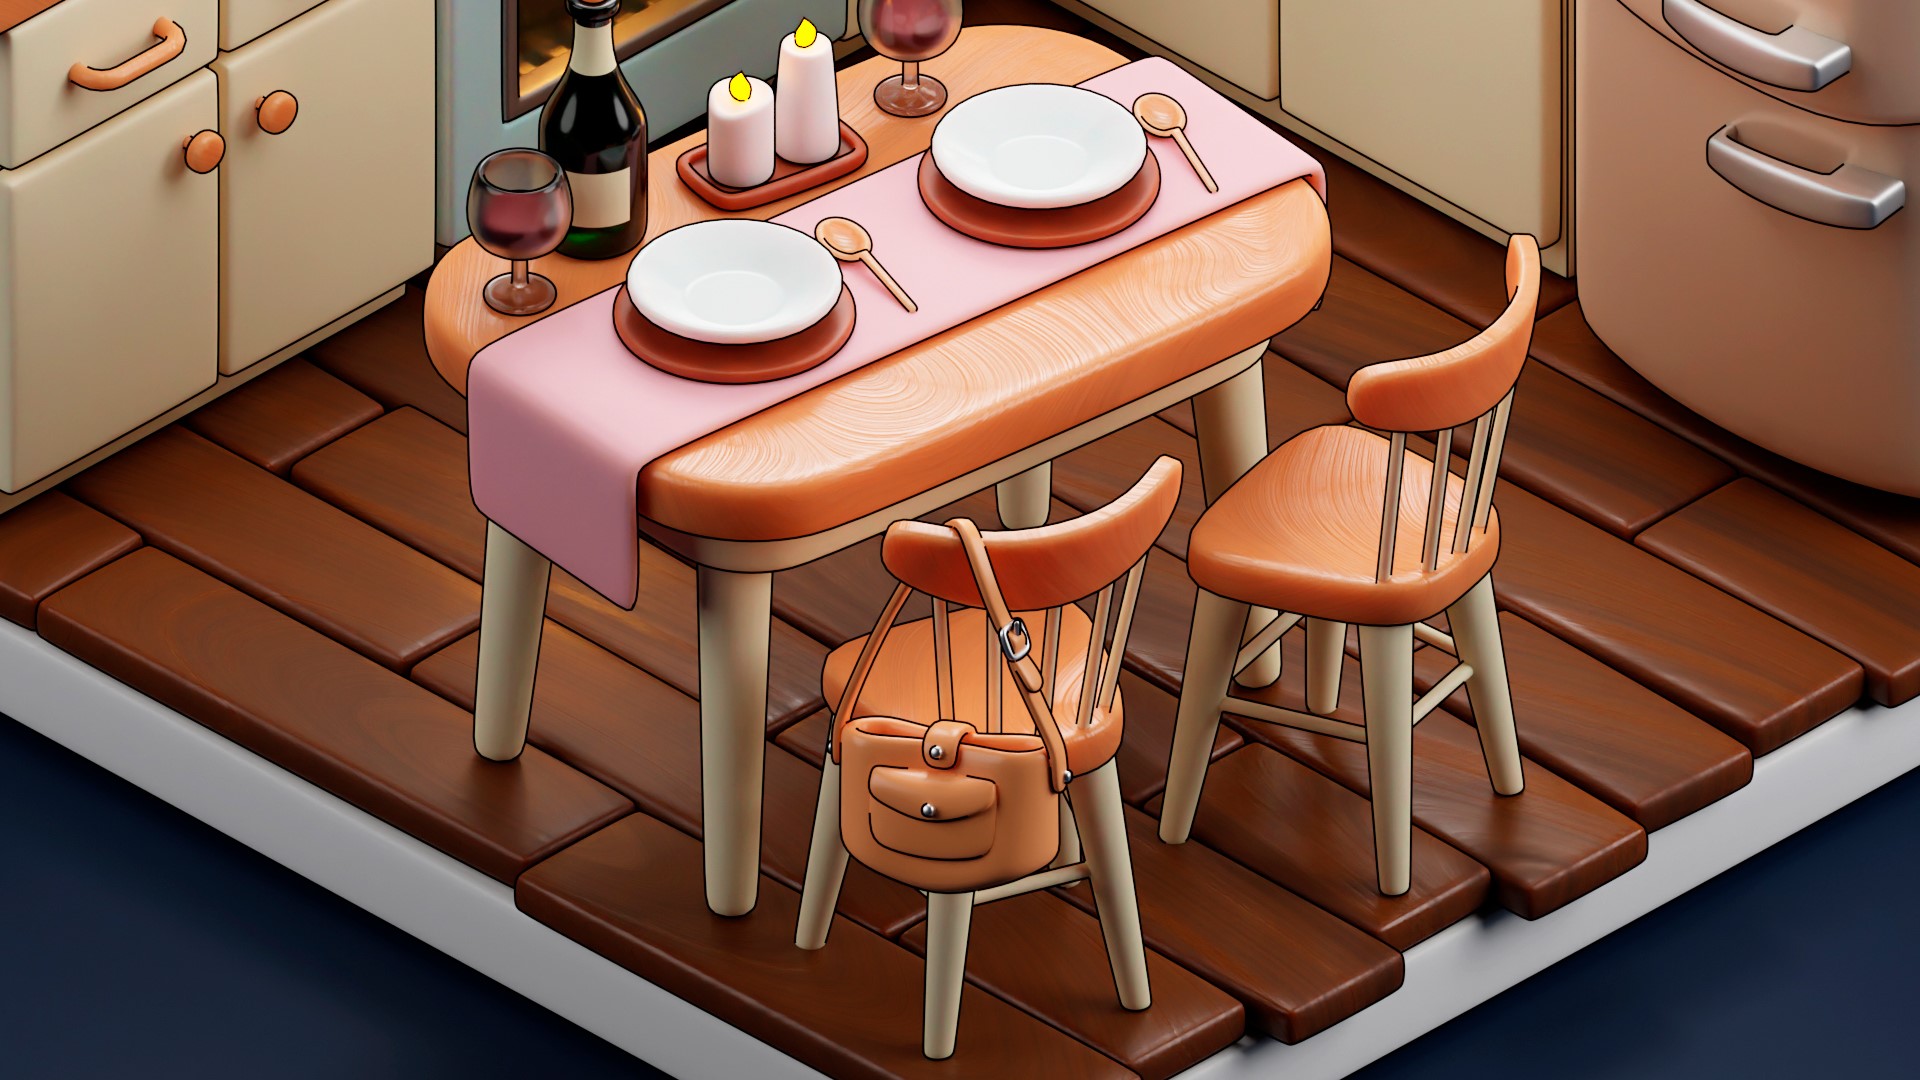
For the table, chairs, and countertops, among other things, I employed a light wood texture. Likewise, the dark wood texture used for the floor and some dishes had comparable settings, but with different colors.
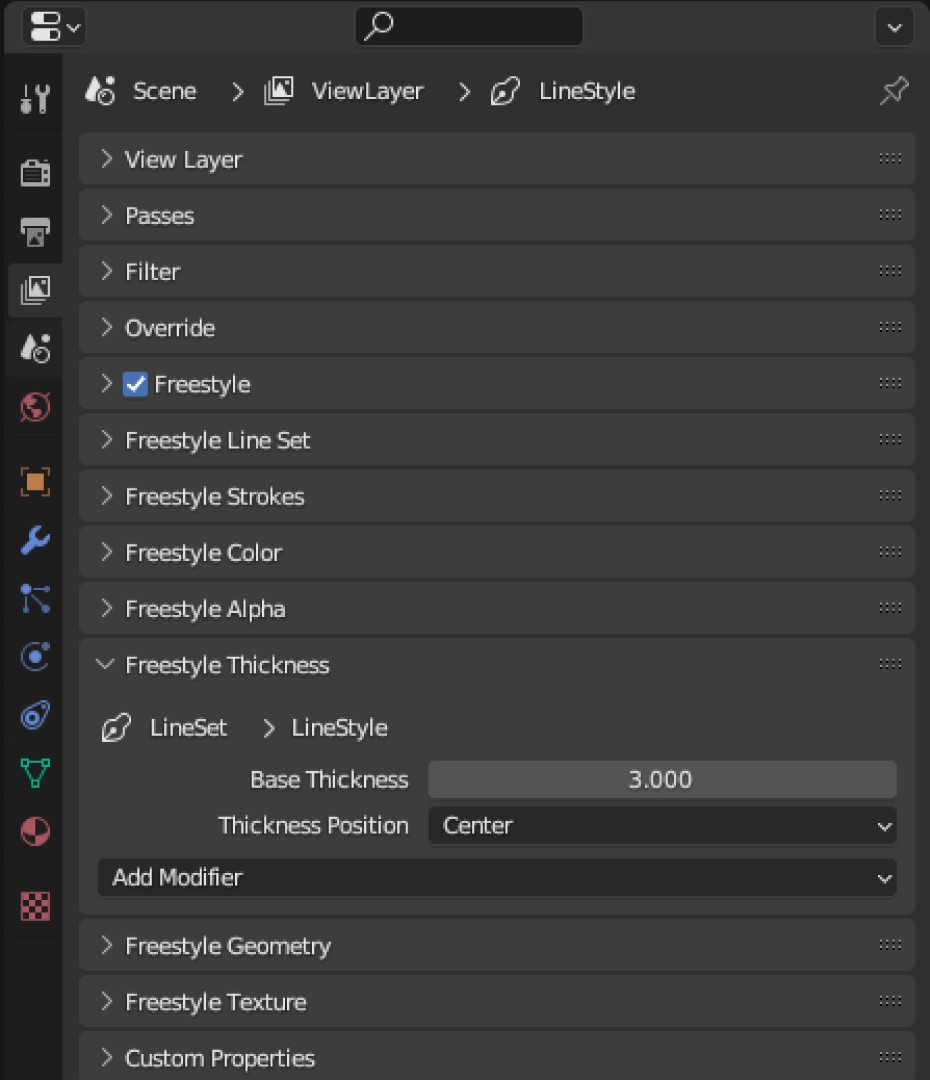
For the black outline settings, I used Freestyle (but you can also try Grease Pencil).
LIGHTING
I always use a three-point lighting setup in my artworks, and this project was no exception. In addition I included a general light source by Aria Light that brightens up the entire room.
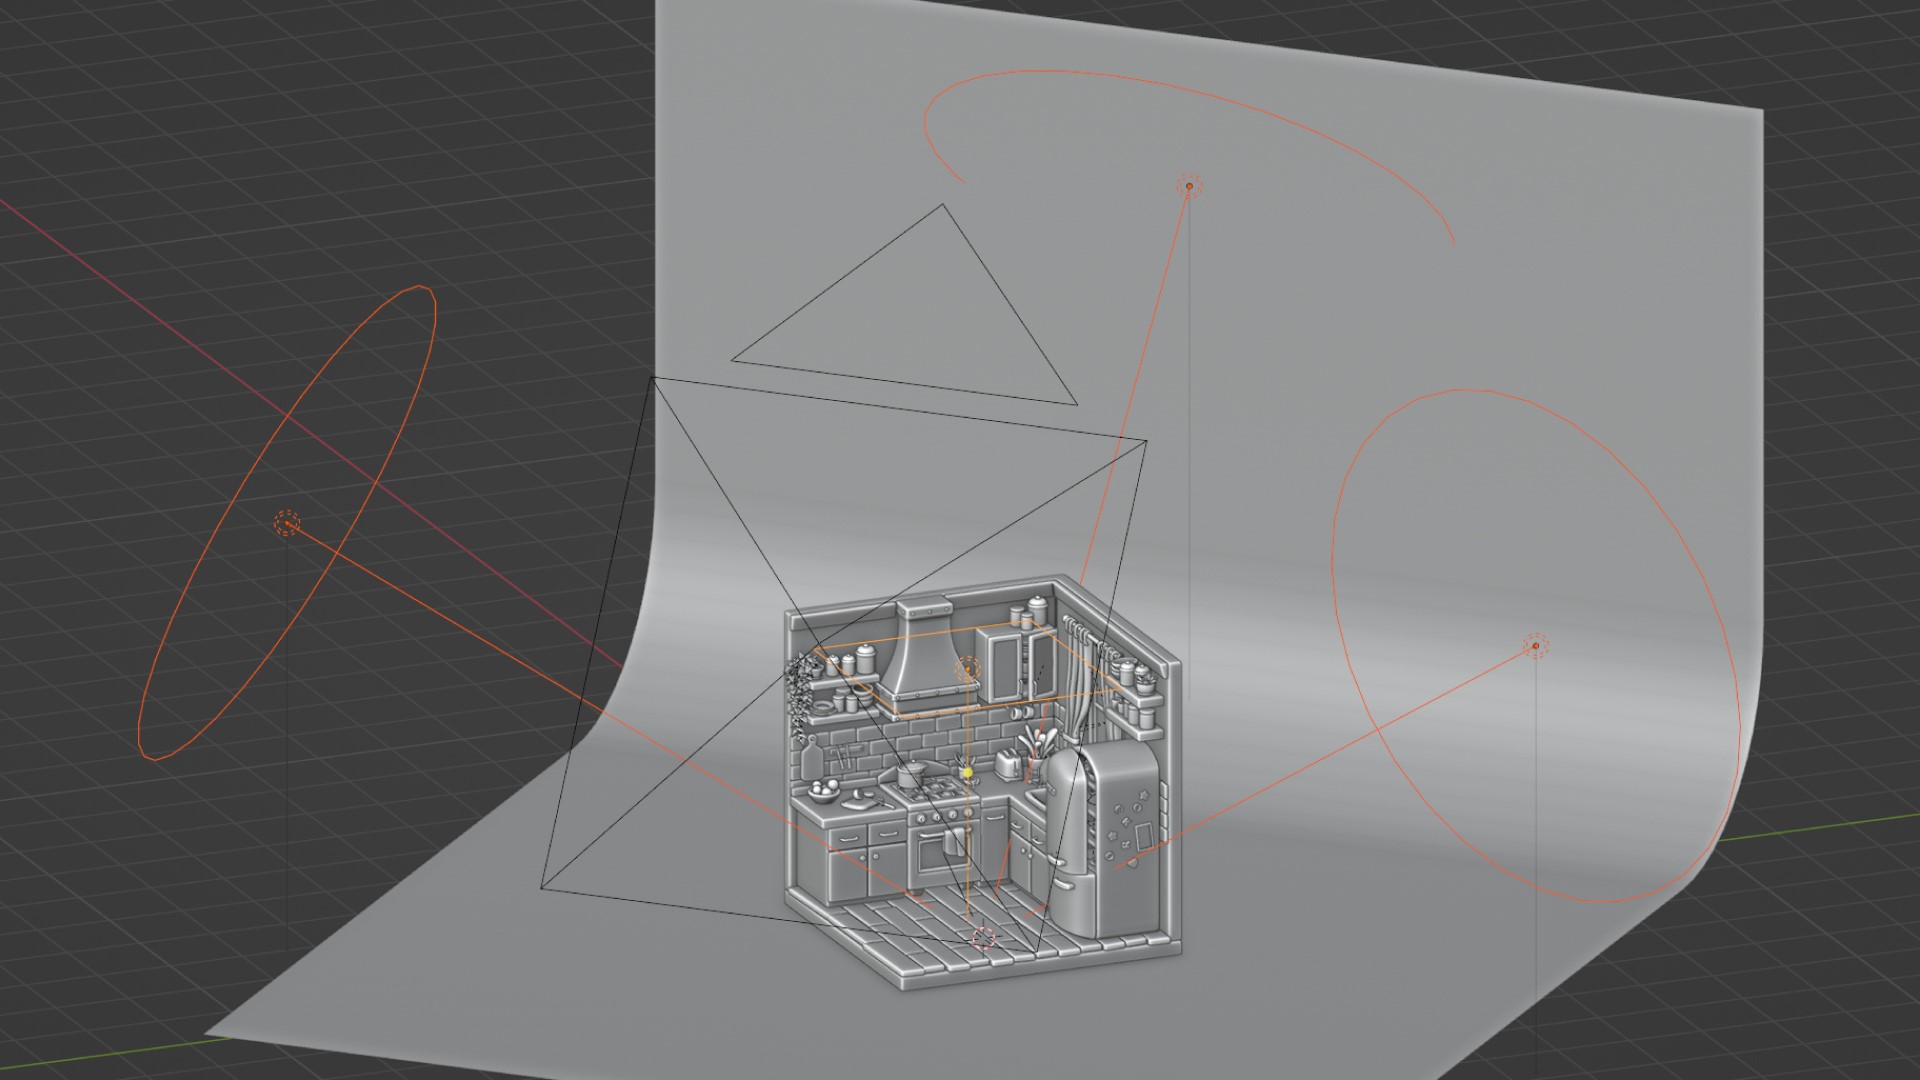
I also used the light inside the oven and the fridge as additional lighting sources in this scene.
The window and candles were illuminated using Emission.
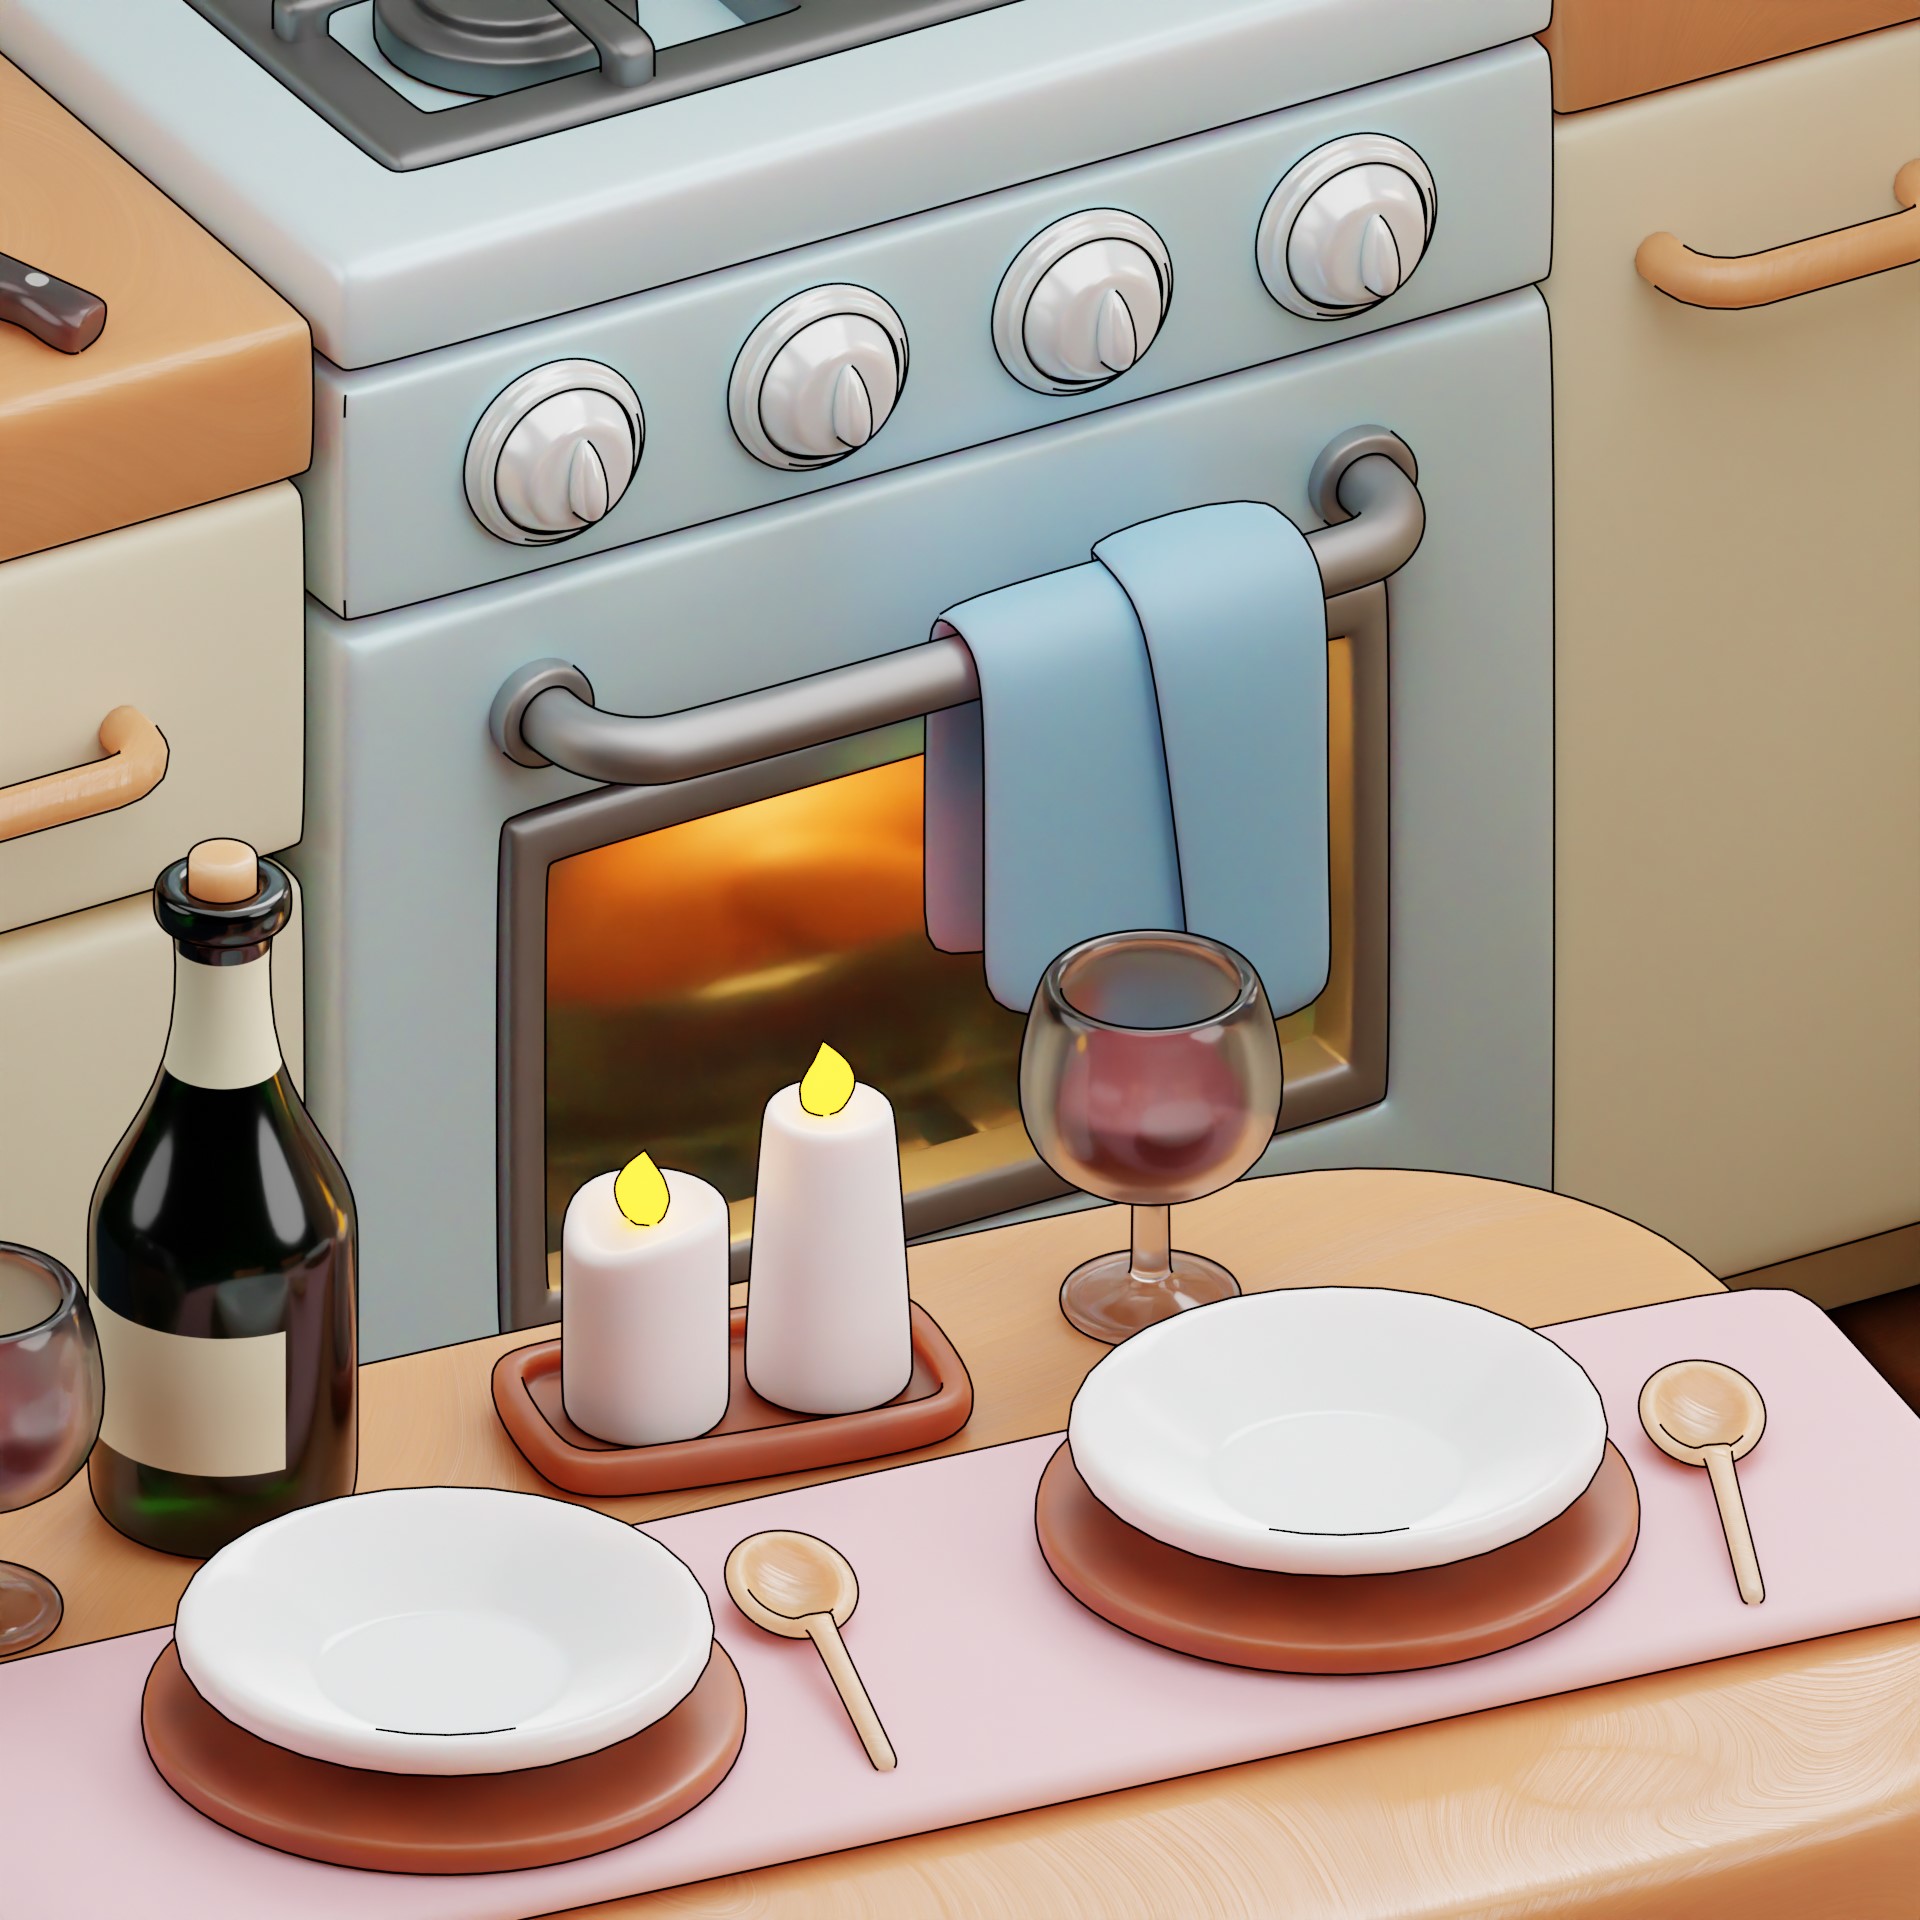
I set the Strength of the world light to 0, and also included Ambient Occlusion in the Compositor.
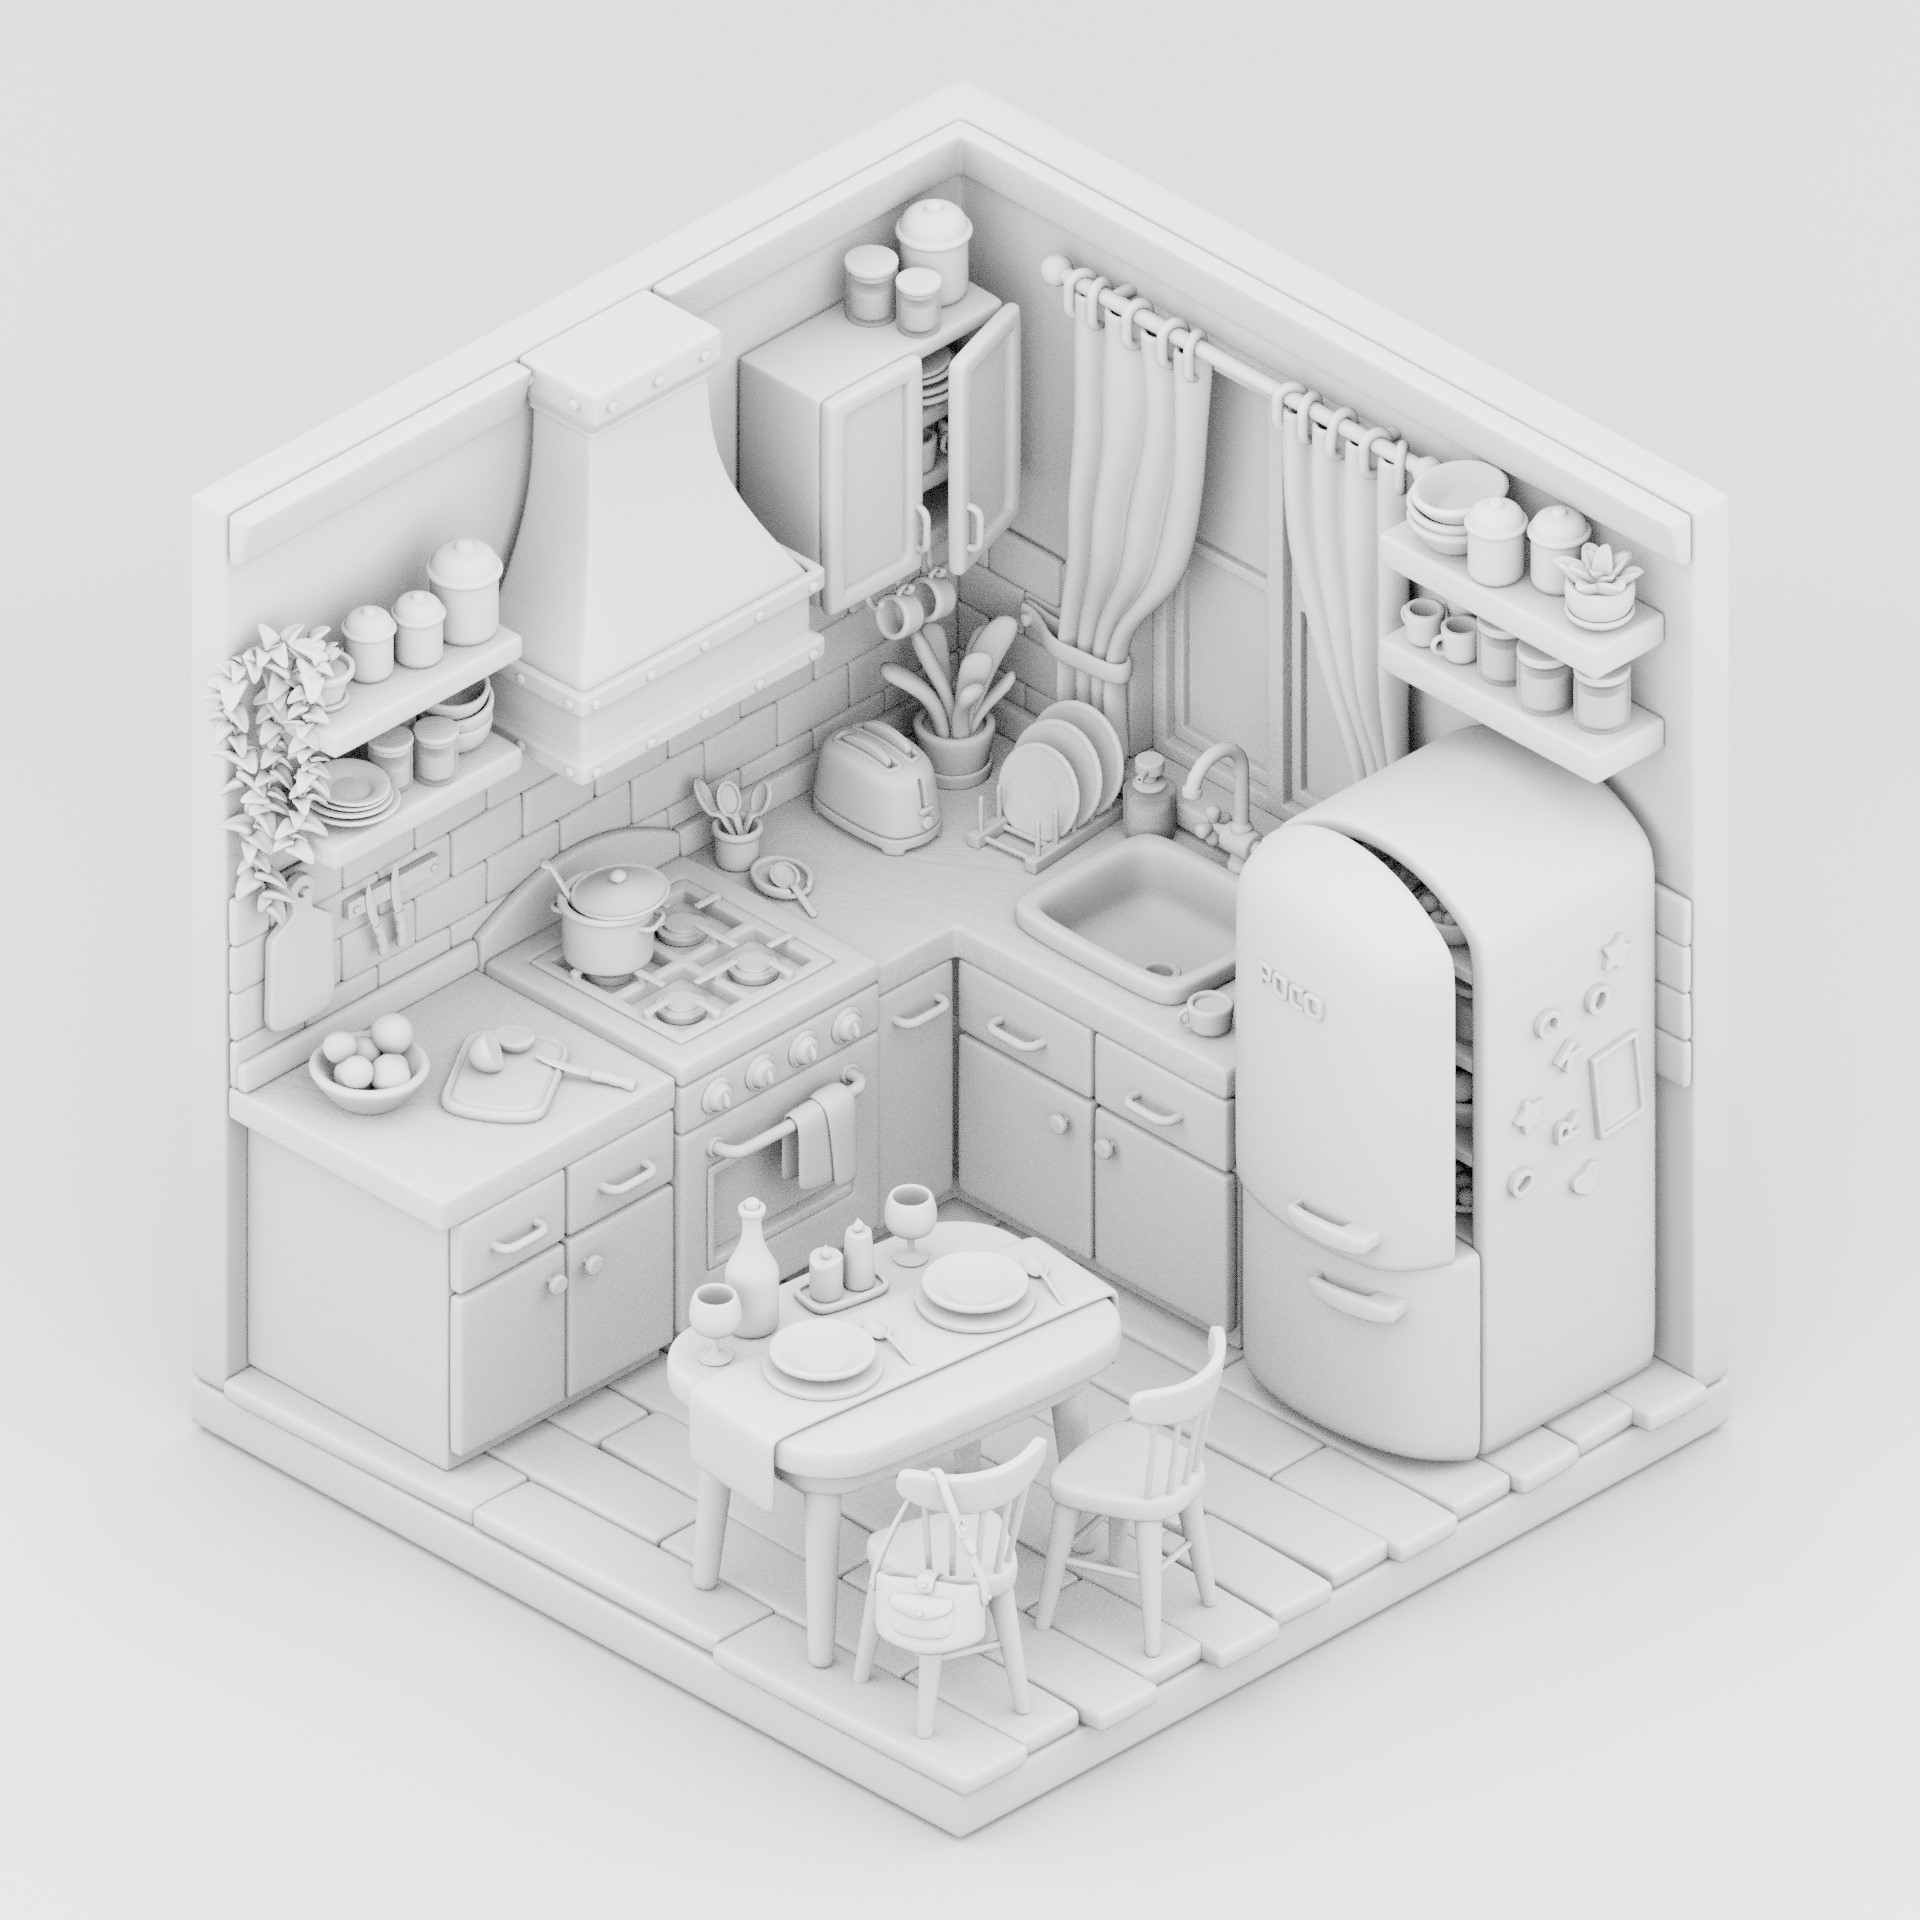
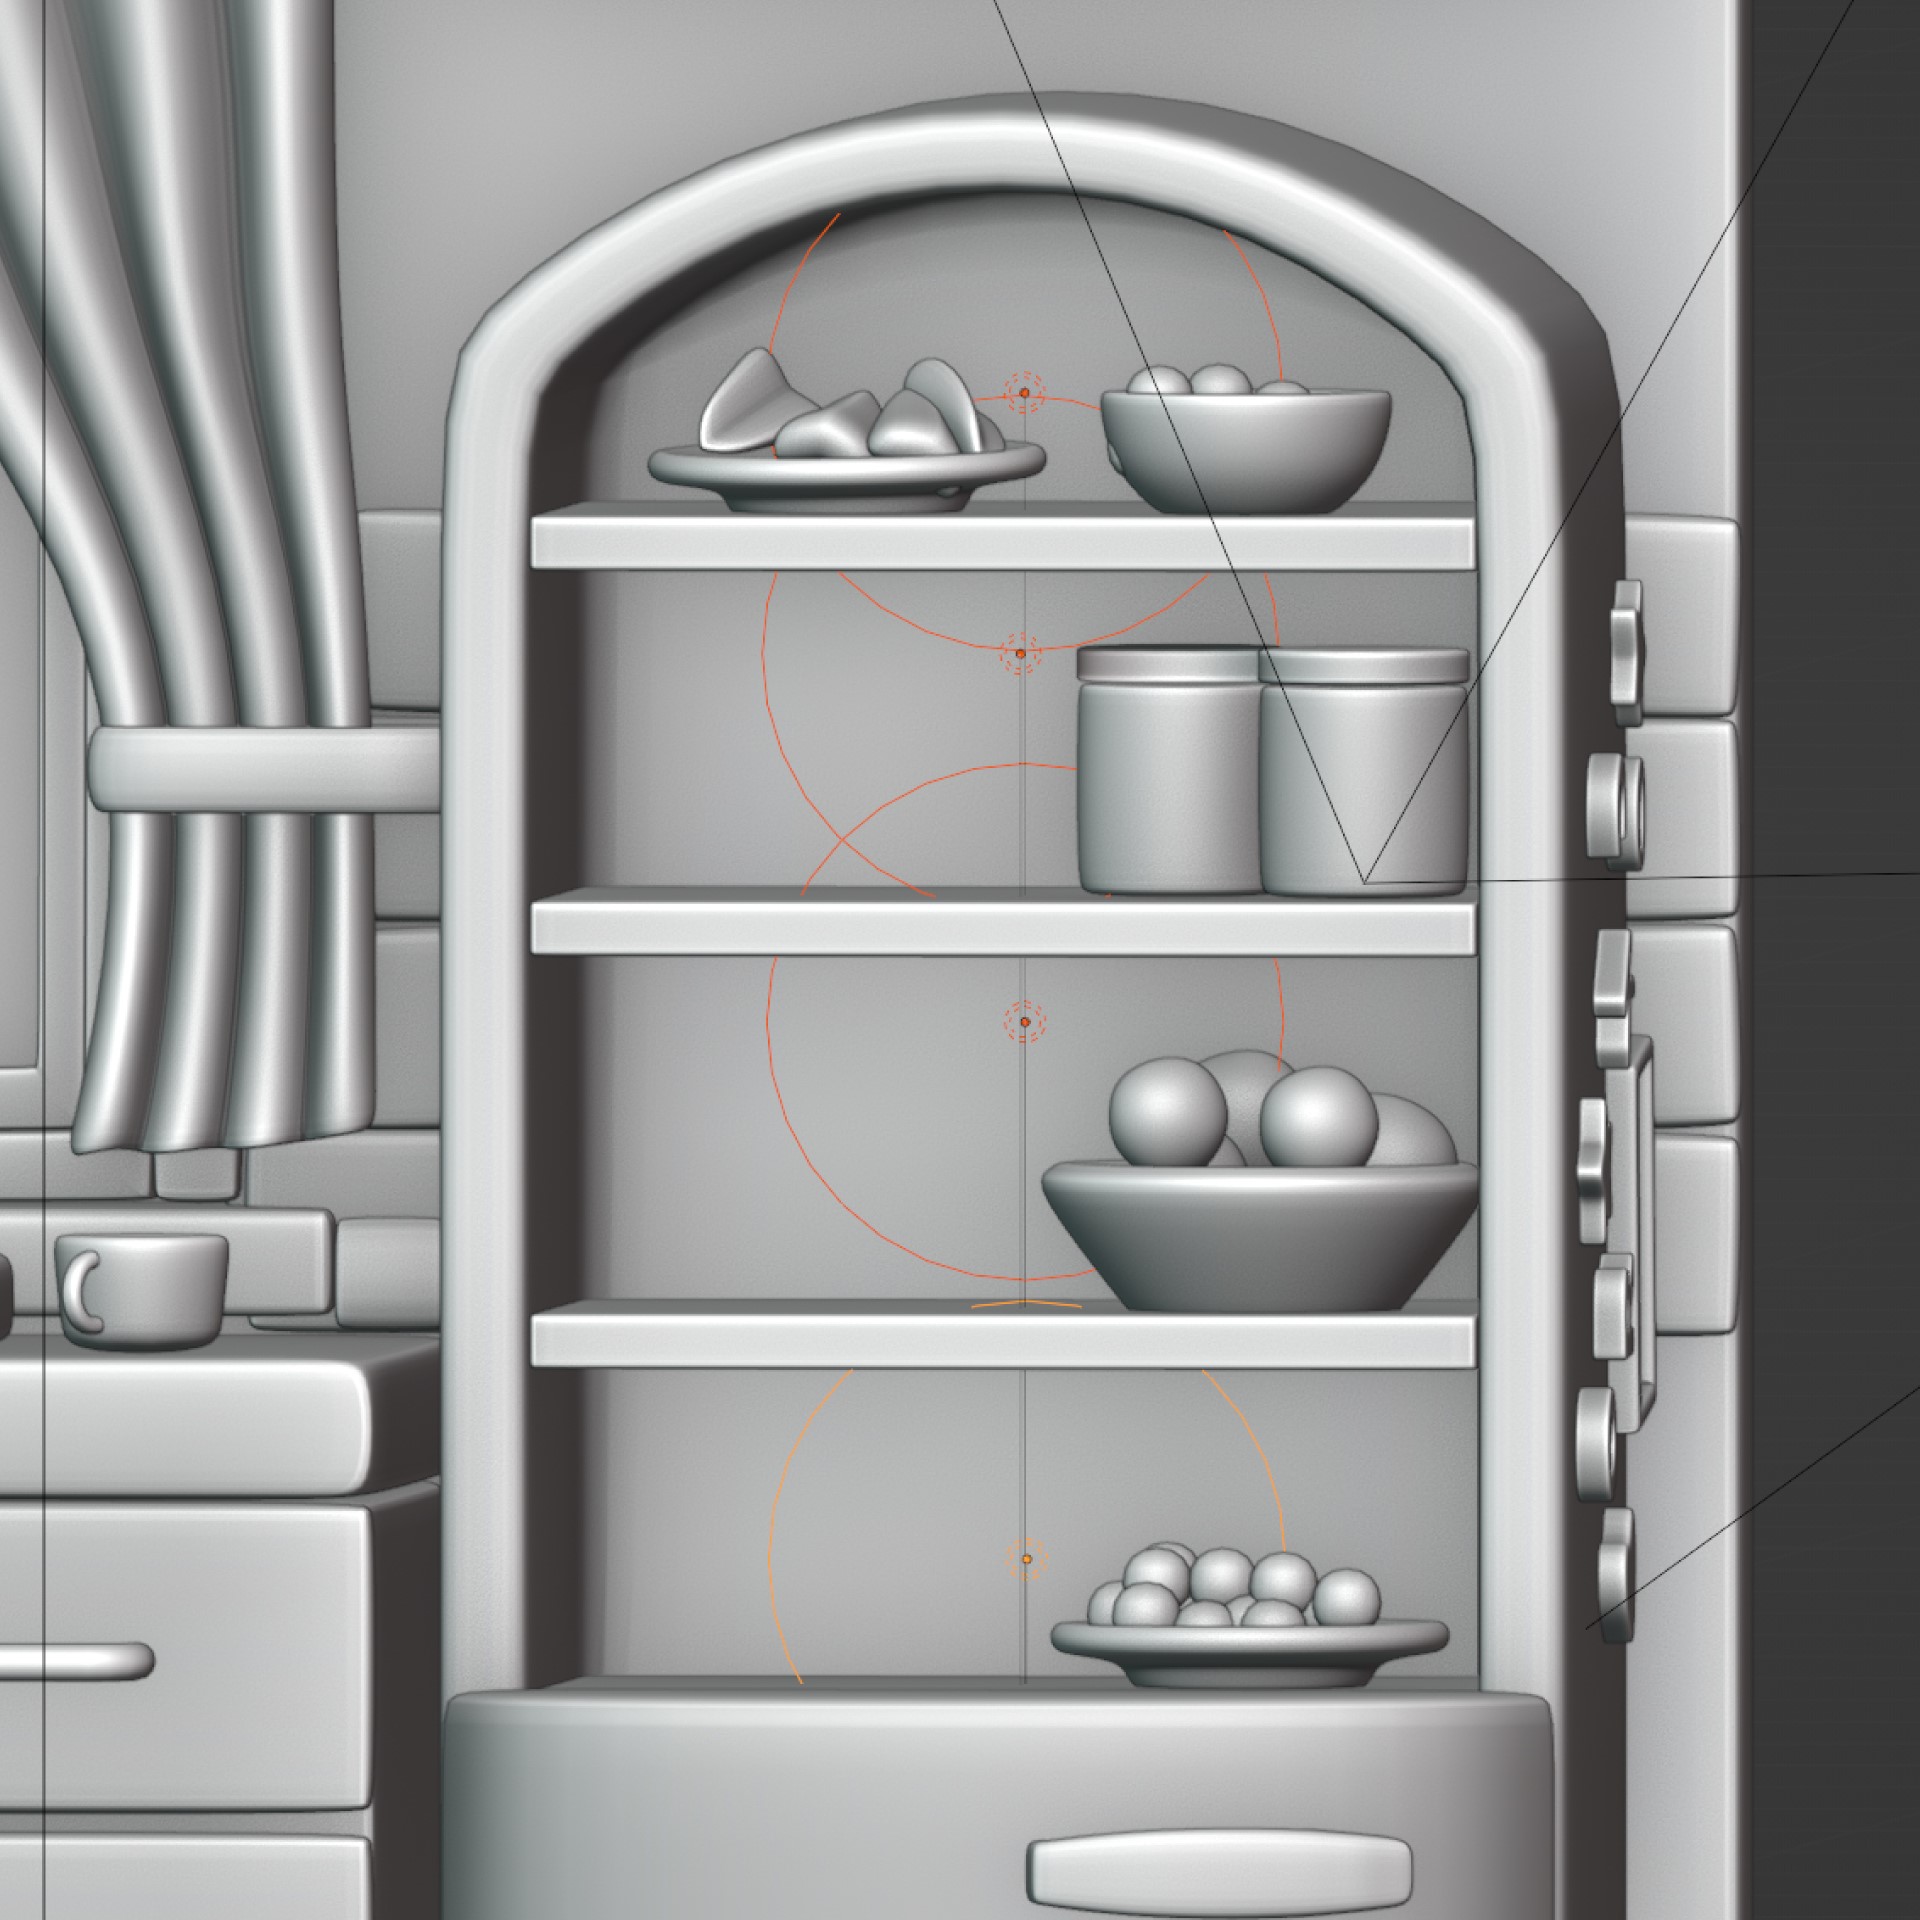
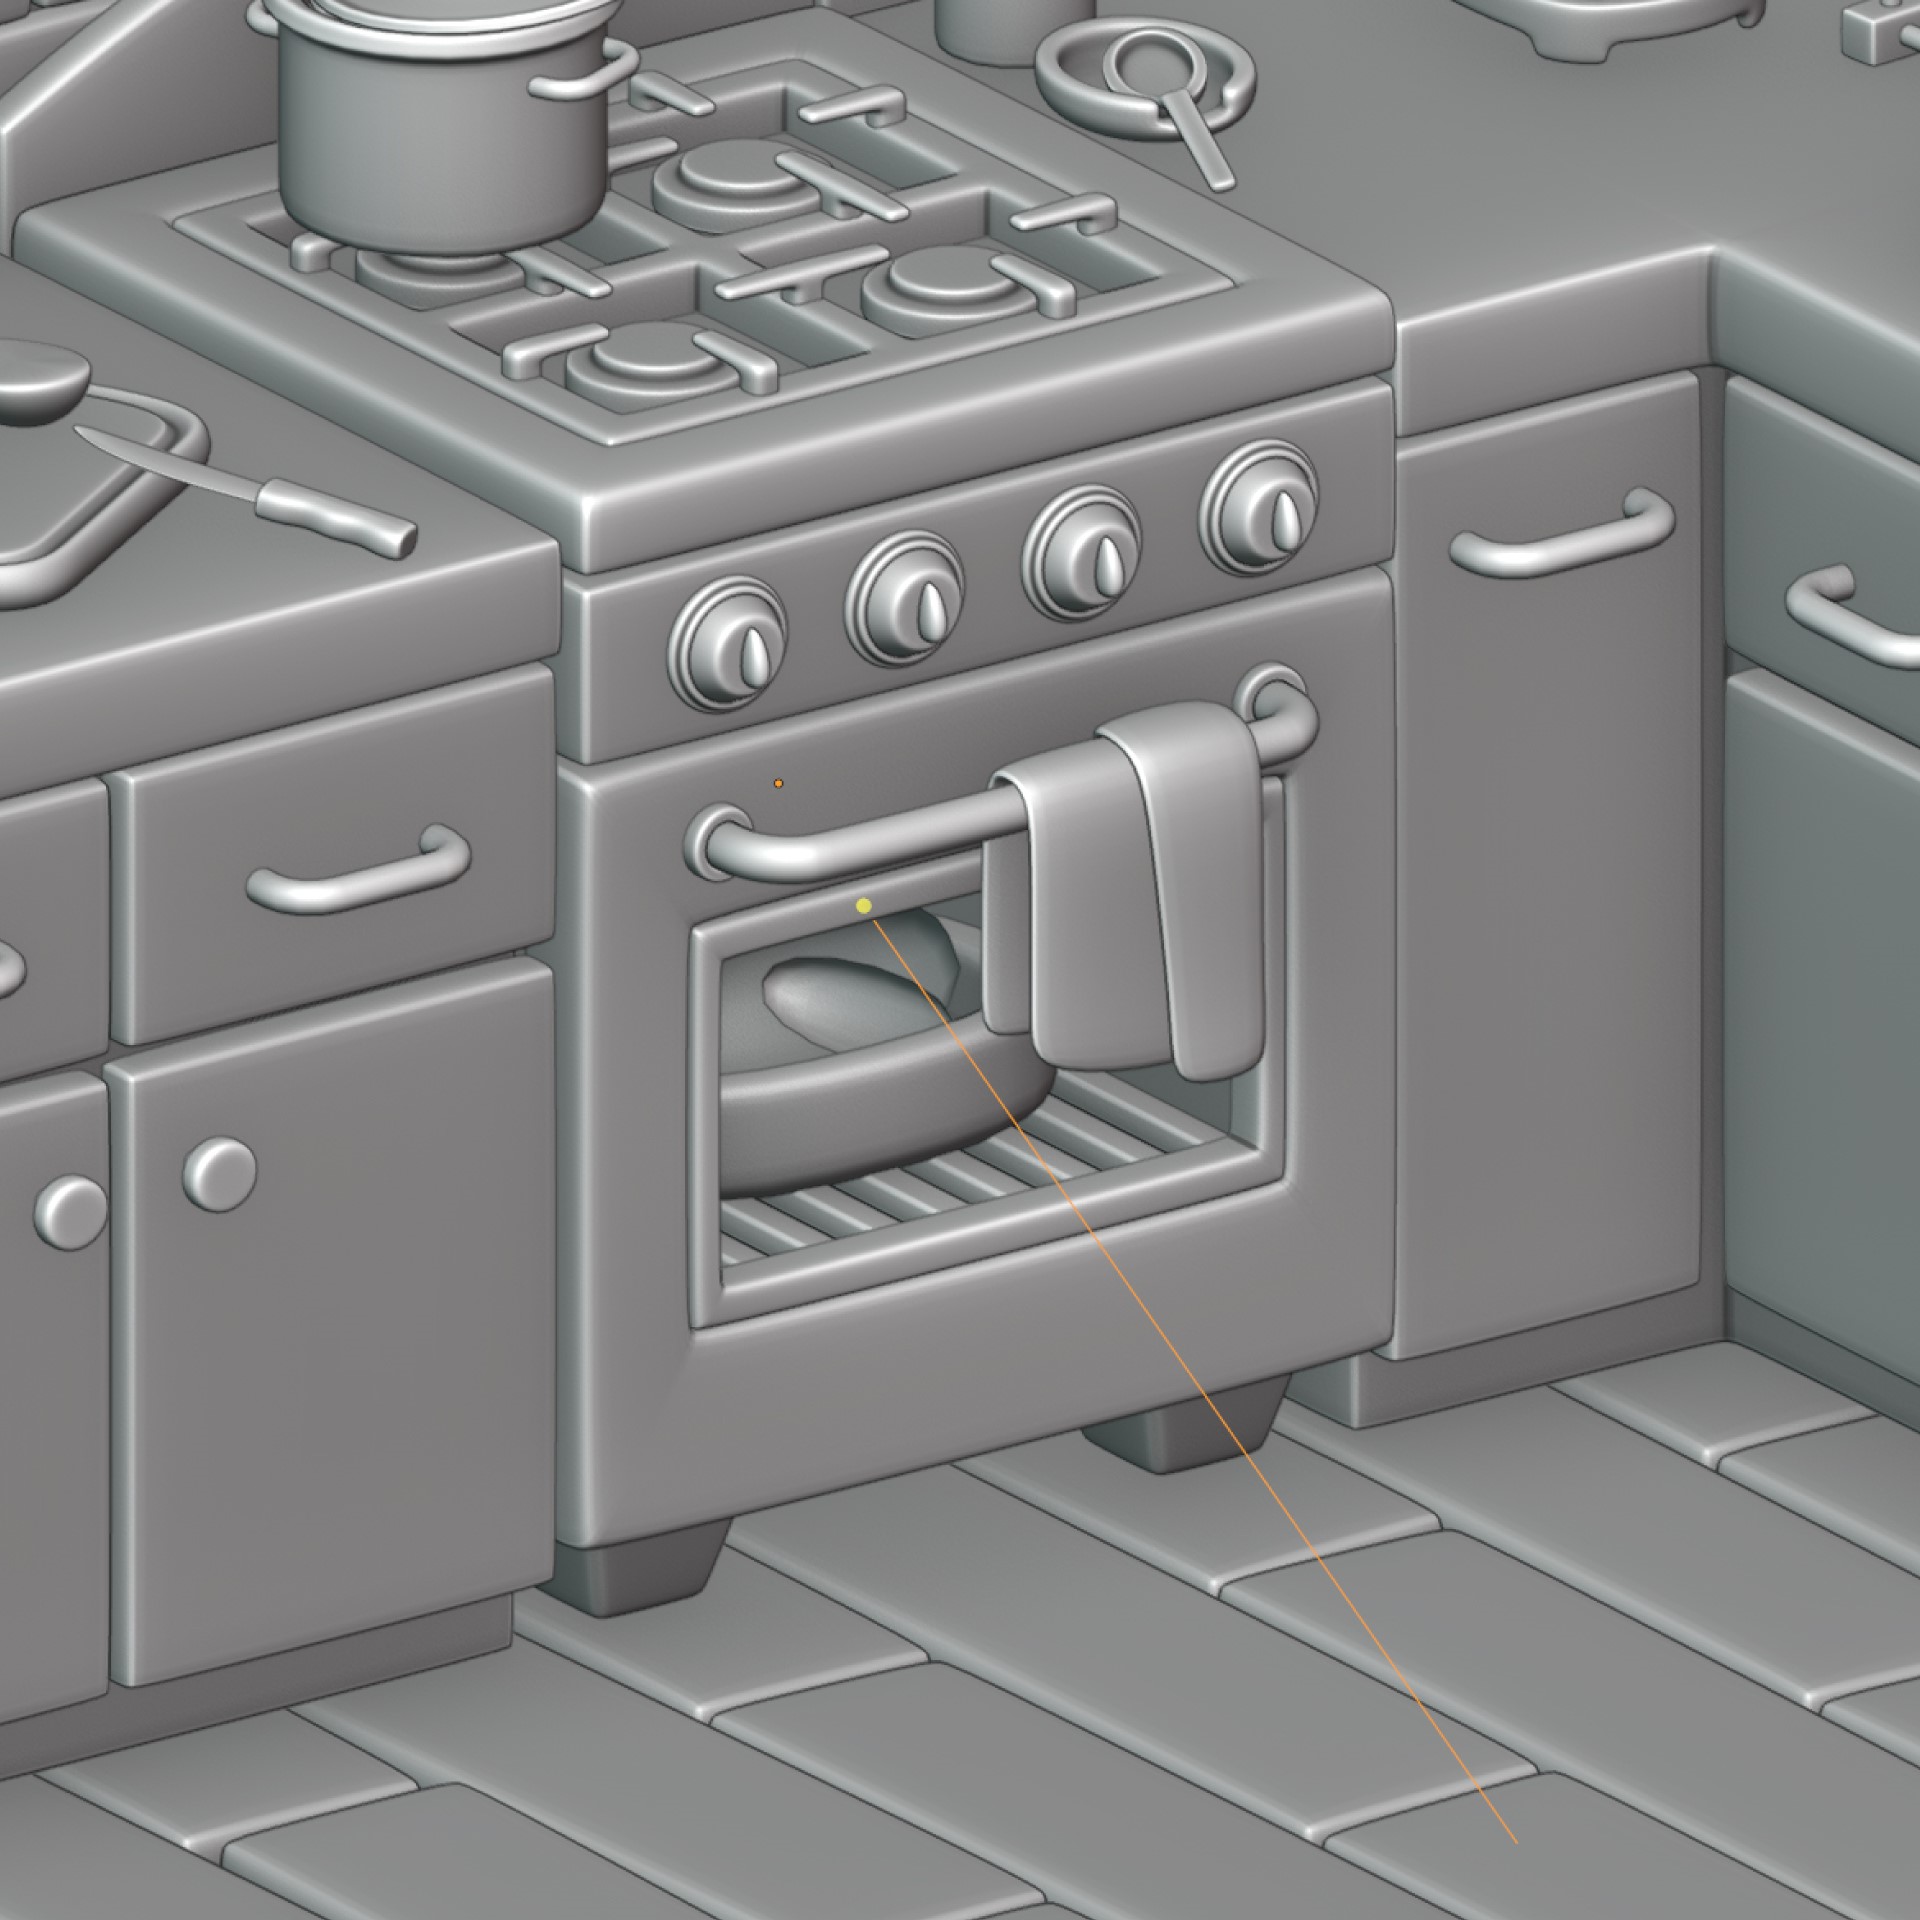
DETAILS
Upon publishing my work, I was bombarded with inquiries on how I managed to make the scenes so vivid.
To achieve this effect, the key is to inject some chaos into the scene by avoiding leaving objects flat and altering their angles and positions in space.
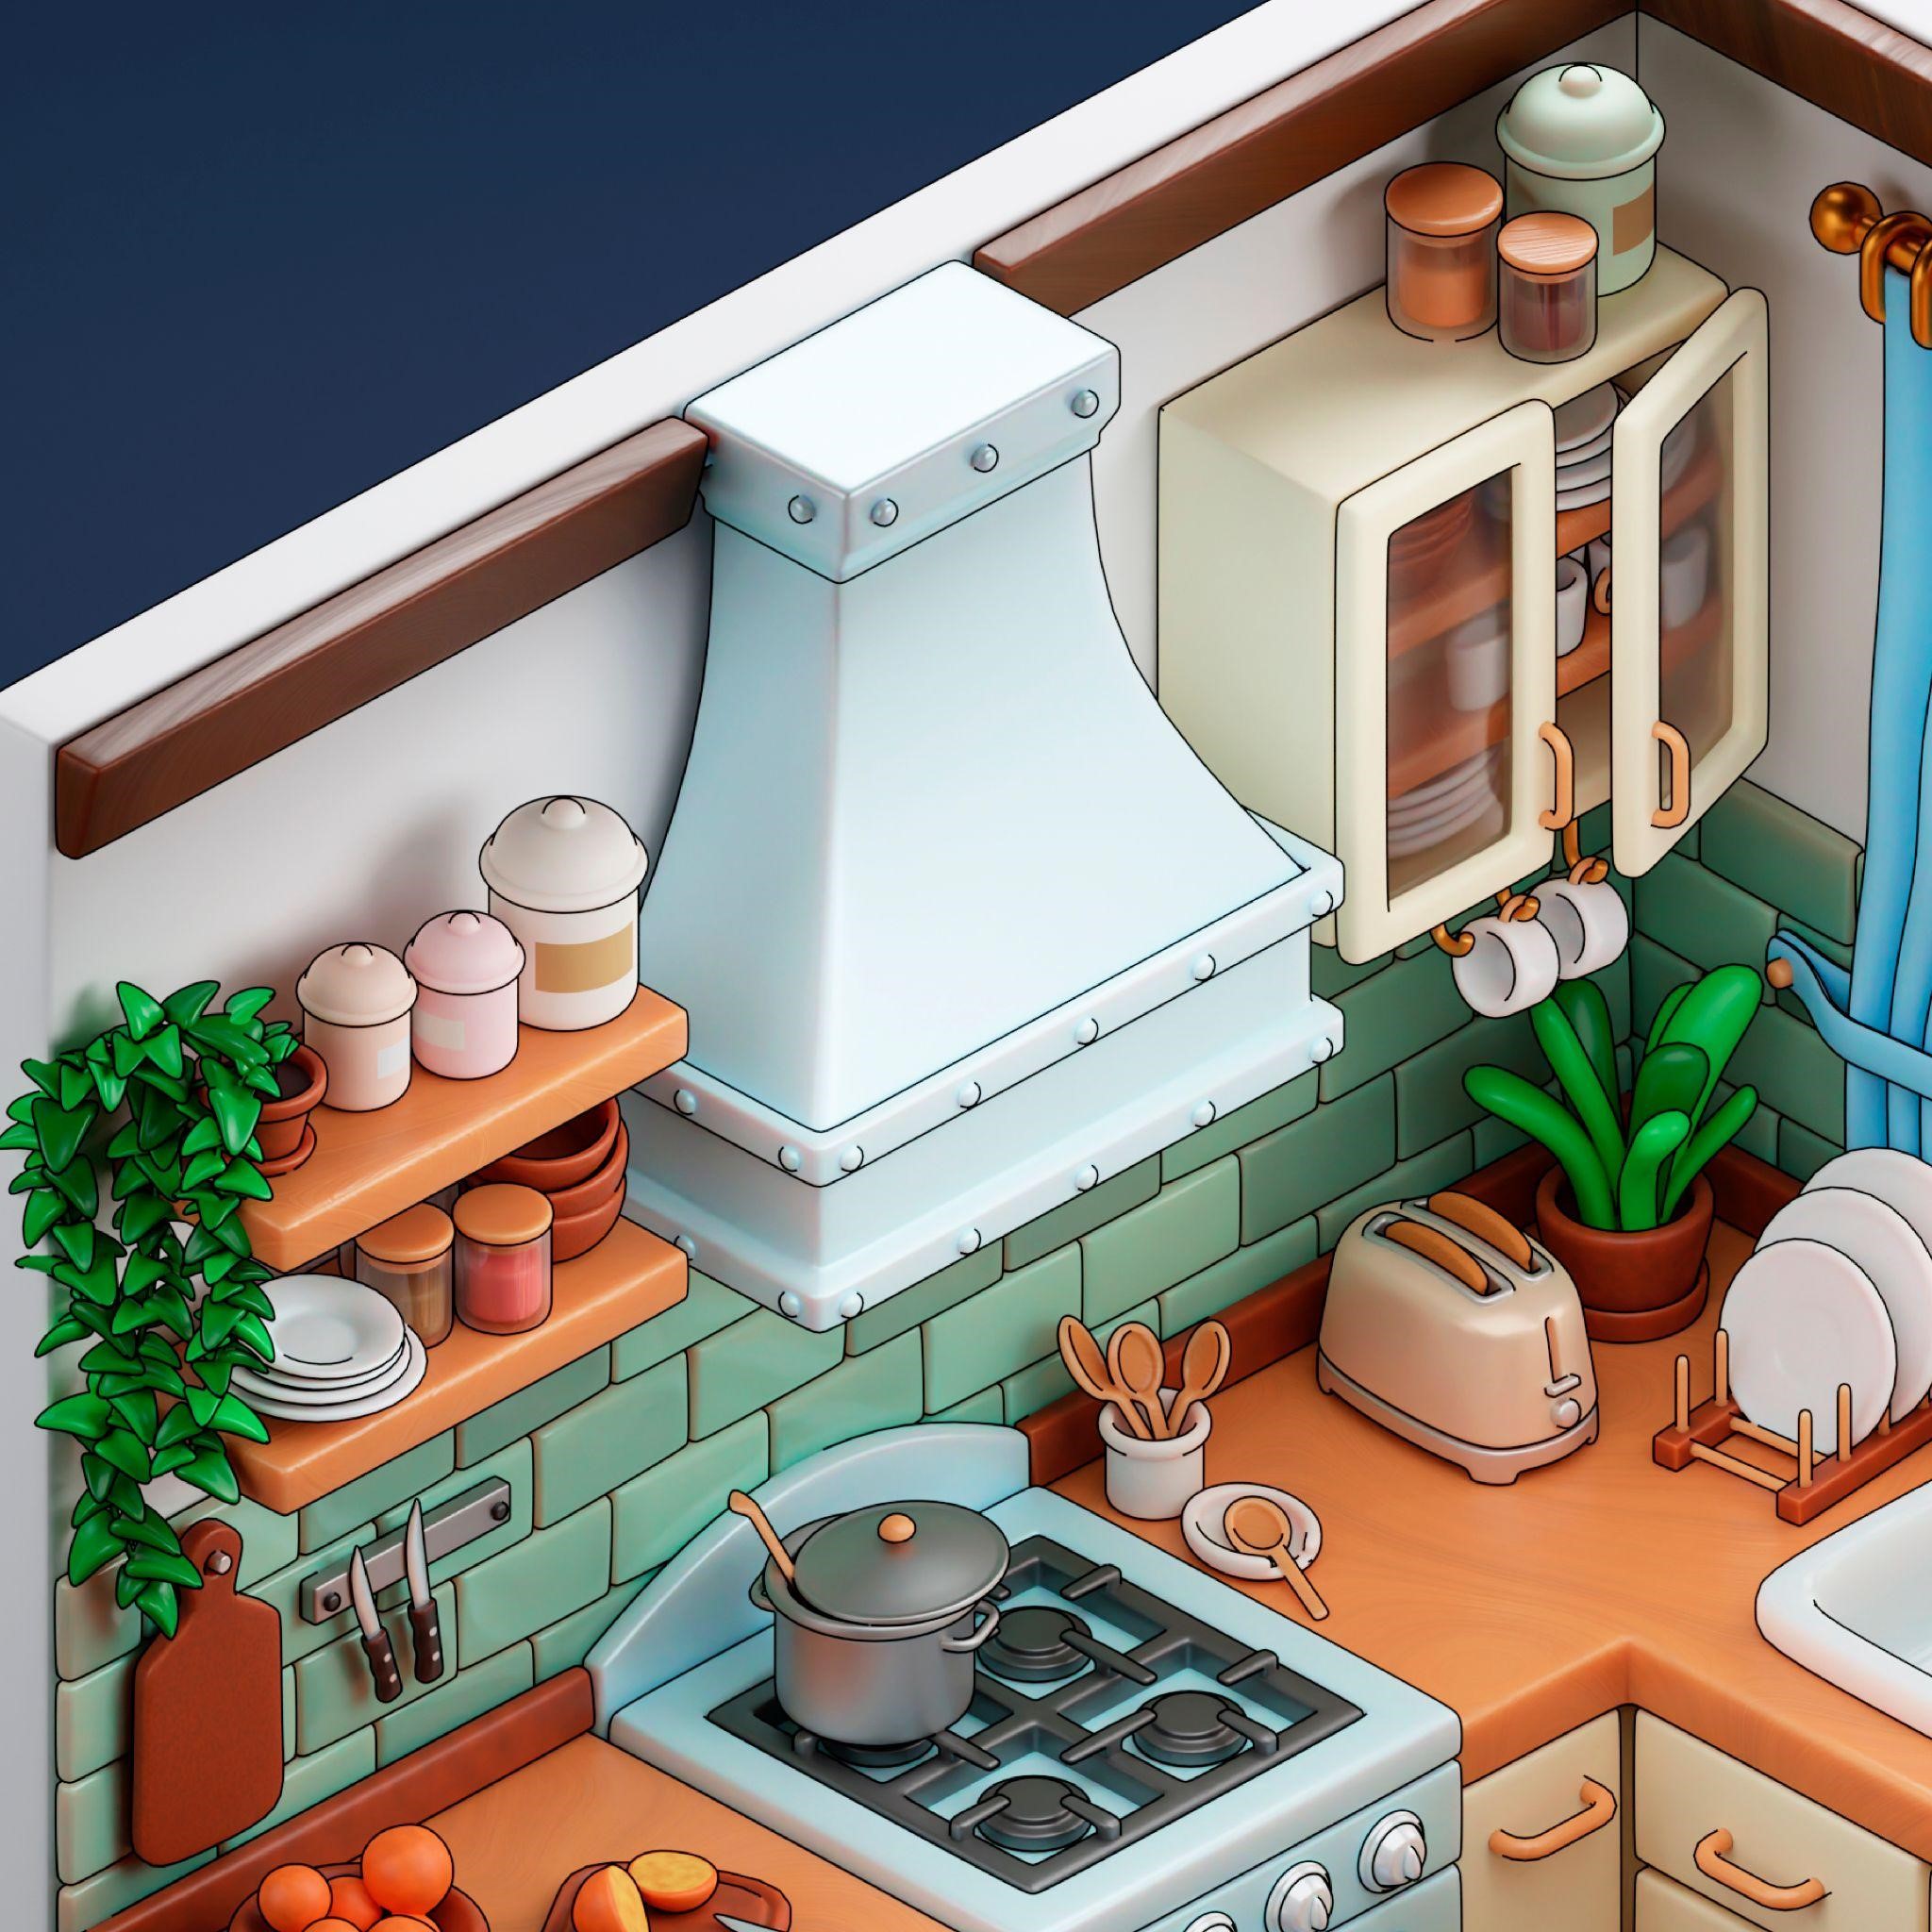
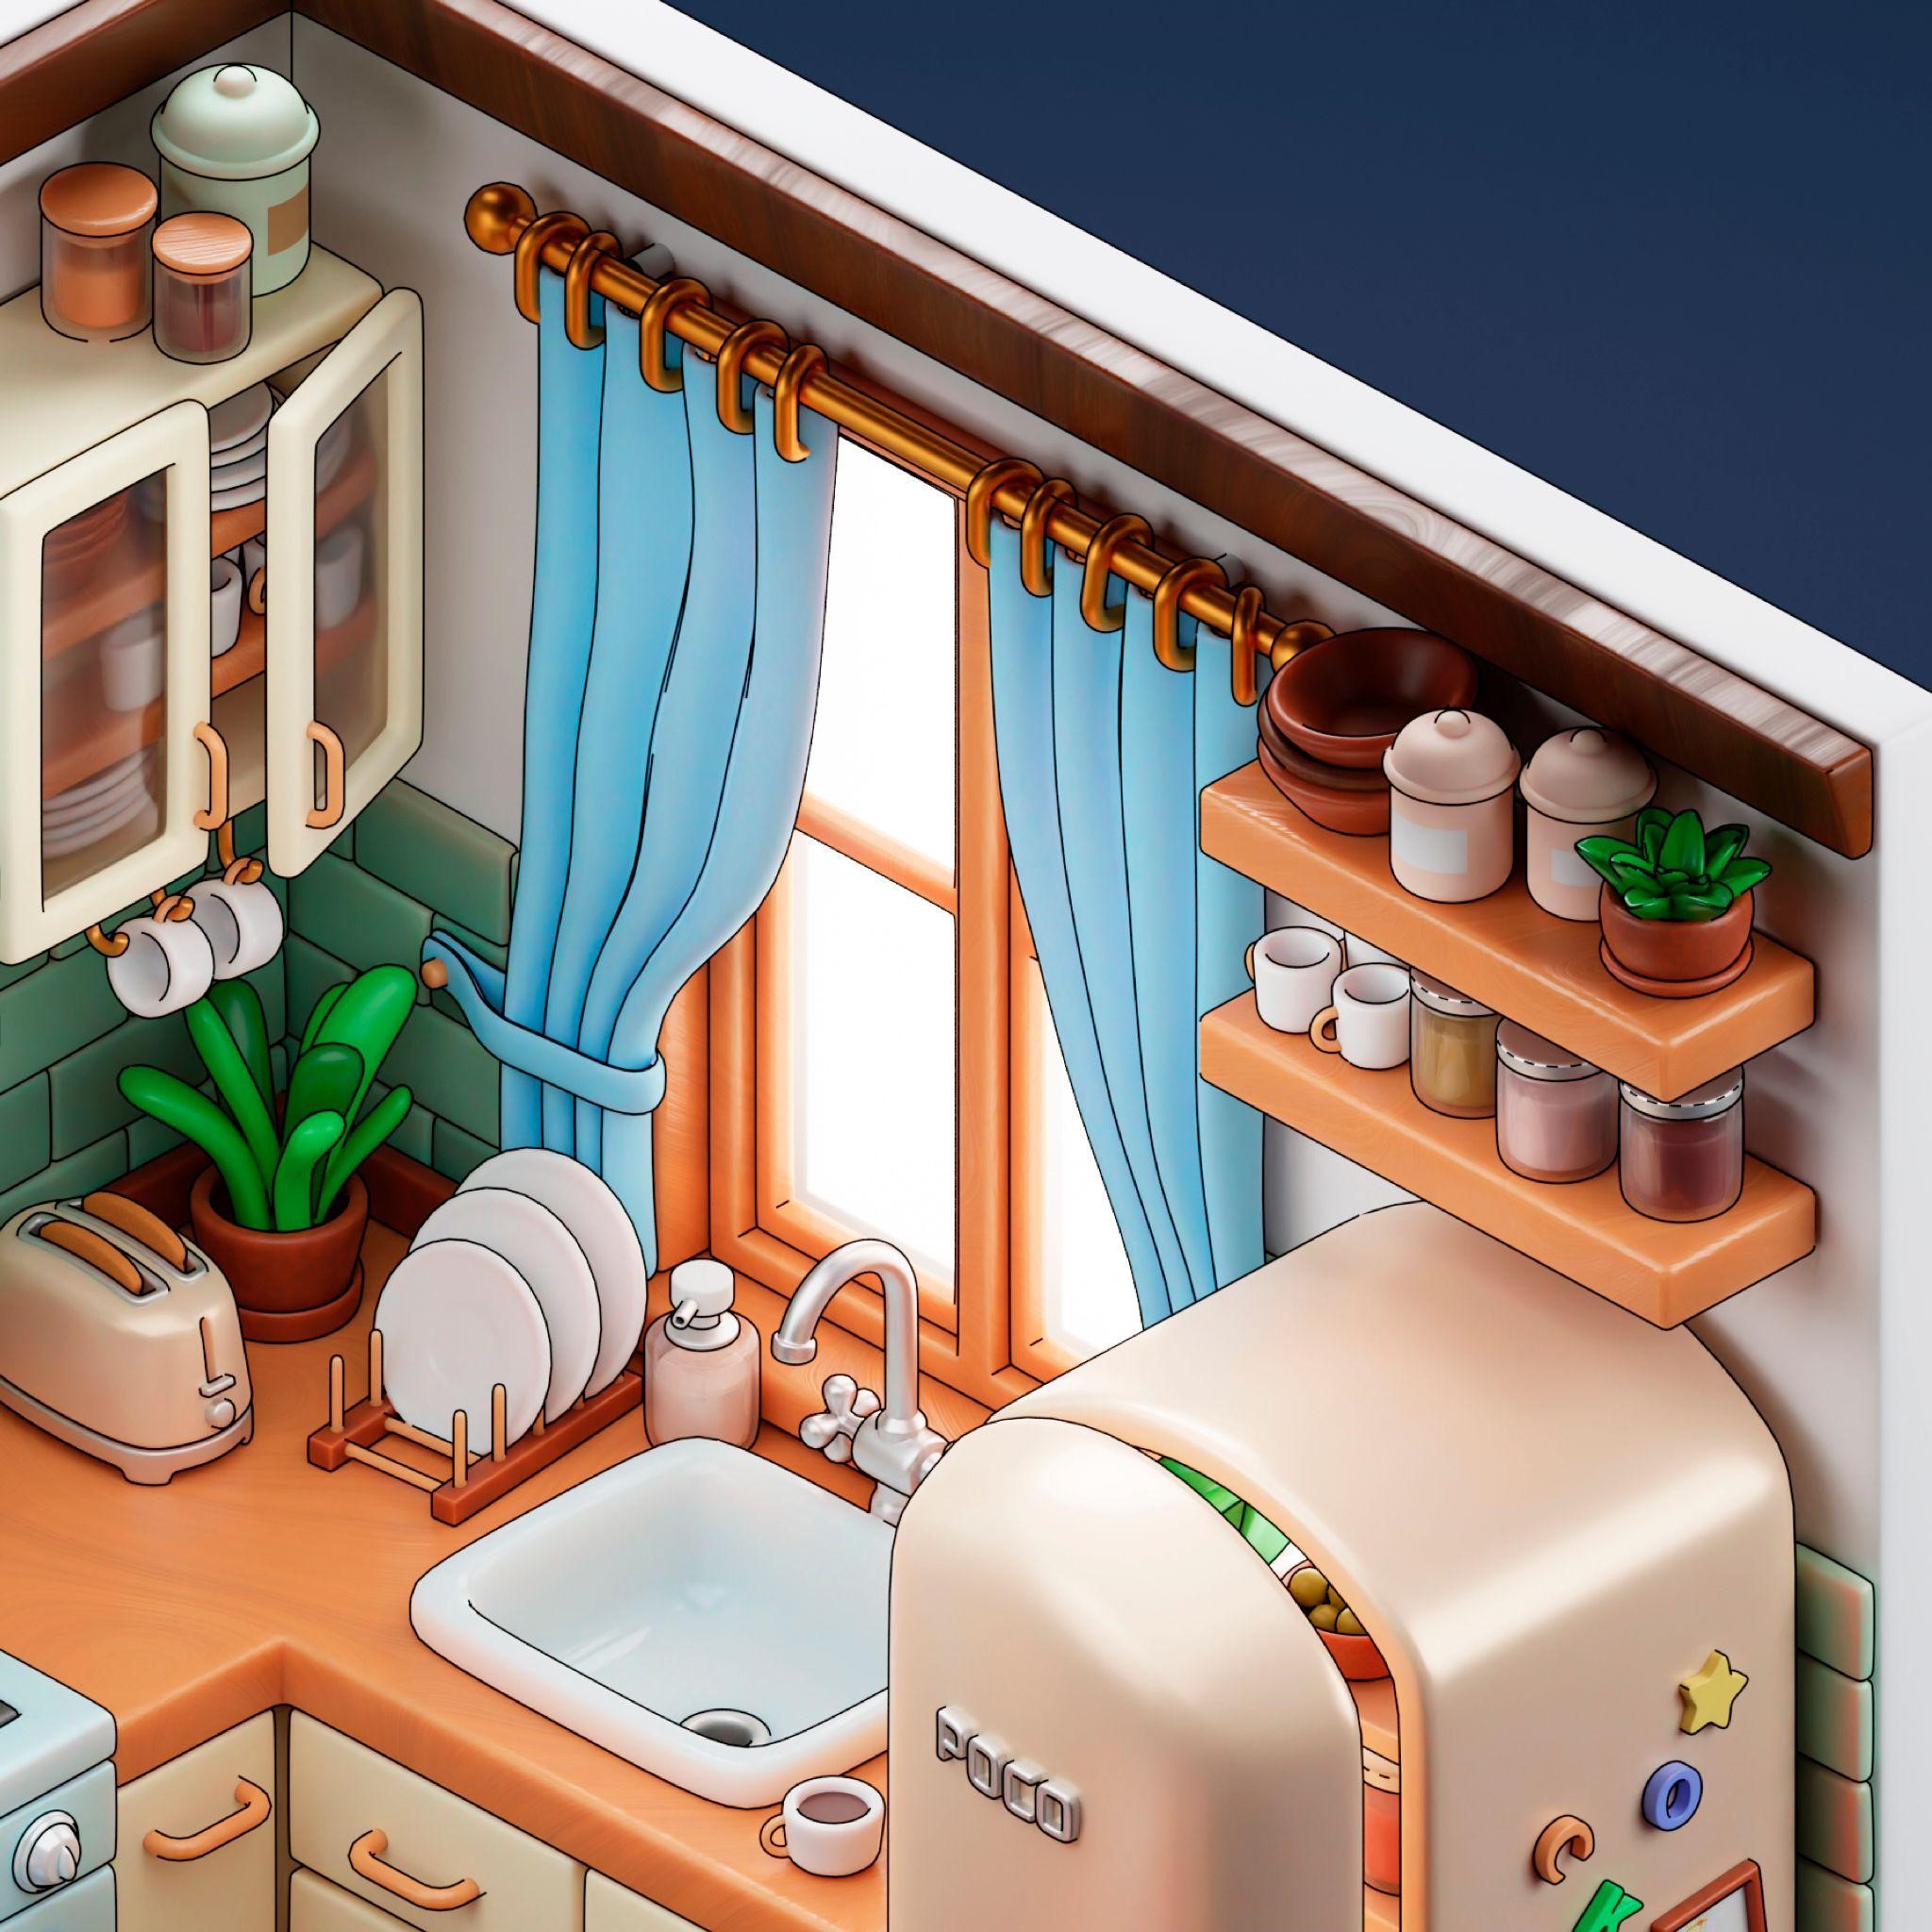
Additionally, it is crucial to pay attention to the logical placement of objects. For example:
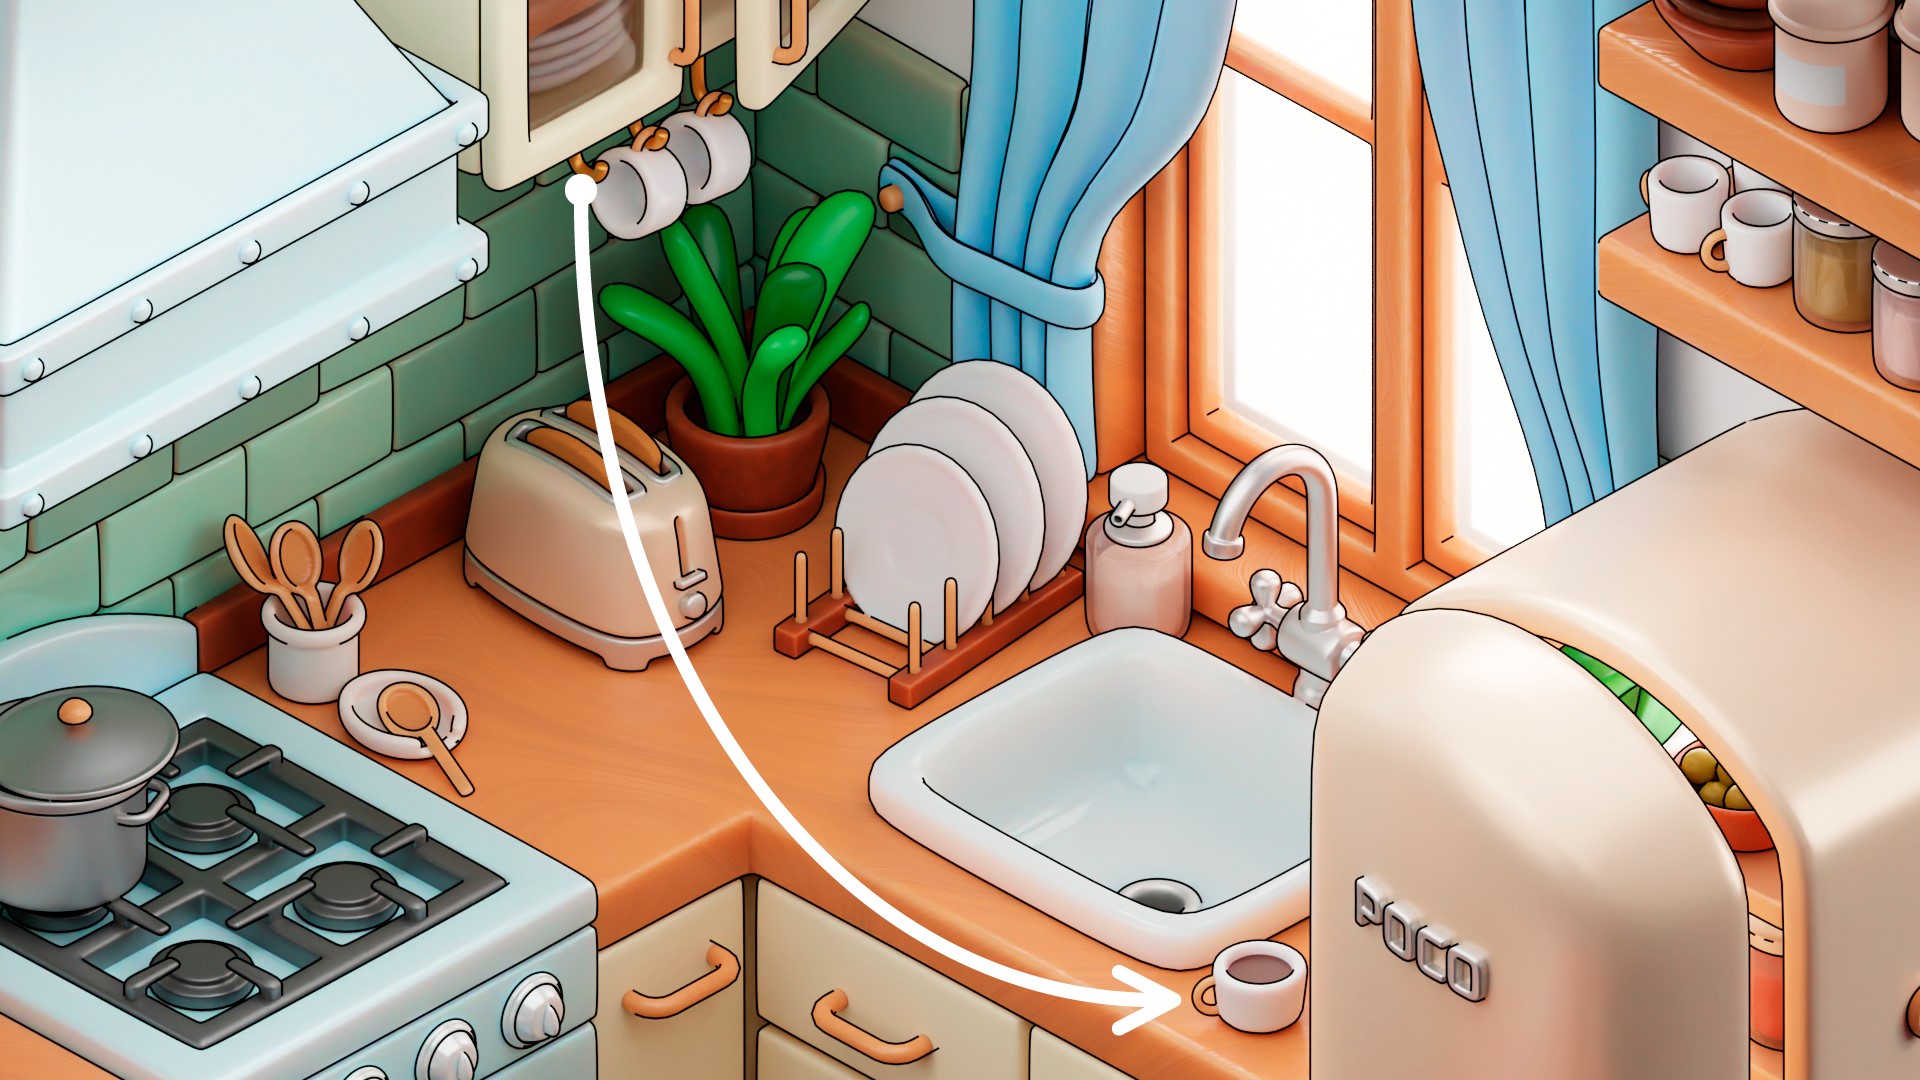
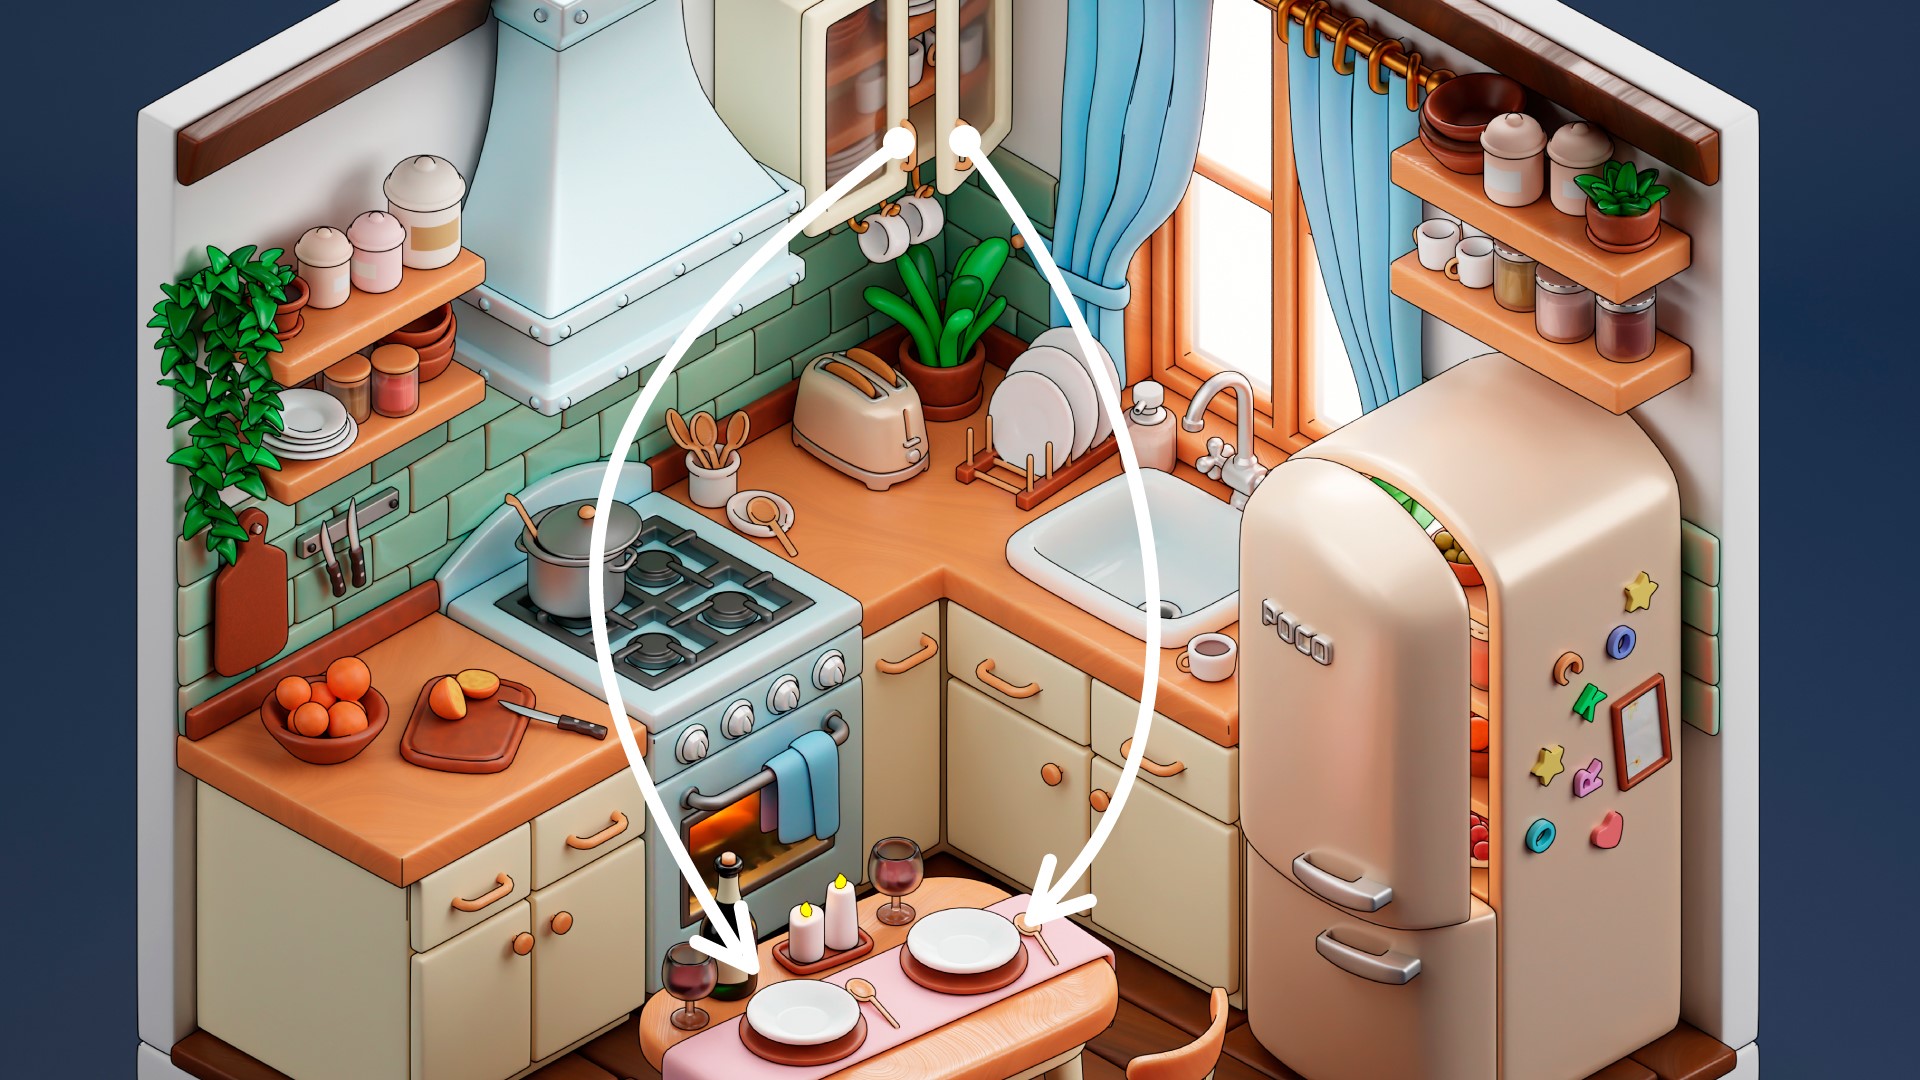
- 1: If you see a cup near the sink, it may have come from one of the three hooks located under the slightly open cabinet, with two of the hooks designed for cups and the third left empty simply because the cup was placed by the sink.
- 2: Furthermore, the partially opened cabinet door may reveal an empty shelf, as the dishes have already been moved to the table.
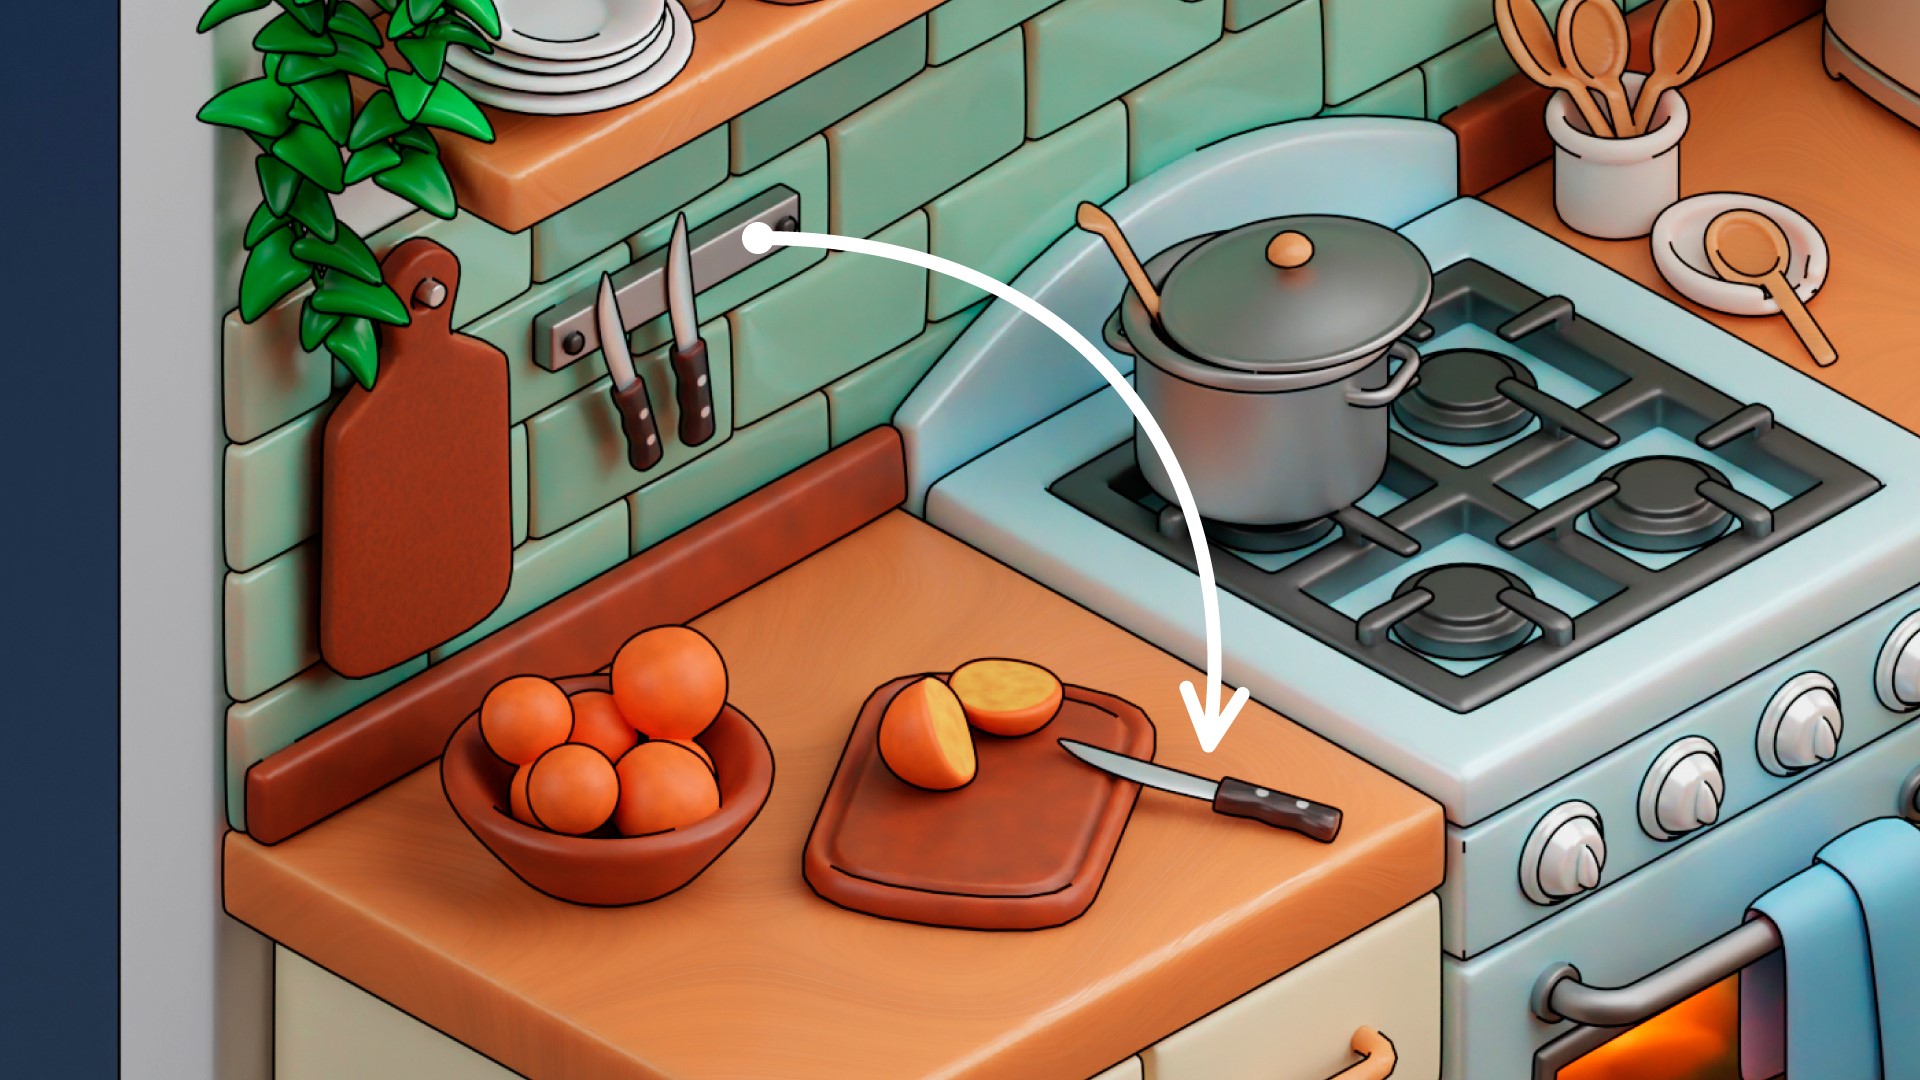
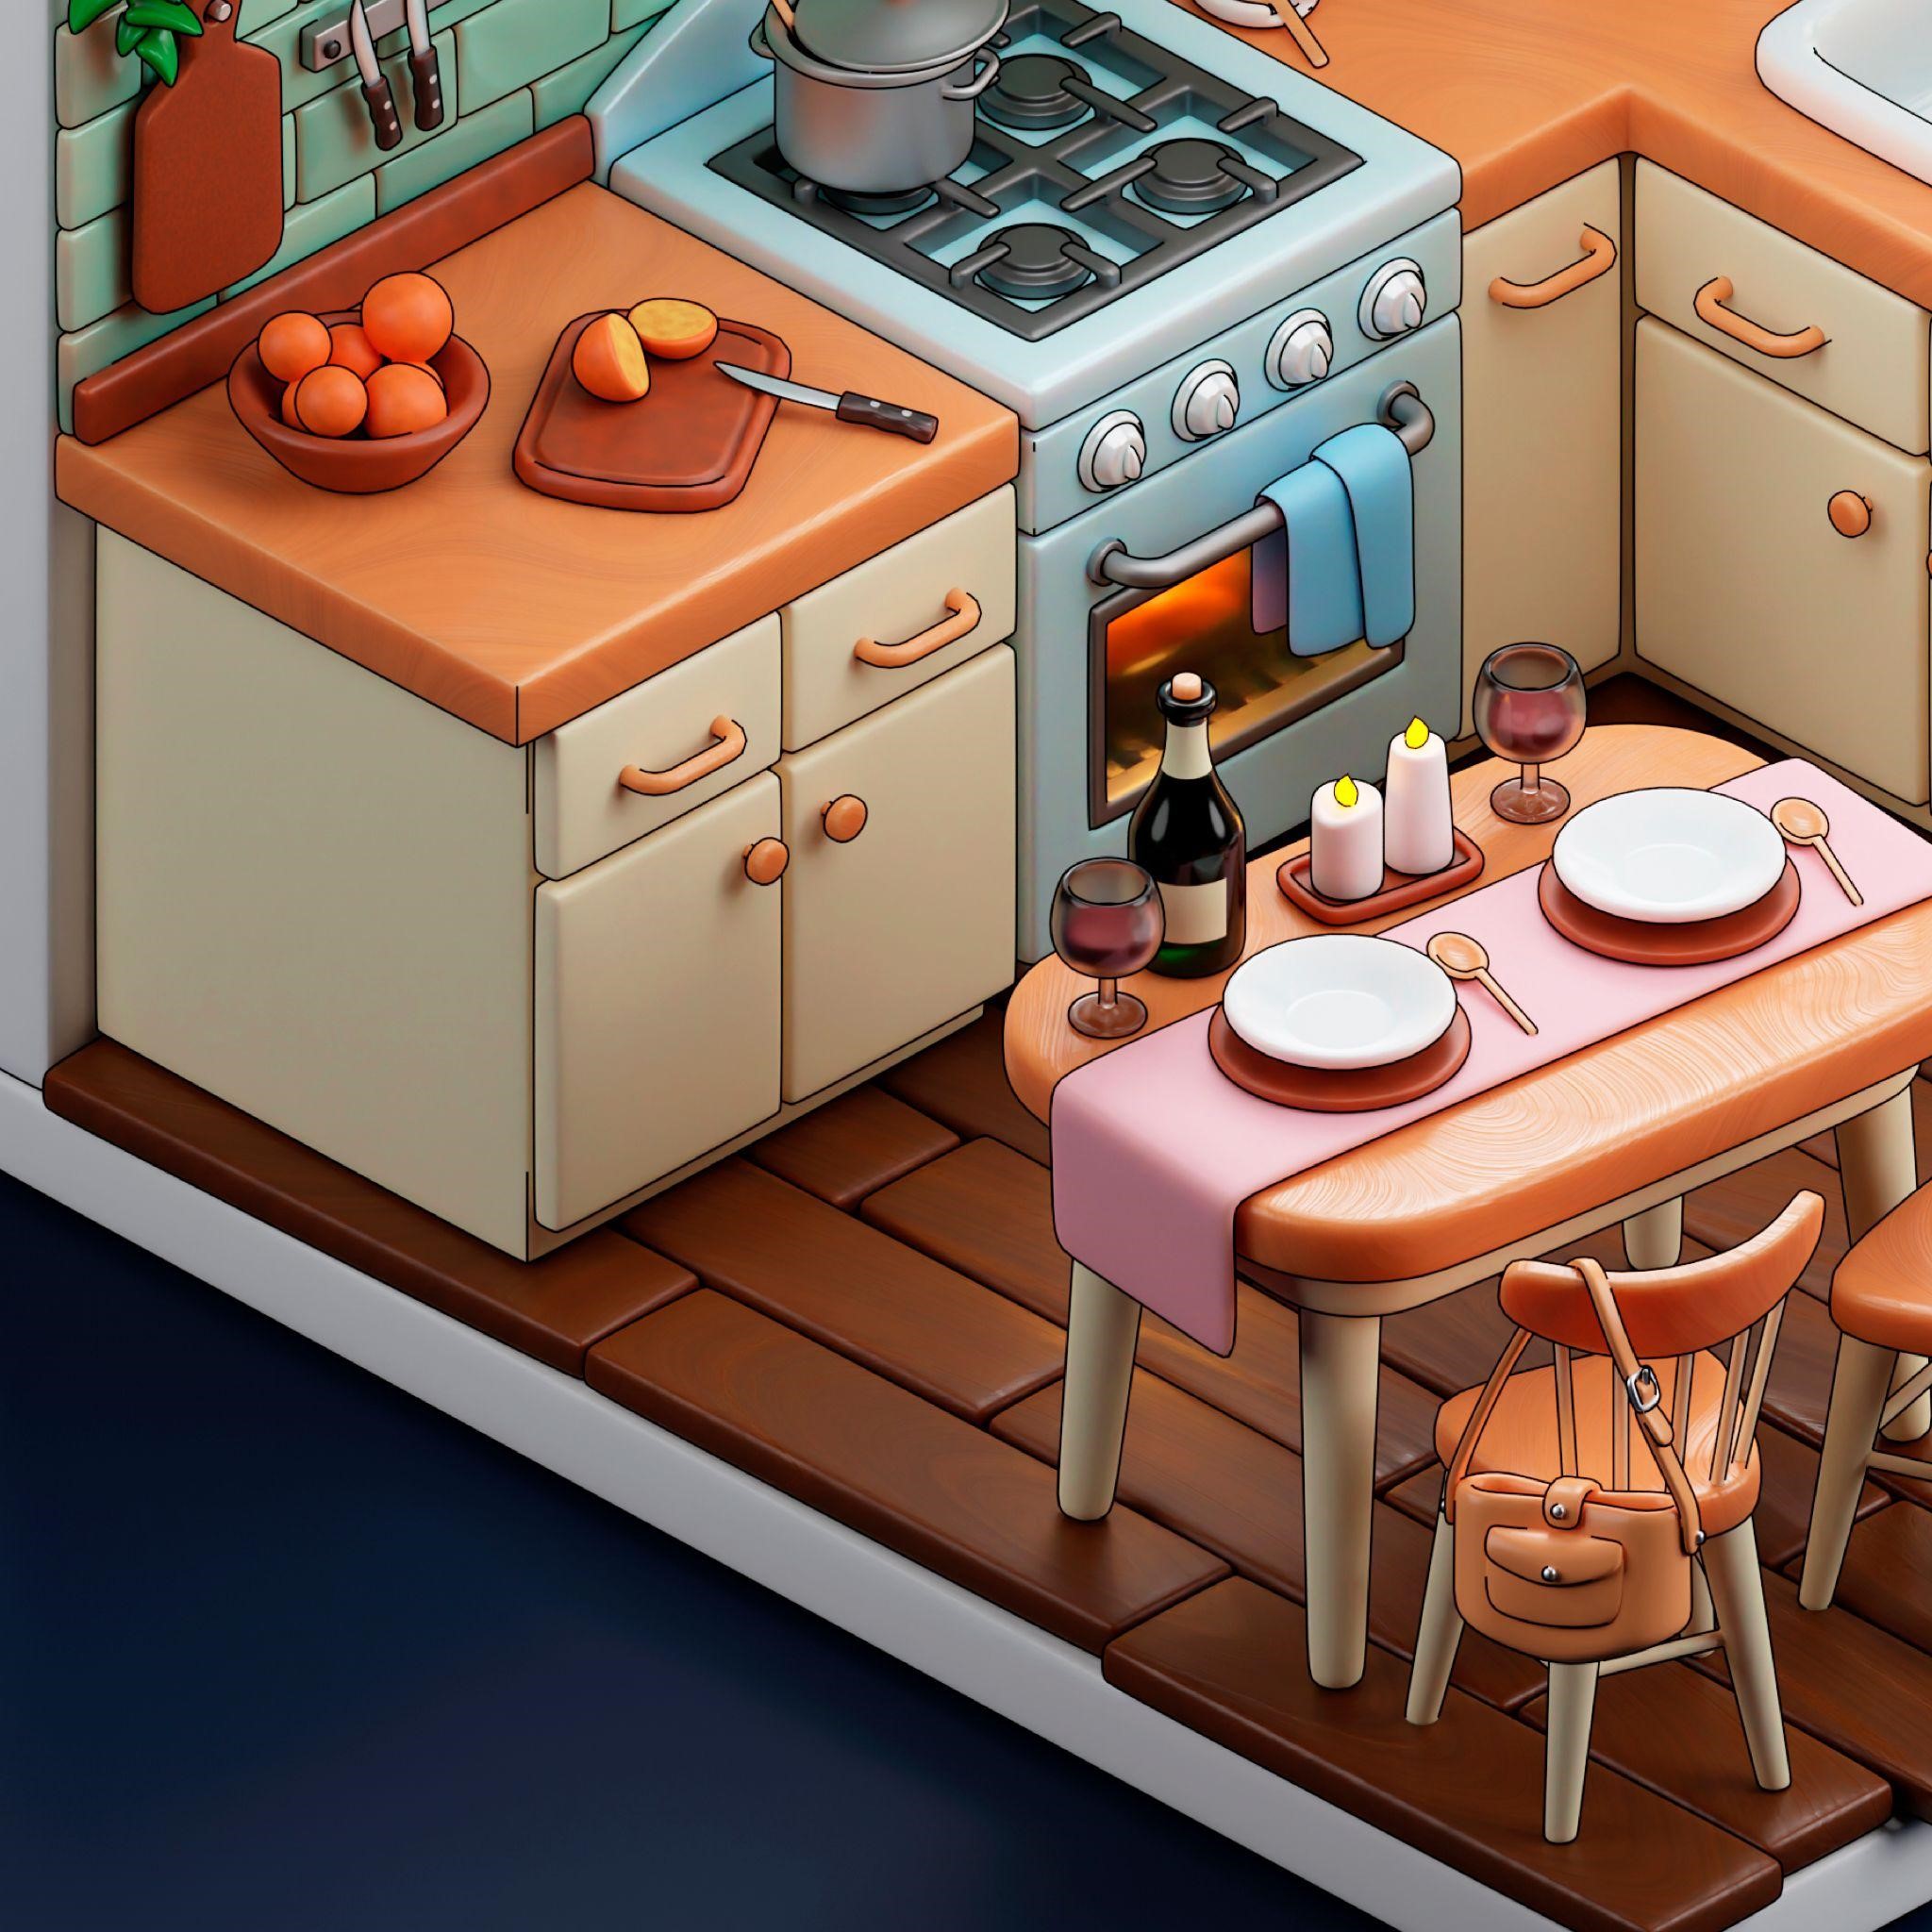
- 3: It is also important to take note of the location of the knife on the cutting board, as it can enhance the overall realism of the scene.
These are just a few examples, as there could be many more such instances.
EASTER EGGS
I enjoy hiding Easter Eggs, such as my nickname or other things that bring me joy, in my work. If you take a look, you’ll notice that I’ve included my two-part nickname on the fridge.
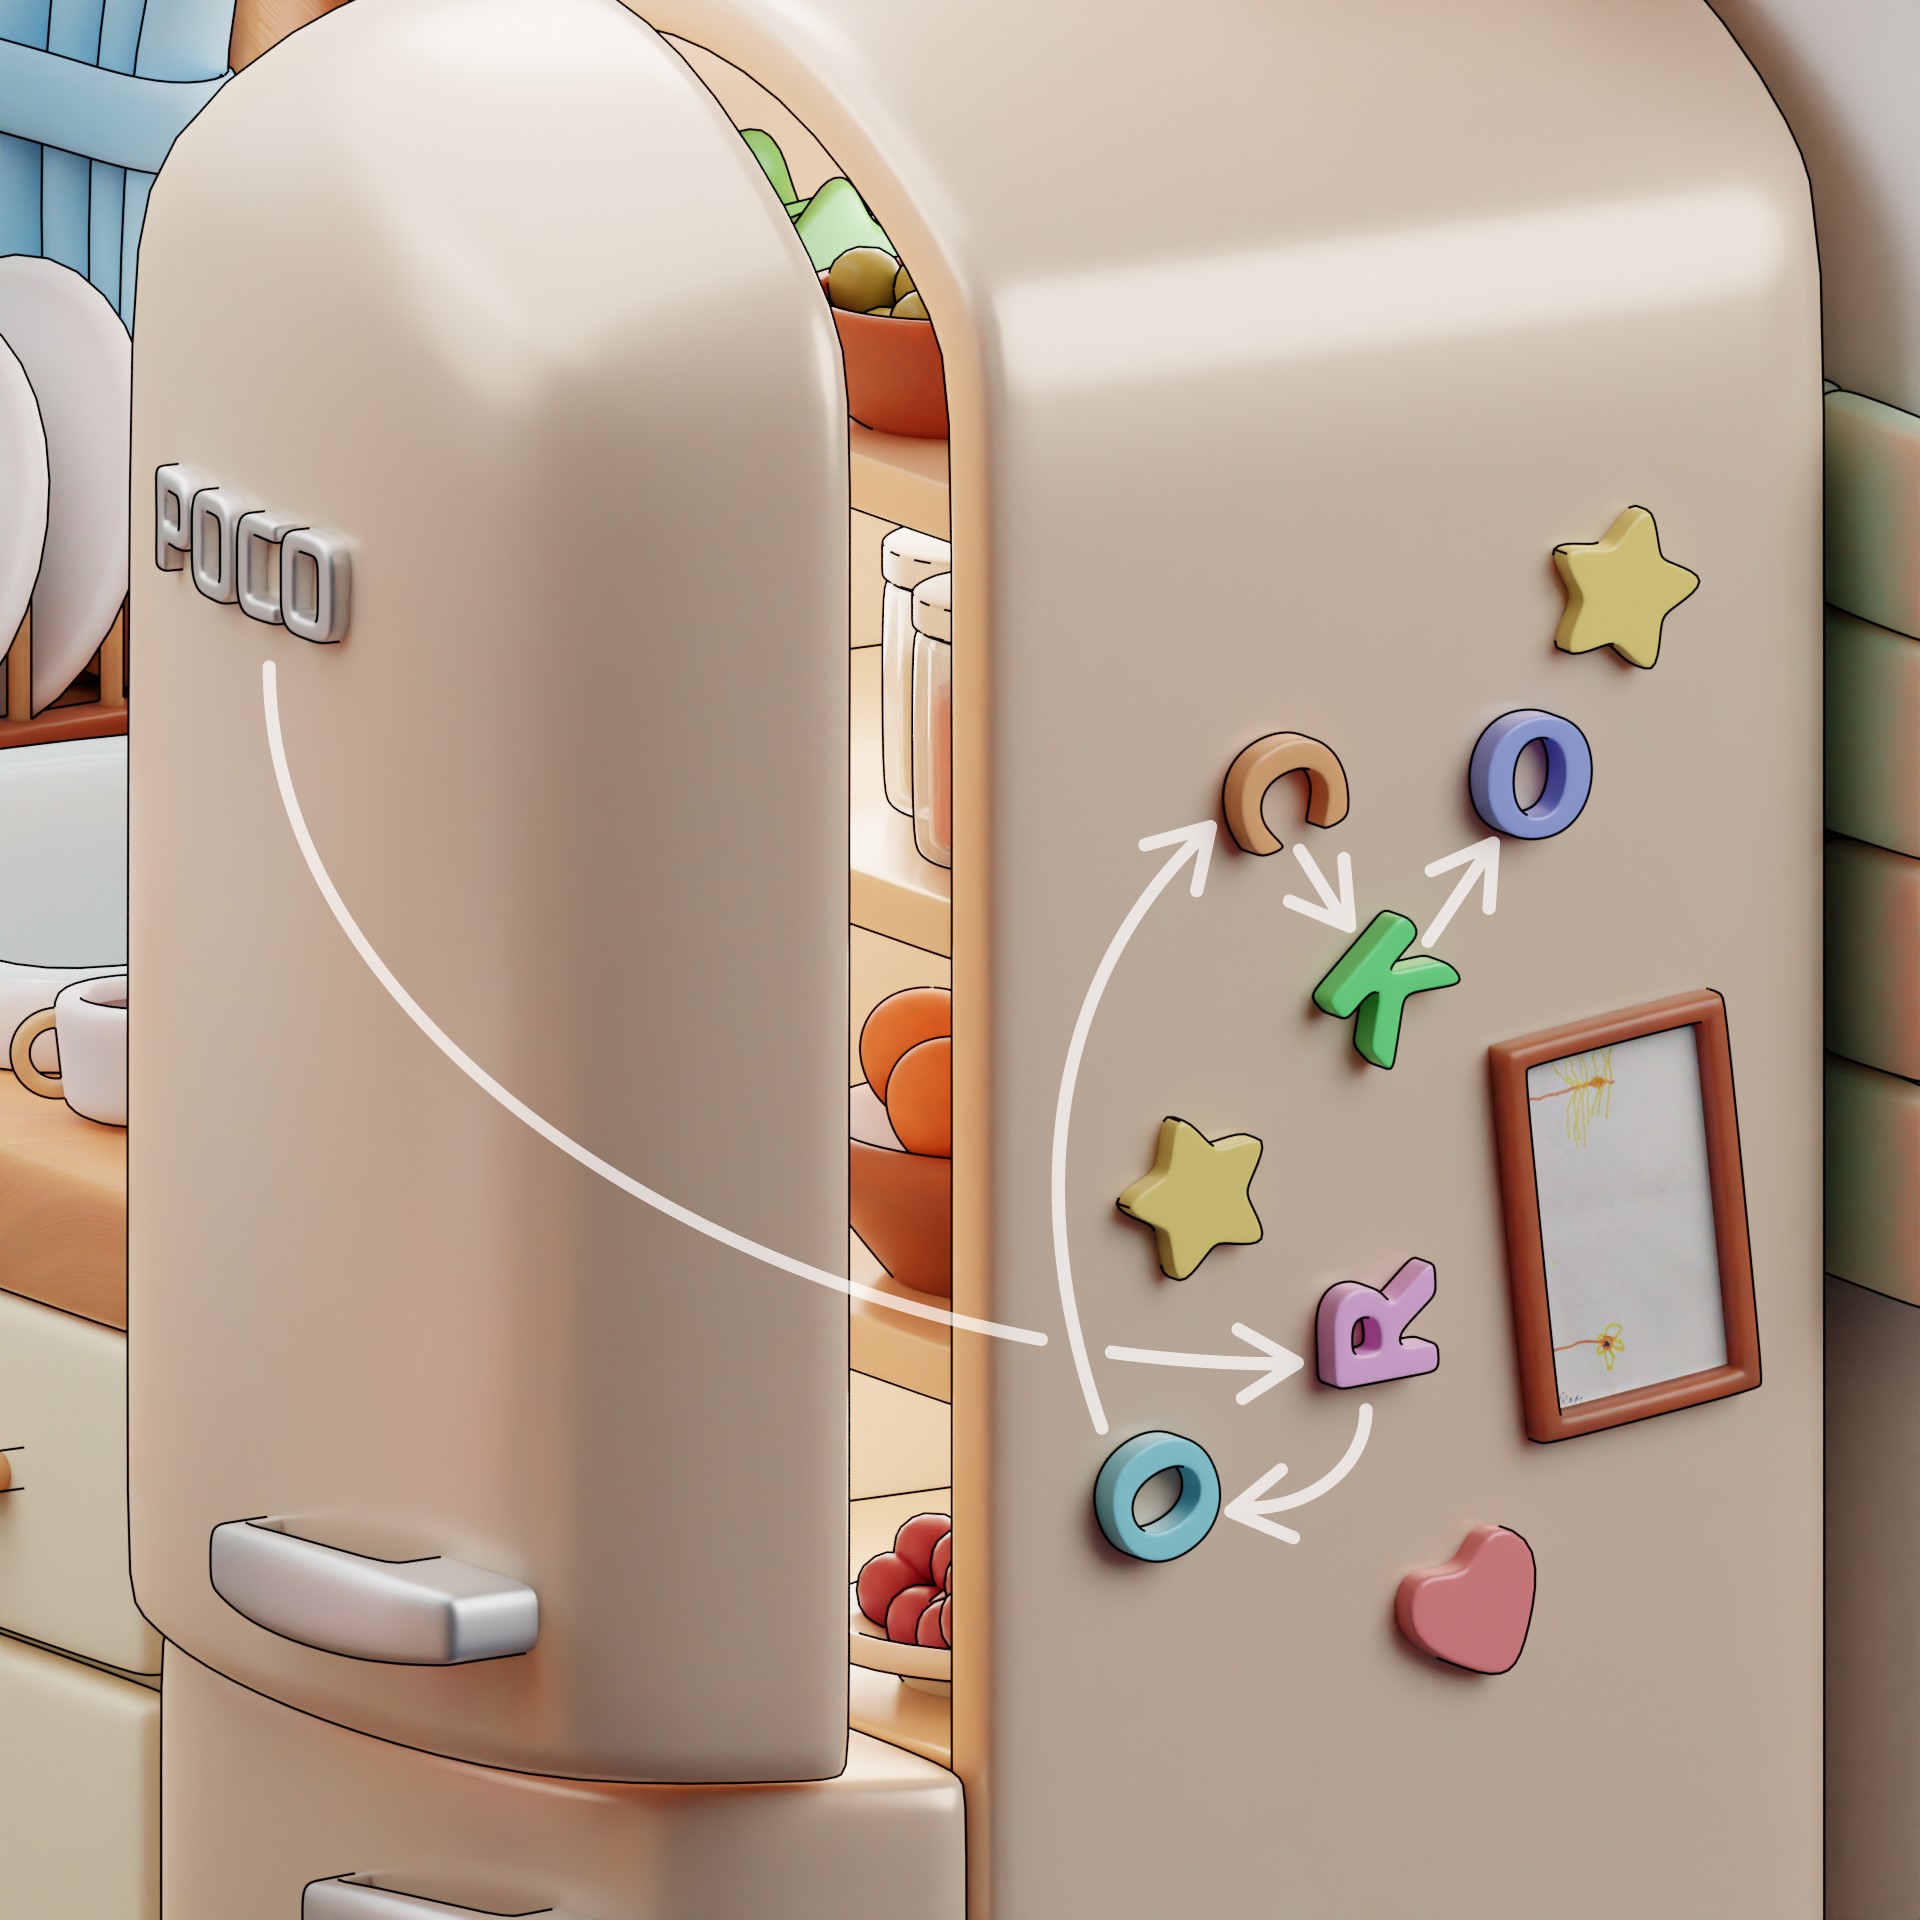
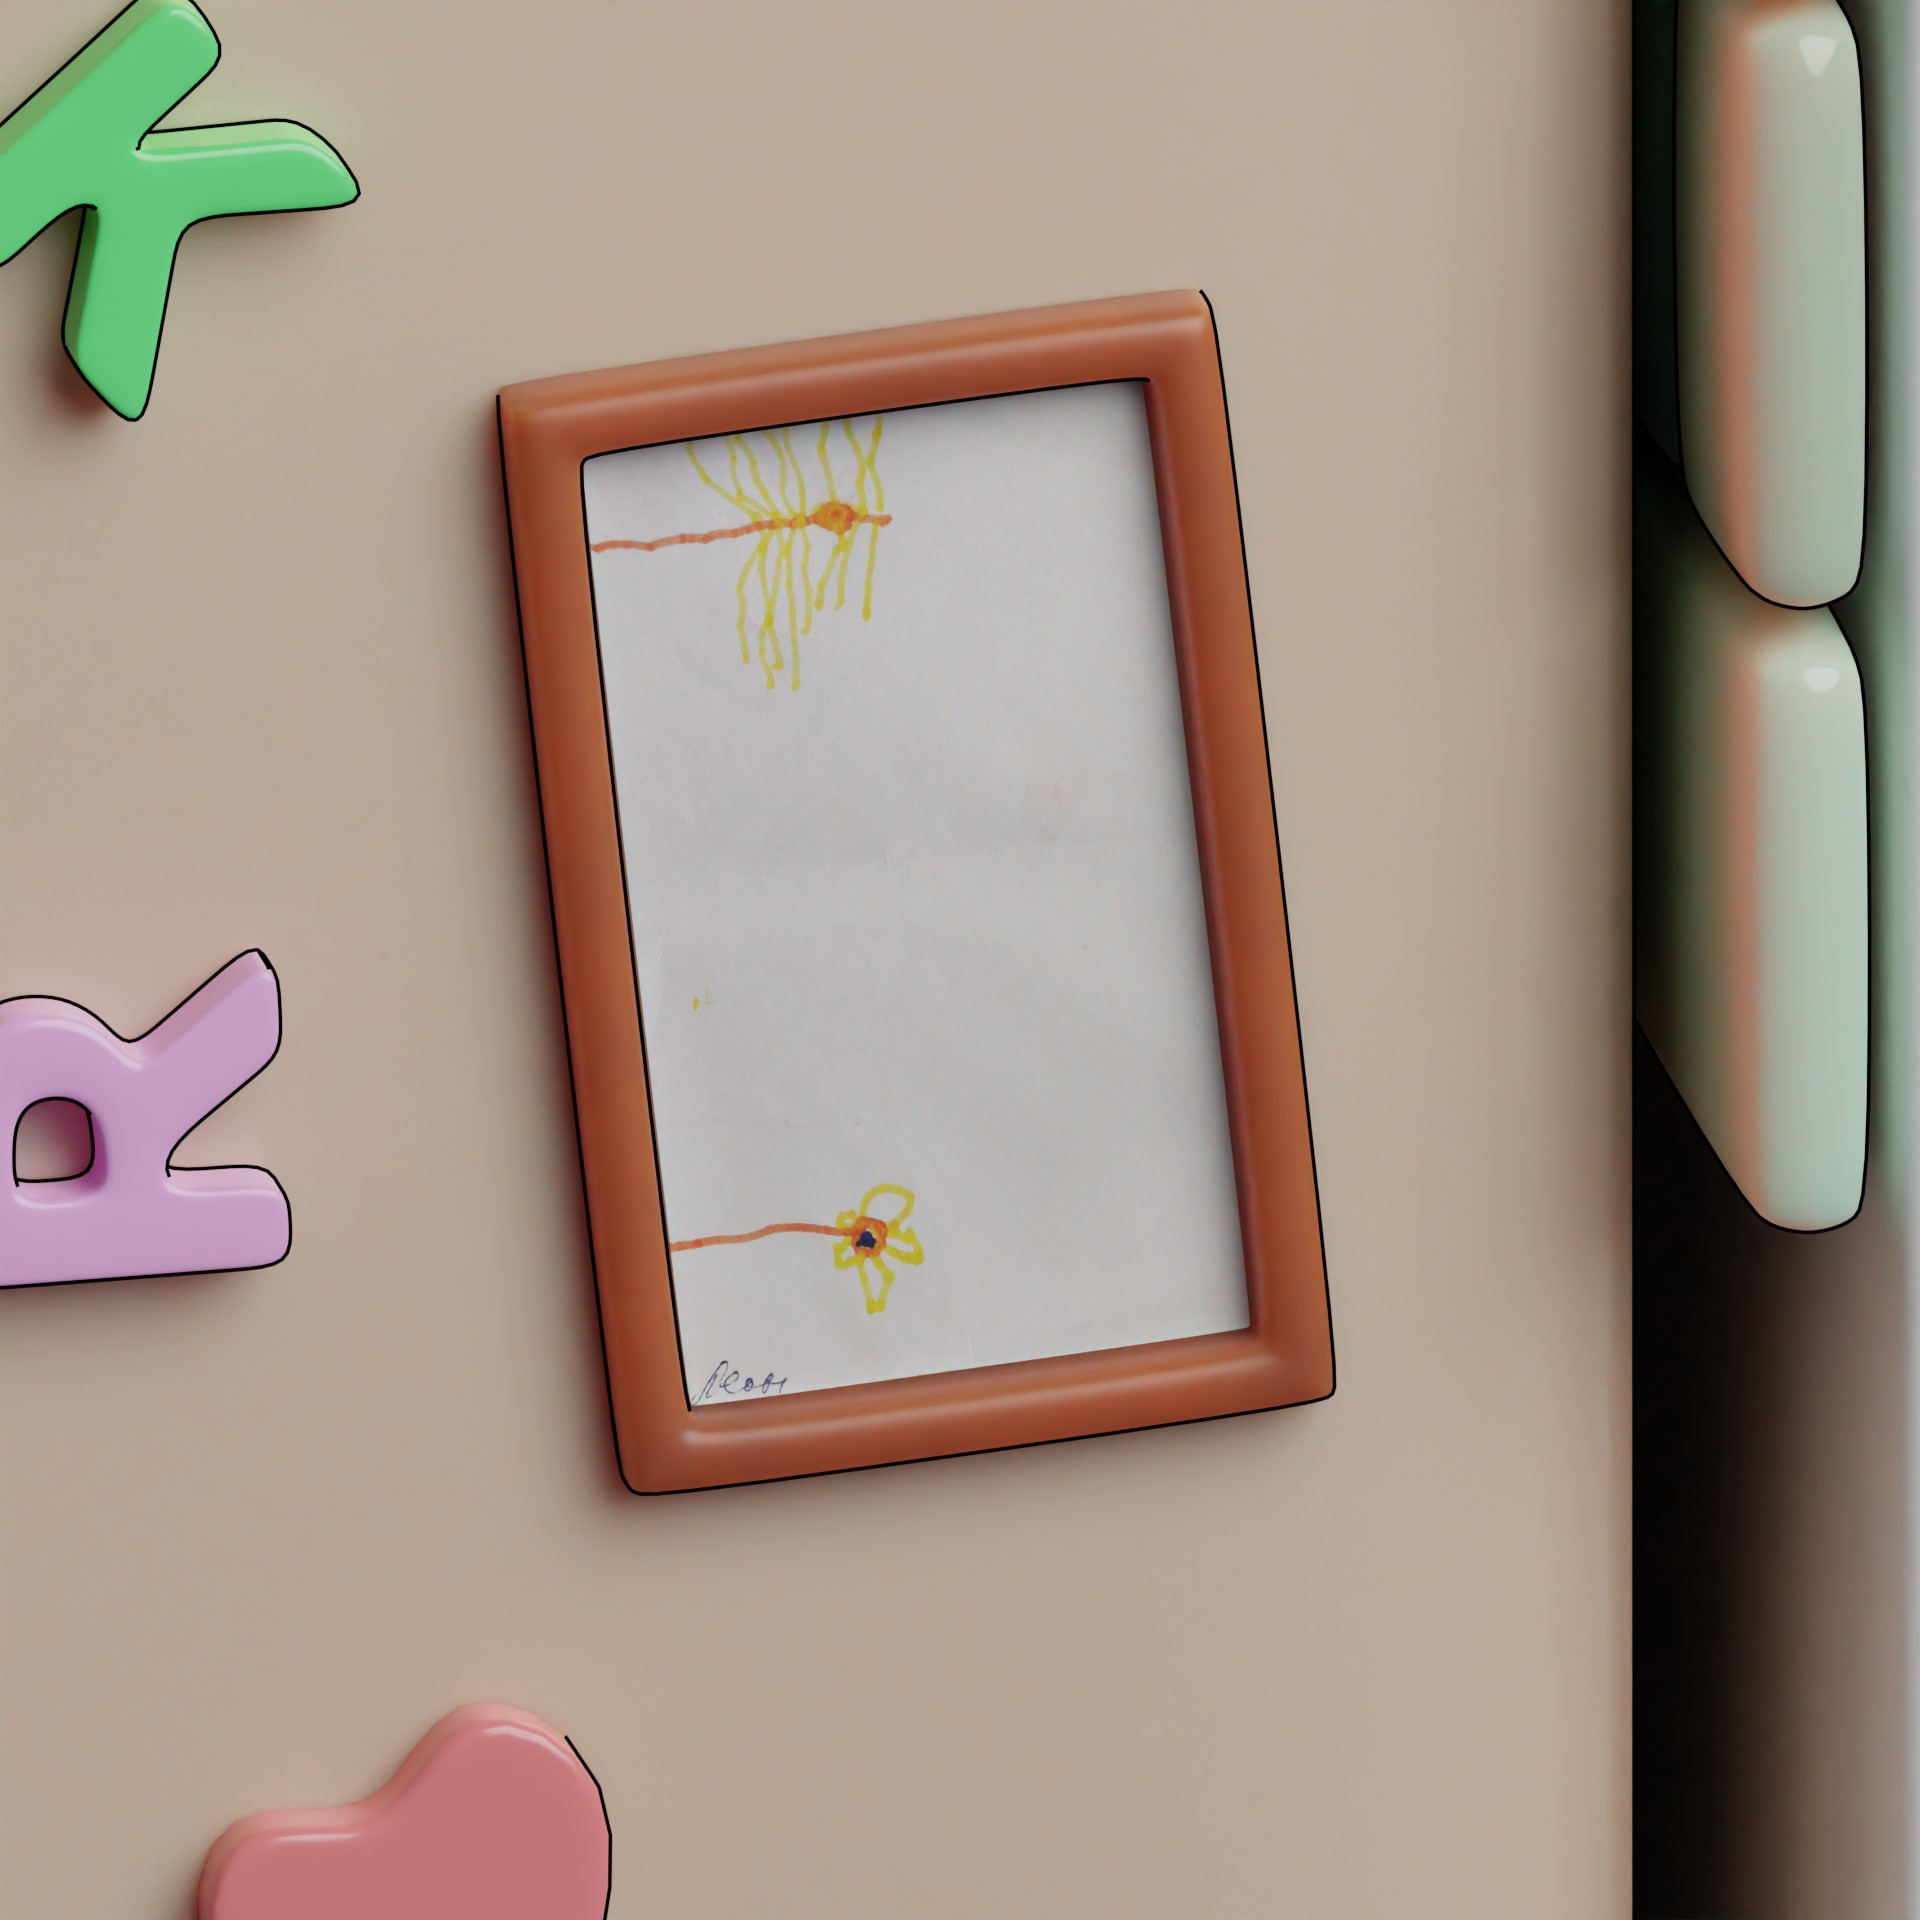
Furthermore, I’ve included a framed drawing that was created by my four-year-old son.
A DATE WITH POCO


Thank you for your time, I hope you enjoyed reading this article and learned something useful from it. Have a nice day!
About the Artist
Evgeniy, also known as poco_rocko, is a 3D enthusiast from Rostov-on-Don, Russia.


Very interesting article) I especially liked easter egg with picture by your son :3
Stunning visual aesthetics. Due to lack of time, I have to postpone a careful reading of the technical part, but I will definitely come back to understand such beauty has been made :)