Creating a Cinematic Teaser for Dream Harvest Games using iClone 8 & Character Creator 4
Hi, I’m Loïc Bramoullé, an art & film director from France. When Dream Harvest asked me to produce a cinematic teaser in March 2022 for the visual development of a new project, I knew there would be many different technical challenges to tackle on my own, mostly under a tight two-month schedule.
Luckily enough, I have learned how to use iClone and Character Creator through the lip-sync animation contest. With Reallusion’s special help on the beta programs of iClone 8 and Character Creator 4, I could overcome these challenges and speed things up, thanks to the multitude of features these programs offer. So here I will break down how I approached the Nightmare Hunter short film production.

Pre-production
The first step was to quickly explore a few different options directly with storyboards, as it’s a simple way to define nearly all aspects of a film at once, the narration, setting, characters, action, lighting, mood, etc. This is the most critical part as these little sketches made in a few minutes will determine the whole film produced over the course of a couple of months.

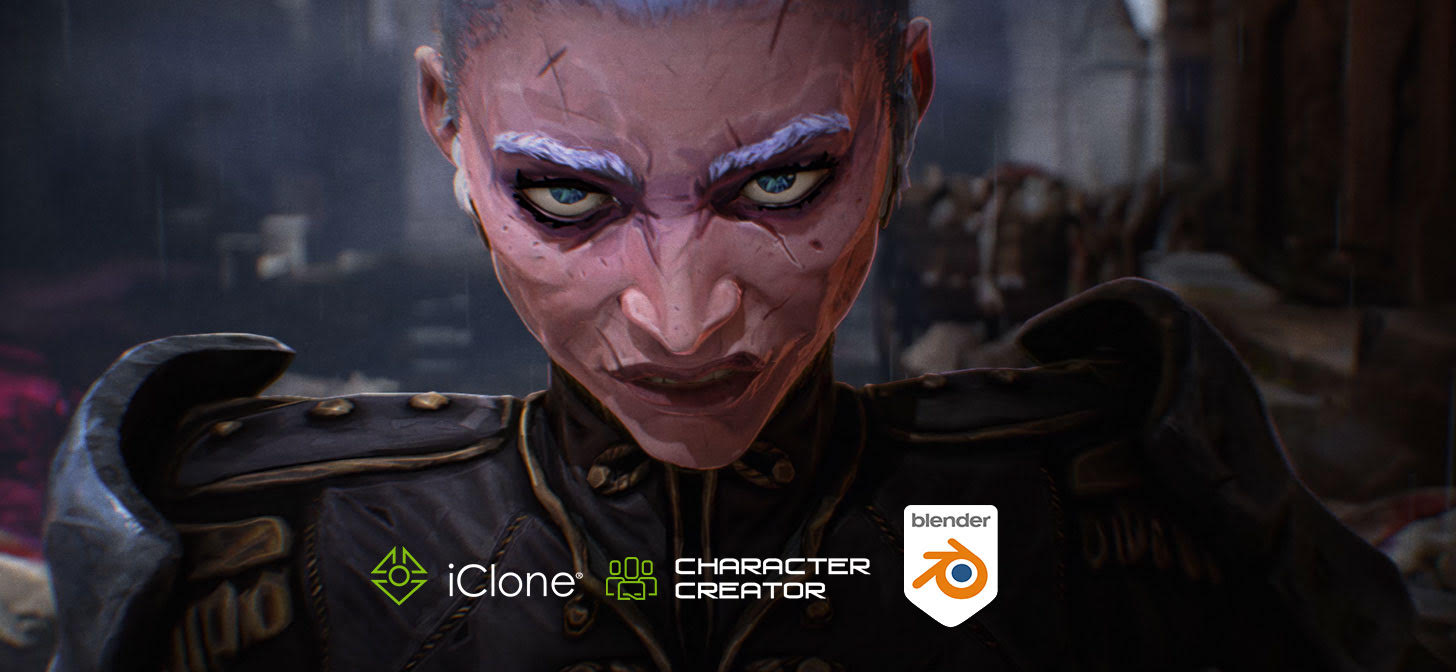
So after testing a few different settings and combining them, we locked on a Victorian setting with a hunter and its monstrous prey. My idea was to challenge myself and see how far a character from CC4 could be pushed, toward a nearly non-anthropomorphic one with a long face, and still be able to receive facial motion capture from iClone 8.

The second step for pre-production was getting a more precise idea of the final look and style of characters and environment. I did these two characters to have some elements to play with and ended up mixing them to keep the most interesting parts.

Background Settings
At that stage, I had already done some tests directly in 3D for the environment, because I needed to find a technical solution to produce it fast, so I couldn’t rely on designing everything from scratch in 2d. I bought some assets online that I painted over directly in 3D, and modified some free PBR textures in photoshop and Blender, to merge everything in a similar graphic novel style.

To create the characters I started from basic ones in the Character Creator, tweaking the base anatomy thanks to the morph bank, and adding some basic reference clothes.
![]()
Building the Character in Character Creator
I used the headshot plugin and more precise concept art to create the first version of the face, I then exported it to Blender thanks to the Character Creator addon. I also used 3DCoat to model and texture the clothes and weapons. To export back your character, check that all custom objects that you created are correctly skinned onto your armature. You can then select the armature and click Export in the Blender addon.
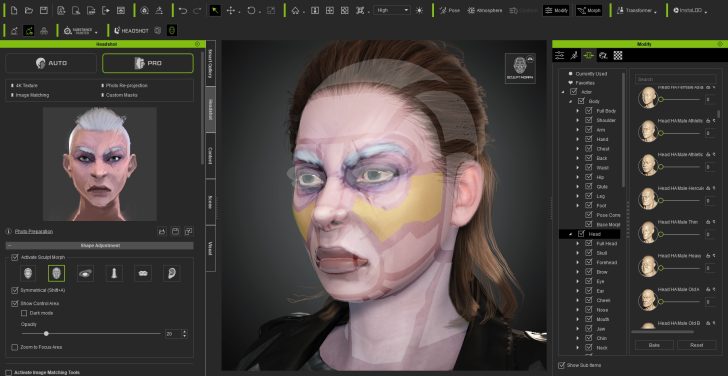
In Character Creator, instead of the usual import, you can go to plugins, Blender Auto Setup, and import from Blender. You will be able to check if each object is recognized correctly, and change its type if it’s not. If some custom materials you added are missing some textures, you can simply select the mesh, go into the material tab, and fix any issue quickly.

Animation Production
In iClone, I used the Motion LIVE plugin to connect to Noitom’s Perception Neuron 3 mocap suit and recorded the motion capture directly on the characters.

Implementing 3D Mouse, Motion editing, and Motion Control
The first thing you might want to do is create a follow camera. I’m using a space mouse so I’m able to animate the camera directly in 3D, without touching the keyboard or mouse.

The majority of the work is then to edit and polish this capture with the iClone toolset to make it match exactly our needs. A good example of that is the second shot of the film, where I could not match the 3D stairs during motion capture in my living room, so I edited them in thanks to the “Motion Direction Control”, and “animation layers”, and “motion correction.”

“Motion Direction Control” can be accessed by right-clicking on a clip, or via the toolbar on the timeline. You can then place your animation in the 3D space, and break your clip to assign a different direction on each part. iClone 8 features a new bidirectional fade between clips, allowing for a smooth and natural transition between them.

Motion correction on the character
Another handy new feature of iClone 8 is the “Motion Correction” that allows you to select some limbs, and “print” their contact points in the 3D space, so you can then transform, move and rotate, these footprints, to adjust the exact location where the contact happens with the ground. Pay attention to the threshold setting, higher values will detect more contacts, and lock the contacts for longer. But you can always access the timing of these contacts in the reach target section of your character animation in the timeline. Clicking on each tip allows activating a fade in or out, for the snapping to be smoother.
The “Motion Modifier” function just below the two others in right-clicking the menu, allows to shift the overall posture of the clip.

For shot 04, I was able to quickly mock up the action using pre-made motion-capture clips from ActorCore that features a wide range of commonly useful and high-quality motions from ActorCore.
The ability in iClone 8 with “Motion Direction Control” to transform a whole animation clip in relation to other ones is also really handy to quickly assemble a custom sequence of actions. You can automatically assign a limb that will be snapped onto its position in the previous clip so they blend perfectly, or adjust its orientation to suit your environment, etc…

Creating believable facial expressions
This process also allowed me to work on the body and facial independently, so I left the facial animation for once the body animation was nearly there and used an Ipad and MotionLive to motion capture a facial performance with lip-sync while listening to the voice to be synchronized.

Editing the keyframes
I polished this mocap with the same method as the body, sampling the captured clip to access all the keyframes in the curve editor, smoothing some parts that were jittering. I then Flatten the clip again to be solid, which allows me to add keyframes non-destructively on a layer on top of the motion capture.
To edit the facial animation, you can open the Face Key menu here. Controls are separated into different categories: Face, where you can edit the head rotation, and have overall control over the expression. Then you have eyes, mouth, and tongue, where you can have much finer control over precise morphs. For example, changing the eye’s direction.
But the most important thing here is to polish the lip synch from the motion capture, with the jaw control here, and the mouth open and close just below. The objective here is to accentuate and add character to the performance, so we can listen to the recorded voice, and detect the moments where the lips should be closed, where specific mouth shapes should be more accentuated like on the O and M sounds, that we can produce by selecting the corresponding mouth type here, and then moving the lips into that shape. Breaking the symmetry with the split lips option can go a long way to break the uncanny valley and add something more imperfect and human to the character’s expression.
Setting the lights and VFX
Once the animation was mostly there, I started to light the scenes to see how the film would finally look. The main light source is a powerful moonlight, with cloud shadows that I painted as vertex colors on a plane in the sky, so I was able to very precisely paint where the light would hit the character or not, to improve the readability and add depth to the mood. The secondary lights are the fire burning in the environment, which allowed me to add a strong warm spotlight to contrast with the cold moonlight and strongly cut the character from the background.

Post-production:
Once the first shots were lighted, I started to prepare the scenes for rendering, adding a duplicated linked scene for each shot to render volumetrics with EEVEE, while the main scene was rendering in Cycles, all passes including cryptomatte & denoise data into two EXR sequence, that I then denoised in another scene. This allows to reduce render time dramatically as the GPU does not have to wait for the CPU to denoise, and the denoise is not done on the final image as this adds a lot of blurs, but on each render pass that’s used to re-composite the beauty render. So I can start the compositing in After Effects from the same image that I see in Blender, except it was rendered much faster as even with low sample counts the passes denoising manages to get a crisp final composite.
Some shots were only 14 seconds per frame. I also rendered everything only in 1920×1080, as I would be upscaling with AI to 4k thanks to Topaz Video at the very end after the compositing.
One thing adding a lot to the overall impression in compositing is exporting the 3D camera and some empty/null objects from Blender with the export .jsx addon, and importing that with file>run script in AE, to then be able to add the 3D plane of a painted cloud of fog, masked with the Z-Depth. This allows to improve readability to control where the eye should look, and adds a lot of mood and style as there is not only 3D volumetric fog but then also a hand-painted one, that can be animated to simulate wind.
Finally, I did another scene for each shot in my Blender files, where I linked the characters and a few objects around them, so I could simulate rain drops in particles, setting the collection with all the scene objects in a holdout, so only the raindrops were visible.

Final thoughts:
Character Creator 4 and iClone 8 revealed themselves as great additions to my pipeline for their flexibility and ease of use.
From helping with previsualization by being able to create a wide variety of body shapes, and bashing animation and motion capture clips together, without the usual hassle of retargeting different animation sources that are at different positions in the 3D world, to greatly speeding up final character creation by skipping a lot of repetitive technical tasks, like topology, UVs, armature, skinning, and facial blendshape sculpting, all while still being able to fully customize all this with traditional, industry-standard tools, to keep full control over the design and art direction of your project.
The new features of the Character Creator will be a big help in streamlining facial expression customization for anthropomorphic characters. The increased number of morphs compatible with facial motion capture is definitely adding a level of fidelity and control to character expression.
For the body animation, the new features of iClone 8 allow you to more comfortably reach what you need by blending clips and animating over the result non-destructively thanks to animation layers.
Finally, the added support for the space mouse is great news for anyone wanting to speed up their workflow, as moving around in 3D can be really important during animation, so the 6 degrees of freedom of the space mouse gives you the feeling of being physically present inside the 3D scene as you move around effortlessly.
That’s about it, Thanks!
Follow Loïc
https://www.artstation.com/liok
https://www.instagram.com/liok/