
Behind the Scenes: A Special Bond

Introduction
Hi there, my name is Louis and I am a self-taught 3D artist from Mandalay, Myanmar.
I first got into 3D when I was making music as a hobby and needed album art for it. That was when I found out about Blender. I had never touched any 3D programs before so this was completely new for me. I think this was about four years ago but it wasn’t until 2020 that I got more invested in this 3D field. I started learning more but it’s been only one year since I started posting on Instagram.
Inspiration
I’m easily inspired by anything. It can be a scene from a movie, someone else’s work or painting, or even music.
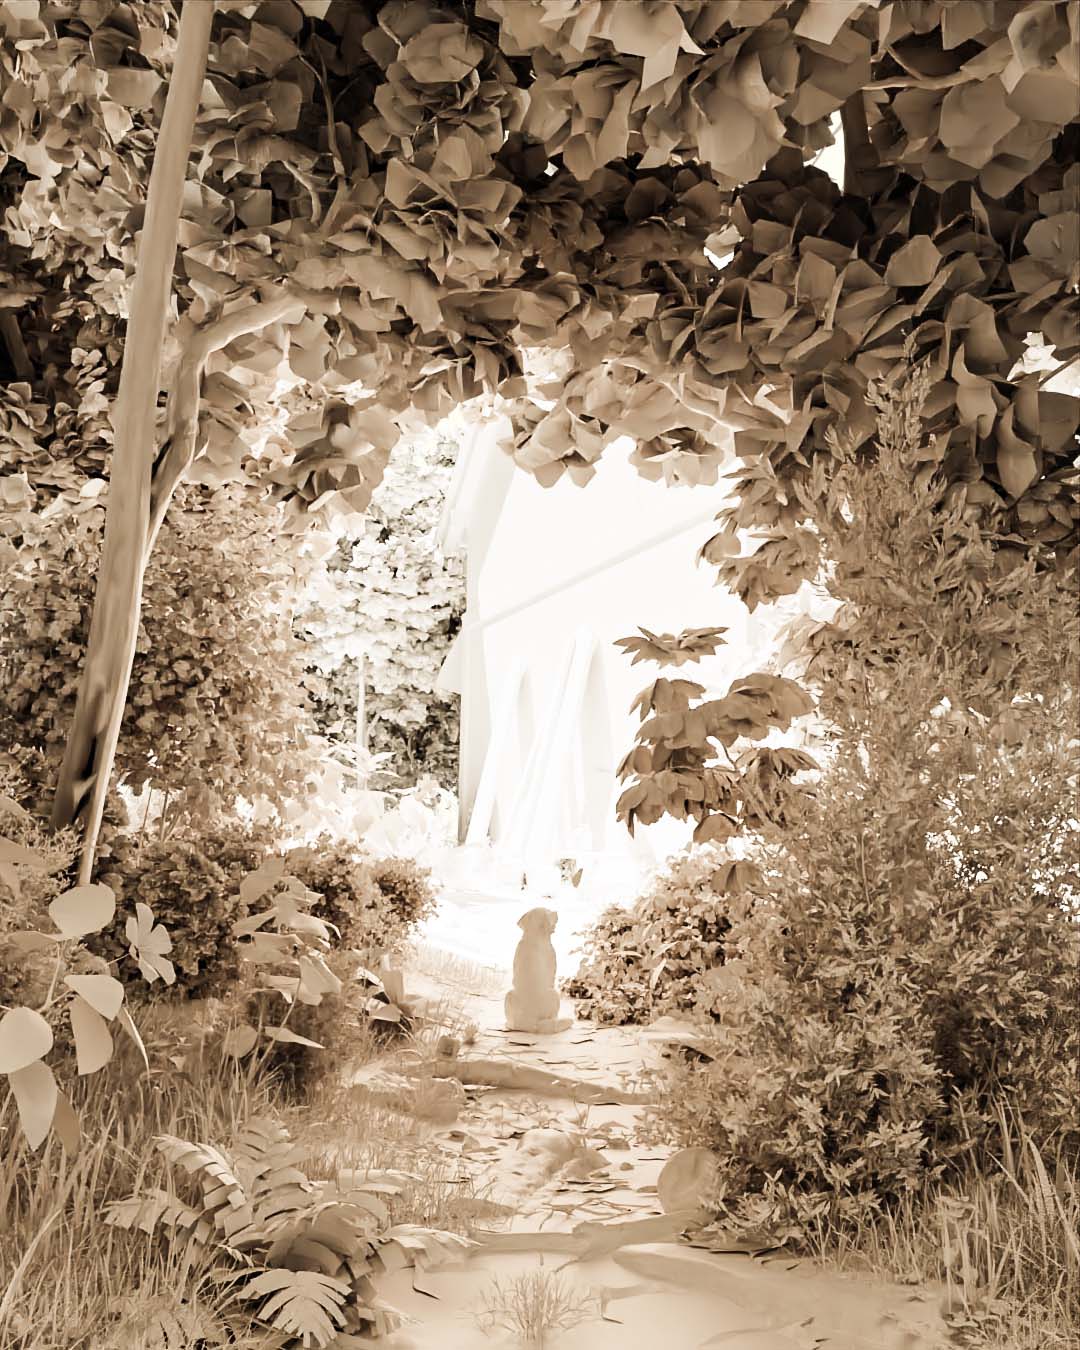
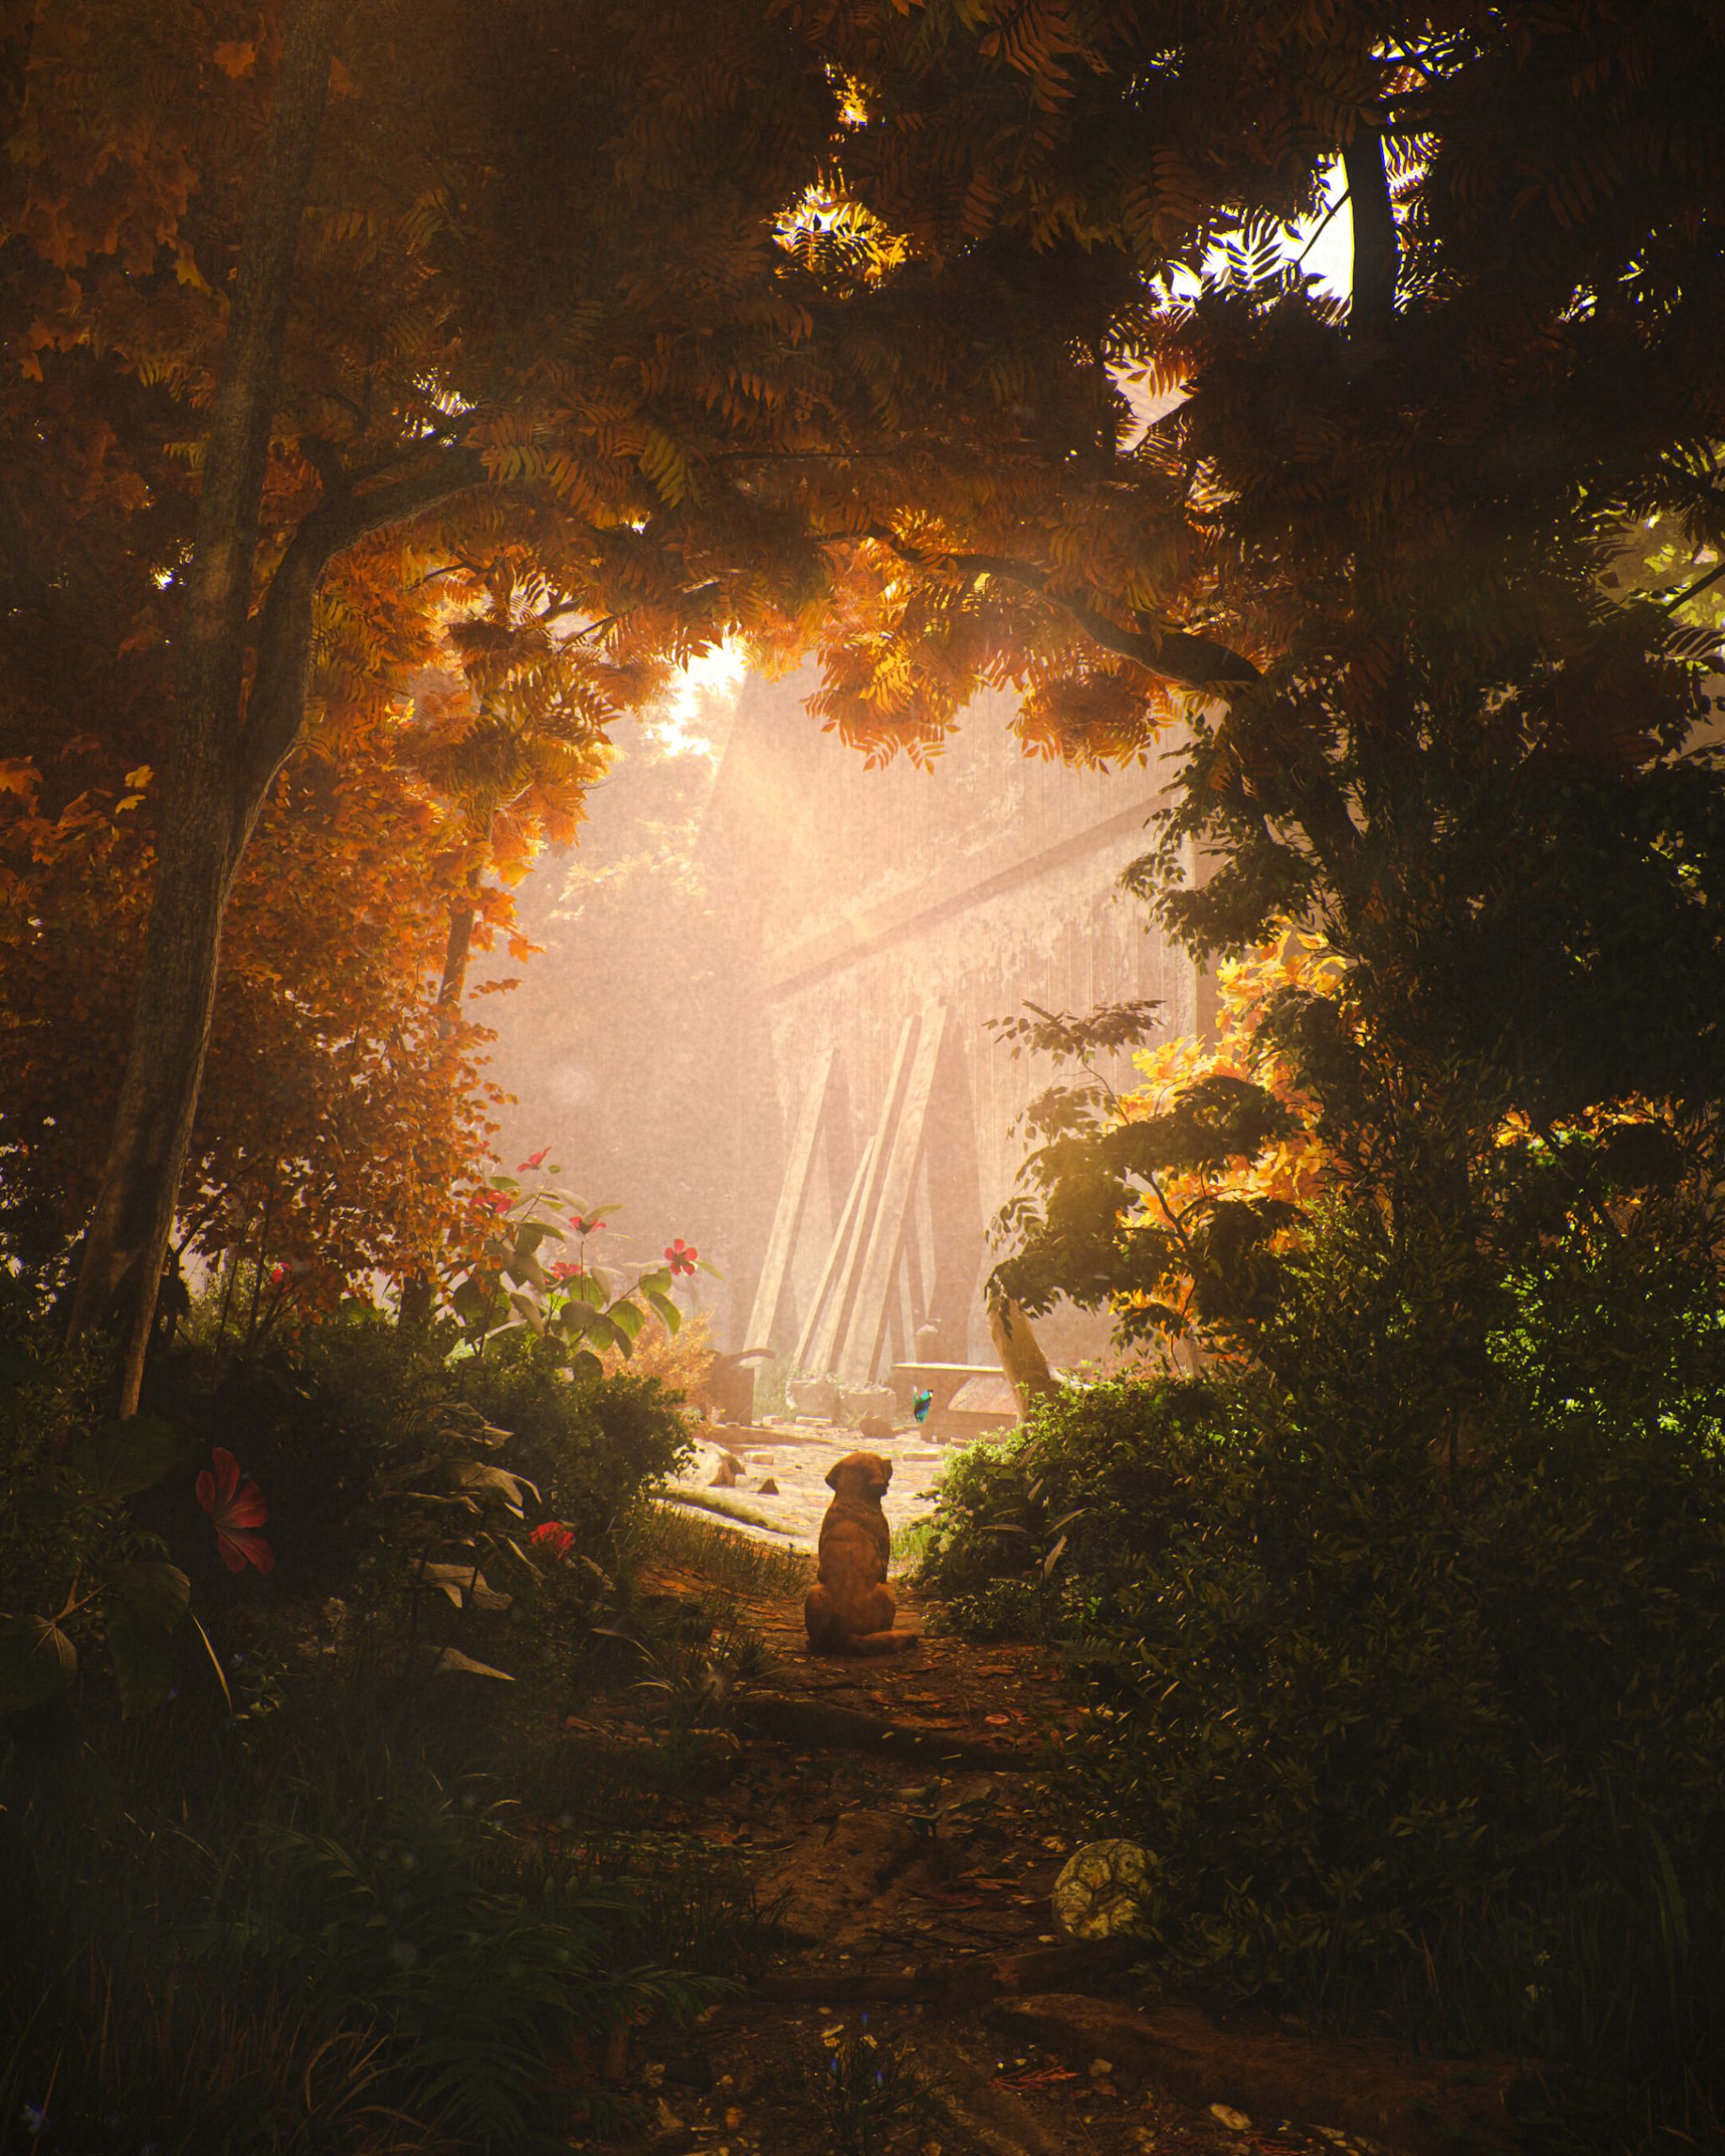
This project “A Special Bond” was first inspired by a photograph of a cottage in a forest I found on Pinterest but it turned into a completely different piece as I was doing it. I don’t exactly know how I got to this point, but I think I was completely in a state of flow while I was working on this.
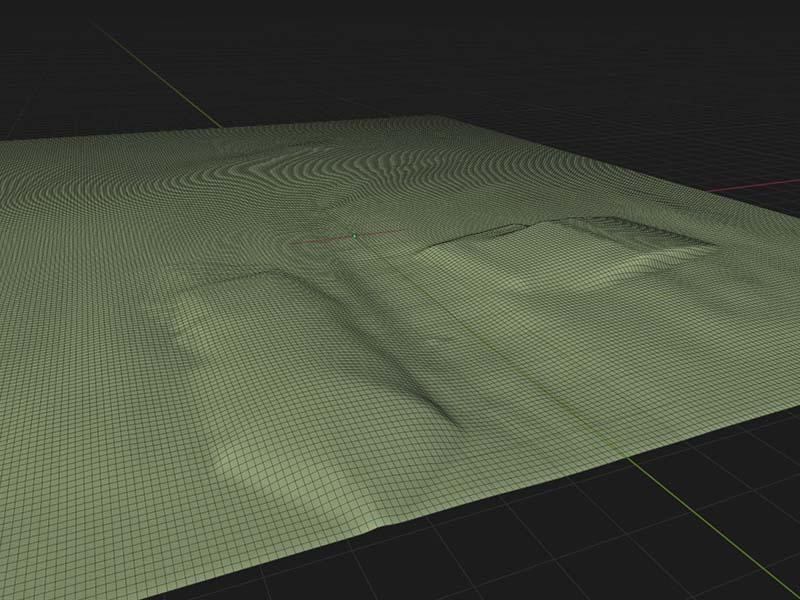
The Ground
I first started by sculpting the ground to my liking. This is something I like about blender a lot; it has everything in just one package. For this piece, I didn’t have to sculpt much as this was a simple scene. I just needed to make it look like a pathway. Then I used the rocky ground texture from Quixel Bridge.
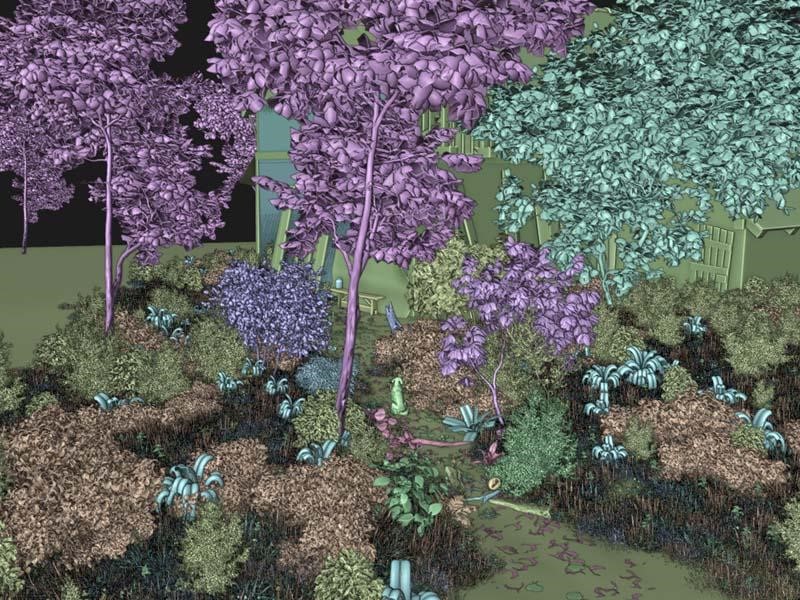
Assets
I don’t really model things as I’m more of an environment designer than a modeler. Assets are a huge time-saver, plus I think they look a lot better than what I’d model. I used addons like Botaniq, Scatter5, and Vegetation for my natural assets. I used some scans from Quixel Bridge as well.
Scattering
I like using a lot of layers for my scattering. For instance, I would scatter a basic grass first using different grass assets from Botaniq. Then, I would add a weed and tall grass layer on top of the first grass. Afterward, I added more layers like rocks, twigs, fallen leaves, and shrubs. I used weight paint to control my scatter systems. I have different weight paints to control different systems as well. I also manually added some individual assets from the sources I mentioned before.
Lighting and Composition
It took quite some time to get what I wanted in terms of lighting and composition in this piece. I knew I wanted to have the dog as the main focus in this scene so the lighting should support the focus as well. I went through different iterations for this part. I did a lot of test renders with different composition, placement of the assets, lighting and even focal length of the camera. Once I got something I could continue with, I started adding a few area lights to light up the scene and fake “global illumination” even more.
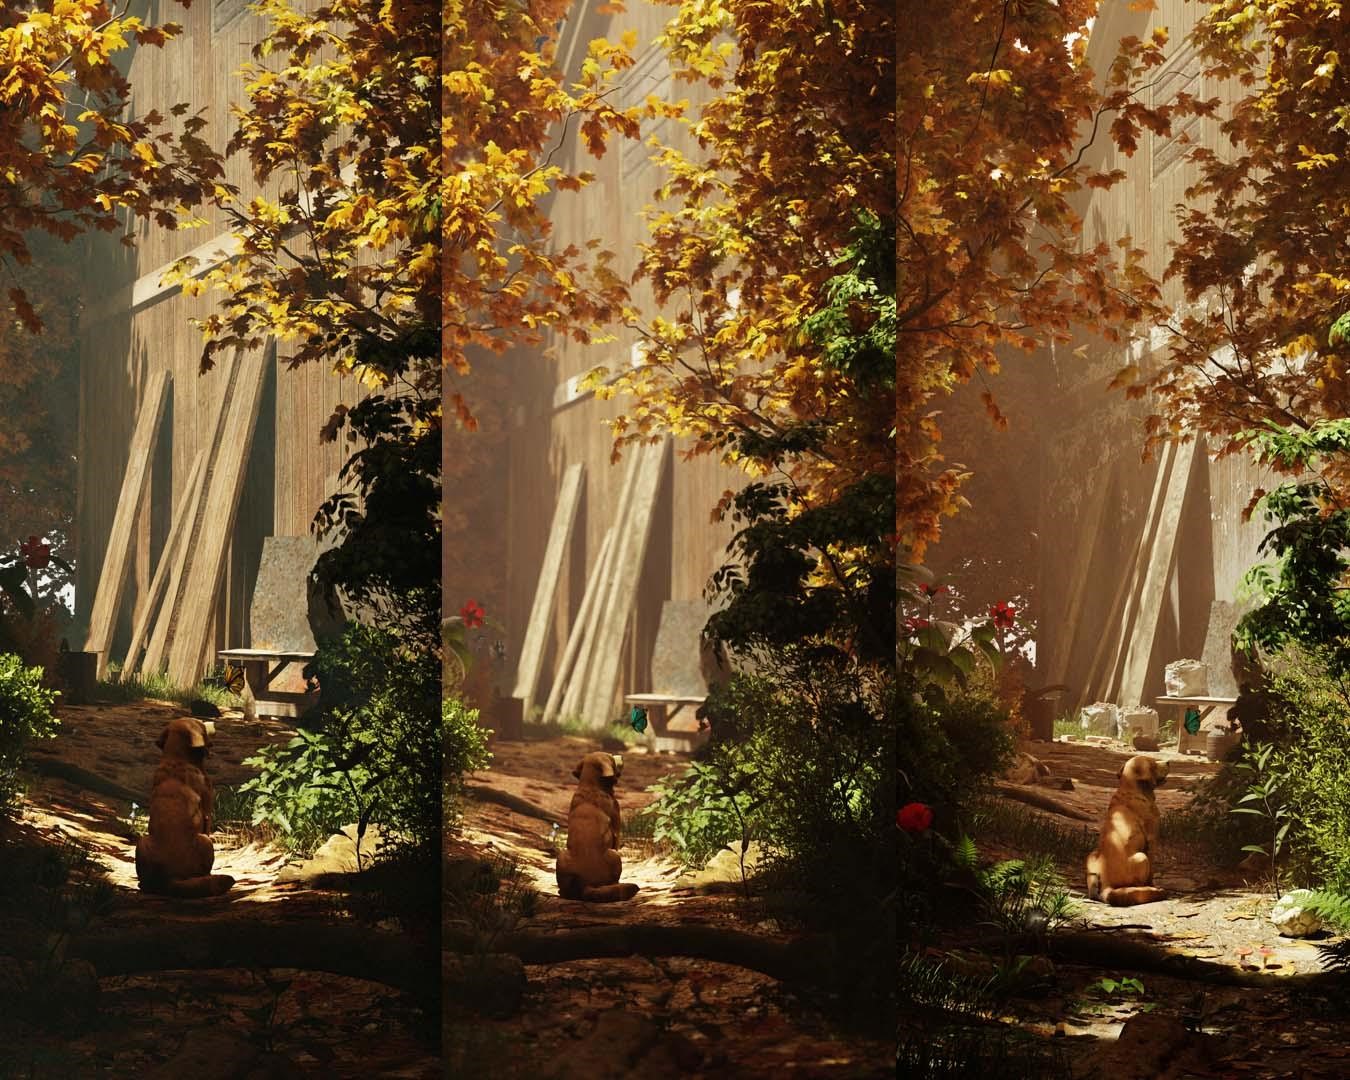
Post Processing
I use Photoshop for post-processing. In this piece, I didn’t really have to do much. I added more glow and also used some smoke brushes to give the scene a bit more texture. I try not to overdo with my smoke brushes, as it can get quite messy. Then I added a camera raw filter for basic color grading. I used Magic Bullet Looks for some effects such as chromatic aberration, lens distortion, and film grain.
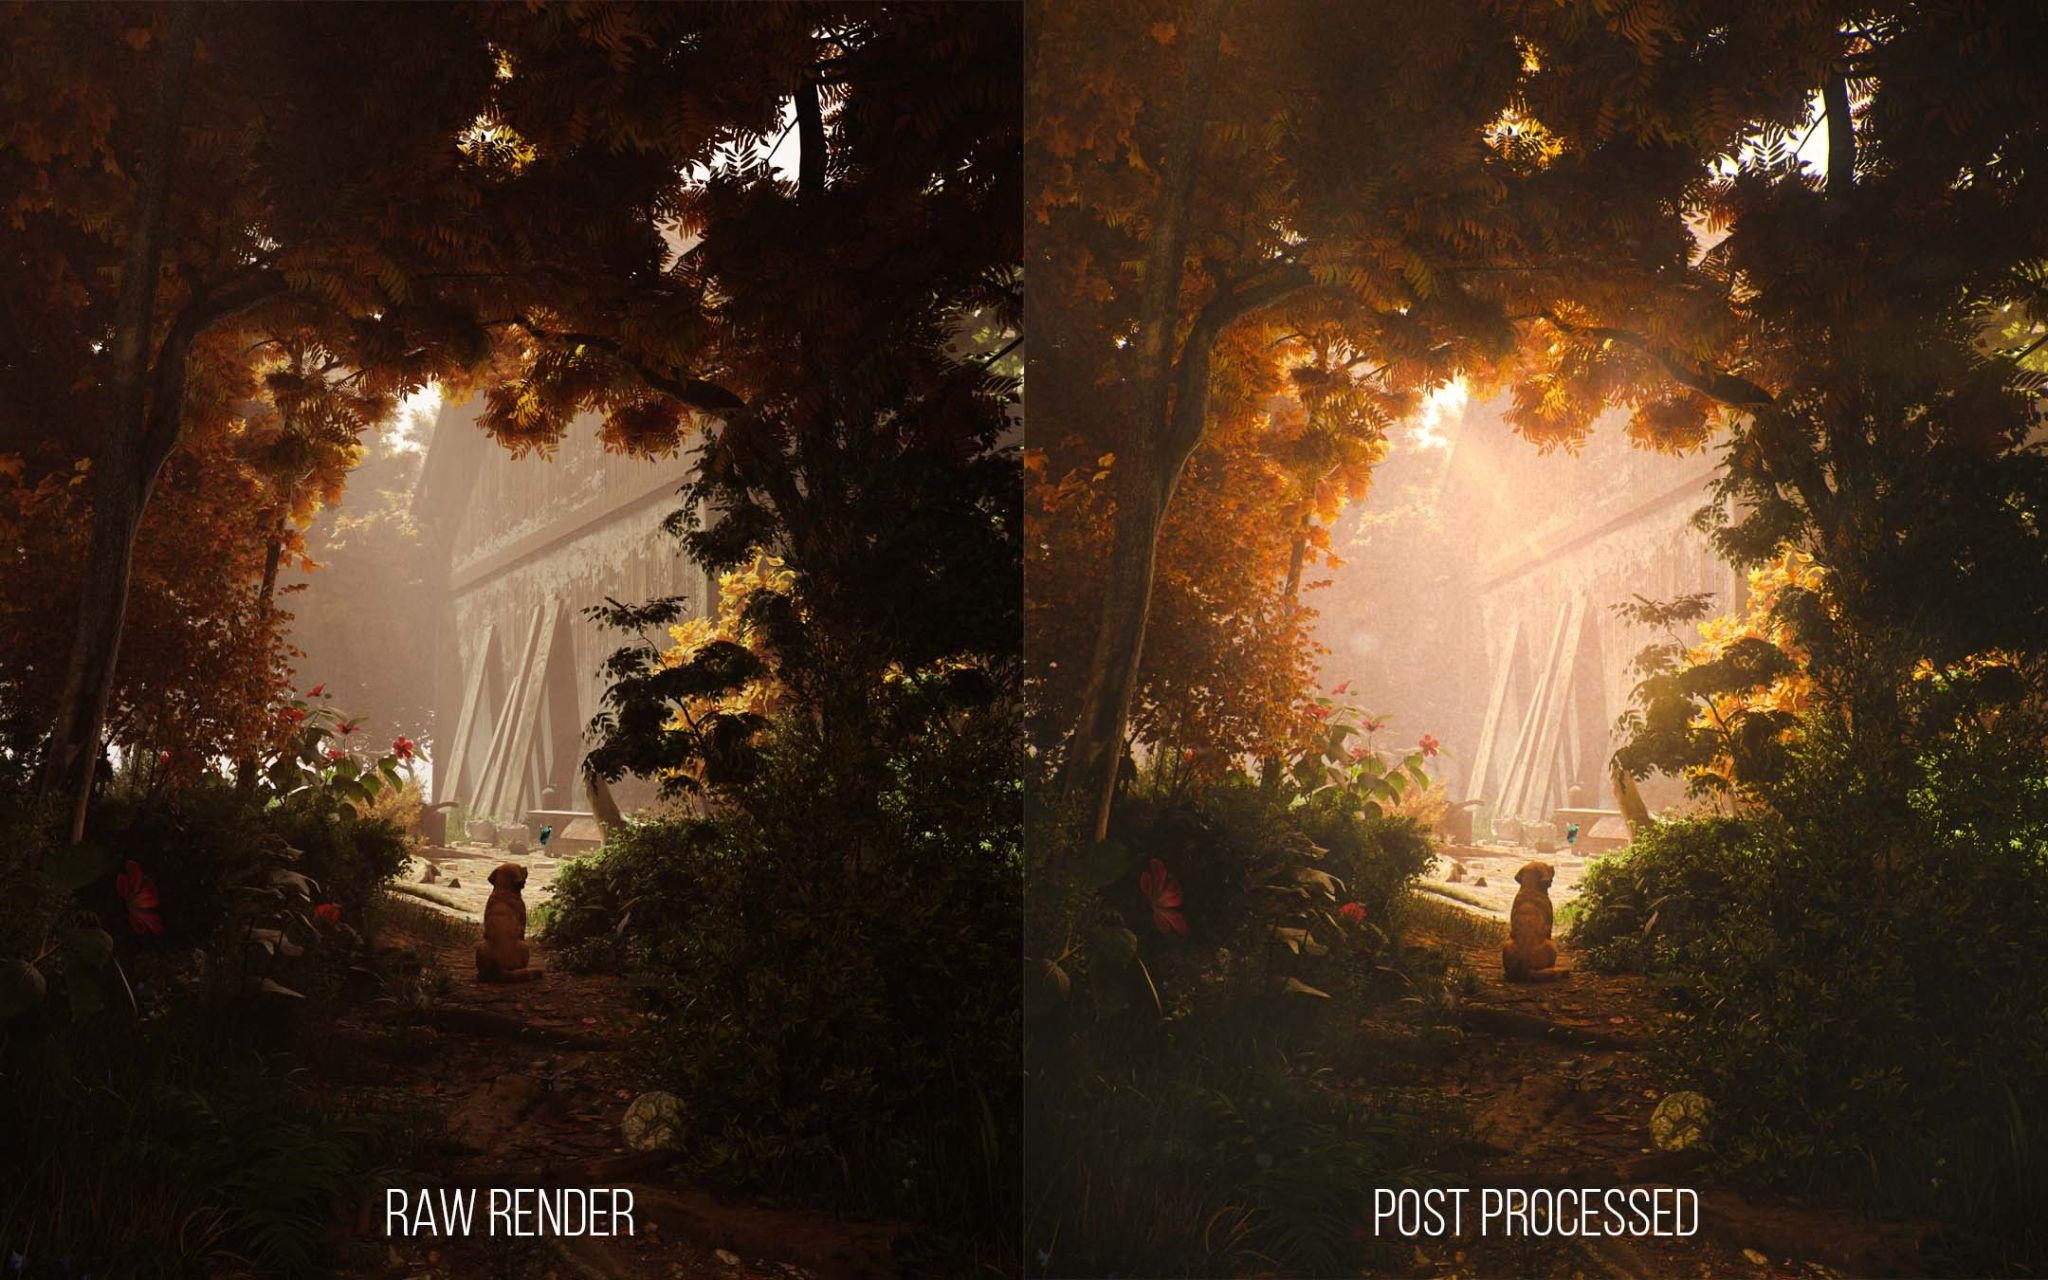
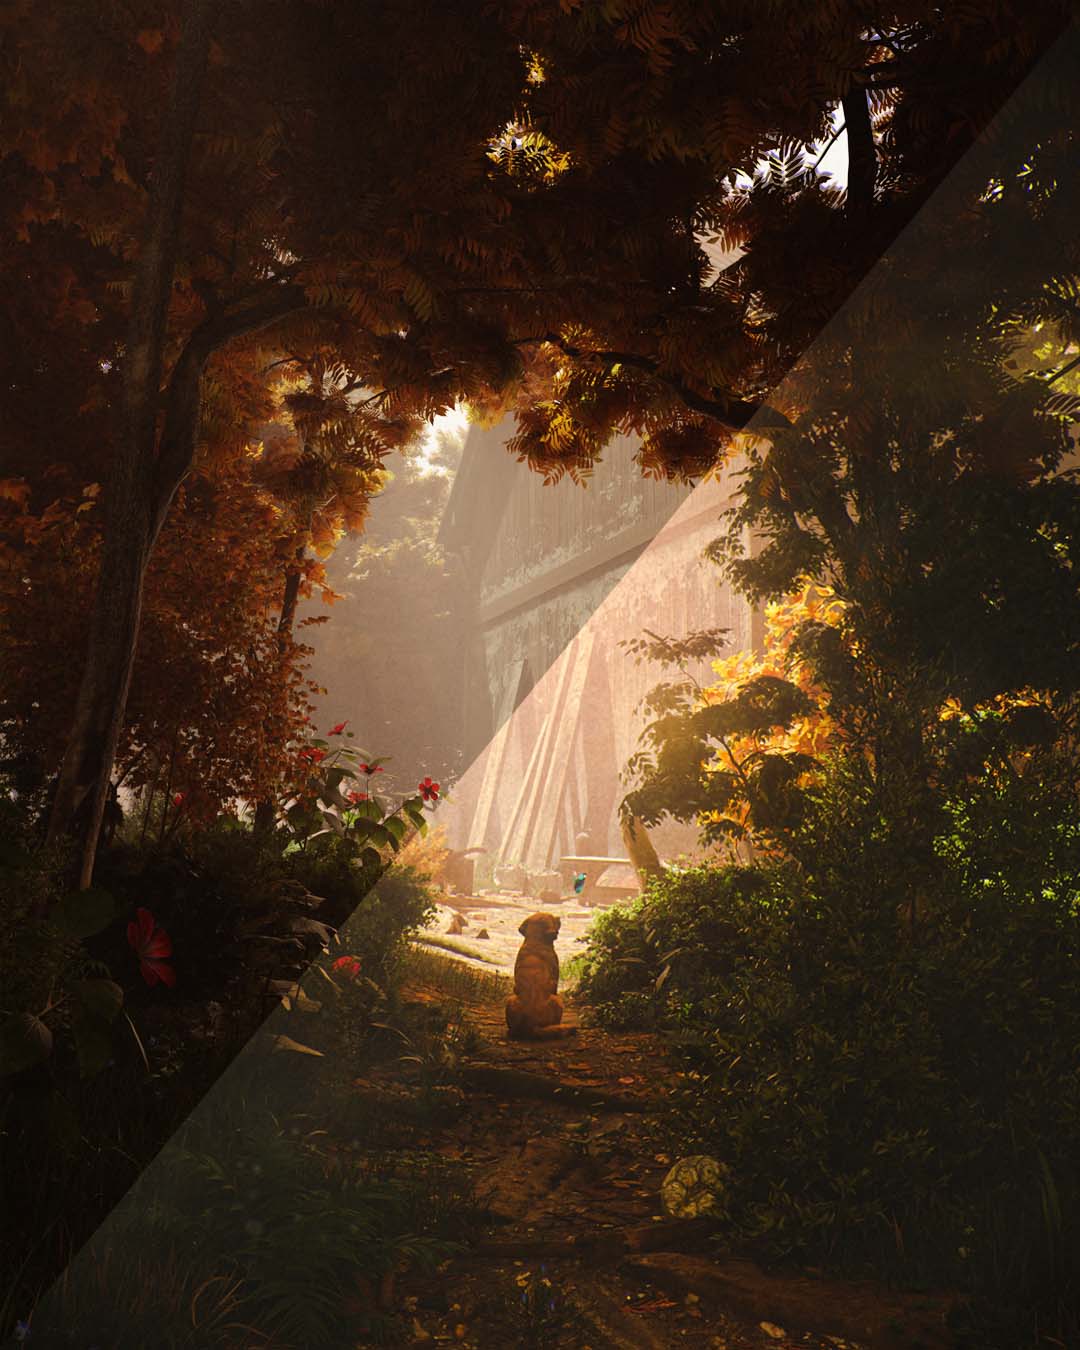
These are the changes made by post-processing.
A Special Bond
Then, that’s it! Thank you for reading!
About the Artist
Louis Lin, is a 3D artist who specializes in environment design and lighting, and a freelancer, currently partnered up with some of the music labels for their artworks.


