Looking Glass Portrait Review
Holographic and 3D displays have been a staple of the Science Fiction genre for decades now, with multiple experiments having over the years tried to make this dream a reality. These various attempts into the holographic realms were often saddled by the unbearable weight of early adoption/prototypes, with the technology never feeling close enough to being affordably mainstream. This is exactly what Brooklyn-based Looking Glass Factory is trying to change with their “Portrait” holographic display, which was celebrating its one-year anniversary only a few weeks ago.
From afar, the Looking Glass Portrait feels a lot like the Occulus Quest of light-field displays, seemingly holding within it the ability to really push this technology into wider adoption. This is where this post/review comes in: The Looking Glass Factory has provided us with a review sample of its Portrait, and I will attempt to accurately transcribe what this experience feels like to a first-time Blender-centric holographic user like me. It’s important to note that this does not grant them editorial control over the review.
This review will first look at the physical aspect and experience of the packaging and display itself, then check out how the holograms perform, before taking a closer look at its usage from a Blender-based standpoint.
What’s in the box
The Looking Glass Portrait arrived in a snug-fitting shipping box that had paper padding to protect the main package. The Portrait’s packaging feels quite premium, with holographic typography and logos adorning all its nooks and crannies. The display itself takes center stage in the packaging and looks the cutting-edge part. Other than the Portrait, the box comes with some more holographic stickers and swag, as well as an HDMI cable, a USB-C to USB-C cable, a power adapter, and a microfiber cloth.
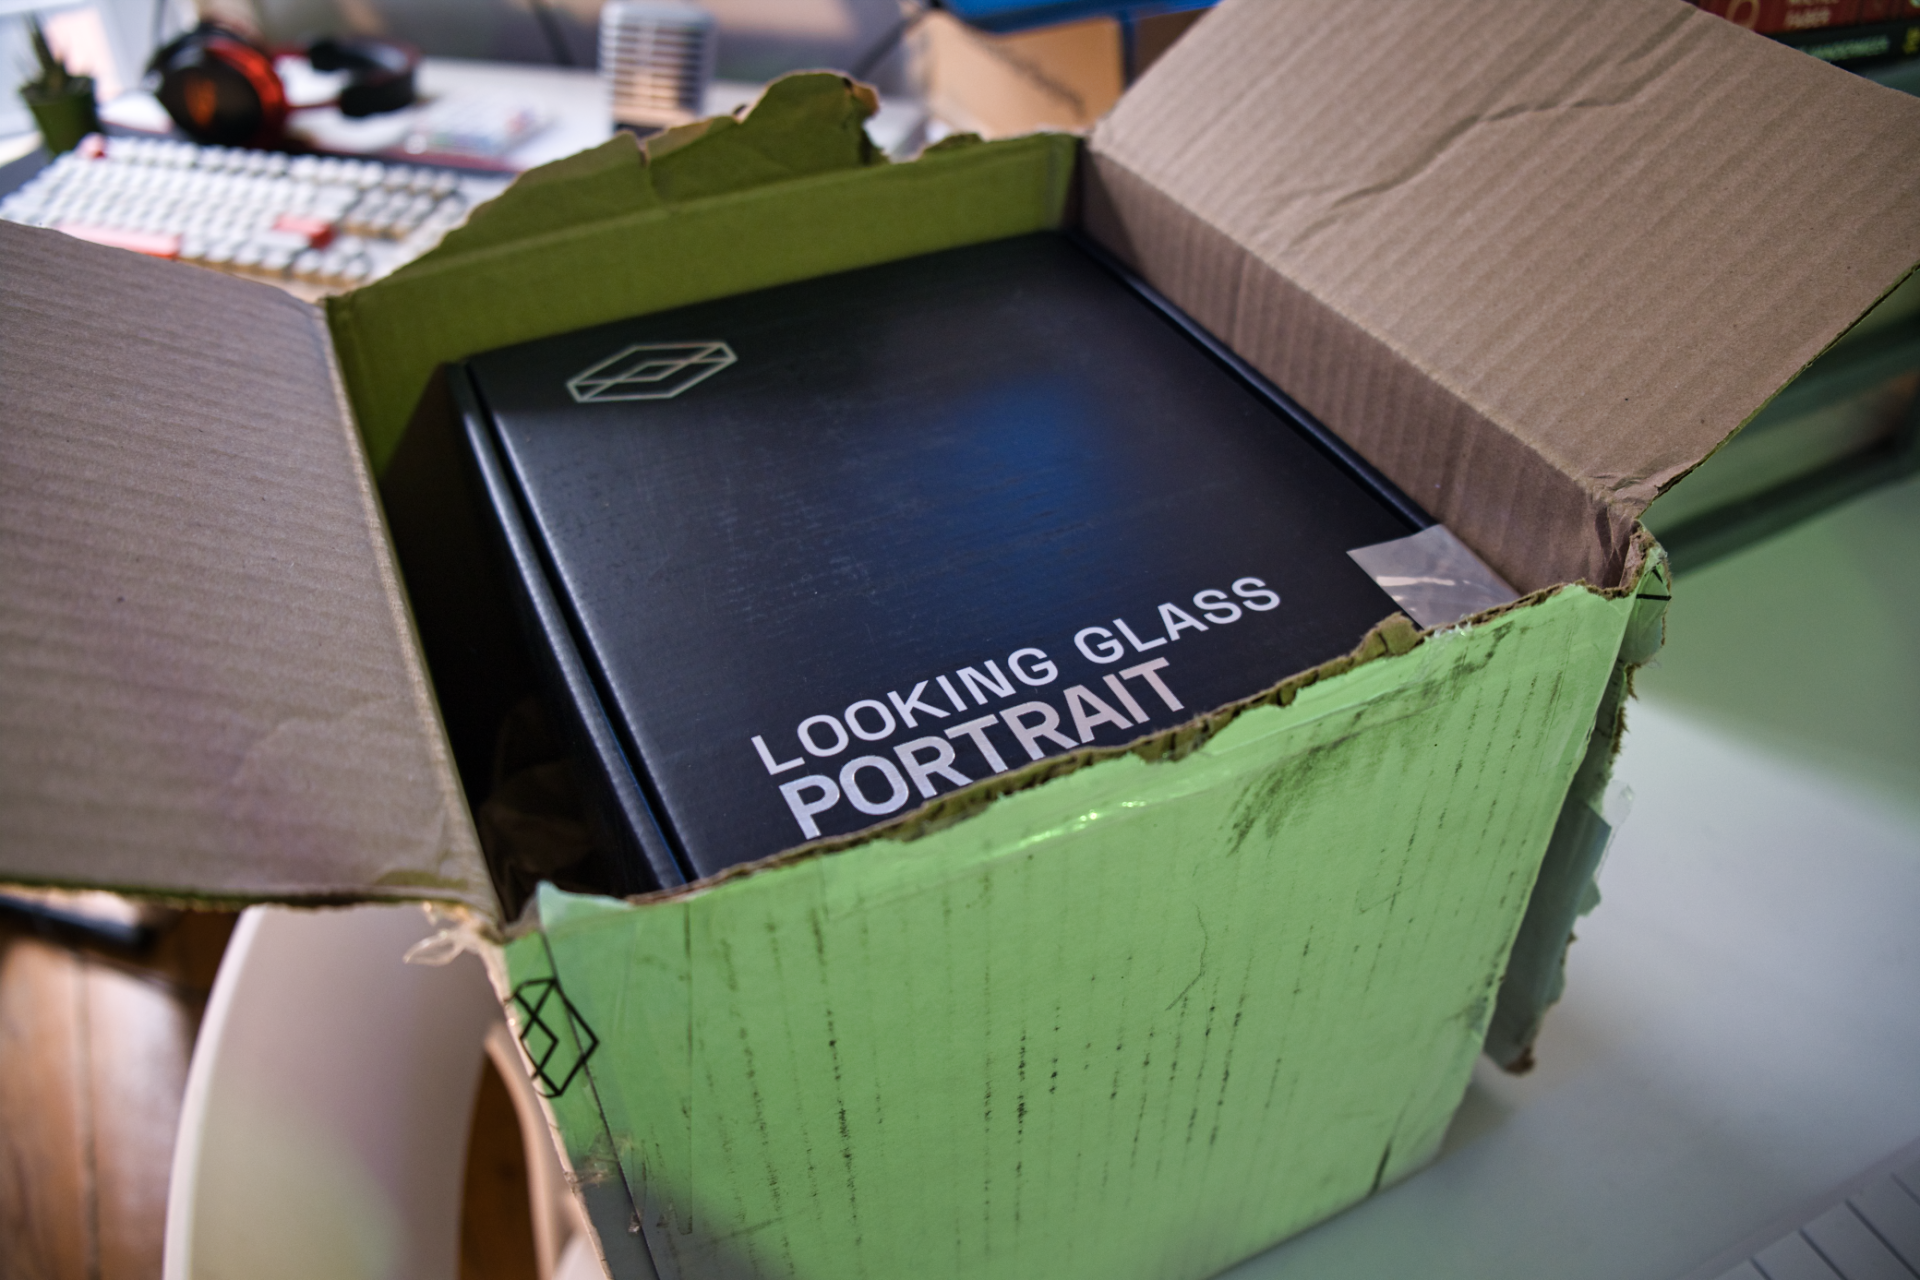

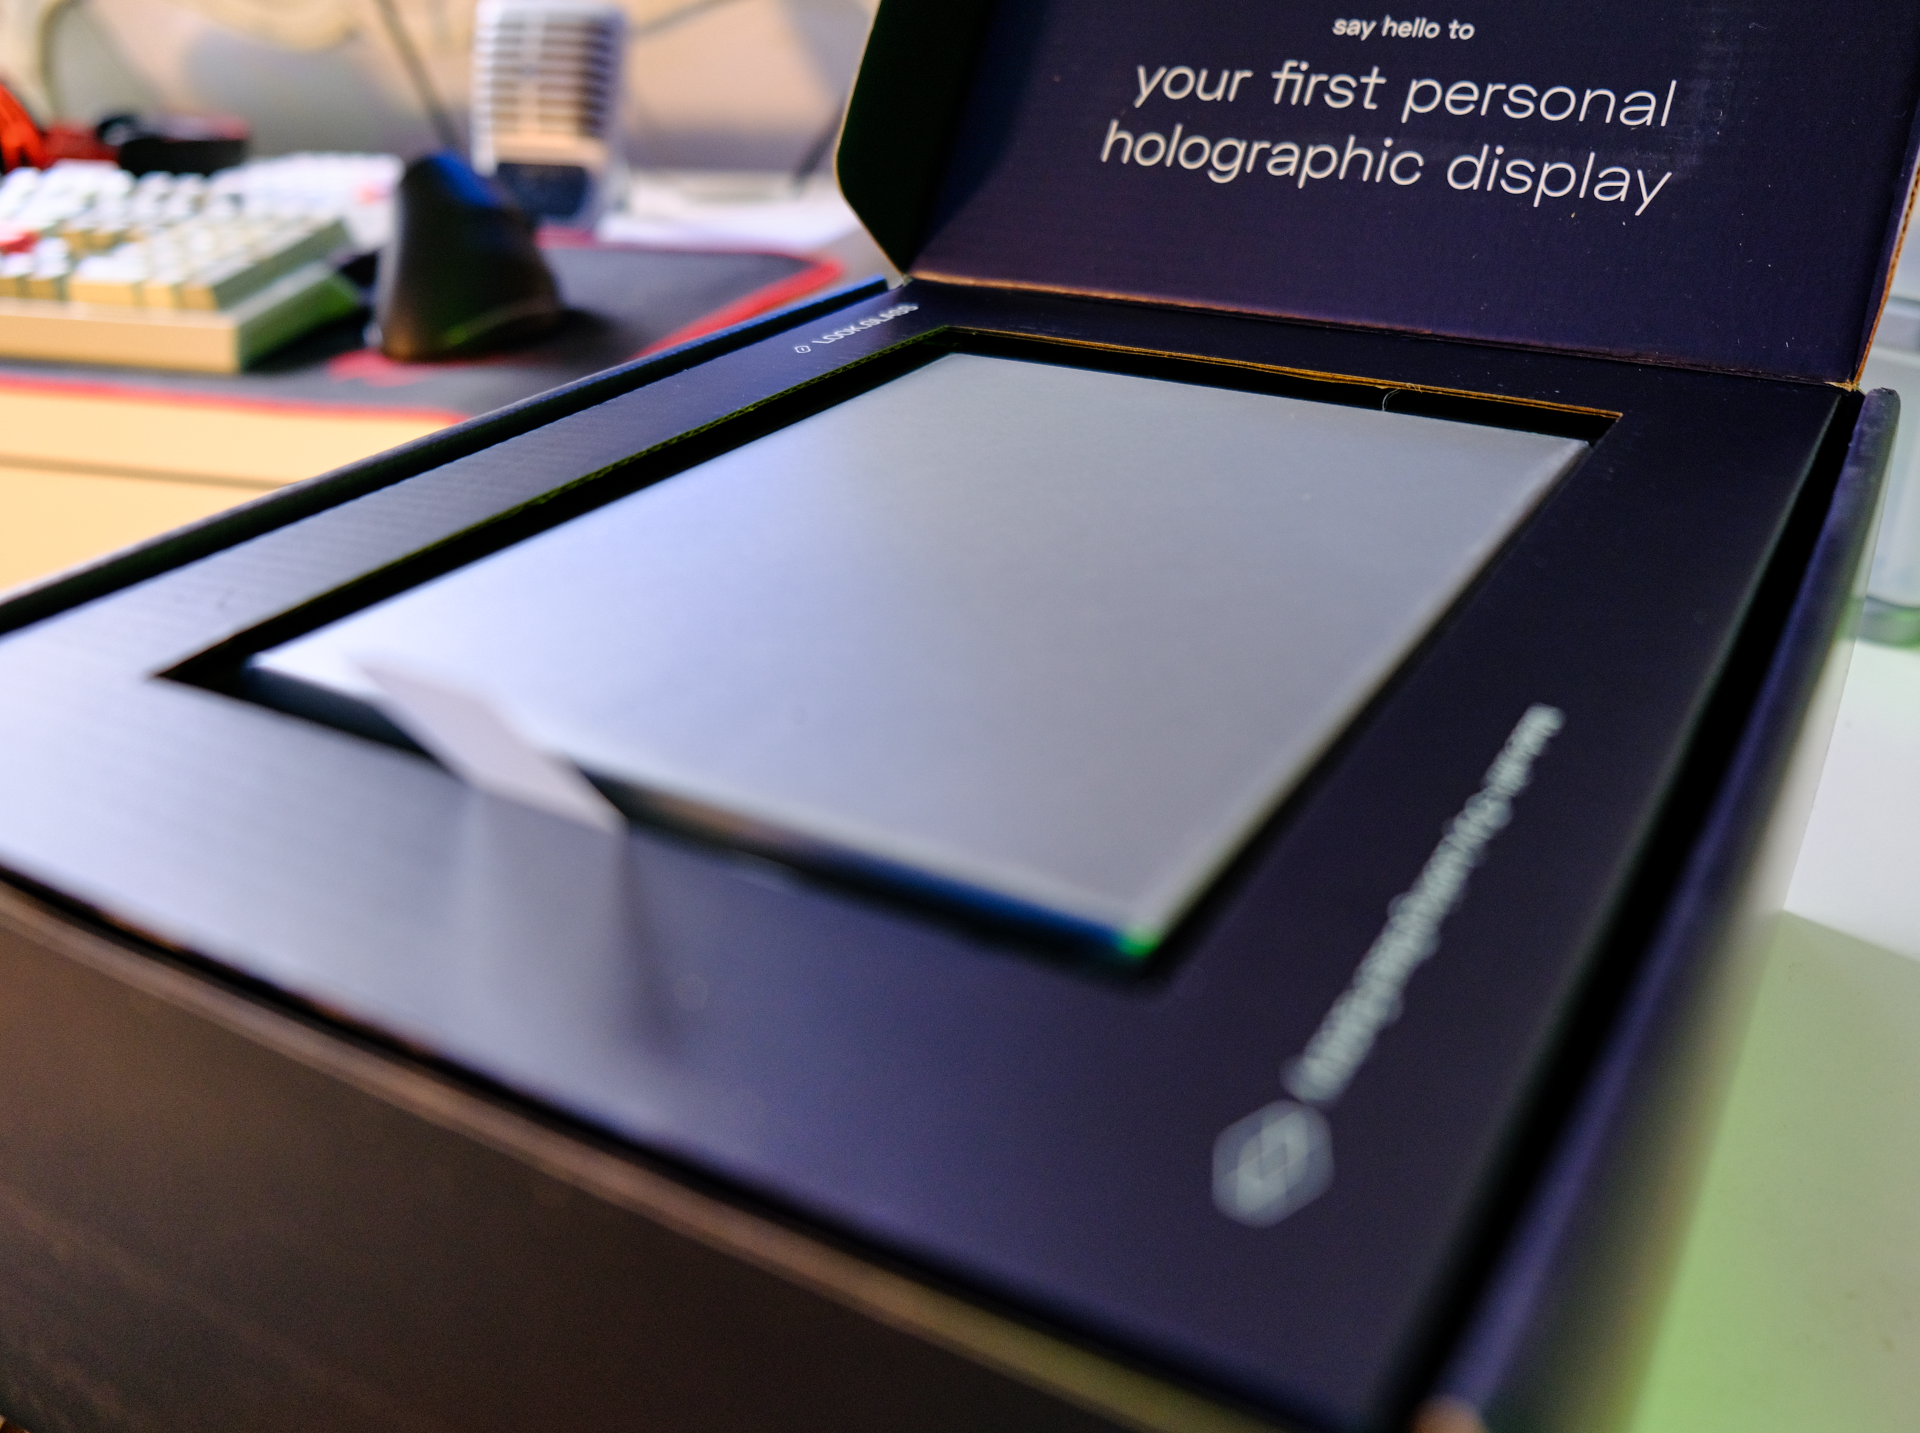

All in all the unboxing experience was pleasing, with the combination of sleekness and 90s/geek aesthetic being a nice touch.
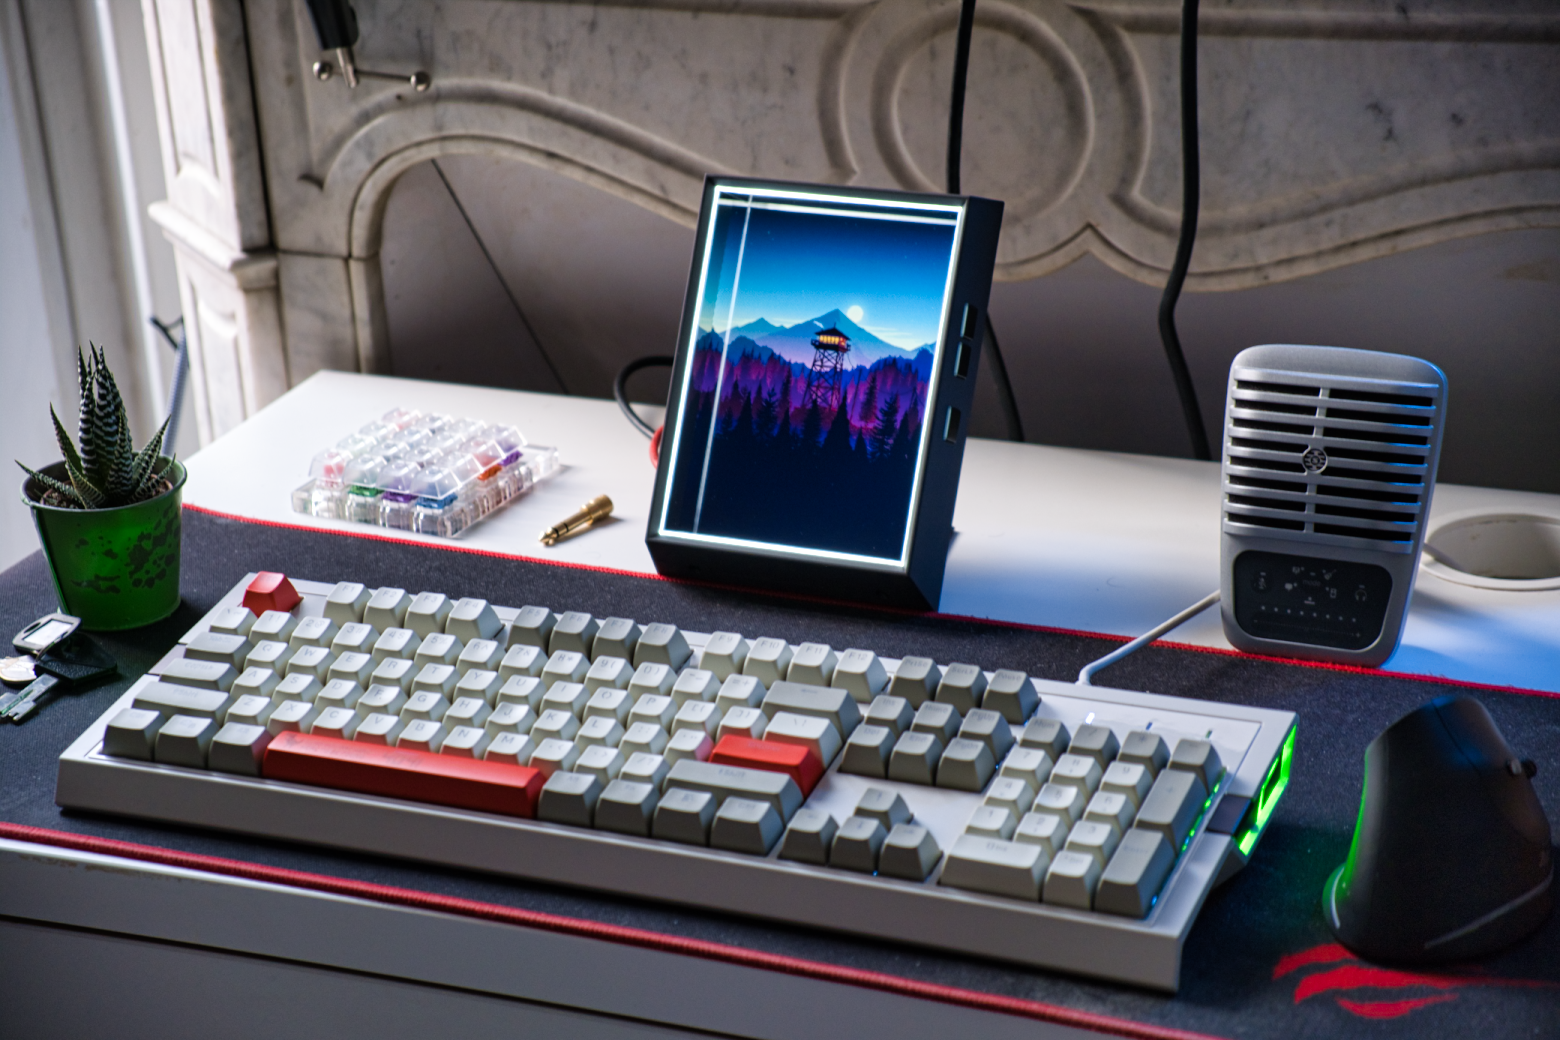
The Portrait: Looks and Specs
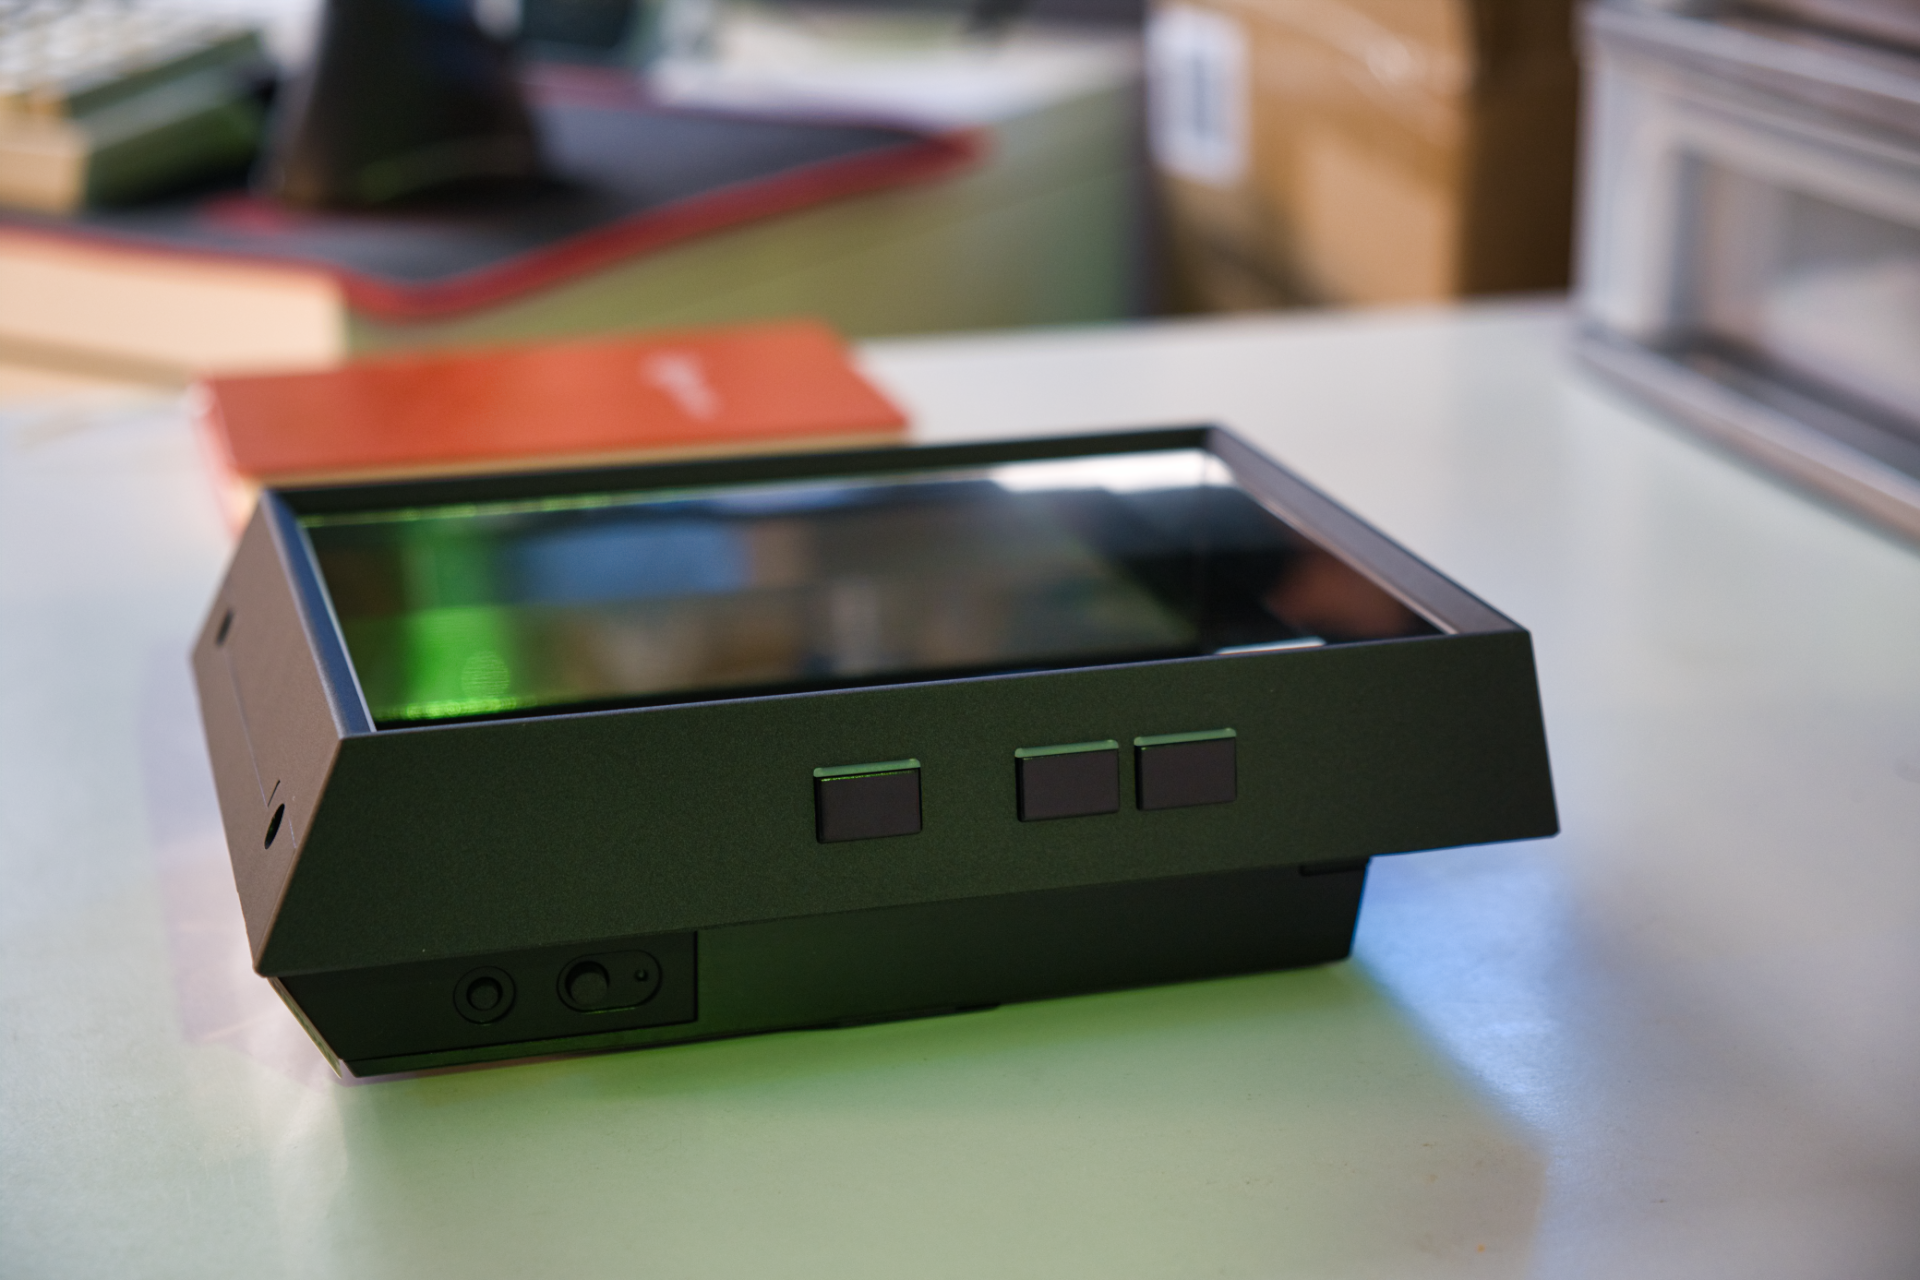
The first thing I noticed when I picked up the Portrait is that it was surprisingly light. For some reason I expected it to be heavy, imagining the holograms to be displayed inside a massive block of glass, but here lies the second surprising element: The display panel itself lies a few centimeters inside the frame and is not located at the same level as the outer edges of the bezel (it took me a surprisingly long amount of time to realize that.)
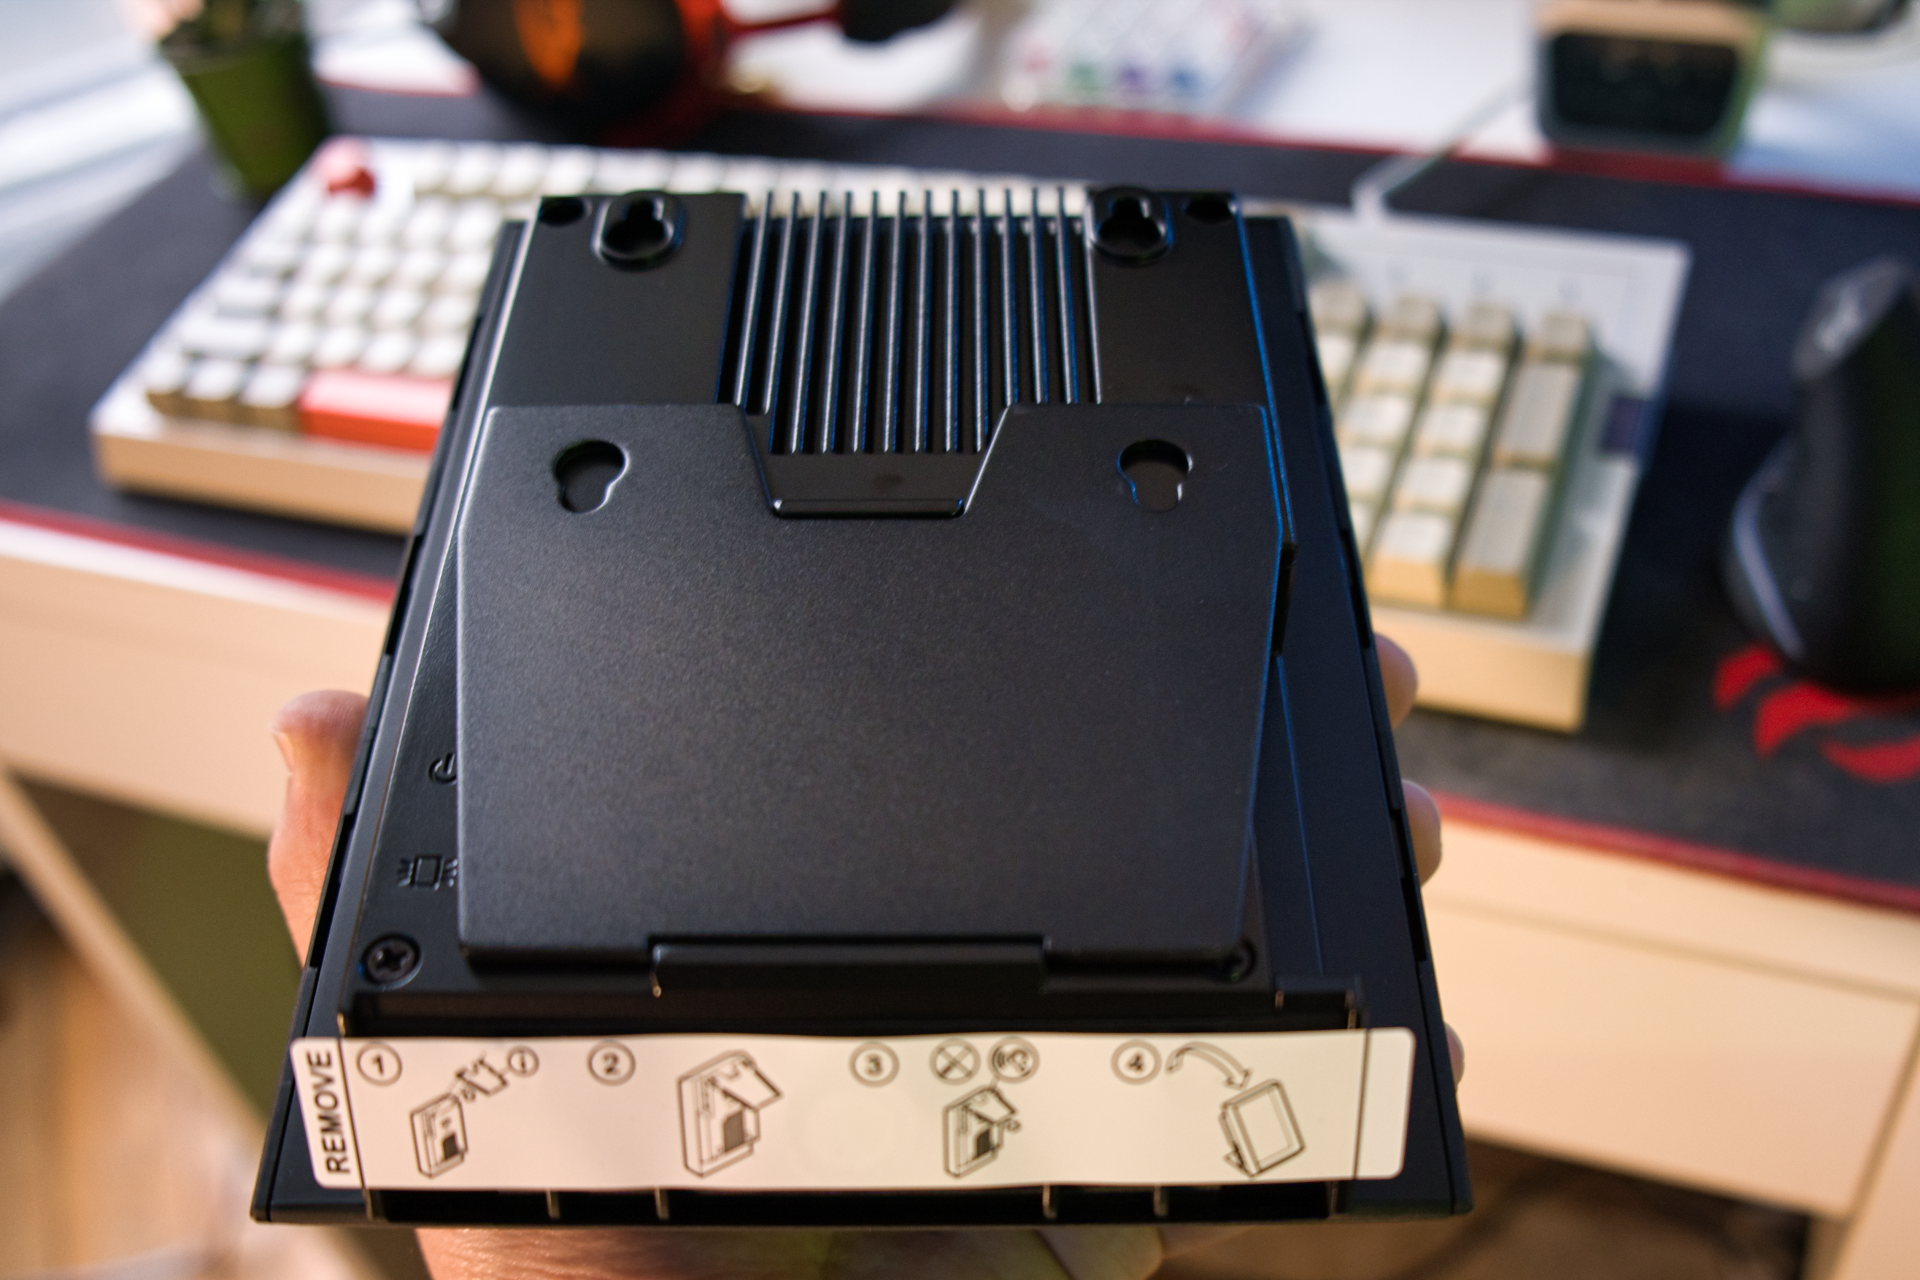
Magnetically hitched to the back of the Portrait is the base plate, which has to be attached to the bottom of the device to hold it in place. The tool-less design of the base plate is very much appreciated, and once again plays into the sleekness of the device.
The display comes in at 7.9 inches, with an input resolution of 1536×2048. The purported viewing cone of the device is 58 degrees, and it can support 45 to 100 views per hologram. The Portrait’s brain is a Raspberry Pi 4 computer, and the whole package comes in at 660 grams.
The Portrait has three control buttons on its right side, with play, pause, forward, back, and loop functions. The pause button is shown in action on the video above by Oscar Creativo. The device also has a physical on/off button and a button to control edge lighting. When it comes to I/O the Portrait has HDMI, USB-C, and Aux ports.
Standalone Mode
A recurring theme of this review is me being constantly surprised by one feature or the other, mostly owing to my prejudices with regards to supposedly “early-adopter” tech. One such surprise was the standalone mode. I had seen showcases of the Portrait before, but I always assumed that such a device would be too computationally hungry to be autonomous (which in hindsight is not the brightest take) and had to be tethered to a powerful machine at all times.
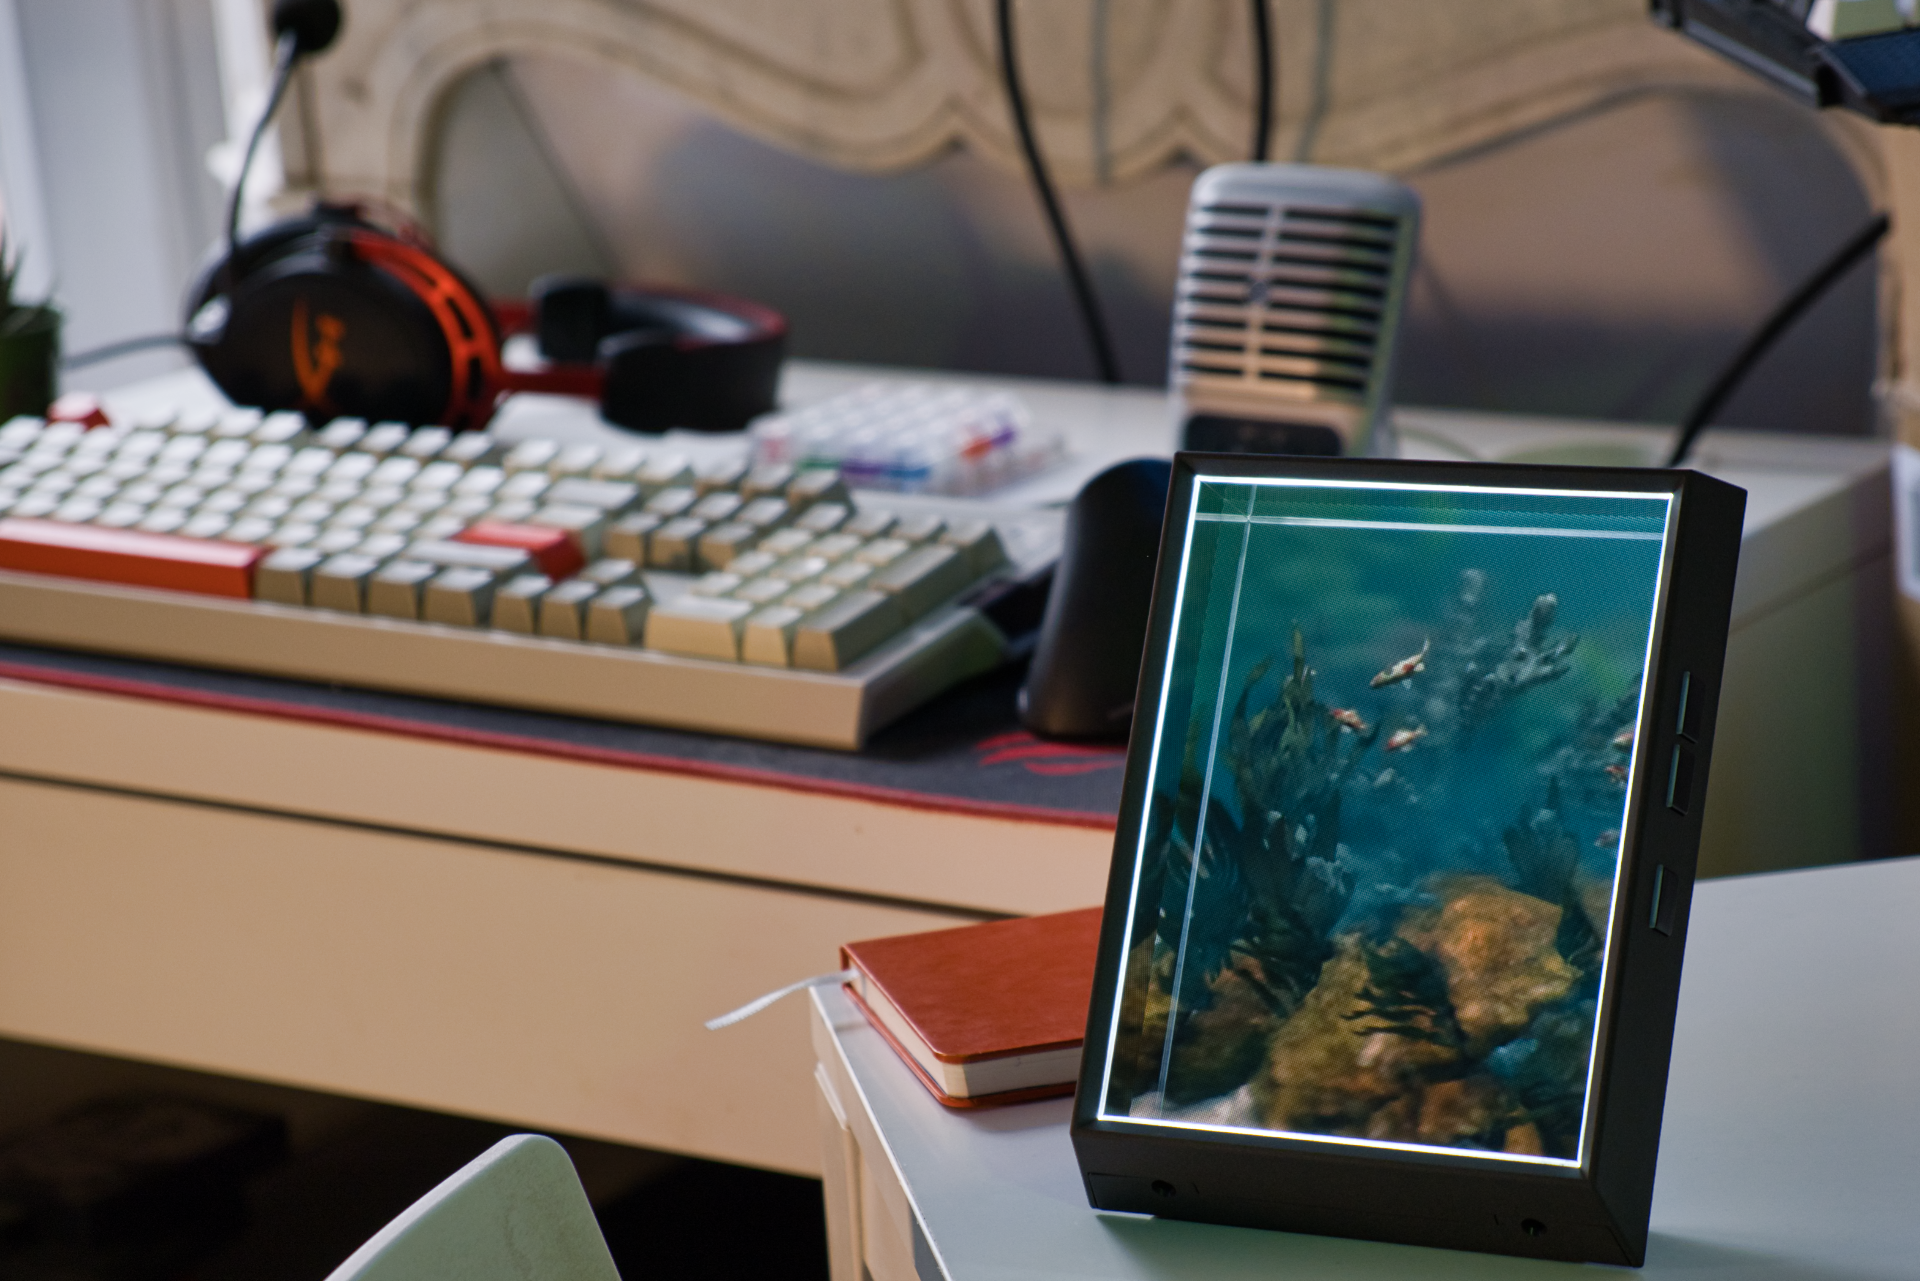
It was really satisfying to be able to power on the device in standalone mode just after unpacking it and immediately experience the impressive holograms, without what I had expected would be a lengthy setup process and at least an hour before seeing the first hologram. The Portrait comes preloaded with a dozen or so example scenes, which can be controlled via the aforementioned physical buttons.
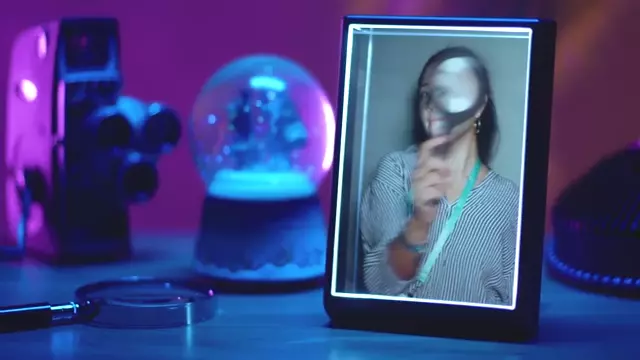
The Holograms themselves are quite impressive and the sensation of depth is immediately perceptible. The more successful holograms are the ones that include occluded parts, parts that can then be seen when peeking at the scene at another angle. Speaking of angles, the quality of the hologram breaks down quickly when reaching the limit of and crossing the viewing cone. Looking at the screen too closely also reveals the limit of its resolution and “pixels” become quickly discernible. All in all, most holograms just work great out of the box in standalone mode, and I cycled between Erindale’s Flower scene and the Aquarium scene as my default.
Connected Mode
Portrait’s “connected” mode unlocks its full potential. It’s where all the customization and extension options are available through the various software and addons available, all enabled by the “HoloPlay Service” application. Connected mode is accessed by connecting the Portrait to the computer via USB-C and HDMI.
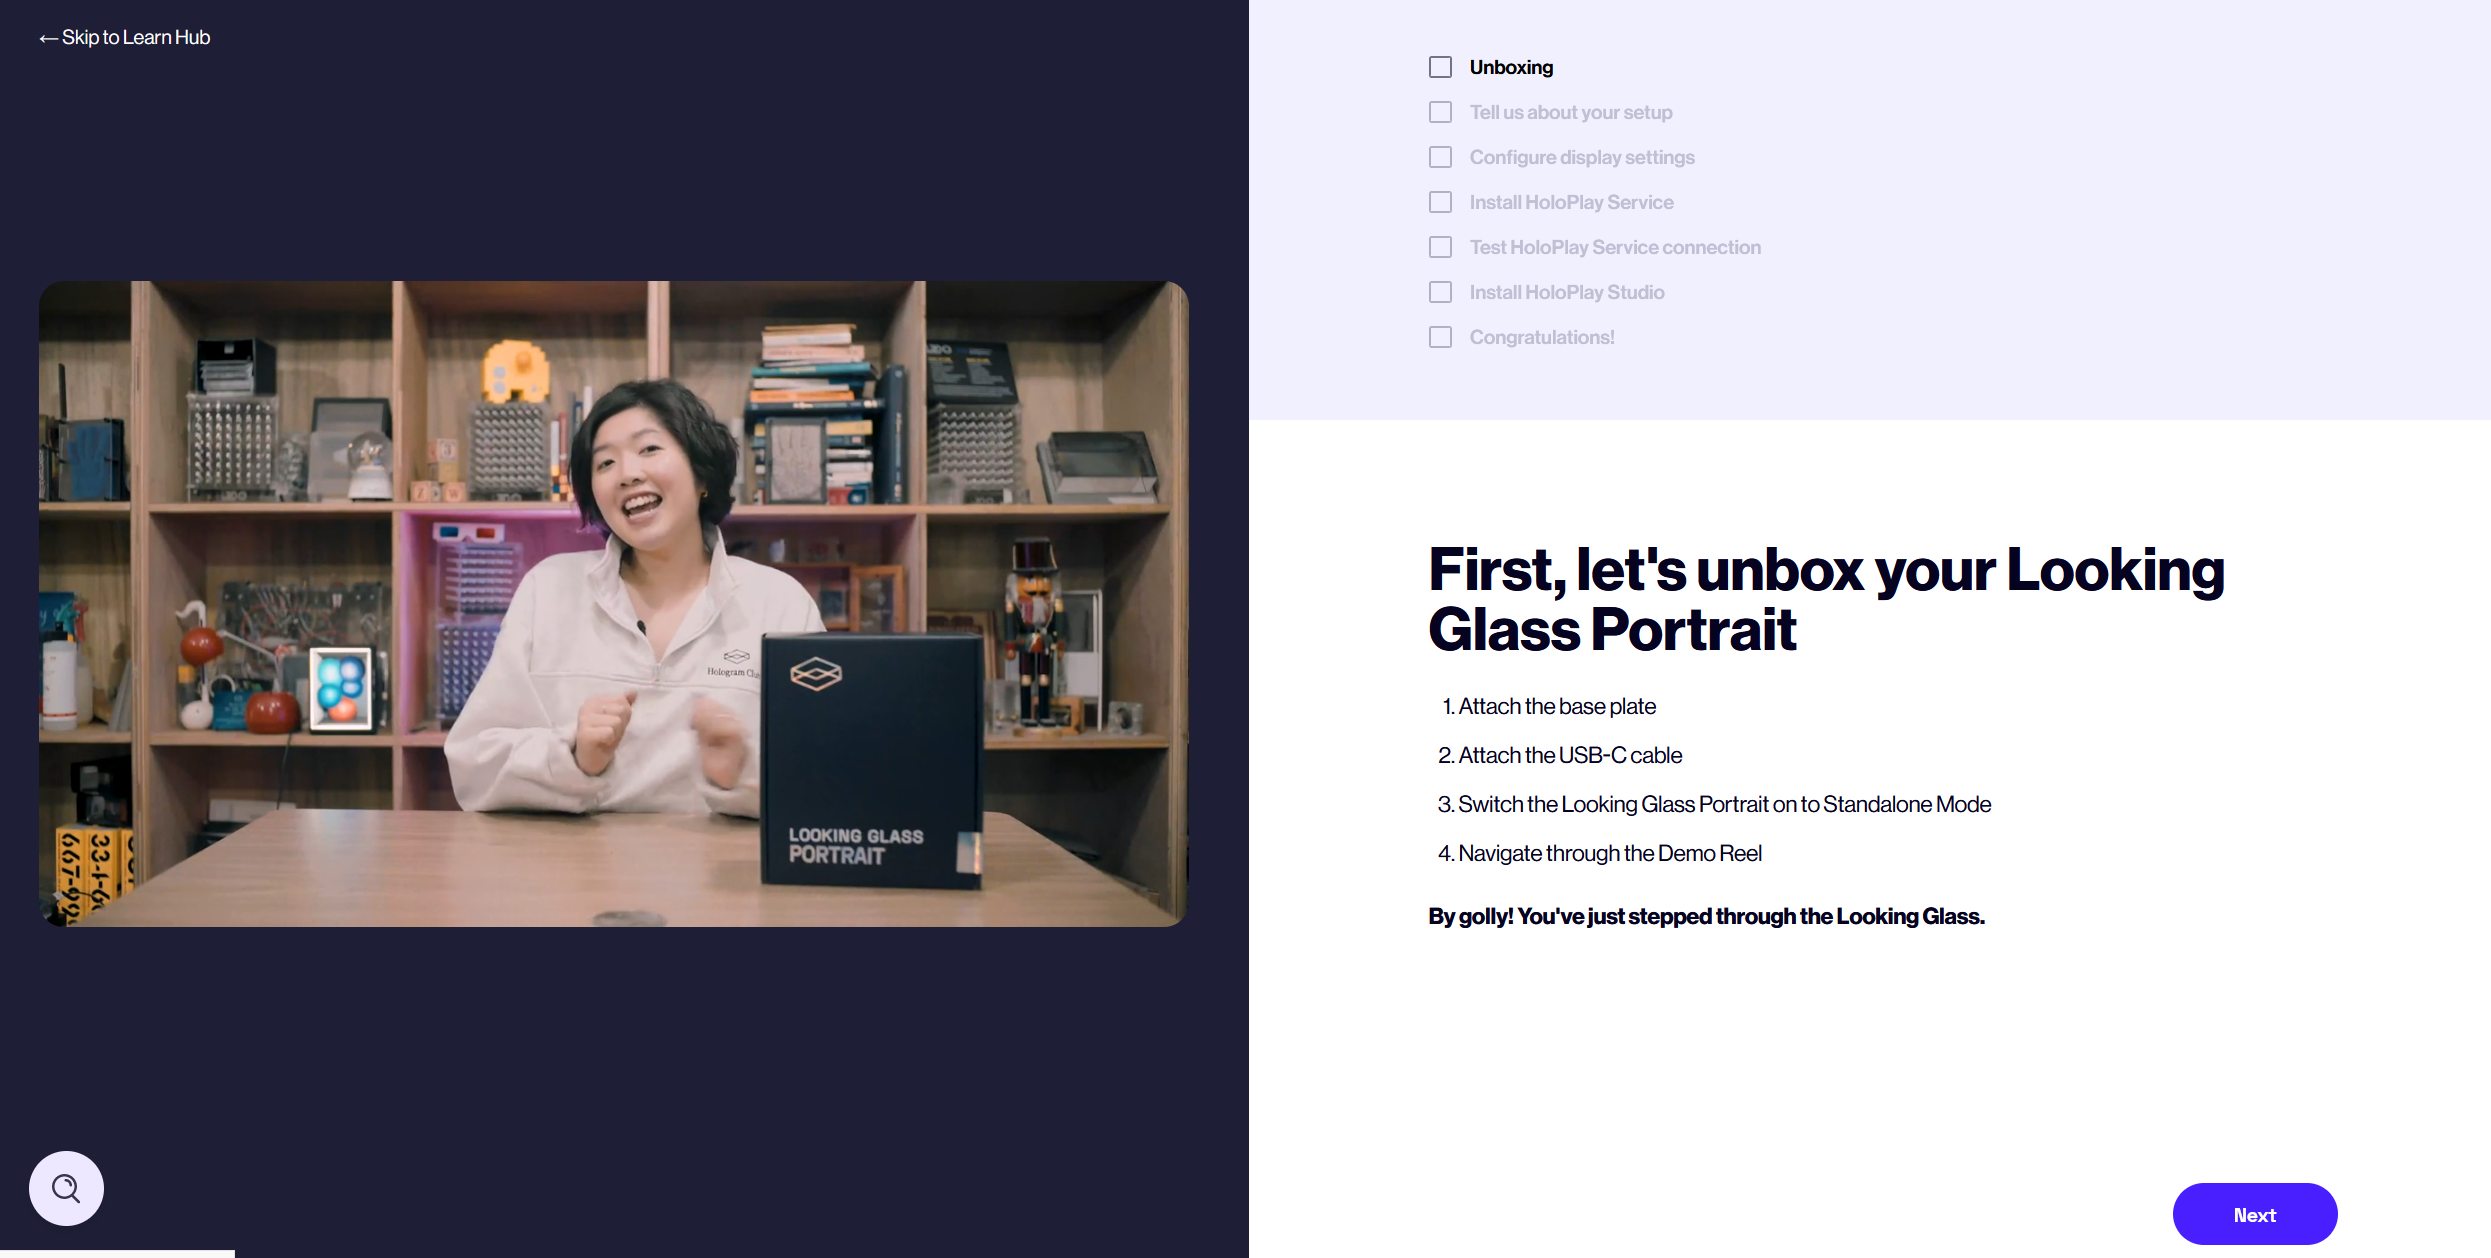
I can safely say that The Looking Glass Factory’s very well-thought-out step-by-step online set-up guide made for one of the best onboarding experiences I’ve had with a new piece of hardware. After the setup process is complete, the two main pieces of software to install are the “HoloPlay Service”, and the “HoloPlay Studio”, the latter allowing you to add and manage holograms from your computer into the Portrait.
Looking Glass Factory has a lot of demo holograms available on their website (including a “drop” celebrating Blender artists). They also have multiple solutions to support all kinds of hologram generation, including support for Phone Portrait mode photos, 3D model import, Unreal and Unity support with interactive inputs via a LeapMotion or Depth Sensor cameras, and more.
Looking Glass host a lot of videos on each and every one of these solutions and use-cases, but as a Blender CG artist and a Blendernation writer, I (and I assume most of you reading this) was itching to see the integration with Blender and the potential turning my artwork into holograms.
Will it Blend?
The Portrait’s integration with Blender is done via the community-developed Alice/LG addon. Written by Christian Stolze, the addon can be downloaded for free from his Github. The add-on installation is done via the preferences window.
Using the addon
Downloading and installing the addon is not different from any other regular addon: It’s added through the add-on tab in the preferences window. Once installed, it appears on the “N” shelf on the viewport. Erindale has a great tutorial walking through the setup process and how to operate the addon.
Another surprise is incoming: the addon is simple and “just works”. The Portrait was automatically detected, all that was really left for me to configure was the camera, by first selecting it and then assigning Clip Start, Clip End, and the Focal Plane. Once the camera is selected, all these values are handily visualized in the viewport, making setting them up a breeze.
In Glorious 3D
The addon provides two main functionalities: Rendering “Quilts” aka the holograms and visualizing 3D scenes on the Portrait in “realtime”. Realtime is in quotations here because due to the nature of these holograms, the add-on is rarely able to stream a fluid feed to the holographic display (and it never claimed to be able to do so), at least not on my machine (a 5-year-old CPU with a 1080 TI GPU).
This is an understandable byproduct of live-streaming to a light-field display, as the addon essentially needs to render 45+ views per frame. The addon currently only supports Eevee and the Workbench render engines for live viewing with the Portrait, a limitation that might as well be matter-of-fact thanks to the aforementioned 45 (up to 108) renders per frame.
I found the best way to use the addon was to set it to manual refresh mode, where I would periodically manually refresh it and the 3D Holographic version of my scene on the Portrait would be quickly updated, without the choppy live updates hindering my experience.

Honestly, I kept hitting that refresh button after every slight modification, because seeing my Blender scene in 3D with the actual feeling of depth is almost addicting. It seems obvious now that I write it, but being able to actually experience my 3D scene in 3D (without going through a VR headset) feels like something that should fundamentally be a part of the CG pipeline.
Generating quilts
The next step after gawking at my scene through the Portrait is to actually generate the “Quilts” or holograms, allowing the scene to be disseminated online and displayed on the quilt in standalone mode or connected mode. This is once again incredibly straightforward to do with the addon: All I have to do is click on the Render Quilt or Render Animated Quilt buttons, and I’m off to the races.

Once the Quilts are ready, it was just a matter of dragging and dropping them into the HoloPlay Studio. Within the Studio, I can change the length of a hologram, its aspect ratio, and many other settings including dragging panning, and zoom level. One important caveat is that Linux support is bare-bones to non-existent, with the HoloPlay Studio only available on Windows and Mac
Final Thoughts
For me, the Portrait’s strongest point, other than being an incredibly cool piece of tech, is its simplicity and straightforwardness. I came into the review fully expecting to deal with a plethora of technical hurdles, design choices hampered by early-adoption tech, and other general road bumps, but my personal experience with the Portrait was very smooth, and I got to appreciate all the holograms to my heart’s content.
Minus some technical limitations, the Blender addon performs admirably, making the Portrait a great companion to any hologram-loving Blenderhead. While not an essential Item, I imagine the Portrait to be particularly interesting to modelers, asset creators, and digital sculptors, giving these artists a fresh “perspective” on their creations, during and after the process. The Portrait is also a great tool to display renders and CG artwork with the rarely accessible depth dimension.
The price point will be one of the main deciding factors for potential buyers. The Looking Glass Portrait retails at 399$, and Looking Glass Factory is currently running an end-of-year sale which includes the Portrait, a Leap Motion controller, and a carrying case for 419$.
Check out the Portrait on the link below: