
Behind the Scenes: Great White
Introduction
My name is Martin Edlund and I am a Graphic Designer and 3D Artist based in Stockholm, Sweden. Blender has been my 3D software of choice for personal projects since 2010, but since the arrival of Eevee, I find myself including it more and more in my daily professional work.
Inspiration
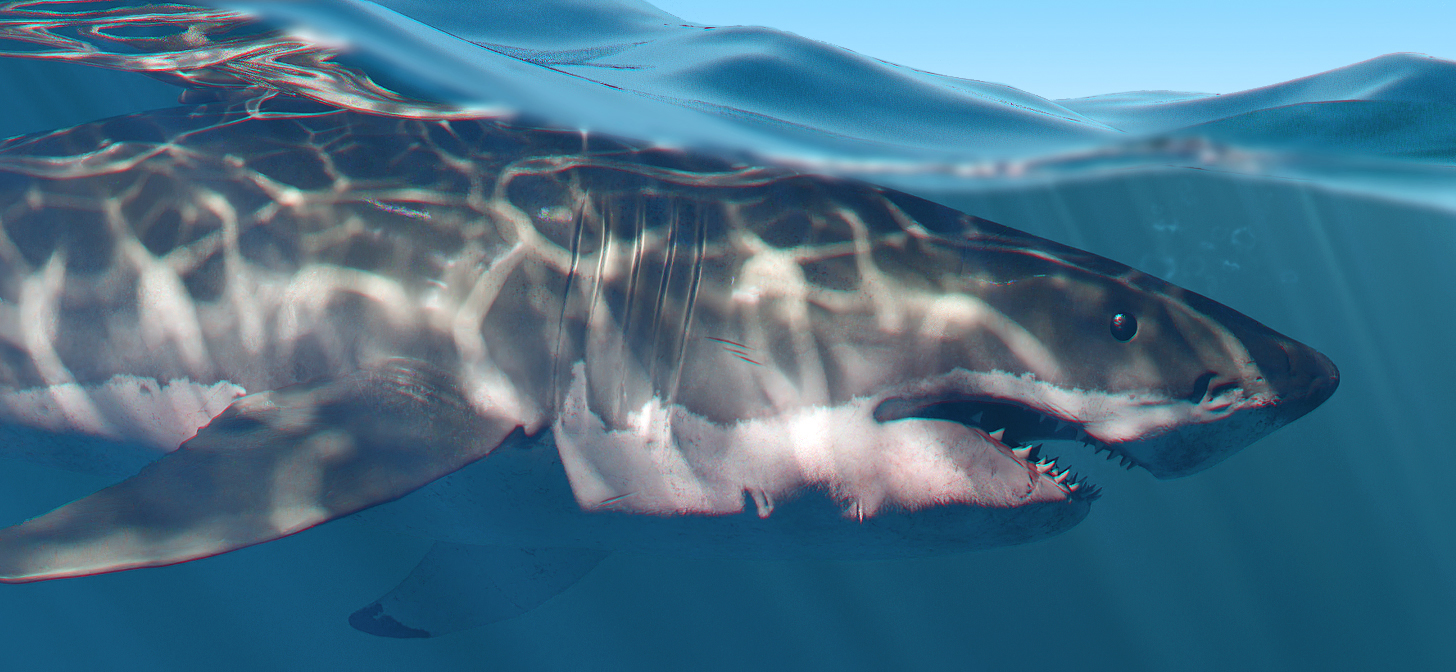
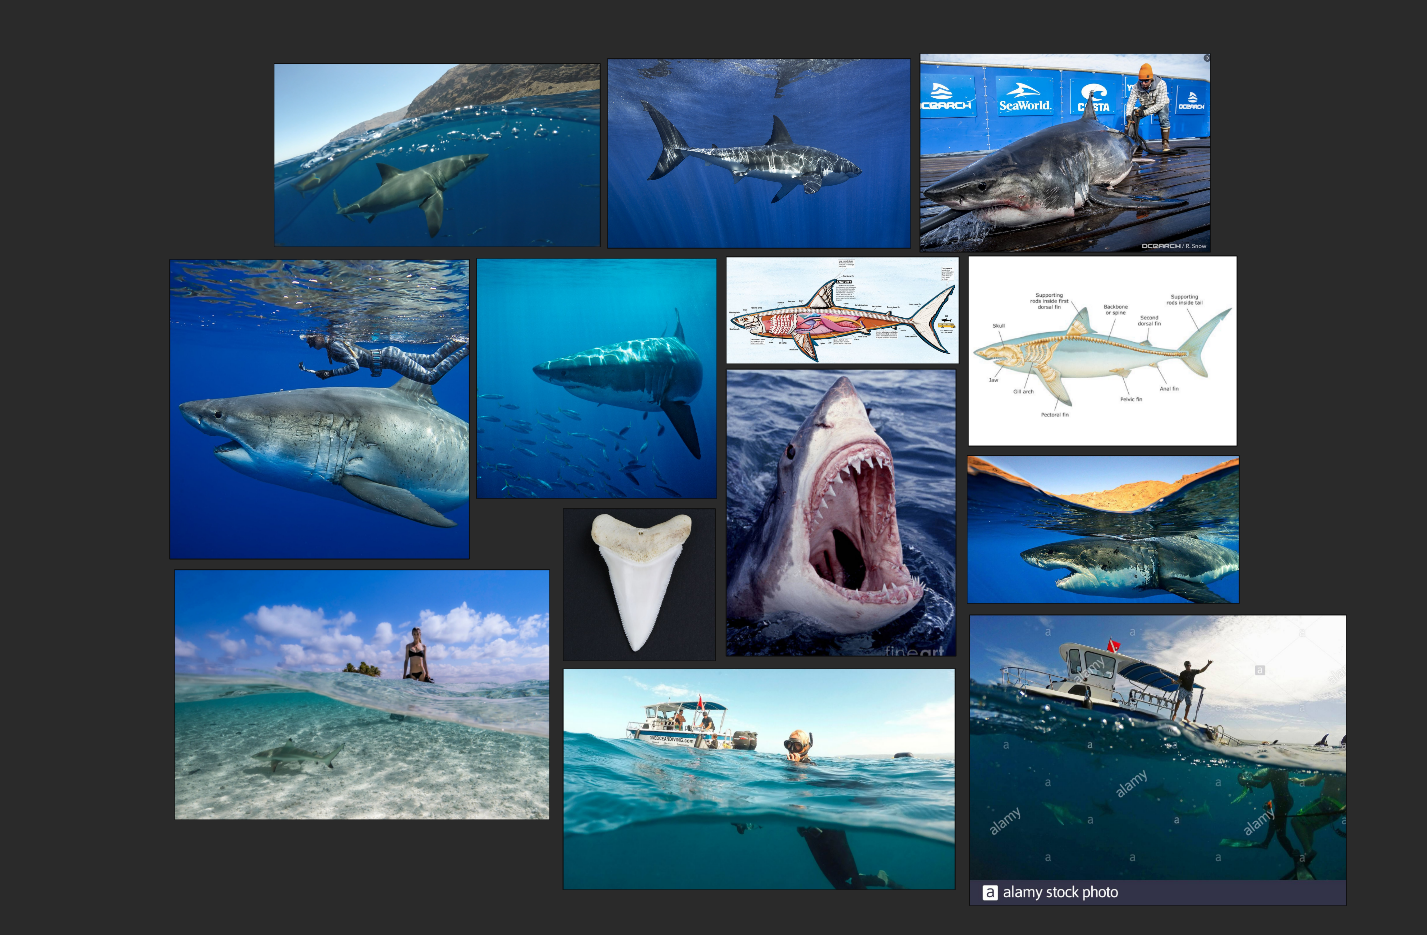
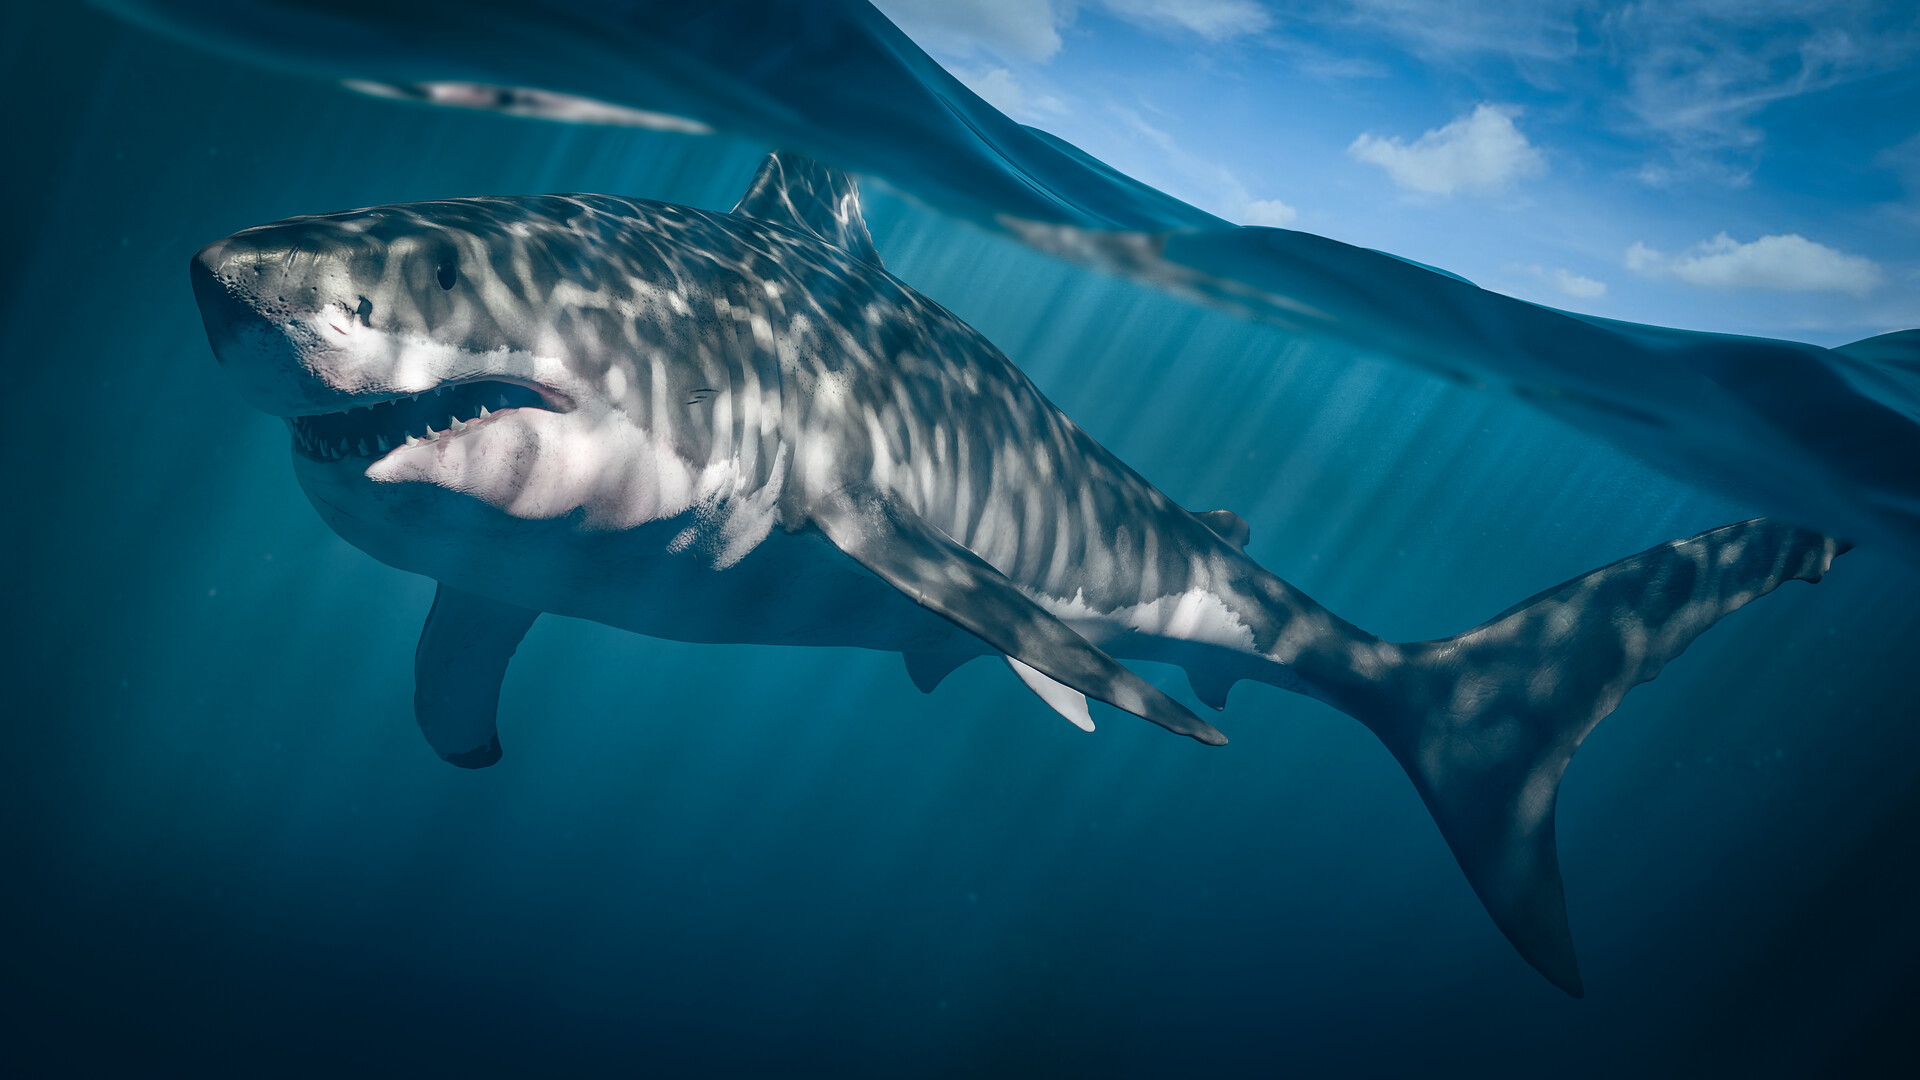
This project began as a sculpting exercise. Sharks have always terrified, but also fascinated, me, so I thought it might be an interesting challenge. I started out by gathering as many references as I could, both of the shark’s anatomy and underwater imagery. The idea I settled on for the final render was a water/surface split shot.
Sculpting the shark
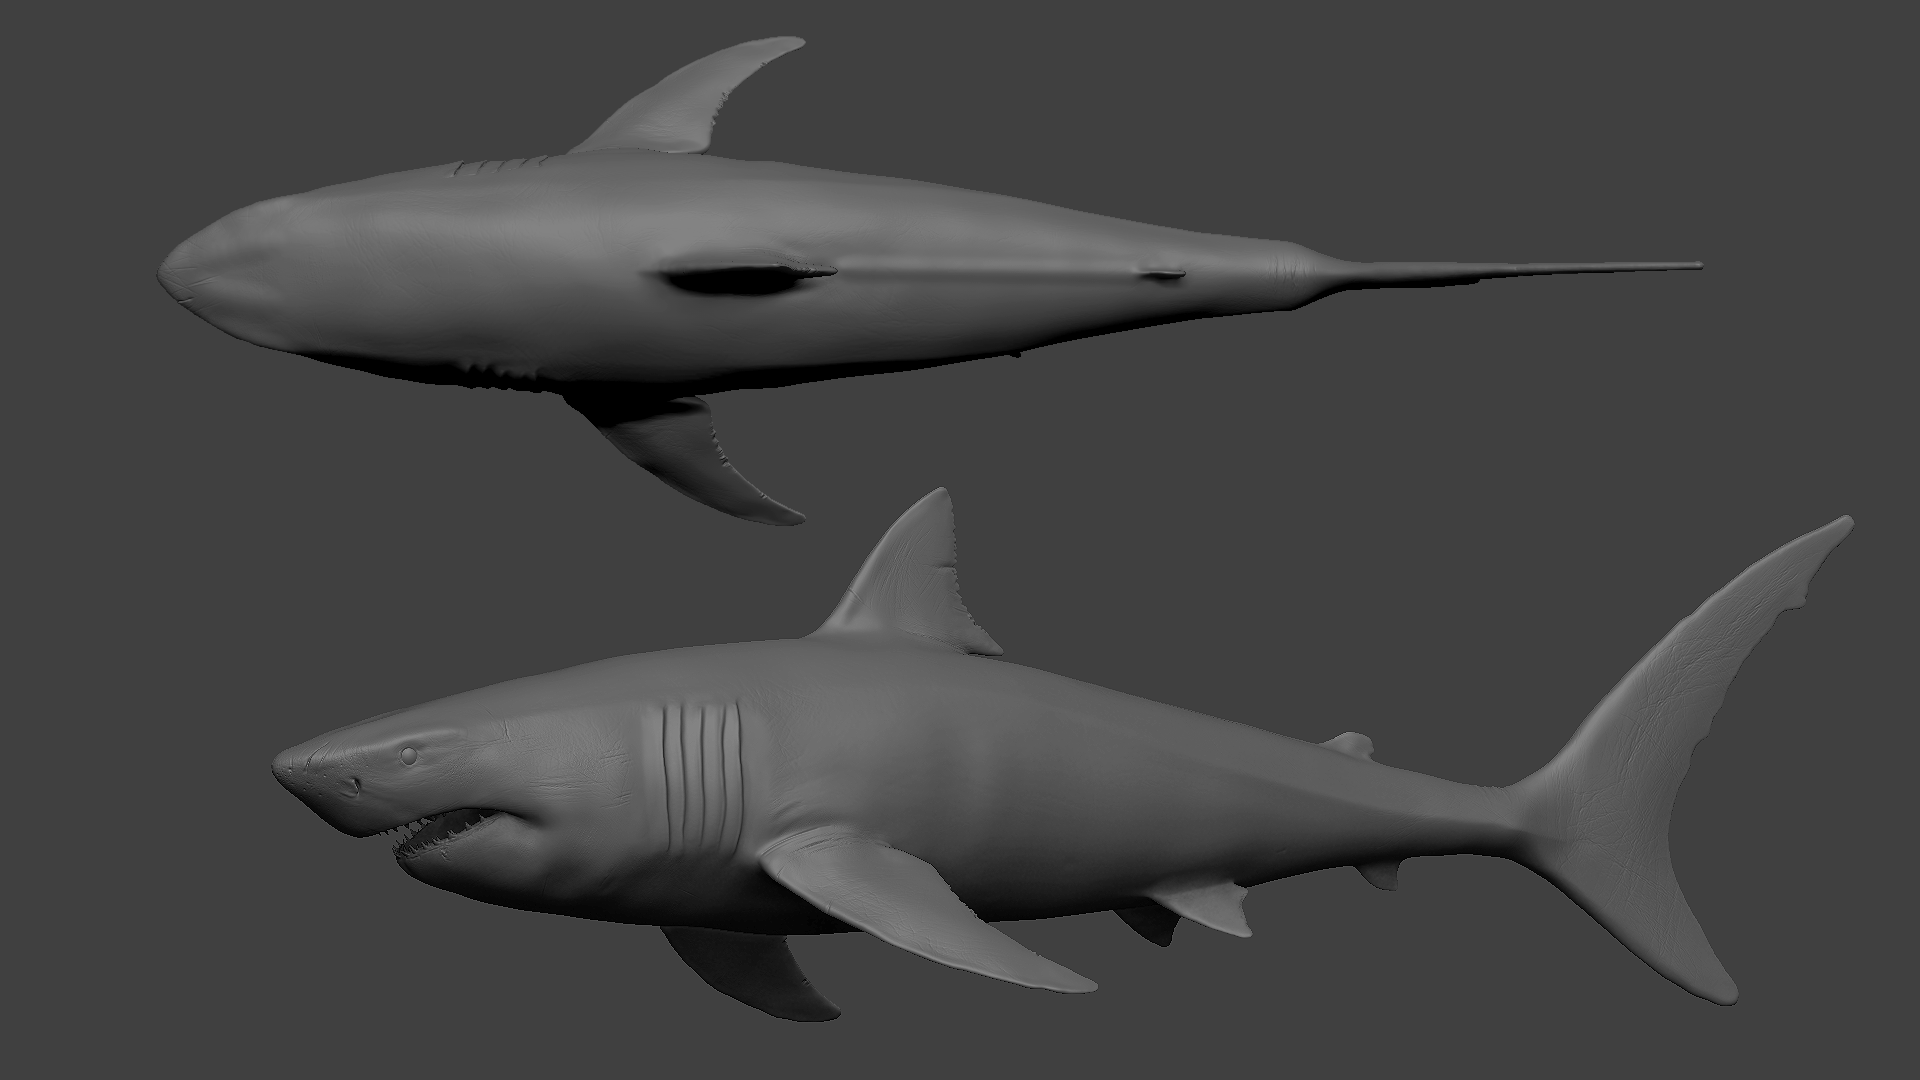
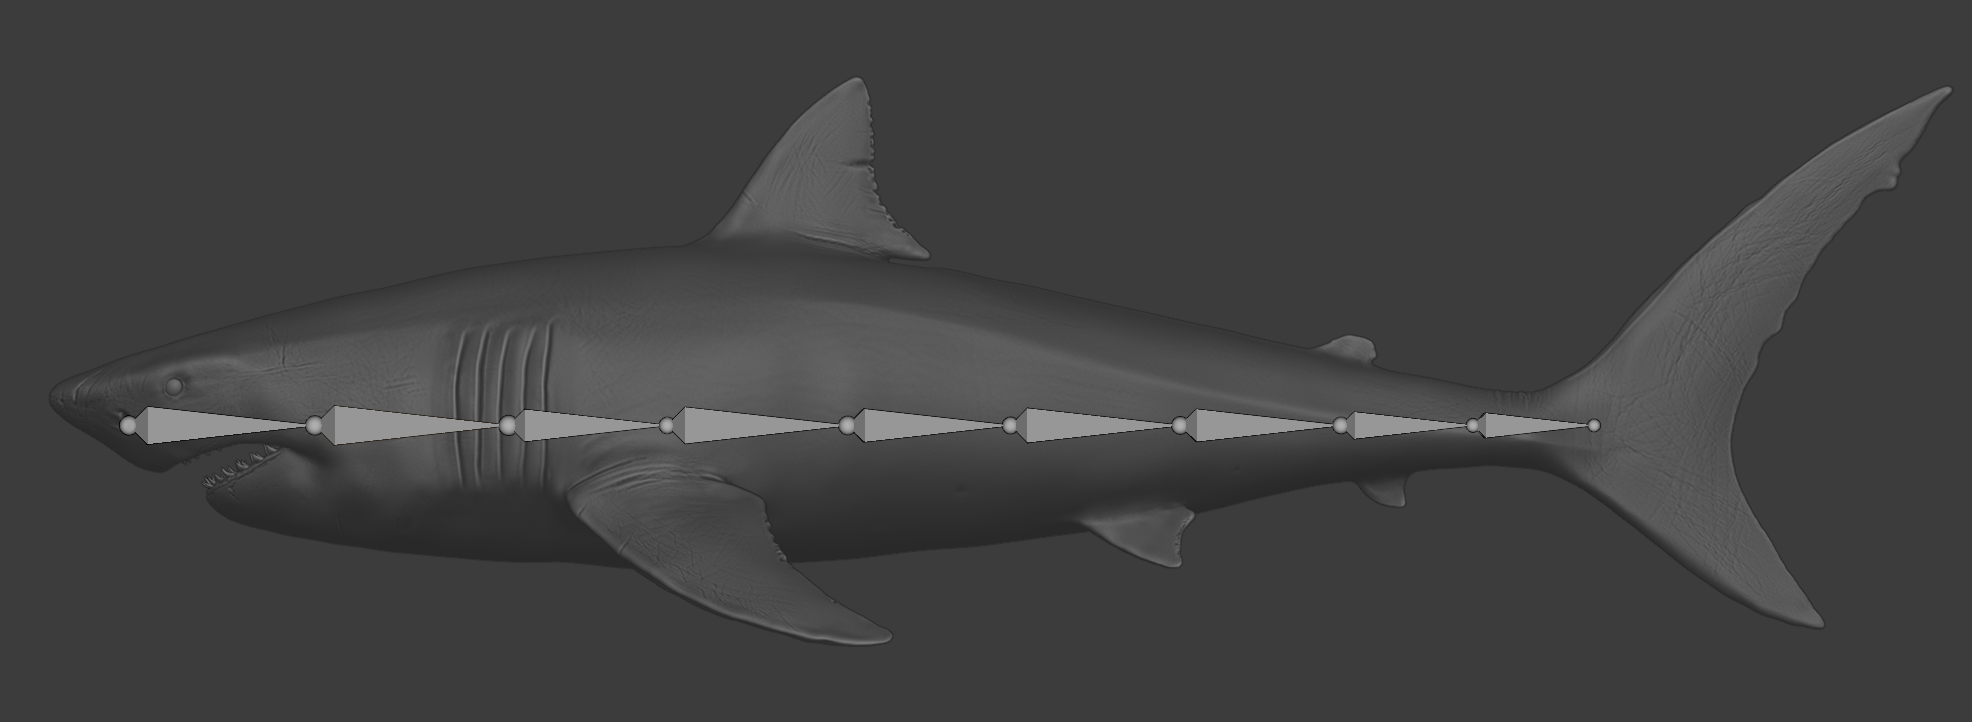
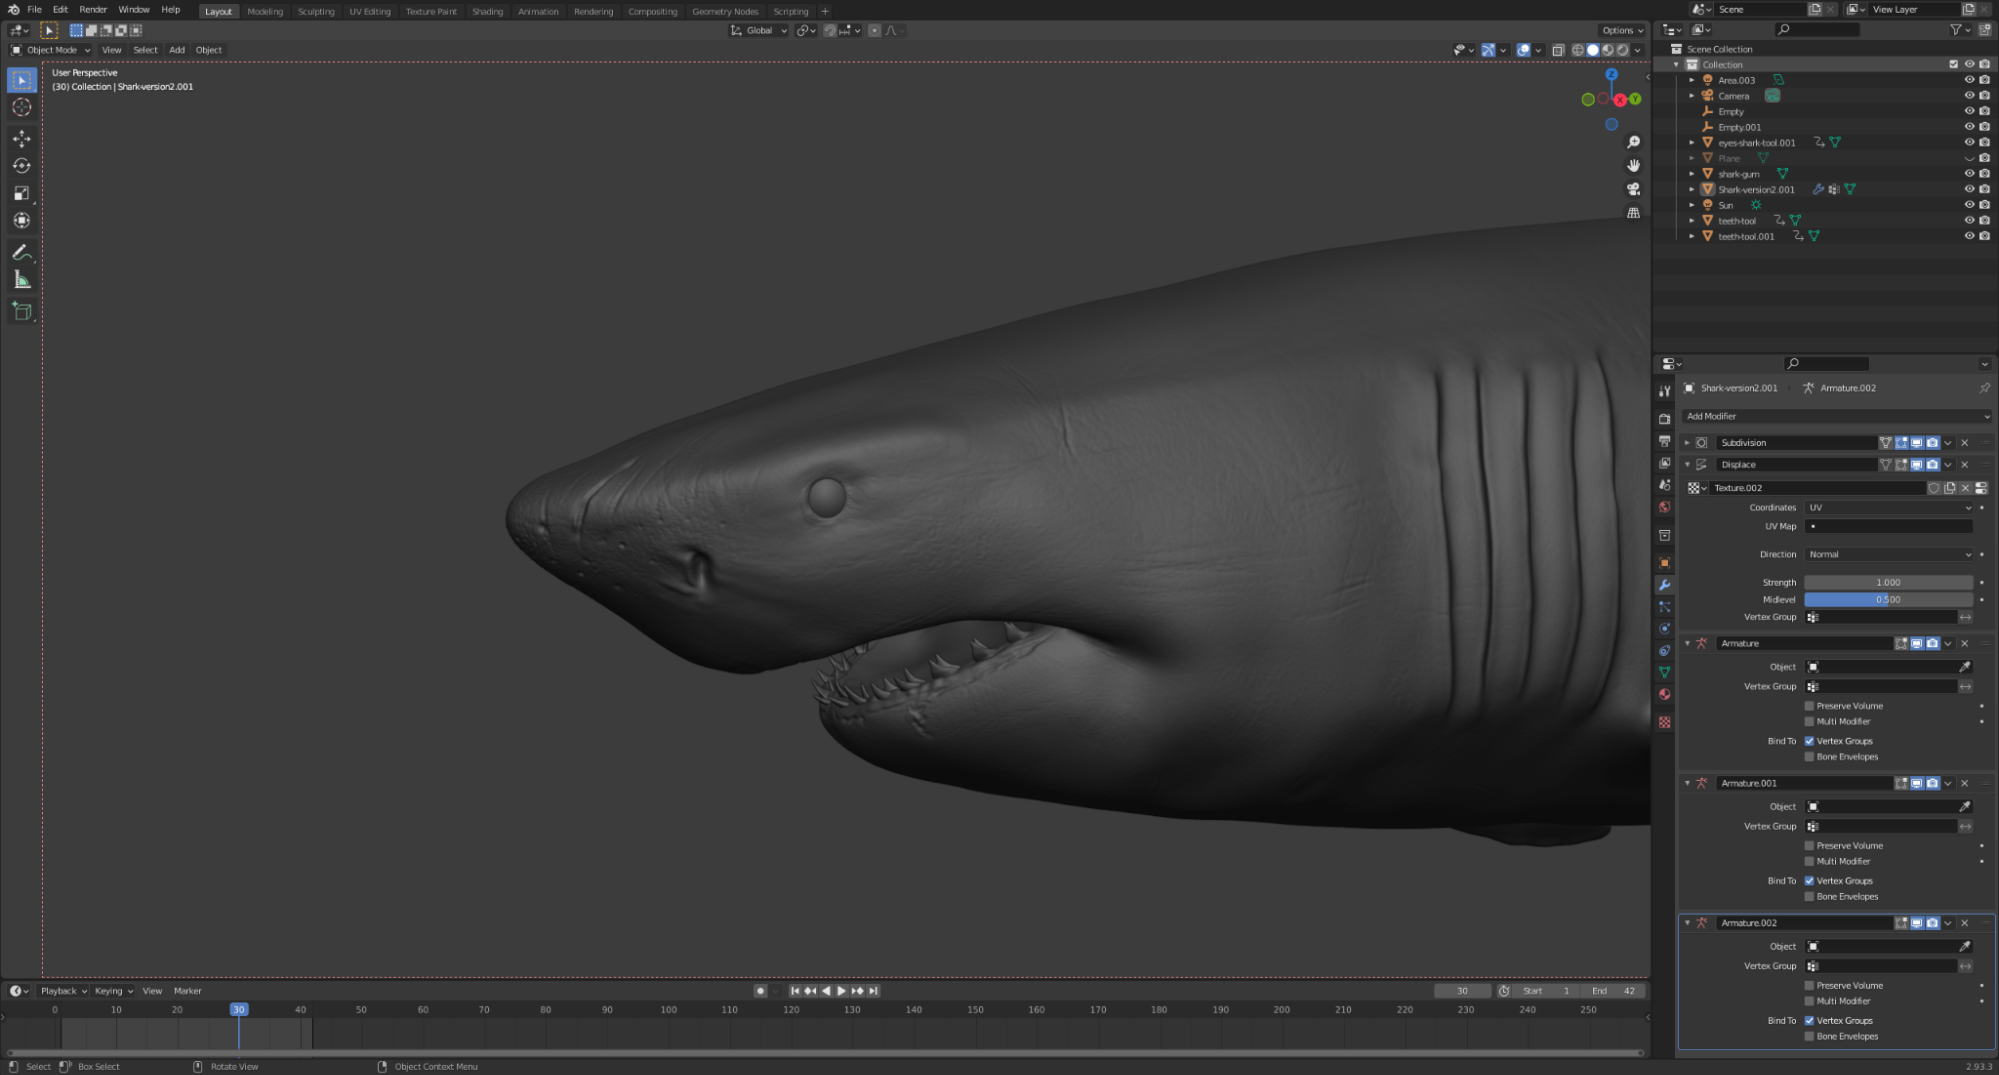
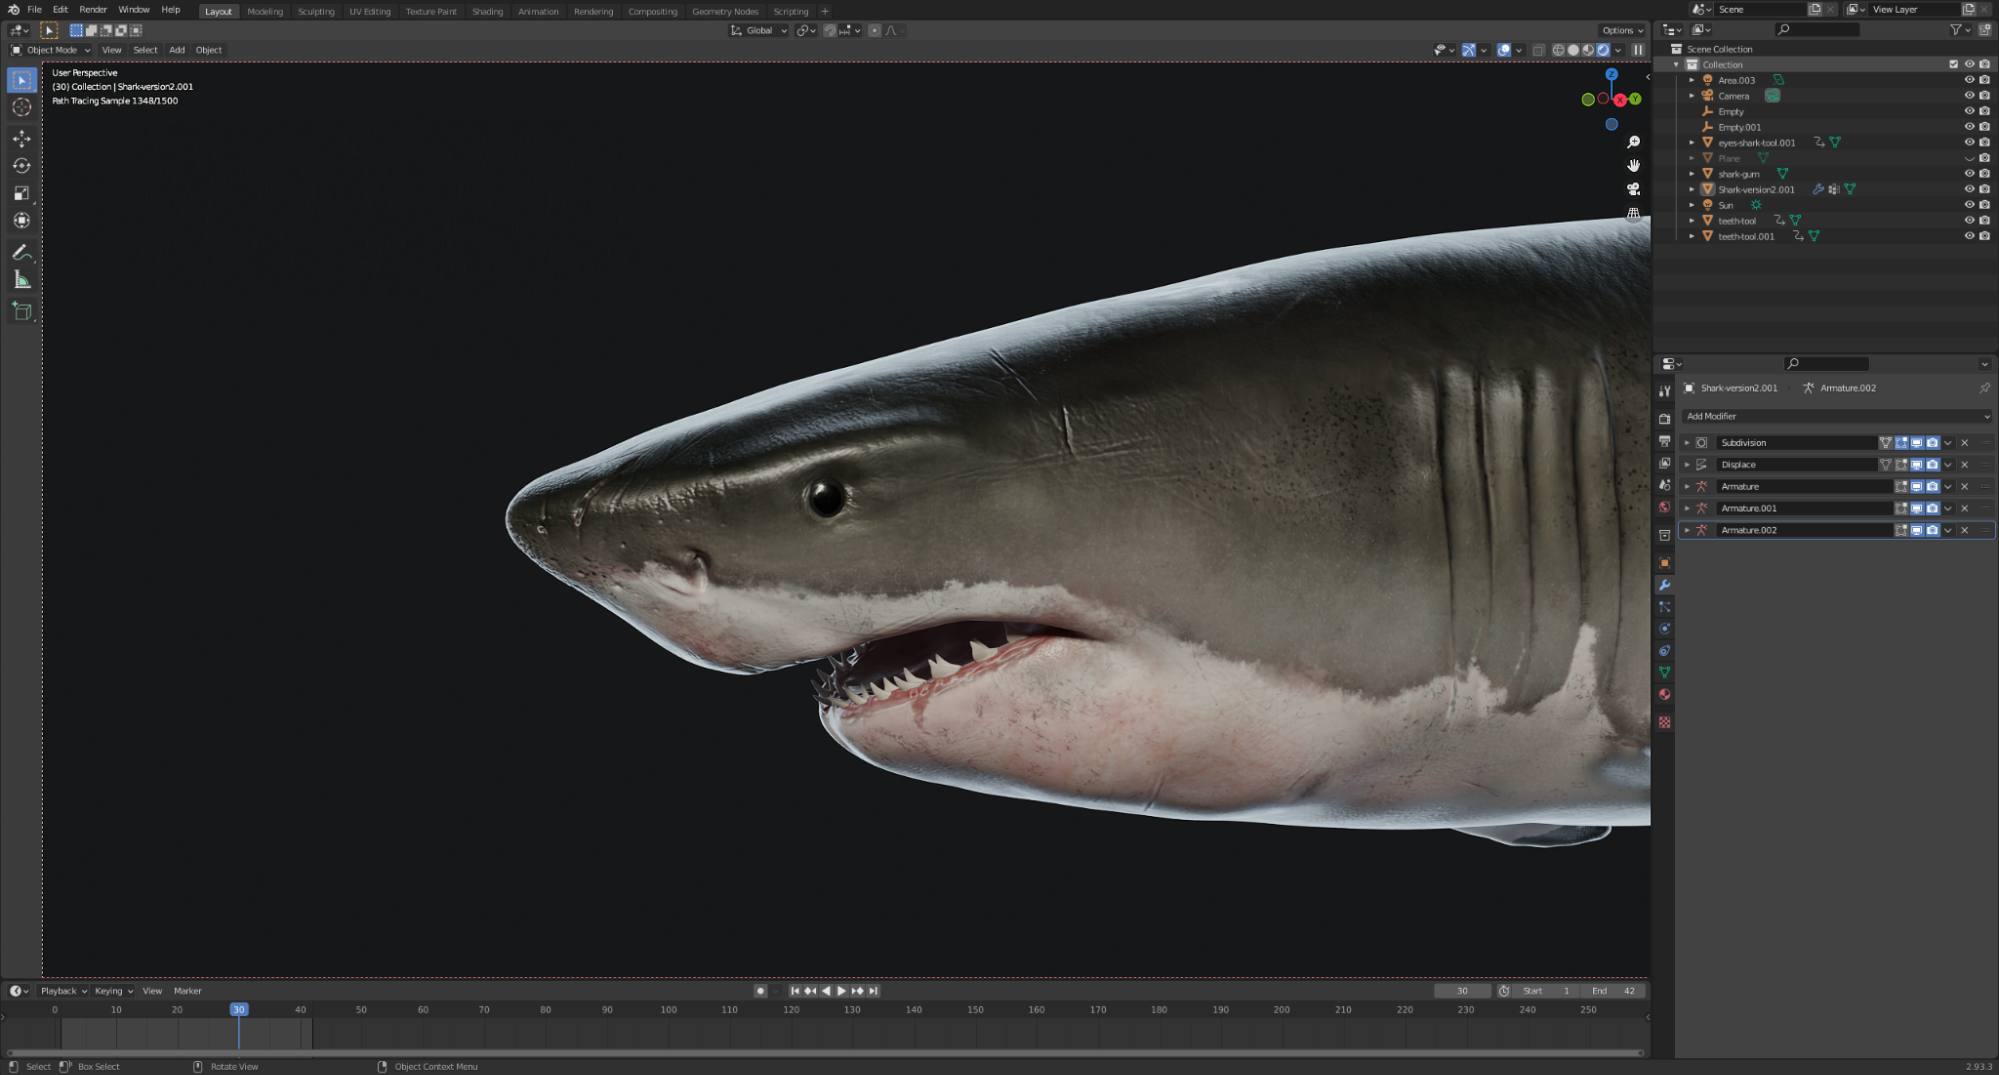
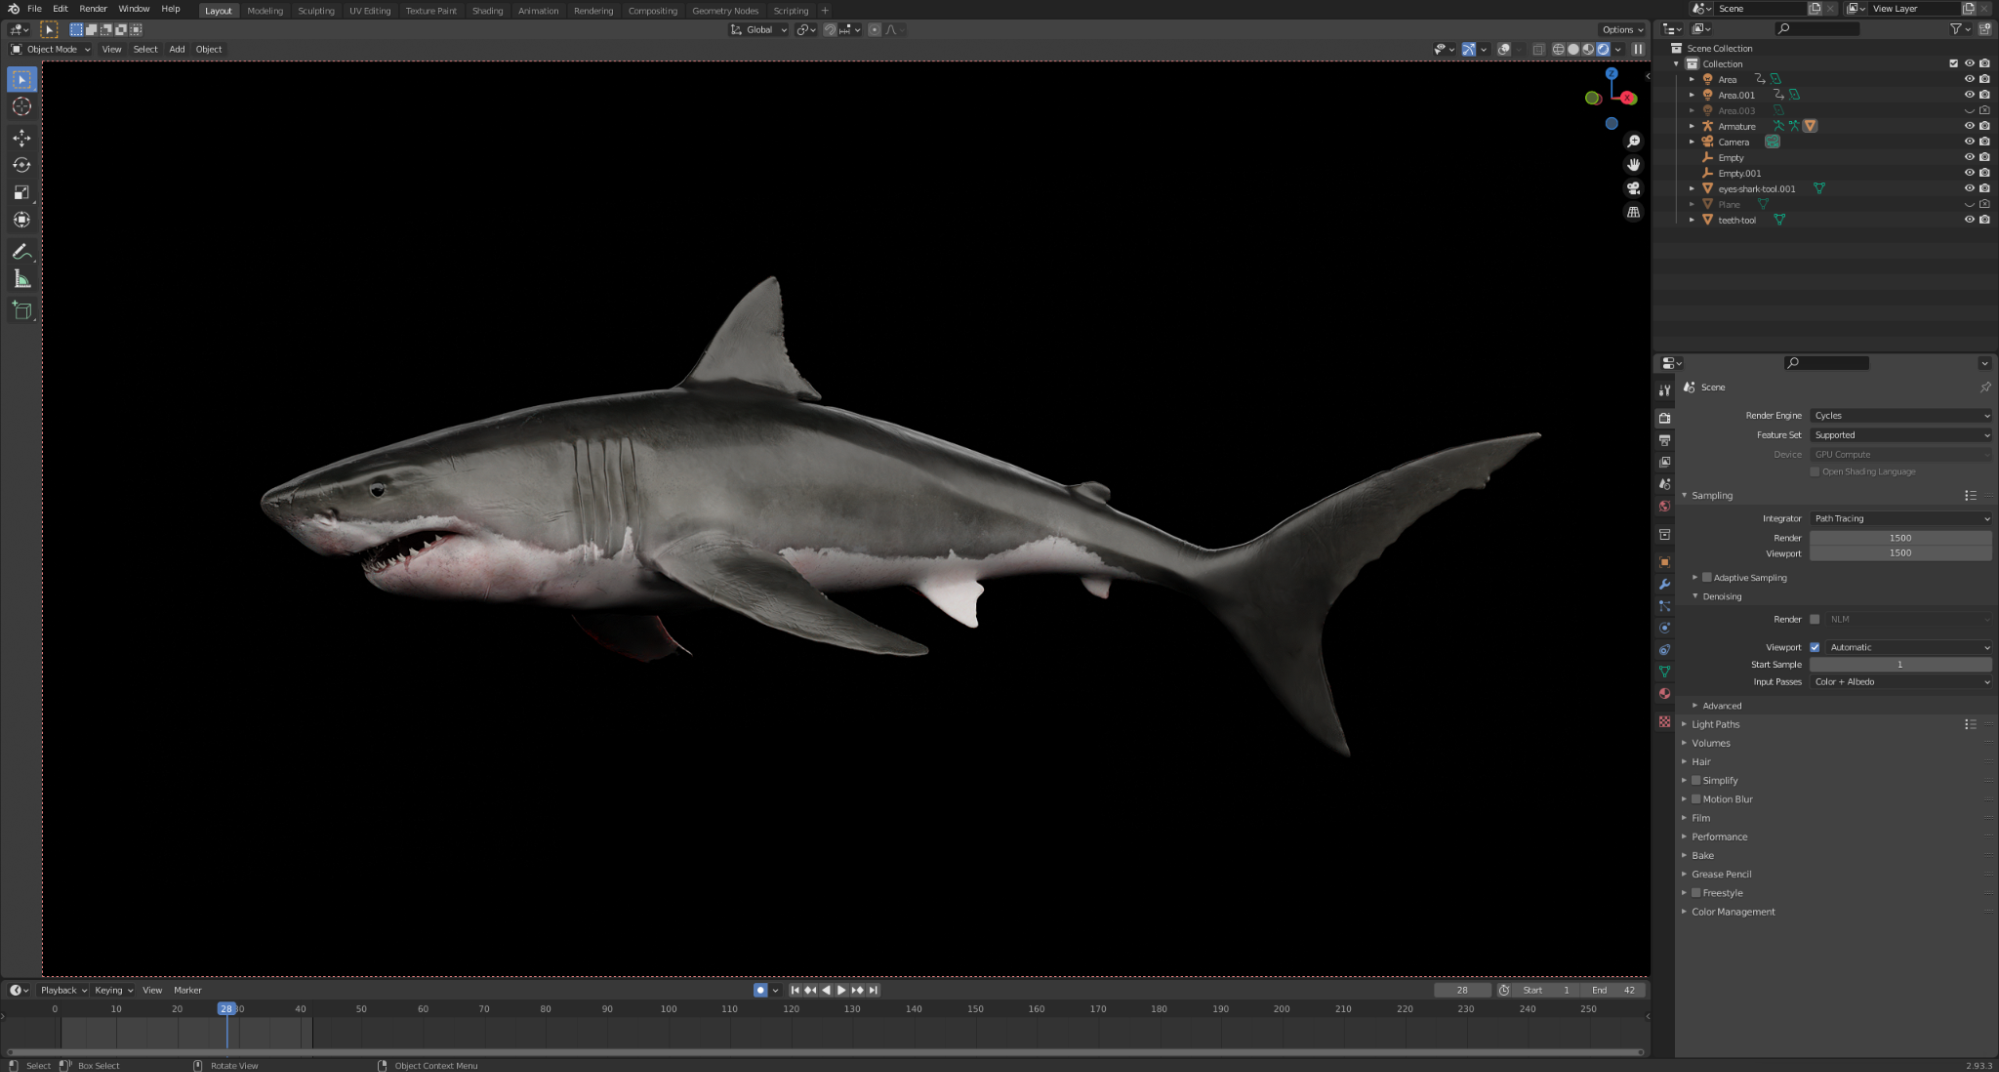
The sculpting was fairly straightforward. The biggest challenge was to get the overall shape to look right from all angles. When I felt happy with the basic silhouette, I started to add details like teeth, eyes, scars, and some alphas to the skin. After retopologizing, I felt like something was off with the gills and I remade them post-retopo. This partial remodeling was not really an issue since this model was never intended for detailed animation.
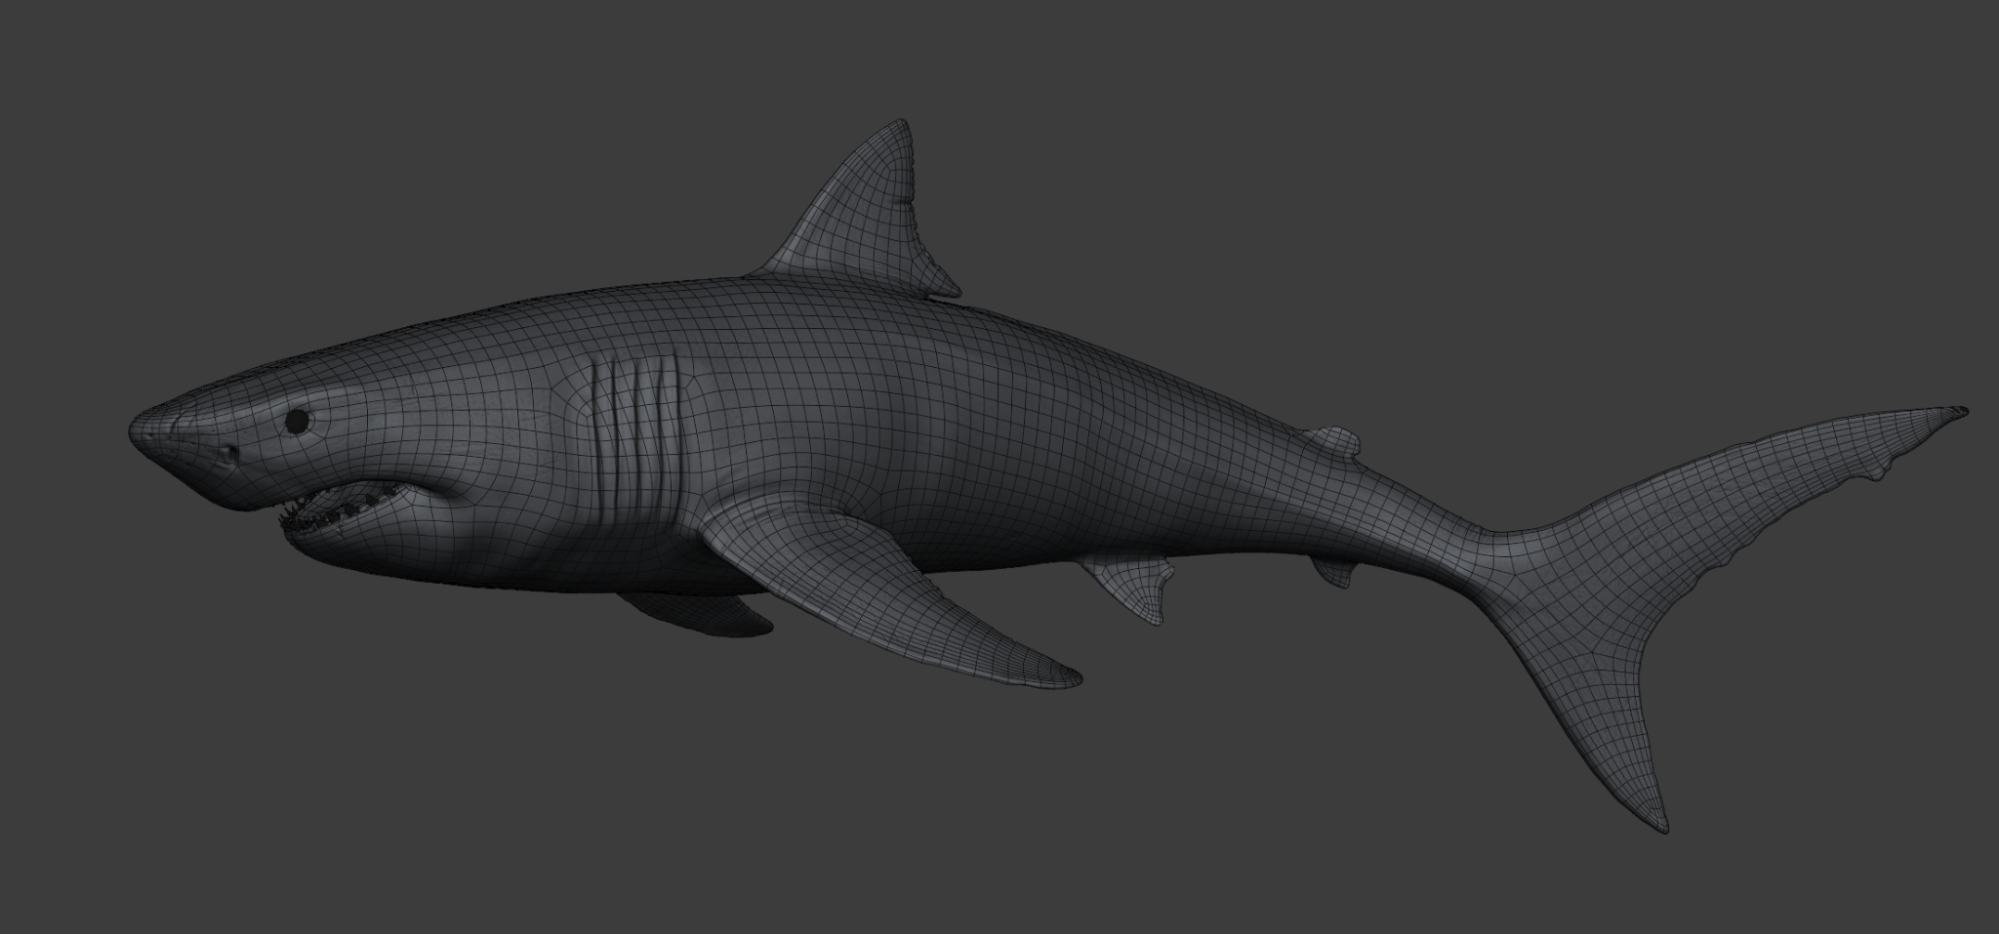
I put in a simple rig with bendy bones for posing purposes. This basic rig can be used with a bezier curve and the Spline IK Constraint to make a swim animation.
Texturing
I used Adobe Substance Painter to bake the maps. I painted most of the maps flat in Photoshop. I had to do some research on the properties of shark skin to get the look right.
I used the method in the following screenshot to achieve the colored specular that shark skin has.
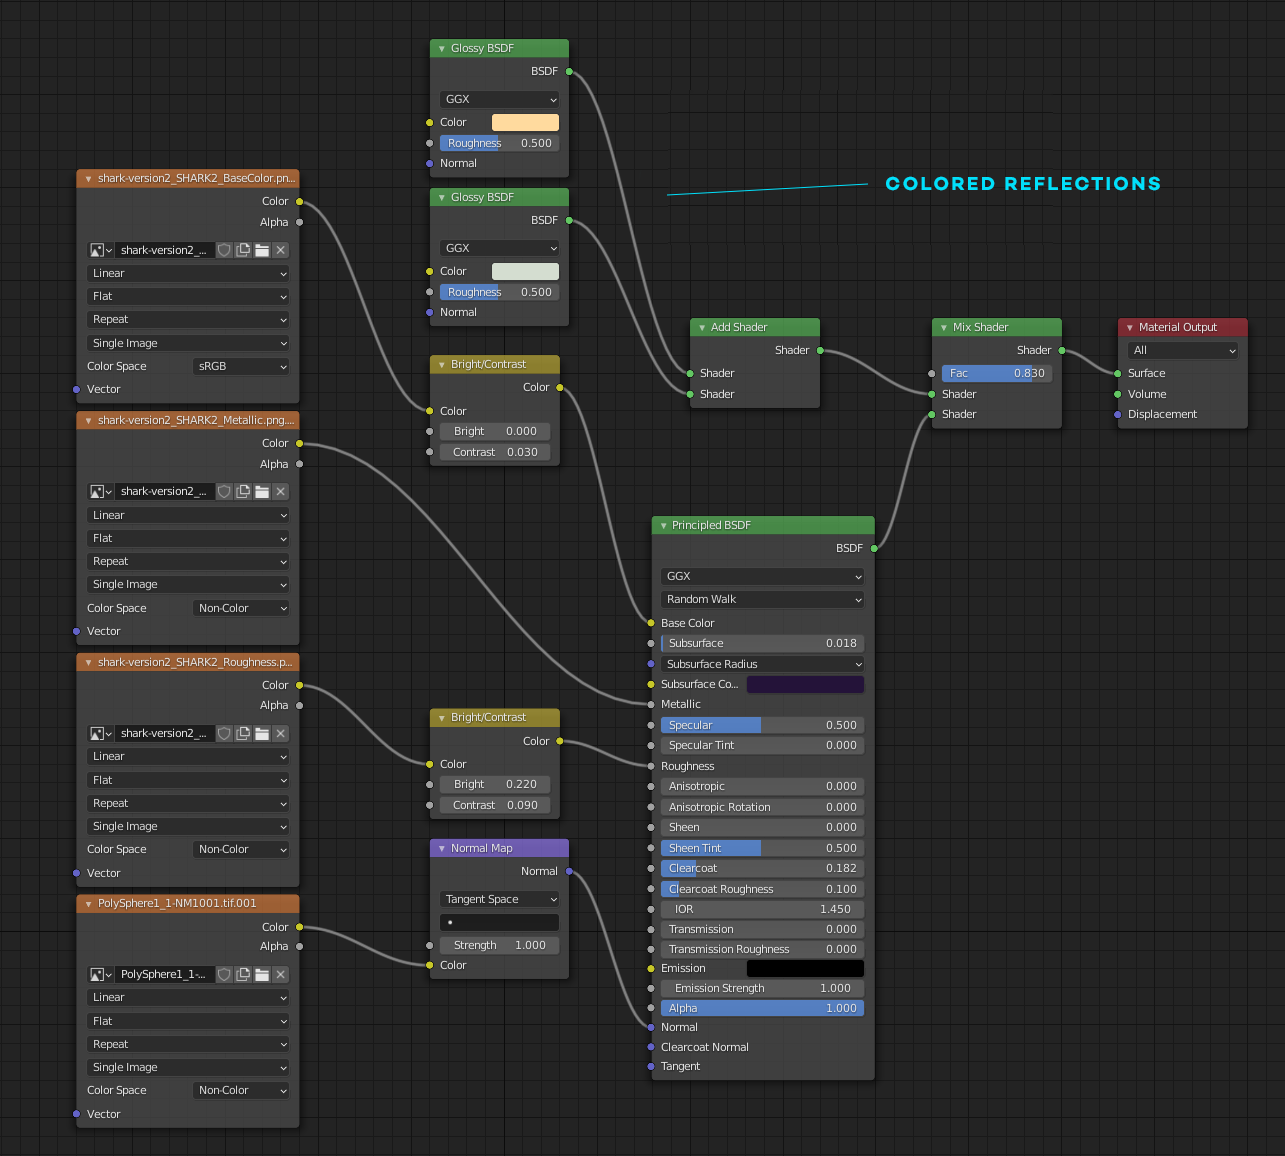
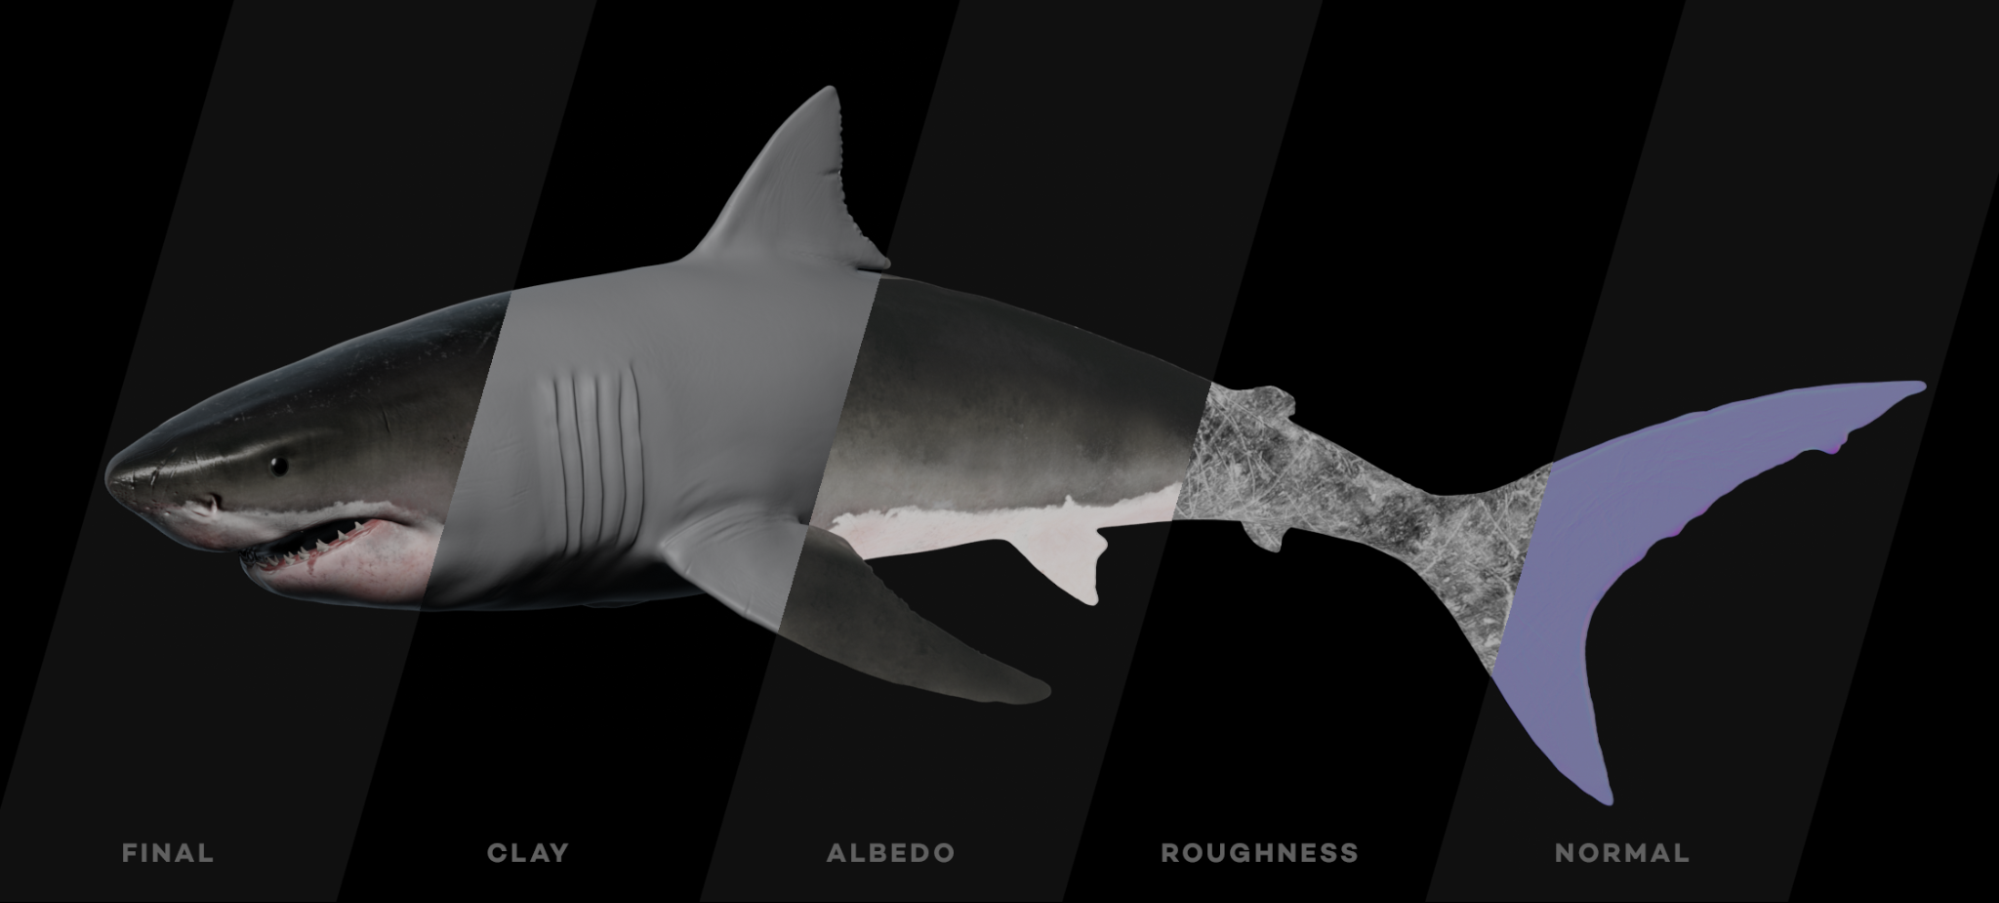
Since the look of the skin changes underwater, I had to adjust the roughness in the underwater shot to be less glossy. The final skin details use both a normal and a displacement map.
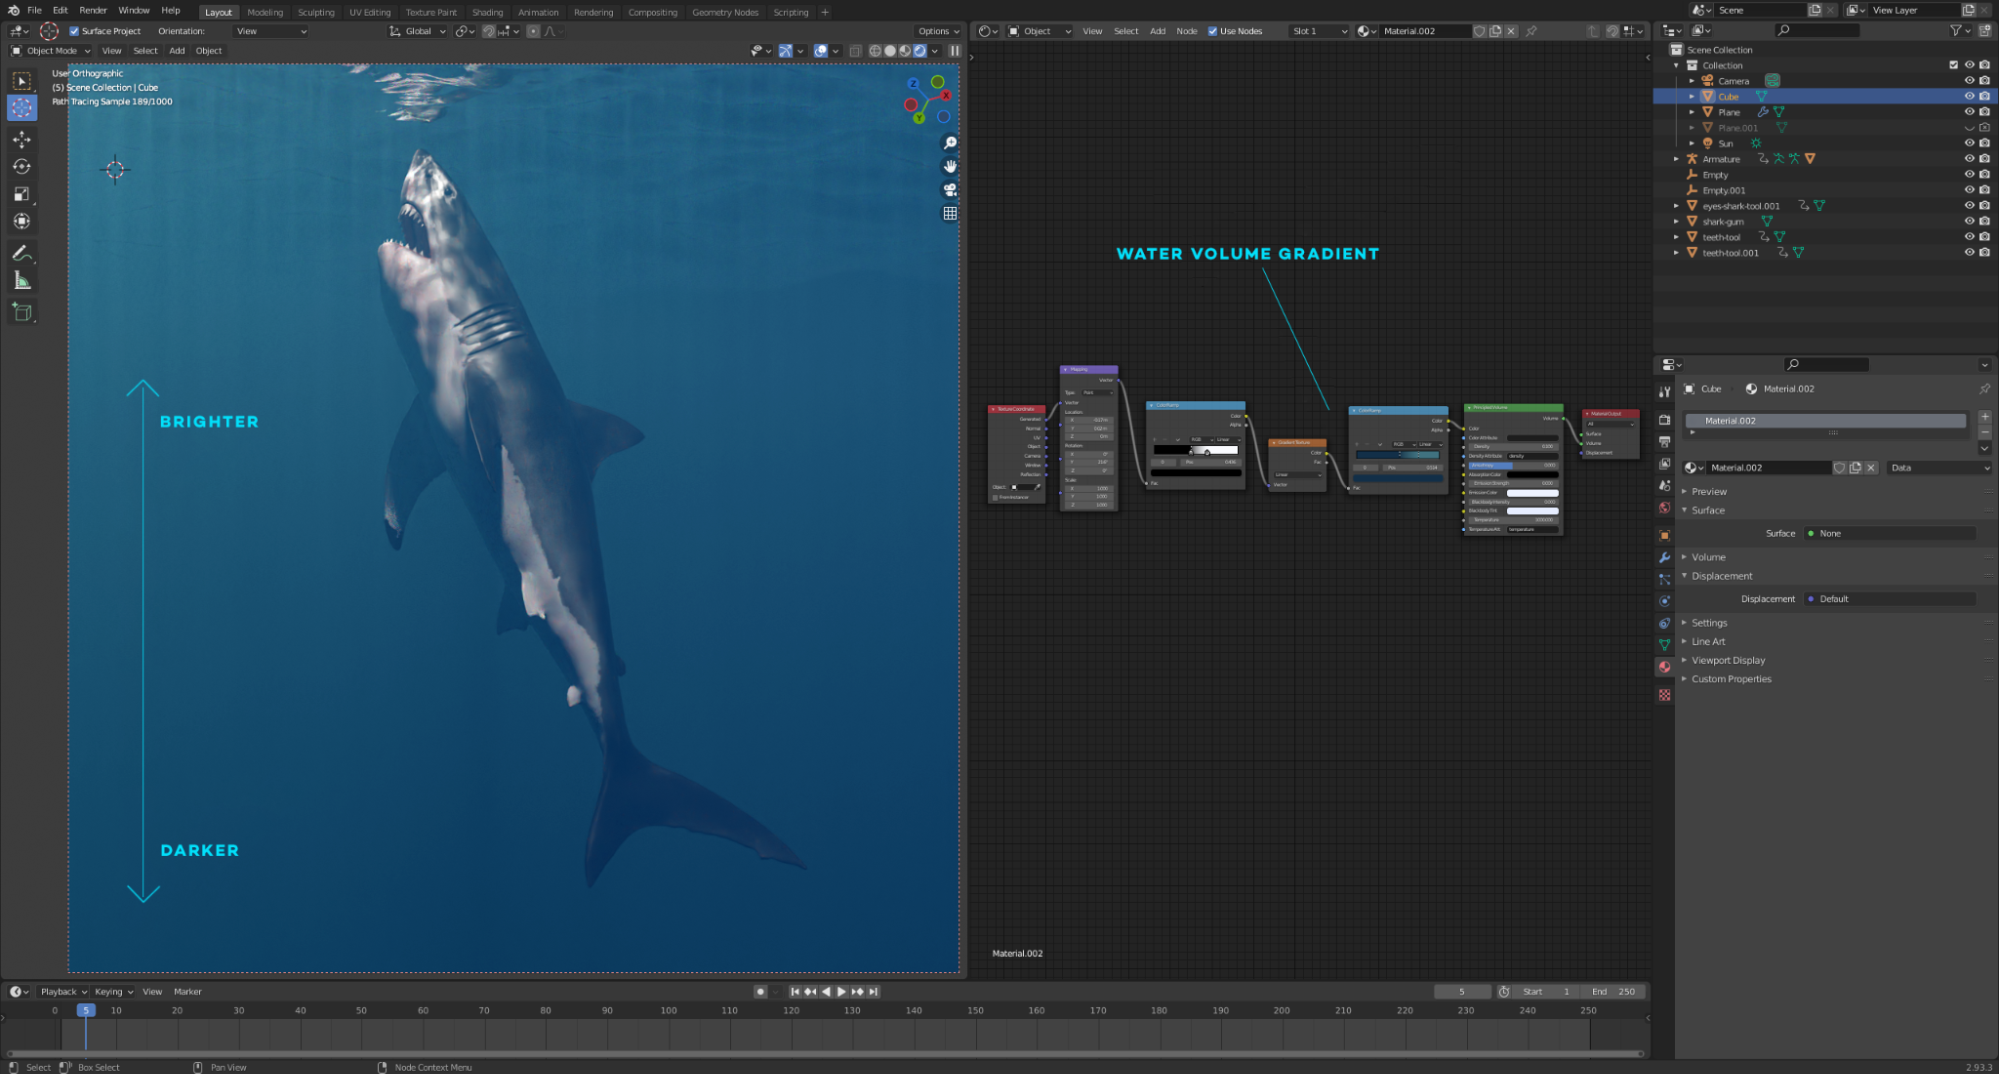
For the water surface, I initially tried to create the refraction pattern using a Voronoi texture. This generated a decent result, but I ended up using a black and white image texture instead since the Vonoroi tended to look a little too uniform.

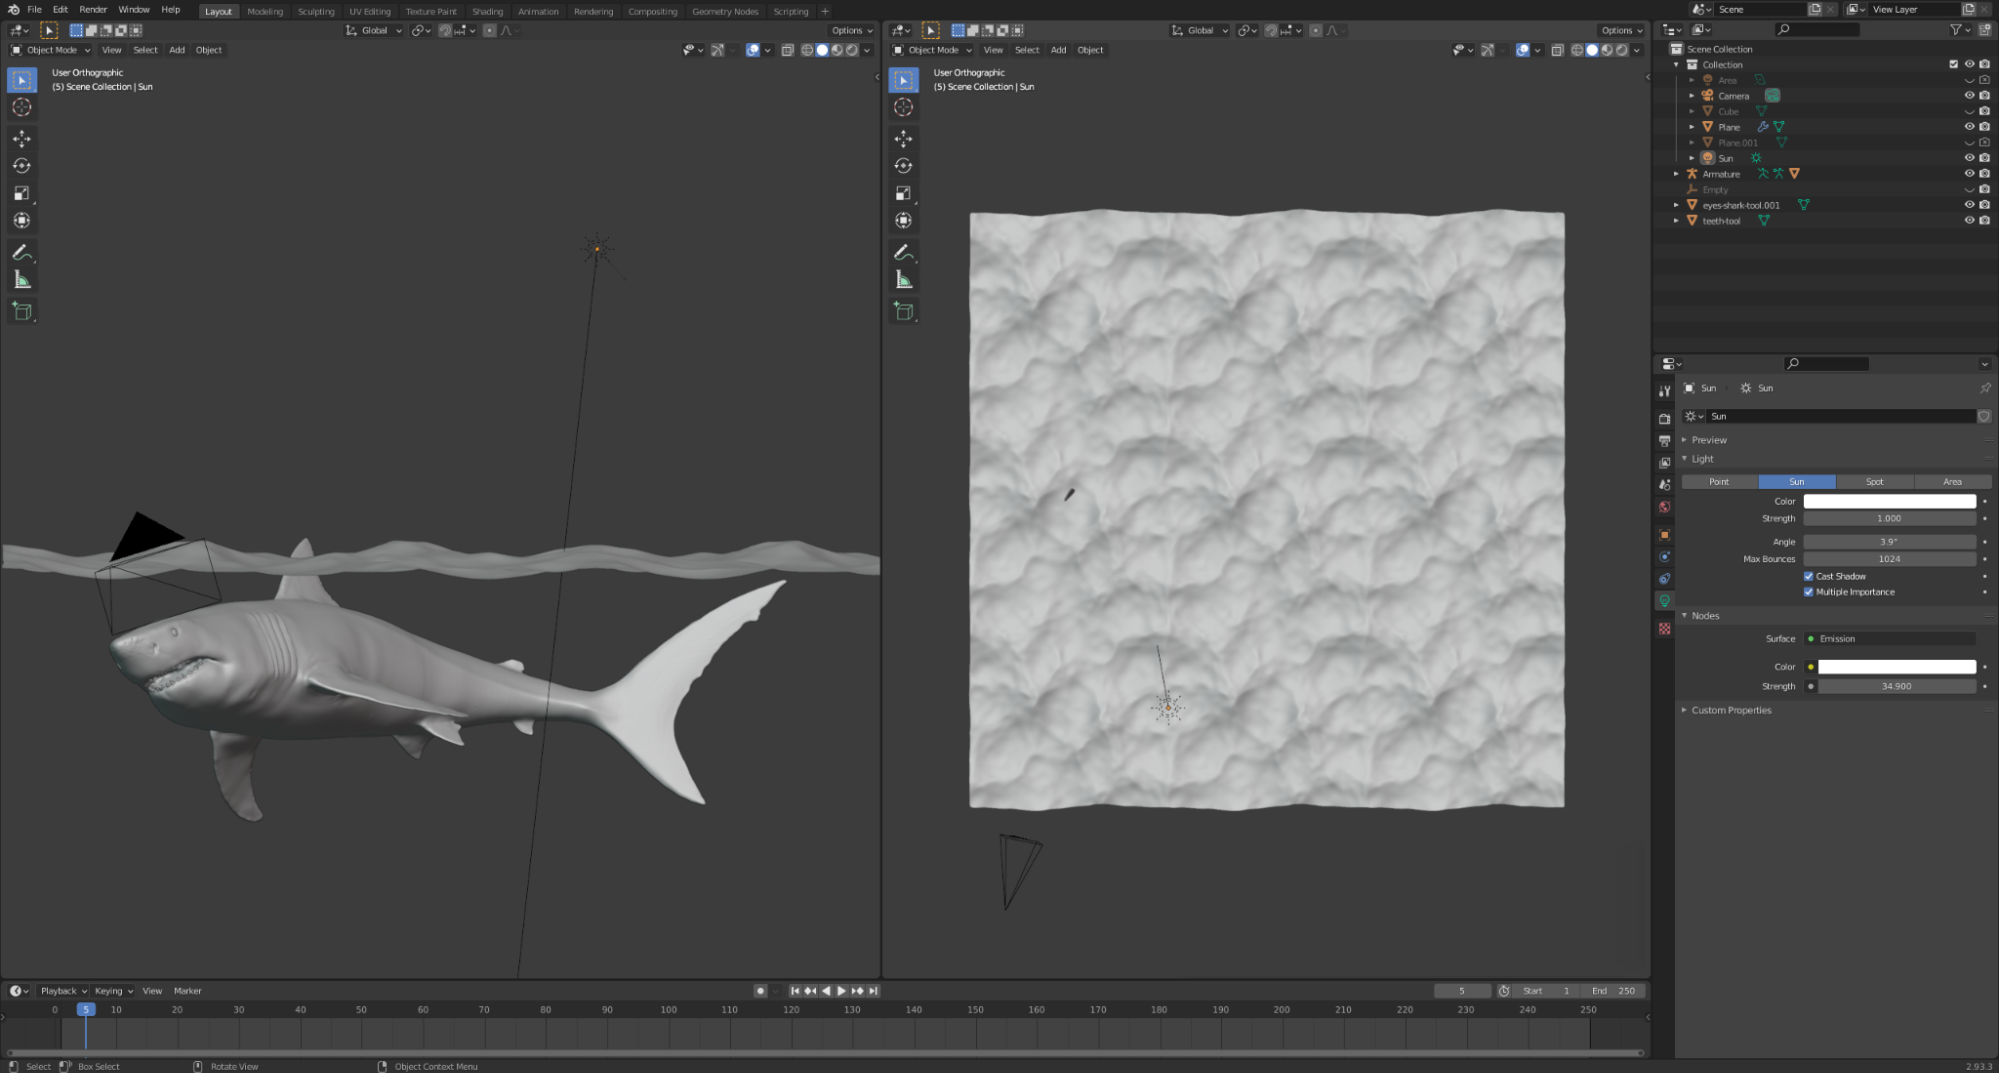
Lighting
The lighting setup in the final scene is a single sun lamp. I had to play around with the angle degrees to find a good balance between shadows and the sharpness of the caustics. I added a cube with volume scatter to get a sense of depth. This approach also gives the water some nice light shafts (or god rays) in the final shot.
Composition & Post-processing
I ended up tilting the camera to get a more dramatic look for the final render. This adjustment also served to add some balance to the water surface split effect. For post-processing, I adjusted levels and added in a sky backdrop. Finally, I applied a vignette to frame the shark a bit; the vignette also makes the water look even deeper and more perilous.
I hope you found this breakdown interesting. Don’t hesitate to shoot me a message if you have any questions!
About the author
 Martin Edlund, Graphic Designer & 3D Artist


This is brilliant–thanks for sharing!