Behind the Scenes: Aphrodite Hades Fanart
Hola! I’m Mar!
I’m a Games Artist currently working at Zynga in Helsinki. I’m originally from Argentina, where I studied graphic design and started my career in advertising, but in 2010 I got the opportunity to jump into the games industry working as a 2D artist.
A couple of years later I was feeling limited with my skills, so I decided to experiment with 3D. After trying a few different 3D packages, I ended up trying Blender. I was surprised at how quickly I got the results I was looking for when compared to the other softwares I had tried, and I’m still amazed at how Blender continues to grow and evolve.
[sponsor id=’qarnot’]
My goal
I really wanted to explore the sculpt mode improvements in Blender so my goal was to do a quick bust to test the sculpting brushes and then play around with the vertex paint tool inside the sculpt mode in the alpha version of Blender 2.93, and see how it felt compared to polypainting in ZBrush.
Inspiration
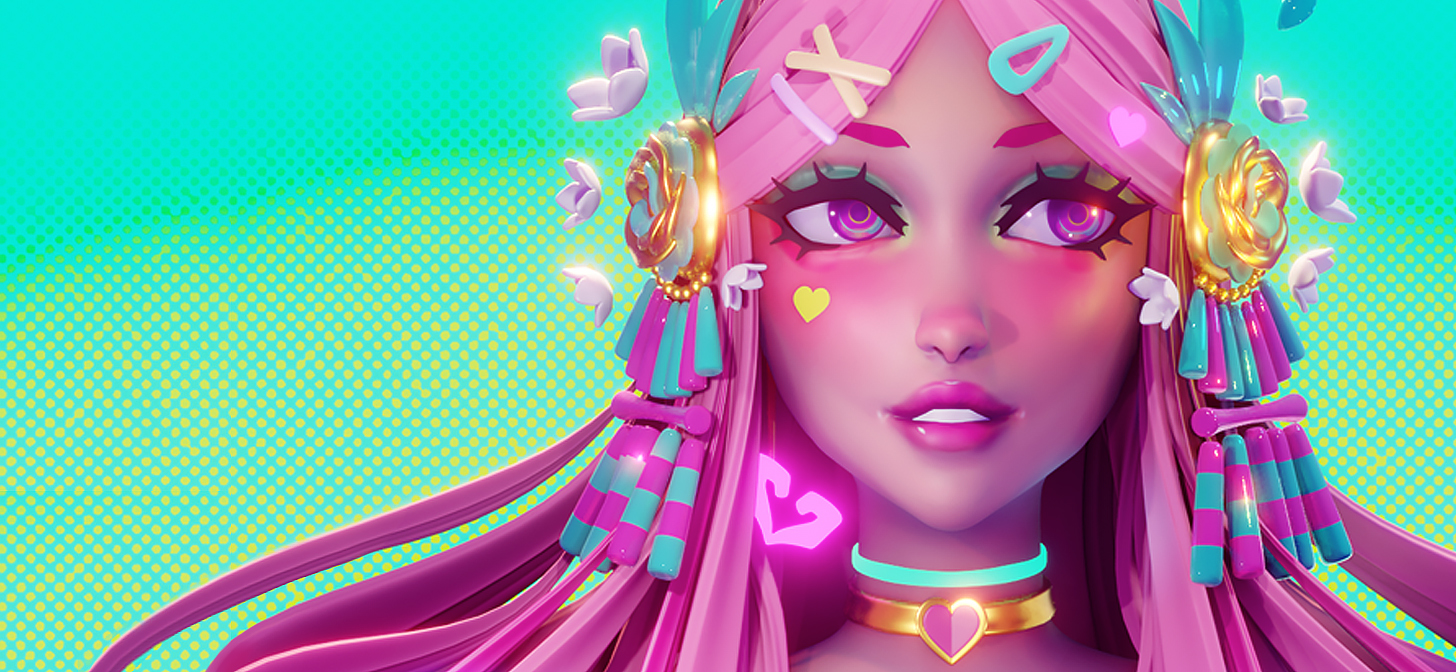
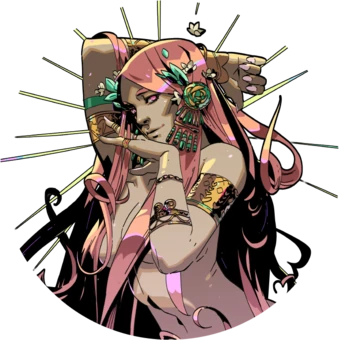
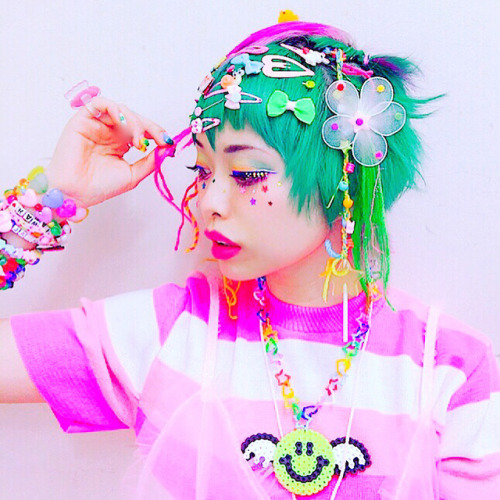
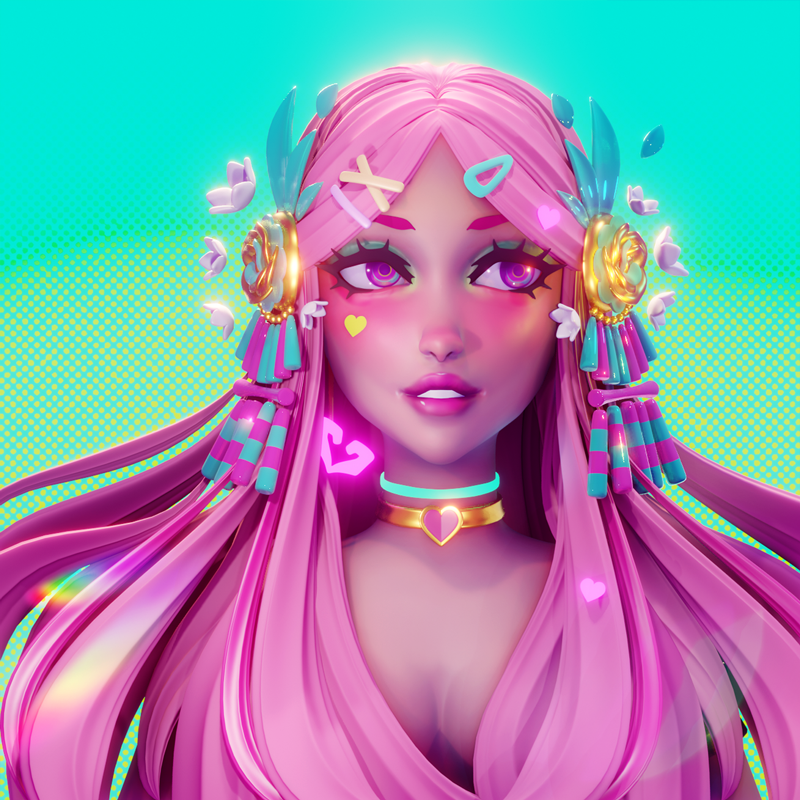
I love playing games, and one of the last ones I’ve played was Hades, a game full of Greek gods with pretty cool character design. So I decided to do some fanart of one of those characters, giving it my own spin. Of all of them, I chose Aphrodite, probably because I’m jealous of that long pink hair. I thought it would be fun to add some Japanese Decora style hints and a bit of neon to it.
Blocking up the base mesh
I started by building a base mesh out of simple objects joined together, then went into Sculpt mode and used the Grab brush to shape the modeled mesh.

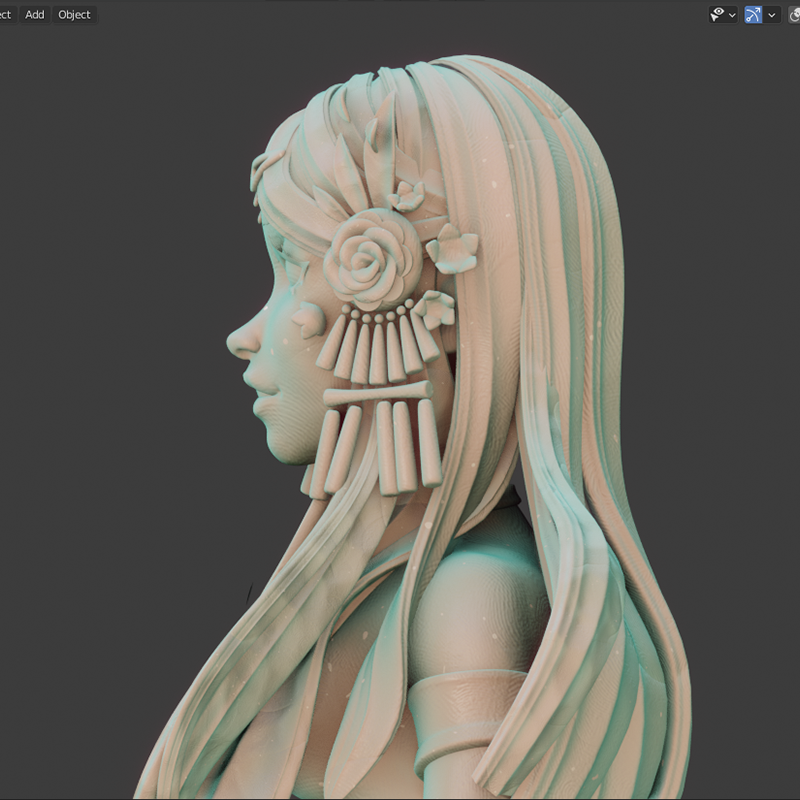
Sculpting
Once the base mesh was in place, I applied the Remesh tool with a voxel size of around 0.01 to merge all the objects together into a unified mesh. Then, with the grab, smooth, and clay strips brushes, I roughed out the anatomy, focusing on getting the face planes right.
I watched a lot of Danny Mac’s tutorials for this. Although he uses ZBrush more than Blender for the sculpting part of his projects, he teaches how to construct believable anatomy alongside how to use the tools, and these teachings are extremely valuable regardless of the software you use. Check his tutorials out here!
For the eyebrows, I just added a plane with a shrinkwrap modifier targeted to the sculpted mesh, modeled it, and then I applied the solidify modifier to add a bit of thickness. I did something similar for the eyelashes. Then it was time to paint the face.

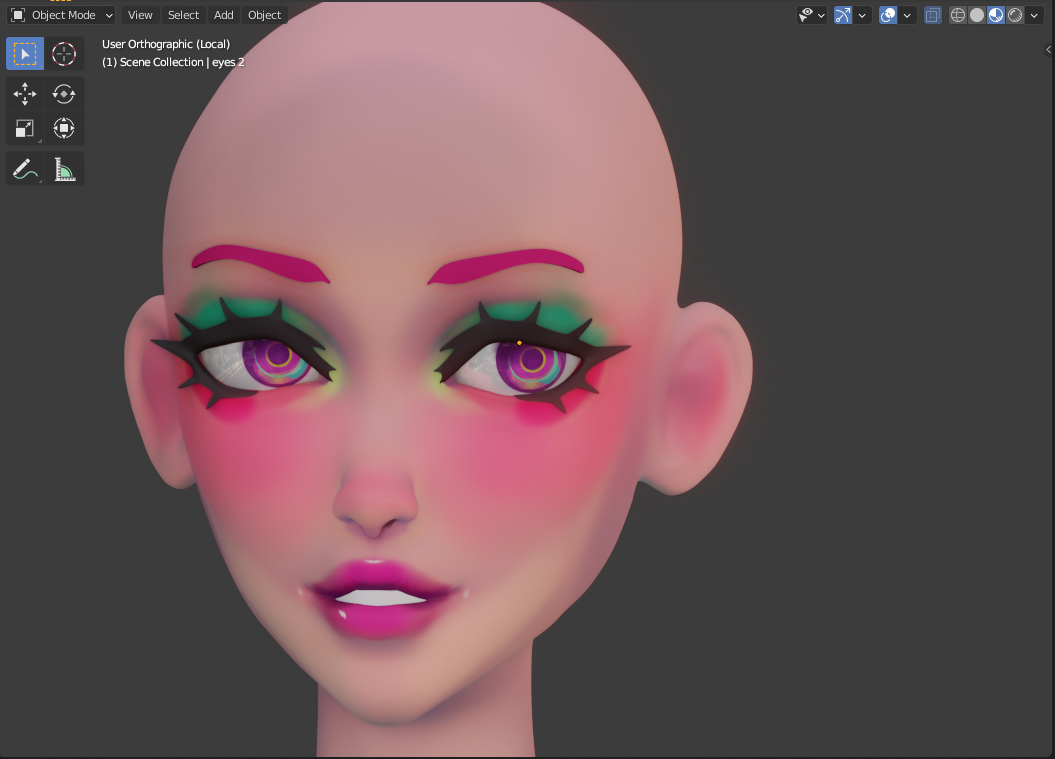
Vertex painting
Because of personal time constraints, I planned this to be a quick exercise. This means I didn’t retopologize the model. Instead, I went straight in and used the vertex paint brush inside Sculpt mode, currently in the latest experimental build of Blender 2.93 alpha (so try this at your own risk!). I ended up UV mapping the eyes and painting them in Photoshop because I needed a bit more control and finer detail.
Materials
I used the Principled BSDF almost exclusively, with a bit of subsurface scattering and I messed around with the materials until I got something that looked good to me.
This is what I ended up with:

If you want to know more about how Subsurface Scattering works, here is a short and sweet video about it.
Hair
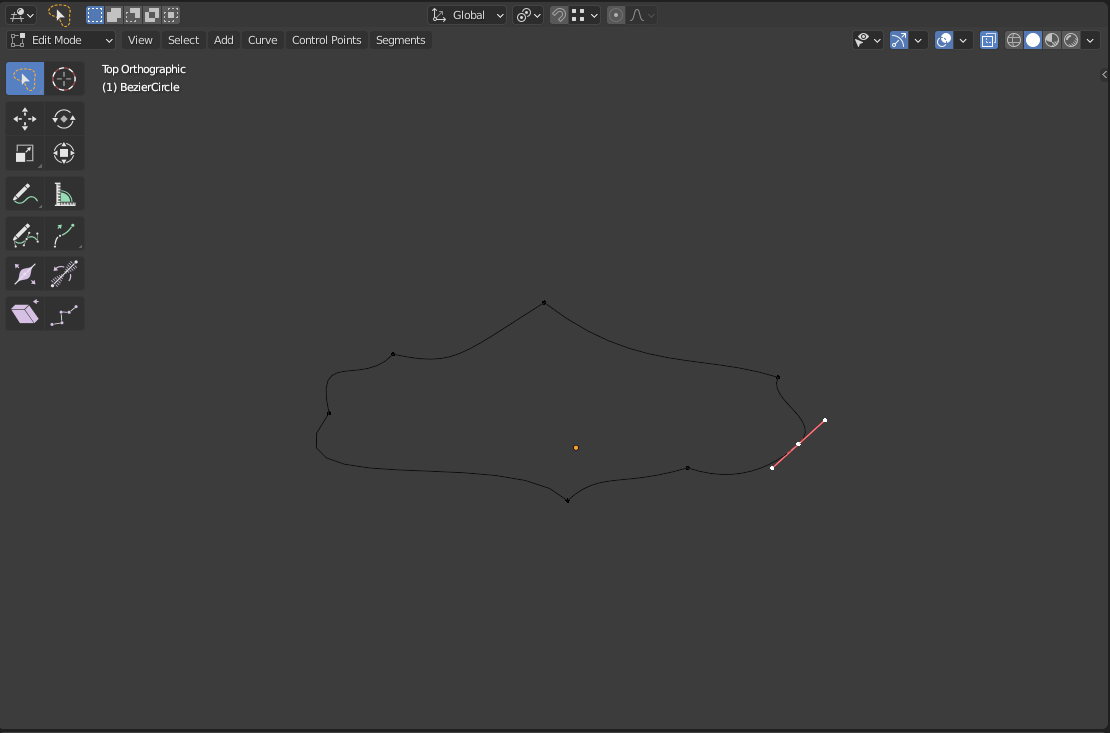
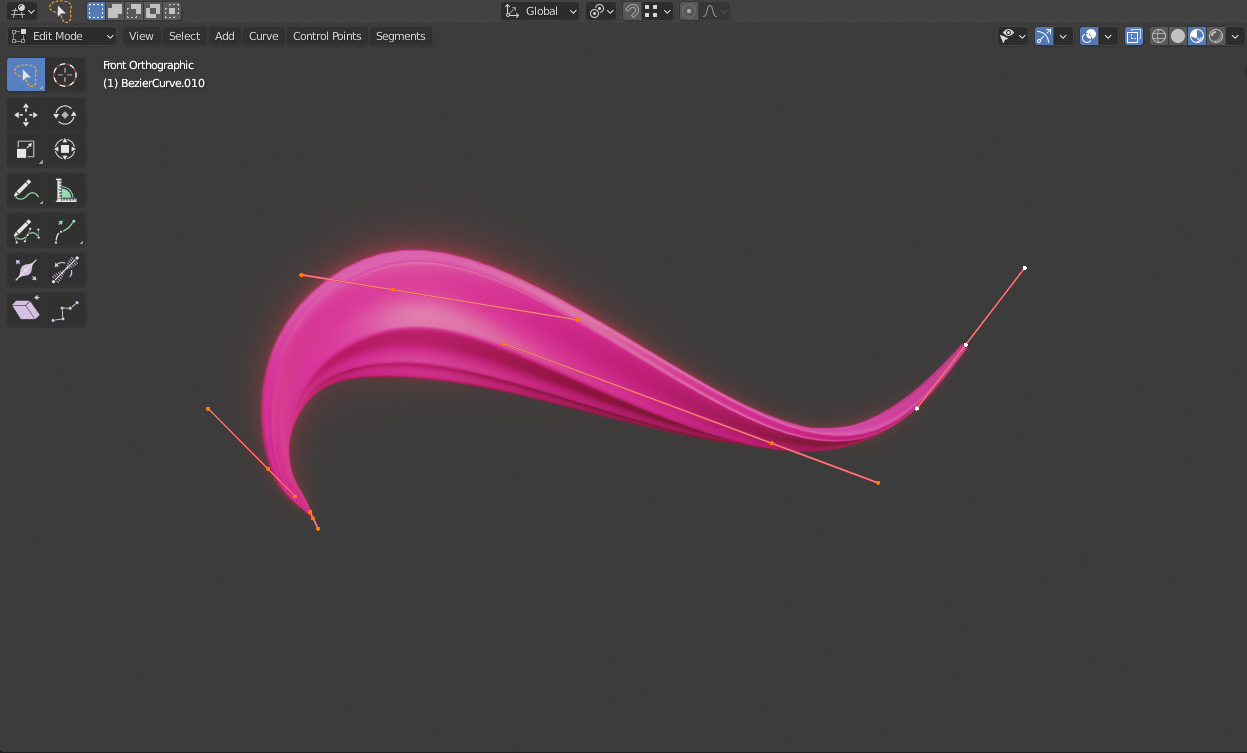
For the hair, I added a bezier circle from the Add Curves menu and shaped it. This dictated the shape that the hair strand would follow. Then I added a bezier curve to create a hair strand, and, on the Bevel settings, I chose the circle that I had just created. After that, I duplicated the hair strand around the head and worked on each individual strand to make the hair flow nicely. If you want to know more about this technique, you can watch this tutorial here:
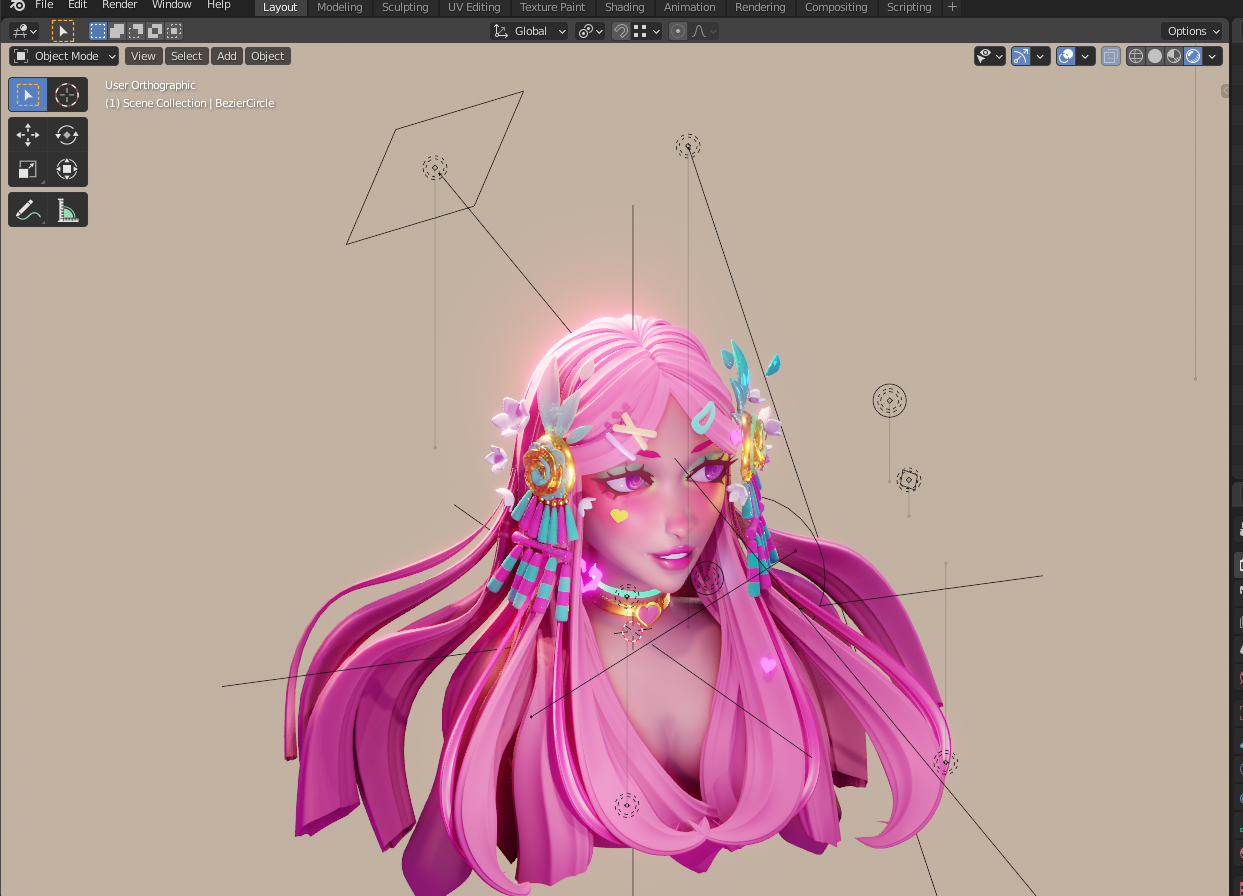
Then I modeled the accessories and placed them around.
Light setup
I started with the basic 3-point light setup, with 3 area lamps, one with ramped-up power to use as a rim light behind her, one for the key light on top, and a side one for the filler. Then I added a bunch of point lights to accentuate certain parts of the model. The world is just lilac-colored, with a strength of 0.4 just to tint the scene a bit and unify the colors.
Background
I created a very simple background in Photoshop and imported it with the Images as Planes add-on (comes with Blender), and made the texture to be shadeless so the colors remain vibrant independently of the light set up.
Render settings
Because of how fast it is and the amazing results I get with it, I rendered this with EEVEE.
Besides ambient occlusion and screen space reflections, I also turned on Bloom (one of my favorite Eevee features) with a pink color, to get that pink haze effect. I also fiddled around with the color management, lowering the gamma and raising the exposure, but I have no formula for this, I just play with it until I get a result I like.
Post-production
The only thing I did afterward was add a rainbow light leak in Photoshop.
Final thoughts
Sculpt mode itself is very impressive, but it’s the ability to combine it with extrusion modeling, while also being able to view the render results in real-time on EEVEE that makes it crazy powerful.
The vertex paint tools integrated with Sculpt mode are still in development but are already very promising. It’s a very exciting time to use Blender and if you haven’t checked out the sculpting improvements yet, I recommend you to do it!

About the Author
 Marcela Rodriguez, 3D Games Artist and cute things connoisseur.


Thank you for the behind the scenes. Learned a thing or two and the result is great