Behind the Scenes: Mystic Fox
About
Hi! I’m Stefano, a 27-year-old guy based in Italy. I’m a Graphic Designer, a 3D artist, and a Manga artist. I love to create semi photorealistic 3D and drawn illustrations.
I started modeling with Blender while I was studying 3D modeling and animation in an Academy in Pescara 5 years ago. At the start, I used 3ds Max for my personal 3D projects but when I switched software and began to use Blender, I fell in love with it.
Blender opened up an incredible number of technical and creative possibilities and it helps me to improve my abilities.
[sponsor id=’qarnot’]
Inspiration
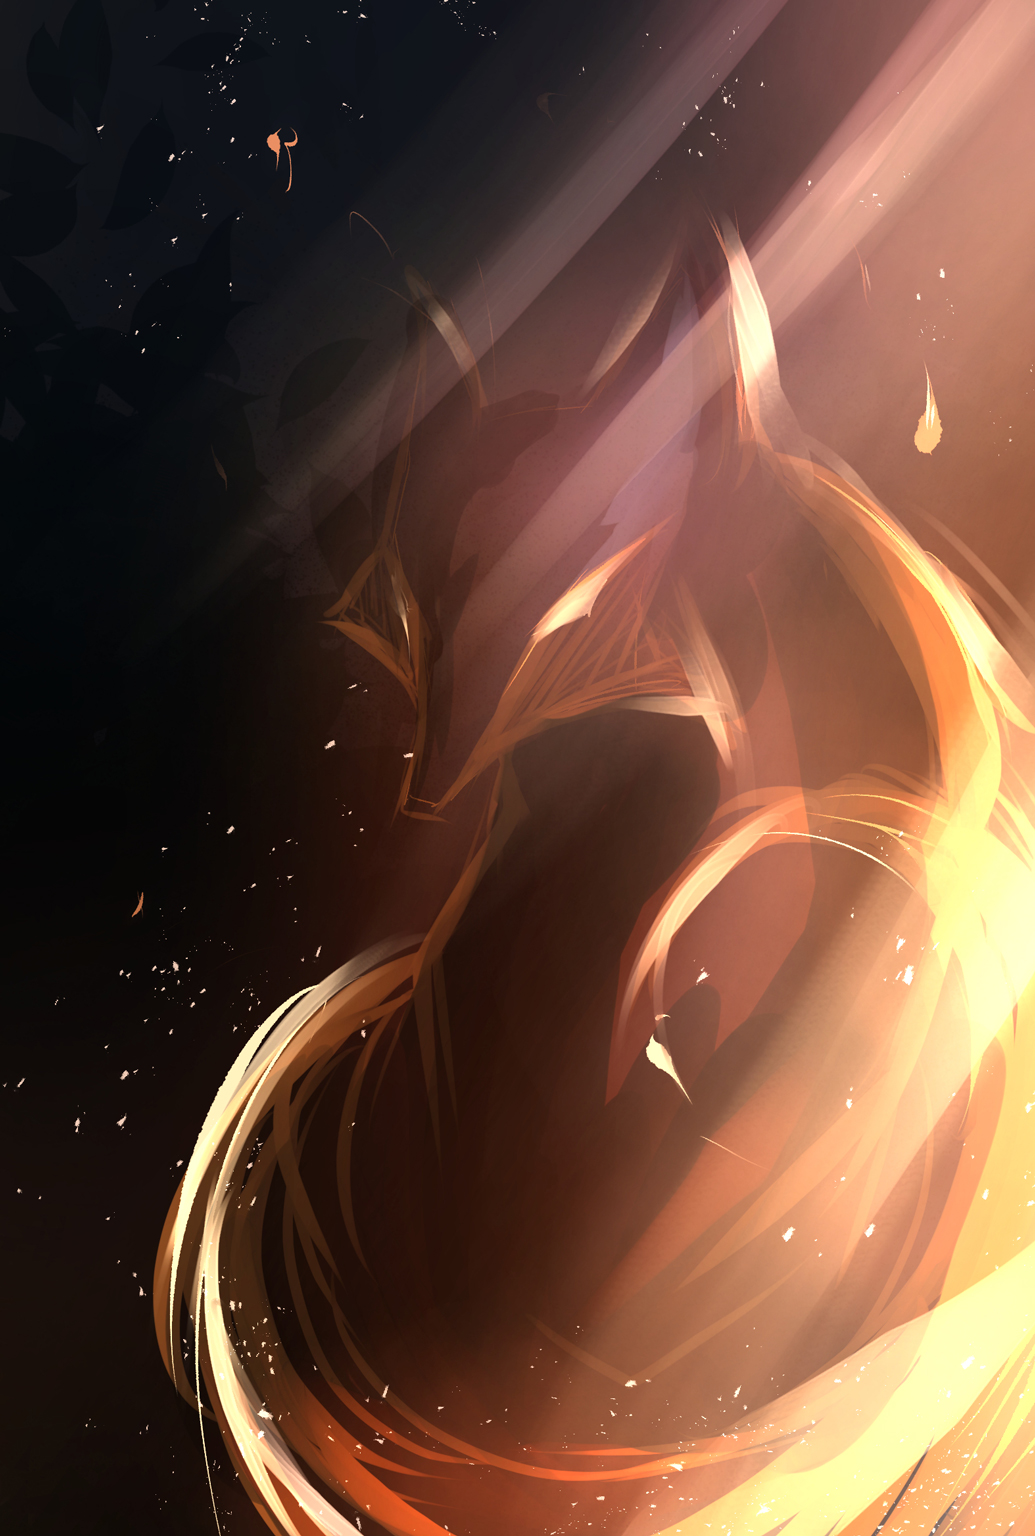
I love fantasy stuff and Japanese folklore and I decided to search for some references from Pinterest to draw my personal interpretation of a Japanese fox spirit in the watercolor technique.
So I began to draw something and this sketch was the result.
Tools
For the modeling part, I used Blender 2.9 and the Bool Tool add-on to speed up my sculpting workflow. For the post-production and color grading, I used Photoshop.
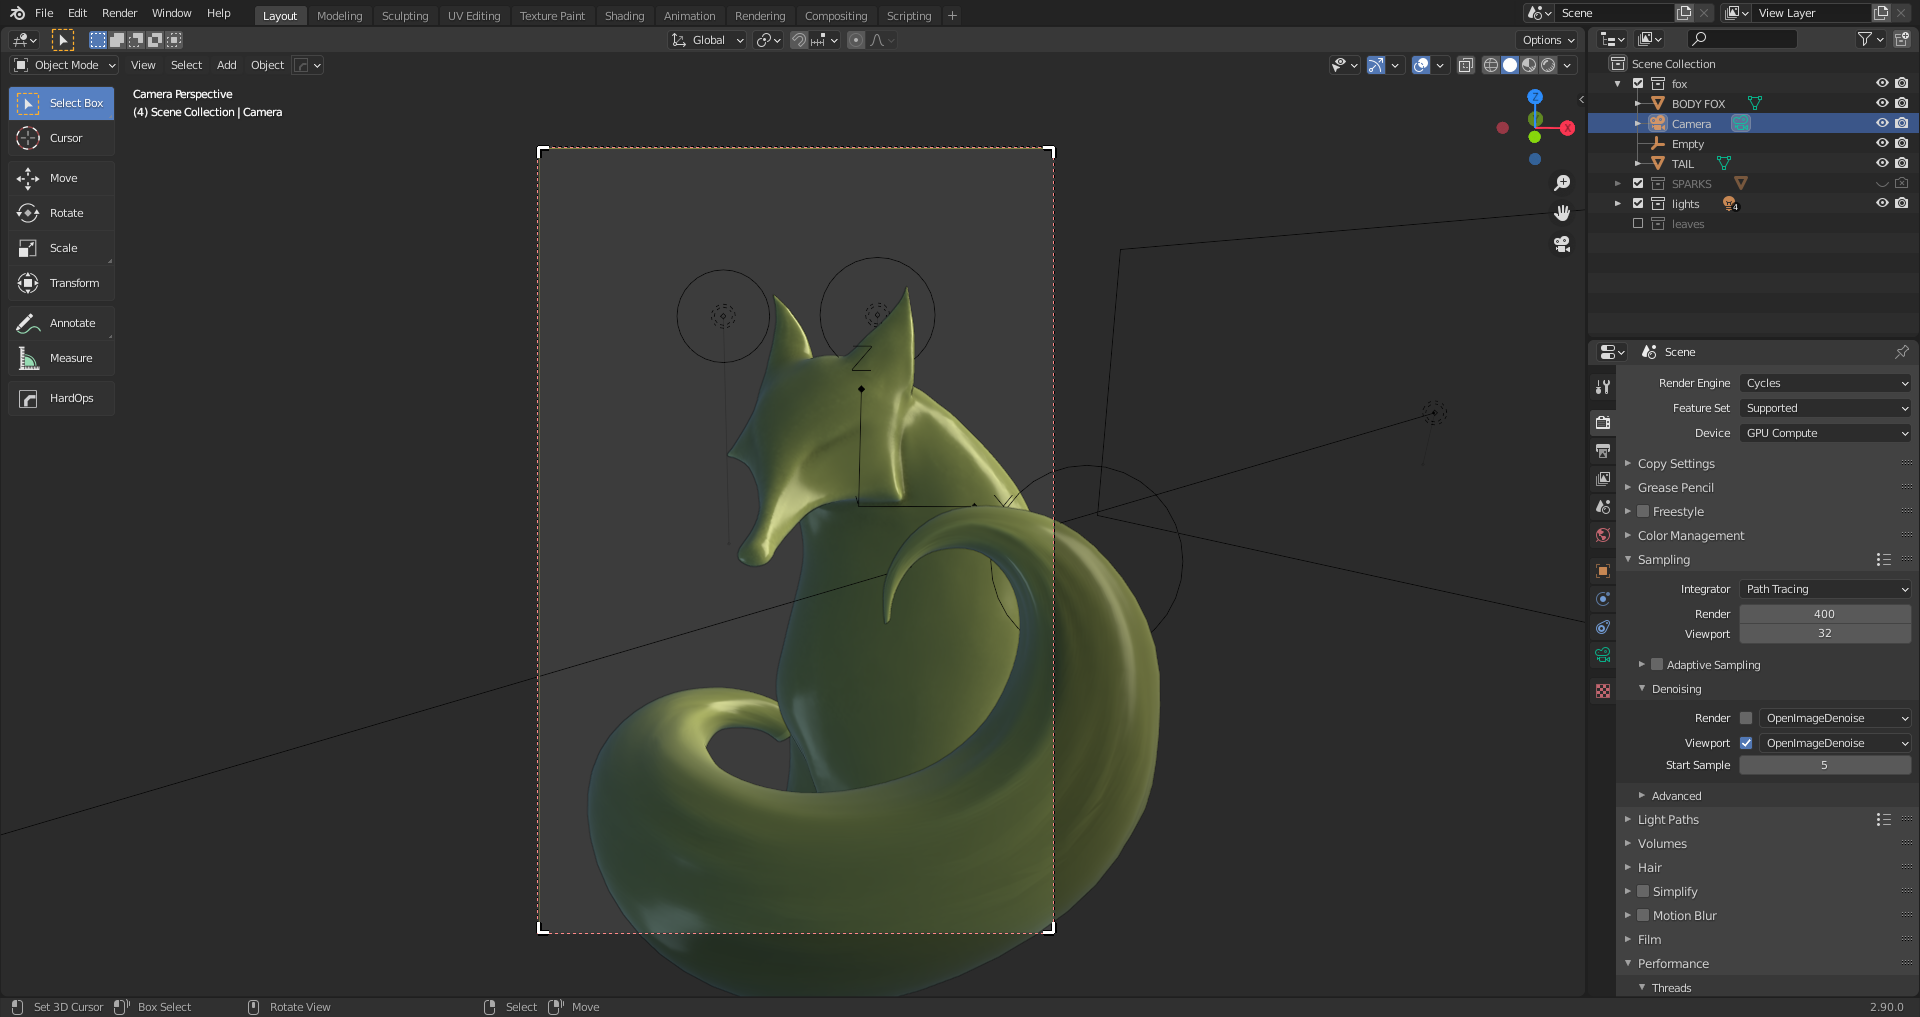
Sculpting Workflow
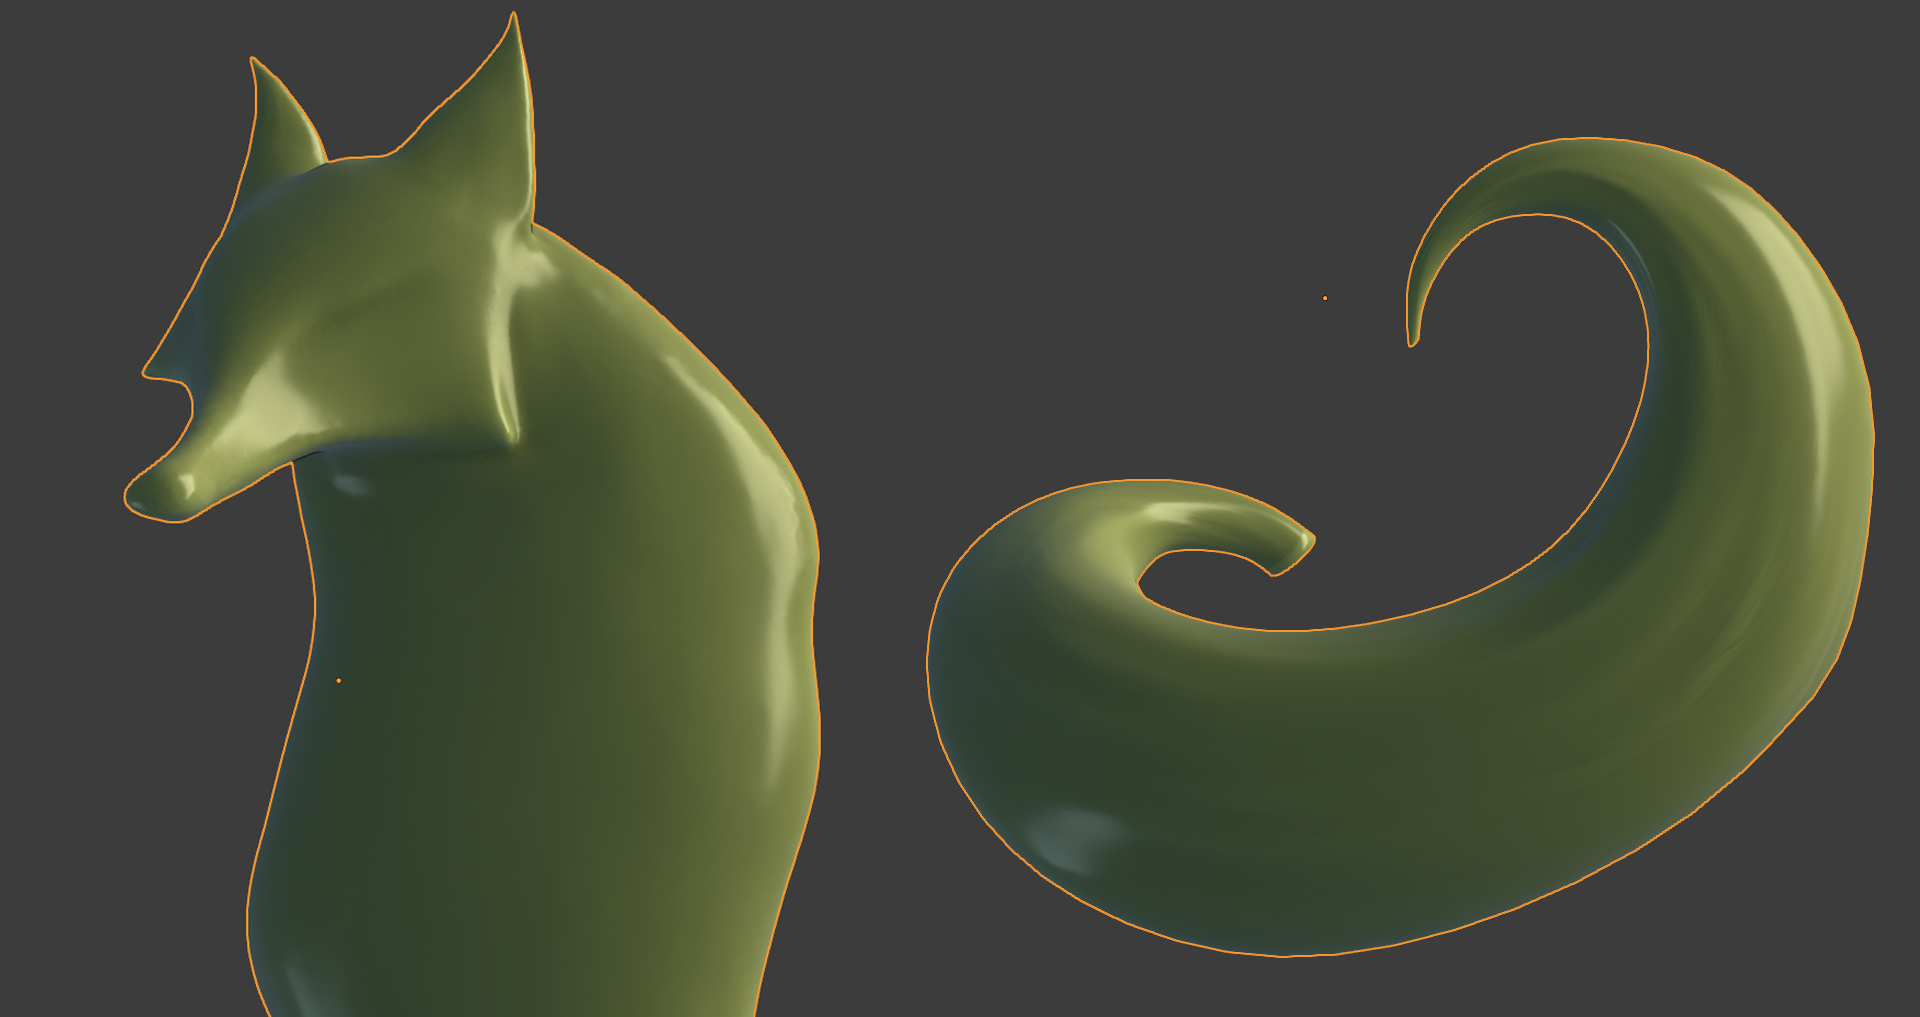
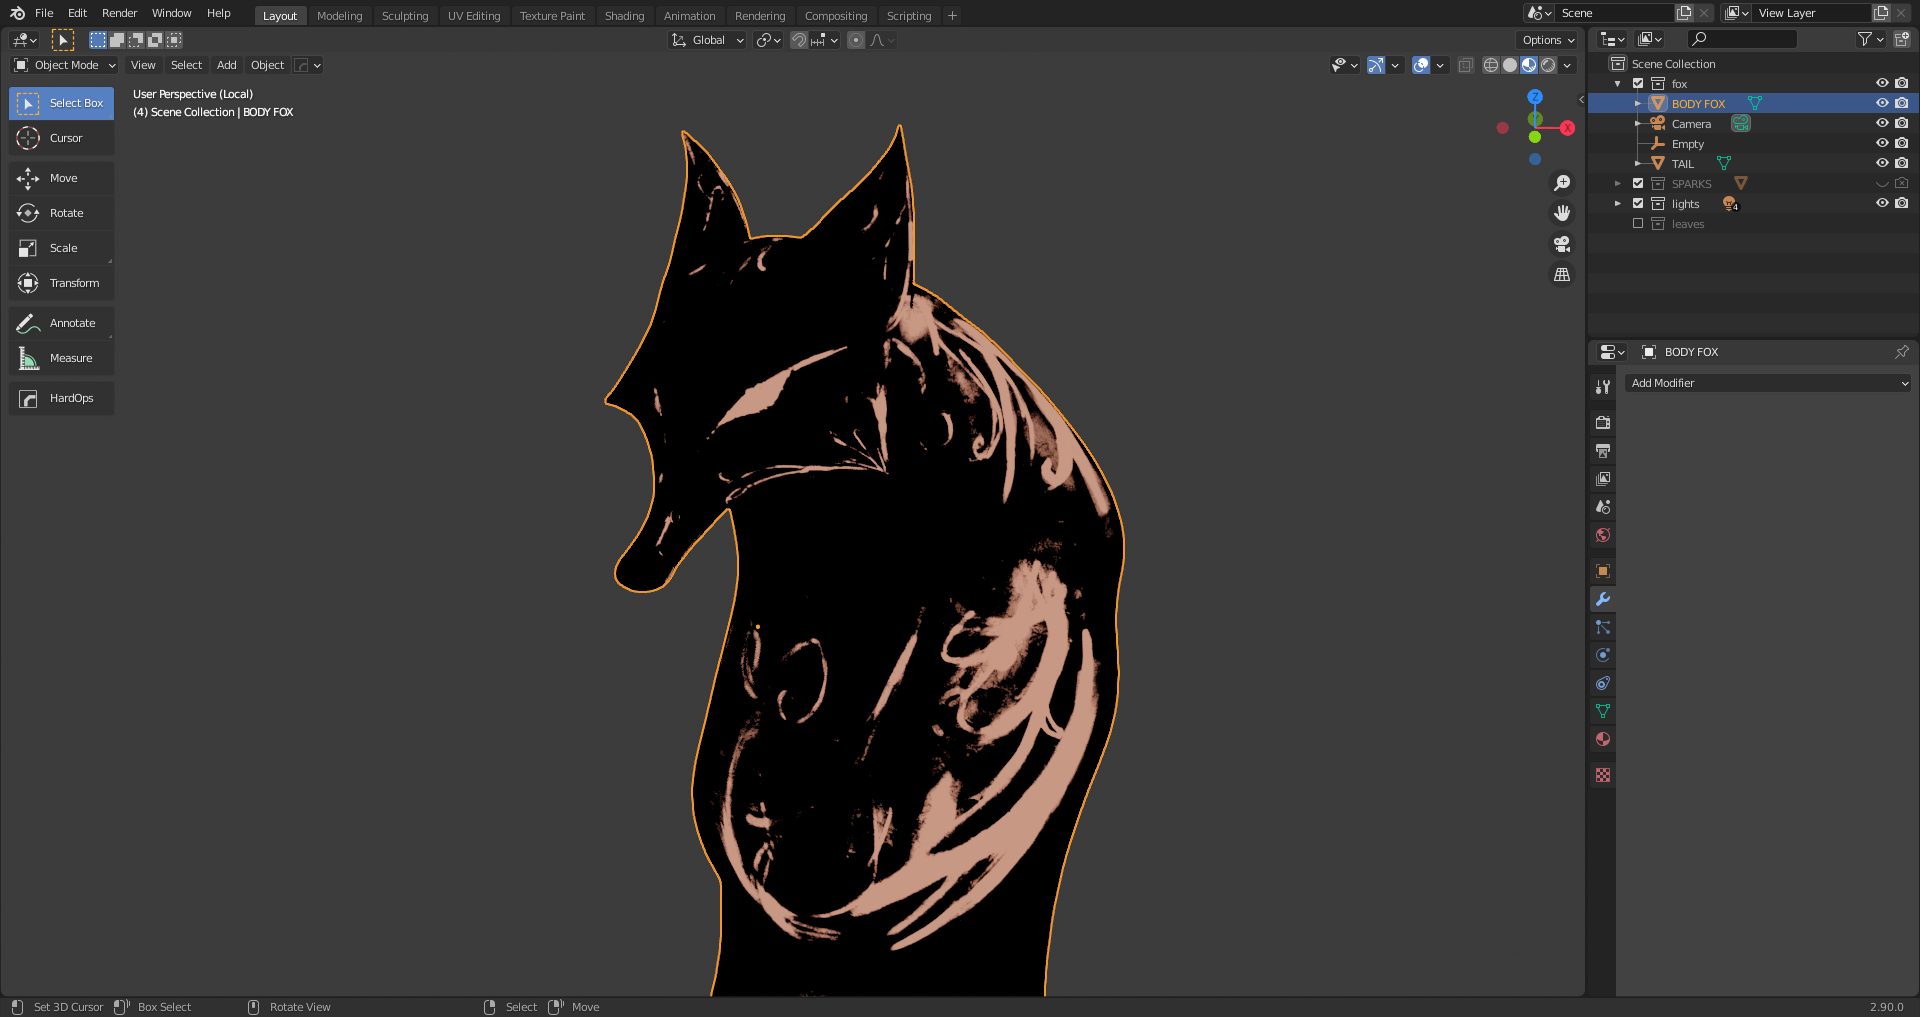
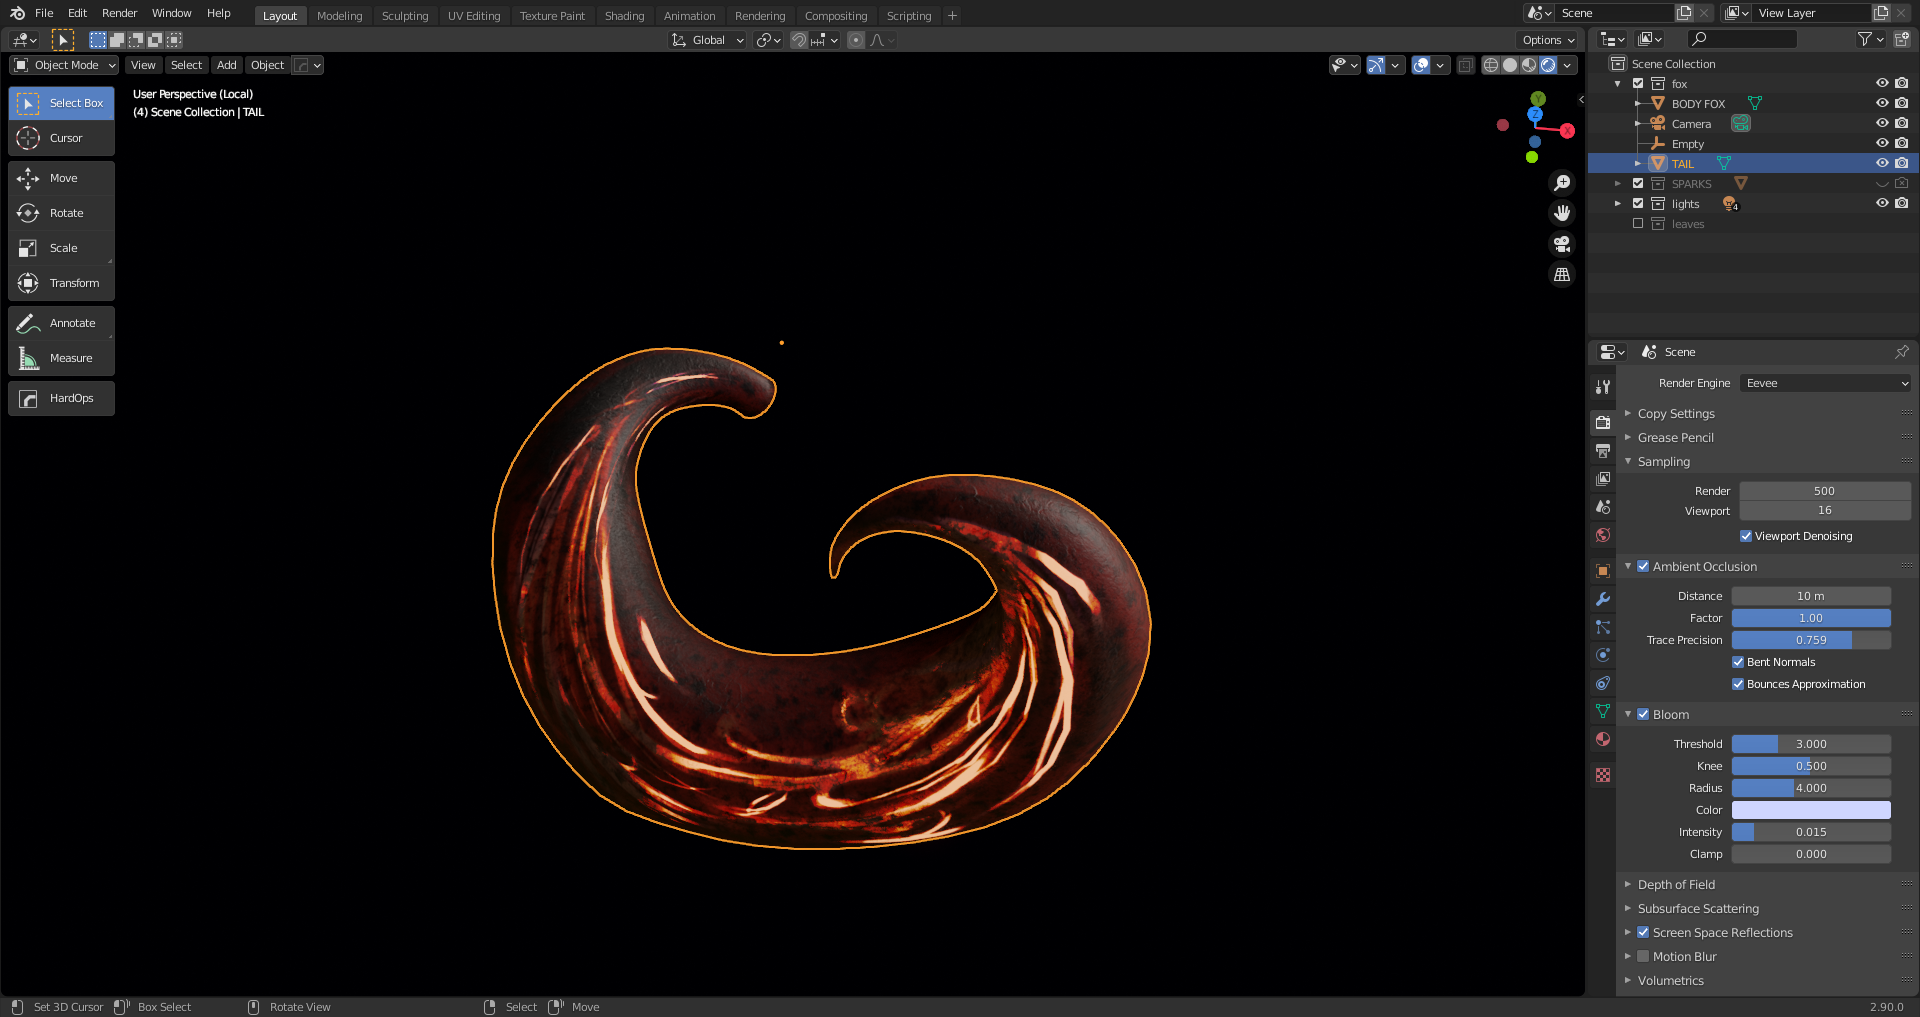
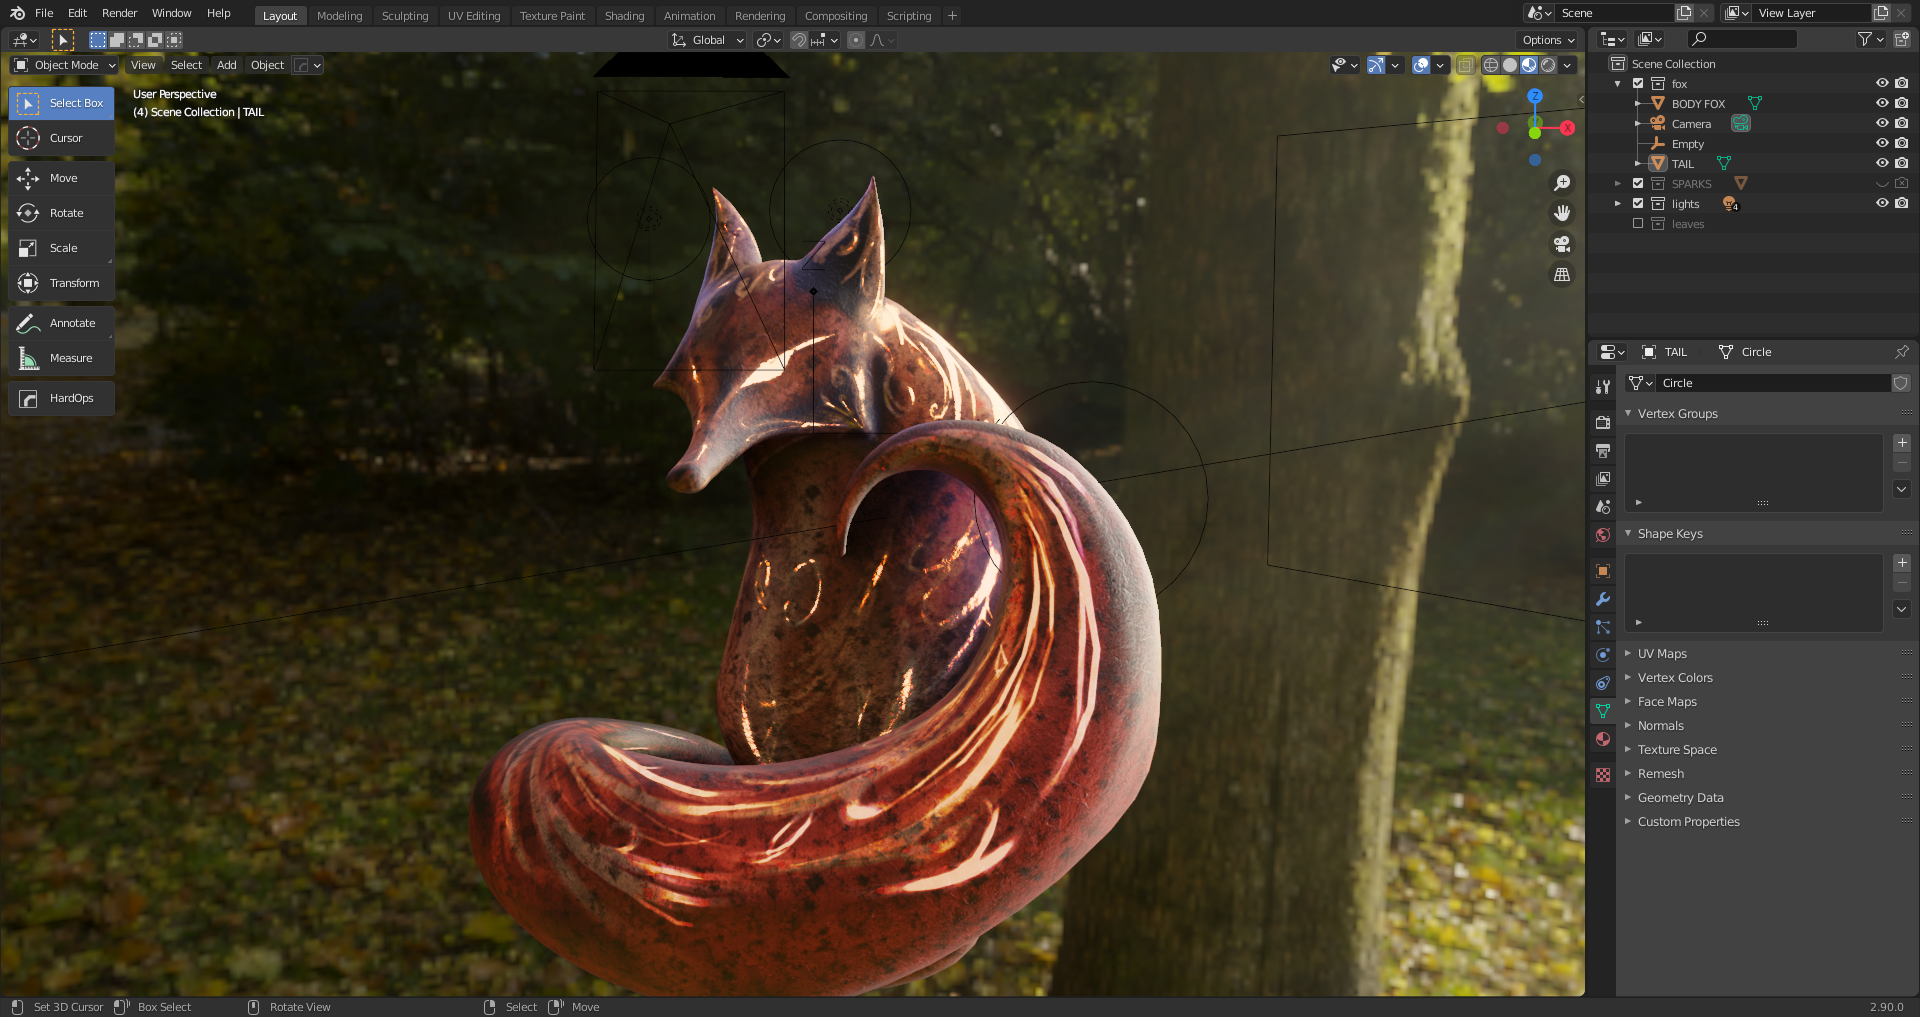
The scene is basically composed of 2 models: the body of the fox and the tail. For this particular project, I decided to sculpt the models directly in the camera view because I wanted to catch the same pose of the reference illustration.
For both of the models, I began with a simple sphere with subsurf applied. Next, I switched into Sculpt Mode and I defined the basic shape of the models using the Grab Brush. Then I activated the dynamic topology in relative details, and started to sculpt the details of the head, the ears, and the body. Finally, I combined the head and the body using the Bool Tool add-on and I fixed the pose a bit with the pose brush for a more realistic expression.
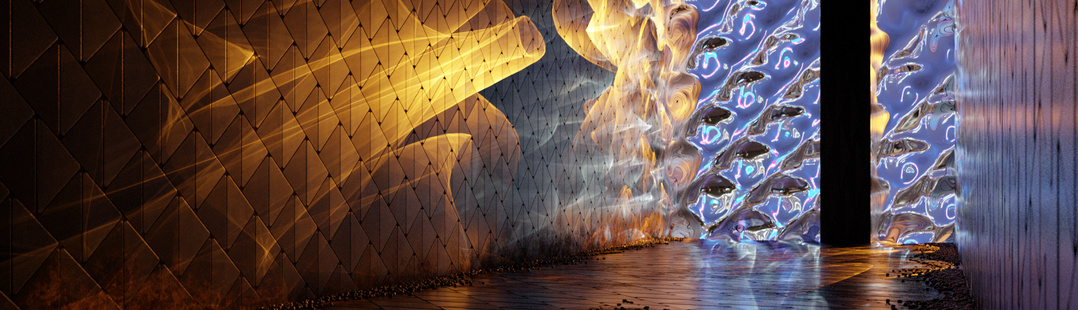
Shading and Texturing process
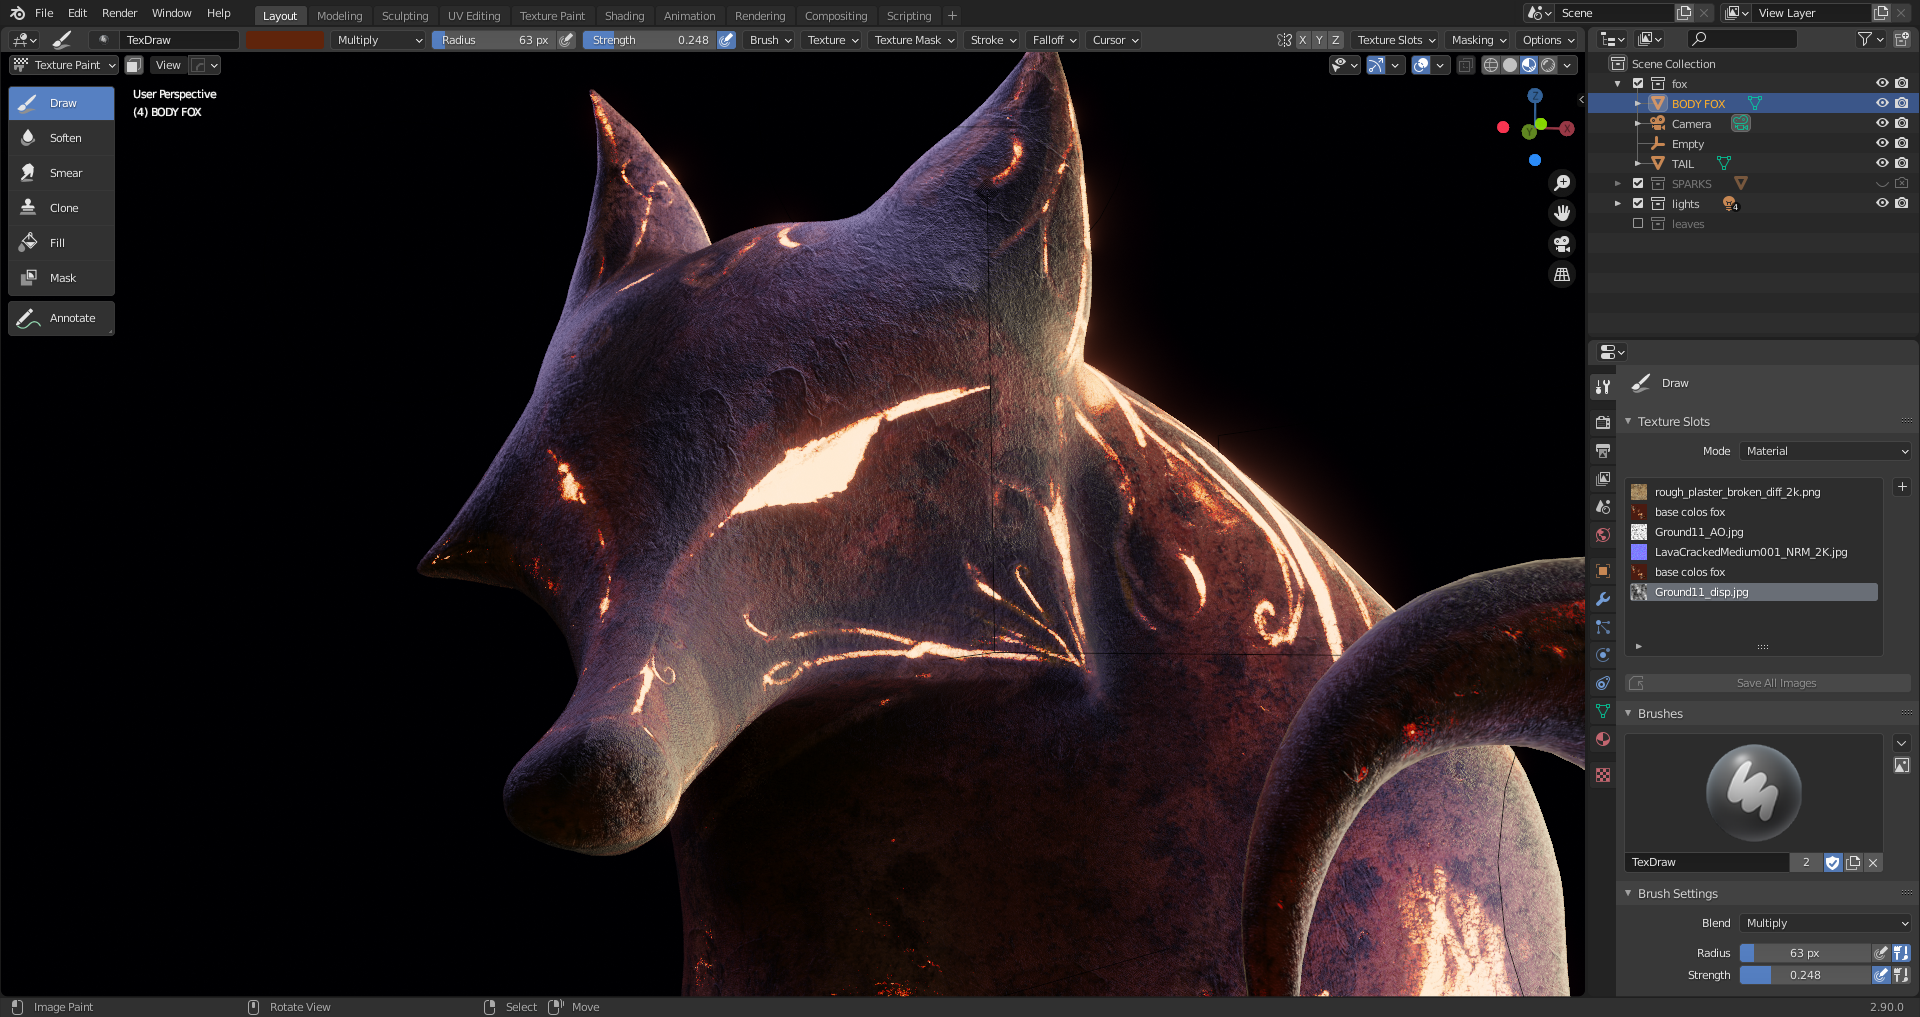
As for shading, all of the models have the same textures and material. I unwrapped the high poly models of the body and tail, I created a 2k texture, and began to draw the skin base with my display tablet in texture paint mode.

I worked a lot to find the right style for representing “the mystique” and after I had painted the basic color, I started to add more details.
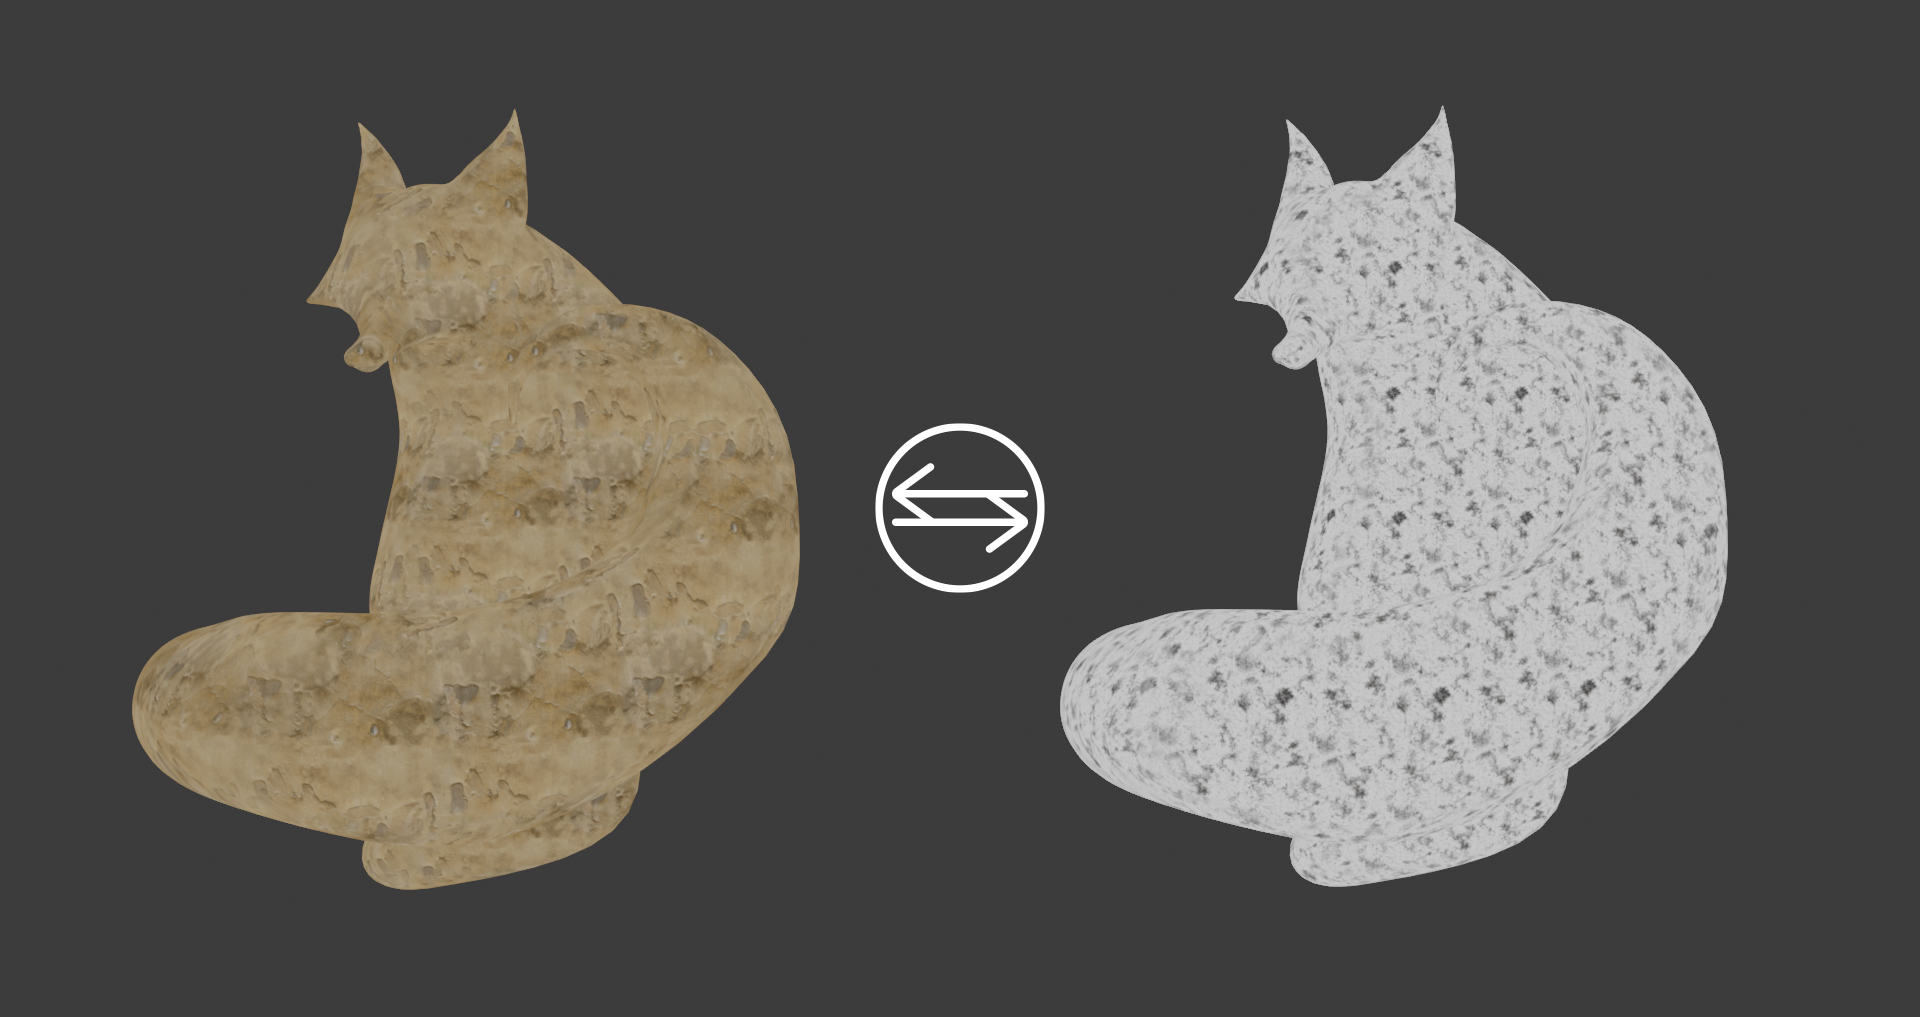
I added 2 textures to the shade of the skin, a plaster texture, and a noise texture and I combined that with the base color, to create stone materials and to add shadow and dust details.
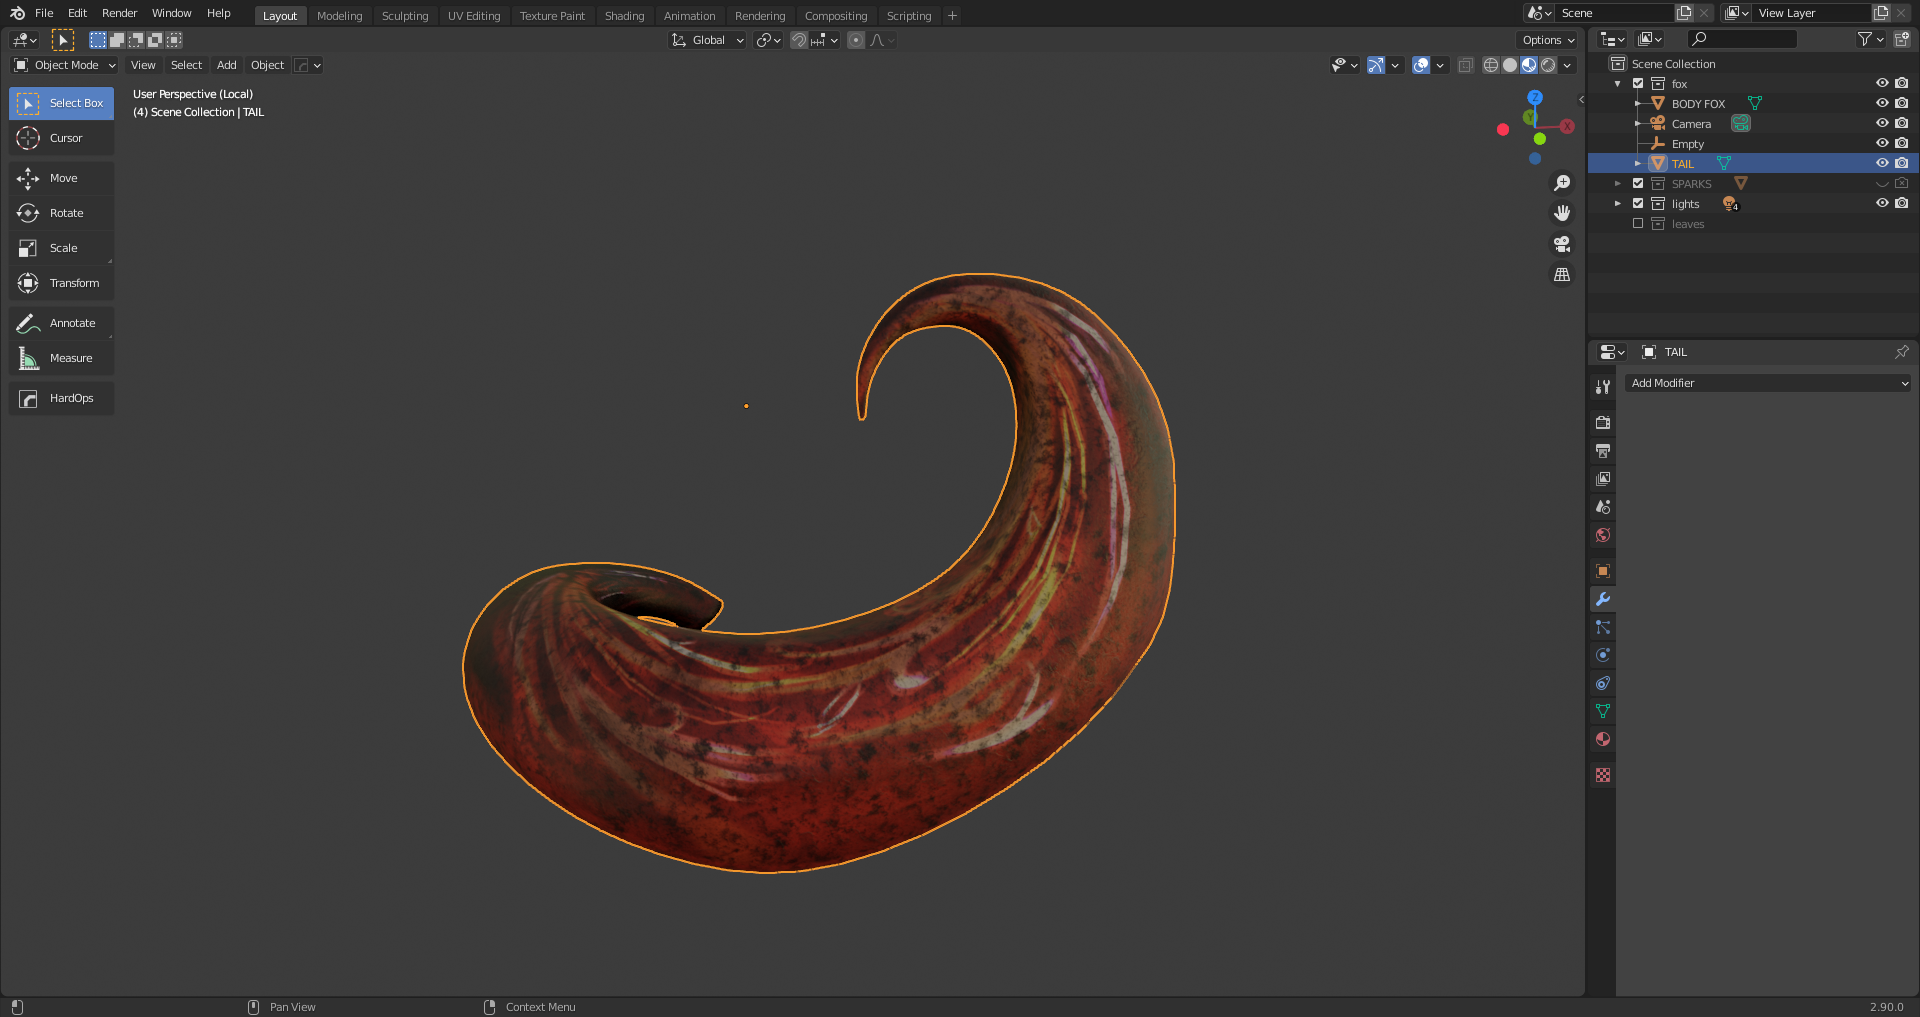
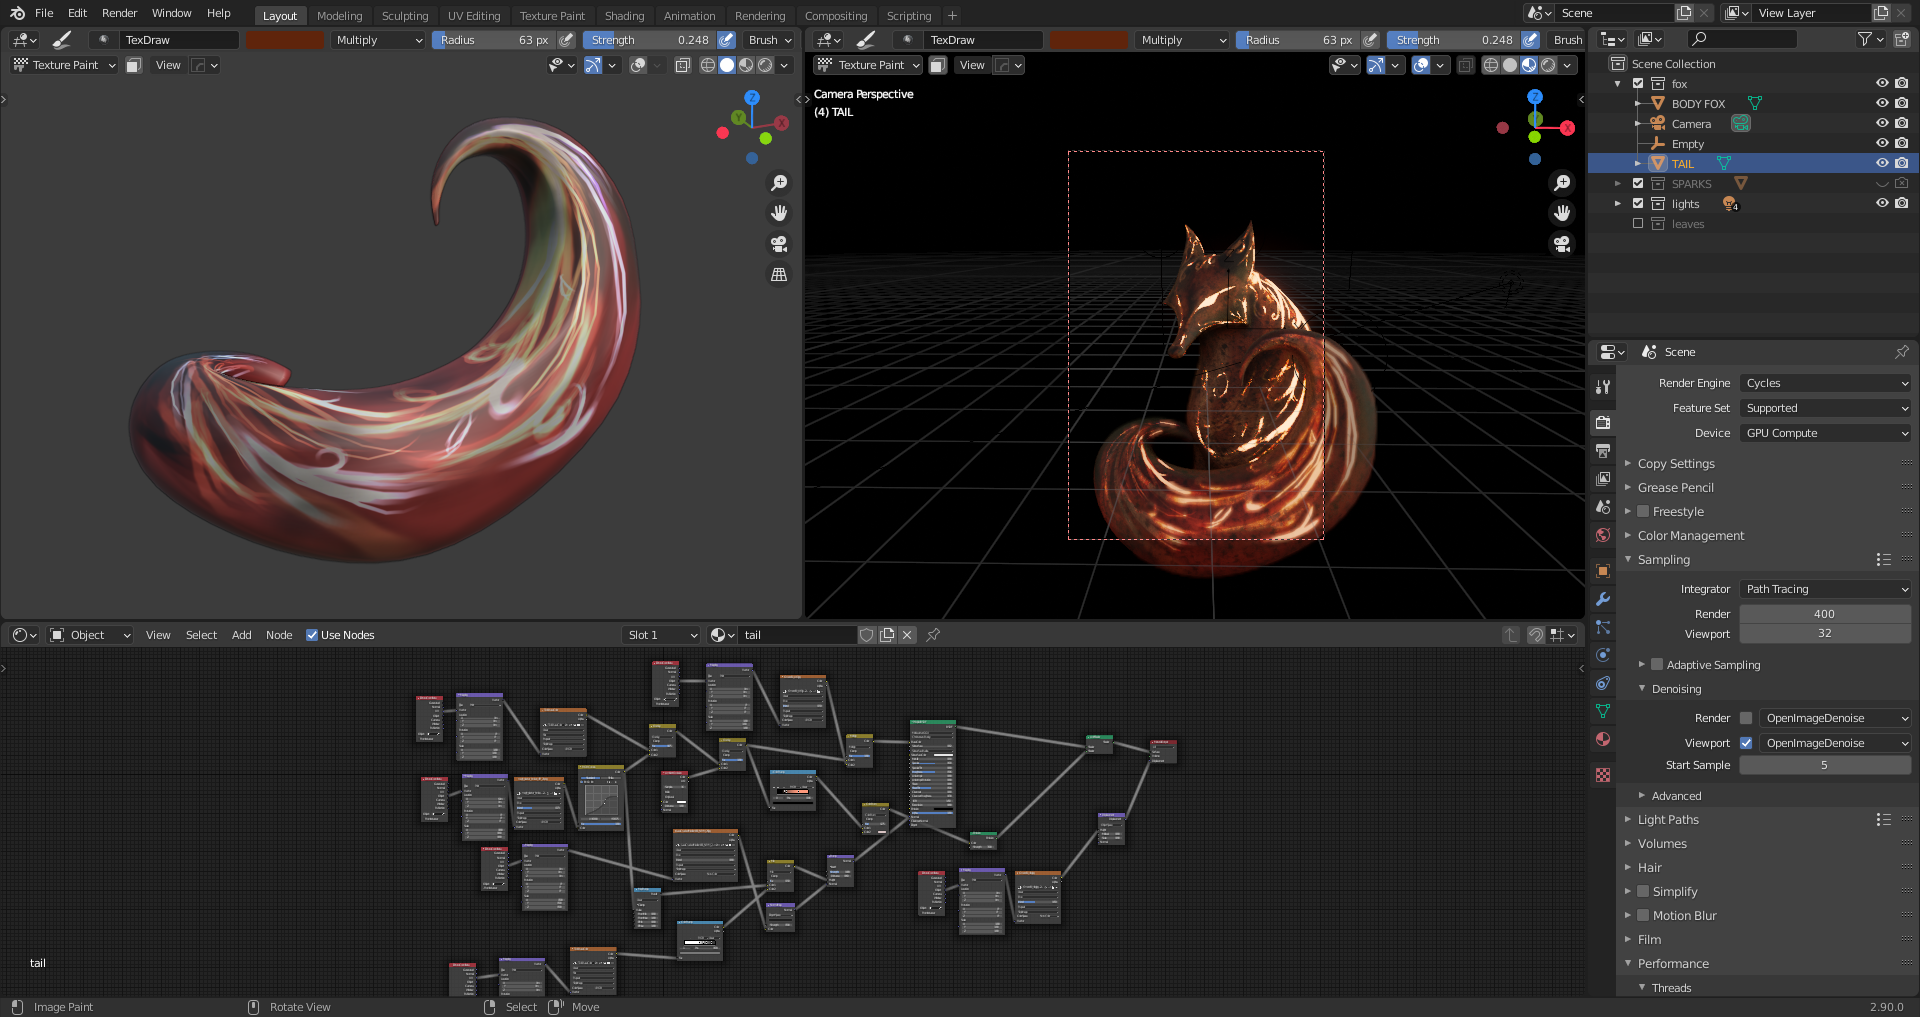
Next, I created a mask using the color ramp node to the base color texture and I used it to add a bump effect on the details, which I then combined with a normal map of a lava texture.

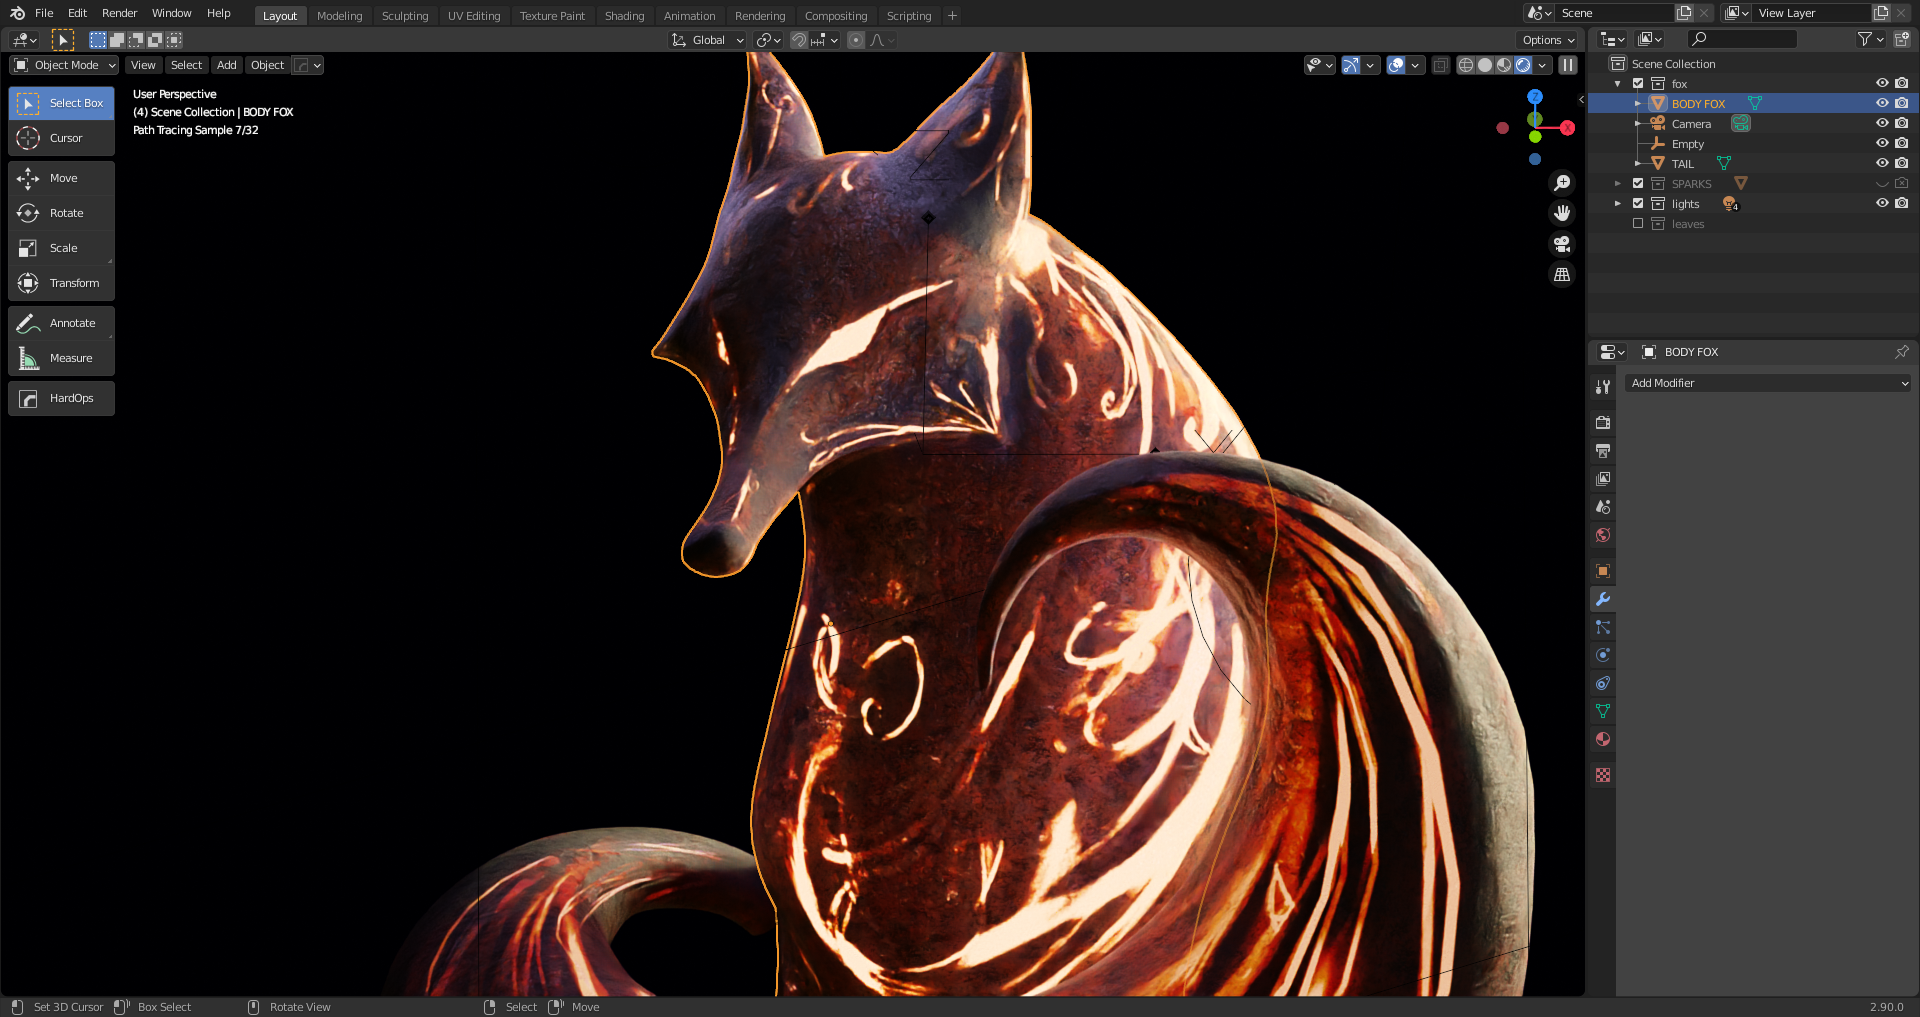
I also used the black and white mask to add an emission shader to create a light effect on the decorative part of the models and the eyes.
Lighting

As for lighting, I added 3 point lights set to blue and purple colors to emphasize the shapes of the model, such as the ears and the mouth. To the right of the scene, I set a big orange area light as a rim light for the tail.
Finally, I set up the world light, adding an HDRI texture from HDRI Haven.
And I masked the background, duplicating a background shader and mixing all of it with a light path node, set as a camera ray. Then I had a grey background with the light of an HDRI texture.

Compositing and post-production
I like to export the render and the AO for the post-production process. So I rendered the scene, and, in the compositor, I used the denoiser to clear the image and, with the node wrangler add-on activated, I saved the AO.
Then I imported the render image and the AO into Photoshop where I started to work on the color grading and the curves, to balance the lights and the contrast. I also painted a bit of light and I added some sparkles to recreate the same effects as the reference.

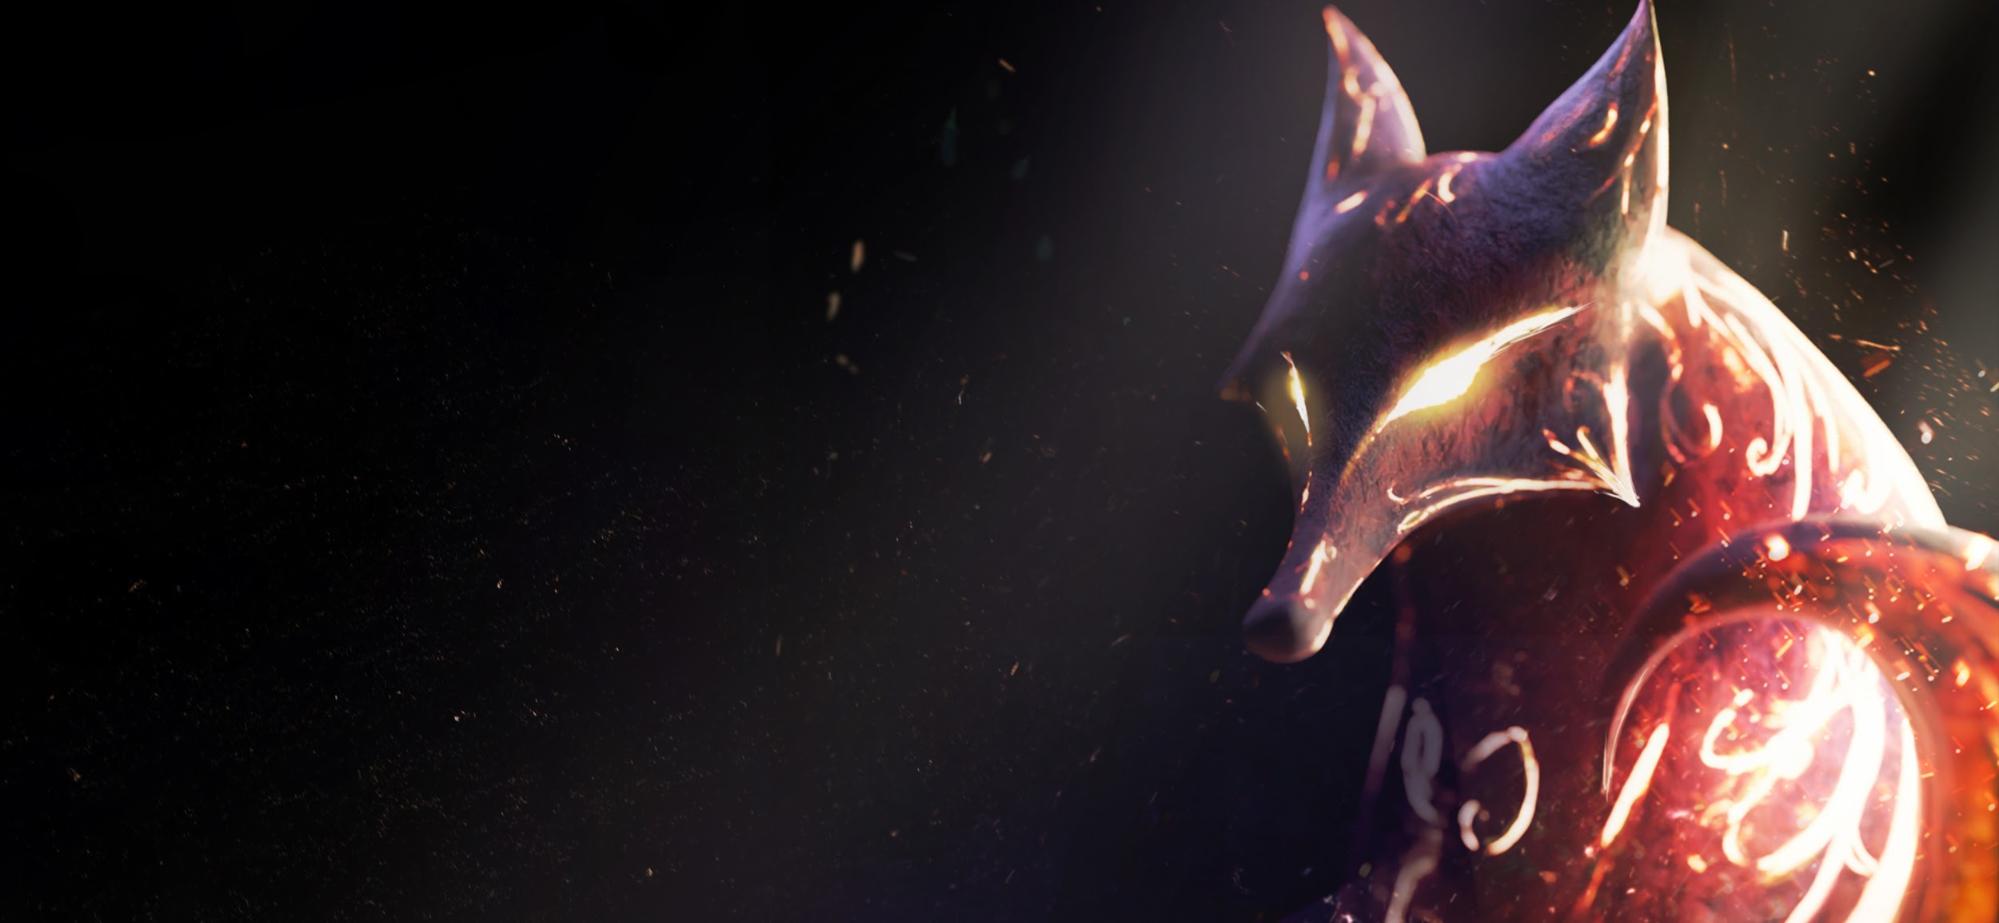
Final image

About the Author
 Stefano Ilario, 3D Artist, Graphic Designer, Dream lover


