
Behind the Scenes: Ready for Liftoff

About
I’m Matias, a 23-year-old guy from Chile. But most people know me as Brellias, this persona I created to make art in a more anonymous manner. I’m a graphic design student at the University of Chile, and a Blender user since May 2018.
Before I started using Blender, I created Brellias as a project to learn new things while showcasing my progress. It was a daily art project whose pieces were mostly created in Photoshop and Illustrator. Then I tried using Blender a couple of months after starting Brellias and I really loved the possibilities that it offered me as a creator. So I kept learning new things, like lightning, composition, modeling, rigging, etc.
After gaining some popularity, now it’s my main income source. I create album artworks, concept art for movies, and all kinds of stuff for my clients. All thanks to Blender.
[sponsor id=’qarnot’]
Inspiration for creating this piece
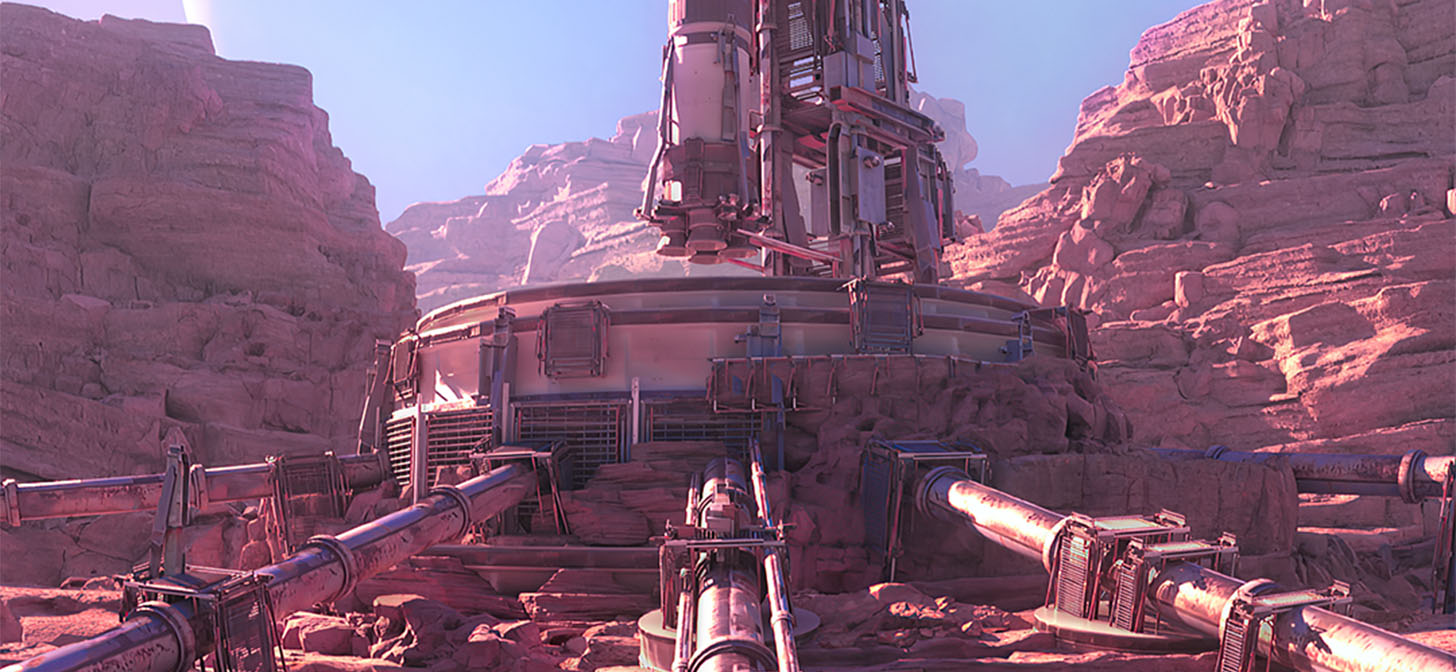
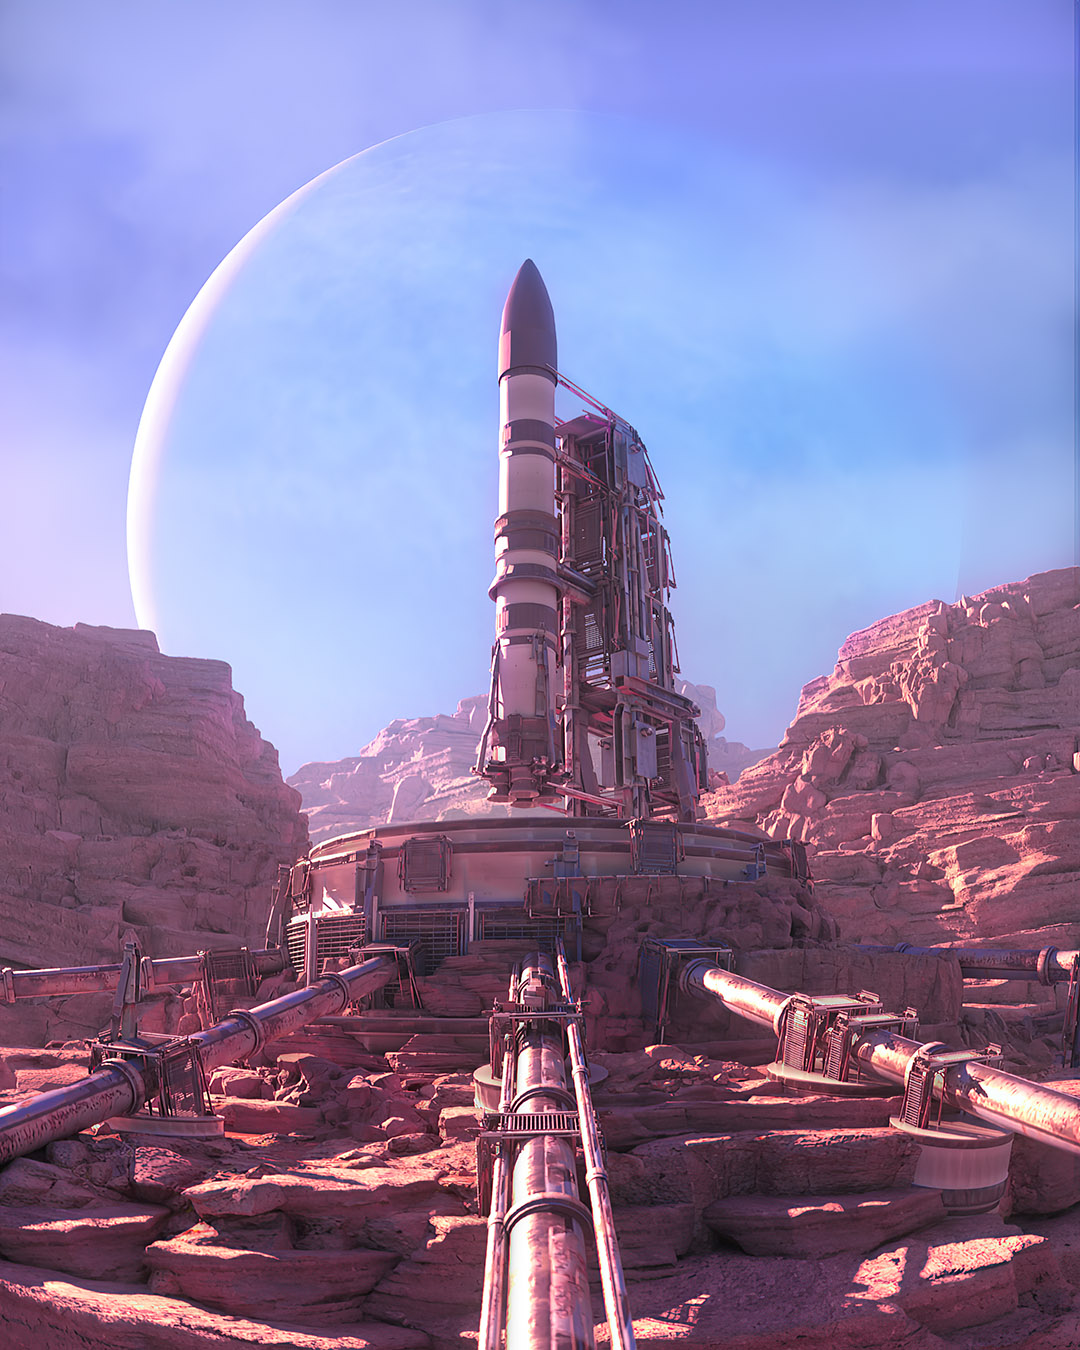
I love sci-fi fantasy stuff. One of my favorite films is Interstellar and space travel and rocket science are topics that fascinate me, as well as dystopian futures, ruins, and desert landscapes. Launchpad was an homage to all those things I love: a piece depicting a rare, desertic world, where someone or something is trying to escape by launching this rocket. Like Interstellar, it’s the hope of survival.
Tools
I used Blender 2.90 to create the whole scene, and then Photoshop to add some post effects.
Modeling and “prefabs”
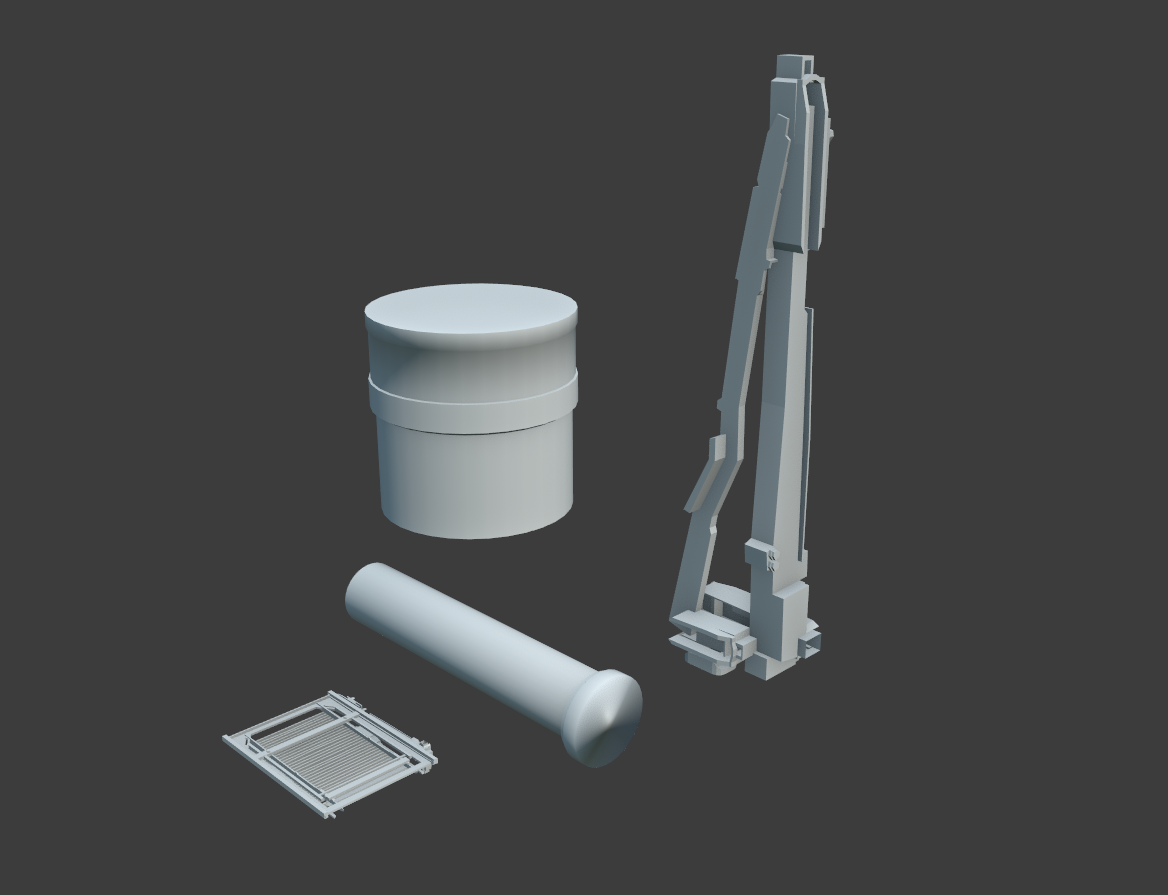
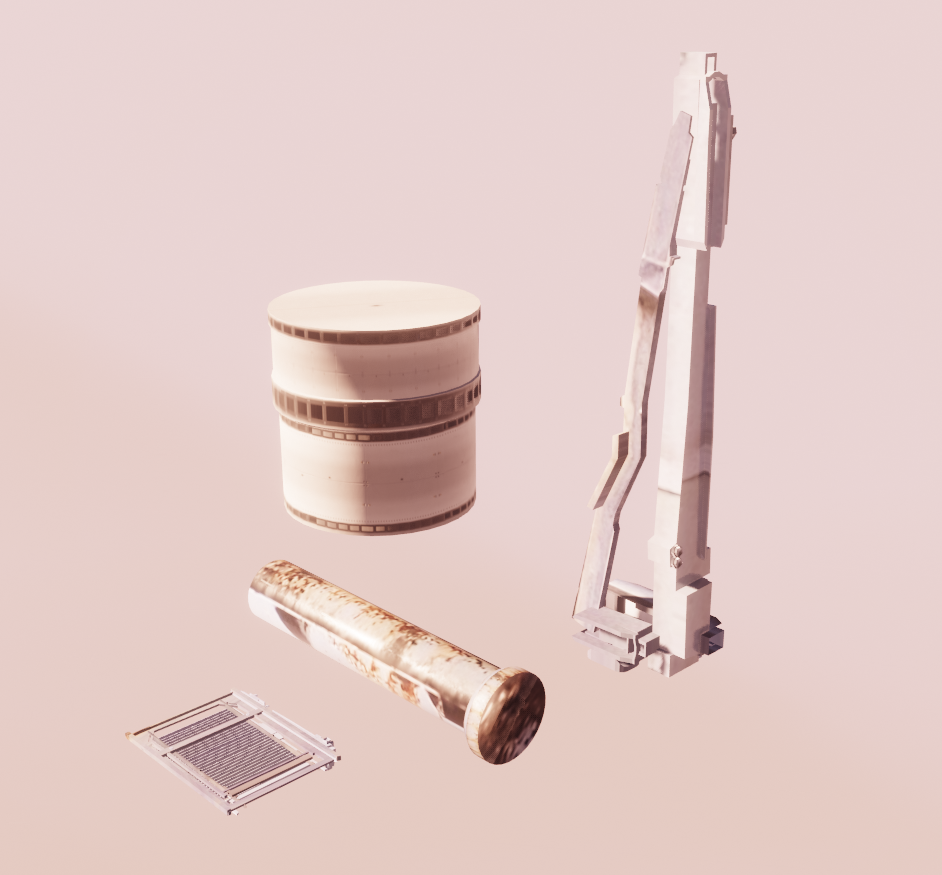
The scene is mostly composed by using these 4 assets in creative ways. Two are just cylinders extruded on the sides and the rest are more complex greebles, inspired by some of Ian Hubert’s works. The textures are from textures.com.

Then there’s the landscape, which is composed of these two Megascans assets.
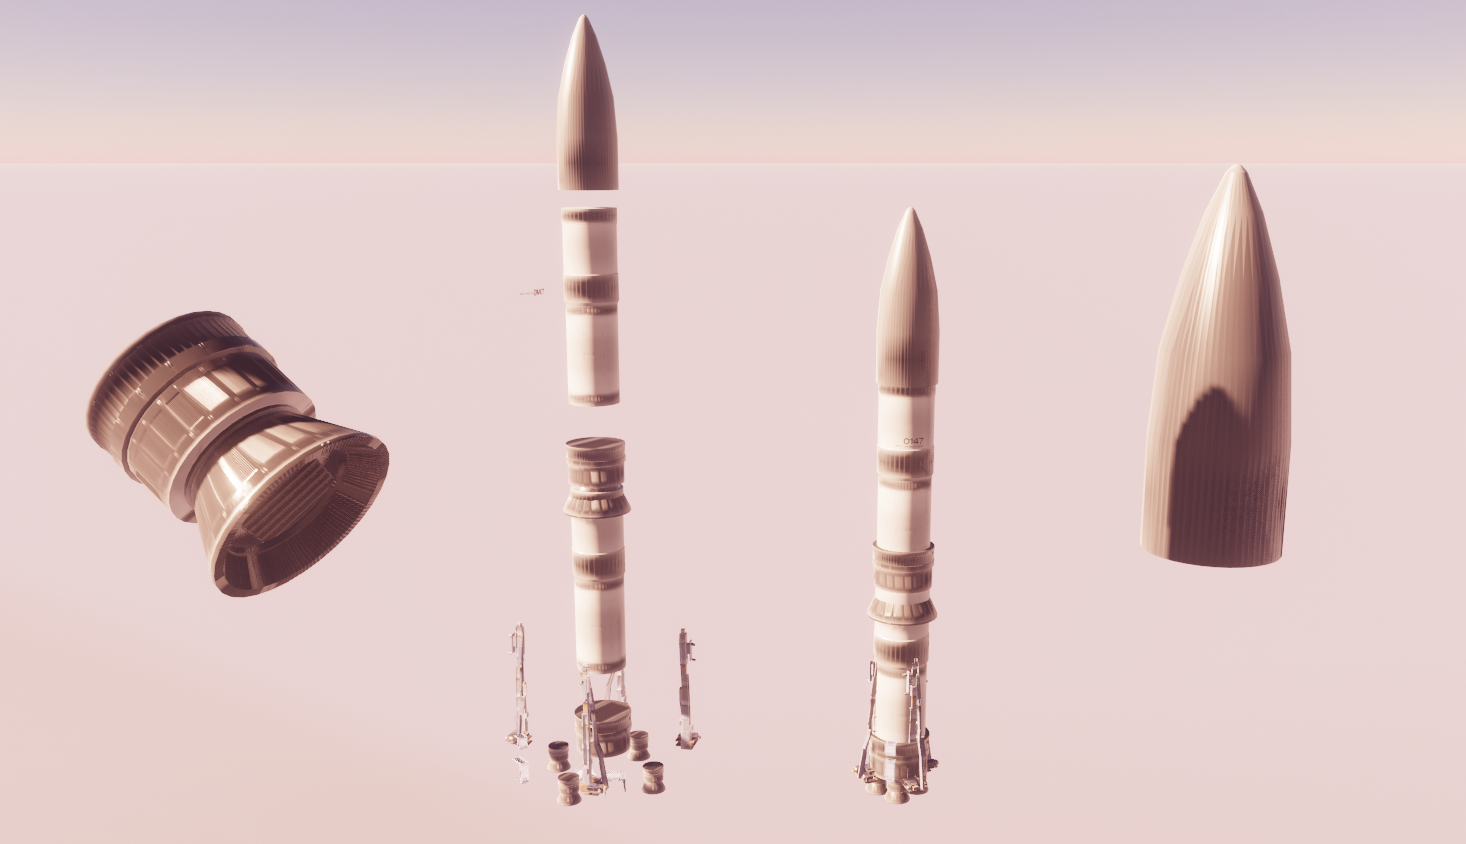
The rocket in the scene is just a remix of the basic assets I mentioned earlier, with the addition of a modified cylinder to make some thrusters and decoupling panels in the middle of the rocket.
The same goes for the tower—it’s basically the same models used over and over.
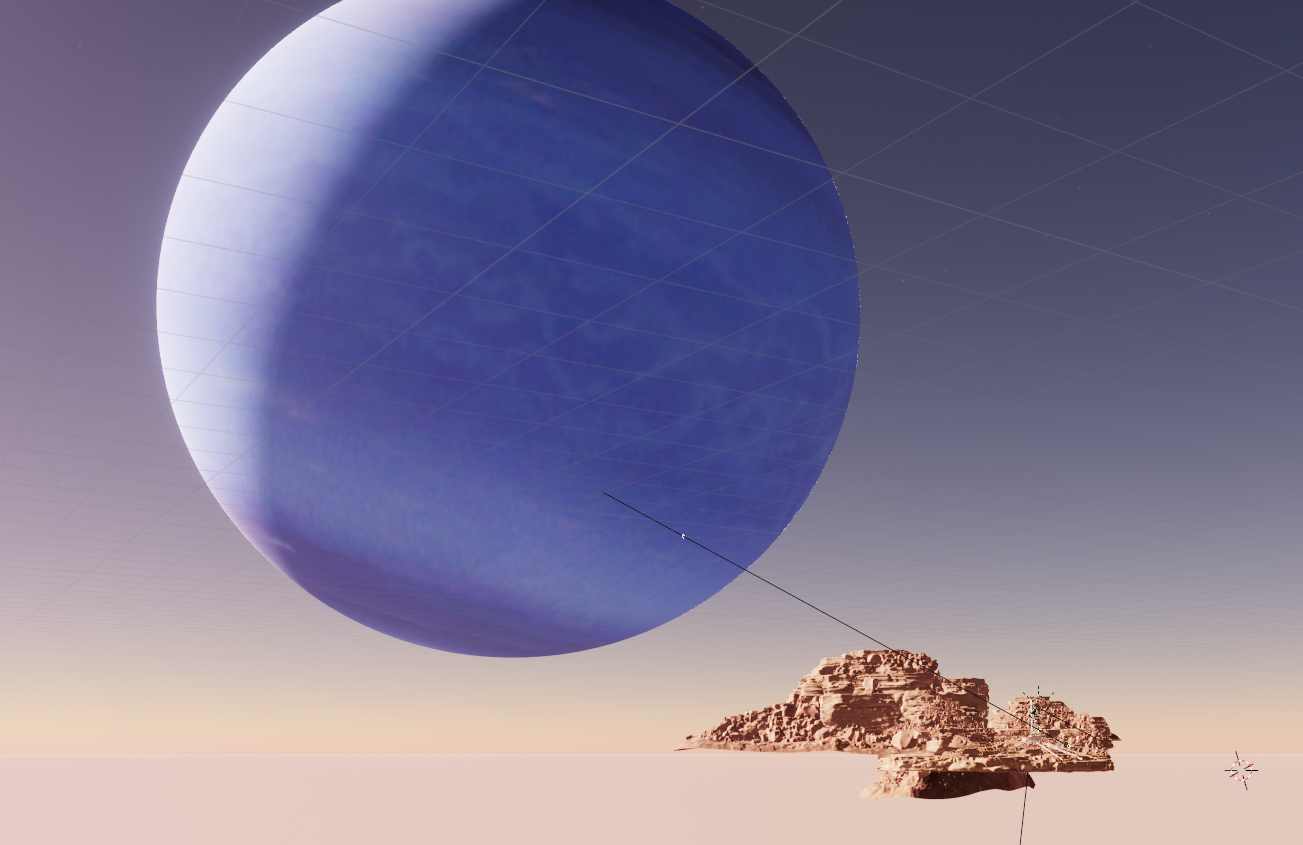
The planet is just a giant subdivided sphere with some Neptune textures I found for Jupiter.

Here’s an overview of the scene. You can identify almost all the models I mentioned above, with the exception of a few that have some displacement modifiers to add a little variation.
Shading and texturing
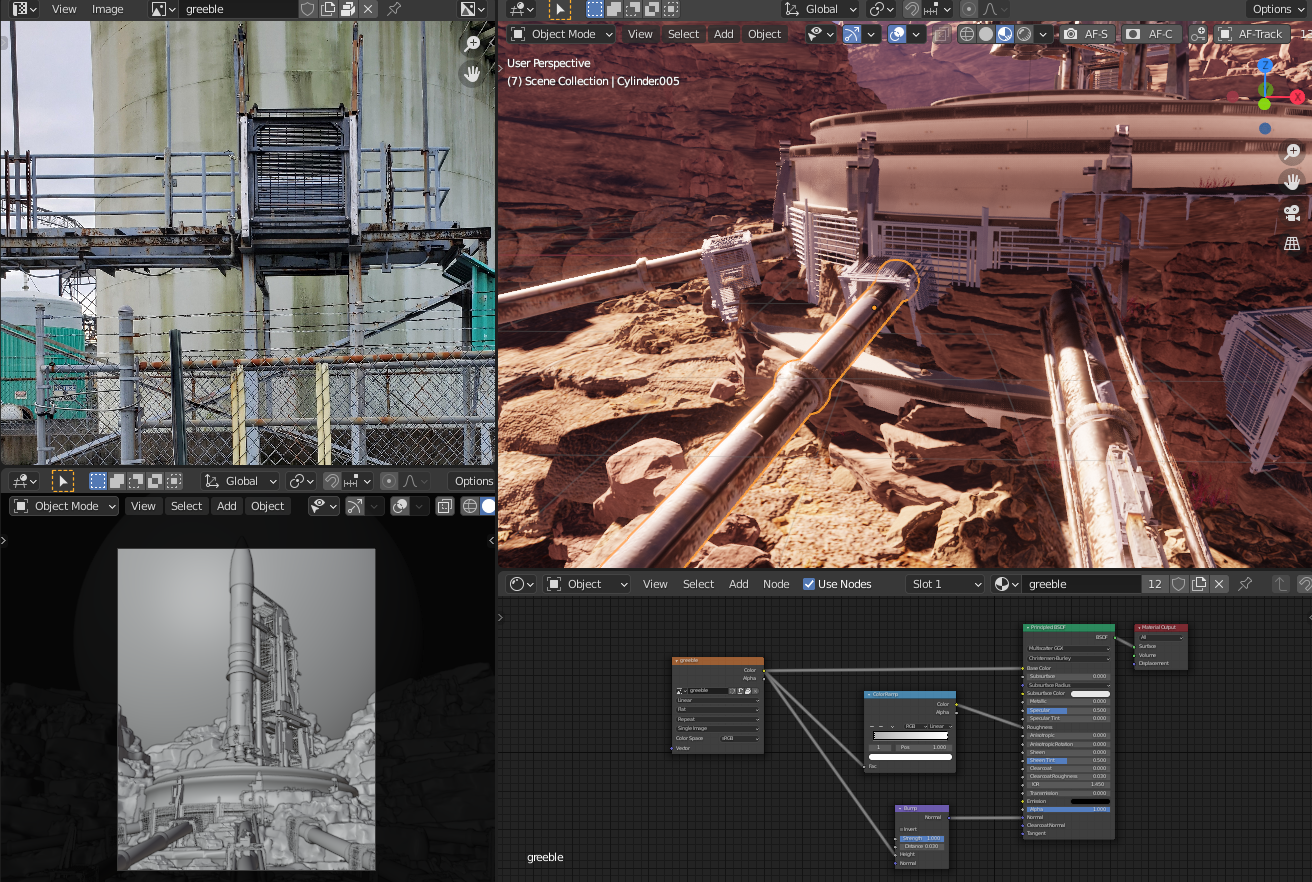
As for shading and textures, all models except for the base cylinders and the rocks use the same shader: a texture from textures.com connected to a color ramp for roughness and bump for… bump. The rest is default.
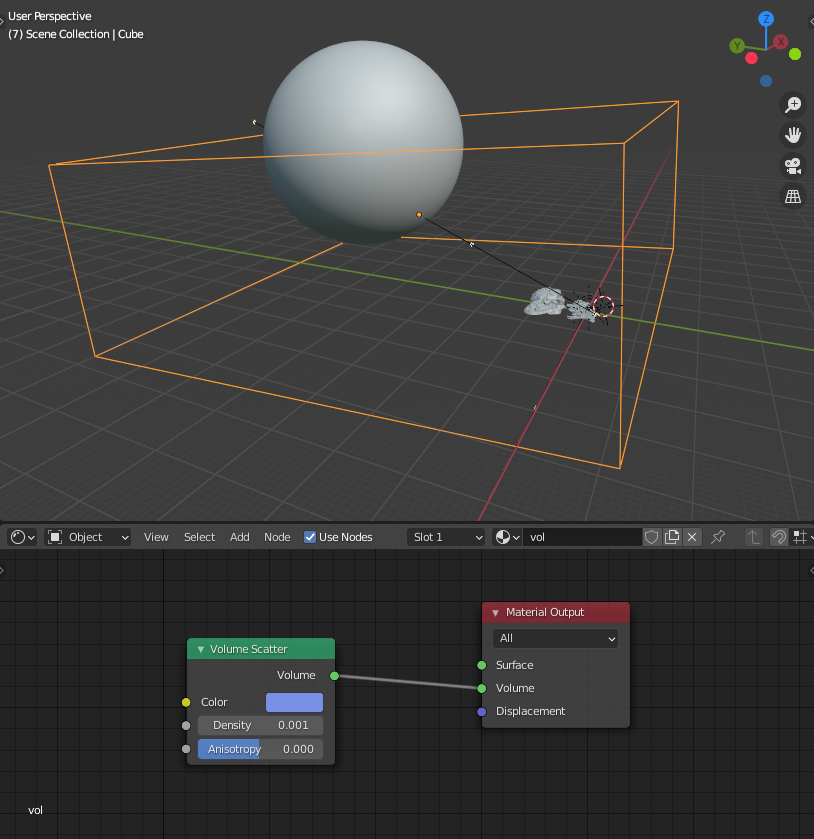
Then I added some volumetric depth to the scene with this cube with a volume scatter shader.
Considering the way I shade most of my stuff and scene, you can tell I’m not going for absolute realism; I want to keep a certain artistic value to it.
Composition
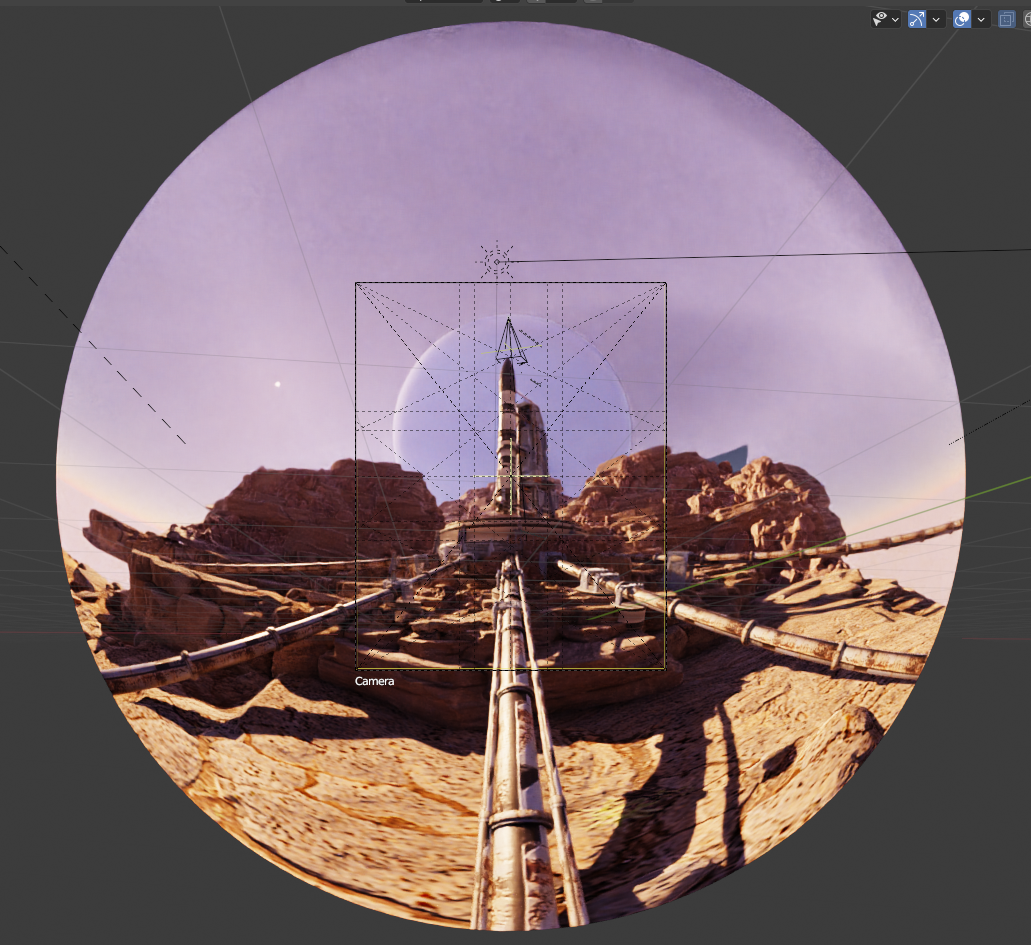
I like using panoramic fisheye lenses so the images feel like they could have been taken with a smartphone camera, or just because I want to add some distortion to emphasize the size of things. And I love using the viewport denoising to make quick decisions!
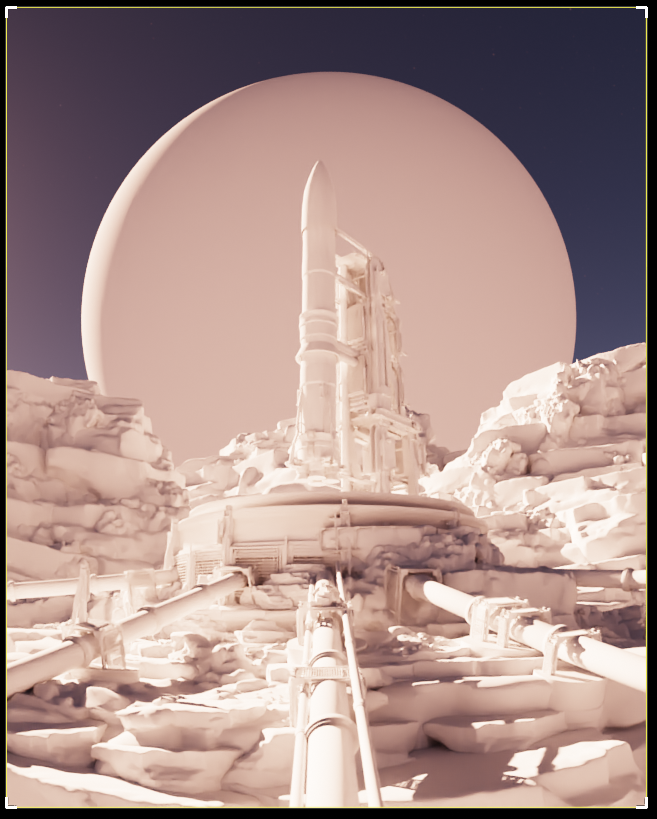
I also like to keep the composition guides on, because I’m a really symmetrical guy and try to match everything to these lines. I find the results are often quite good!
Post
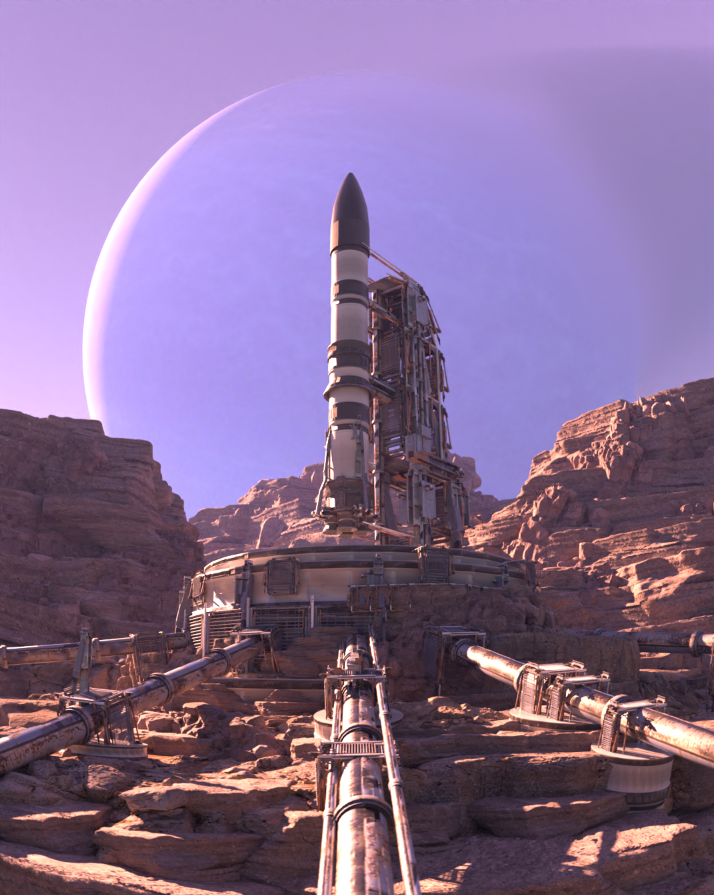
This is the result after rendering an openEXR with mist and Ambient Occlusion passes for more customization later in post.
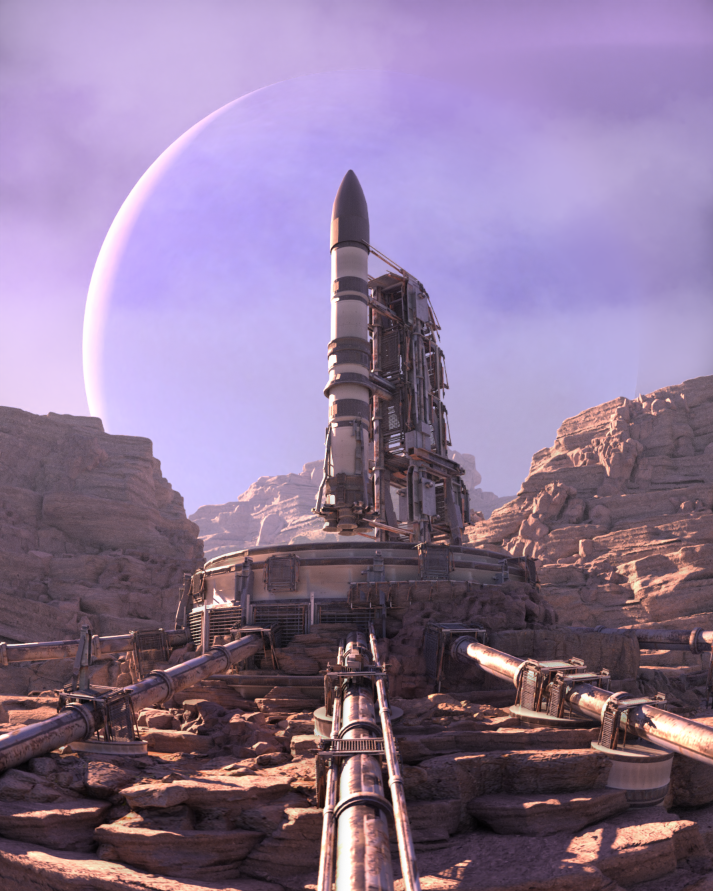
This is the render with the Mist pass and the AO pass applied. I’ve also colored the mist pass a bit.
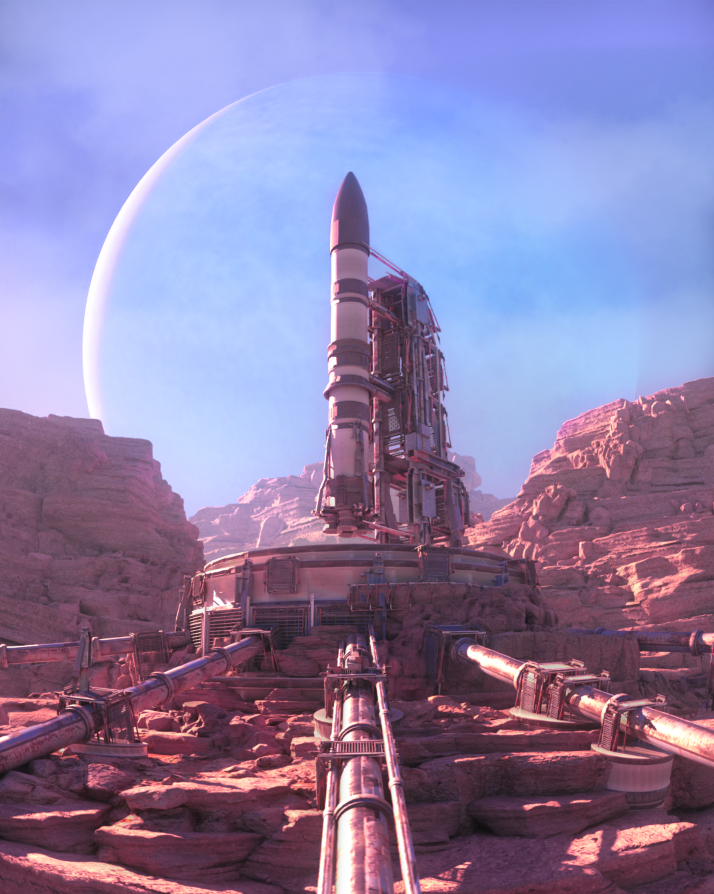
Then I changed the colors to a more reddish hue and I saturated the sky a bit more to give it a sci-fi feel.
Final Image
About the Author
 Brellias, Art director, 3D artist, purple fanboy.

Good job. This is a great review with lots of details and thanks for so many images of the process. I love the final image.
You have just reminded me how easy it is when you use Blender from the things you enjoy most, in your case, Sci-Fi and Rocket science. At your age I feel very much challenged by your creation. Time is not much disposable to me but you have given me the reason to push on. Thank you and I really love your creation. It is just super duper awesome. Keep going hopefully will see the rocket taking off in a plume of gas
Very nice!!