
Behind the Scenes: Space Carrier OSN Provincial

About Me
Hi! My name is Pham Nguyen Anh Khoi. I am currently a passionate freelance hard surface artist in Ho Chi Minh City, Viet Nam. Although I majored in Graphic Design, I’ve always been fascinated by the world of 3D art & its endless possibilities. I started doing 3D hard surface 5 years ago, when I was so impressed by the sci-fi movies & games like Star Wars, Star Trek, Freelancer… With the degree that I earned from my Graphic Design courses, I always put some personality traits in my artworks.
This project was for a CGBoost challenge. It was a fun test of my ability to create astounding artwork in the shortest time period possible—by the time I learned about the contest, I only had 5 days left to finish my entry. That’s where Blender comes in since I was already familiar with the fast workflow, wonderful PBR viewport, and workflow optimizing addons. So now I’ll walk you through the process of this fast creation.
Generating Ideas & Blockout
One of my colleagues used to say that out of all the difficult sci-fi hard surface projects, spaceships are by far one of the easiest projects since they can take any form you want them to. For example, a disc starship, a wedge Star Destroyer, a Bugatti space shuttle in Elysium….
In this case, I quickly grabbed the idea from my old idea book full of possible future concepts. The ideas go from elegant to menacing to dominating. I chose the latter. With the ship’s personality acquired I went on to look for shape ideas.

The chosen shape was a vertical ship. Since I felt like this shape wasn’t explored deeply enough, there are still many possibilities that I can explore with it.

Notice how the shape of the ship looks like a person extending their arm backward, flexing their muscles. Next, I added supporting shapes. Since the ship was quite big (600 x 600 m), those shapes needed to make sense. They had to provide a big enough space to support other, smaller supporting shapes. All of that matters a lot to the sense of scale.

Asset Creation for Kitbashing
Since the project needed to be done quickly, one of its important aspects was kitbashing. There are secrets about kitbashing assets for spaceships that I’m willing to share. The first thing to do is to gather references.
My best reference is the Star Destroyer; it has just the right scale and the exact amount of details I needed.

I modeled similar assets based on carrier references—they are mostly recycled from their first form through a process I’ll explain.

First, I create a cylinder with 3 layers of detail, the first layer is the main shape, the second layer is the defining shape (what kind of object it is) and the third layer is for detailing.

Then I proceed to scale and move the object’s origin, applying symmetry for the z-axis and the x-axis. And just like that, I had a new kitbashing asset recycled from another asset.
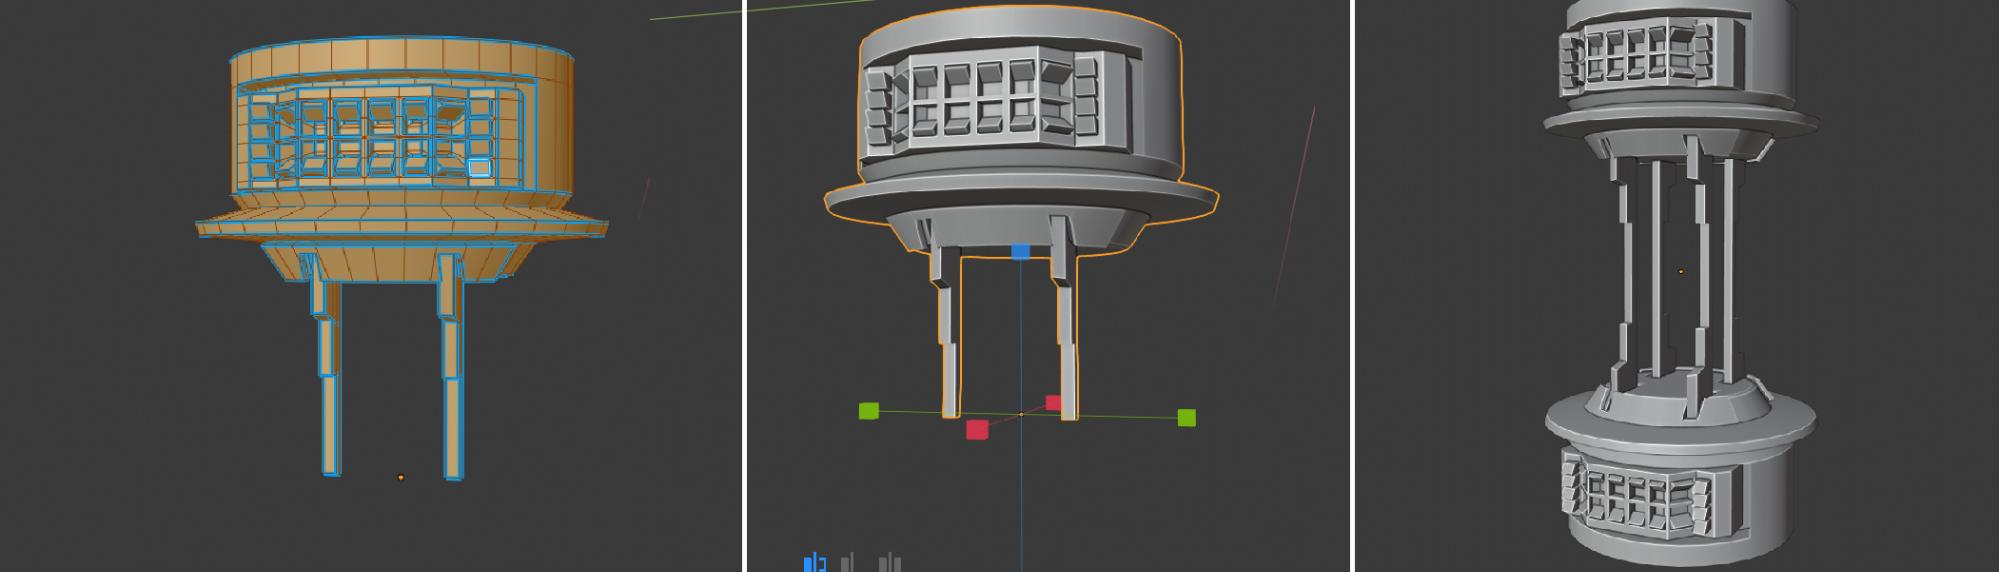
The process is repeated for 2 or 3 more times until it was used to its fullest potential. It is basically using the real-world idea of “Recycling”.
This technique of asset creation showed great results in increasing efficiency while also preventing the assets from looking uninspired.
I did this over and over again until I had created enough assets that I could use.
If you try this approach, remember to explore more shapes—don’t limit yourself to cylinders.
Detailing & Asset Layout
After I had spent time creating an adequate asset collection, I spent the next phase arranging them on the surface of the ship in a way that made sense.
One of the methods I used to get the most out of my time in this phase was to use a skill I learned in Graphic Design courses, which is “color coding.” I divided the ship into 3 colors for 3 types of areas. Building out from the ship’s black hull, orange is for military ships, green is for civilians, and red is for areas that house enforcement equipment like turrets, cannons, etc.

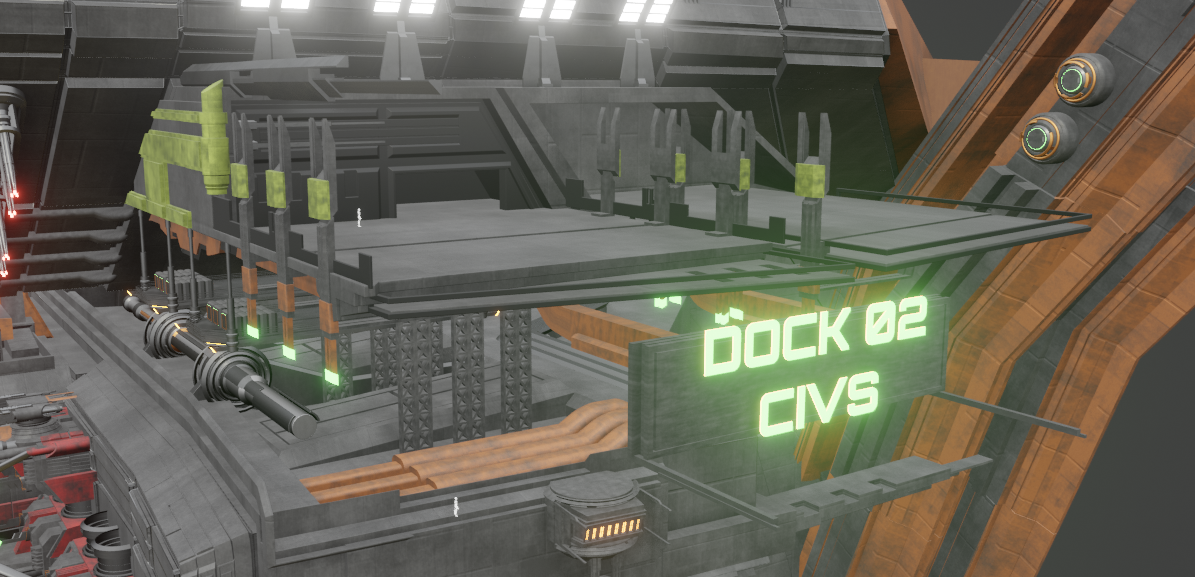

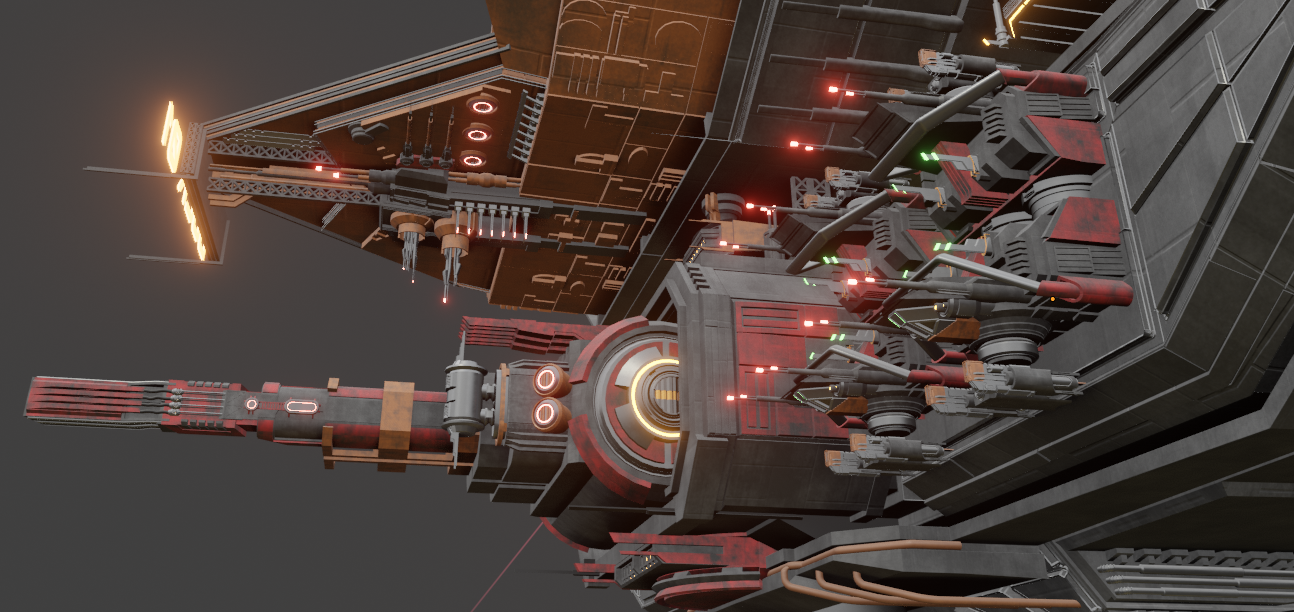
Some assets, like cylinders that glow red or cylinders with ventilation hatches, were easily arranged in a suitable area. like the Red area. Assets like large hangar lights, docking cranes, etc. were arranged in the Green area, and assets like towers, bridges, etc. were arranged in the Orange area.
The color codes boost the detailing process by eliminating or minimizing the need for asset arrangement decisions. They also give the ship a sense of order and systemization.
Sense of Scale
Another trick I used to create a sense of scale is to add small lighting around the ship. These lights include everything from signal lights to hangar lights and towers’ window glow. This is similar to the technique that Industrial Light and Magic used to make the Star Destroyer appear large & detailed from a distance.


Tip: For large ships like this, adding assets like scaffolding or supportive structures is effective at making them look bigger.
Texturing
The texturing process was quite straightforward since I already knew that this was going to be a standard grimy, worn out, cold metal ship. For the ship’s hull, I used a diffuse map that I found a long while ago and mixed it with a few roughness & normal maps in Blender.
Blender nodes are really powerful. Normally I’d go for Substance Painter, but this time I used Blender’s node system for texture creation.
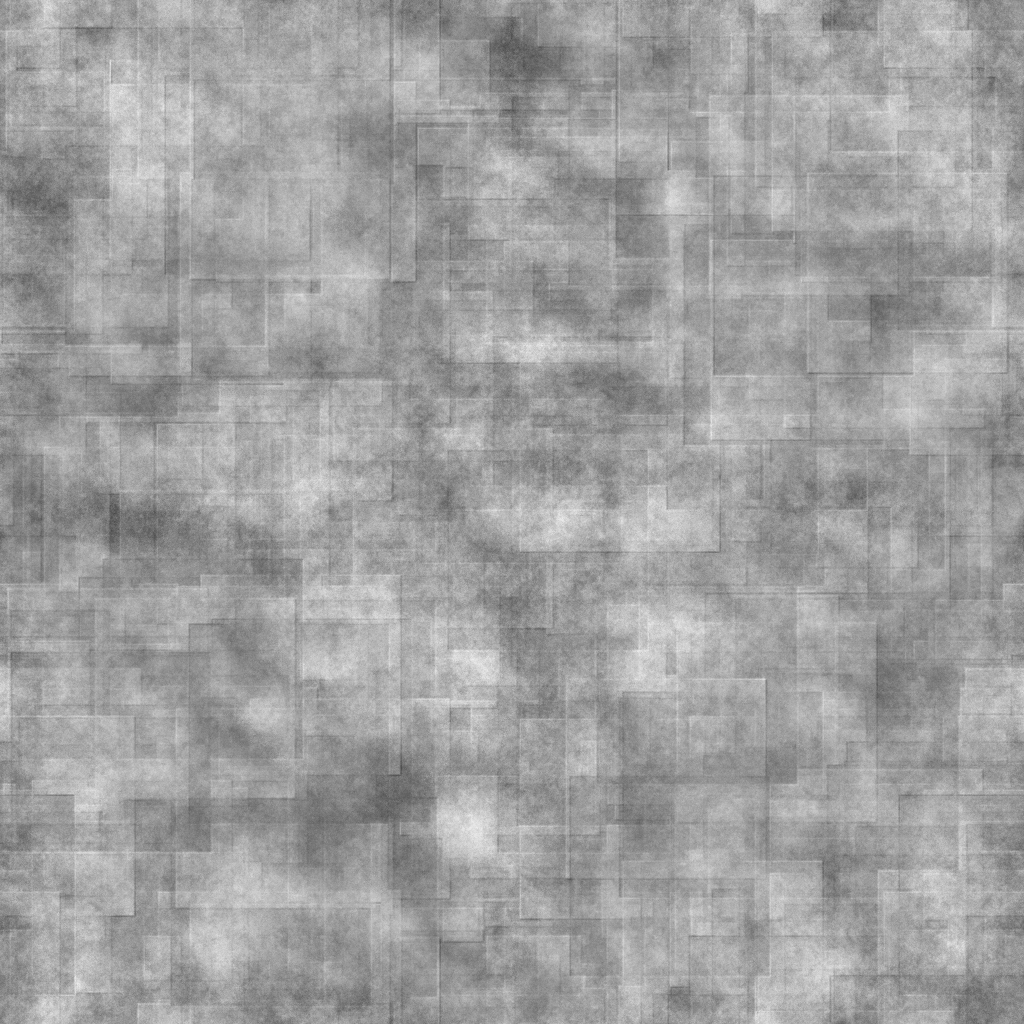

The texture color is connected to a gradient node, which allowed me to easily alter the color of the hull without having to rebuild the texture nodes while also maintaining the grime of the texture.

Lighting & Setting Up the Scene
Since the preceding 4 processes had already taken 3 days to finish, the scene was changed from the original concept that I had in mind. I had planned a “trading scene between 2 carriers with cargo ships & drones flying in and out”, but adjusted it to “a carrier emerging from a gigantic cloud formation.”
I decided to complement the secondary color of the ship, which is orange. I set up lots of lights around the ship to render with EEVEE; each of those lights has different intensity & color tones.

The amazing cloudy scene was possible thanks to the help of these wonderful nodes!
Rendering & Post-Processing
The rendering for the ship was done entirely with EEVEE since my current rig can’t handle Cycles volumetric very well. But with the right lighting, EEVEE rendered wonderfully.

What I’ve learned over 4 years of design courses is that post-processing is important in beautifying a scene. With Photoshop, what I did was edit the color with saturation, vibrance, slight color grading, added some chromatic aberration, vignette, added some filmic noise, used the AO render passes, and added some fog using brushes. Here is the final render output:

Conclusion
This project has been fun for me. It allowed me to explore my abilities in creating such a mega-ship and composing an epic scene in the shortest time possible. The outcome of the ship has inspired my friends and community to try to achieve the same. When the ship is done, it will be more epic than it currently is.
Visit my portfolio page for more renderings!
About the Author
 Pham Nguyen Anh Khoi, Passionate 3D Artist & Graphic designer who aims for epic design


amazing work love it keep up the good work bro
Very nice work!! Fantastic!