Blender is stuffed with useful tools and functions, which are sometimes hidden beneath the surface. BlenderNation covers them in a series of clear, short tips.
The Bend tool
Slightly hidden inside Edit Mode is a very useful tool to bend your object or a part of it.
The procedure is simple:
- Enter Edit Mode.
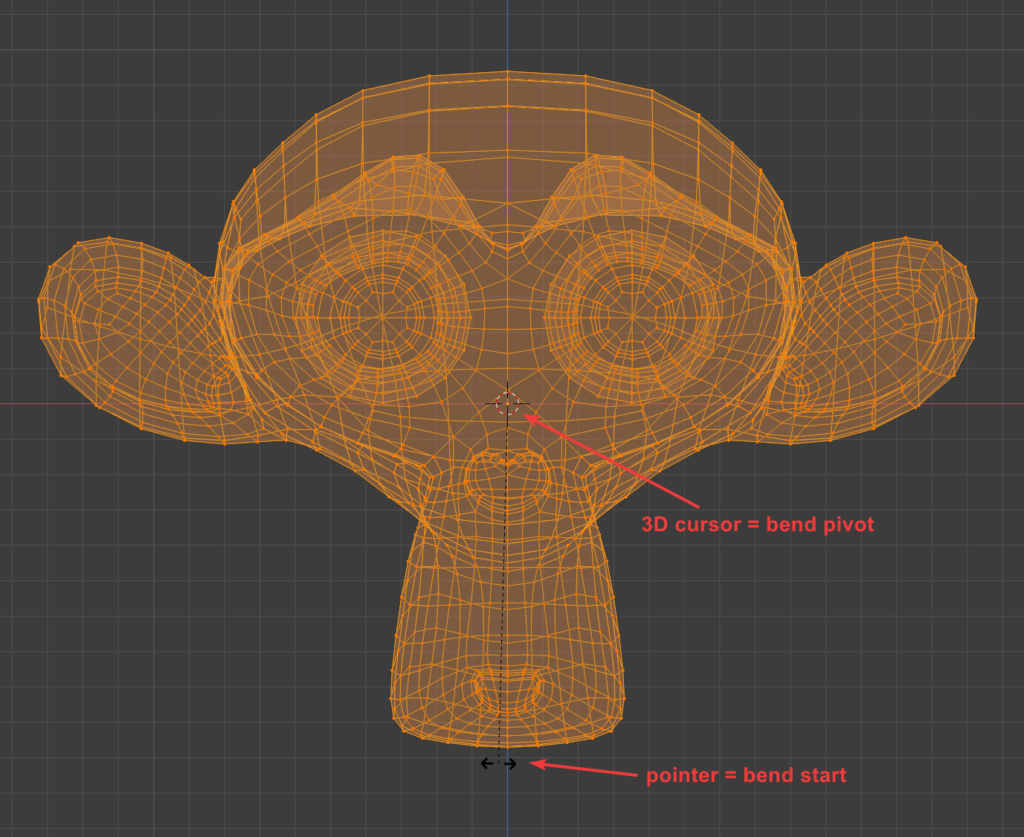
- Place your 3D cursor at the desired bend pivot position (select vertices and press Shift + S to move the cursor to the selection). The 3D cursor functions as the bend’s pivot point.
- Select the vertices you’d like to bend. You can also just select all vertices.
- Place the pointer at the outer end of the vertices you’d like to bend (usually just outside a mesh).
💡 Warp works in screen space, so it's recommended to switch to an orthographic view like the front view.
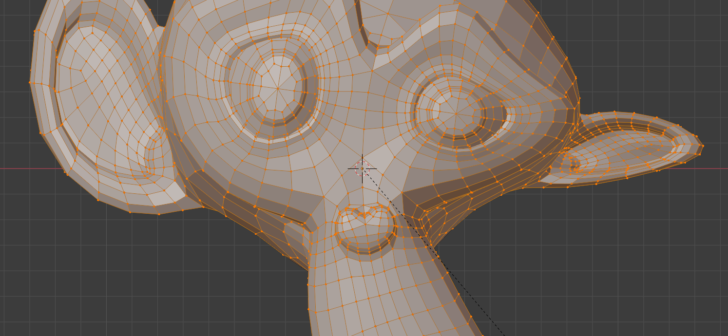
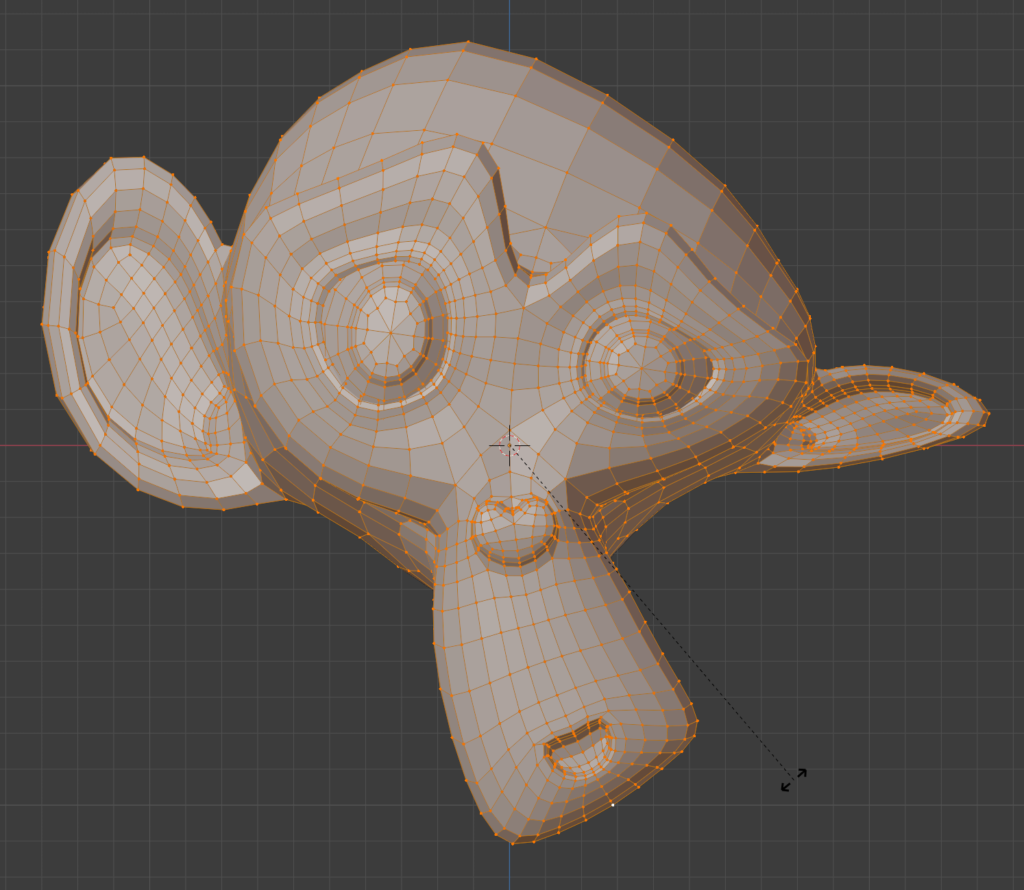
Press Shift + W to activate the Bend tool, and move your pointer to guide the bending.
💡 Hold Alt to make the bend affect the other side of the 3D cursor as well, mirroring the bend effect on both sides of the 3D cursor. Vertices need to be selected in that area too.
💡 When you've selected multiple objects, you can use the Bend tool in multi-object Edit Mode as well.
Happy Blending!


1 Comment
thanks this helped