Behind the Scenes: White Bathroom
About
I’m Luan (Luan3dr), I’m from Brazil, I’m just a CG-like guy. My biggest inspirations were James Cameron’s movie Avatar, and Roland Emmerich’s 2012.
I don’t have 3D training yet; I’m self-taught and have focused on studying 3D for about 3 years, but I’ve been using Blender since I was 13 years old.
Motivation
The first reason for making this scene was to improve my technique, as always maintaining knowledge is always important, and I also wanted to share interesting art with the community.
The first step was to draw a floor plan of the scene and then research the references for furniture and accessories (Reference 1, 2, and 3)
Tools
I used Blender as my primary tool, Cycles for rendering, and Photoshop for post-production (color and brightness correction).
The PC configuration used was: Ryzen 2 2700x, 24GB RAM Memory, GTX 750Ti
Modeling
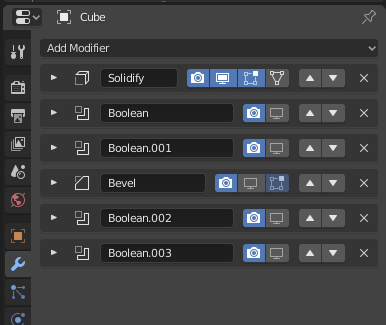
Initially, I made the walls from a basic cube, used the solidify modifiers to give the walls thickness, booleans to create the door and window spaces, bevels to break the 90º corners, plus some other booleans to open places for lighting on the ceiling.
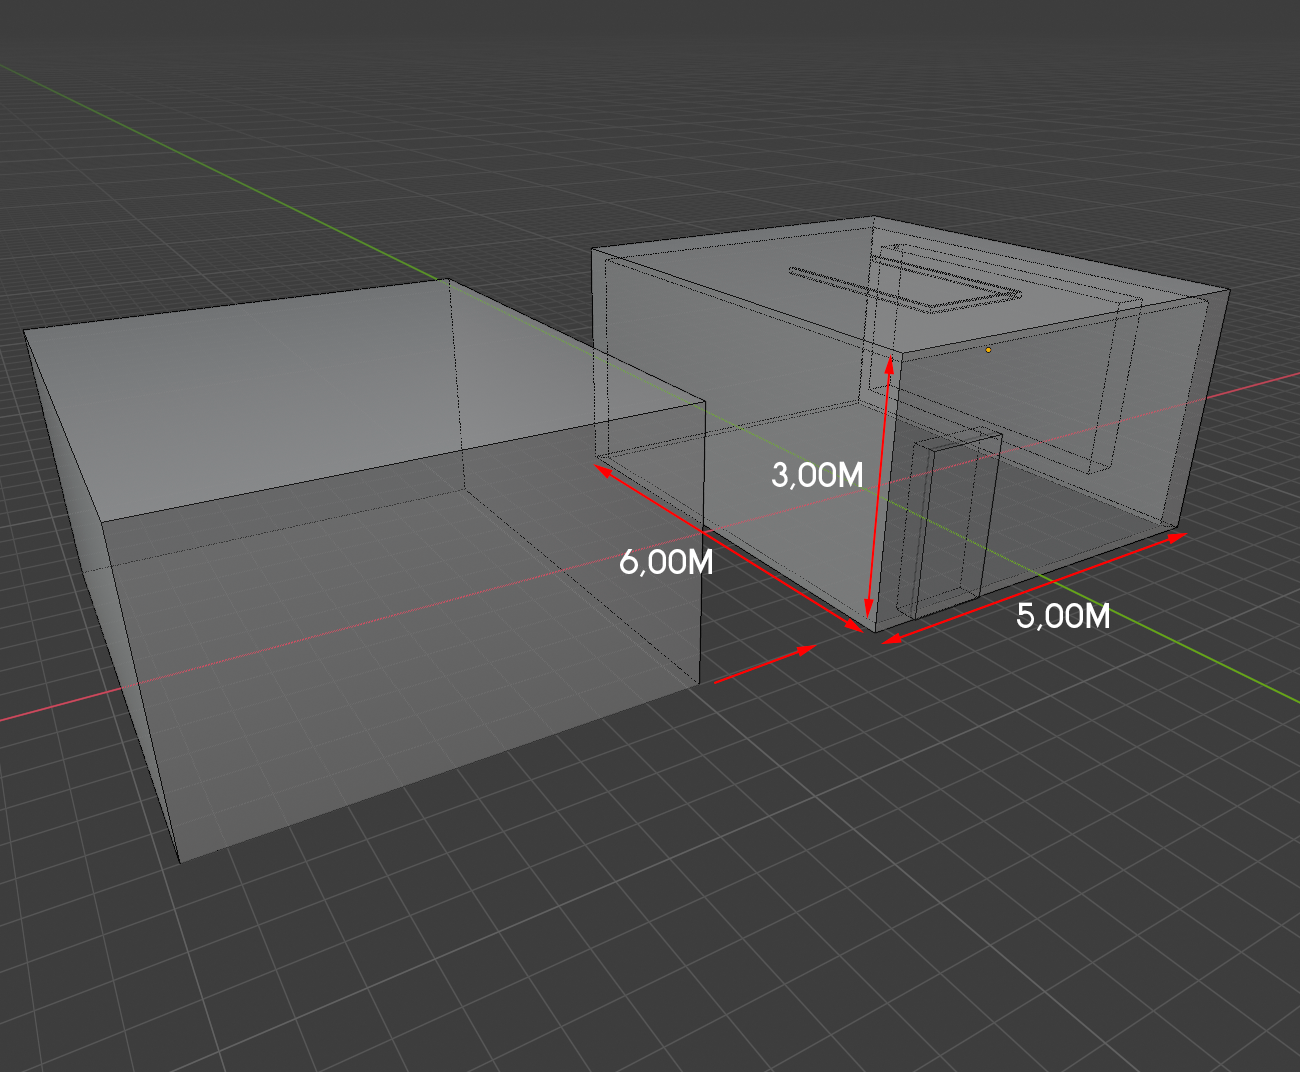
Then I added the inner walls that make up the bathroom itself. I put doors and windows in their proper places using Blender’s own Archipack add-on.
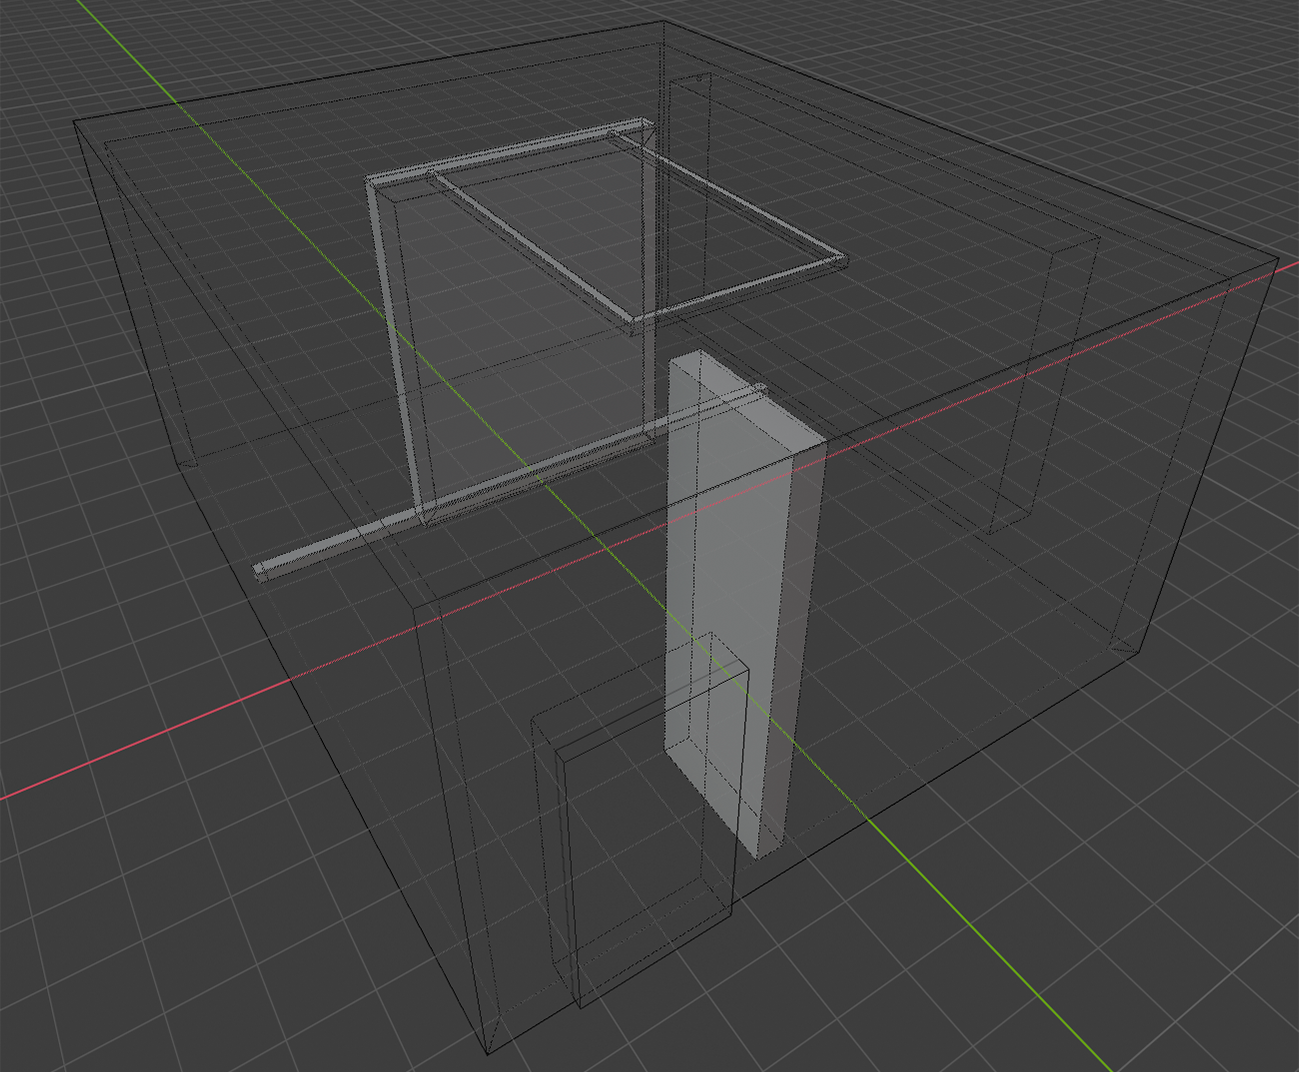
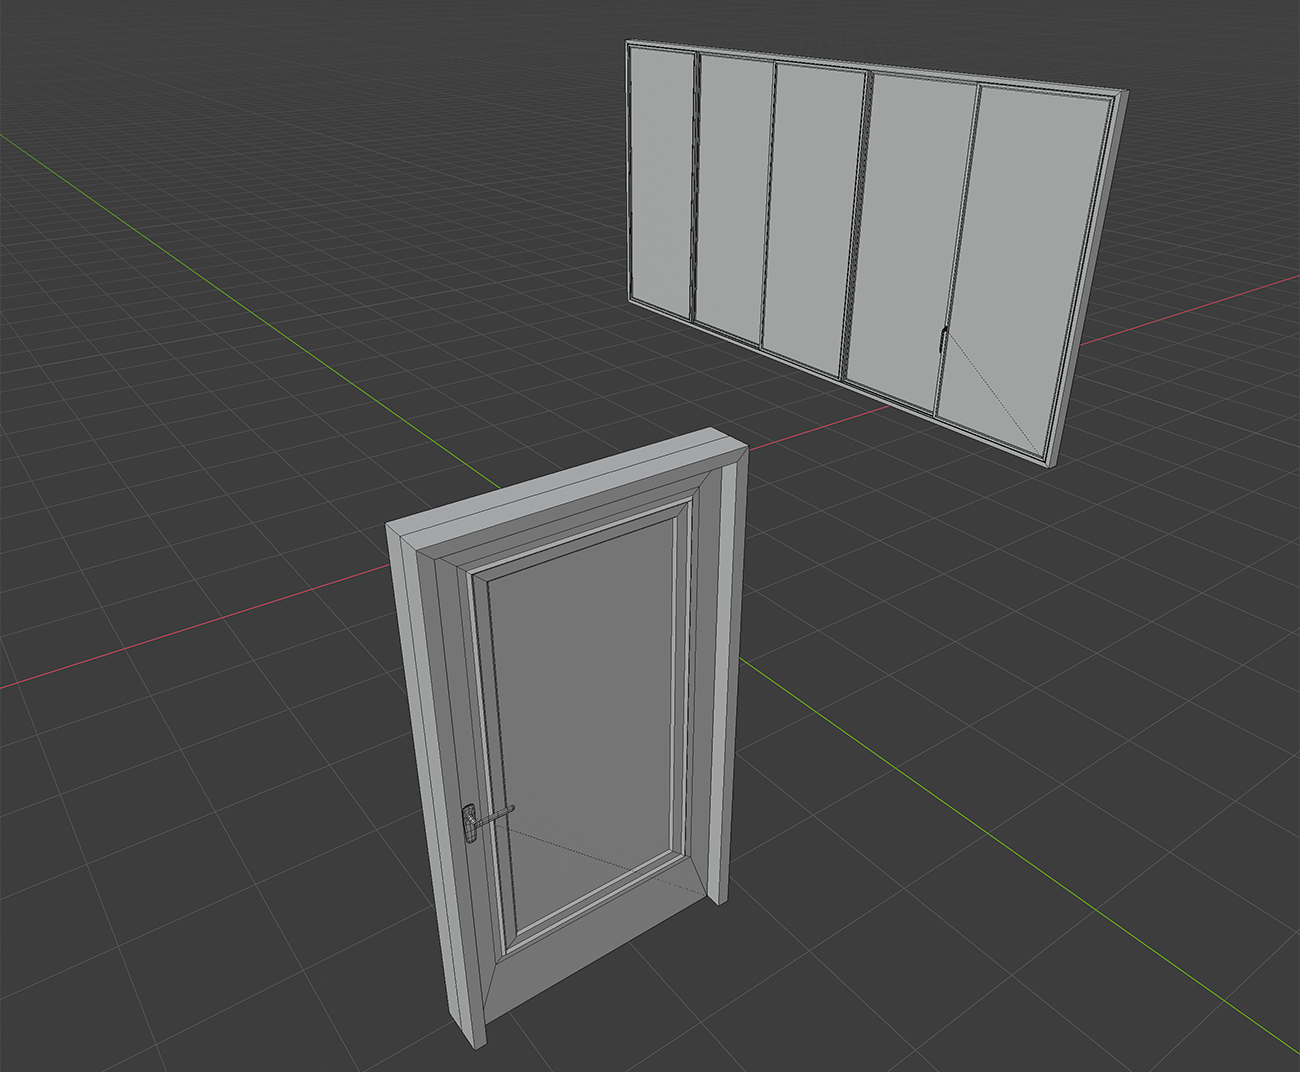
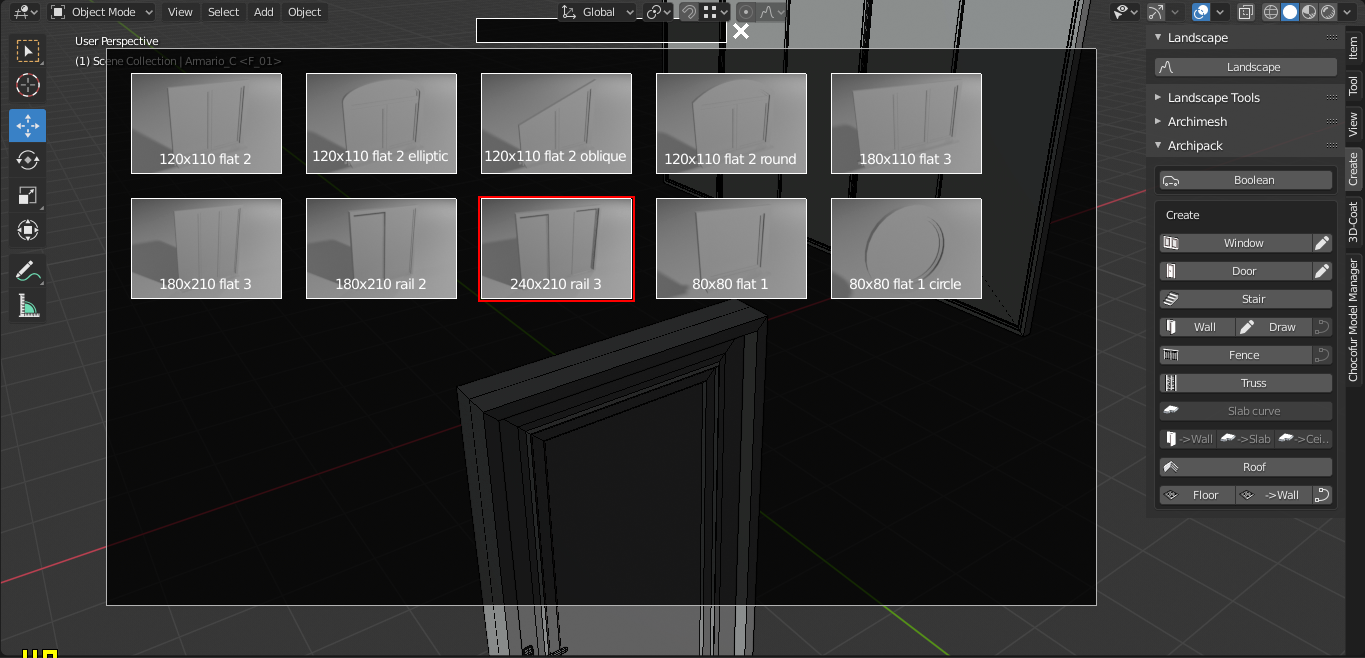
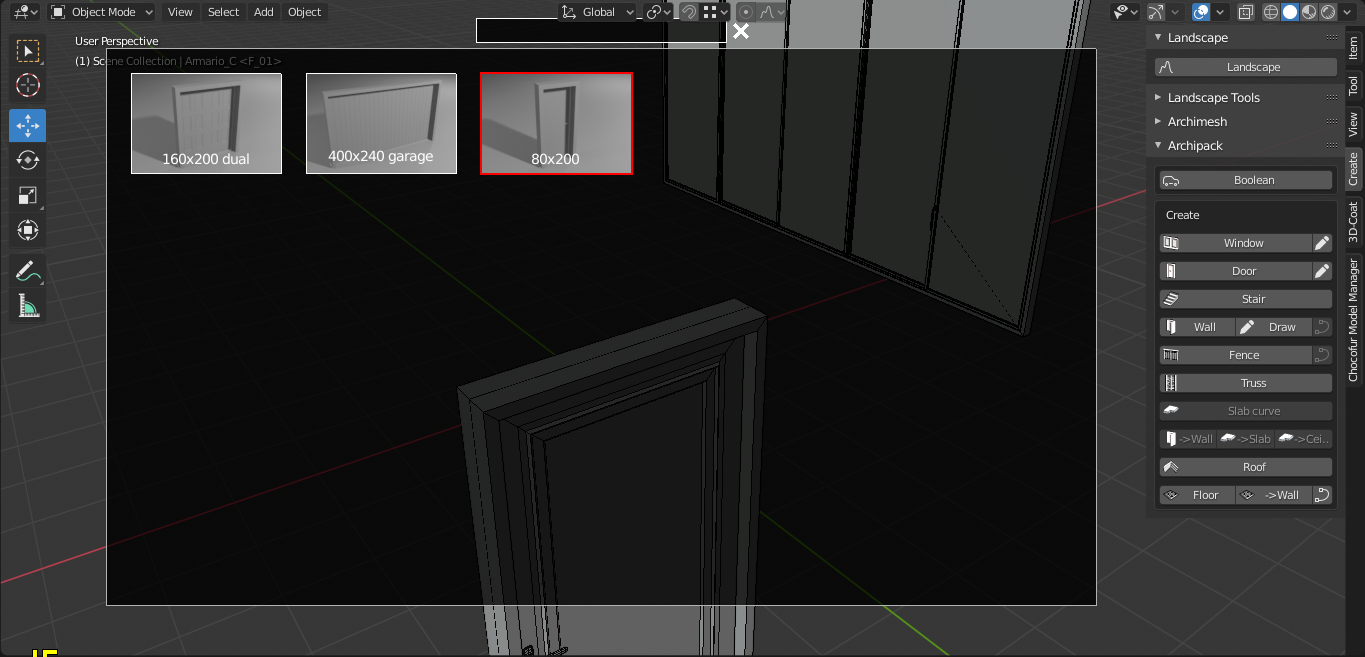
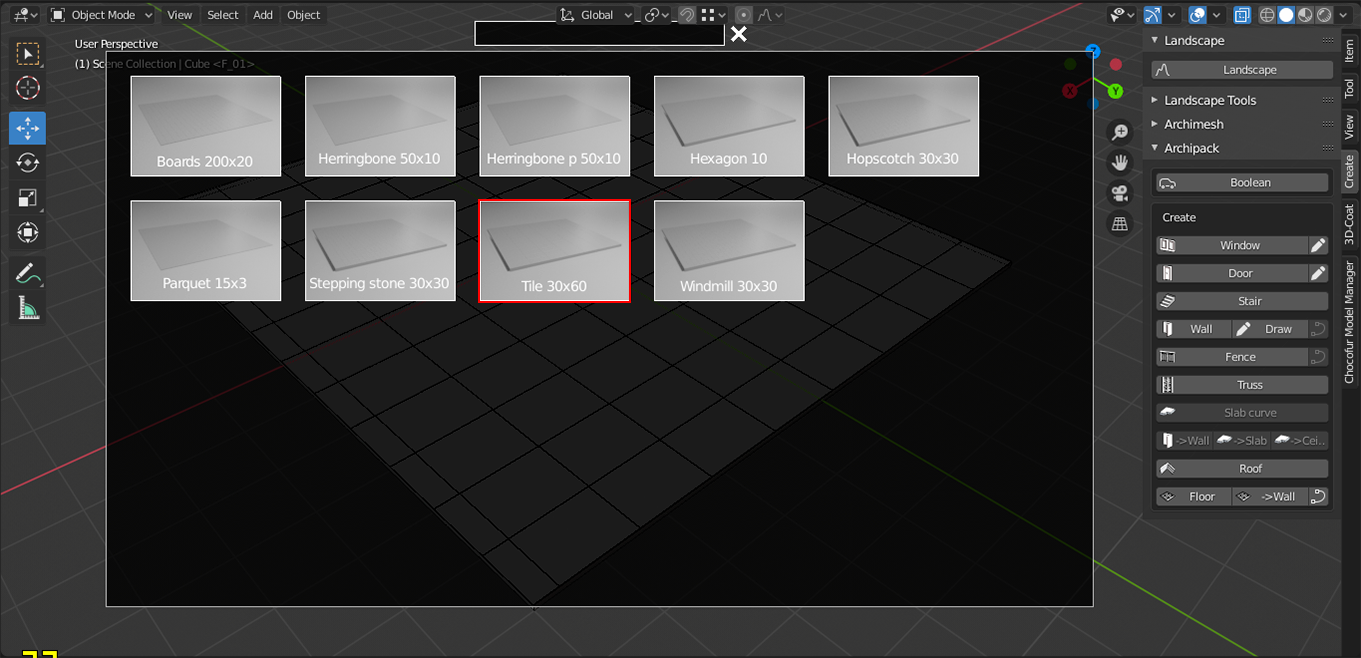
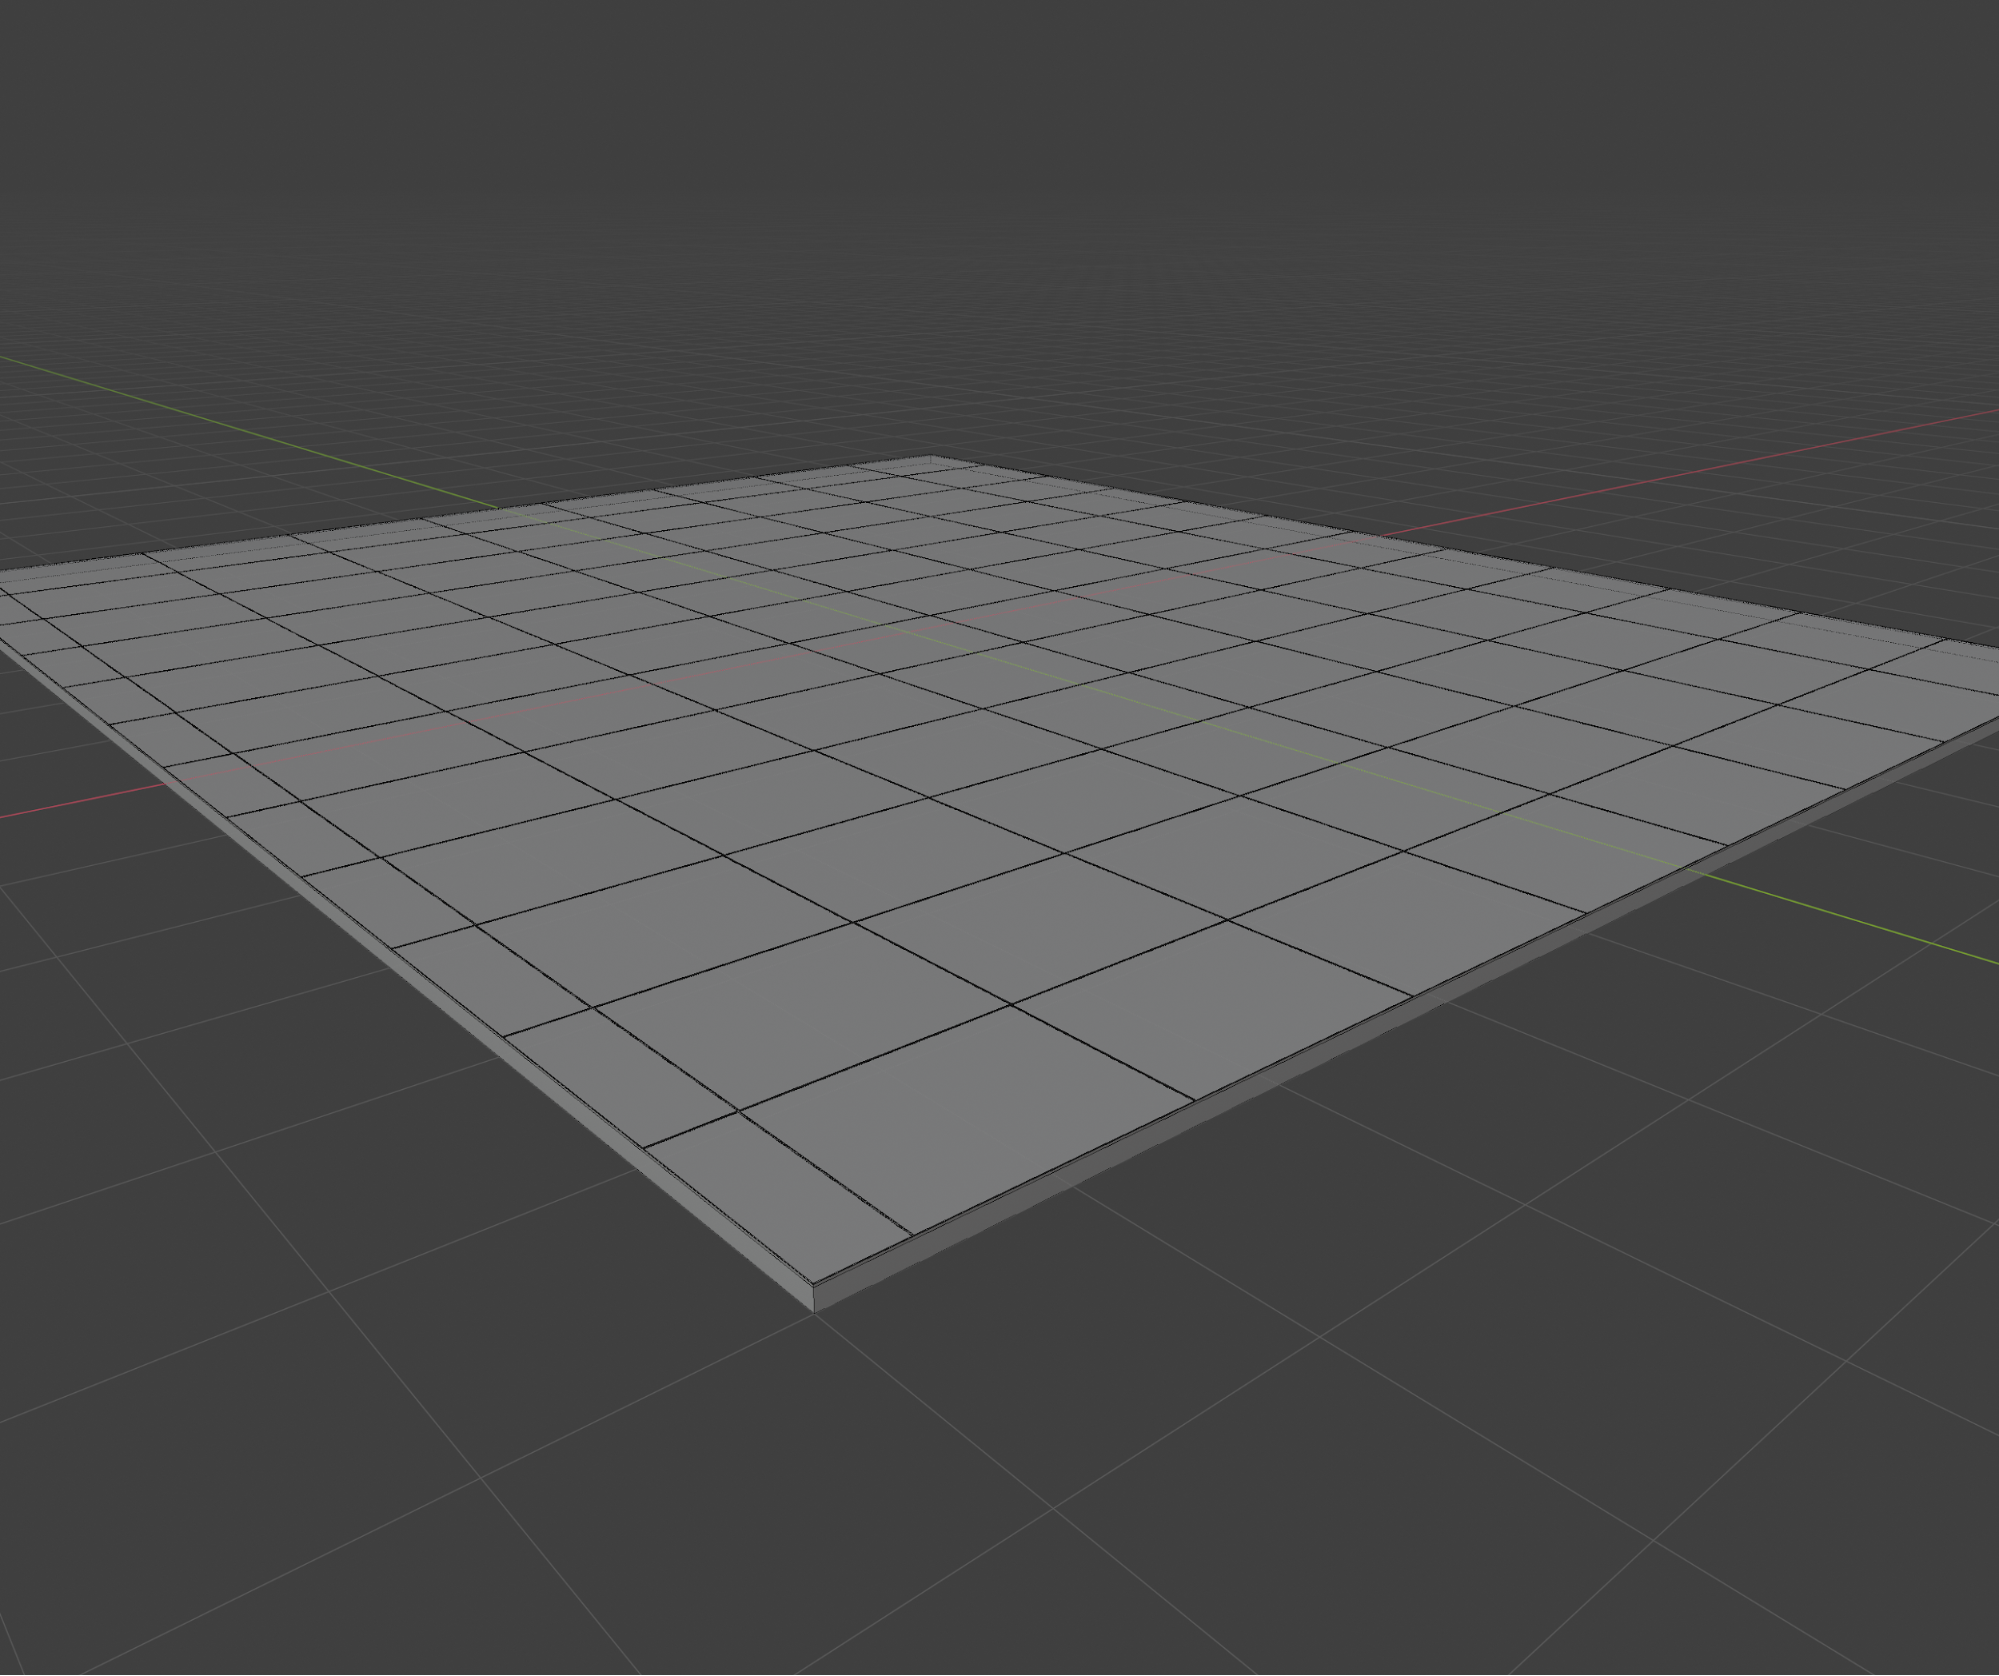
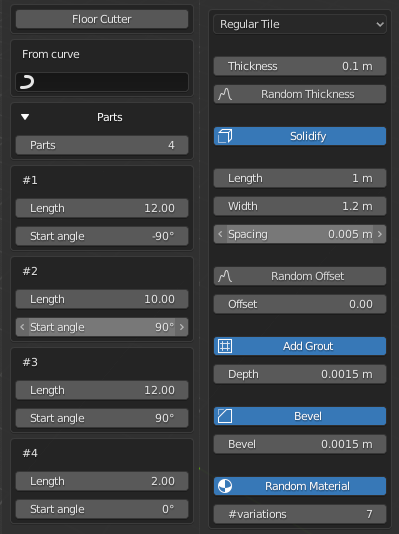
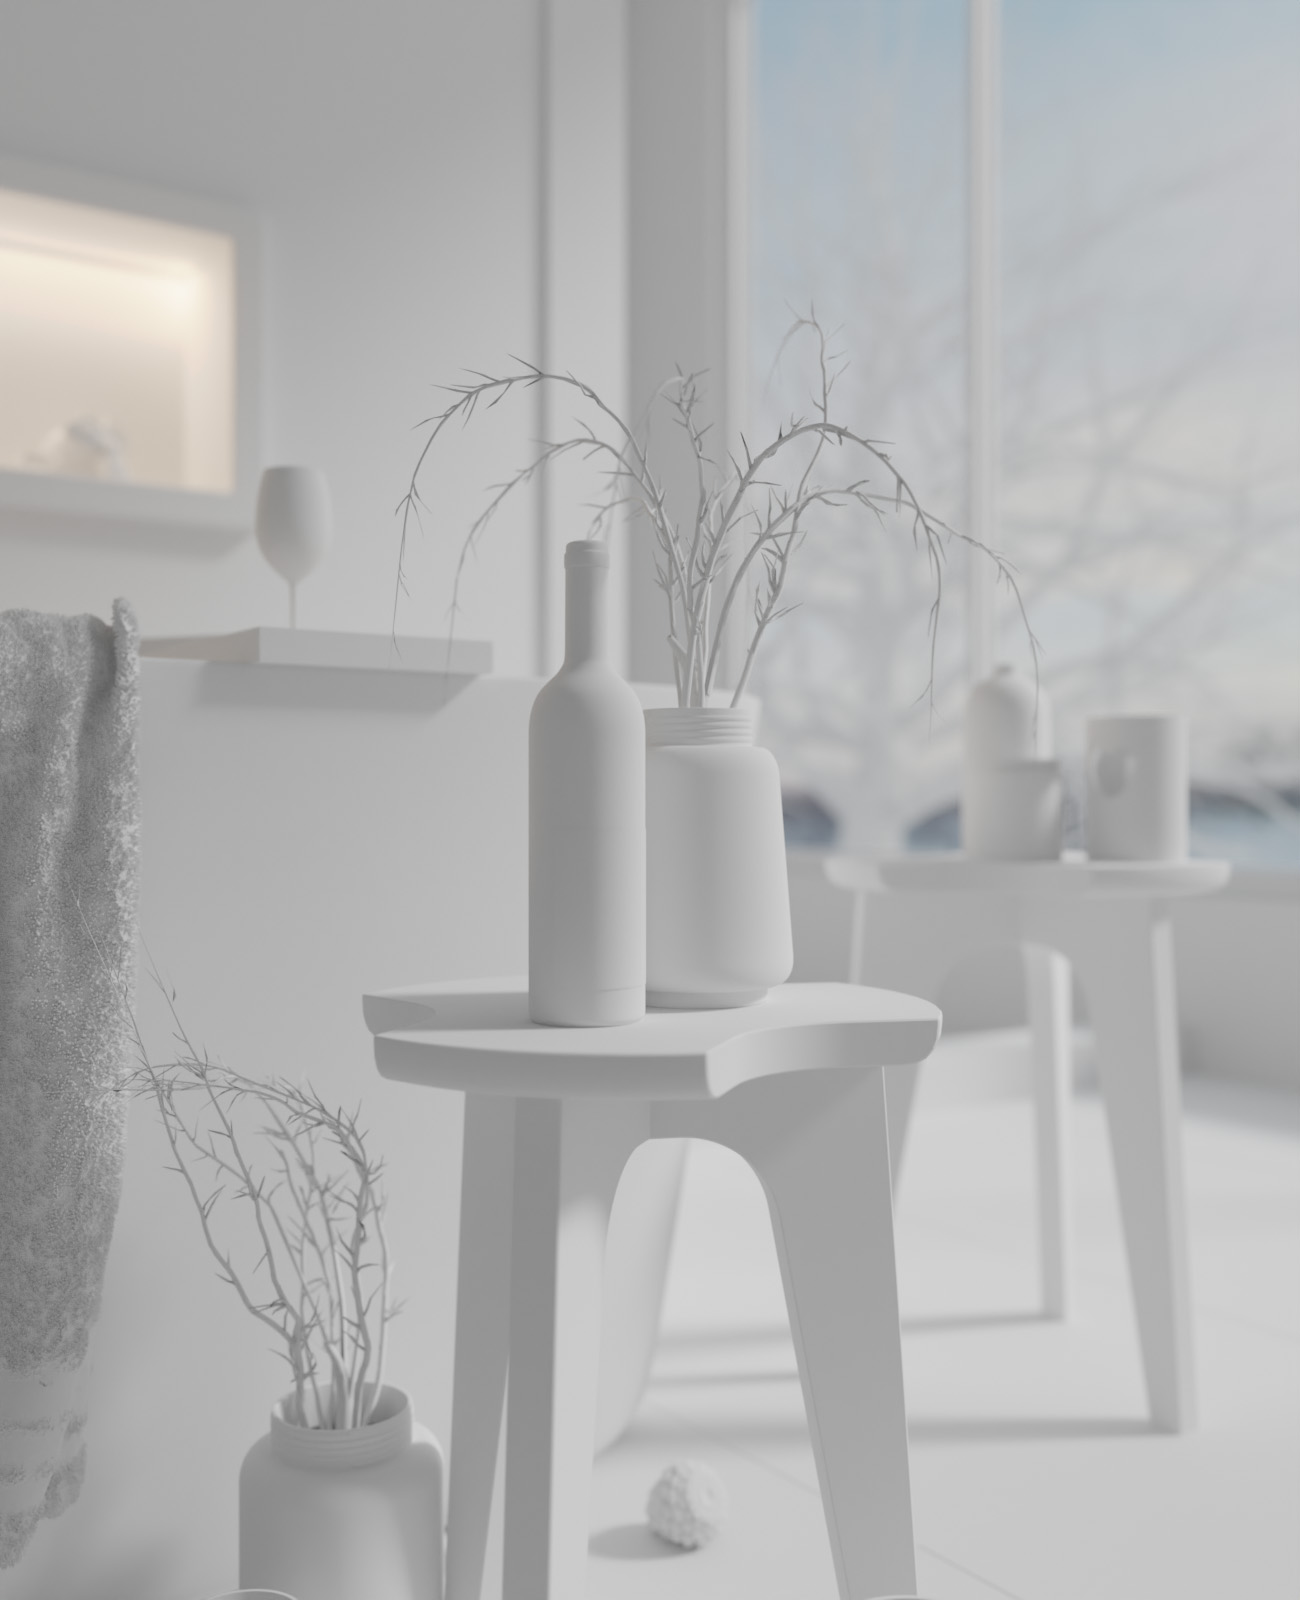
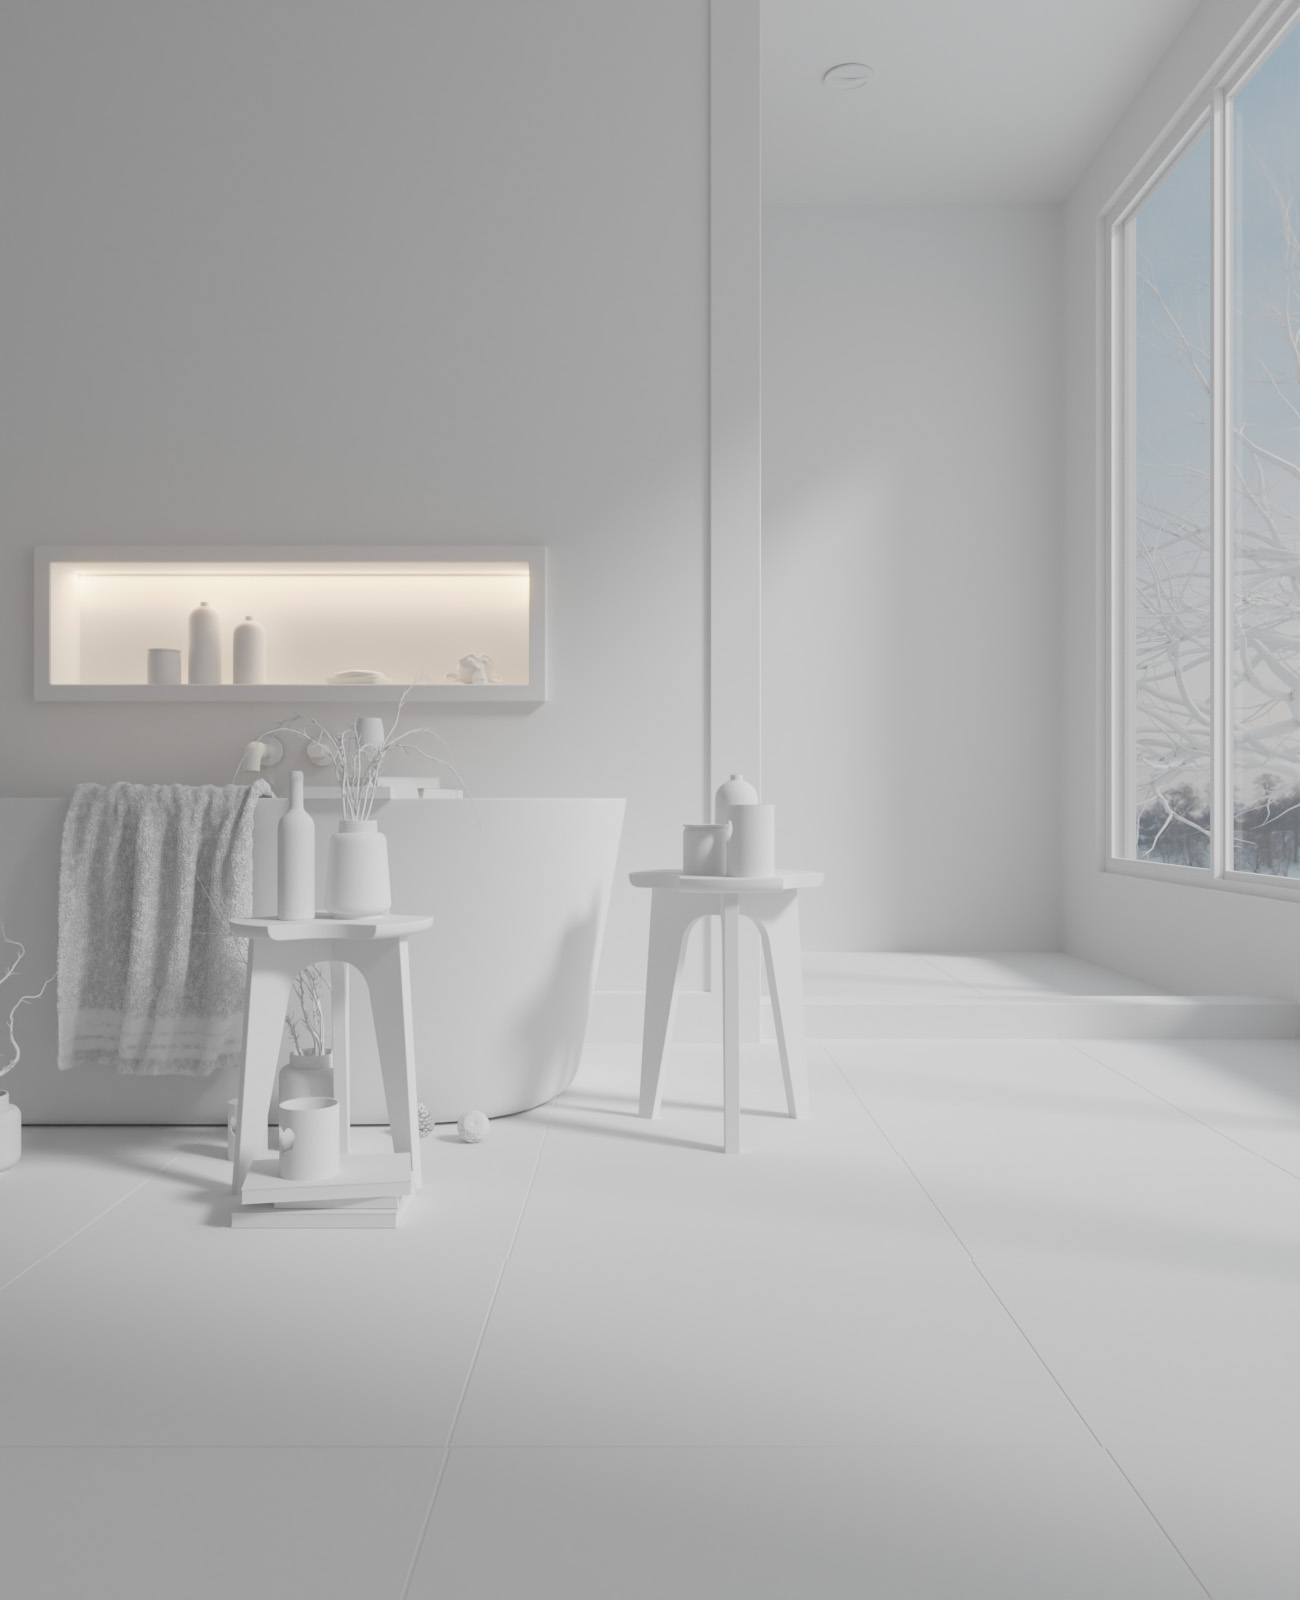
With Archipack I also made the bathroom floor into a simple shape that would fit the bathroom plan, and set the size to fit the walls and design perfectly, as seen in the following images.
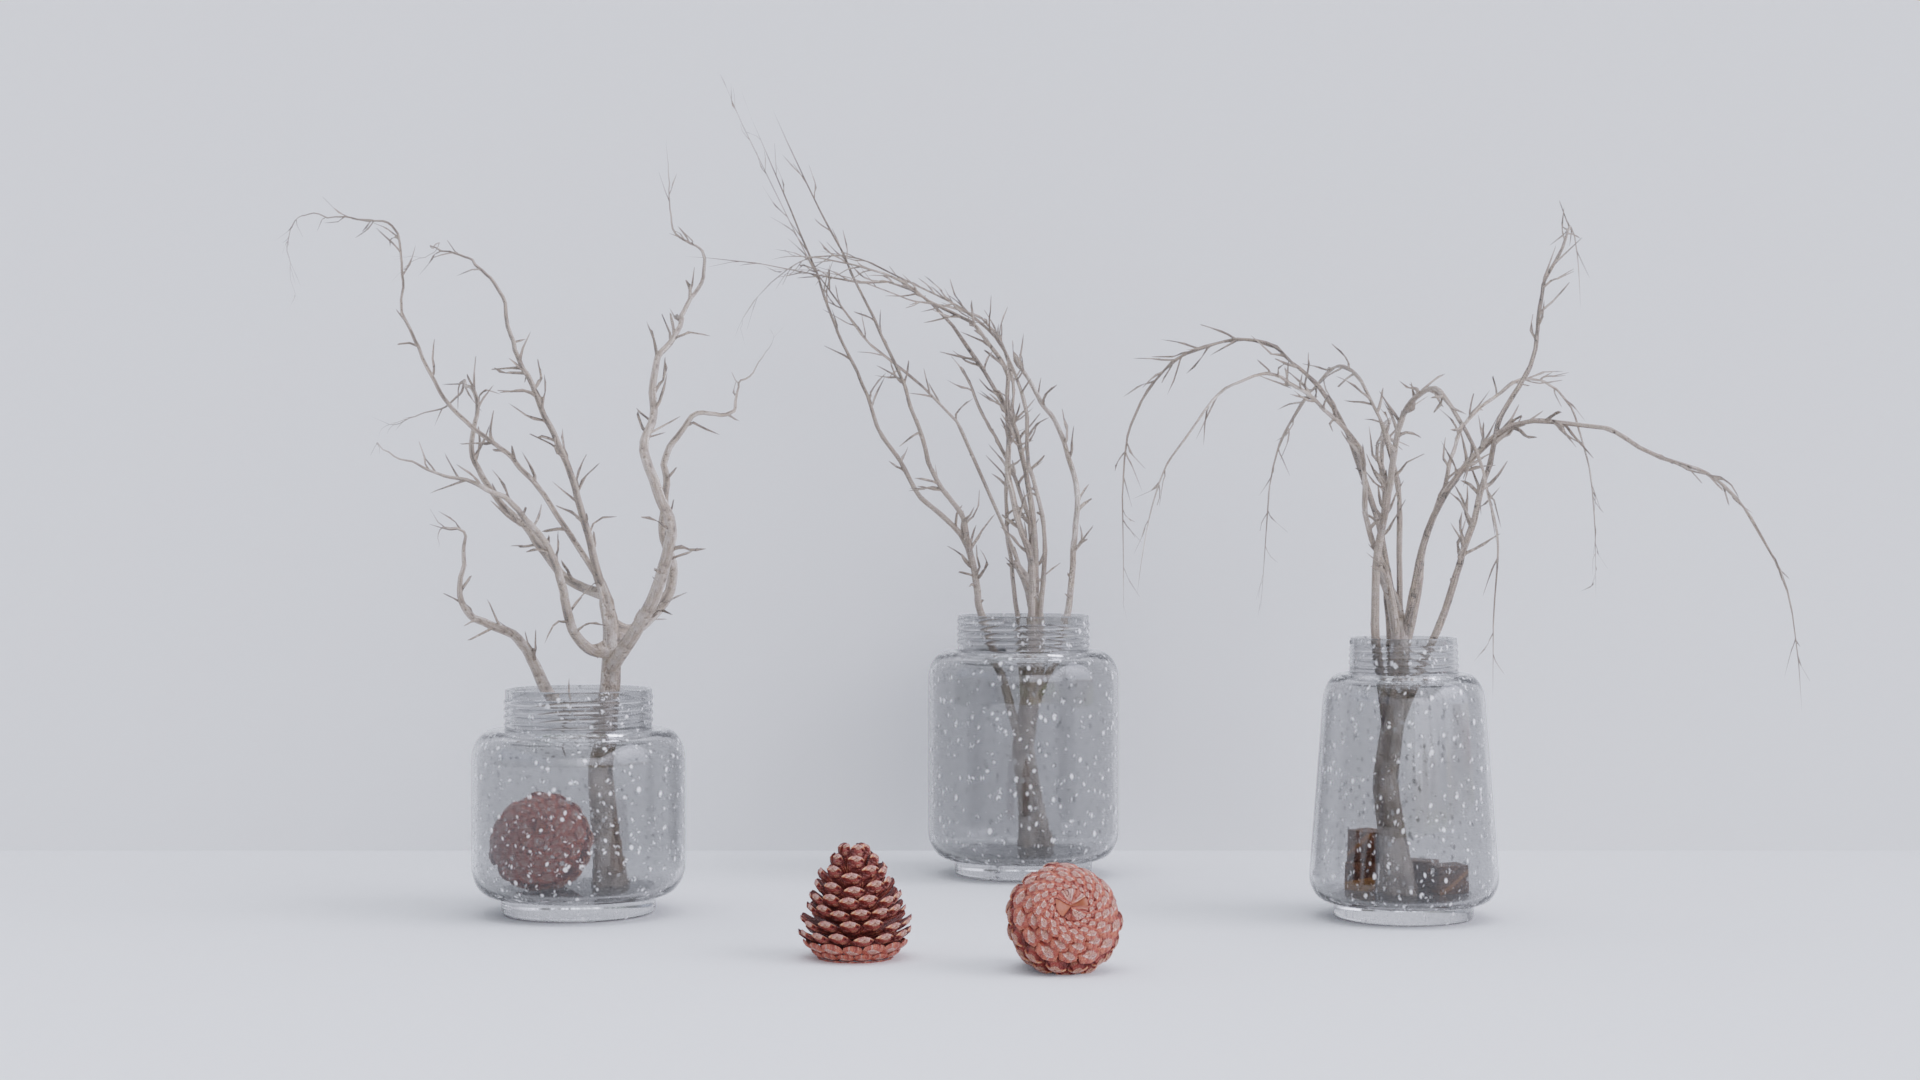
Outside the room I added some leafless trees—to give the feeling of a cool climate—that I made using a free add-on.

Things Modeled By Me
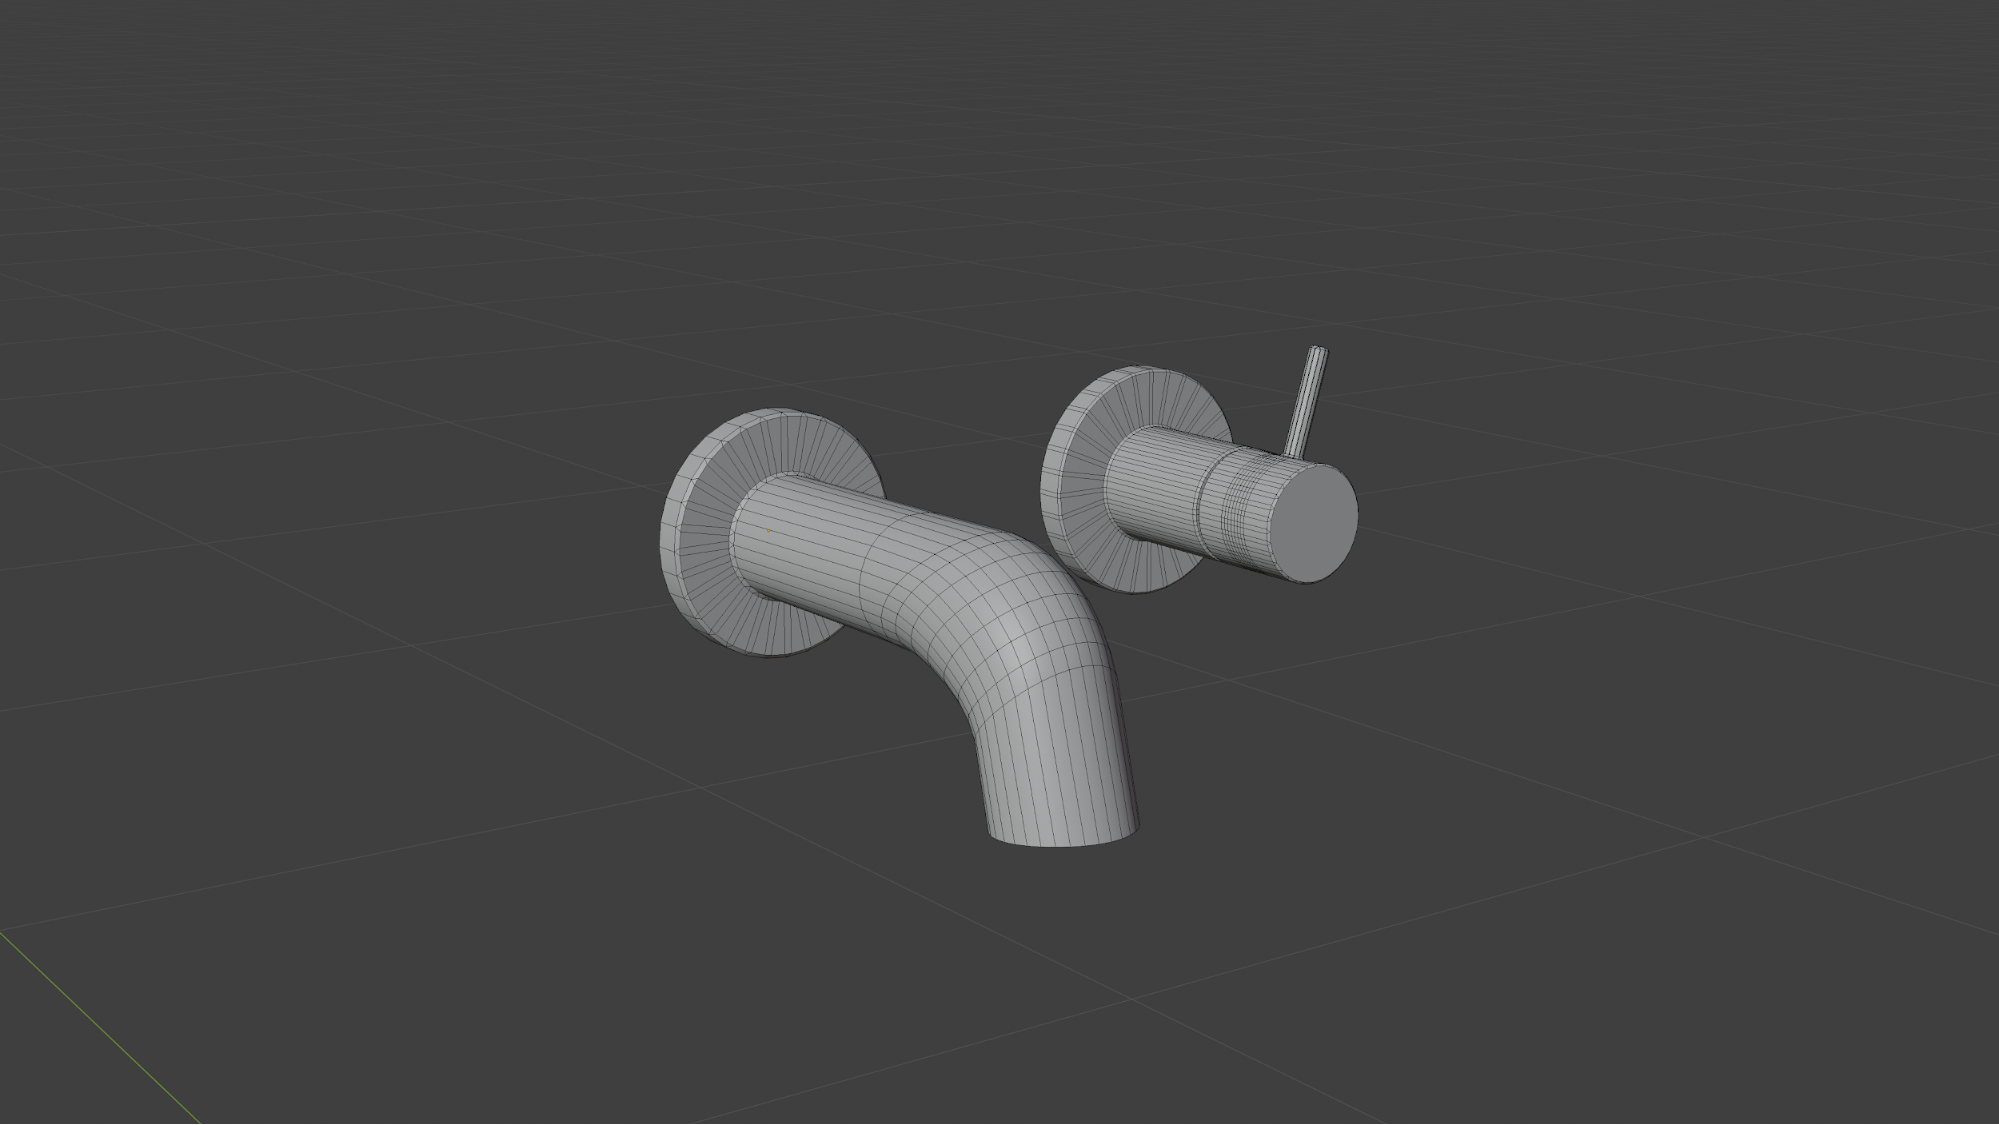
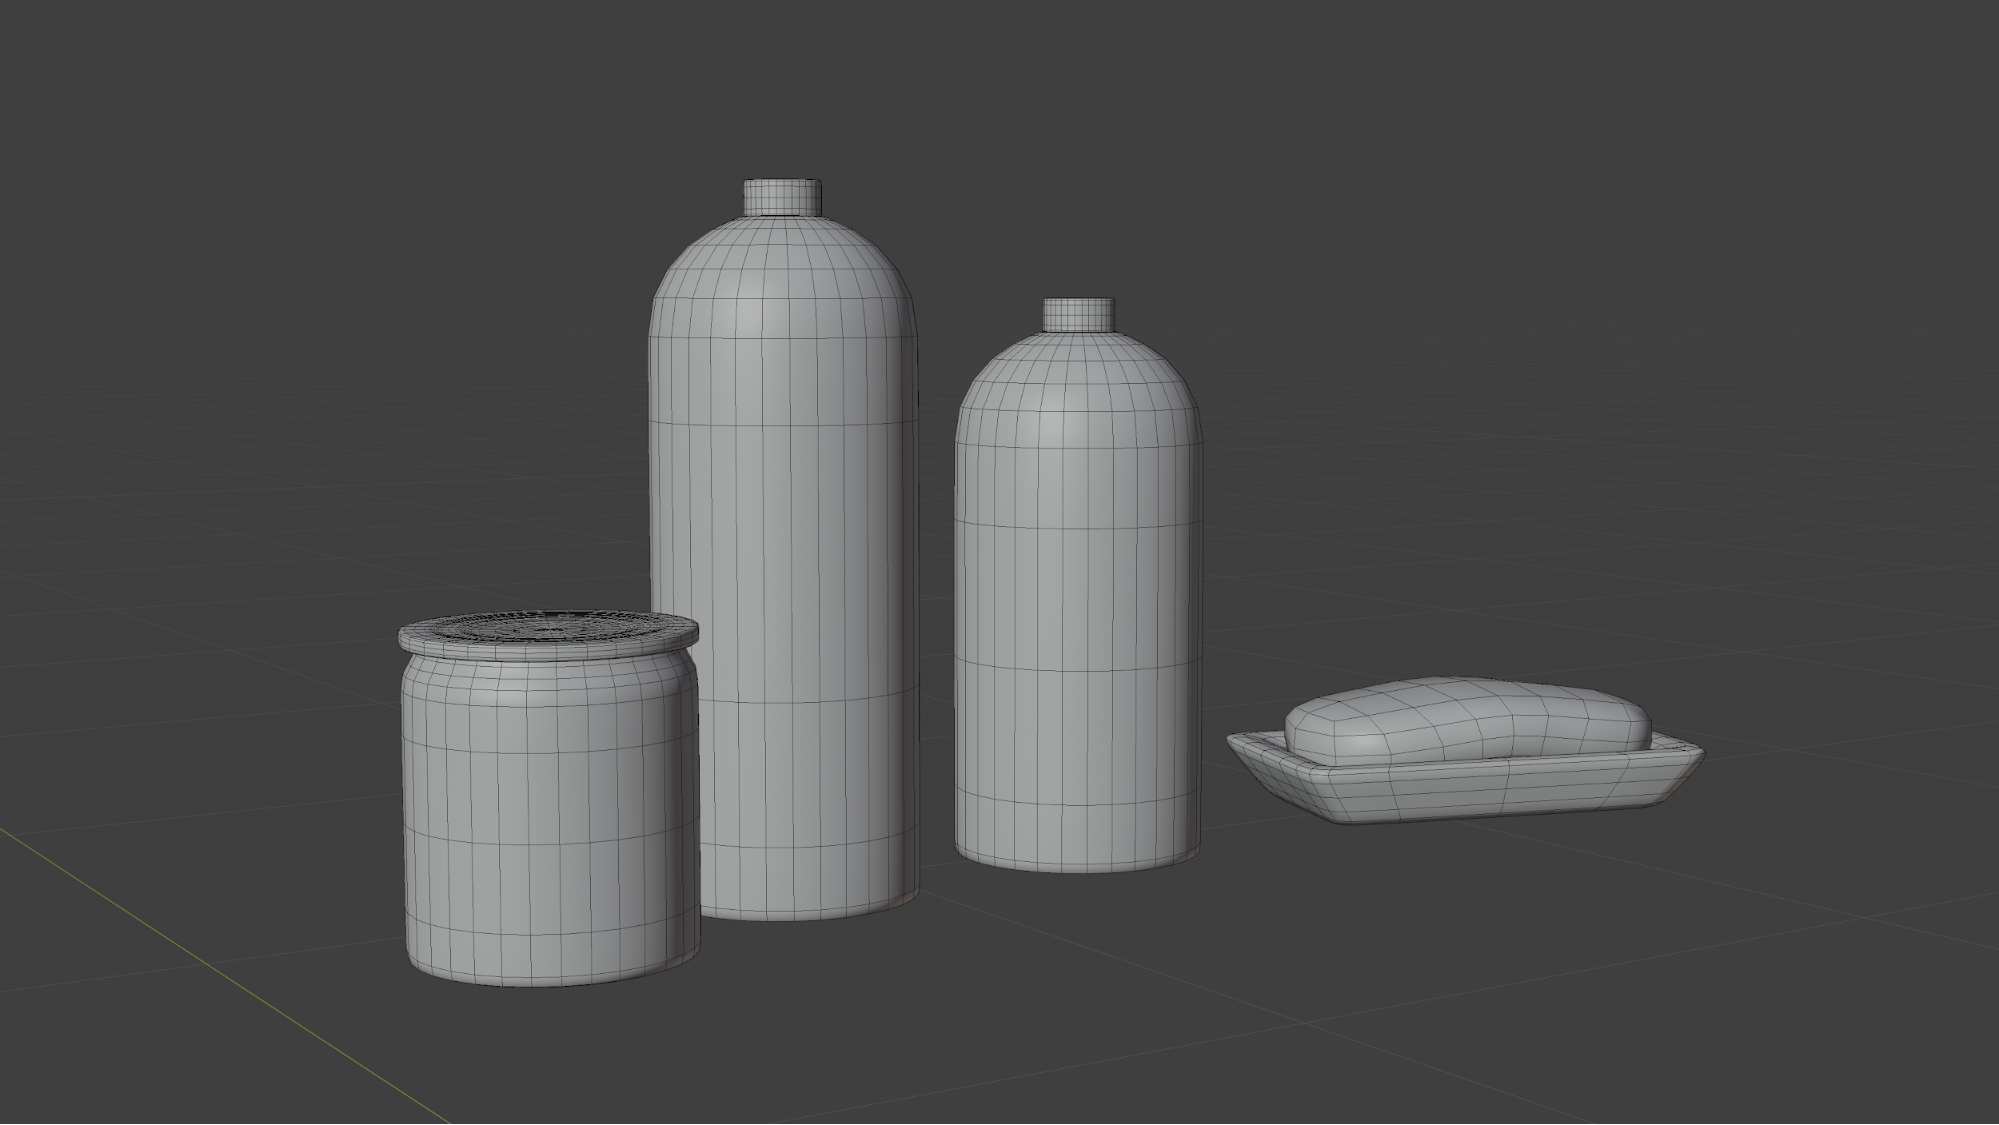
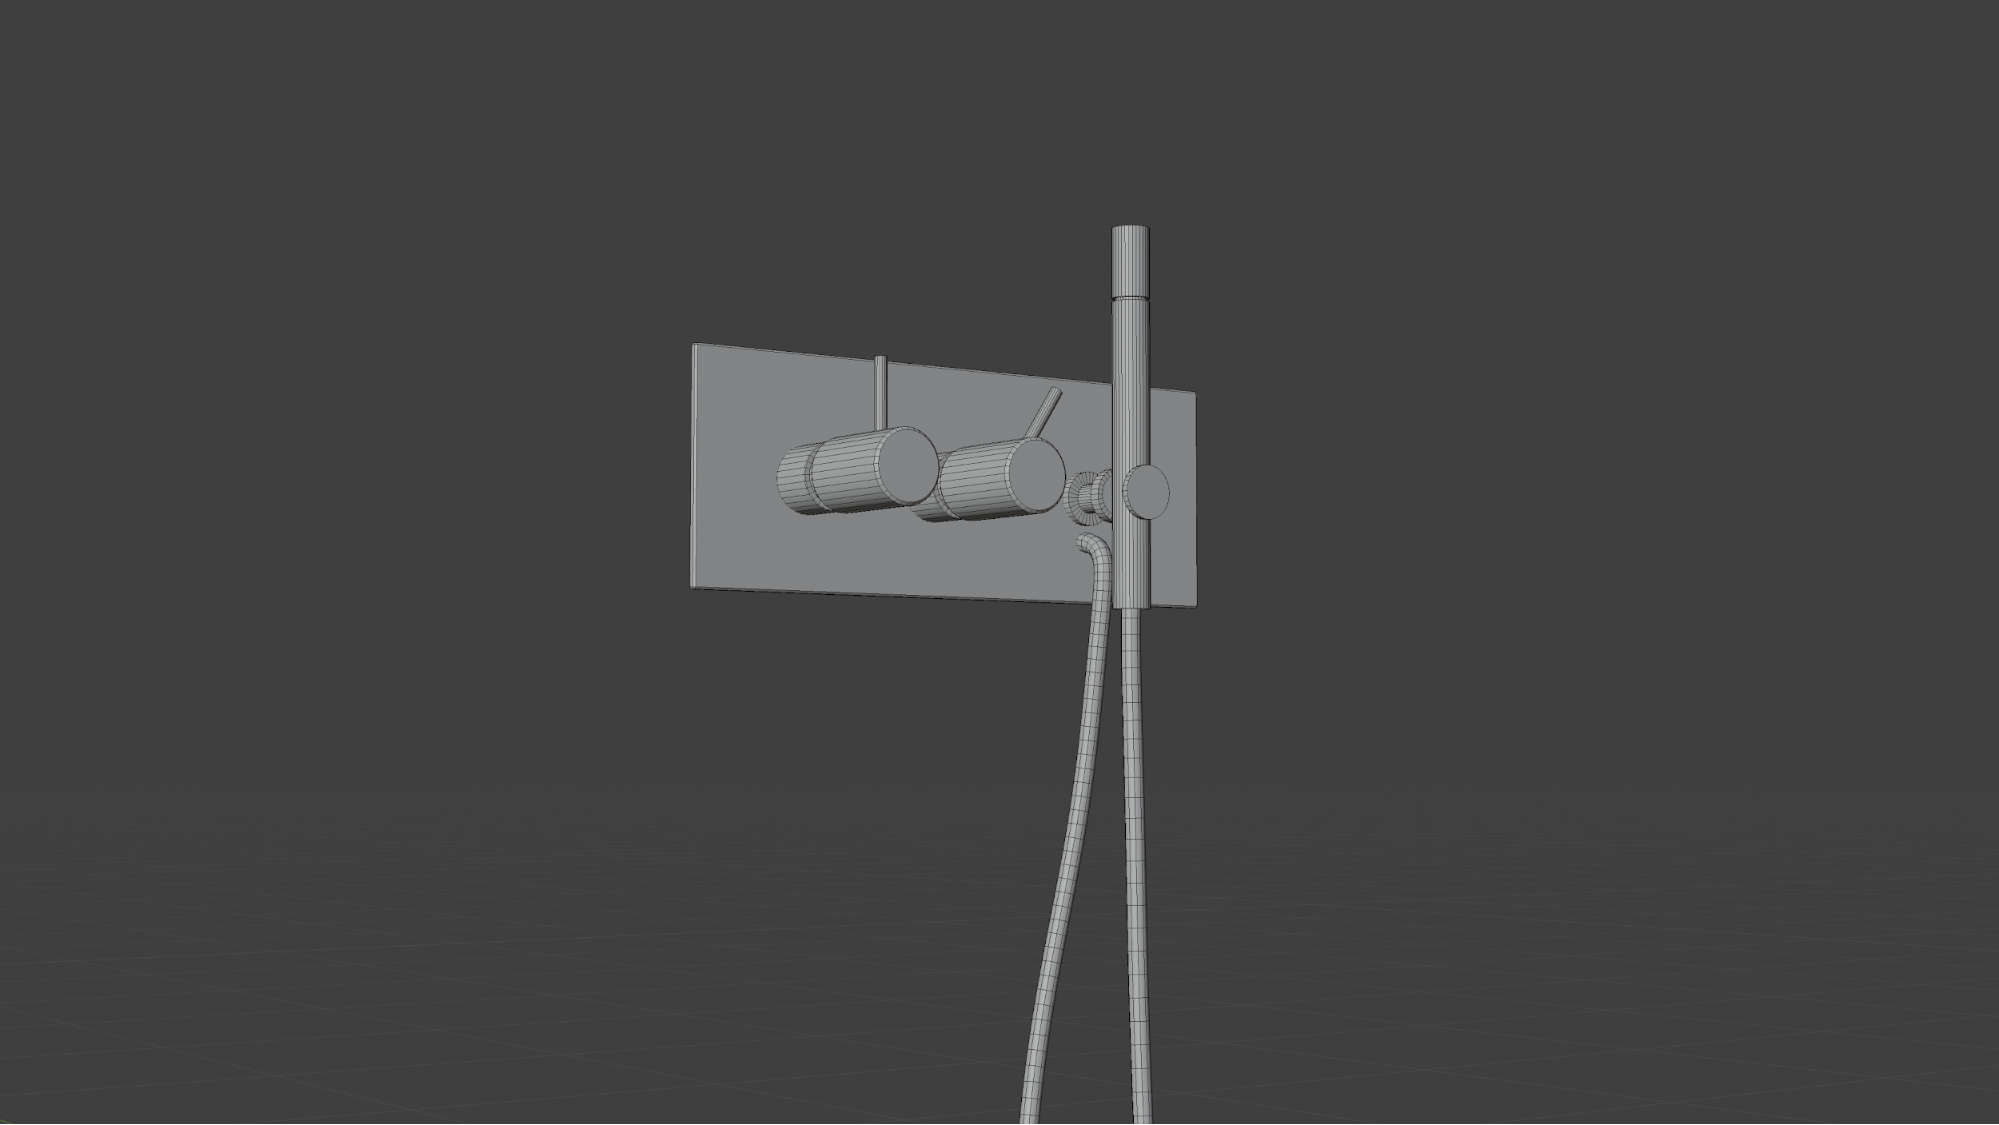
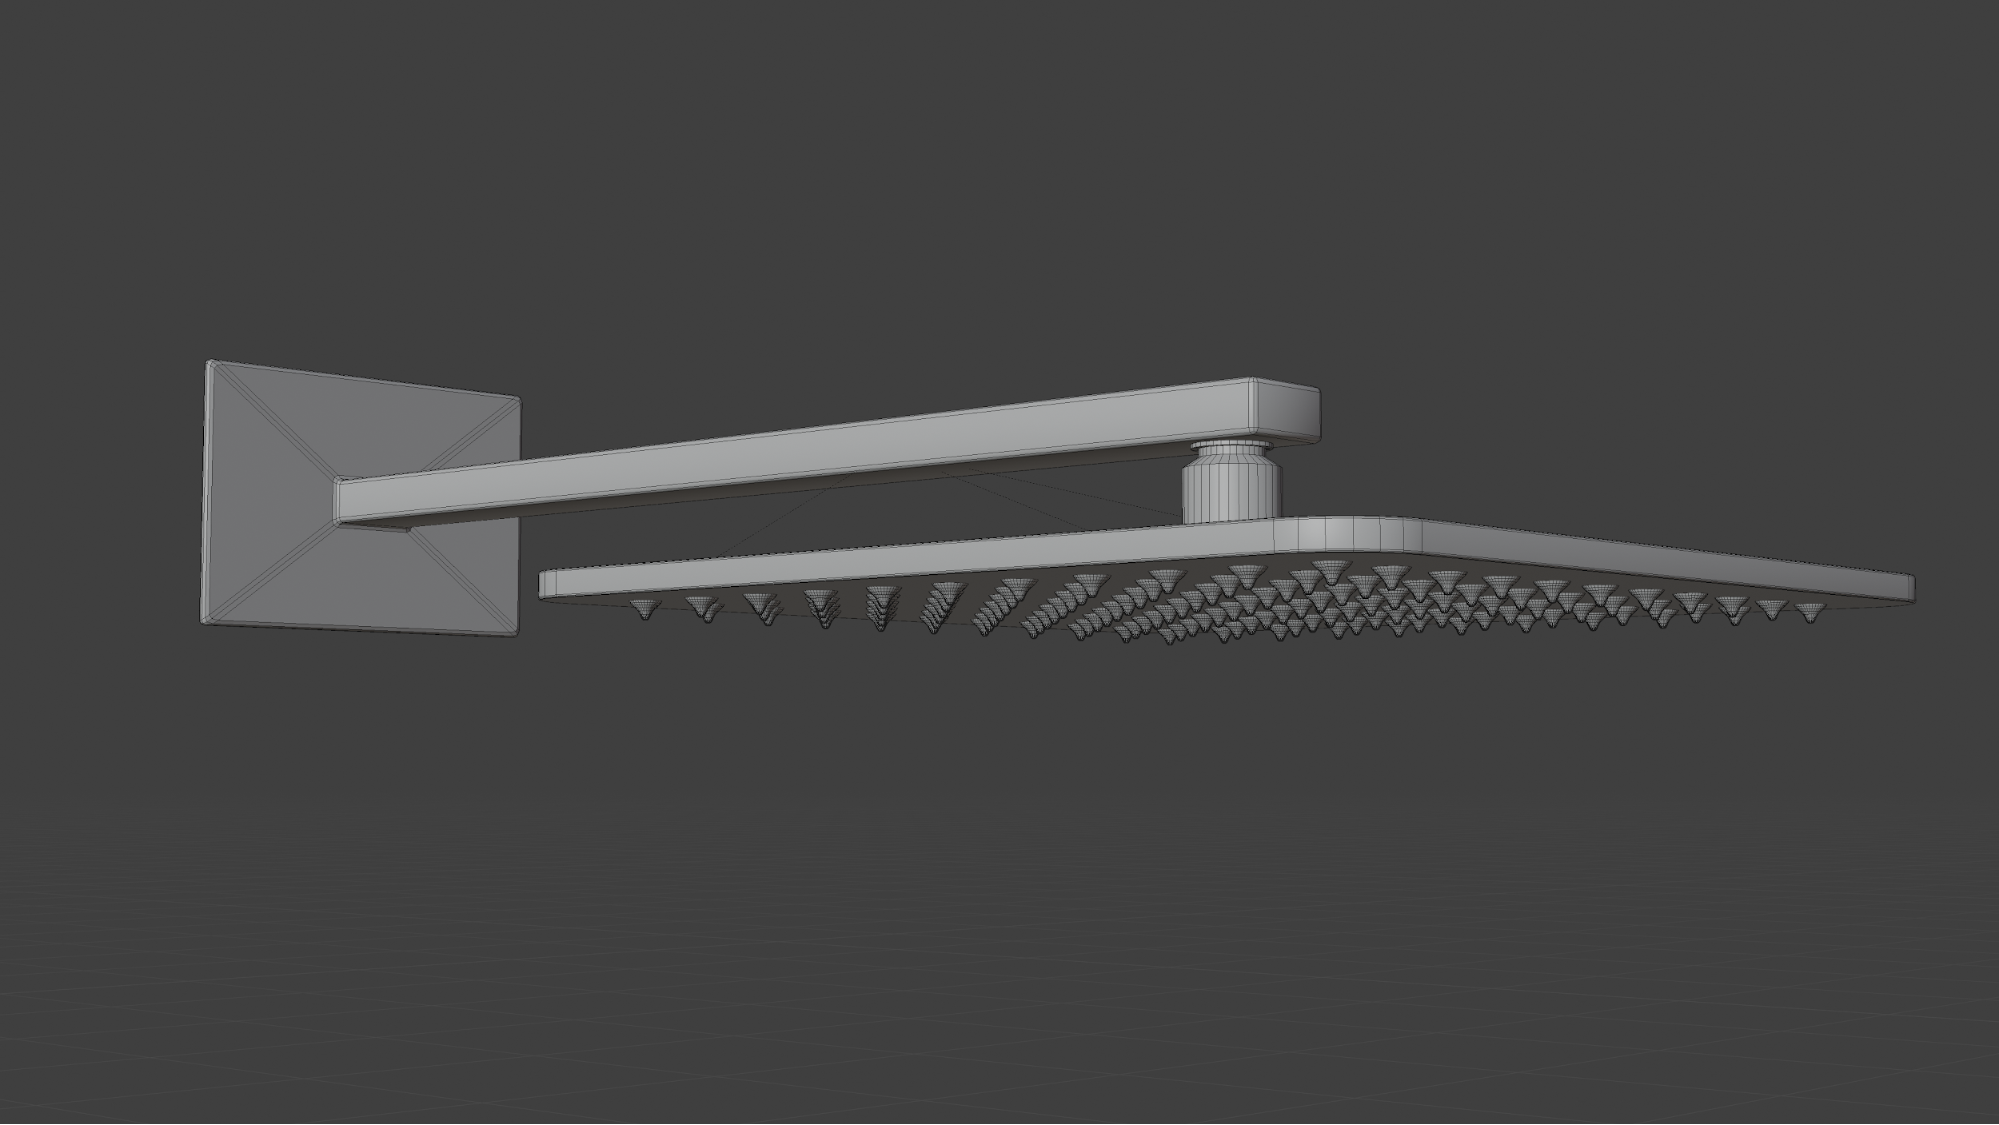
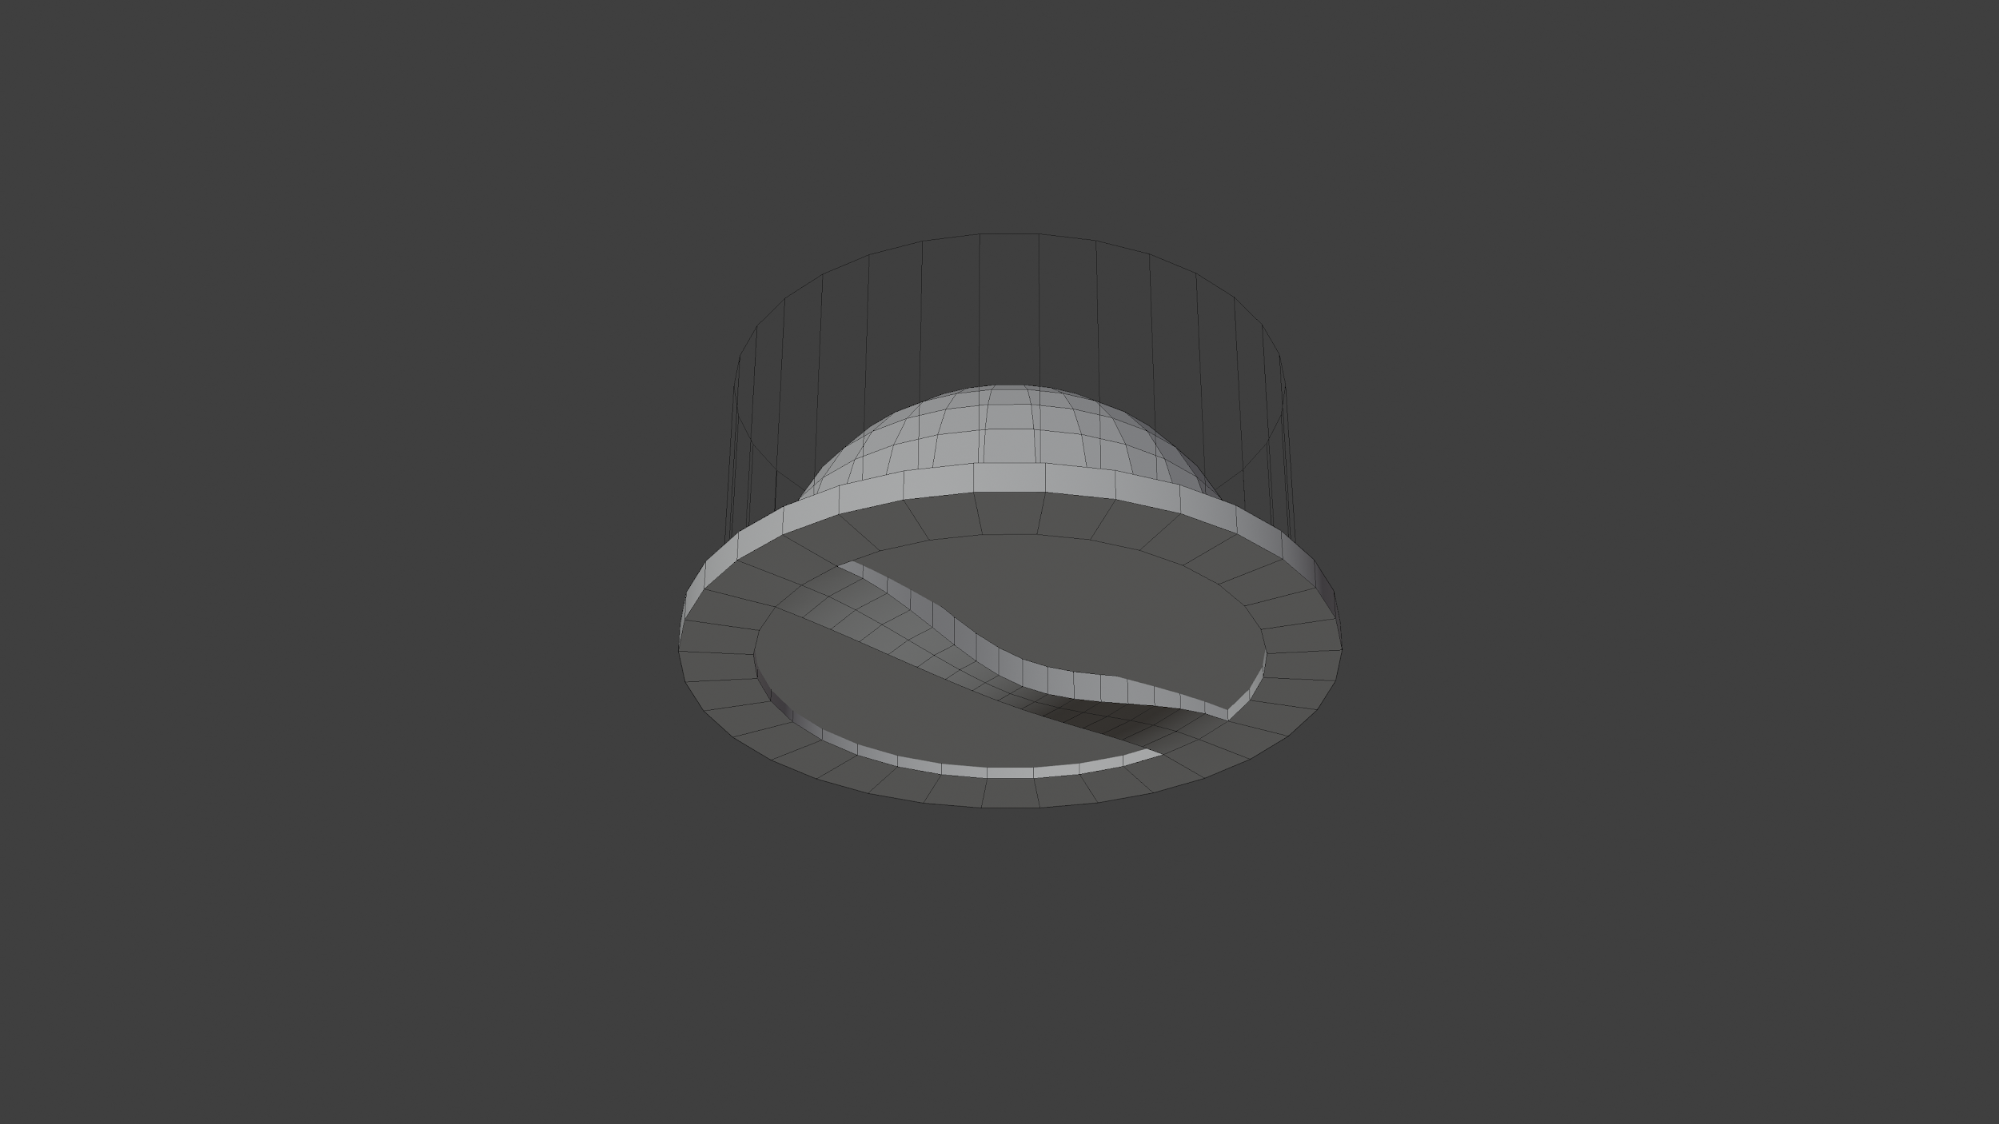
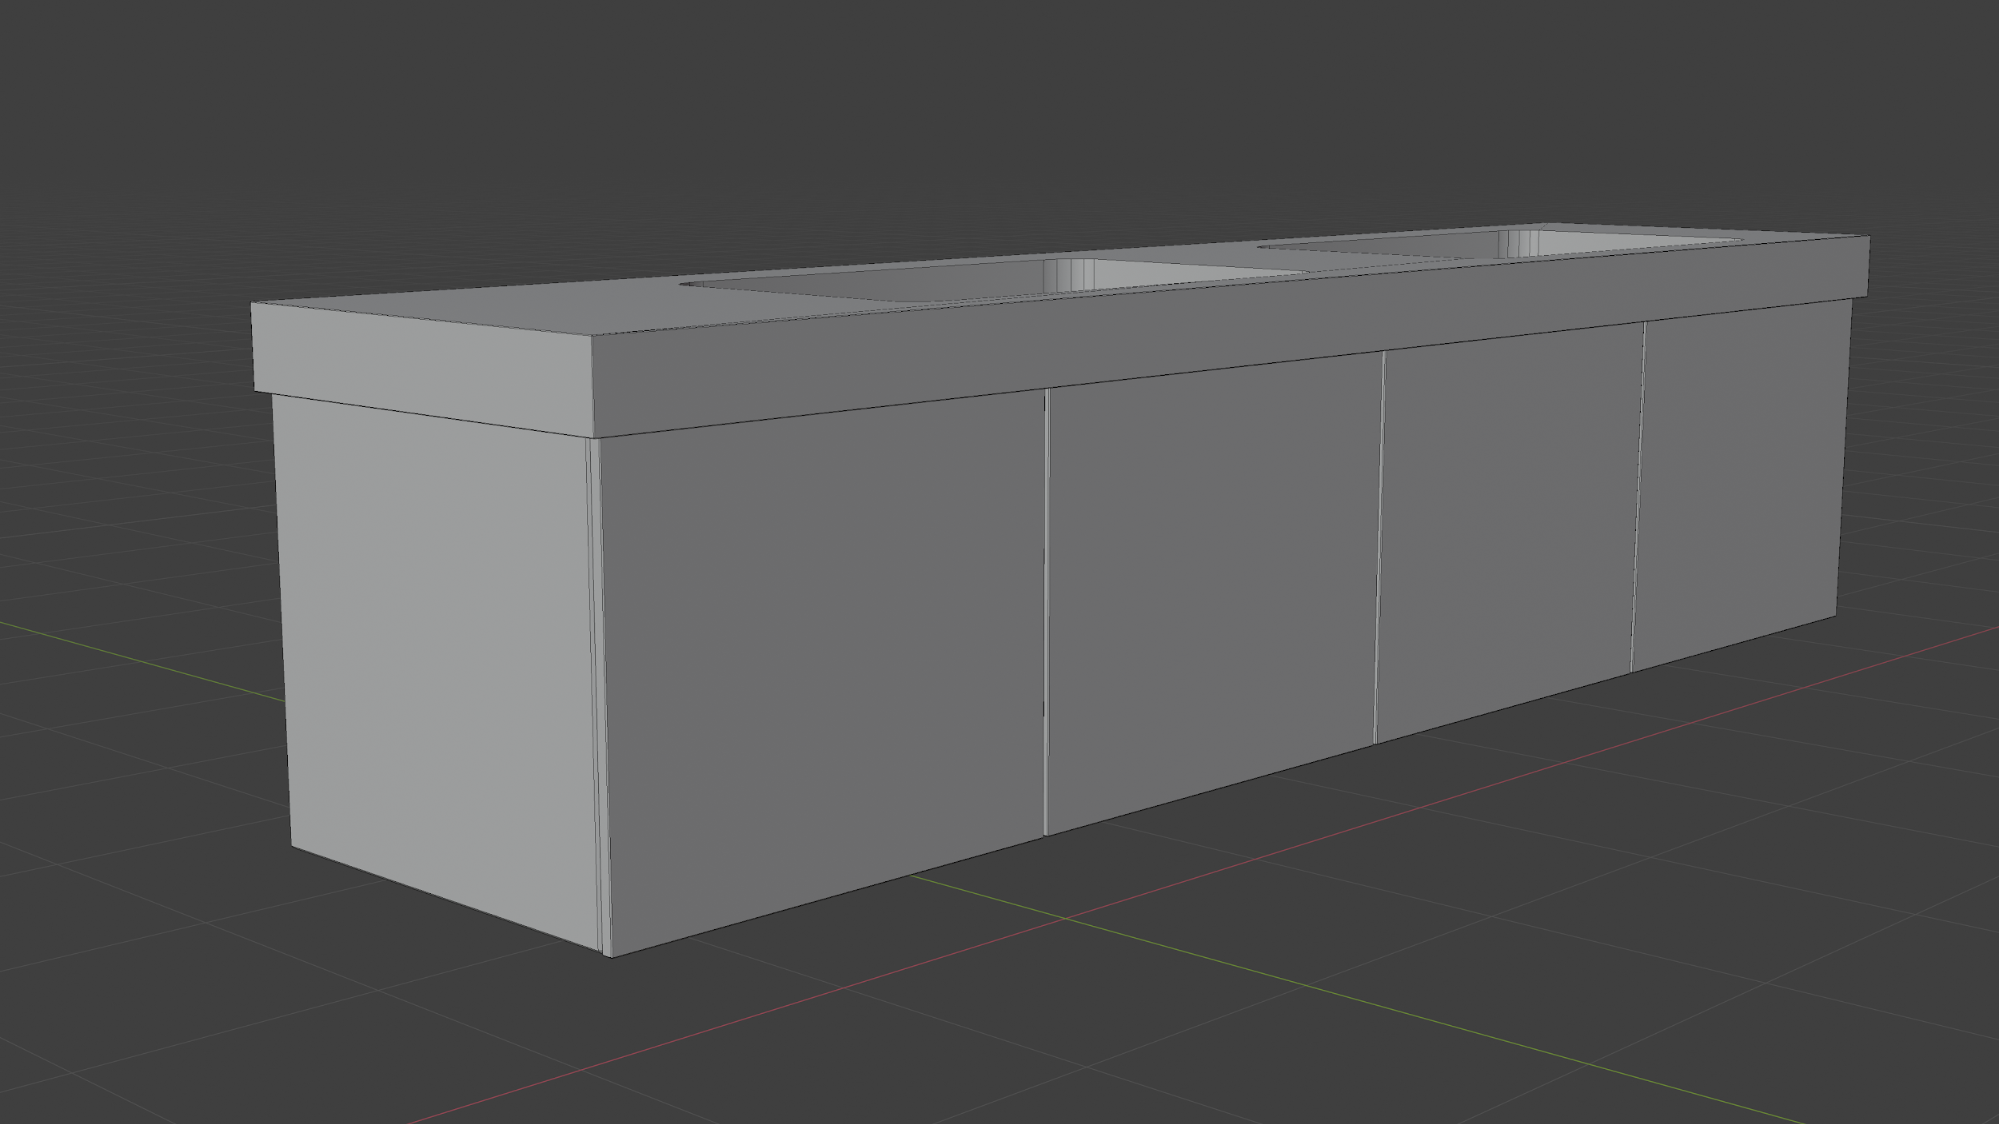
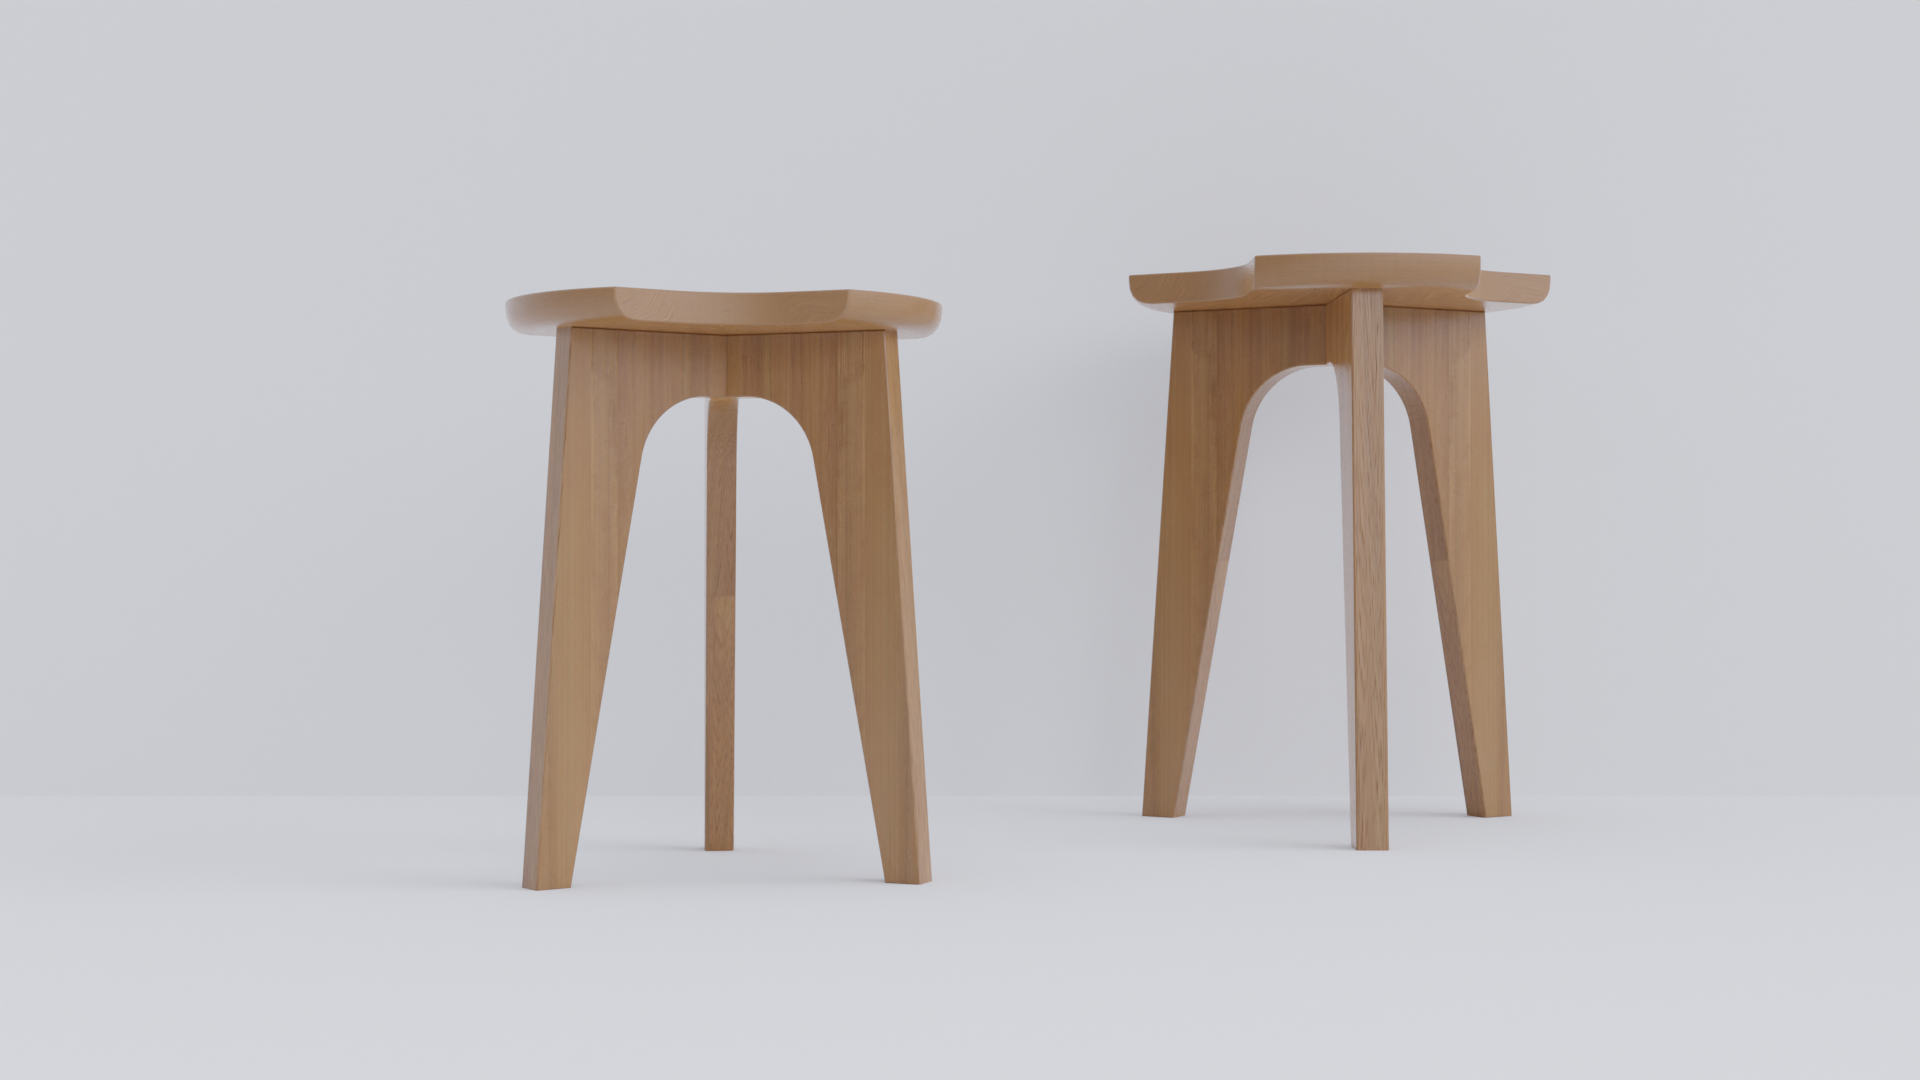
I made a point of modeling most items and tried to follow the shortest and most accurate modeling path possible to save time and to make high-quality models.
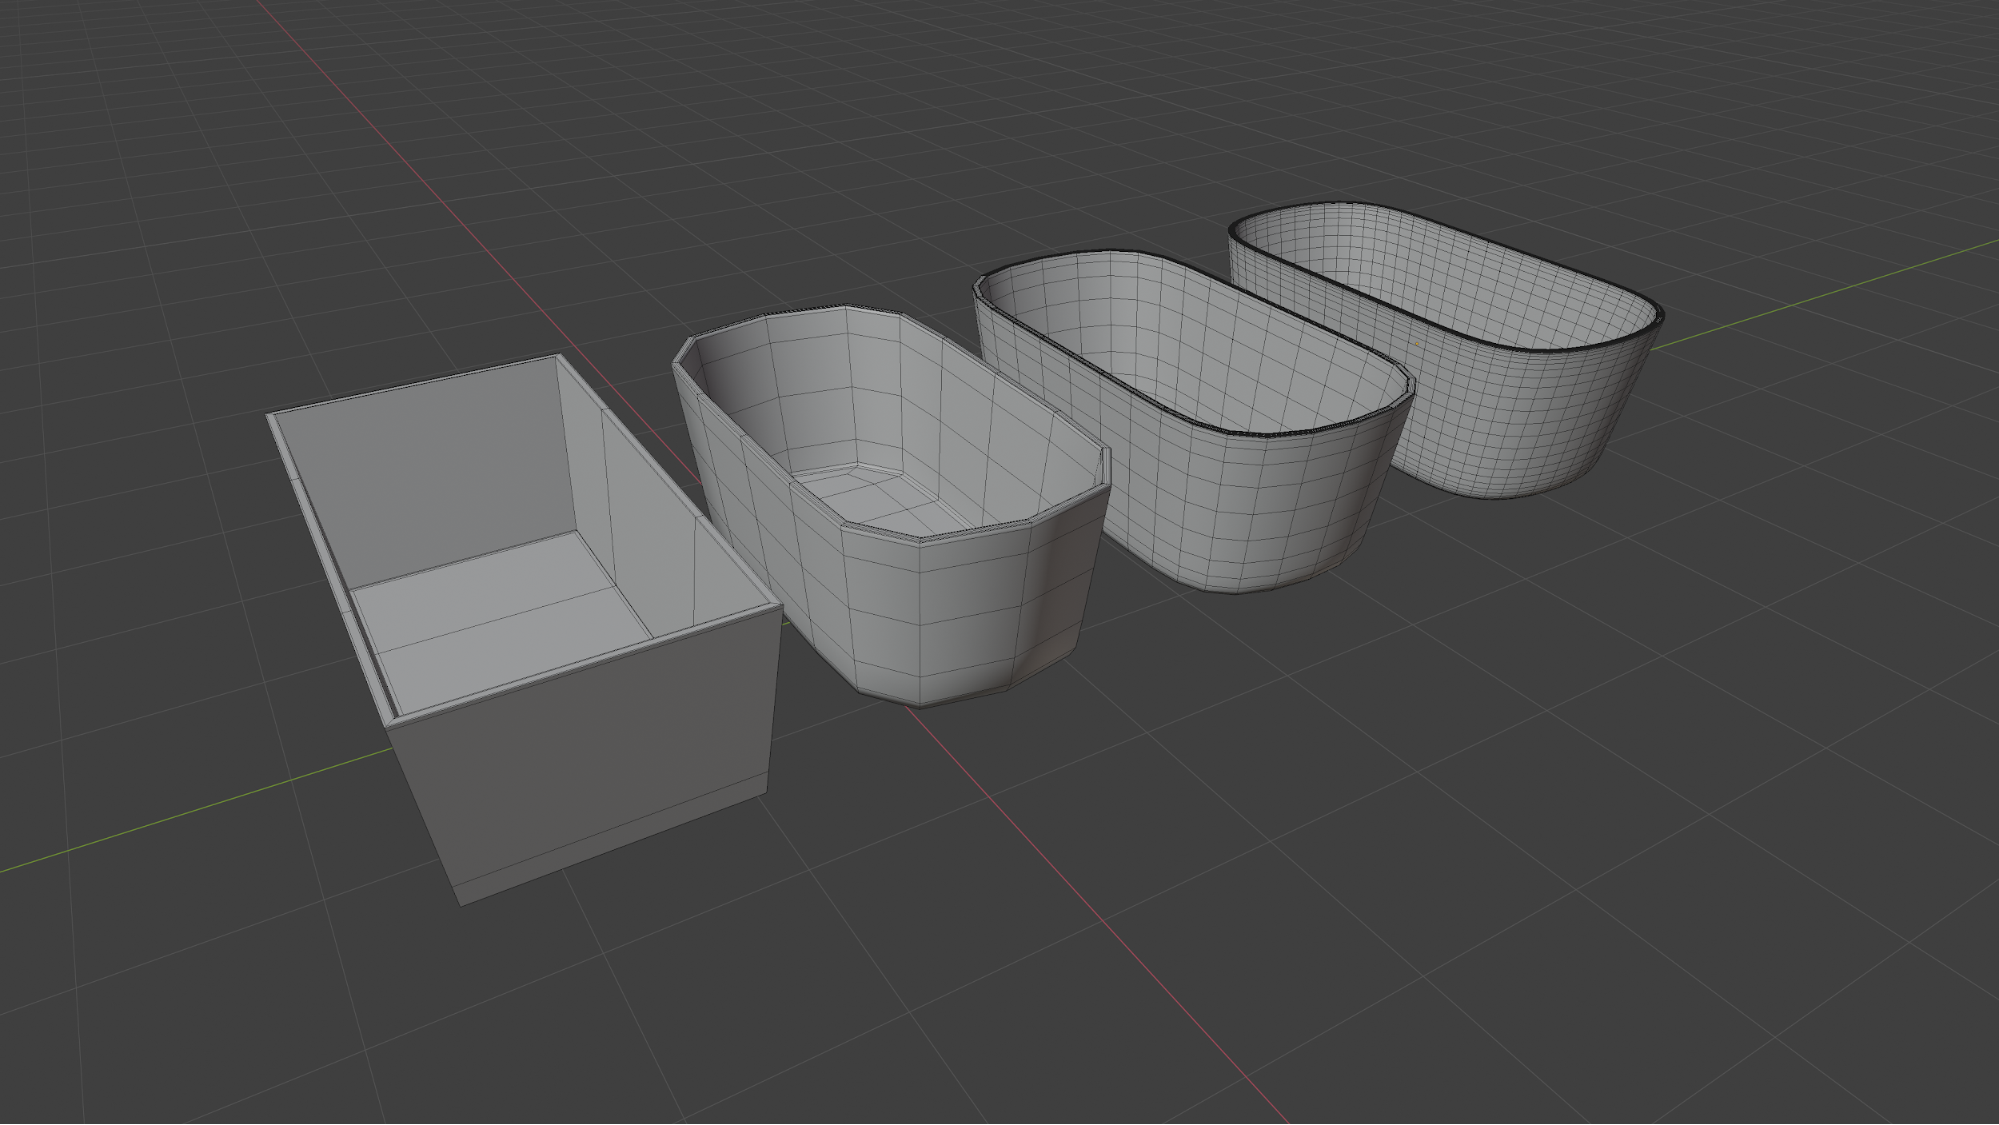
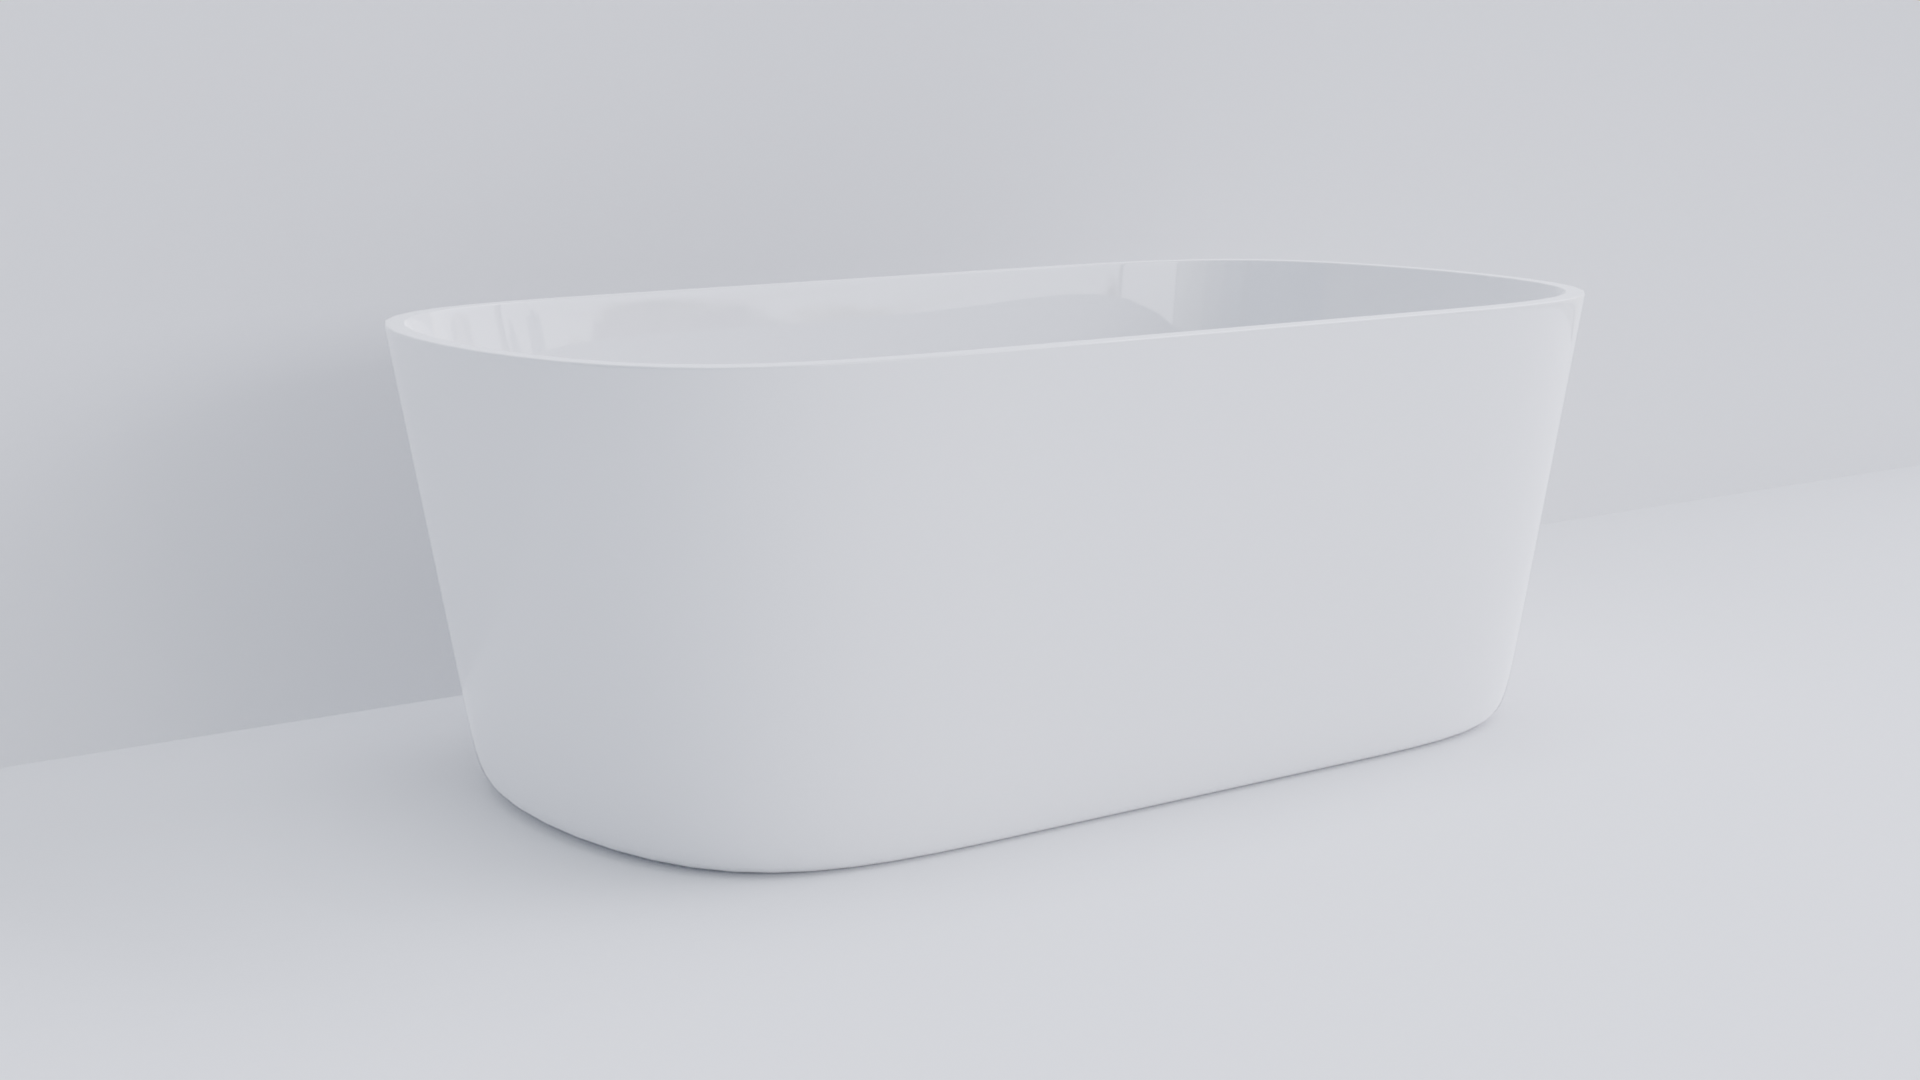
The bathtub is a very basic geometric shape after adding a Subdivision Surface modifier.
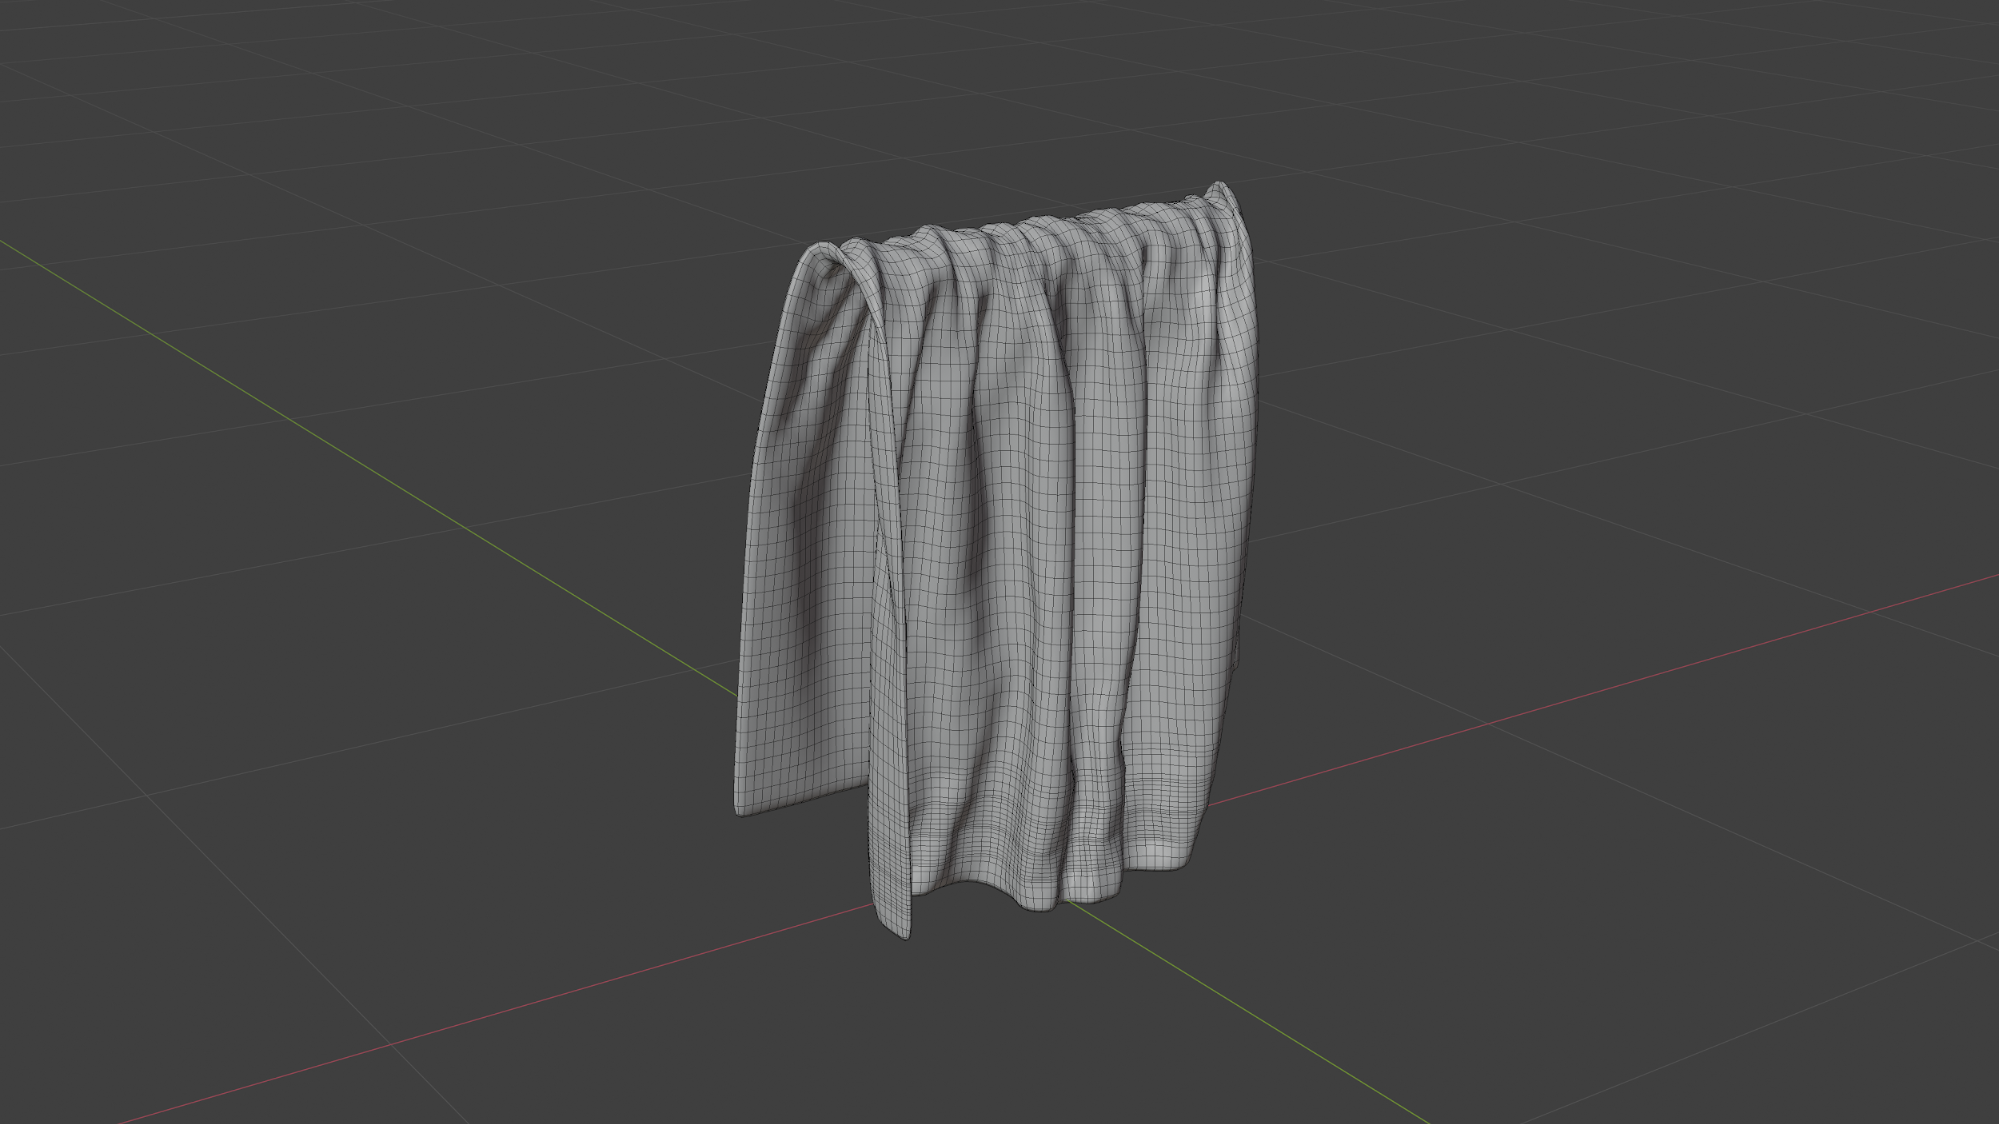
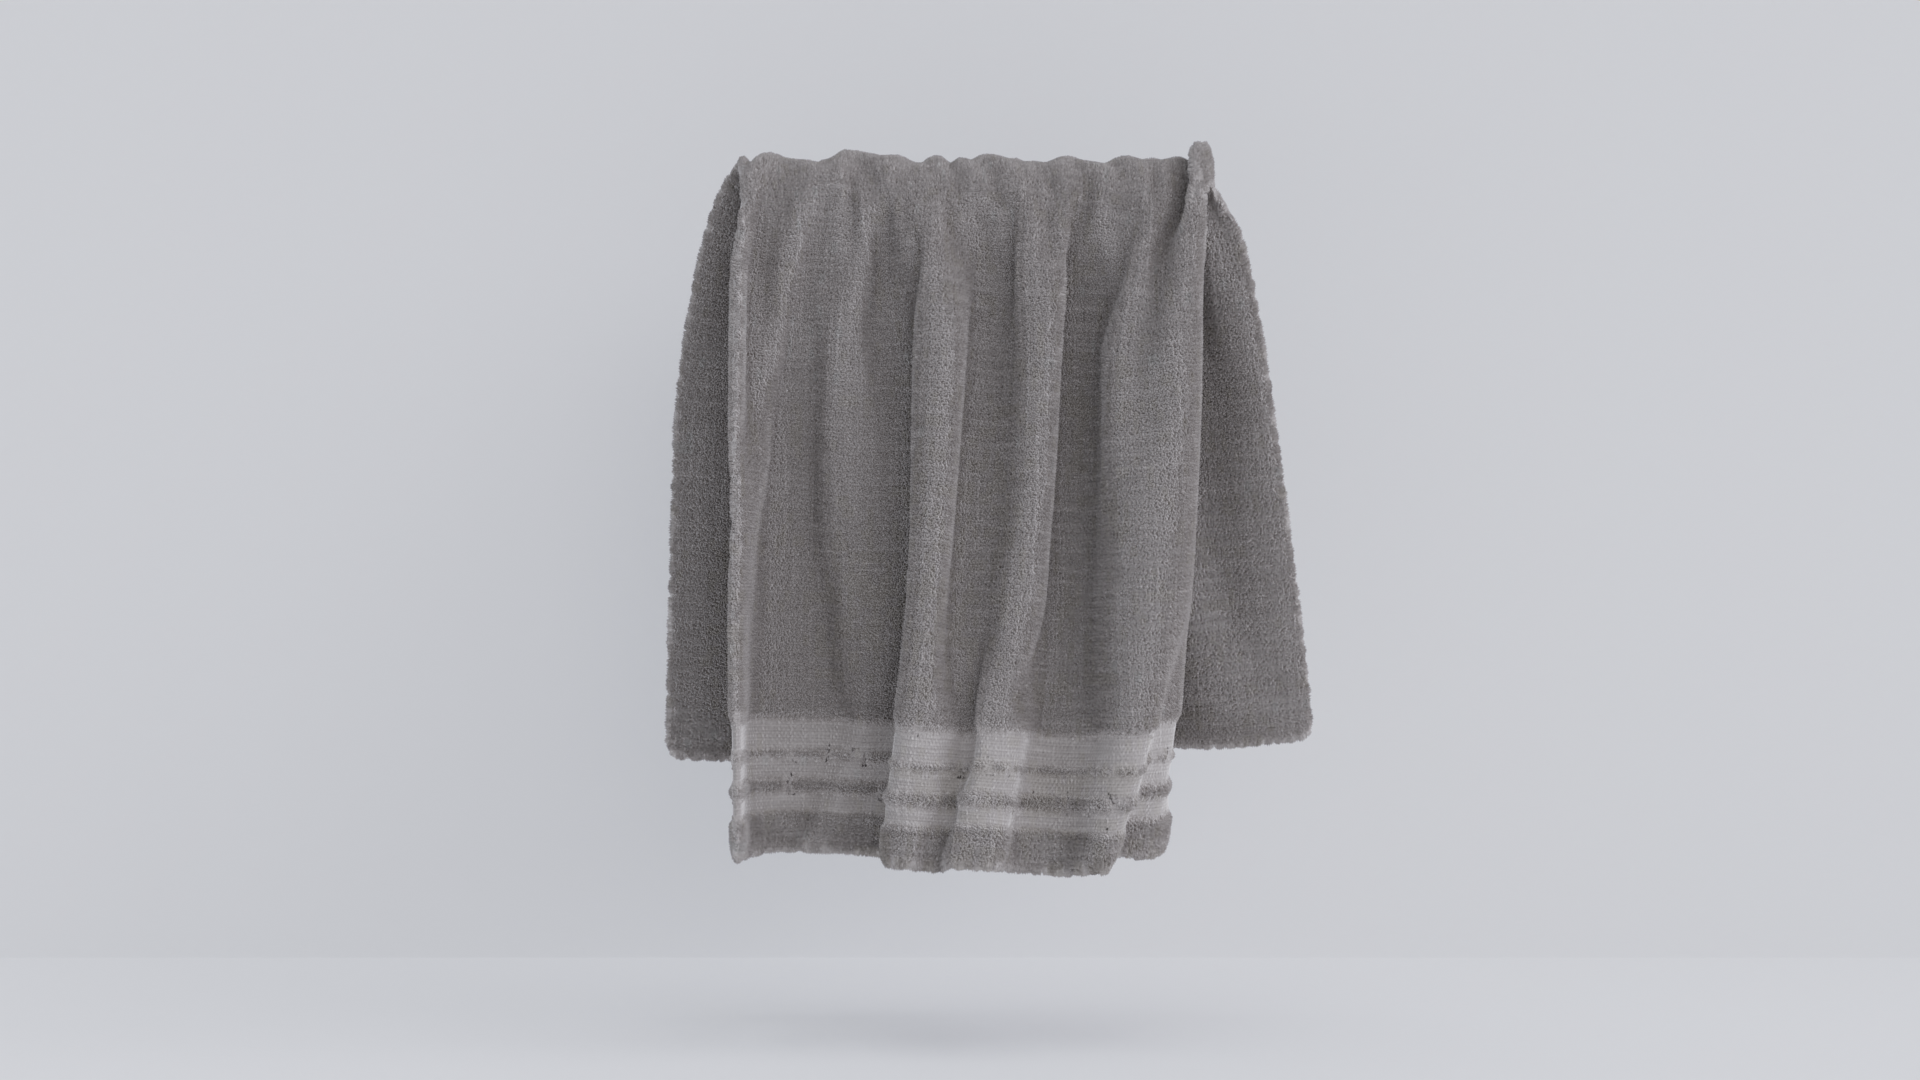
The towel was a fabric simulation that I made in Blender, where I was very pleased with the result.
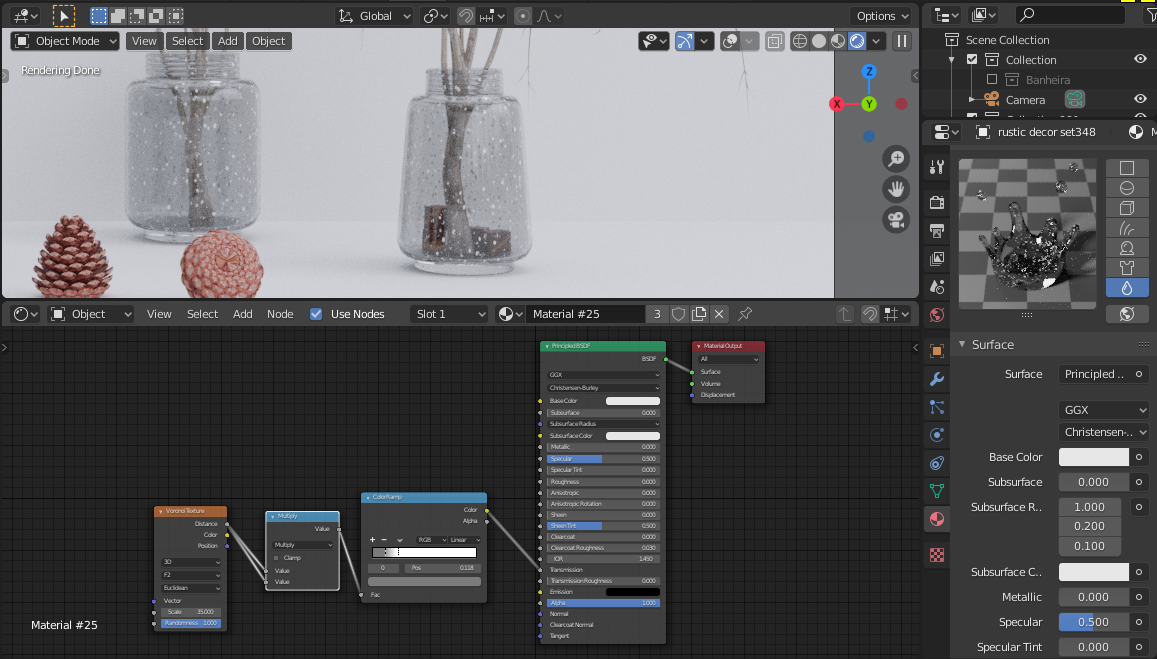
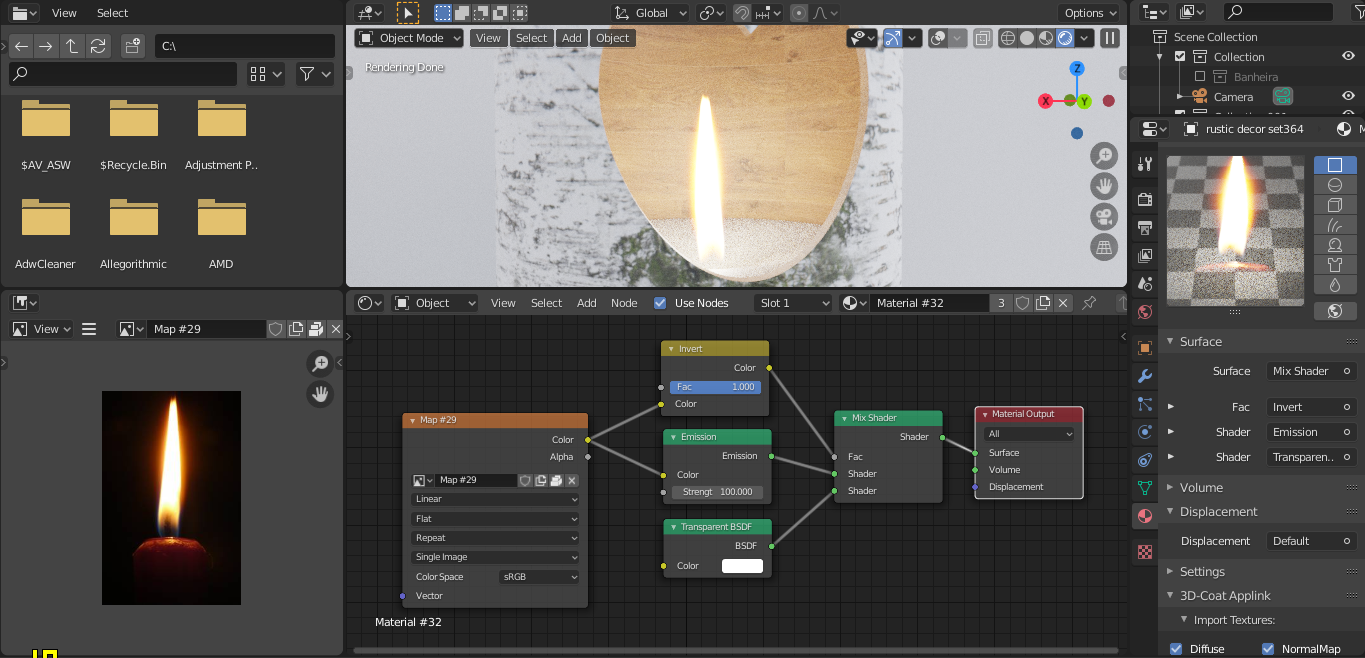
Materialization Shader
Now comes the part that I find the most fun—setting up the materials! My setup process is very simple: I use a Principled BSDF Node as a guideline.
If something more complex is needed I always try to use Principled BSDF as a starting point and then make the necessary changes.
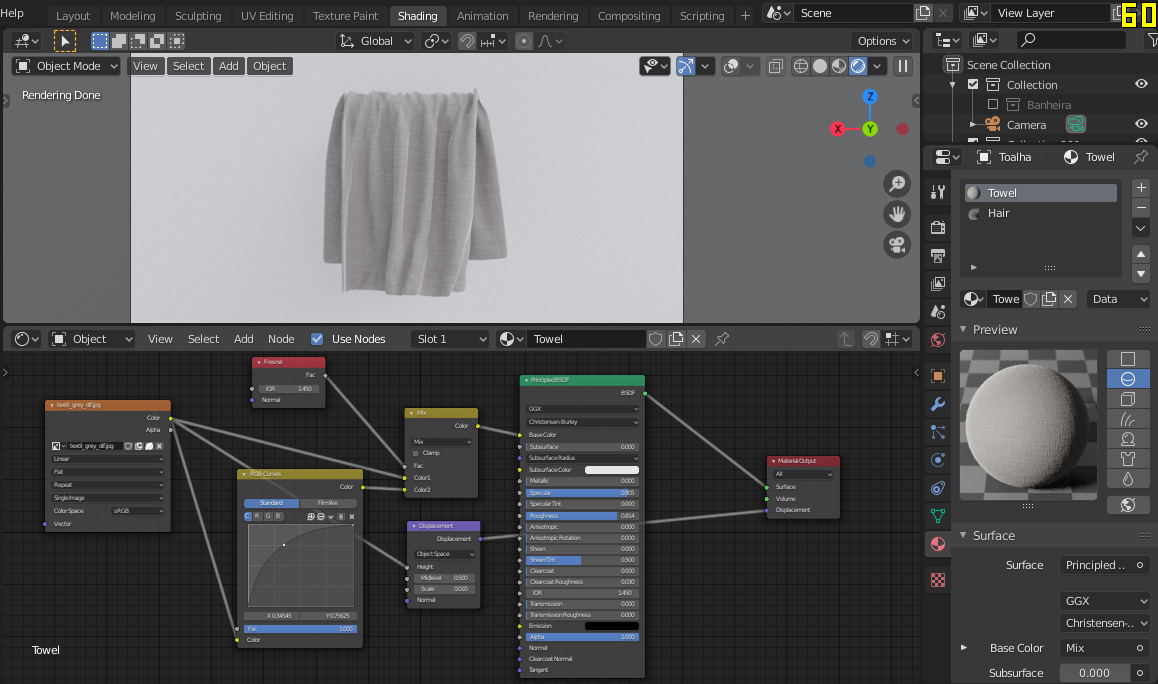
I added some spots to this glass material to give a bit of charm to the model. In my opinion, the more attention you give to details, the more your art has the potential to look very good.

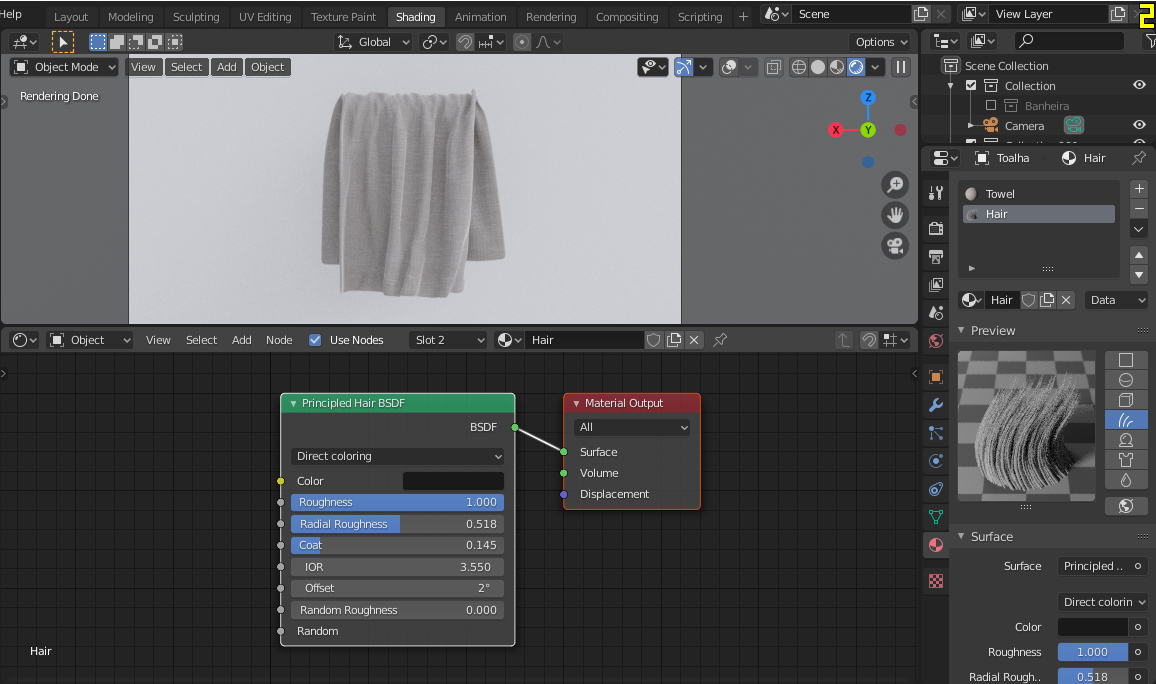
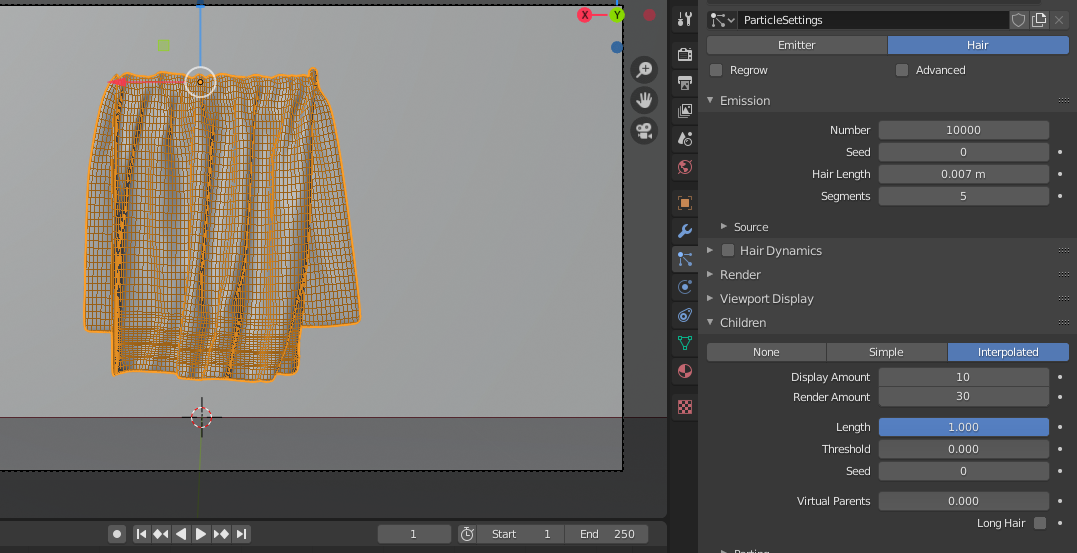
Particles
I’m not very good at particle simulation but to make the towel more realistic I used it.
The following settings that I used were very simple but served my purpose; I used hair-type particles.
Rendering
In this scene, I used a field blur that enhances values in your renderings when used wisely.
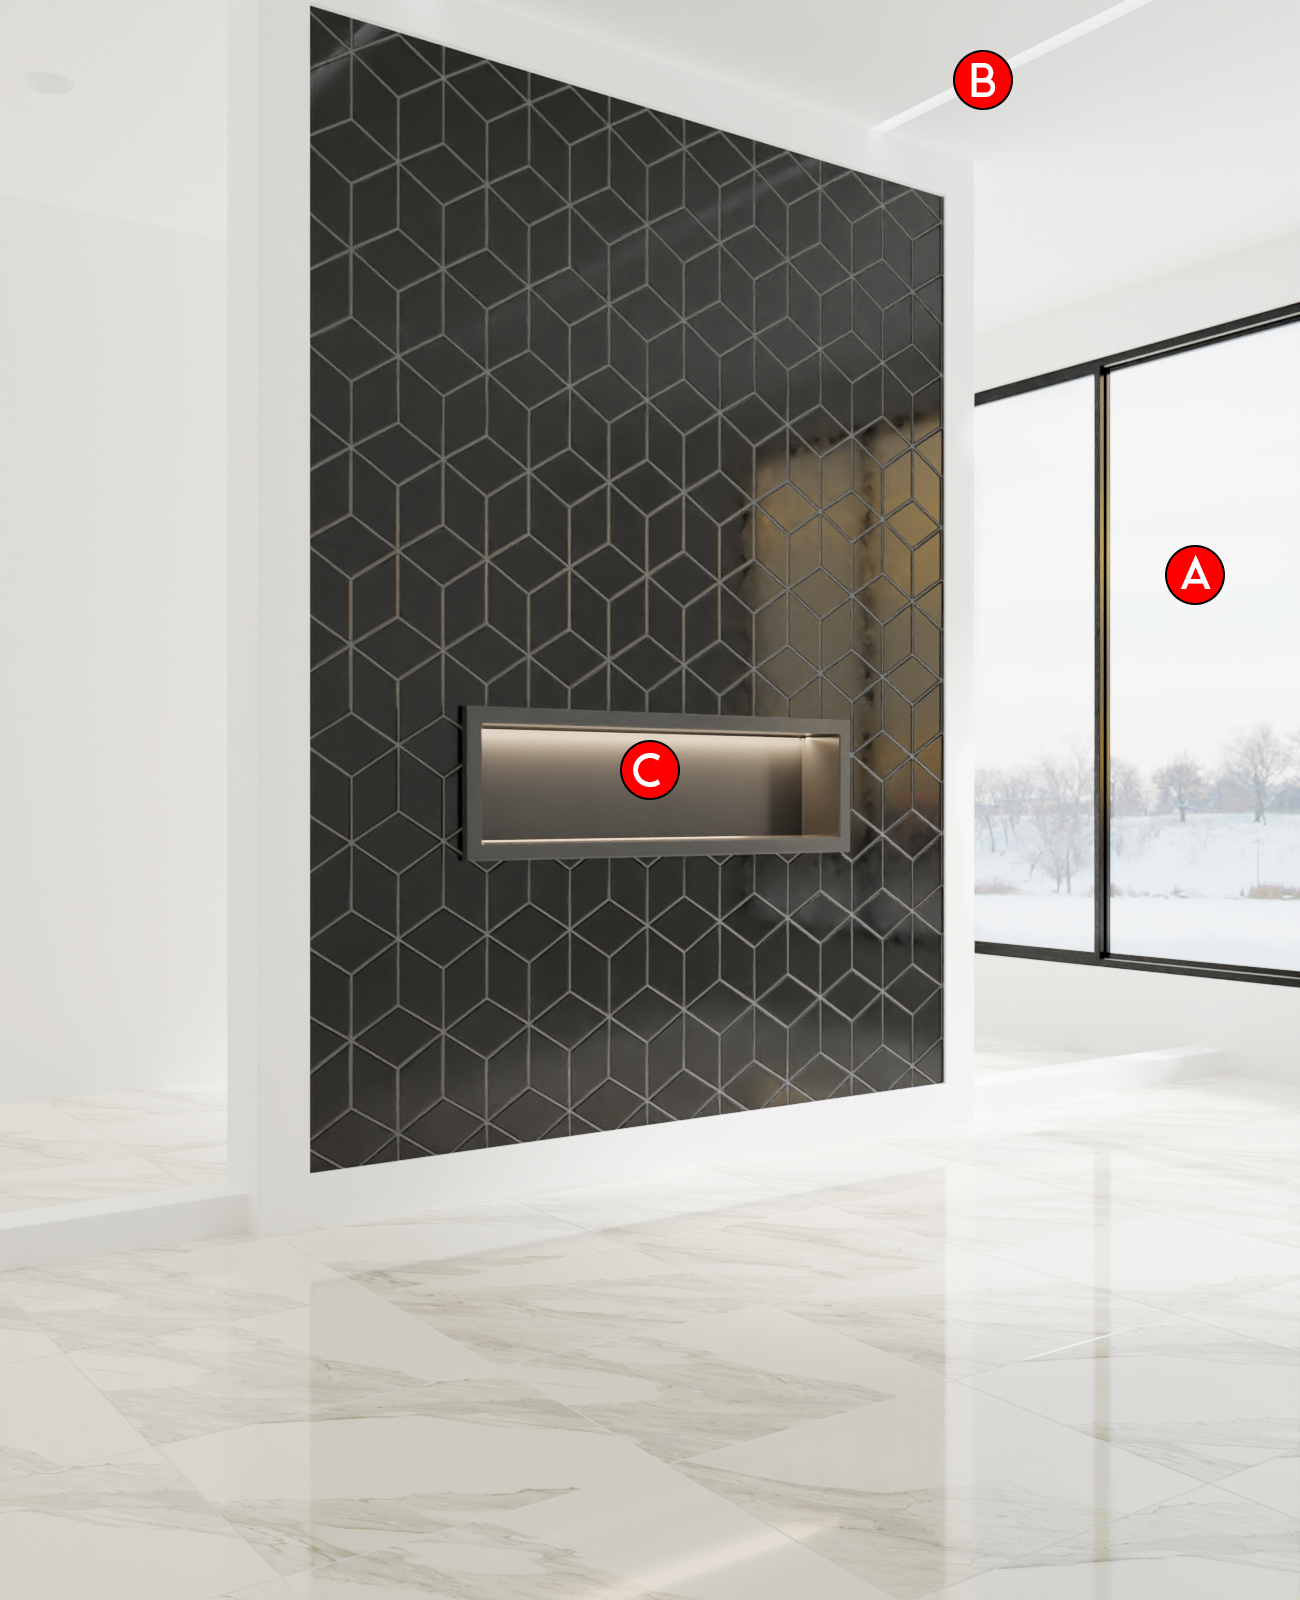
A – I used an HDR + a sun type lamp for the main light in this scene. I did it so that I could have more control over the shadow and the light intensity. I have used the main light very abundantly because I really enjoy using natural light in my scenes.
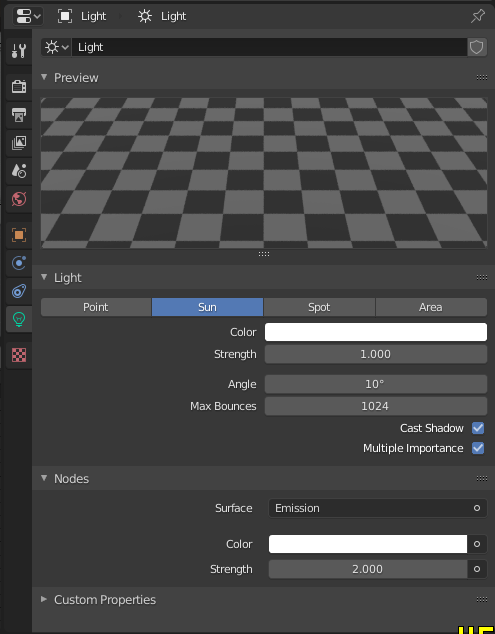
B – I used a strong light-emitting object to lighten the shadows a little. I like to work with the shadows to give volume to the objects, so it is very important to have control over them.
C – An area lamp just to illuminate objects and compose the scene.
Post-production
Post-production was done in Photoshop. Basically, I brightened the outside, simulating a real camera exposure, then made the whole scene clearer and then adjusted the white balance.
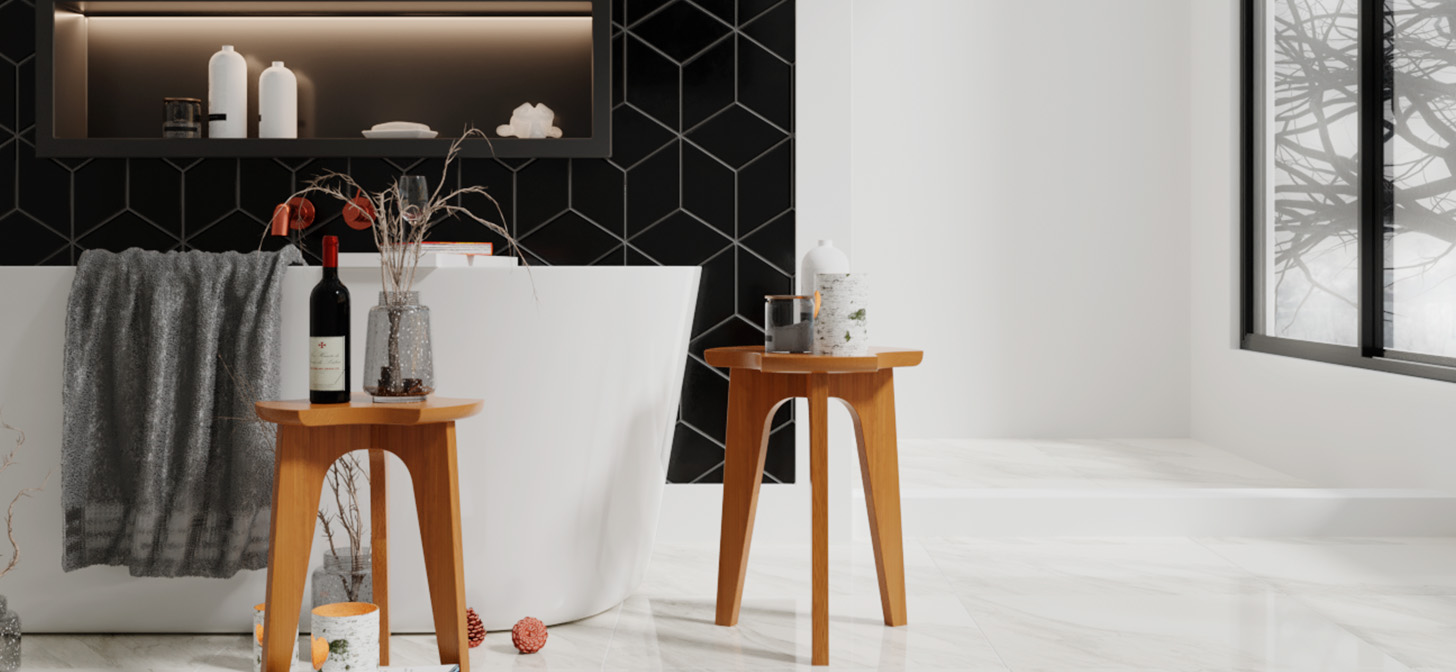
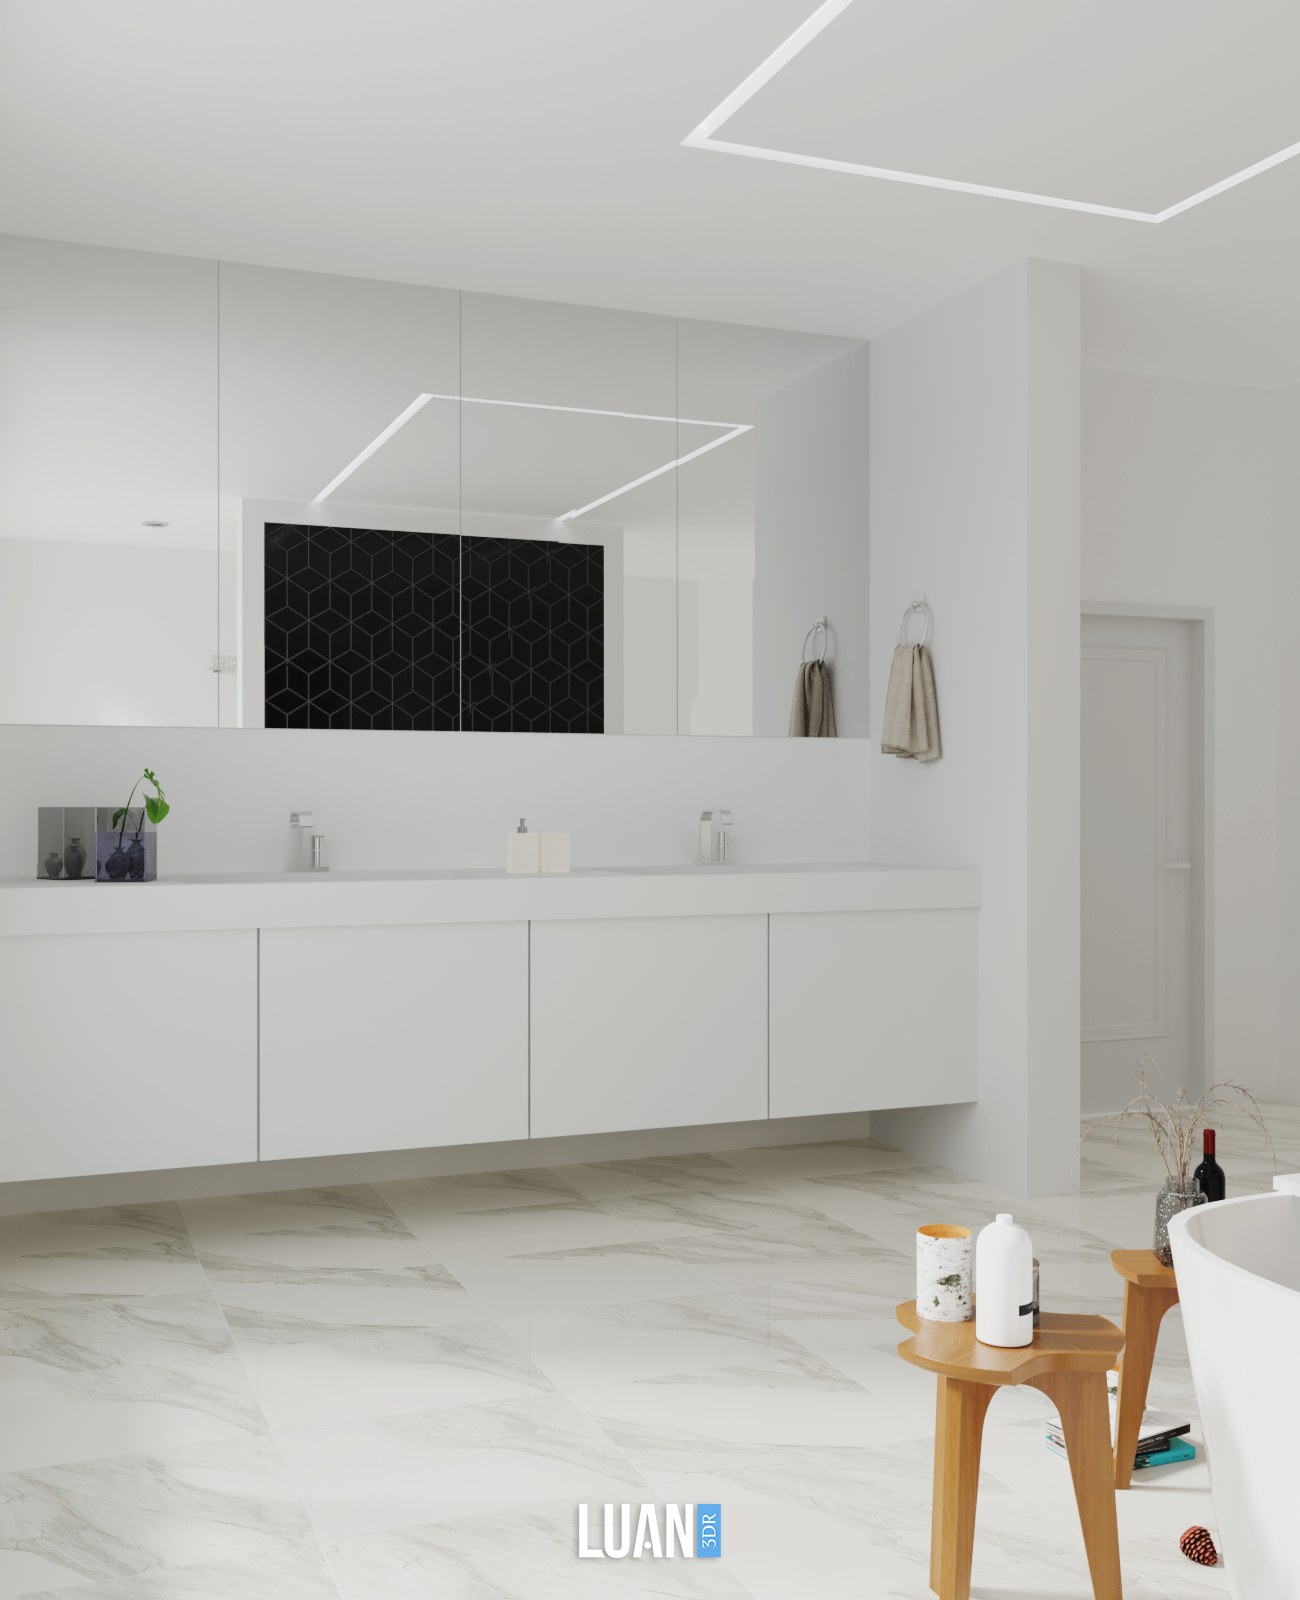
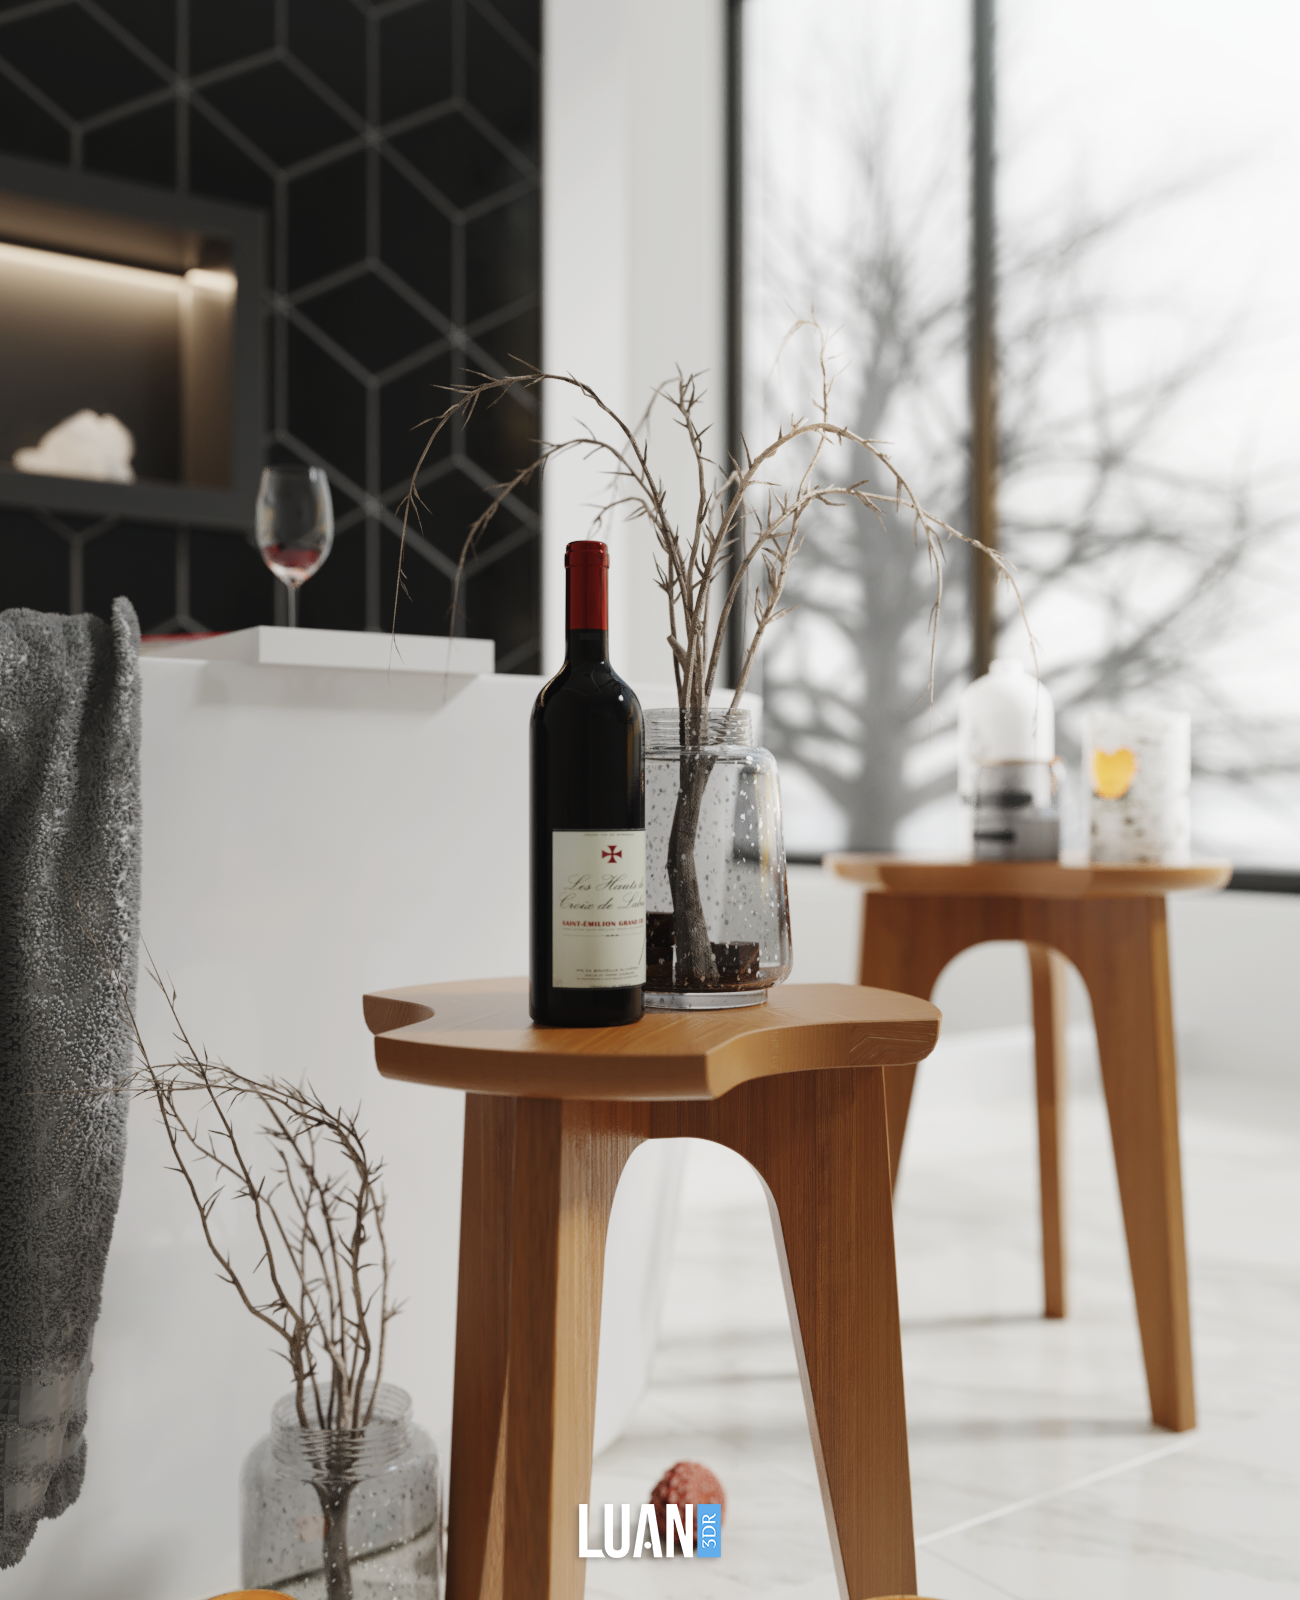
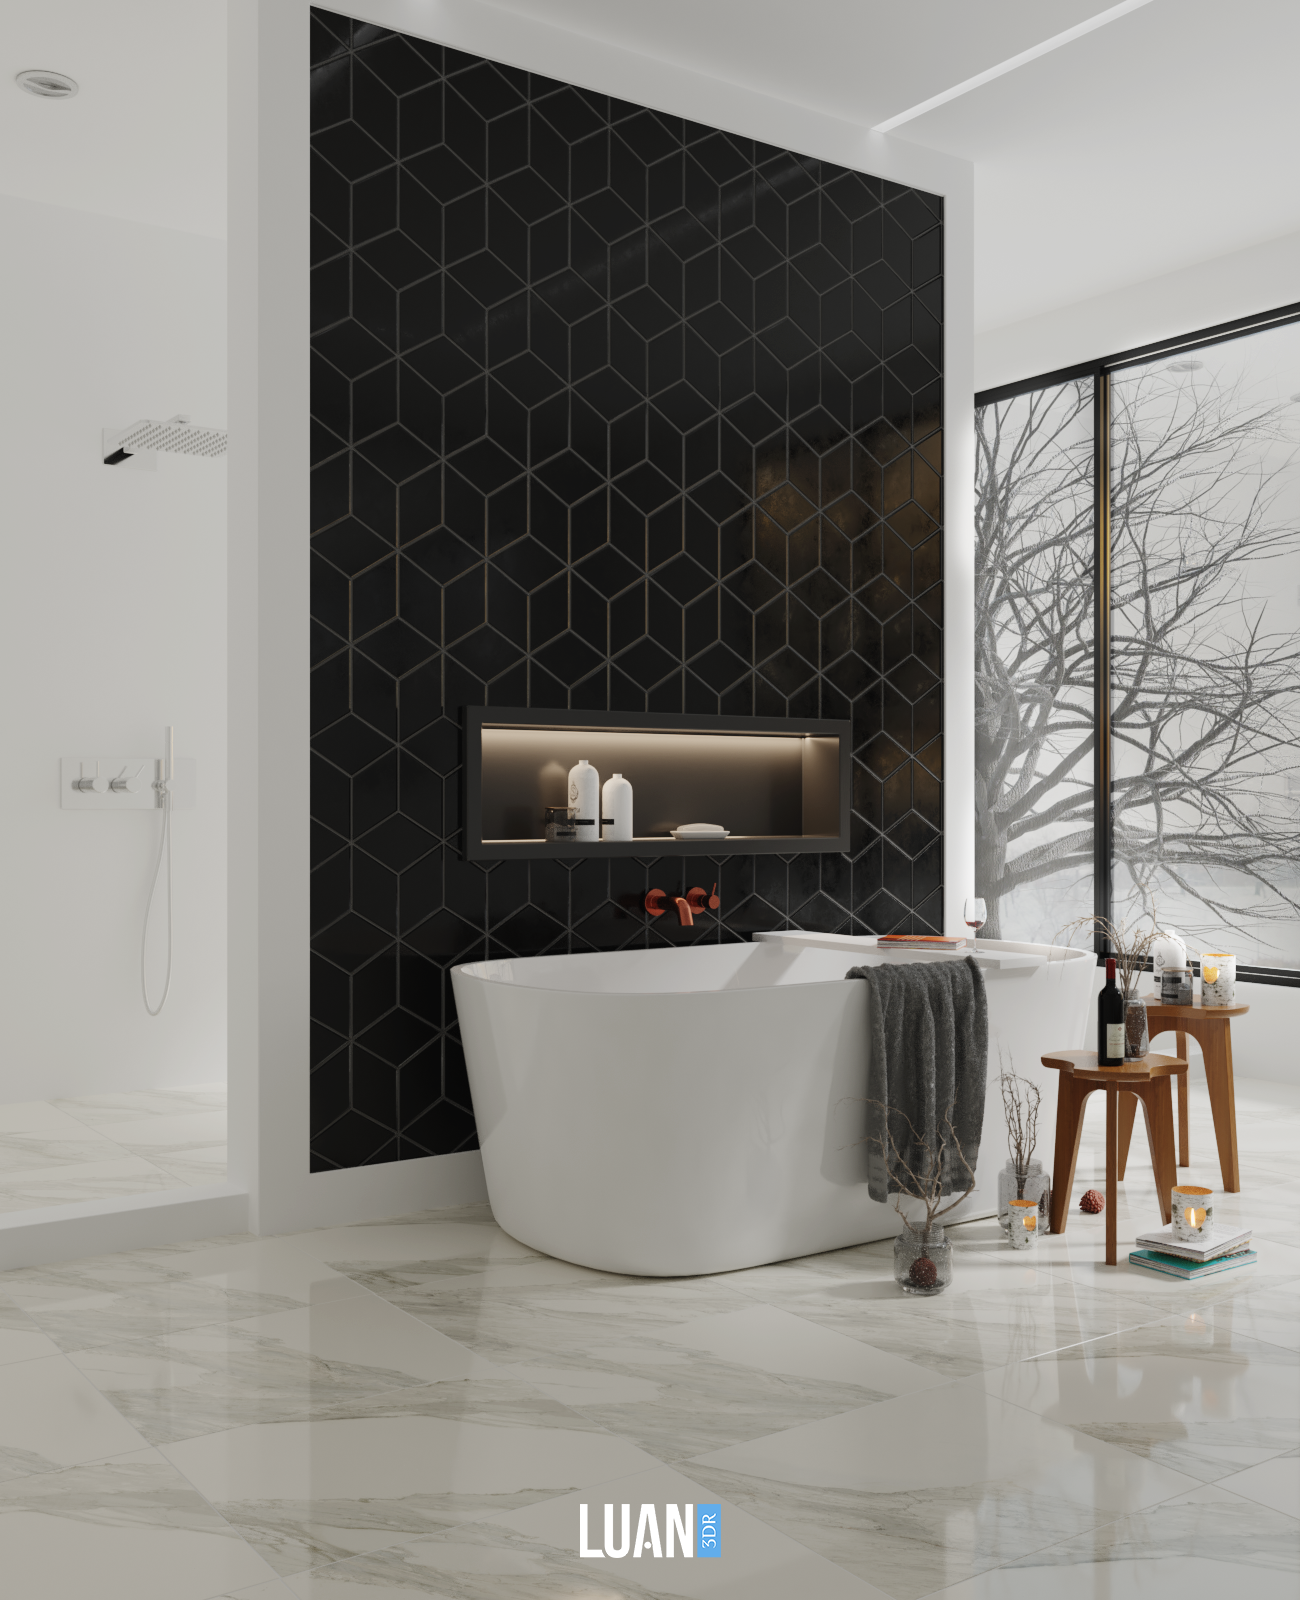
Here’s the end result:

About the Author
 Luan Rodrigues, just an eternal curious doing things,


Great article and great work Luan
Beautiful work, great visual and technical quality, pieces and photorealistic scenery!